Free crochet tissue box cover pattern: cottage floral cover
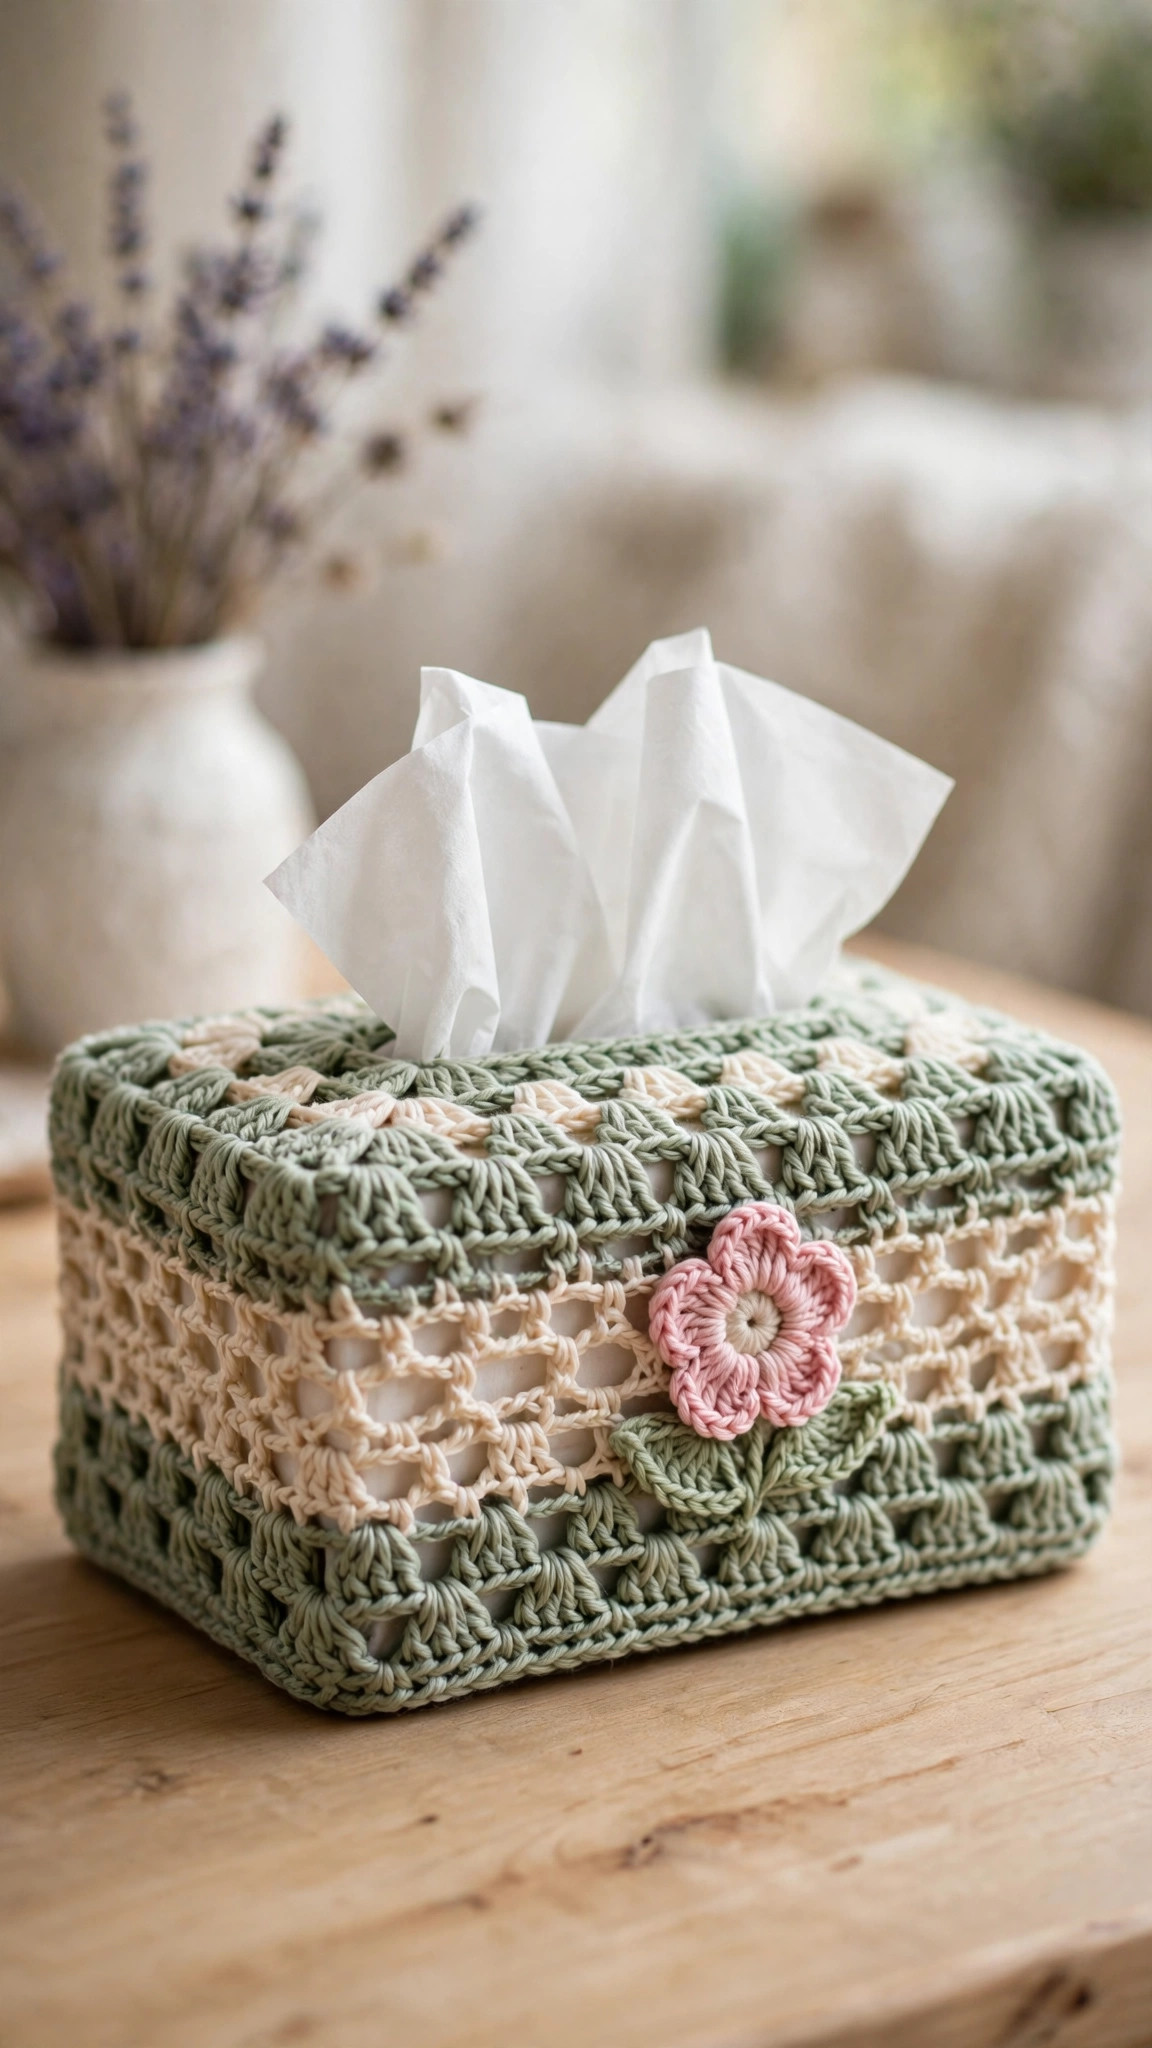
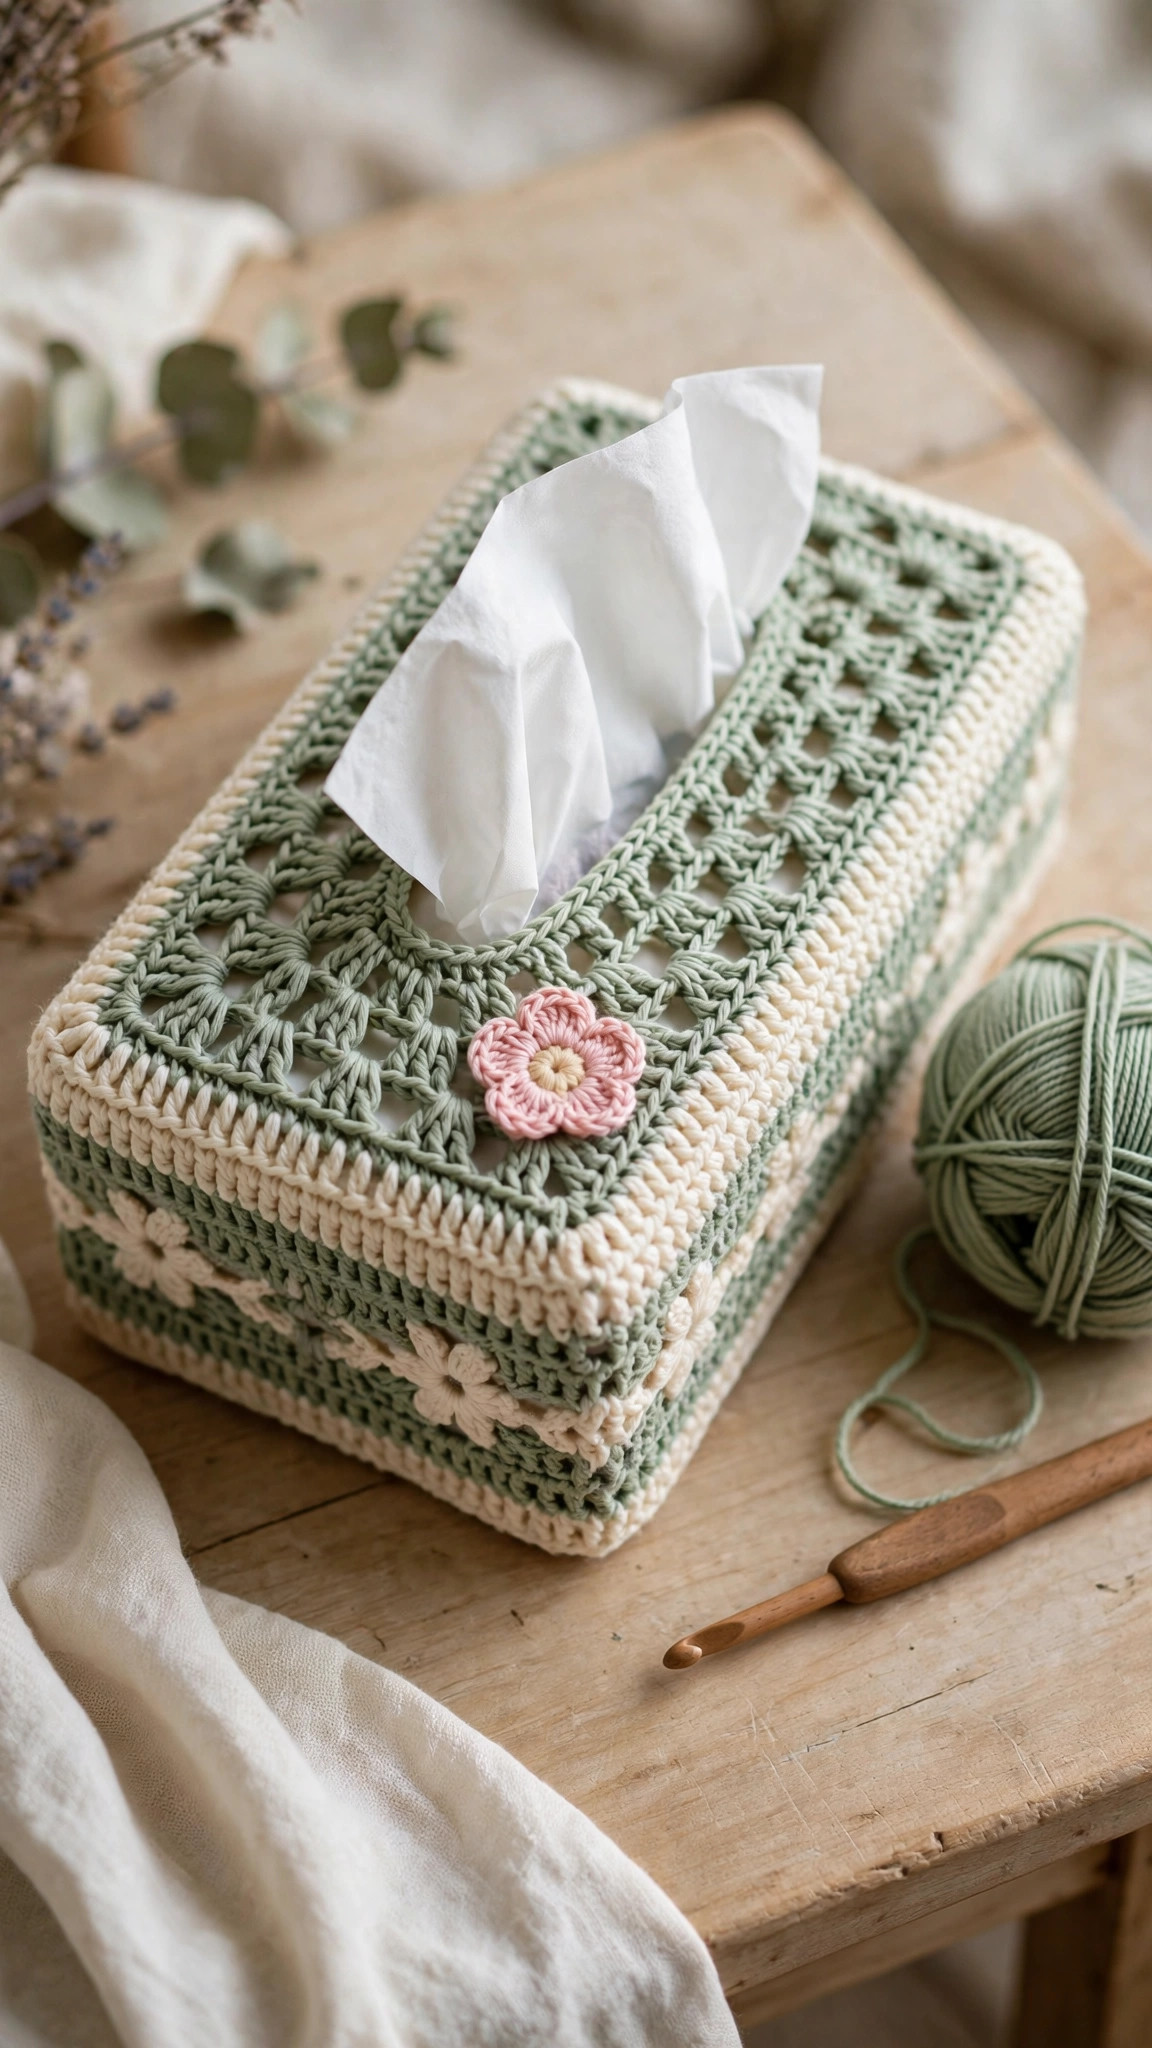
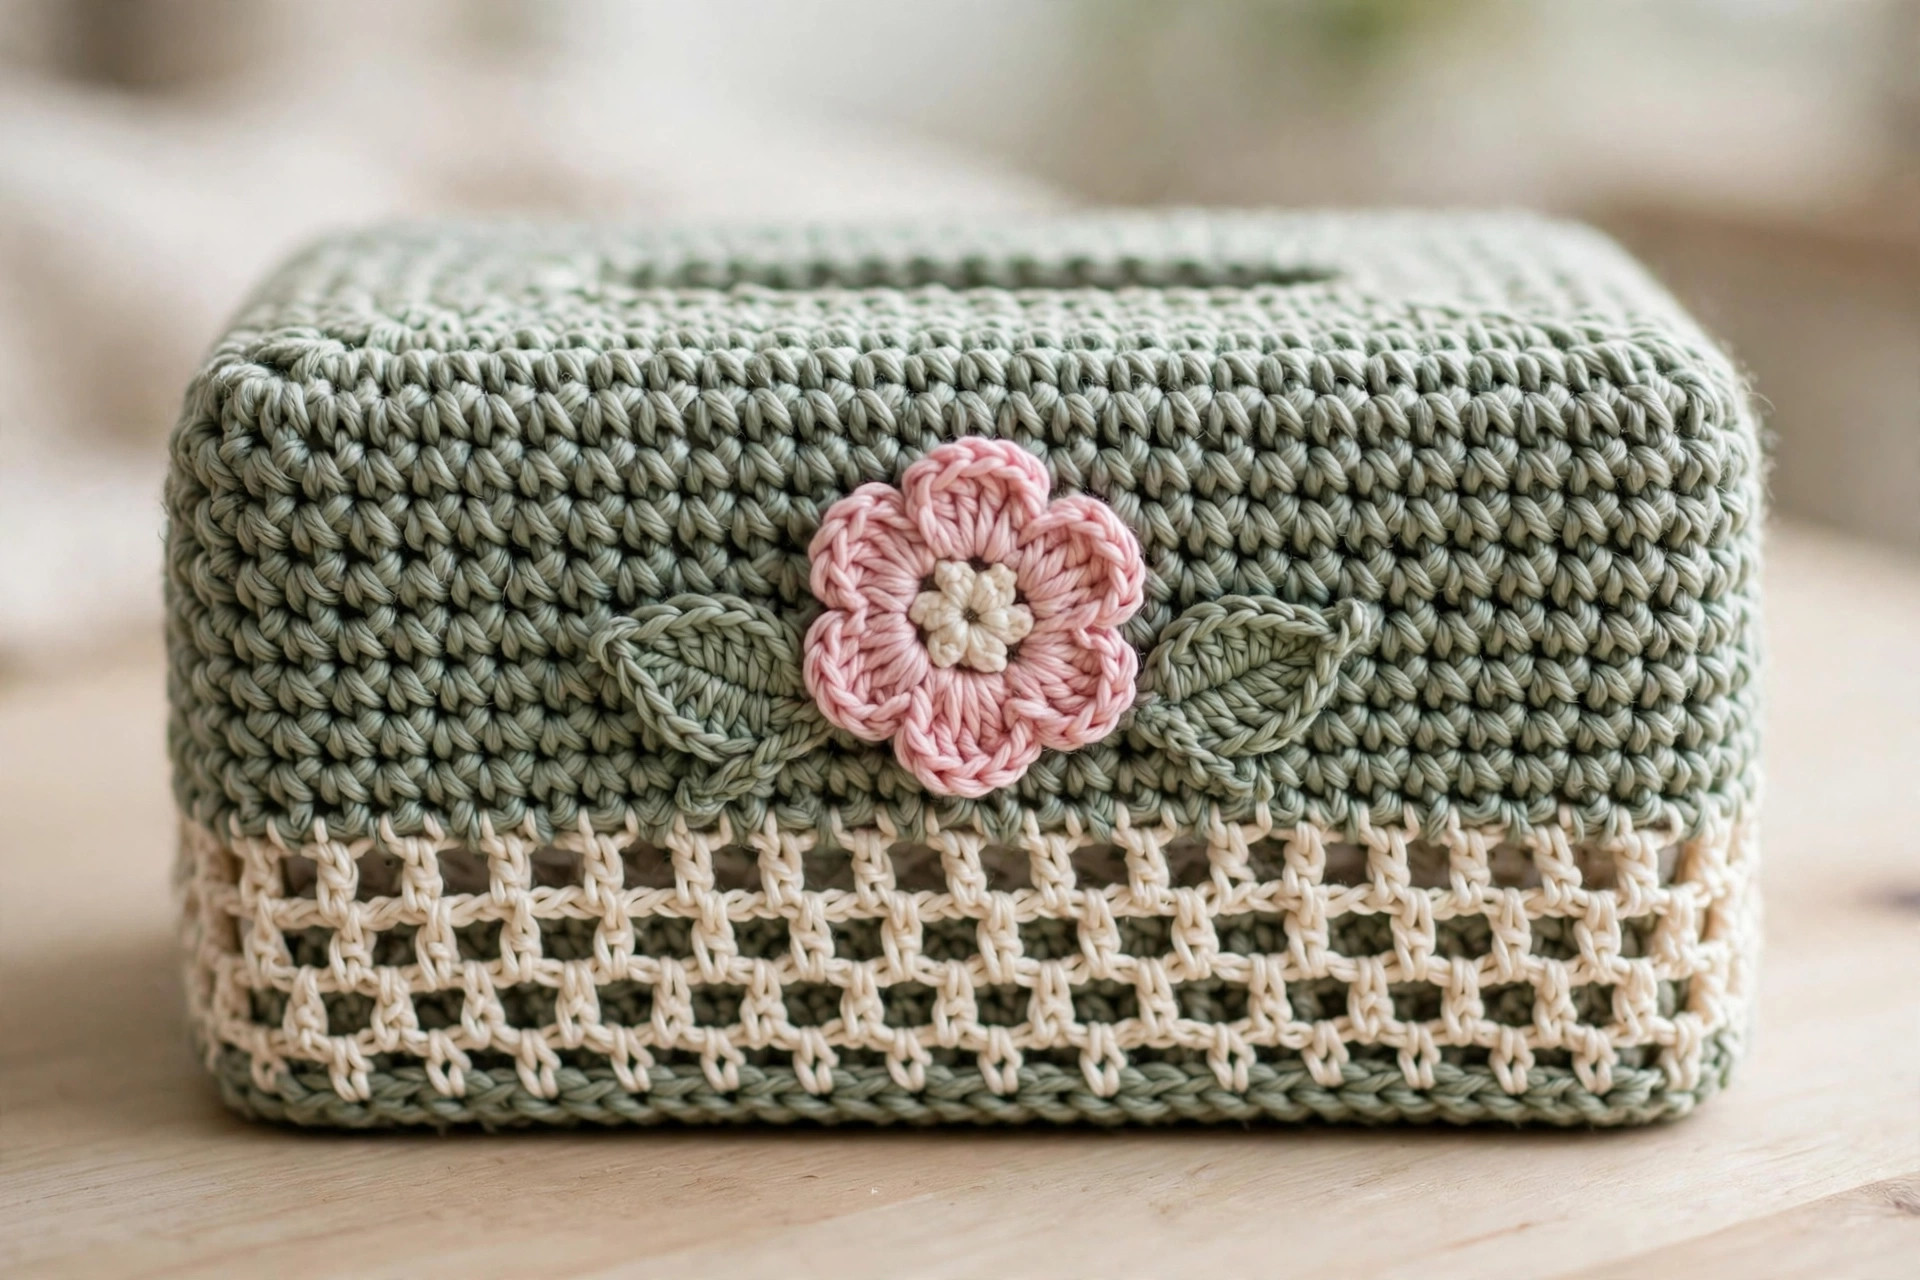
A sage green and cream tissue box cover with an airy mesh band, a pink flower appliqué and a neatly finished tissue opening — worked in the round with no seams, from one 102-stitch tube you can finish in a single evening.

Home Decor · Crochet
- Finished size
- About 25 x 13 x 15 cm
- Making time
- About 2–3 hours
- Hook
- 5.0 mm, worsted-weight yarn
- Pieces
- 1 cover + flower + 2 leaves
- Skill
- Beginner
In this post
- Why you'll love this free crochet tissue box cover pattern
- Materials you'll need
- Size, gauge and skill level
- Before you start: measure your box
- Abbreviations — US terms
- The pattern (US terms)
- Finishing touches
- Three cute variations to try next
- Cube-box variation
- Troubleshooting tips
- Frequently asked questions
- More free patterns to try
If your tissue box is the ugliest thing on the nightstand, this pattern fixes that in one evening. This free crochet tissue box cover turns a plain cardboard box into a cottage floral accent: sage green and cream stripes, an airy mesh band, and a pink flower appliqué. It slides over a standard tissue box, the tissues pull through a neat finished opening, and it works up in simple half double crochet rounds — no seaming, no shaping charts.
Why you'll love this free crochet tissue box cover pattern
Most tissue box covers are either a plain tube with zero personality, or fiddly panels you have to seam together and hope the corners line up. This pattern dodges both: the body is one continuous tube worked in the round, with no seams at all. The shaping is standard stitch math — a foundation chain sized to the box, twelve rounds of half double crochet with a mesh band, and a domed top shaped by four decrease rounds with the stitch count spelled out at every step.
It is also stash-friendly: less than half a skein of your main color, a little contrast color, and a scrap of pink. Because it is just rounds of half double crochet, it is a perfect watch-something project — no counting marathons, no charts, just relaxing rounds and a pretty result.
Materials you'll need
| Supply | What to get |
|---|---|
| Main yarn (A) | Worsted-weight (#4) acrylic or cotton in sage green, about 70 g |
| Contrast yarn (B) | Worsted-weight (#4) in cream, about 40 g |
| Accent yarn (C) | Worsted-weight (#4) in soft pink, about 10 g |
| Crochet hook | 5.0 mm (H-8) |
| Notions | Tapestry needle, stitch markers, scissors |
| Tissue box | One standard rectangular box, about 24 cm long x 12 cm wide x 12 cm tall |
A quick note on yarn choice: acrylic is the forgiving pick — it holds its shape, survives being pulled on and off the box, and washes well. Cotton gives you beautiful stitch definition and a sturdier fabric, but it has less give, so measure your box carefully if you use it. Avoid fuzzy or eyelash yarns: they hide the mesh band.
Size, gauge and skill level
- Finished size: about 25 cm (10 in) long x 13 cm (5 in) wide x 15 cm (6 in) tall, including the domed top. Fits a standard tissue box of about 24 x 12 x 12 cm.
- Gauge: 14 half double crochet stitches = 10 cm (4 in), 10 half double crochet rows = 10 cm (4 in), with a 5.0 mm hook. Gauge matters more here than in amigurumi because the cover has to fit a box, so check it against a 10 cm swatch before you start. A slightly loose cover is fine — it still looks good and slides on easily.
- Skill level: beginner. You should know how to chain, slip stitch, single crochet, half double crochet, double crochet, and simple decreases. Everything else is explained below.
New to working in the round? The crochet basket pattern uses the same joined-round technique at a bigger scale.
Before you start: measure your box
Tissue boxes are not all the same size, so measure yours before you chain anything. This pattern fits the common rectangular box: about 24 cm long, 12 cm wide, 12 cm tall. Measure the circumference around the long way: about 72 cm for a standard box, and this pattern's 102-stitch foundation gives about 74 cm of fabric, a comfortable 2 cm of ease.
For a cube box (about 12 cm on every side), use the cube-box variation at the end of the pattern section. If your box is within 1 cm of standard in each direction, make the pattern as written: half double crochet fabric stretches and settles onto the box nicely.
Abbreviations — US terms
| Abbreviation | Meaning |
|---|---|
| ch | chain |
| sl st | slip stitch |
| sc | single crochet |
| hdc | half double crochet |
| dc | double crochet |
| dec | decrease (sc 2 together) |
| st(s) | stitch(es) |
| sp | space |
| R | round |
| FO | fasten off |
| MC | main color (sage green) |
| CC | contrast color (cream) |
| AC | accent color (pink) |
A note on joined rounds: every round is joined with a slip stitch and started with a chain that does not count as a stitch. Count your stitches at the end of each round — the count is in parentheses.
The pattern (US terms)
Work in joined rounds throughout; do not turn — the right side stays facing you. The stitch count at the end of every round is in parentheses.
Sides — the tube
With MC (sage green), chain 102. Join with a slip stitch to the first chain, being careful not to twist the chain. This is the bottom edge of the cover — it stays open so the cover can slide over the box.
- R1–R3: Ch 2 (does not count as a stitch), hdc in each ch around, join with a sl st to the first hdc. (102)
- R4: With CC (cream), ch 2, hdc in each st around, join. (102)
- R5: With MC, ch 2, hdc in each st around, join. (102)
- R6 — mesh band: With CC, ch 3 (counts as the first dc), *dc in the next st, ch 1, skip the next st; repeat from * around, join with a sl st to the top of the starting ch-3. You will have 51 dc and 51 ch-1 spaces.
- R7: With CC, ch 2, hdc in each dc and hdc in each ch-1 space around, join. (102)
- R8–R11: With MC, ch 2, hdc in each st around, join. (102) — 4 rounds even
- R12: With CC, ch 2, hdc in each st around, join. (102)
Do not fasten off. The tube should measure about 12 cm tall and slip easily over your box — try it on now, and check your gauge if it will not slide over.
Top — the domed opening
Continue with MC. The top is shaped with four decrease rounds in single crochet — denser than half double crochet, so it holds its dome shape and frames the opening cleanly.
- Top R1: Ch 1 (does not count as a stitch), sc in each st around, join with a sl st to the first sc. (102)
- Top R2: Ch 1, [sc in the next 11 sts, dec, dec, dec] x 6, join. (84) Check: 6 repeats of 17 sts = 102.
- Top R3: Ch 1, [sc in the next 8 sts, dec, dec, dec] x 6, join. (66) Check: 6 repeats of 14 sts = 84.
- Top R4: Ch 1, [sc in the next 5 sts, dec, dec, dec] x 6, join. (48) Check: 6 repeats of 11 sts = 66.
- Top R5: Ch 1, [sc in the next 6 sts, dec] x 6, join. (42) Check: 6 repeats of 8 sts = 48.
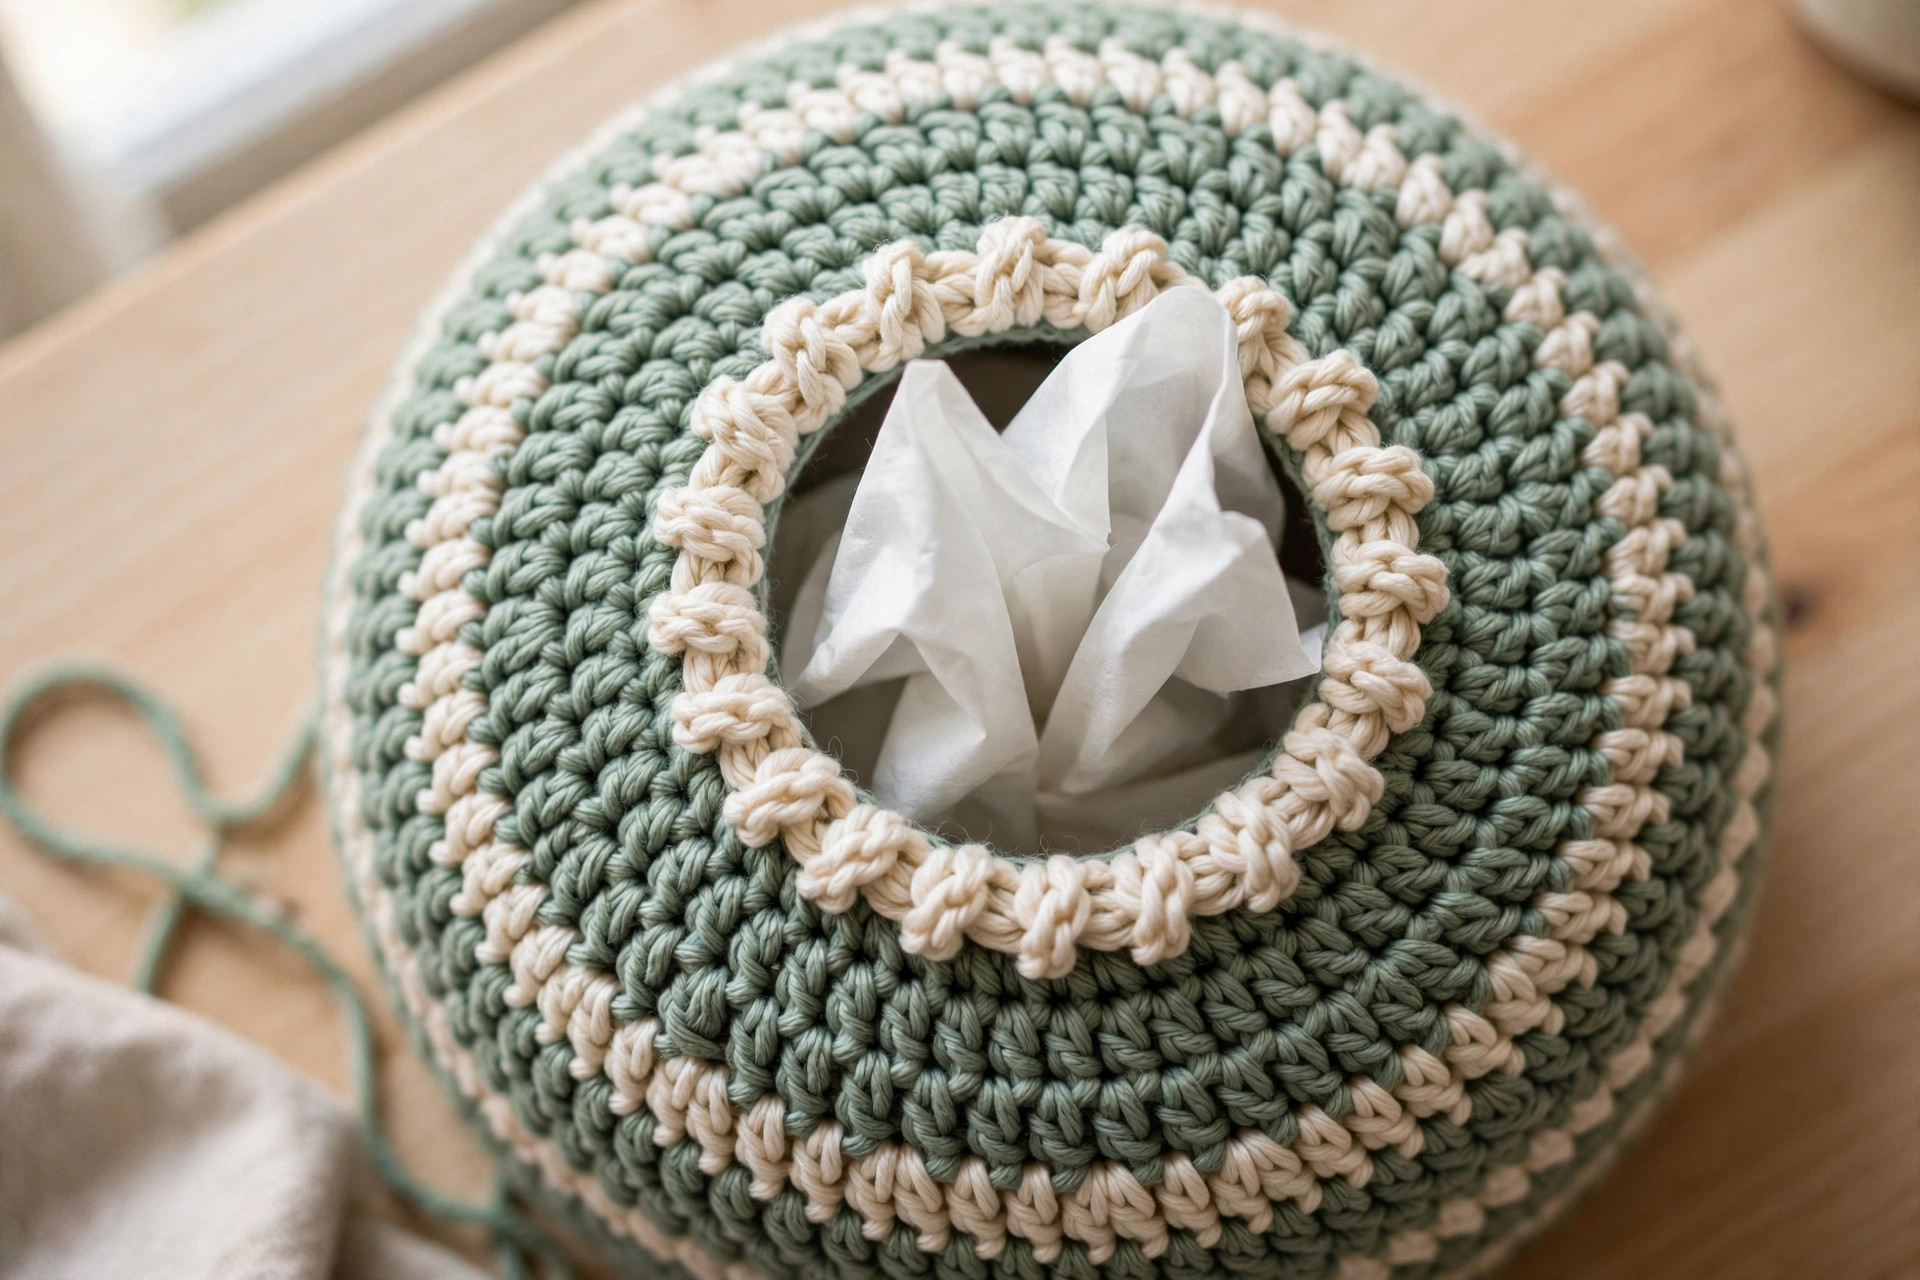
- Top R6–R7: Ch 1, sc in each st around, join. (42) — 2 rounds even. This forms the rim of the opening.
- Top R8 — crab stitch edge: With CC, work 1 round of reverse single crochet (crab stitch): insert your hook into the stitch to the right, yarn over, pull up a loop, yarn over, pull through both loops. Repeat around. Join with a sl st and fasten off.
The finished opening is 42 stitches around, about 28 cm in circumference — an oval roughly 10 cm long and 4 cm wide, the right size for pulling tissues through without tearing them. The rim relaxes a little with use, and the first tissue is always the stiffest to pull through.
Bottom edging
Turn the cover upside down. With CC, join the yarn anywhere along the foundation edge, ch 1, and work 1 round of sc evenly around the bottom edge, one sc into the bottom of each foundation chain. Join with a sl st and fasten off. (102) This round frames the open bottom and stops the edge stretching out of shape. Weave in all ends.
Flower appliqué — AC (pink), make 1
- Round 1: Make a magic ring. [Ch 2, 2 dc into the ring, ch 2, sl st into the ring] x 5 to form 5 petals. Pull the ring closed, join with a sl st, and fasten off, leaving a long tail for sewing. The flower should measure about 4 cm (1.5 in) across.
Flower center — CC (cream), make 1
- Round 1: Make a magic ring. 6 sc into the ring, join with a sl st to the first sc. Fasten off, leaving a tail for sewing. (6)
Leaves — MC (sage green), make 2
- Row 1: Ch 8. Sl st in the 2nd ch from the hook, sc in the next ch, hdc in the next ch, dc in the next 2 ch, hdc in the next ch, sc in the last ch. Ch 1, then work back along the other side of the foundation chain: sc in the next ch, hdc in the next ch, dc in the next 2 ch, hdc in the next ch, sc in the next ch, sl st in the first ch. Fasten off, leaving a tail for sewing. Each leaf should measure about 4 cm (1.5 in) long.
Assembly — putting it together
- Fit the cover. Slip the cover over the box with the mesh band facing front. The bottom edging should sit just below the bottom of the box, and the domed top should sit neatly on top.
- Sew the center to the flower. Using the cream tail, sew the 6-stitch circle to the center of the pink flower. Knot and weave in the end on the back.
- Position the flower. Pin the flower to the front, centered on the mesh band, about 2 cm below the cream stripe of R12. Pin the two leaves underneath, one angled left and one right, so their tips peek out from behind the petals.
- Sew it on. Using the long pink tail, sew the flower on with small whipstitches around the back of each petal. Sew the leaves the same way with their sage tails. Knot all tails inside the cover and weave them in.
Finishing touches
Block it lightly. Slip the cover over the box, mist it lightly with water, and smooth the sides so the corners sit square. Leave it to dry on the box. This sets the stitches and makes the mesh band lie flat — do not stretch it aggressively or it will go baggy.
Tame the opening. The first time you use the cover, push the first tissue up through the opening from inside the box rather than yanking it from above. Once one tissue is through, the rest follow easily.
Three cute variations to try next
Once you have made one cover, you will want a set:
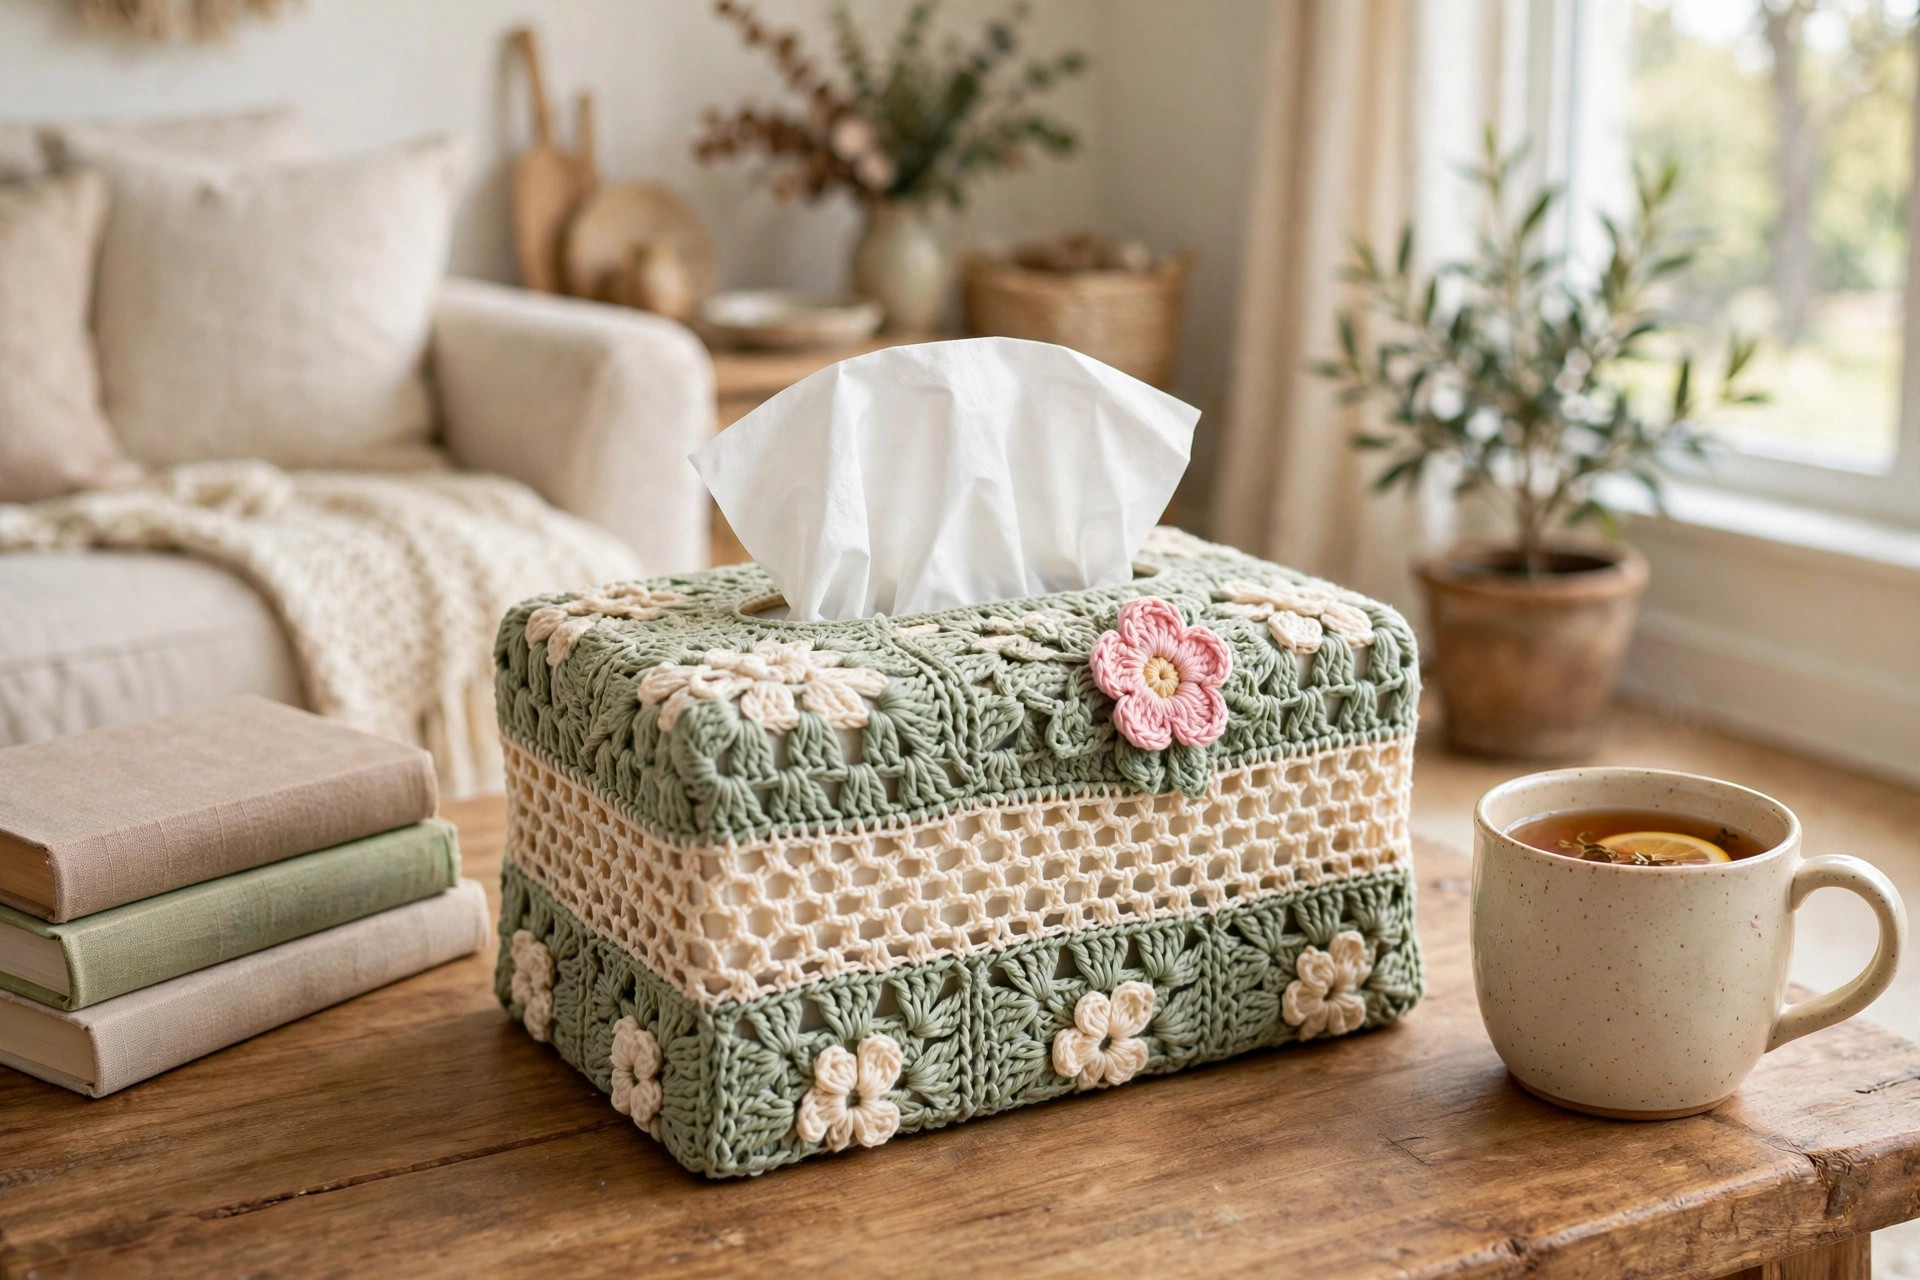
- Nursery soft. Work the whole cover in cream with a dusty blue mesh band and a white flower. It pairs with the crochet hanging plants for a handmade nursery shelf, and the woodland nursery mobile uses the same soft palette.
- Christmas red and green. Work the body in deep red, the stripes and mesh band in cream, and swap the pink flower for a red poinsettia with a yellow center. It sits beautifully next to the crochet Christmas coasters on a holiday coffee table.
- Farmhouse neutral. Work the whole cover in a single warm oatmeal color, skip the flower, and add wooden buttons down the front instead. It shows off the mesh band best, next to crochet table runners and crochet doily patterns in the same neutral yarn.
If you love quick home decor projects, the crochet basket pattern is the natural next make: same joined rounds, and it clears the clutter off the same side table.
Cube-box variation
For a cube box (about 12 cm on every side), work the pattern as written except for the foundation and top shaping:
- Foundation: Chain 72, join, and work the Sides section as written with 72 stitches per round; the mesh band gives 36 dc and 36 ch-1 spaces.
- Top R1: Ch 1, sc in each st around, join. (72)
- Top R2: Ch 1, [sc in the next 6 sts, dec, dec, dec] x 6, join. (54) Check: 6 repeats of 12 sts = 72.
- Top R3: Ch 1, [sc in the next 3 sts, dec, dec, dec] x 6, join. (36) Check: 6 repeats of 9 sts = 54.
- Top R4: Ch 1, [sc in the next 4 sts, dec] x 6, join. (30) Check: 6 repeats of 6 sts = 36.
- Top R5–R6: Ch 1, sc in each st around, join. (30) — 2 rounds even.
- Top R7: Work the crab stitch edge in CC as written. (30)
Everything else is the same. The finished cube cover measures about 13 cm square and 13 cm tall.
Troubleshooting tips
- The cover will not slide over the box. Your gauge is too tight, or the box is bigger than standard. Check your gauge against 14 hdc = 10 cm. If your gauge is right, restart with a 108-stitch foundation (a multiple of 6) and decrease 12 stitches evenly spaced each top round until 42 remain, then work the rim as written.
- The cover is too loose and baggy. Drop to a 4.5 mm hook, or restart with a 96-stitch foundation and decrease 12 stitches evenly spaced each top round until 42 remain.
- The top opening is too small for tissues. Your single crochet gauge may be tighter than your half double crochet gauge. The opening should stretch to about 10 cm long; if it will not, go up a hook size for the top section only, or add one extra even round before the crab stitch edge.
- The mesh band looks uneven. You must skip exactly one stitch after every double crochet. Count at the end of R6: you should have exactly 51. If you have 50 or 52, frog back and go slowly.
- The dome looks lopsided. Count each decrease round before you join: 84, then 66, then 48, then 42. If a round comes out wrong, the mistake is in that round.
Frequently asked questions
Is this crochet tissue box cover pattern really free?
Yes — the complete pattern above is free, no email signup, no PDF purchase required. Sharing the post or saving it on Pinterest is the kindest thank-you.
What skill level is this pattern?
Beginner. If you can chain, half double crochet in the round, and work a simple decrease, you have every skill this pattern needs. The crab stitch edge is only one round — if it fights you, a plain round of single crochet works too.
How long does it take to make?
About 2 to 3 hours: roughly 90 minutes for the tube, 30 minutes for the domed top, and 30 minutes for the flower, leaves, and sewing. The second one always goes faster.
What size tissue box does it fit?
A standard rectangular tissue box of about 24 x 12 x 12 cm. A cube-box variation is included for square boxes.
Can I use a different yarn weight?
Yes. Use the hook size on your yarn label, and adjust the foundation chain so the tube measures about 2 cm more than your box's circumference. The foundation must be a multiple of 6, and the mesh band needs an even stitch count.
Can I sell the finished covers I make?
Yes! You may sell finished covers in small batches (craft fairs, gifts, market stalls). Please credit Little Loop Finds as the pattern designer with a link back to this page. The pattern text and photos may not be redistributed, republished, or sold.
More free patterns to try
If this cover was fun, keep the hook moving. The crochet basket pattern uses the same joined rounds for storage that looks good on a shelf, the crochet flower pattern gives you more appliqué flowers for future covers, the flower coaster pattern makes a matching set for the coffee table, and the crochet dishcloths are perfect for the leftover cream yarn. The crochet pencil case pattern uses the same tube-and-top idea in miniature, and the crochet potholders are a great stash-buster between bigger makes.