Free crochet basket pattern: sturdy round storage basket
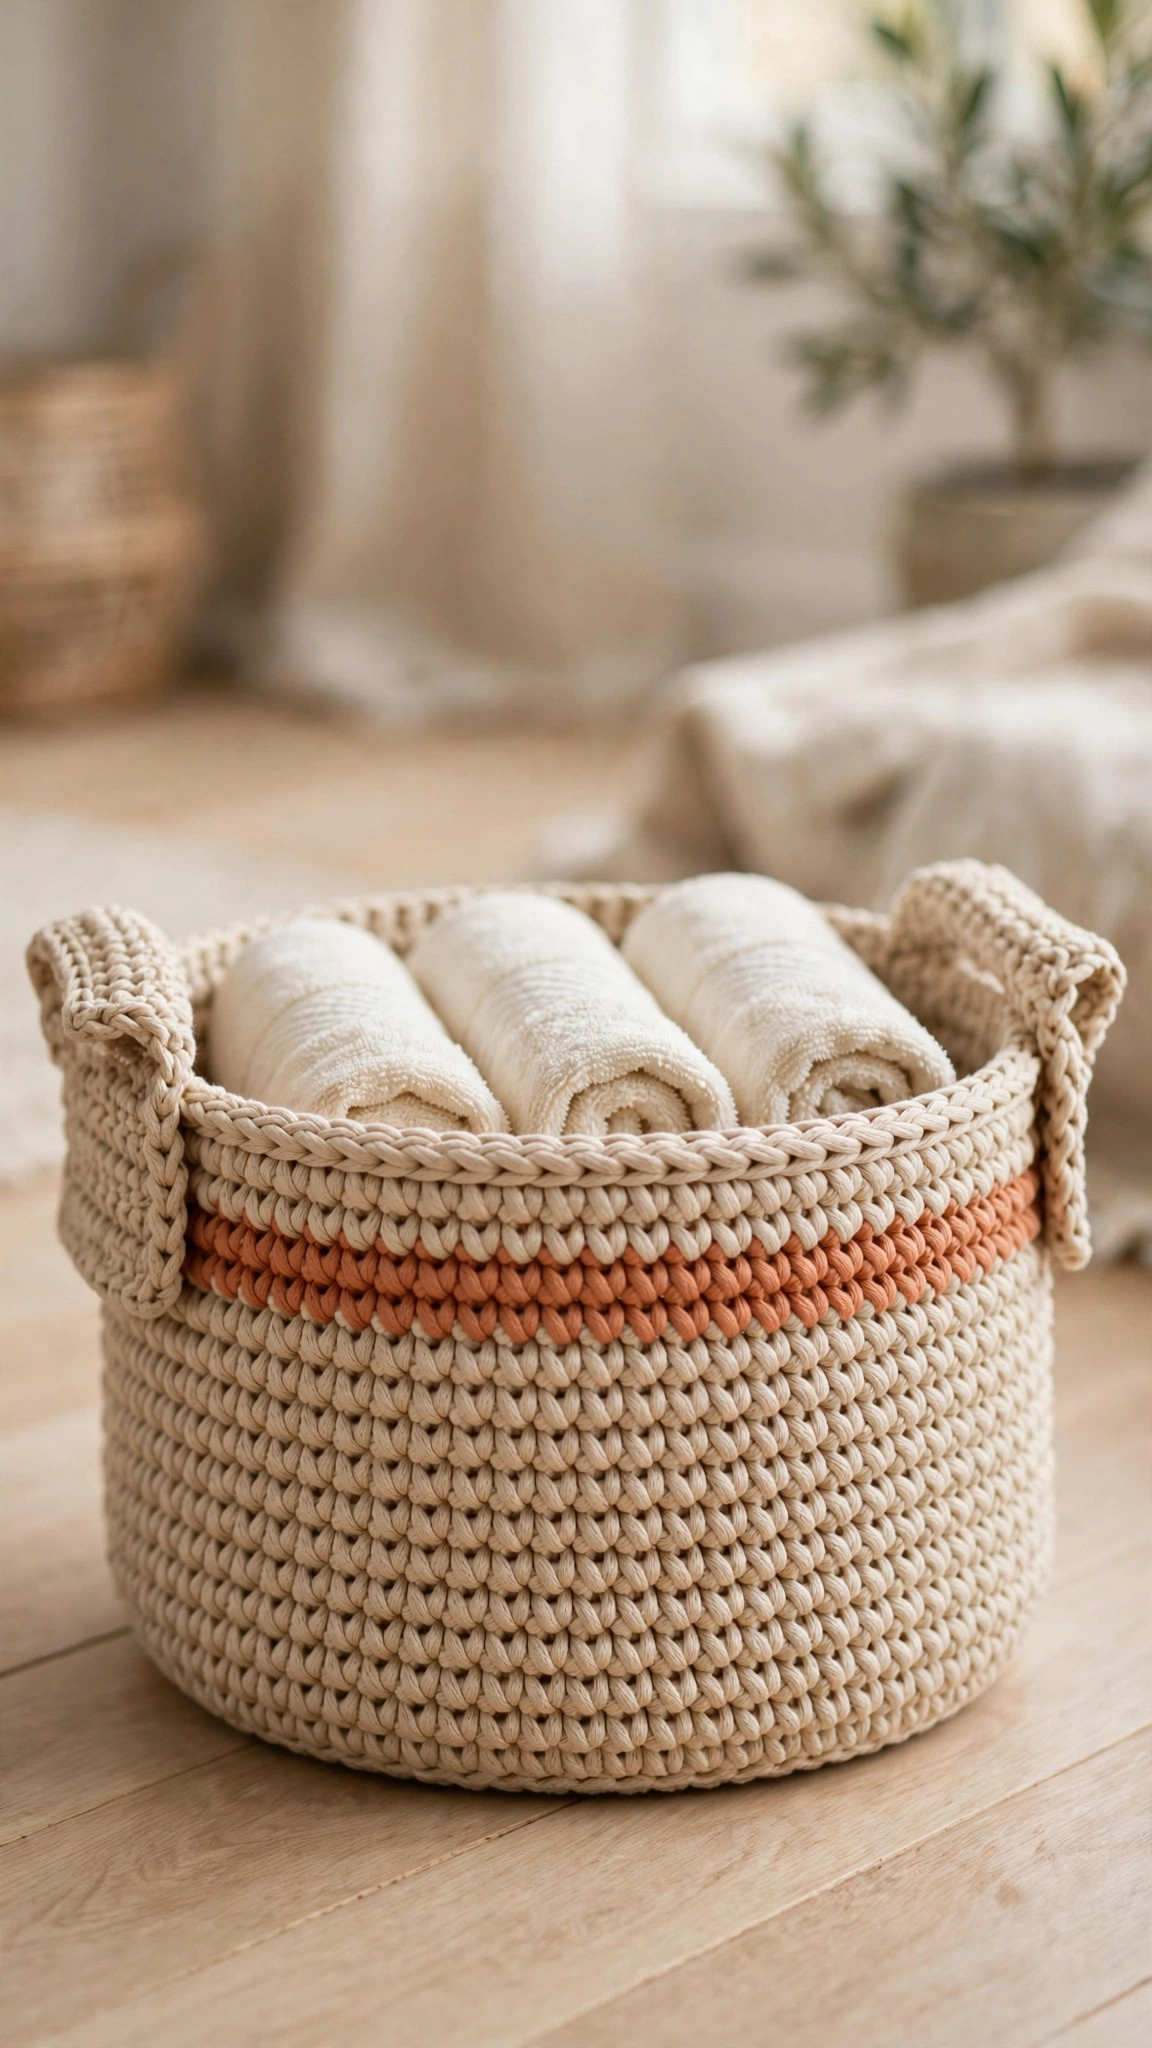
A sturdy round storage basket in two sizes, crocheted from chunky t-shirt yarn with back-loop-only walls that actually stand up — plus a terracotta stripe and built-in handles, all in one seamless piece.

Home & Storage · Crochet
- Finished size
- Large 25 cm / 10 in; small 18 cm / 7 in
- Making time
- About 2–3 hours per basket
- Hook
- 8.0 mm, super-bulky yarn
- Sizes
- Two sizes, one pattern
- Skill
- Beginner
In this post
If you've been hunting for a crochet basket pattern that's actually free, actually sturdy, and doesn't slump into a sad yarn pancake the moment you put anything in it — this is the one. It's a chunky, honest, workhorse of a basket: a flat single-crochet base, walls worked in back loops for stiffness, a terracotta stripe for looks, and proper folded handles that survive being yanked off a shelf. Make it in two sizes — a big one for throw blankets and yarn stash, a small one for keys, pine cones, and the remote that keeps vanishing.
Why you'll love this free crochet basket pattern
Most free basket patterns fail at the same place: they use regular worsted yarn with a loose stitch and call it a basket. What you get is a doily with ambitions. This pattern is built differently from the ground up — literally. The secret is three structural choices working together: chunky t-shirt yarn (or cotton cord) that has body, a base worked tight enough to sit flat, and walls worked entirely in the back loop only, which creates a ridged, springy fabric that holds its shape instead of collapsing.
It's also a genuinely fast project. The large basket takes most people one movie night — about 2–3 hours — and the small one flies by in under 90 minutes. There are no fancy stitches: if you can chain, single crochet, increase, and work in the back loop, you already know everything. And because it's all one continuous piece with no sewing (the handles are built into the final rounds), you finish with nothing but two ends to weave in. If you love practical chunky-yarn makes, our free crochet bag patterns use the same kind of t-shirt yarn and are the natural next project.
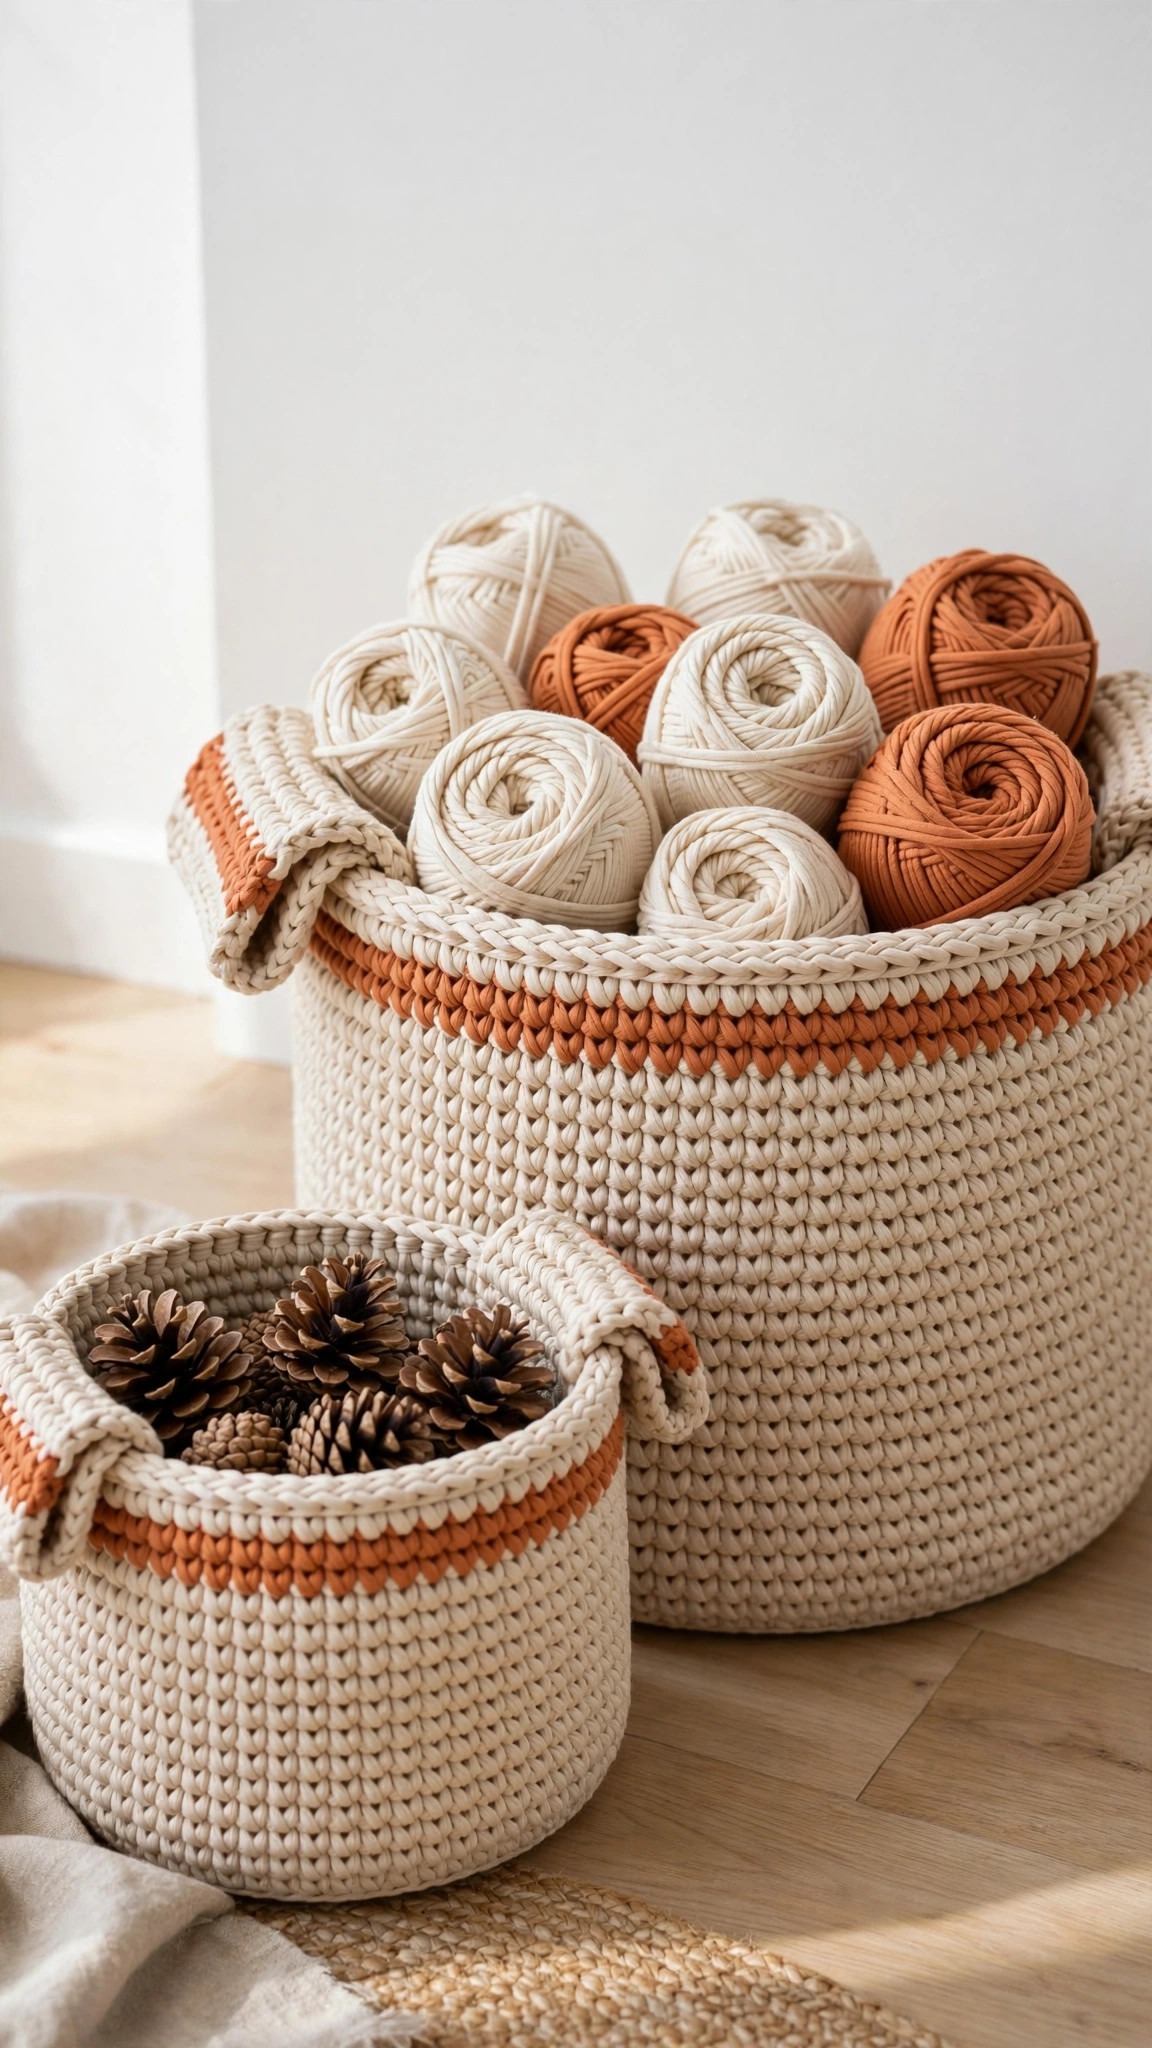
Materials you'll need
| Supply | What to get |
|---|---|
| Main yarn | T-shirt yarn or braided cotton cord, super bulky (#6), natural/beige — about 450 g for the large basket, 200 g for the small |
| Contrast yarn | Same type in terracotta/rust — about 80 g (large) or 40 g (small) |
| Crochet hook | 8.0 mm (L-11); 10.0 mm (N-15) if you crochet very tightly |
| Notions | Tapestry needle with a large eye, stitch markers, scissors |
A quick note on yarn choice, because it makes or breaks this project: t-shirt yarn (the kind made from recycled jersey fabric) is the classic basket yarn — heavy, dense, and it holds a shape like nobody's business. Braided cotton cord (5 mm) works beautifully too and gives slightly crisper stitch definition, which is what you see in the photos. What does NOT work well here: a single strand of worsted-weight acrylic. It will not hold the walls up, and you'll end up with a floppy bowl. If worsted is all you have, hold two strands together with a 8.0–9.0 mm hook and accept a slightly softer basket.
Size, gauge and skill level
- Finished size — large: about 25 cm (10 in) across × 16 cm (6.25 in) tall.
- Finished size — small: about 18 cm (7 in) across × 11.5 cm (4.5 in) tall.
- Gauge: roughly 7–8 single crochets = 10 cm (4 in). Gauge isn't critical here — what matters is that your fabric is dense and stiff. If the base feels floppy or you can poke a finger through the walls easily, switch to a smaller hook or tighten your tension. The basket should feel like a basket, not a sweater.
- Skill level: advanced beginner. You need chain, single crochet, increase, slip stitch, and back-loop-only single crochet (explained below). If you're brand new to crochet, work through our easy beginner crochet patterns first — one evening of practice and you'll be ready.
Abbreviations — US terms
| Abbreviation | Meaning |
|---|---|
| ch | chain |
| sc | single crochet |
| inc | increase (2 sc in the same stitch) |
| sl st | slip stitch |
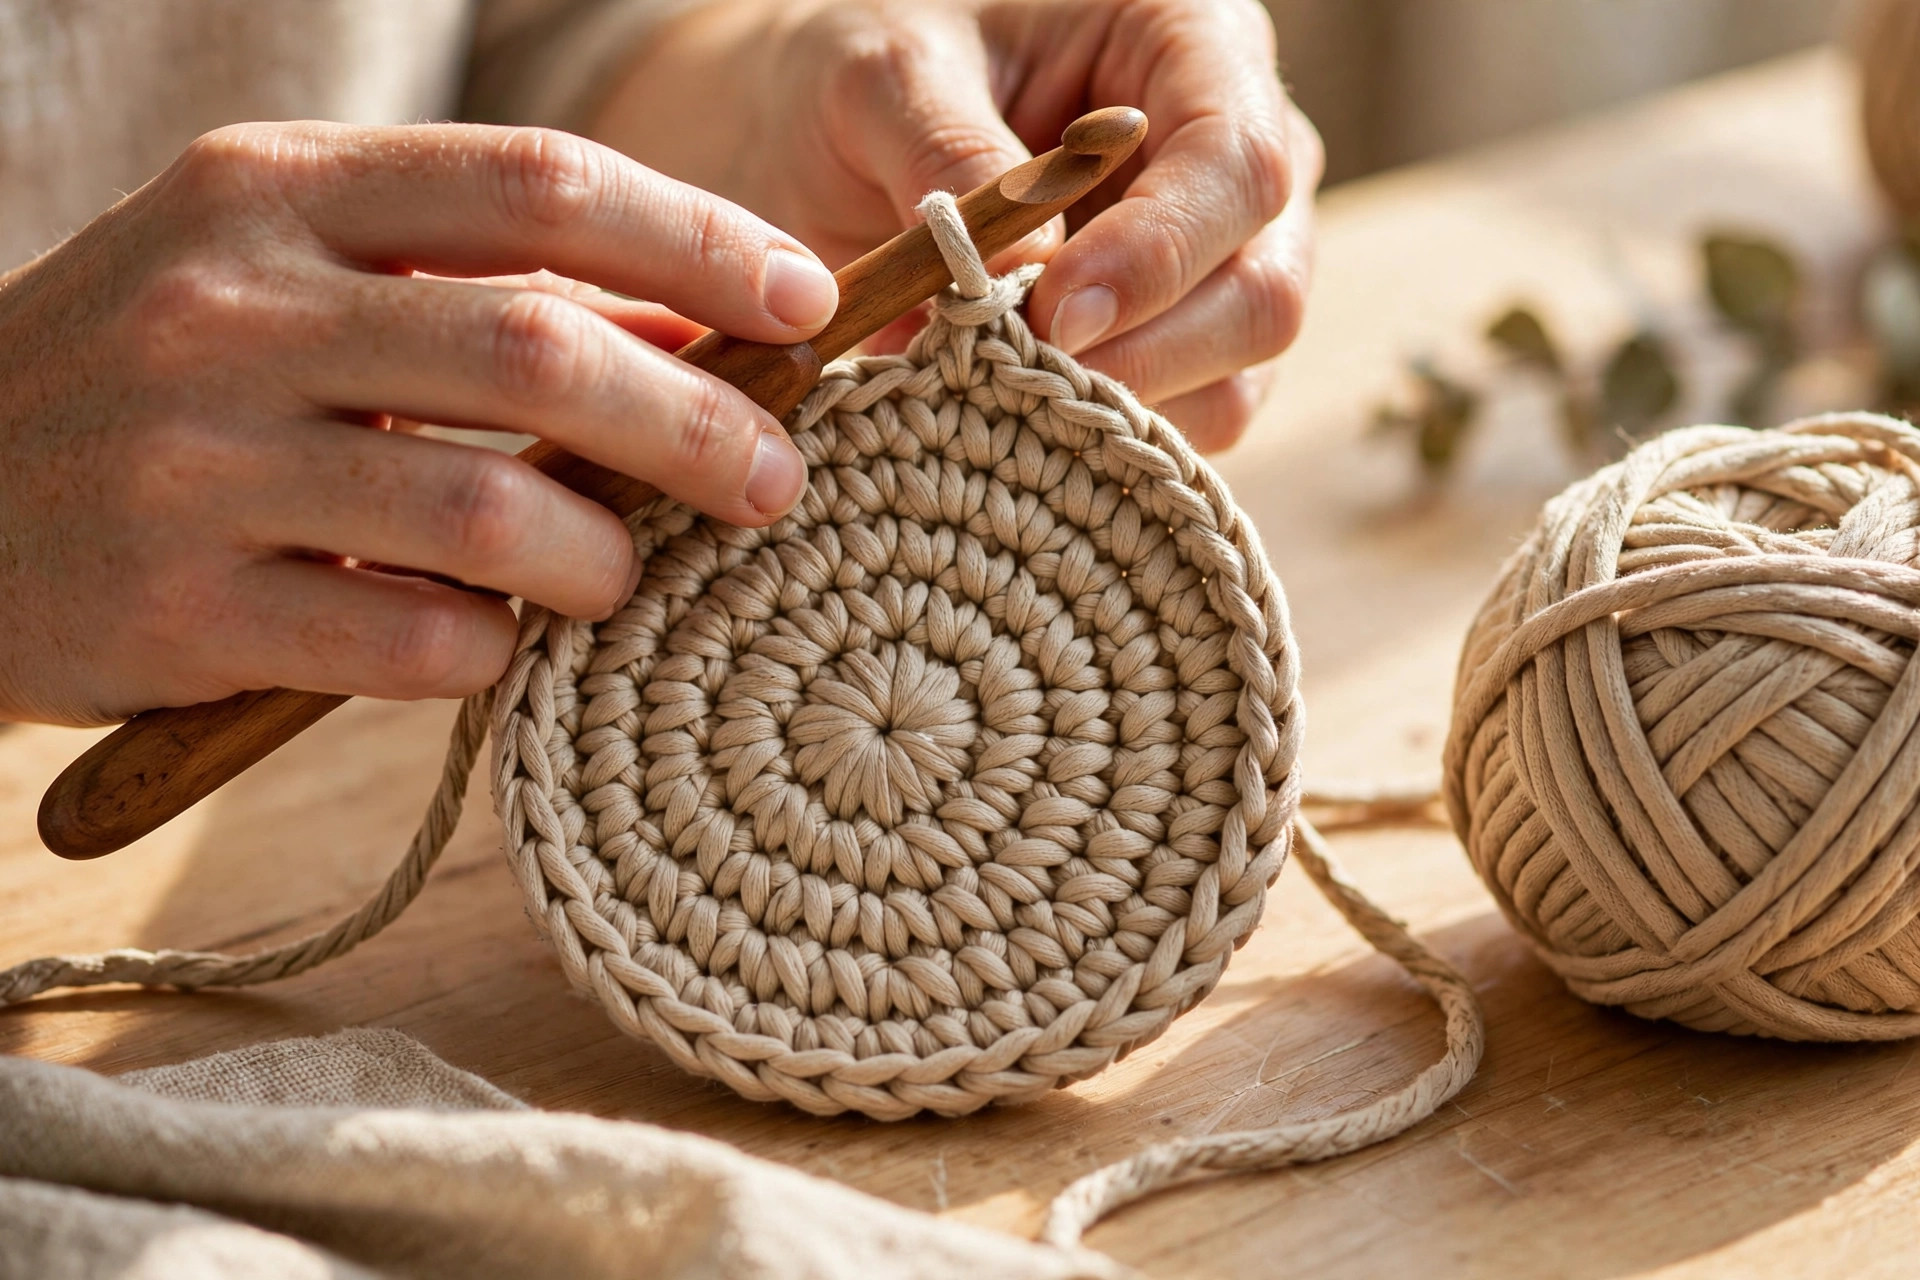
| BLO | back loop only (work into the back loop of the stitch) |
| sk | skip |
| st(s) | stitch(es) |
| R | round |
| FO | fasten off |
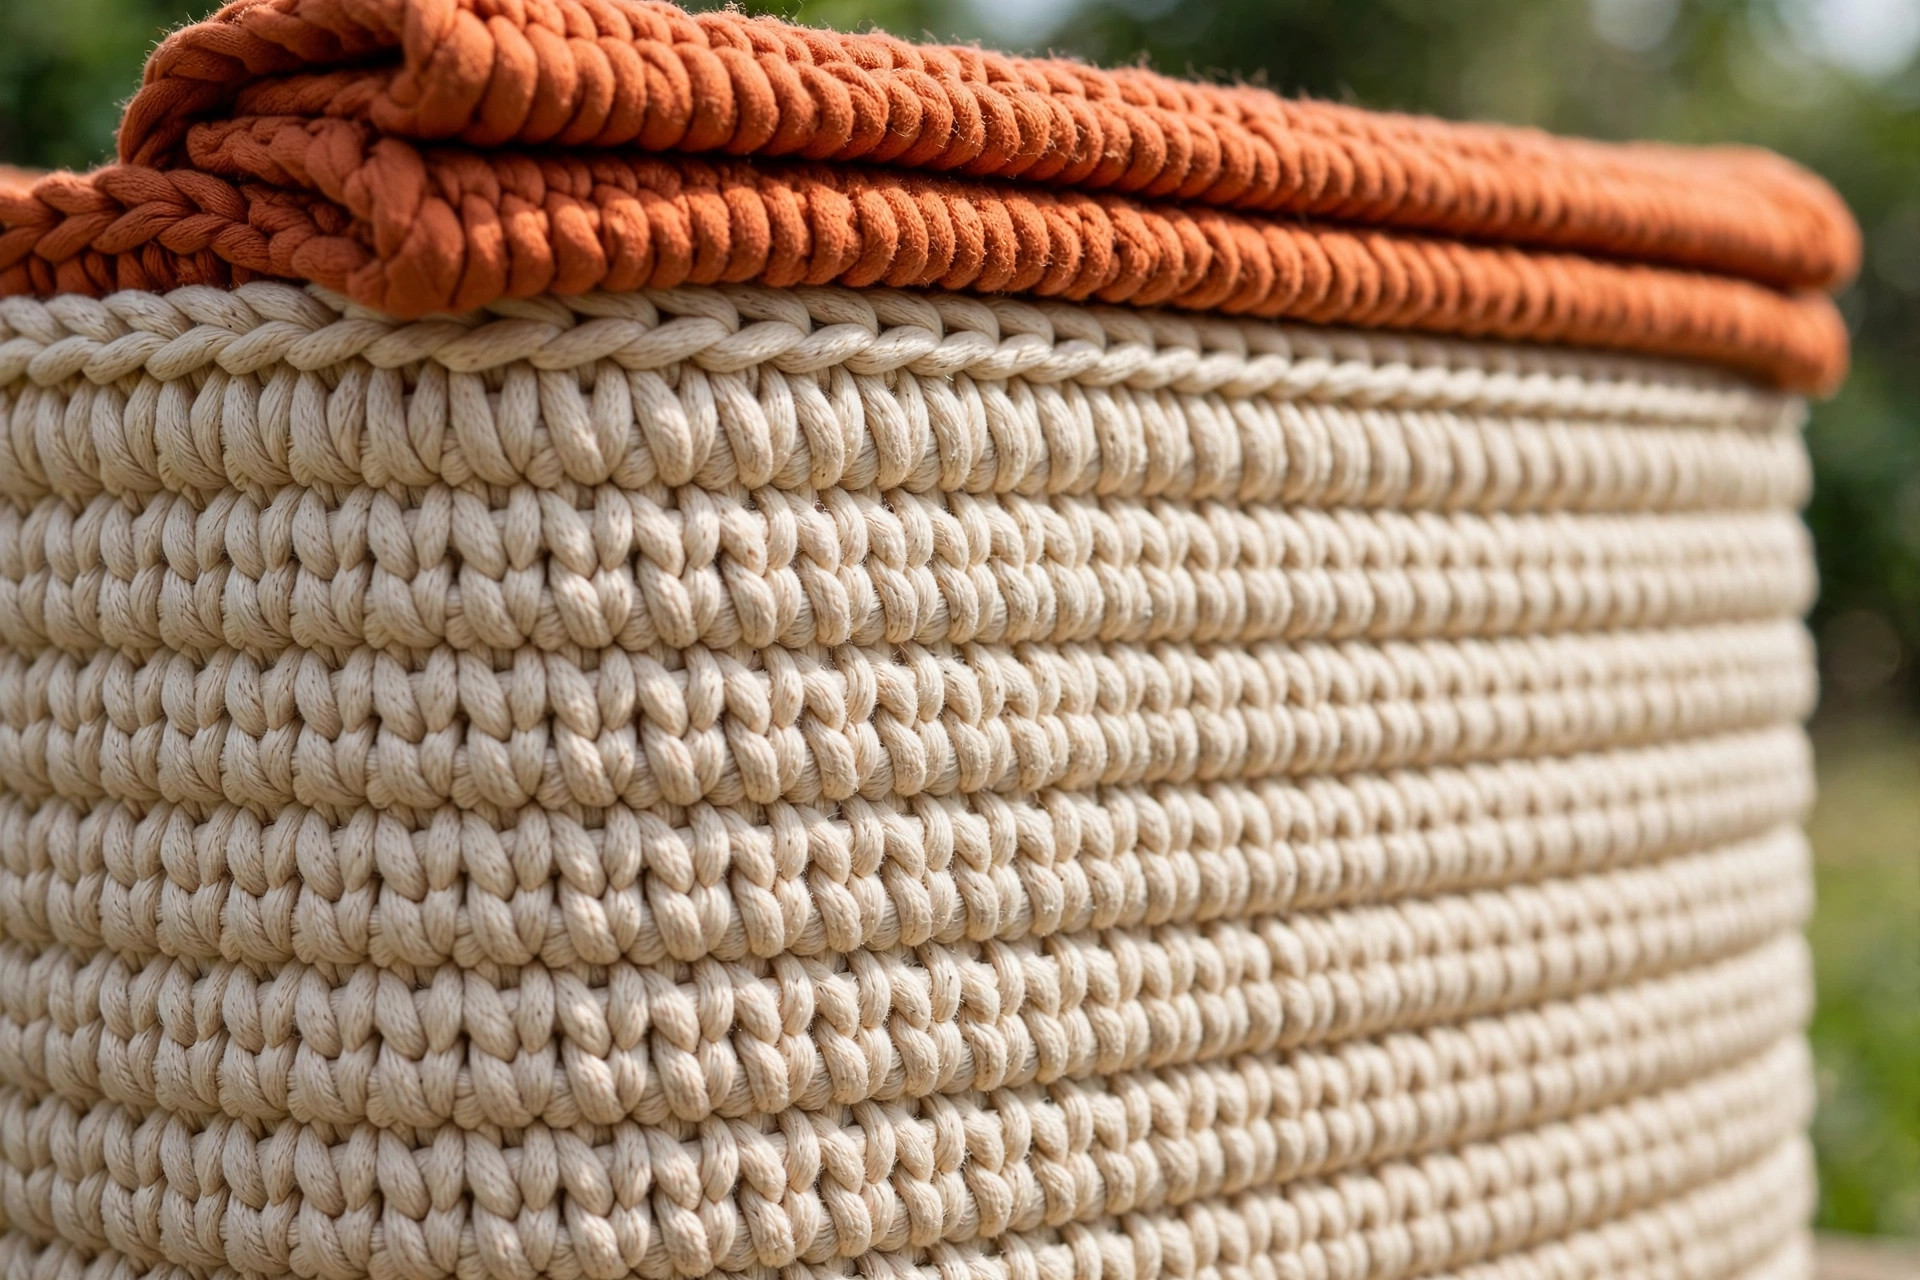
A note on working in the back loop: every single crochet stitch has two loops at the top, like a little V. The loop closer to you is the front loop; the one behind it is the back loop. For the walls of this basket, you'll insert your hook only into the back loop. This leaves a visible ridge of front loops on the outside of the basket — that's the pretty textured look in the photos — and more importantly it makes the fabric stiffer and gives the wall a hinge to stand up from the base.
The pattern (US terms)
The base is worked in continuous spirals — mark the first stitch of each round and move the marker up as you go. The walls are worked in joined rounds for cleaner stripes: at the end of each wall round, sl st to the first stitch of the round, ch 1 (this chain does not count as a stitch), and start the next round in the same stitch. Stitch counts are in parentheses.
Base — large basket (25 cm / 10 in)
- R1: MR, 6 sc (6)
- R2: inc in each st (12)
- R3: [sc, inc] × 6 (18)
- R4: [2 sc, inc] × 6 (24)
- R5: [3 sc, inc] × 6 (30)
- R6: [4 sc, inc] × 6 (36)
- R7: [5 sc, inc] × 6 (42)
- R8: [6 sc, inc] × 6 (48)
- R9: [7 sc, inc] × 6 (54)
- R10: [8 sc, inc] × 6 (60)
The base should now be a flat circle about 25 cm across. If it's ruffling like a potato chip, your tension is loose — try a 7.0 mm hook for the base. If it's cupping upward, you're crocheting too tightly.
- R11 (crease round): sc in BLO in each st around (60). This is the hinge the walls fold up from — don't skip it, and don't work it in both loops. Switch to joined rounds from here: sl st to the first st, ch 1.
Walls — large basket
- R12–R18: sc in BLO in each st around (60) — 7 rounds even, main color
- R19–R21: join terracotta, sc in BLO in each st around (60) — 3 rounds stripe
- R22: main color, sc in BLO in each st around (60)
- R23: sc (both loops) in each st around (60) — a smooth round before the handles
Handles and rim — large basket
- R24: sc in the next 24 sts, ch 12, sk 6 sts, sc in the next 24 sts, ch 12, sk 6 sts (48 sc worked + 20 chains = 68 sts). The chains form the two handles, sitting opposite each other.
- R25: sc in each st and each ch around (68)
- R26: sl st in each st around (68). FO, weave in both ends with the tapestry needle.
Base — small basket (18 cm / 7 in)
- R1: MR, 6 sc (6)
- R2: inc in each st (12)
- R3: [sc, inc] × 6 (18)
- R4: [2 sc, inc] × 6 (24)
- R5: [3 sc, inc] × 6 (30)
- R6: [4 sc, inc] × 6 (36)
- R7: [5 sc, inc] × 6 (42)
- R8 (crease round): sc in BLO in each st around (42). Switch to joined rounds: sl st to the first st, ch 1.
Walls, handles and rim — small basket
- R9–R13: sc in BLO in each st around (42) — 5 rounds even, main color
- R14–R15: join terracotta, sc in BLO in each st around (42) — 2 rounds stripe
- R16: main color, sc in BLO in each st around (42)
- R17: sc (both loops) in each st around (42)
- R18: sc in the next 16 sts, ch 8, sk 5 sts, sc in the next 16 sts, ch 8, sk 5 sts (32 sc worked + 16 chains = 48 sts)
- R19: sc in each st and each ch around (48)
- R20: sl st in each st around (48). FO, weave in.
Finishing touches
There is mercifully little finishing on a one-piece basket, but five minutes here is the difference between "nice" and "I can't believe you made that."
Weave in securely. T-shirt yarn ends are thick and love to work themselves loose. Thread the end through your tapestry needle and weave it through the backs of at least 8–10 stitches, changing direction once, then trim close. For cotton cord, split the plies and weave each half separately — it disappears completely.
Shape the walls. Turn the basket right-side up and press the walls outward with your hands, working around twice. If a wall wants to lean, mist it lightly with water from a spray bottle, reshape, and let it dry standing — cotton cord "remembers" the new shape.
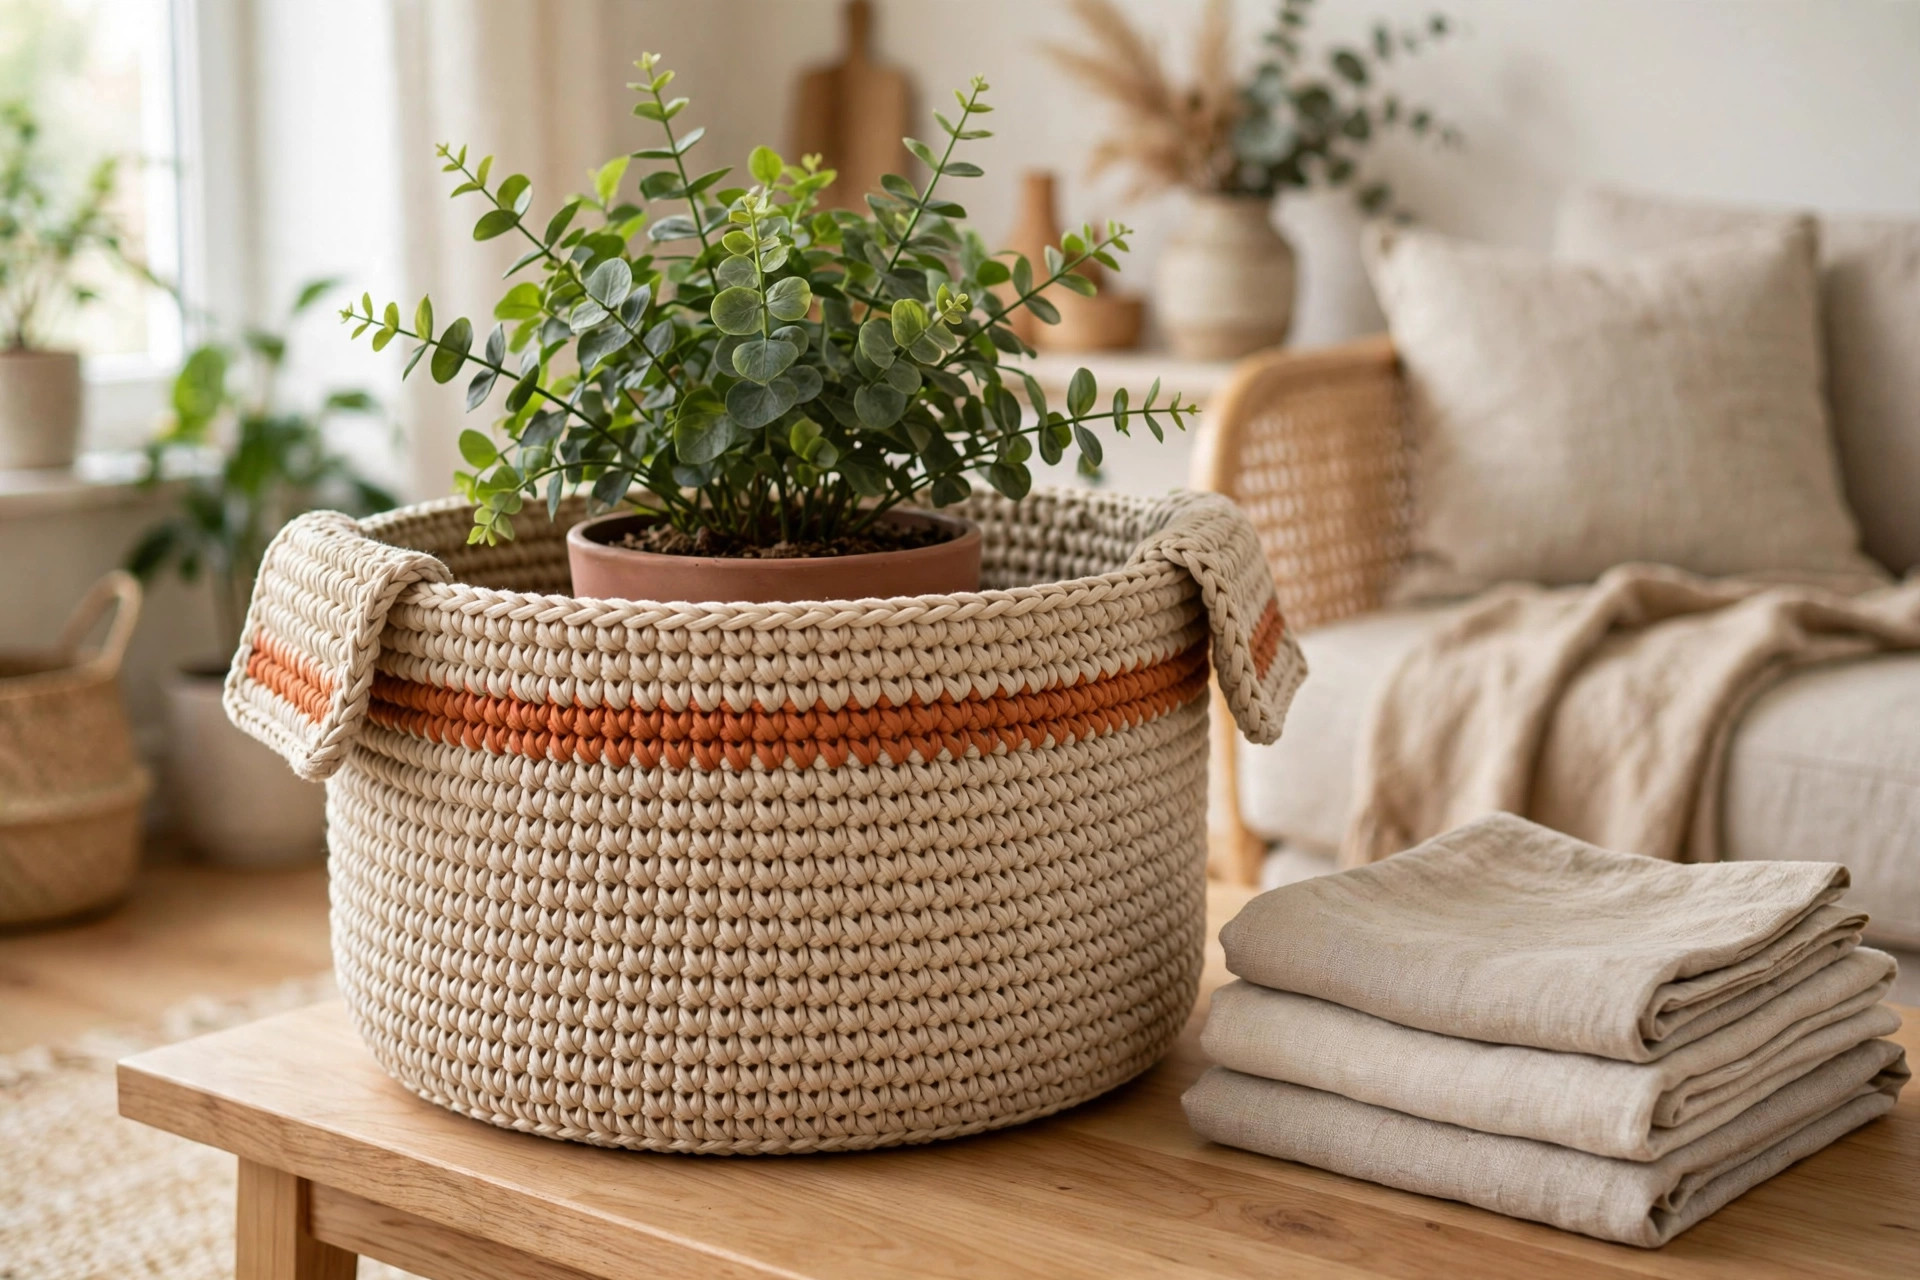
Set the handles. The chain handles will relax and droop slightly after the first use. Fold them outward flat against the wall, as in the photos — that's the intended look, and it actually strengthens the basket over time as the chains settle.
Block if needed. If your base has a slight wave, place the basket upside down on a towel, put a heavy book on the base, and leave it overnight. T-shirt yarn responds beautifully to a night under pressure.
Three colorways to try next
Same pattern, three completely different personalities:
- All-cream minimalist. Skip the terracotta and work the whole basket in natural cotton cord. The back-loop ridges alone carry the design — this version disappears into Scandinavian and farmhouse interiors and makes a great neutral gift.
- Two-tone halves. Work the base and the first half of the walls in terracotta, then switch to beige for the rest. Bold, modern, and it uses up exactly the yarn quantities above, just flipped.
- Scrap-stripe stash buster. Work the 3 stripe rounds in three different leftover colors instead of one terracotta band. If you have odd balls of cotton cord left from the flower coaster pattern, this is where they go to live happily ever after.
Troubleshooting tips
- The base ruffles like a ruffle chip. You're adding stitches faster than the circle needs. First check your stitch counts — a missed decrease of attention on R7 or R8 is the usual culprit. If counts are right, your tension is simply loose: drop to a 7.0 mm hook for the base.
- The base cups upward like a bowl. The opposite problem — tension too tight, or you crochet tightly in general. Try a 10.0 mm hook for the base rounds, and consciously relax your grip.
- The walls lean or won't stand up. The crease round (R11 / R8) was worked in both loops instead of BLO, or skipped. That round is the hinge — without it the wall has no fold line and slumps. Unfortunately the only fix is frogging back to the crease round.
- The whole basket is floppy. The yarn is too thin for the job. Single-strand worsted will never stand up at this scale. Restart holding two strands together, or switch to t-shirt yarn / 5 mm cotton cord as specified. Also check: are you working the walls in BLO? Both-loops walls are noticeably softer.
- Your stripe has a visible jog. Normal with joined rounds — the color change steps over by one stitch. Minimize it by pulling the first stitch of the new color snug, and place the jog at the back of the basket.
- The handles are different lengths. You chained different numbers on the two sides (12 vs 12 on the large, 8 vs 8 on the small). Count the chains before you join them, not after — and make sure you skipped the same number of stitches under each handle.
- T-shirt yarn keeps curling as you work. It comes off the ball with a curl baked in. Give the working yarn a firm stretch every few rounds, and let the finished basket sit overnight — the curl relaxes out.
Frequently asked questions
Is this crochet basket pattern really free?
Yes — the complete pattern for both sizes is above, free, with no email signup and no PDF to buy. If it saves you from buying a storage basket, consider saving the post on Pinterest as a thank-you — that's what keeps the free patterns coming.
What skill level is this pattern?
Advanced beginner. The stitches are all basic — chain, single crochet, increase, slip stitch — and the only "new" technique is working in the back loop only, which the pattern explains. The real skill is keeping your tension firm and even, which is why the materials section is so insistent about yarn choice.
Can I make it with regular worsted-weight yarn?
You can, but hold two strands together and use an 8.0–9.0 mm hook, and expect a softer basket that's better for lightweight things like yarn balls than for heavy clutter. A single strand of worsted with a normal hook will give you a floppy bowl, not a basket — the physics just don't work at that gauge.
How do I make the basket stiffer?
Four levers, in order of impact: (1) thicker yarn — t-shirt yarn beats everything; (2) tighter tension or a smaller hook; (3) work the walls in back loop only (already in the pattern — don't substitute); (4) the optional fabric-stiffener spray sold for crochet snowflakes, applied to the inside walls. Most people never need step 4.
Can I sell the finished baskets I make?
Yes! You may sell finished baskets made from this pattern in small batches — craft fairs, Etsy, markets. Please credit Little Loop Finds as the pattern designer with a link back to this page. The pattern text and photos themselves may not be redistributed, republished, or sold.
How do I wash a crochet basket?
Spot-clean with a damp cloth for everyday dust. For a real wash: hand wash cold with mild soap, press (don't wring) in a towel, reshape by hand, and air-dry standing upright. Machine washing is not recommended — agitation felts t-shirt yarn and stretches the handles out of shape.
More free patterns to try
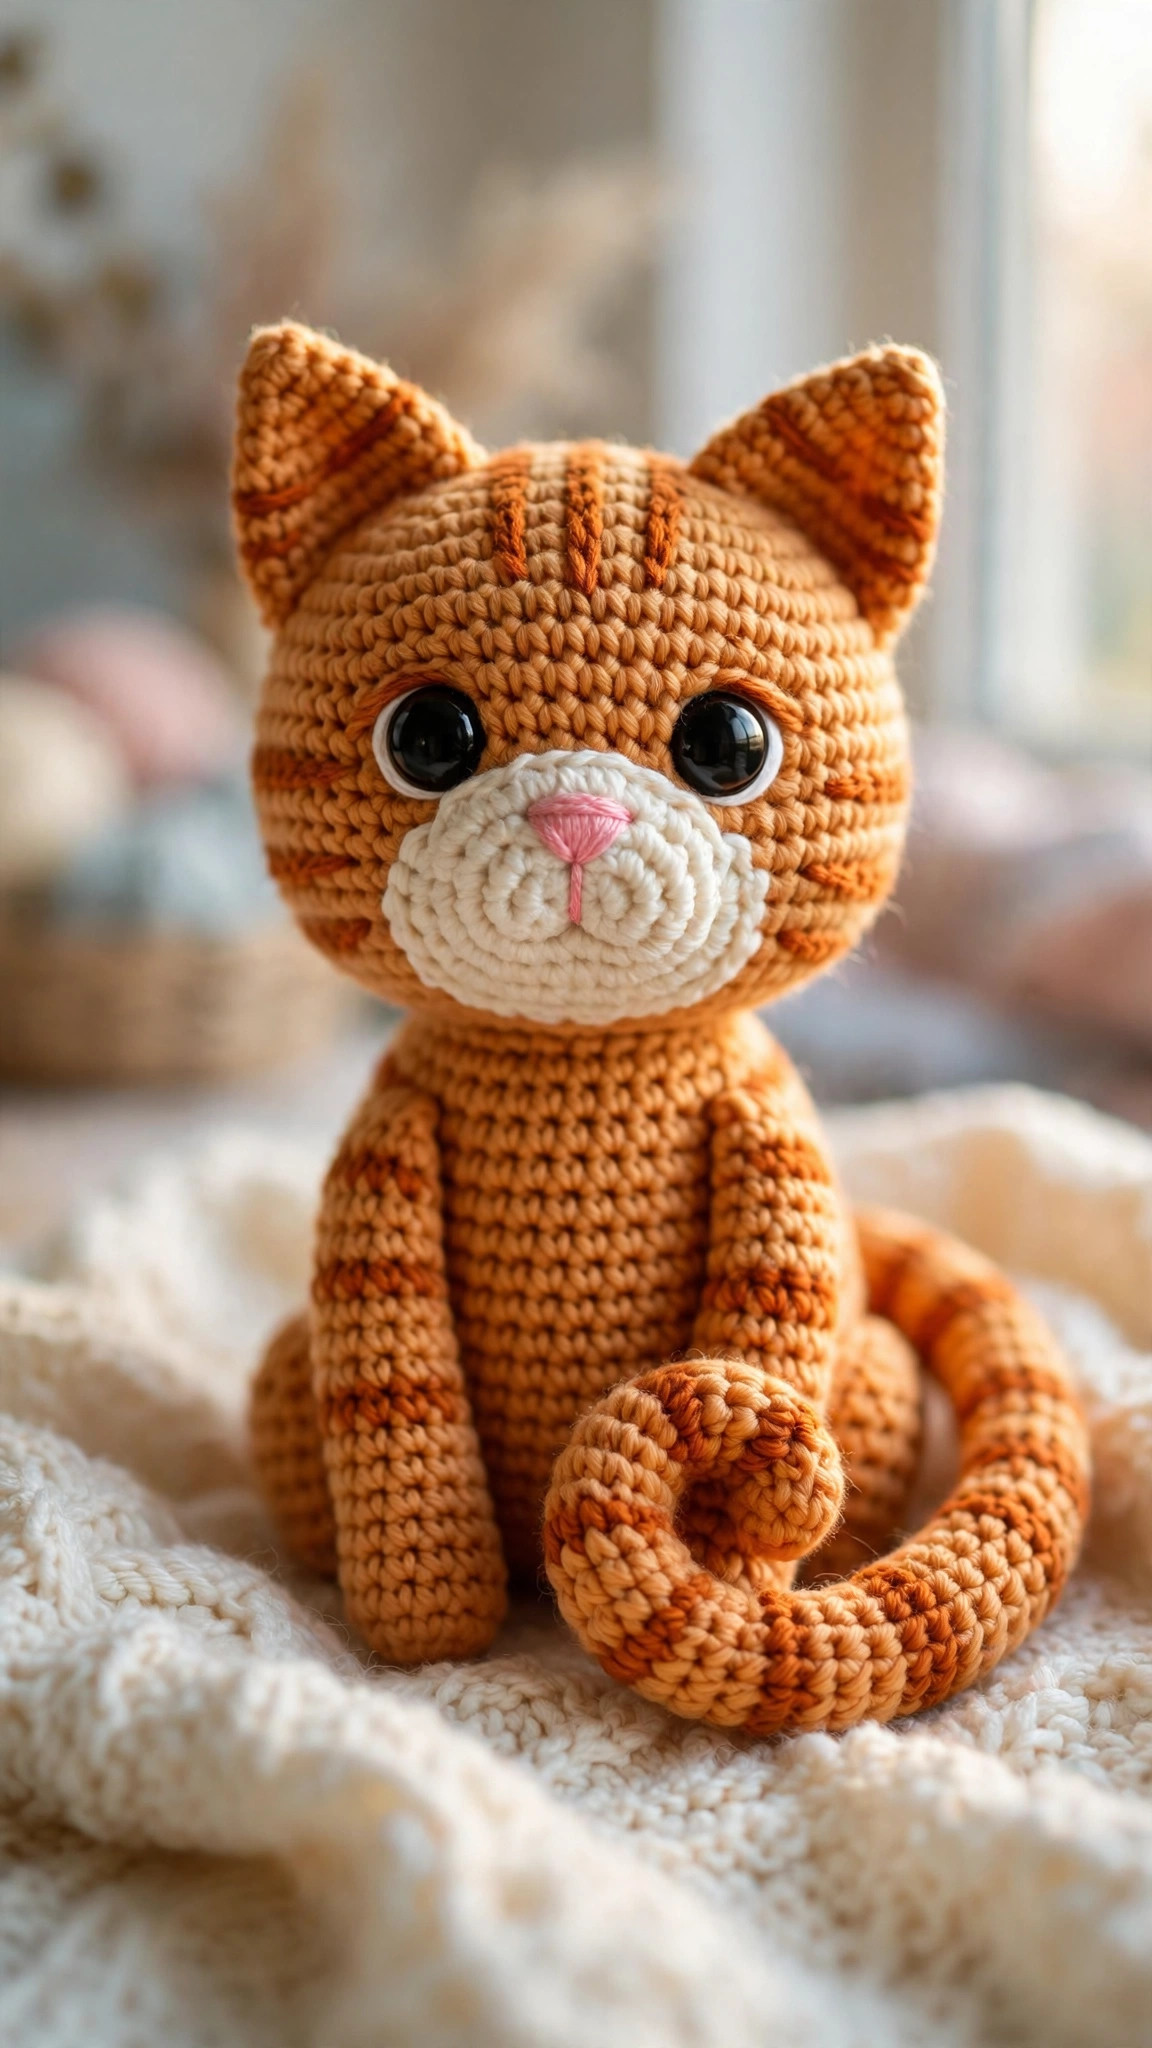
If this basket was fun, keep the hook moving. The free crochet cat is our most-loved amigurumi and a perfect small gift project, the free crochet hat works up fast in chunky yarn like this basket, and the crochet doily patterns are the ideal tension practice if your basket base came out wavy — flat circles are a skill, and doilies are how you master them.
The box below contains an Etsy link. If you buy through it, we may earn a small commission at no extra cost to you. Learn more.
No time to make one?
Short on time? Find handmade crochet storage baskets from independent makers on Etsy.
Browse on Etsy (opens Etsy in a new tab)