Free crochet pencil case pattern: zippered shell-stitch pouch
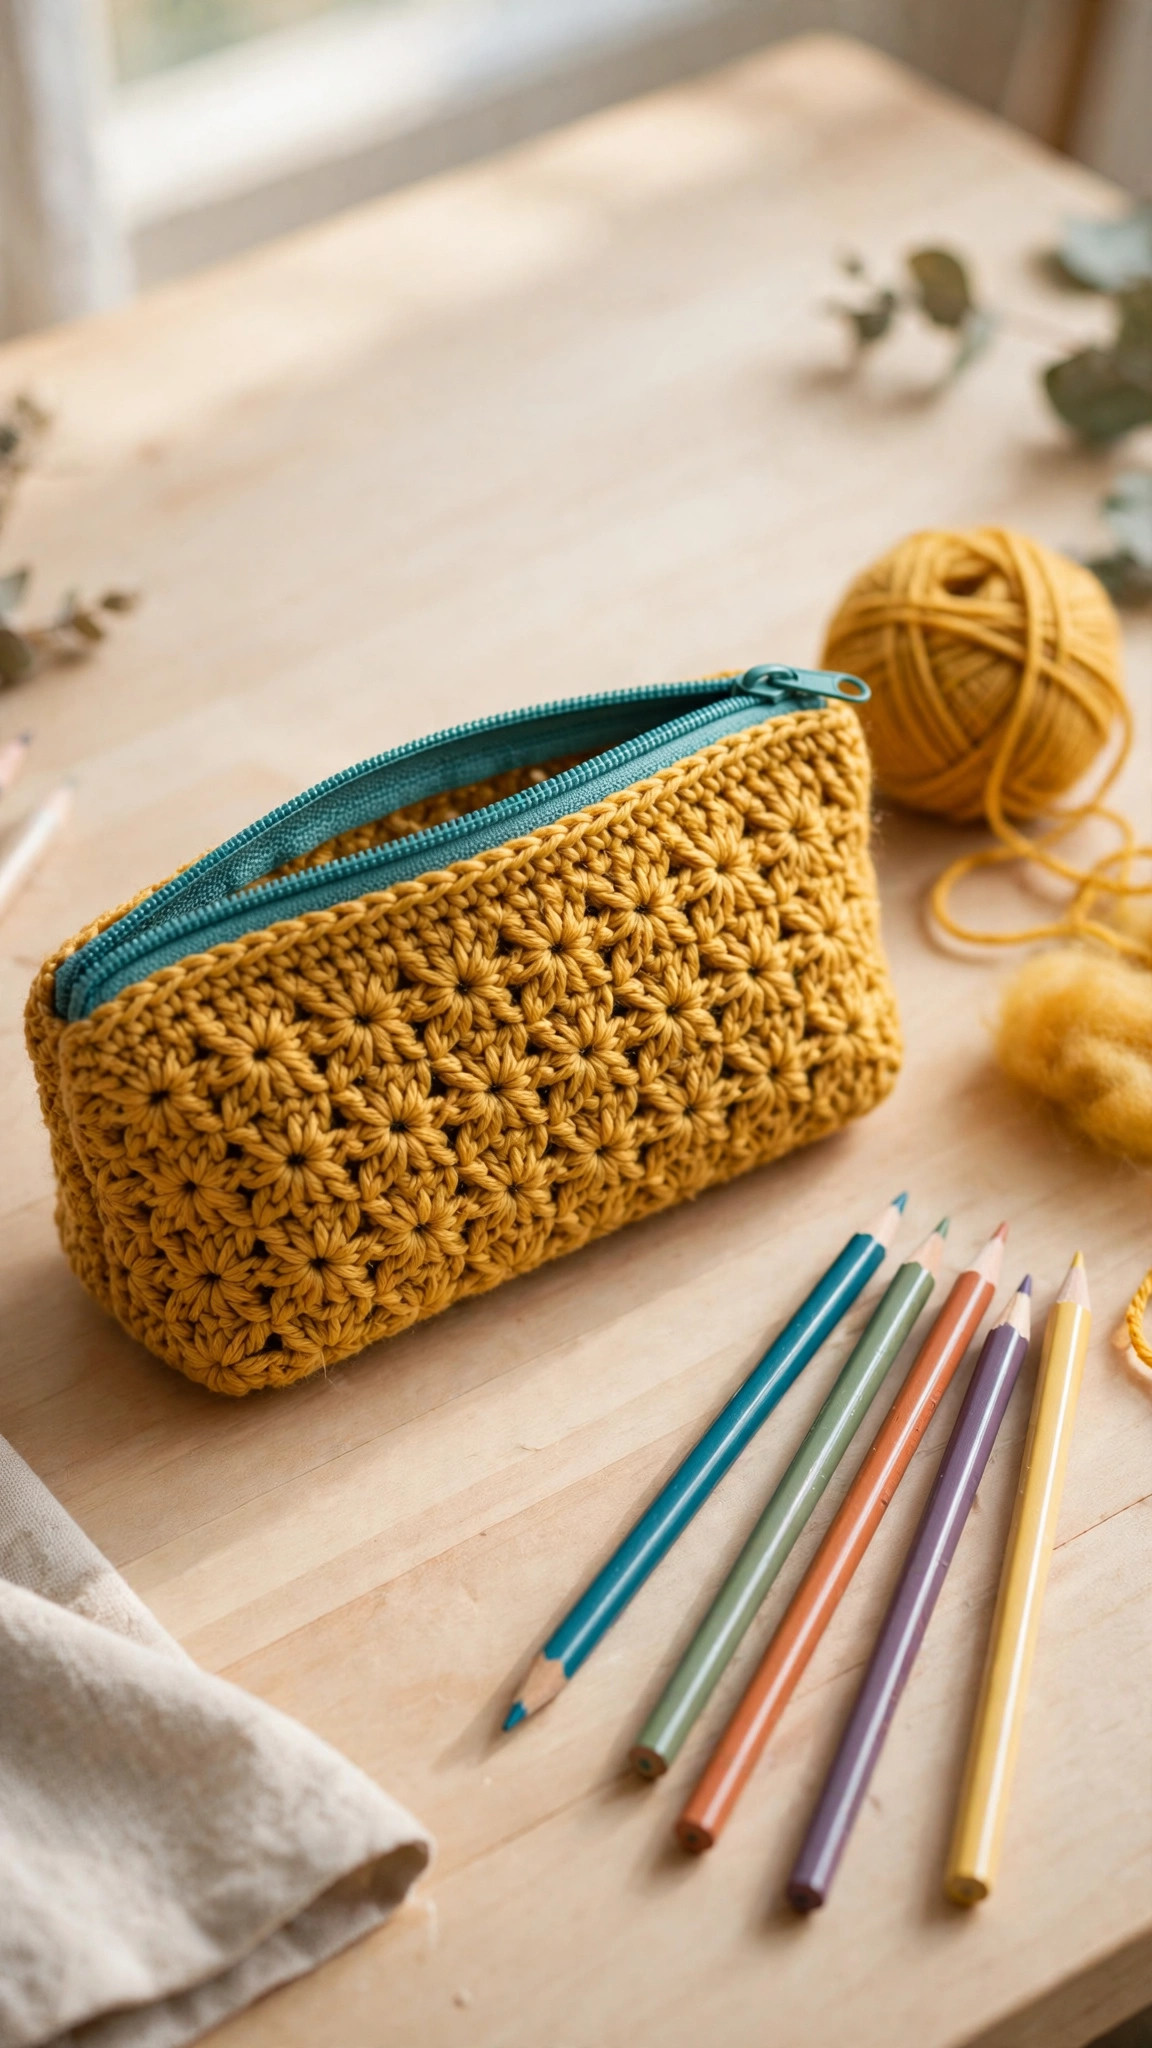
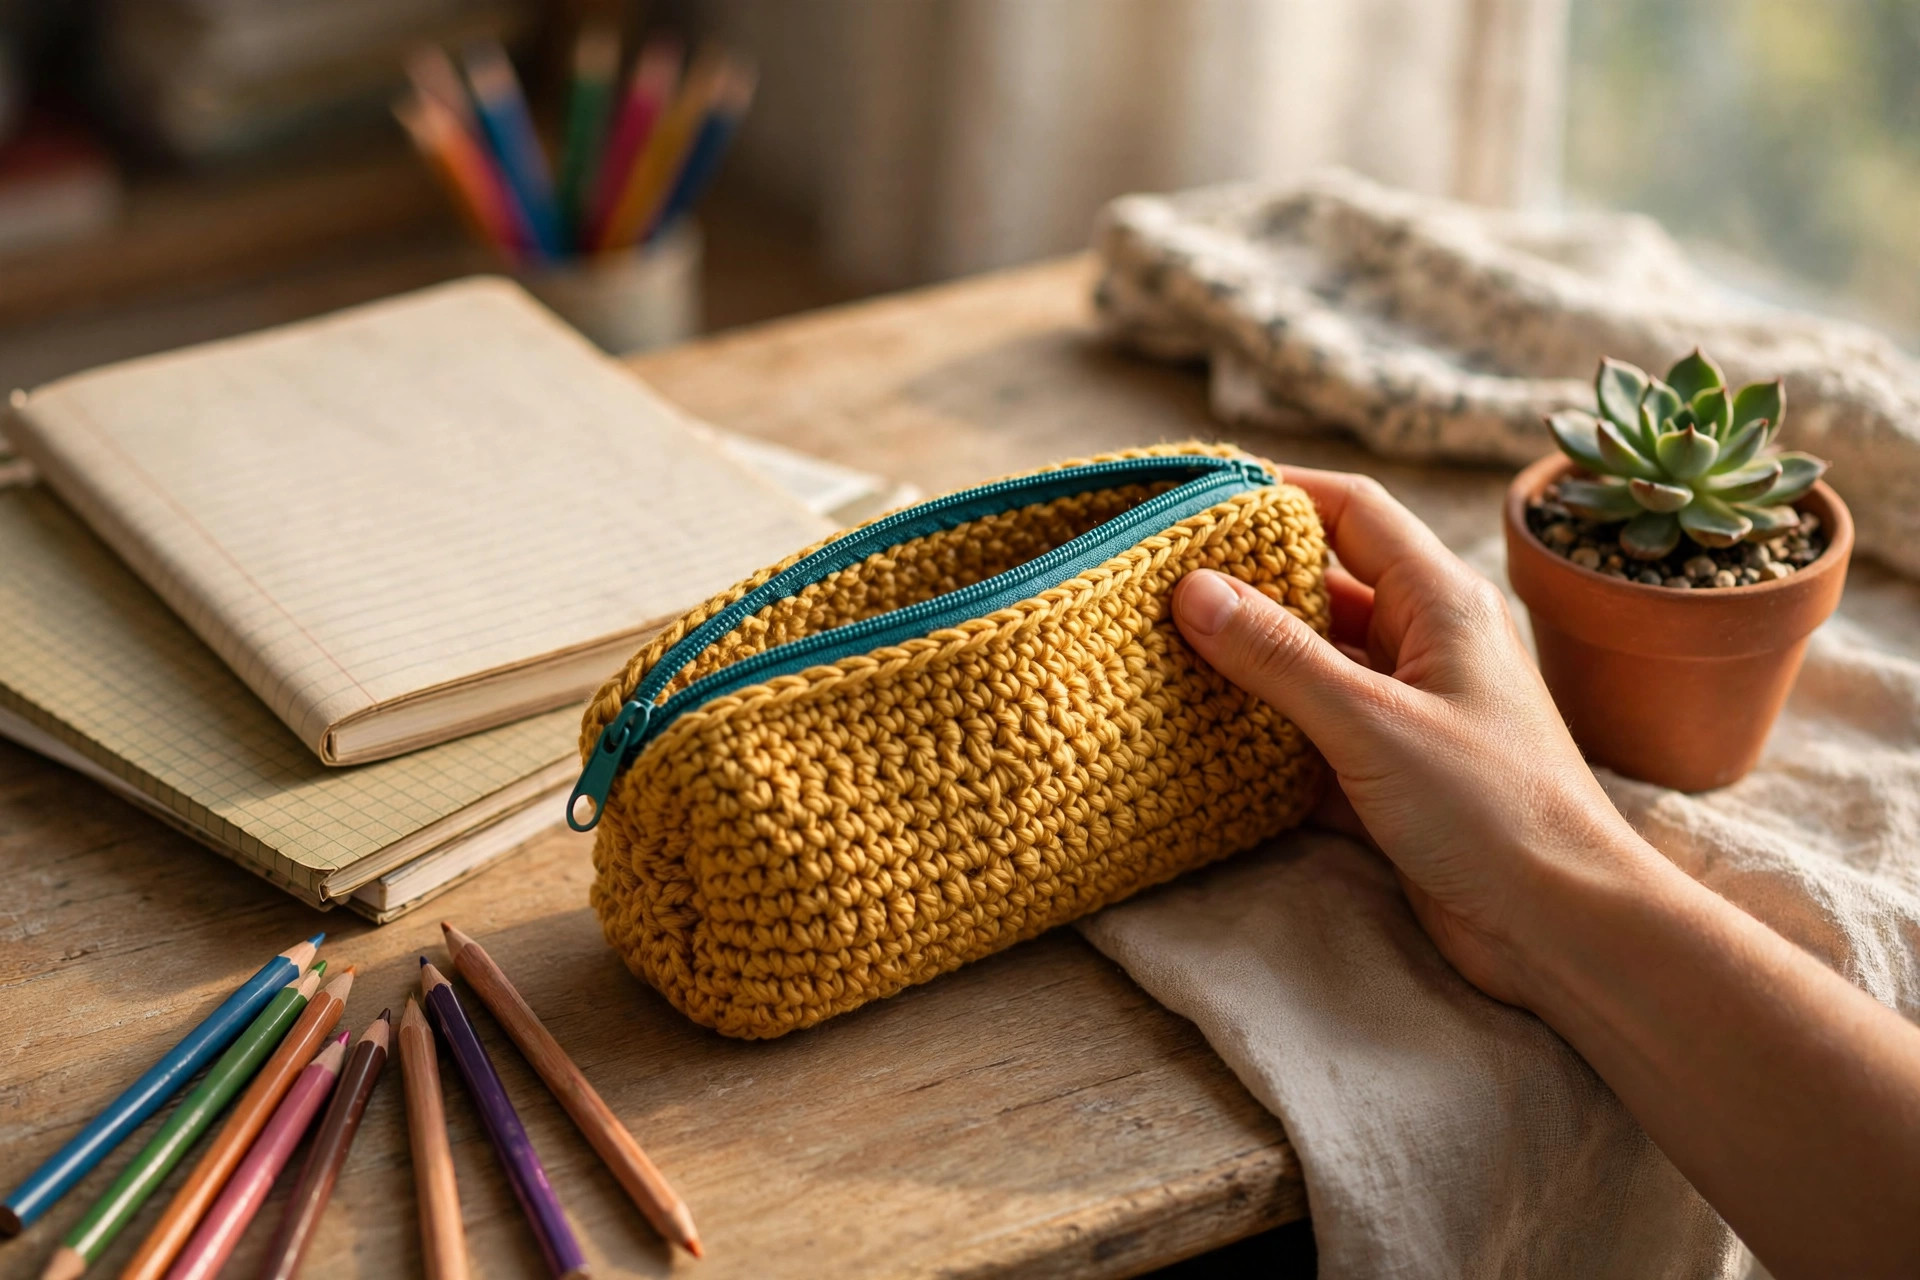
A sturdy zippered pouch in mustard yellow with a teal zipper and a pretty shell-stitch texture, big enough for full-size pencils, pens and a small ruler, worked flat in one simple rectangle you fold and seam.

Accessories · Crochet
- Finished size
- About 22 × 10 cm / 8.5 × 4 in
- Making time
- About 2–3 hours
- Hook
- 4.5 mm, worsted-weight yarn
- Pieces
- 1 panel + zipper
- Skill
- Beginner
In this post
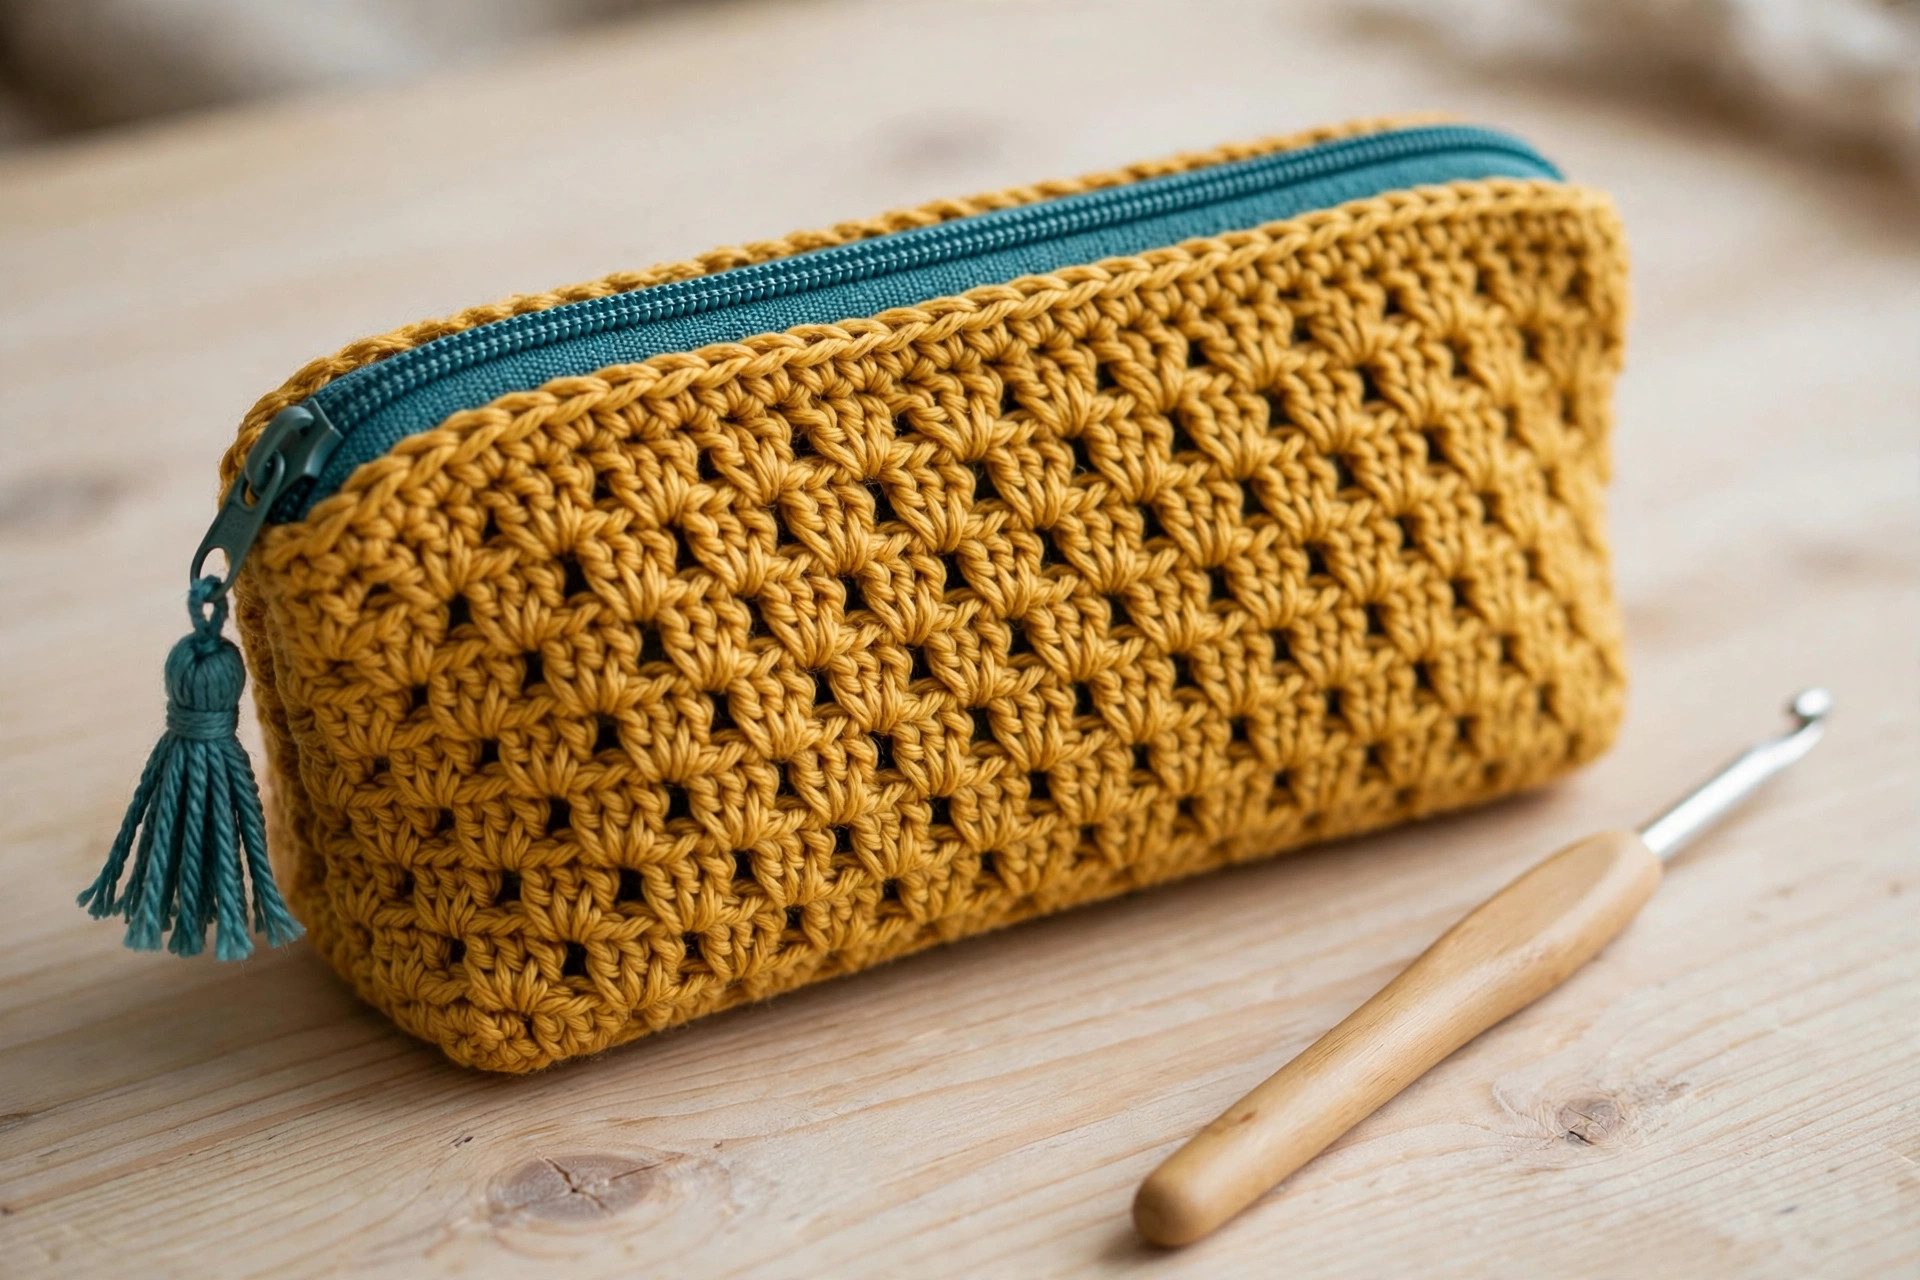
If you've been searching for a crochet pencil case pattern that actually holds full-size pencils, actually closes properly, and actually looks like something you'd want to carry — this zippered shell-stitch pouch is the one. It's worked flat as a single rectangle, folded in half, and finished with a real sew-in zipper — no fiddly gussets, no lining to wrestle with, and no sad floppy pouch that dumps your pens at the bottom of your bag. The shell stitch gives it a pretty scalloped texture and a firm, dense fabric that keeps pencil tips from poking through.
Why you'll love this free crochet pencil case pattern
Most free pencil case patterns fall into two traps: a plain tube with a drawstring that never stays shut, or a shaped pouch with increases and decreases that are easy to get wrong. This pattern was designed to dodge both. The whole case is one rectangle — if you can crochet a row of shells, you can make this case. The zipper is sewn in by hand with a needle and thread, and the pattern walks you through exactly where to pin and stitch, so even if you've never installed a zipper before, you'll get a clean result on the first try.
It's also a genuinely stash-friendly project. You need about 50 g of worsted-weight yarn — less than one full skein — plus a scrap of contrast yarn for the tassel and a 20 cm zipper. And because it's a quick, useful make, it's the perfect gift project: teachers, students, artists, and journal-keepers all need somewhere to keep their pens. If you like small zippered makes, our crochet phone case uses the same sew-in zipper technique at a slightly smaller scale.
Materials you'll need
| Supply | What to get |
|---|---|
| Main yarn | Worsted-weight (#4) cotton or acrylic in mustard yellow, about 50 g |
| Contrast yarn | Worsted-weight in teal, about 10 g, for the tassel |
| Crochet hook | 4.5 mm |
| Zipper | 20 cm (8 in) dress zipper in a matching or contrast color |
| Tapestry needle | For weaving in ends and seaming |
| Sewing needle + thread | Matching the zipper tape, for sewing in the zipper |
| Notions | Stitch markers, scissors, pins, ruler or tape measure |
| Optional lining | Light cotton fabric, about 25 × 22 cm (10 × 8.5 in) |
A quick note on yarn choice: cotton is the best pick for this project — it's sturdy, holds its shape, and doesn't stretch out of shape in a school bag the way soft acrylic can. Acrylic works too, but choose a firm, smooth acrylic rather than a fluffy one, because fluffy yarn hides the shell texture.
Size, gauge and skill level
- Finished size: about 22 cm (8.5 in) wide × 10 cm (4 in) tall, once folded and seamed. The opening fits standard 17–19 cm pencils with room to spare.
- Gauge: 37 stitches (6 shells) measure about 22 cm (8.5 in) wide; 22 rows measure about 20 cm (8 in) tall before folding. Gauge is not fussy here — if your panel comes out a centimeter wider or narrower, your case will simply be a centimeter wider or narrower. What matters is that the fabric feels firm, not floppy. If it drapes like a dishcloth, drop down to a 4.0 mm hook.
- Skill level: confident beginner. You should know chain, single crochet, and double crochet, and be comfortable counting stitches. The shell stitch is explained stitch by stitch below, and the zipper is sewn in by hand — no sewing machine needed.
If you're still building your stitch confidence, our easy beginner crochet patterns collection is a good place to warm up first. The shell stitch in this pattern is one of the friendliest textured stitches there is, because every row tells you exactly where the next shell goes.
Abbreviations — US terms
| Abbreviation | Meaning |
|---|---|
| ch | chain |
| sc | single crochet |
| dc | double crochet |
| st(s) | stitch(es) |
| RS | right side |
| WS | wrong side |
| shell | 5 dc worked into the same stitch |
| rep | repeat |
| FO | fasten off |
A note on shells: a shell is always 5 double crochets in one stitch. In this pattern, shells sit in single crochets, and single crochets sit in the center (third) double crochet of a shell. That rhythm — shell into sc, sc into shell — is the whole pattern. Once you can see it, you'll never need to count again.
The pattern (US terms)
Work flat in rows, turning at the end of every row. The stitch count at the end of every row is 37 stitches — count your shells at the end of Row 1 (you need exactly 6) and the rest of the pattern will take care of itself. Keep your tension even and a little firm; a dense fabric is what makes this case sturdy enough to stand up on a desk.
The body — shell stitch panel
With main color and 4.5 mm hook, chain 38.
- Row 1: Sc in 2nd ch from hook, \skip 2 ch, 5 dc in next ch, skip 2 ch, sc in next ch; rep from \ across. (6 shells, 7 sc — 37 sts)
- Row 2: Ch 3 (counts as dc), turn, 2 dc in first sc, \sc in center dc of next shell, 5 dc in next sc; rep from \ 4 more times, sc in center dc of last shell, 3 dc in last sc. (37 sts)
- Row 3: Ch 1, turn, sc in first st, \5 dc in next sc, skip 2 sts, sc in center dc of next shell, skip 2 sts; rep from \ 4 more times, 5 dc in last sc, skip 2 sts, sc in last st. (37 sts)
- Rows 4–22: Repeat Rows 2 and 3 alternately, ending with a Row 2 repeat on Row 22. (37 sts each row)
Your panel should now measure about 22 cm wide × 20 cm tall. Mark the fold line with a stitch marker between Rows 11 and 12 — that's where the panel folds in half to form the bottom of the case.
Tip: if your edges are wavy, you're probably working into the turning chain inconsistently. On Row 2, the chain-3 counts as your first double crochet, so work the last stitch of each Row 3 into the top of that chain-3, not into the stitch below it. One row of careful counting fixes this for the rest of the project.
Zipper bands — firm edges for sewing
Lay the panel flat, right side up. These two short rows of single crochet give the zipper something solid to grip.
- Band 1: Join main color at the Row 1 edge. Ch 1, sc in each st across the long edge (37 sc). FO, weave in the end.
- Band 2: Join main color at the Row 22 edge. Ch 1, sc in each st across the long edge (37 sc). FO, weave in the end.
Tip: work these bands a little tightly — a firm edge is much easier to sew a zipper to than a stretchy one, and it stops the top of the case from sagging open.
Sewing in the zipper
- Open the zipper fully and press the tape flat with your fingers (no iron needed).
- Lay the zipper face down on the right side of Band 1, aligning the top of the zipper teeth with the top of the band, and pin every 2 cm. The zipper is 20 cm and the opening is 22 cm, so center it — about 1 cm of band will show at each end, and those ends disappear into the side seams later.
- Thread your sewing needle with matching thread, knot the end, and whipstitch along the zipper tape, catching the band stitches just below the teeth. Keep your stitches small (about 3 mm apart) and don't pull so tight that the edge puckers.
- Repeat steps 2–3 on Band 2 with the other side of the zipper.
- Open the zipper halfway — this matters, because you'll need the opening to turn the case right side out.
Side seams and assembly
- Fold the panel in half, right sides together, along the marked fold line (between Rows 11 and 12), aligning the two zipper bands at the top.
- Starting at the fold, whipstitch each side edge together through both layers, working up toward the zipper. Stop just below the teeth and knot securely — the zipper tape ends get caught in these seams, which is what hides them.
- Turn the case right side out through the half-open zipper. Poke the bottom corners out gently with the blunt end of your hook, then press the side seams flat with your fingers.
- Zip it closed and admire your work — the case should stand up on its own and measure about 22 × 10 cm.
Tassel pull — contrast color (teal)
- Wrap the teal yarn around a 5 cm (2 in) piece of cardboard about 20 times. Slip a 15 cm strand under the wraps at the top and knot it tightly — this is your hanging loop.
- Slide the bundle off the cardboard, wrap another strand tightly around the bundle about 1 cm below the top knot, and knot it.
- Cut the bottom loops open, trim the ends even, and thread the hanging loop through the hole in the zipper pull. Knot it securely and trim any excess.
If you'd rather skip the tassel, a simple chain of 10 stitches in the contrast color, folded and knotted through the zipper pull, makes a neat little loop pull instead. And if you enjoy small accessories like this, the same tassel technique finishes our crochet chapstick holder beautifully too.
Finishing touches
This is where a good pencil case becomes a great one. Take ten unhurried minutes here; it's the difference between "homemade" and "handmade."
Weave in your ends properly. Shell stitch has open spaces, and a lazily woven end will work its way out and show. Weave each tail through the backs of at least 6 stitches in one direction, then double back through 3 more in the opposite direction before trimming.
Add a lining (optional but recommended for pens). Cut your cotton fabric to 24 × 22 cm. Fold it in half, right sides together, and sew the two side edges with a 1 cm seam allowance, leaving the top open. Slip the lining inside the case, fold the top edge under by 1 cm, and hand-sew it to the zipper tape with small slip stitches. The lining stops ink and sharp pencil tips from snagging the yarn.
Press the fold. If the bottom fold of your case wants to spring open, press it gently with a steam iron on a low setting through a damp cloth. Don't iron the shell texture flat — just crease the fold so the case sits neatly.
Three cute variations to try next
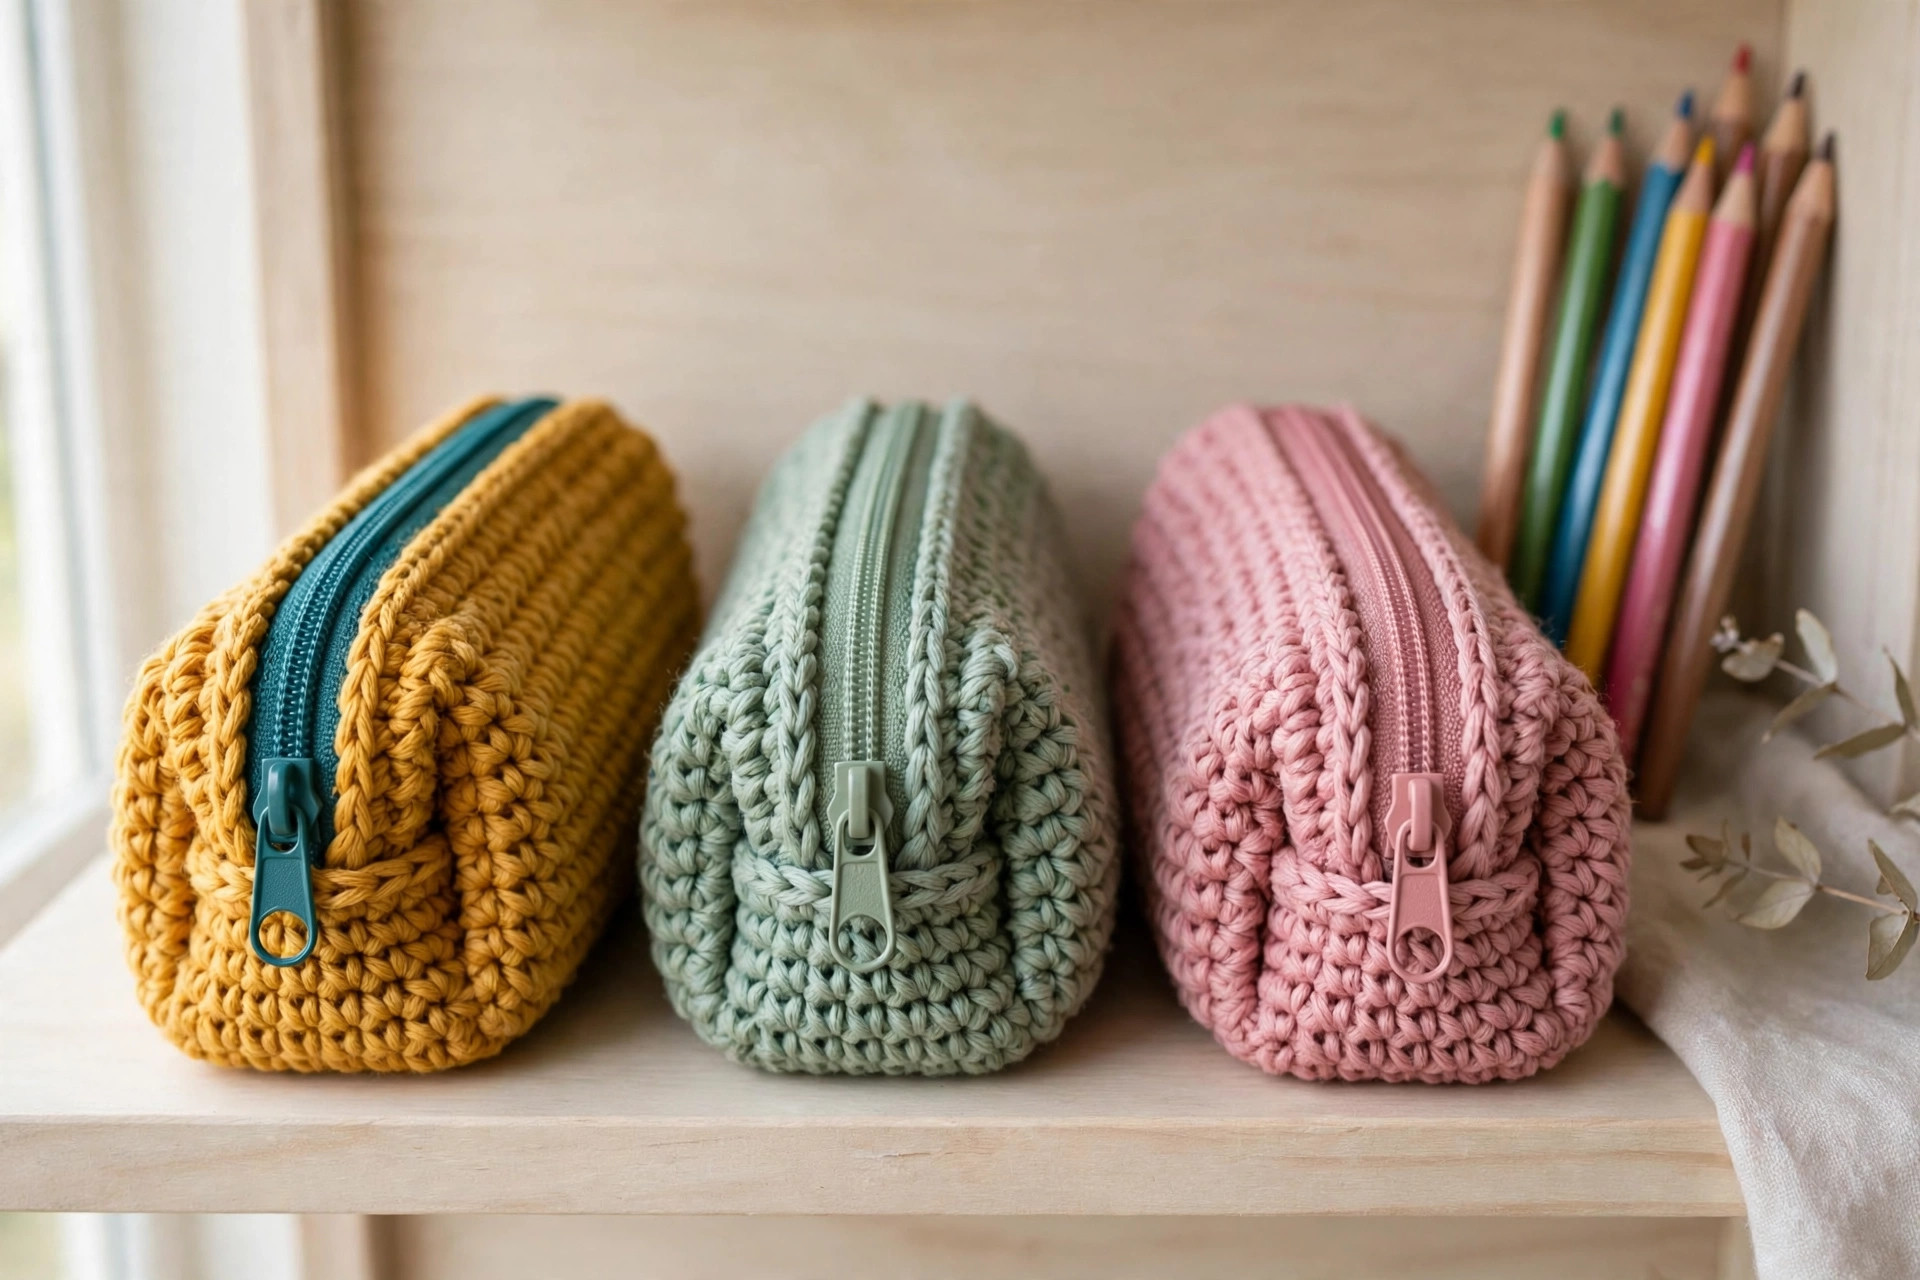
Once you've made one pencil case, you'll want a whole set. The same pattern, three personalities:
- Striped school set. Change color every 4 rows for bold stripes, and make a matching one in each of your favorite colors. A set of three makes a lovely back-to-school gift, and the stripe changes are a great way to use up leftover skeins. For a bigger matching project, our free crochet bag patterns include totes in the same spirit.
- Mini coin purse. Chain 26 instead of 38 (4 shells across, 25 stitches per row), work 14 rows, and use a 15 cm zipper. The result is a sweet little purse for coins, earbuds, or stitch markers, done in about an hour. Clip a crochet keyring to the zipper pull and it doubles as a bag charm.
- Chunky jumbo case. Use bulky-weight yarn and a 6 mm hook with the exact same stitch counts. The case comes out bigger and squishier — about 27 cm wide — with oversized shells that show off variegated yarn beautifully. Use a 25 cm zipper for this version.
Troubleshooting tips
- Your shell count is wrong at the end of Row 1. Count again before going further: chain 38 gives exactly 6 shells and 7 single crochets. The usual mistake is skipping 1 chain instead of 2 before a shell, or working the last single crochet into the wrong chain. Frog Row 1 and recount — it's the only row where a mistake compounds.
- The case is floppy and won't stand up. Your tension is too loose, or your yarn is too soft. Switch to cotton yarn, drop down to a 4.0 mm hook, or add the optional lining — any one of these fixes it, and all three together make a case that stands up like a little tent.
- The zipper puckers the top edge. You pulled the sewing thread too tight, or you stretched the crochet edge while pinning. Unpick the zipper, re-pin every 2 cm without stretching, and sew with relaxed, even stitches. The band should lie flat against the tape.
- The sides gape open near the zipper. The side seam stopped too far below the zipper teeth. Unpick the last centimeter of the seam, sew it again right up to the teeth, and take two extra anchoring stitches through the zipper tape end.
- Pencils poke through the shell holes. Shell stitch is dense, but a very sharp pencil can still find a gap. Add the optional fabric lining, or work the panel with a 4.0 mm hook for a tighter fabric. This is also why the pattern uses worsted-weight yarn rather than DK — the thicker yarn closes the gaps.
- Your case looks lopsided after folding. Check that you folded exactly between Rows 11 and 12. If you folded a row early or late, one side will be taller than the other and the zipper will sit crooked. Count your rows before you seam, not after.
Frequently asked questions
Is this crochet pencil case pattern really free?
Yes — the complete pattern above is free, no email signup, no PDF purchase required. If you'd like to support the site, sharing the post or saving it on Pinterest is the kindest thank-you.
What skill level is this pattern?
Confident beginner. If you can chain, single crochet, and double crochet, you have every stitch this pattern needs. The shell stitch is just 5 double crochets in one stitch, repeated, and the zipper is sewn in by hand — no sewing machine and no crochet shaping required.
How long does it take to make?
About 2–3 hours total: roughly 90 minutes of crocheting, 30 minutes of zipper and seaming, and 15 minutes for the tassel and finishing. The mini coin purse version takes about an hour.
Can I sell the finished pencil cases I make?
Yes! You may sell finished cases made from this pattern in small batches (craft fairs, markets, gifts). Please credit Little Loop Finds as the pattern designer with a link back to this page. The pattern text and photos themselves may not be redistributed, republished, or sold.
Can I use a different yarn weight?
Absolutely. Use the hook size recommended on your yarn label, and keep the same stitch counts — your case will simply come out bigger or smaller. DK yarn with a 4.0 mm hook makes a slimmer case about 19 cm wide (perfect for pens), while bulky yarn with a 6.0 mm hook makes the jumbo version in the variations section.
Do I need a lining?
No, it's optional. The shell stitch fabric is dense enough for pencils and pens on its own. Add a lining if you carry very sharp pencils or fountain pens — it protects the yarn and makes the case feel more polished inside. Our crochet basket pattern follows the same logic: structure first, lining for luxury.
Do I need a sewing machine to install the zipper?
No. The zipper is sewn in entirely by hand with a needle and thread, and the pattern tells you exactly where to pin and stitch. A sewing machine would actually be harder here, because the crochet fabric is thick and the zipper tape is short.
More free patterns to try
If this pencil case was fun, keep the hook moving. The crochet phone case uses the same zipper technique for your phone, the crochet hobo bag scales the pouch idea up to a full-size bag, the crochet potholders are another quick stash-buster in the same useful-make spirit, and the free crochet cat pattern is our most-loved amigurumi if you'd like a complete change of pace after all that straight-line stitching.