Crochet keyring free pattern: strawberry, heart and daisy keychains
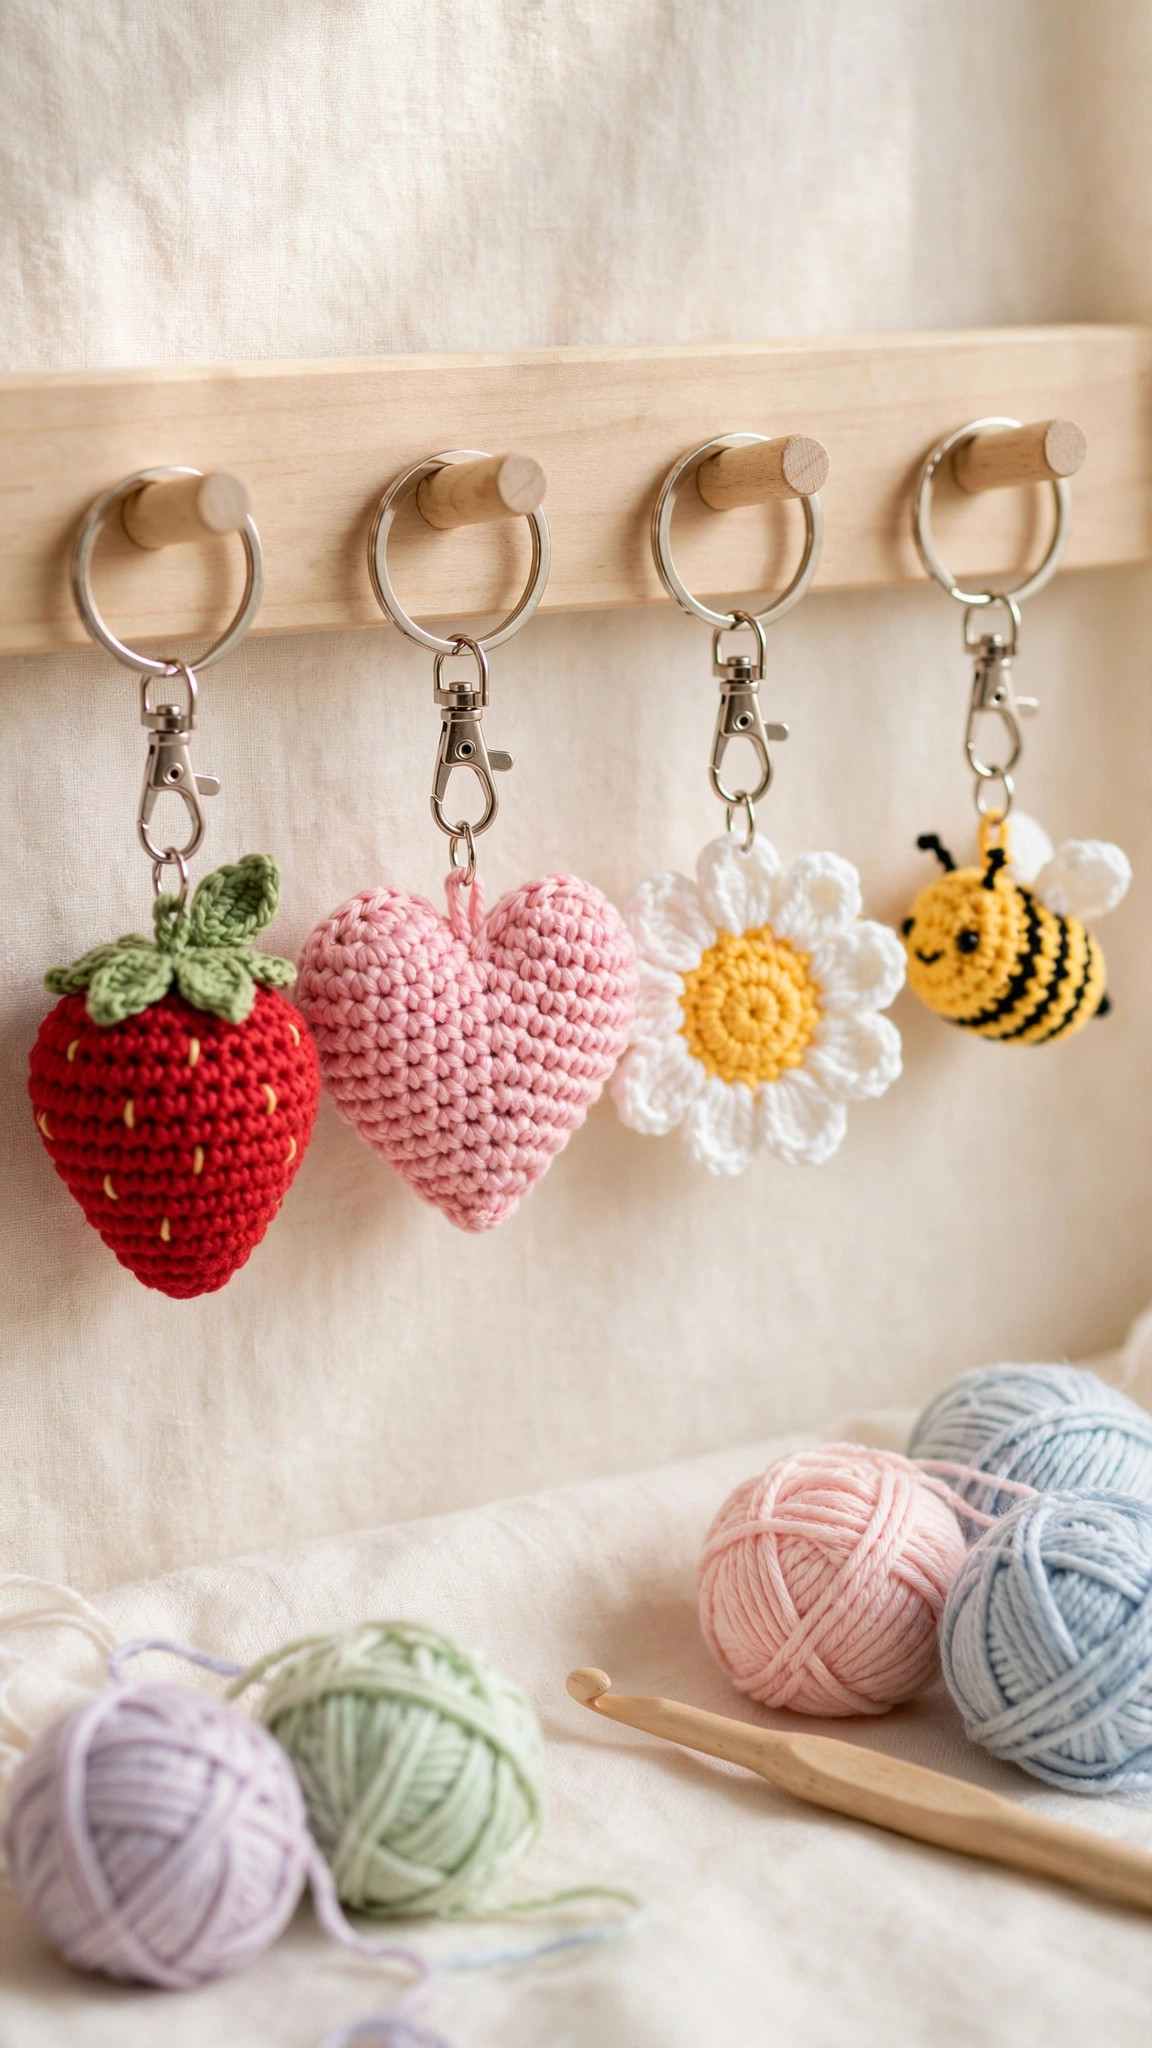
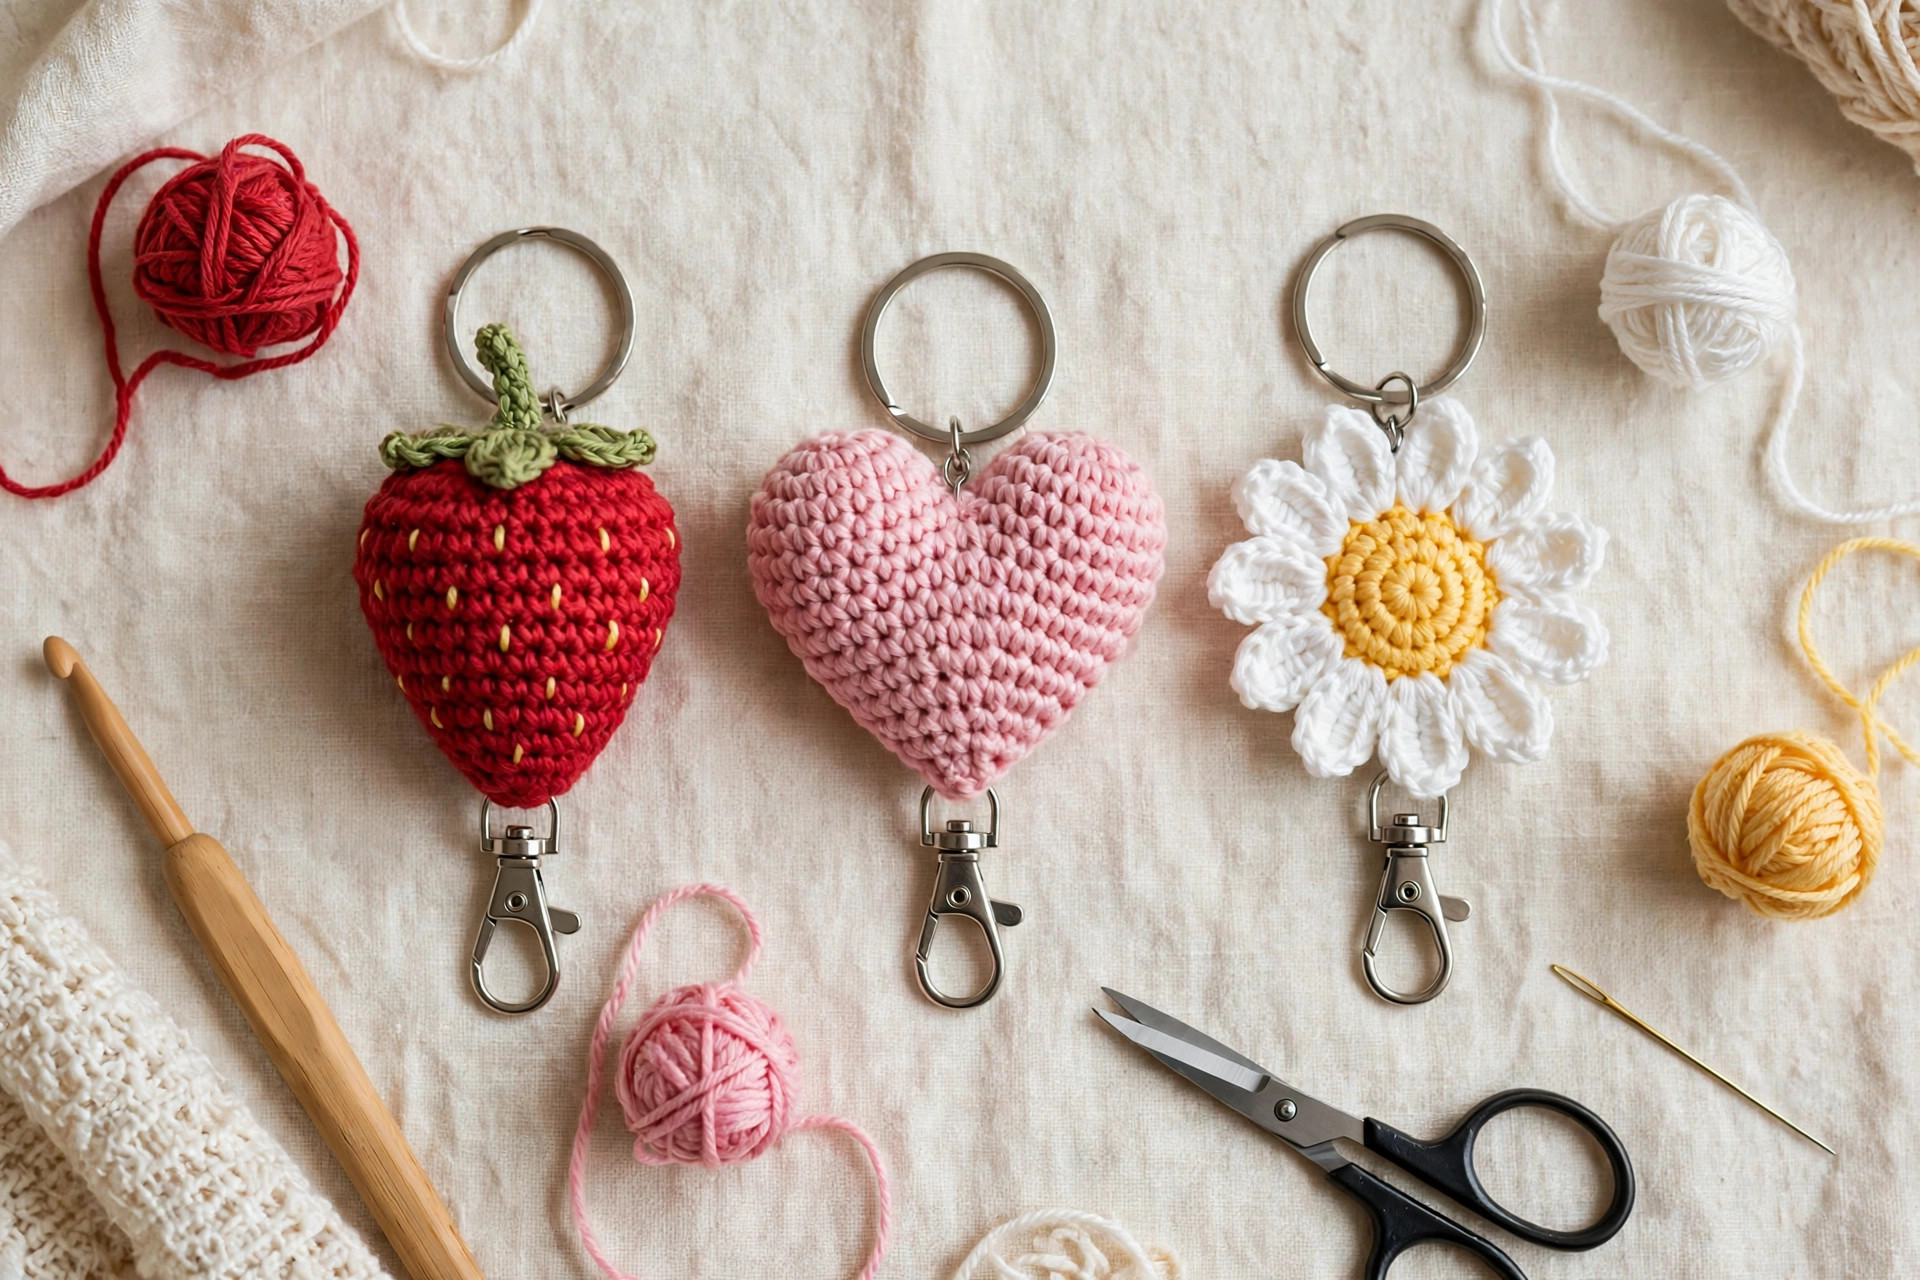
A plump strawberry, a soft pink heart and a sunny daisy — three cute crochet keyrings, each made from yarn scraps in under an hour, with a simple chain loop and lobster clasp so they clip straight onto your keys or bag.

Accessories · Crochet
- Finished size
- About 5–7 cm / 2–3 in across
- Making time
- 30–45 minutes each
- Hook
- 3.0 mm, DK-weight yarn
- Designs
- 3 keyring designs in one post
- Skill
- Beginner
In this post
If you've been searching for a crochet keyring free pattern that works up fast, uses up yarn scraps, and actually looks good on your keys, this is the one. Three designs in a single post: a plump strawberry, a soft pink heart, and a sunny daisy. Each takes under an hour, uses less than 20 grams of yarn, and clips on with a simple chain loop.
Why you'll love this free crochet keyring pattern
Keyrings are the perfect small crochet project: fast enough to finish in one sitting, small enough to use up the half-skeins in your yarn basket, and useful enough that nobody rolls their eyes at another one. A handmade keyring is also the ideal gift — it costs almost nothing, fits in an envelope, and turns ordinary keys into something personal.
All three charms use the same basic skills: magic ring, single crochet in the round, and simple increases and decreases. If you can make a magic ring, you can make all three. The strawberry and heart are tiny amigurumi shapes with standard increase math, so the shaping is smooth and predictable. The daisy is flat, worked in the round with simple petal stitches, so it's the fastest of the three and a great first project. Each charm needs less than 20 g of yarn, so they're brilliant for using up scraps. If you love quick accessory projects, our crochet bag charms use the same stash-busting idea at a slightly bigger scale.
Materials you'll need
| Supply | What to get |
|---|---|
| Yarn | DK or light worsted-weight (#3) cotton or acrylic: red, pink, white, yellow, green, cream (scraps, under 20 g each) |
| Crochet hook | 3.0 mm (D-3) |
| Stuffing | Polyester fiberfill, a small handful (strawberry and heart only) |
| Keyring hardware | 25 mm split rings × 3, lobster clasps × 3 (or swivel clasps) |
| Tapestry needle | For sewing and weaving in ends |
| Notions | Stitch markers, scissors, flat-nose pliers (for opening the split ring) |
| Embroidery yarn | Cream or pale yellow, for the strawberry seeds |
Cotton is the best pick for keyrings: it holds its shape, shows crisp stitch definition, and survives daily life on a keychain without going fluffy. Acrylic works too but pills faster against keys and zips. Whatever you use, work with a hook one size smaller than the label suggests — tight fabric keeps a keyring looking neat instead of saggy.
Size, gauge and skill level
- Finished size: strawberry 6 cm (2.5 in) tall; heart 5 cm (2 in) wide; daisy 7 cm (3 in) across. Hardware adds about 4 cm (1.5 in).
- Gauge: not critical for the amigurumi pieces — what matters is that your fabric is tight enough that stuffing doesn't peek through. If you can see daylight between your stitches, drop down a hook size. As a rough guide, 5 single crochets should measure about 2.5 cm (1 in).
- Skill level: confident beginner. You should know the magic ring, single crochet, half double crochet, double crochet, increase, decrease, and how to fasten off.
- Time: strawberry 45 minutes, heart 40, daisy 30, plus 5 minutes each for hardware.
New to amigurumi? Start with the daisy, then try our free crochet cat pattern — the same spirals, more pieces to sew together.
Abbreviations — US terms
| Abbreviation | Meaning |
|---|---|
| MR | magic ring |
| ch | chain |
| sl st | slip stitch |
| sc | single crochet |
| hdc | half double crochet |
| dc | double crochet |
| inc | increase (2 sc in the same stitch) |
| dec | decrease (sc 2 together — invisible decrease recommended) |
| st(s) | stitch(es) |
| R | round |
| FO | fasten off |
A note on decreases: the invisible decrease (insert hook in front loop only of the next two stitches, yarn over, pull through both loops, yarn over, pull through two loops) keeps your fabric smooth with no little bumps. Use it everywhere this pattern says "dec".
The pattern (US terms)
Work in continuous spirals unless noted. Mark the first stitch of each round and move the marker up as you go. The stitch count at the end of every round is in parentheses — count your stitches. Ten seconds of counting now saves ten minutes of frogging later.
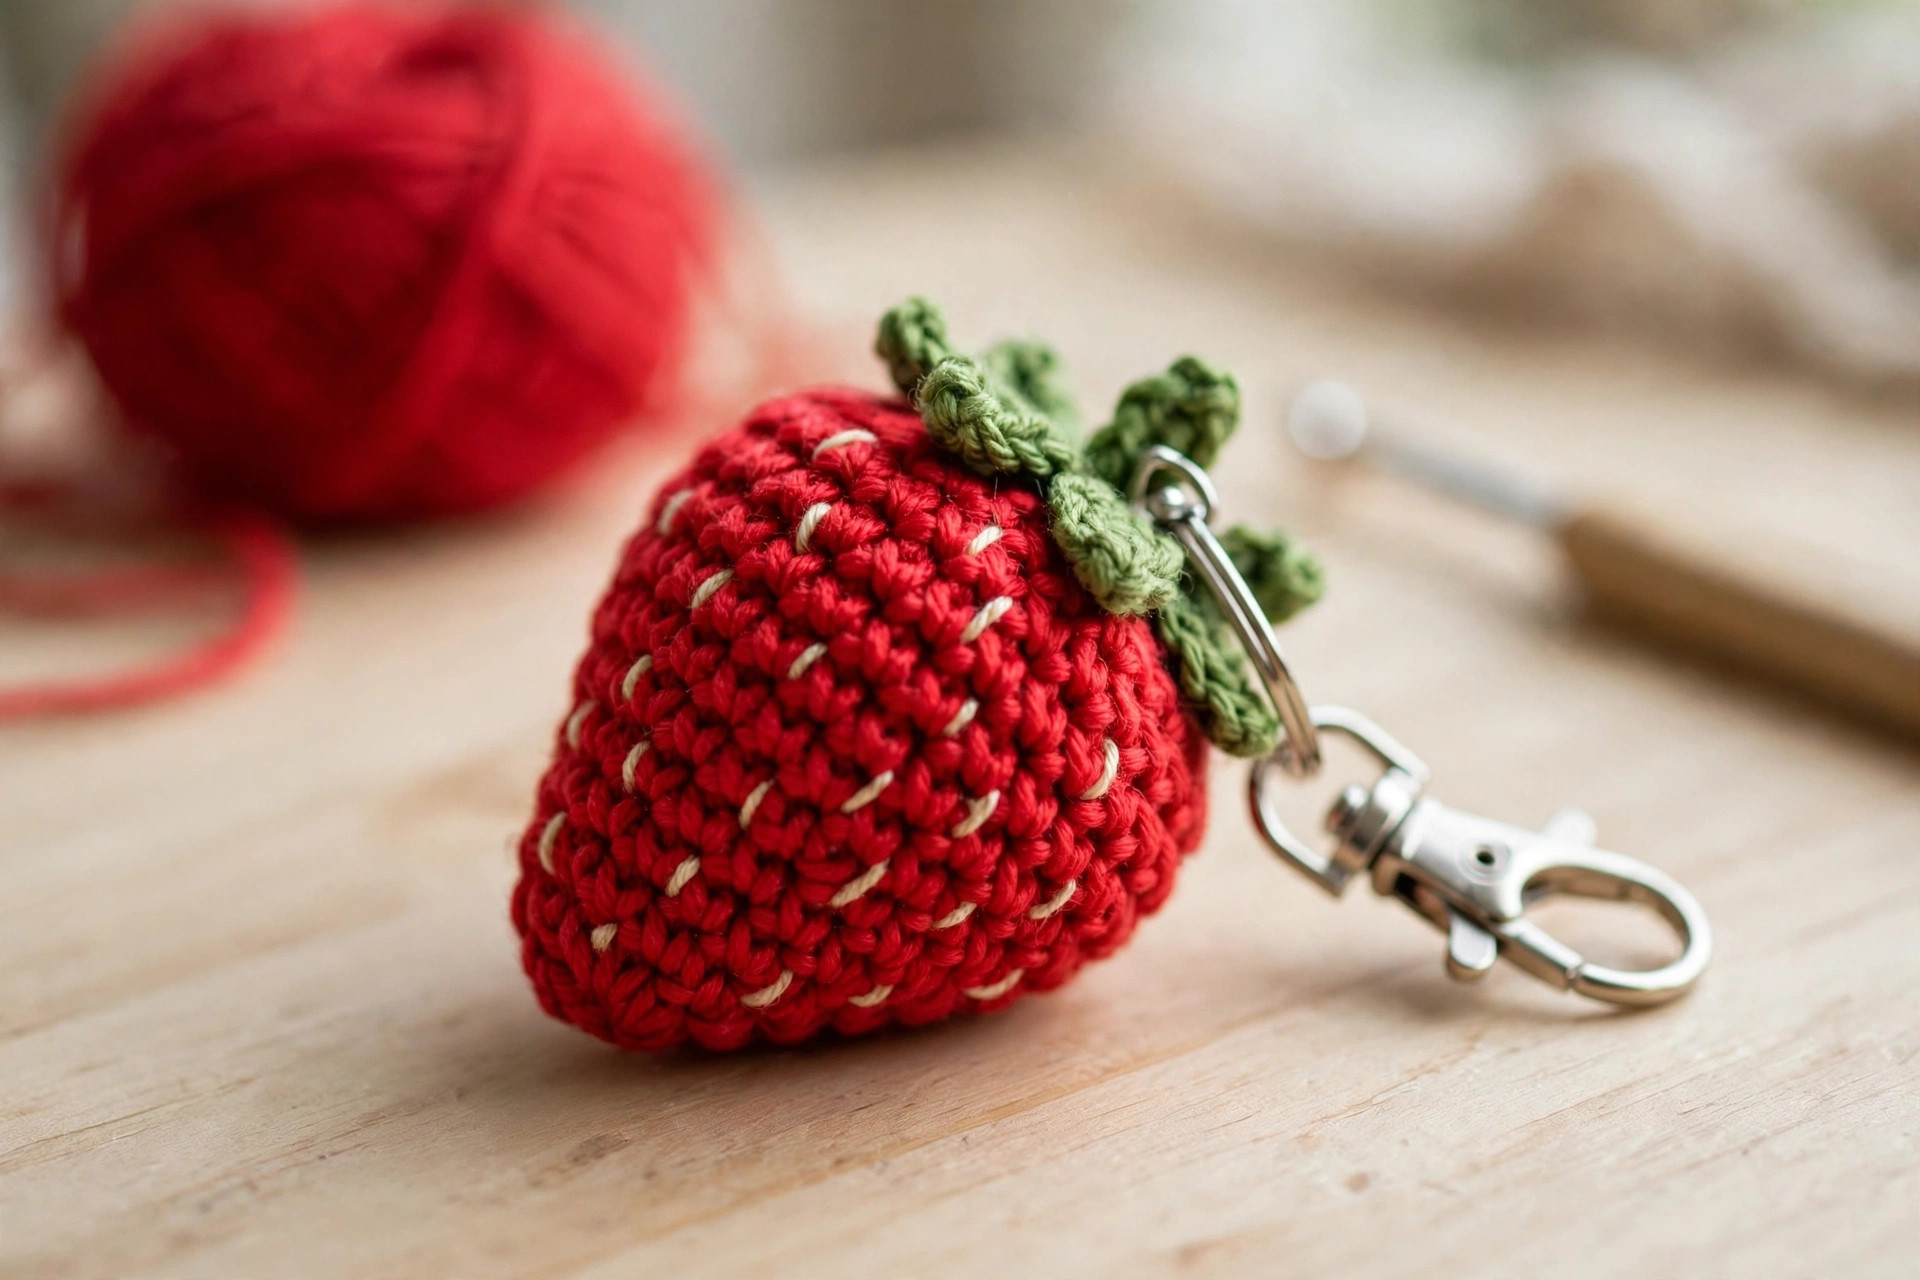
Strawberry keyring — red, green, cream
The strawberry is worked top-down, from the wide leafy top to the pointed tip. The leaf crown is crocheted separately and sewn on.
Berry body — red
- R1: MR, 6 sc (6)
- R2: inc in each st (12)
- R3: [sc, inc] × 6 (18)
- R4: [2 sc, inc] × 6 (24)
- R5–R8: sc in each st around (24) — 4 rounds even
- R9: [2 sc, dec] × 6 (18)
- R10: [sc, dec] × 6 (12)
- Stuff firmly — the berry should feel like a ripe strawberry, plump but not drum-tight.
- R11: dec × 6 (6). FO, thread the tail through the front loops of the remaining stitches, pull tight, and weave in.
Leaf crown — green
- R1: MR, 6 sc, join with a sl st to the first sc (6)
- R2: in each st: [ch 4, sc in 2nd ch from hook, hdc in next ch, sl st in next ch, sl st in next st of the ring] — repeat 6 times for 6 pointed leaves. FO, leaving a long tail for sewing.
Stem — green
- Ch 6, sl st in 2nd ch from hook, sc in the next 3 ch, sl st in the last ch. FO, leaving a tail. Sew the stem to the center of the leaf crown.
Assembly. Sew the leaf crown to the top of the berry (the R1 end) with small whipstitches around its edge. Then embroider the seeds: with cream yarn, make small straight stitches about 2 stitches long, scattered evenly over the berry, roughly 12–15 seeds in total. Keep them short and slightly diagonal — long straight seeds look like scratches.
Hanging loop. Join red yarn at the top of the berry, behind the leaf crown. Ch 10, sl st into the same spot to form a loop. FO and weave in securely — this loop carries the whole keyring, so weave the tail through several stitches before trimming.
Tip: if your berry looks like a ball, check R9 and R10, and stuff before R11, not after — fiberfill can't reach the tip once it's closed.
Heart keyring — pink
The heart is made from two small lobes joined together, then decreased down to a point. The join is just one round of single crochet worked across both lobes, and after that it's plain decrease rounds.Lobes — pink, make 2
- R1: MR, 6 sc (6)
- R2: inc in each st (12)
- R3: [sc, inc] × 6 (18)
- R4: sc in each st around (18)
- FO the first lobe. Do not fasten off the second lobe — you'll join from it.
Join and body — continue with the second lobe
- R5: sc in each st around the second lobe (18), then sc in each st around the first lobe (18) — 36 sts total. Place a stitch marker: this is your new round start.
- R6: sc in each st around (36)
- R7: [4 sc, dec] × 6 (30)
- R8: sc in each st around (30)
- R9: [3 sc, dec] × 6 (24)
- R10: sc in each st around (24)
- R11: [2 sc, dec] × 6 (18)
- Stuff firmly, pushing a little extra fiberfill into the two lobes so they stay plump and rounded.
- R12: [sc, dec] × 6 (12)
- R13: dec × 6 (6). FO, thread the tail through the front loops of the remaining stitches, pull tight, and weave in.
Hanging loop. Join pink yarn in the dip between the two lobes at the top of the heart. Ch 10, sl st into the same spot to form a loop. FO and weave in securely.
Tip: the trickiest moment is R5, the join round. When you move from the second lobe to the first, pull the yarn snug, not tight — the tiny hole between the lobes closes up when you stuff the heart. If a gap remains, close it with two or three whipstitches using the first lobe's tail.
If you enjoy heart motifs, our free crochet heart pattern makes a bigger flat heart that works beautifully as a coaster or applique — same cheerful shape, different scale.
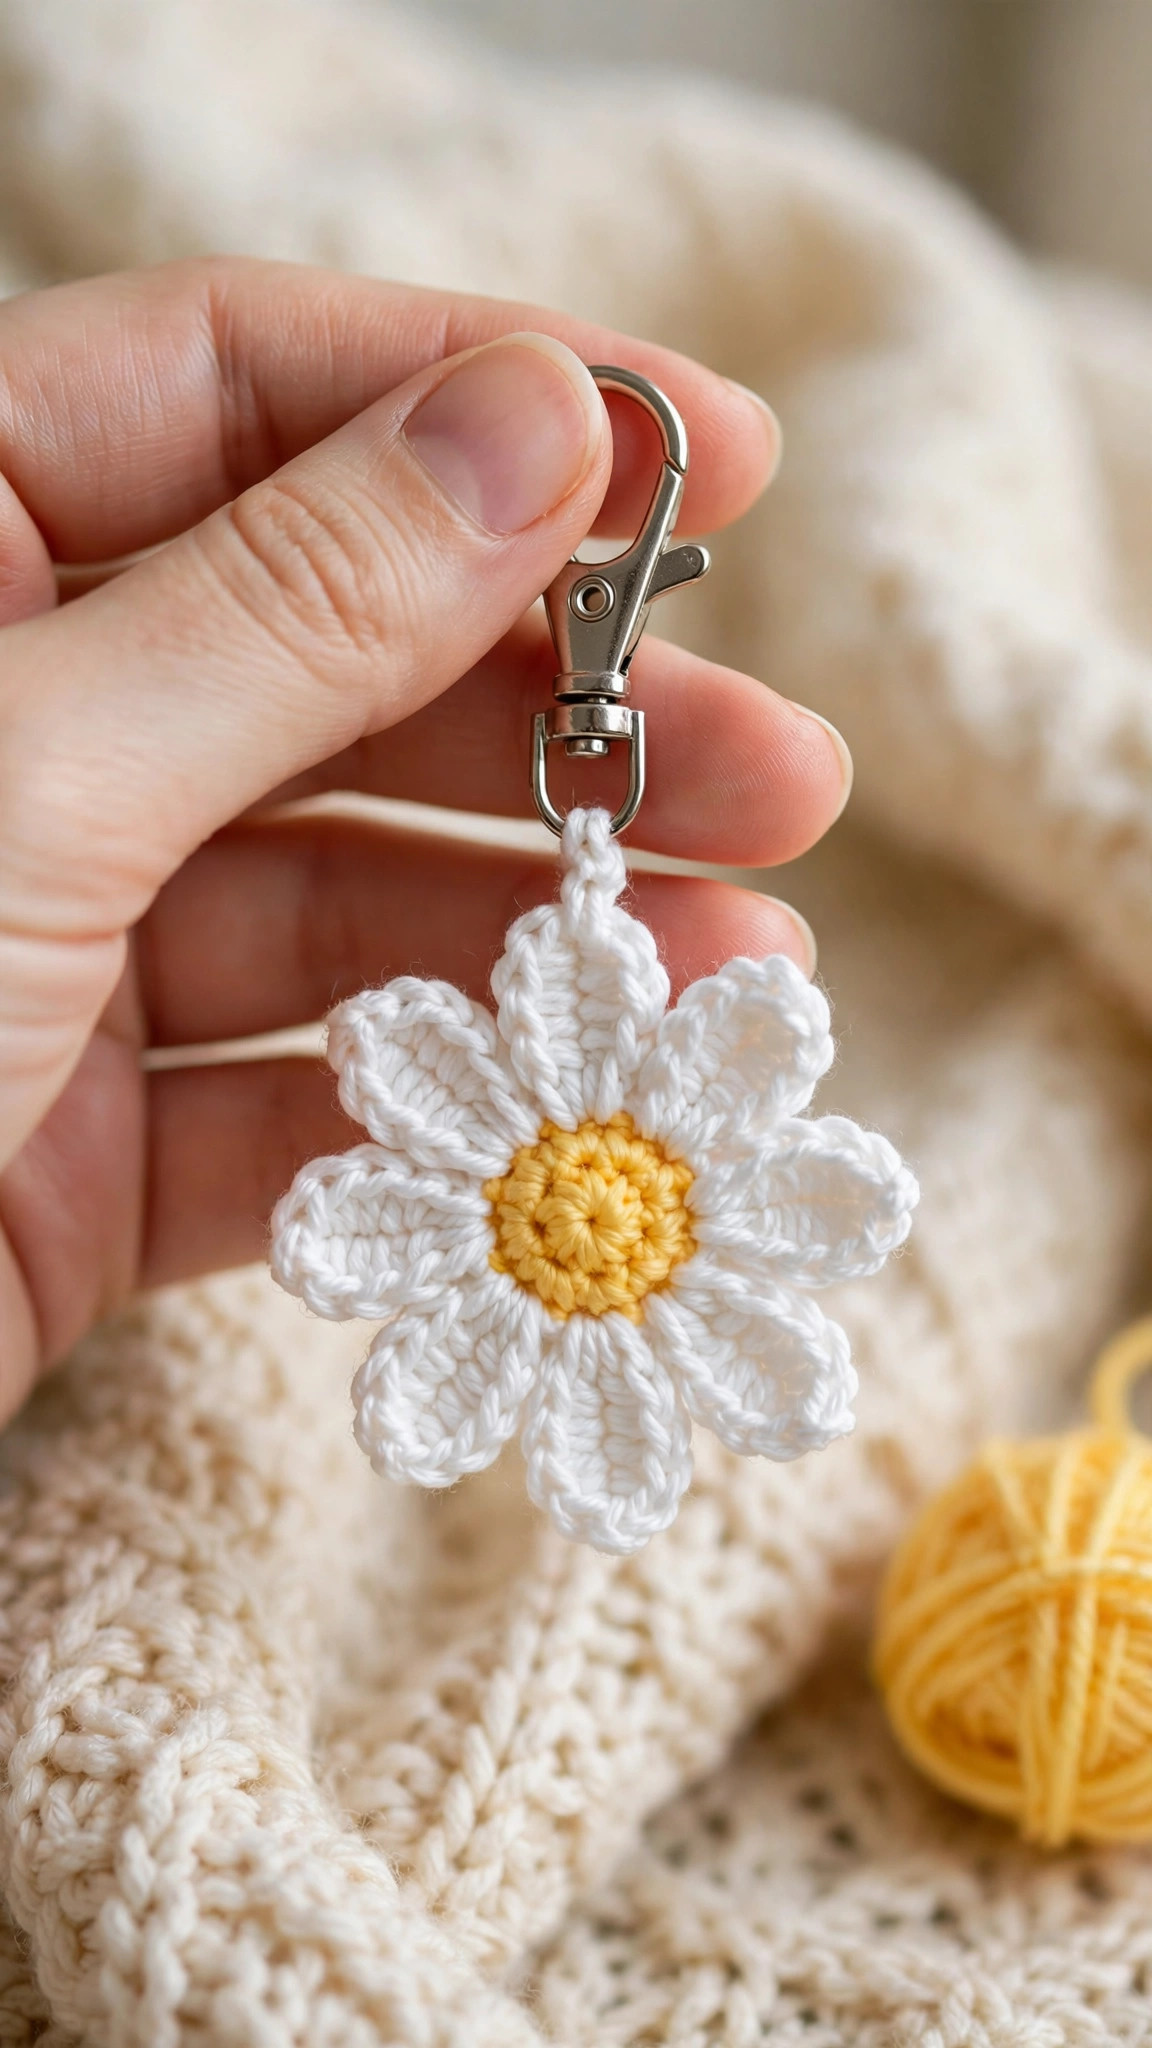
Daisy keyring — yellow, white, green
The daisy is the quickest of the three, and the only one with no stuffing. The center is a small circle, the petals are worked straight onto its edge, and a backing circle hides all the ends.Center — yellow
- R1: MR, 6 sc (6)
- R2: inc in each st (12)
- R3: [sc, inc] × 6 (18). FO, leaving a tail.
Petals — white
- Join white yarn in any st of R3. Work 8 petals as follows: [ch 6, sc in 2nd ch from hook, hdc in next ch, dc in next ch, hdc in next ch, sc in last ch, skip 1 st, sl st in next st] — repeat 8 times around. Sl st to the base of the first petal and FO, leaving a tail.
Backing — white
- Repeat the center rounds in white: R1 MR, 6 sc (6); R2 inc in each st (12); R3 [sc, inc] × 6 (18). FO, leaving a long tail.
Leaves — green, make 2
- Ch 7. Sc in 2nd ch from hook, hdc in next ch, dc in next 2 ch, hdc in next ch, sc in last ch. Ch 1, then work back down the other side of the chain: sc in first st, hdc in next st, dc in next 2 sts, hdc in next st, sc in last st. Sl st to join. FO, leaving a tail.
Assembly. Place the backing circle behind the flower, wrong sides together, and sew around the edge with small whipstitches using the backing tail. This hides every petal end and gives the daisy a neat finished back. Sew one leaf to each side of the flower, just below the bottom petals.
Hanging loop. Join white yarn at the top of the flower between two petals. Ch 10, sl st into the same spot to form a loop. FO and weave in securely.
Tip: if your petals curl forward, your chain is too tight — remake them with a looser tension or go up half a hook size for the petals only. Petals should lie flat or curve slightly backward, like a real daisy.
Attaching the keyring hardware
- Open the split ring. Hold the split ring with flat-nose pliers and lift one end just enough to slide the crochet loop on. Work the loop around until it sits fully inside, then let the ring spring closed — check it clicks shut with no gap.
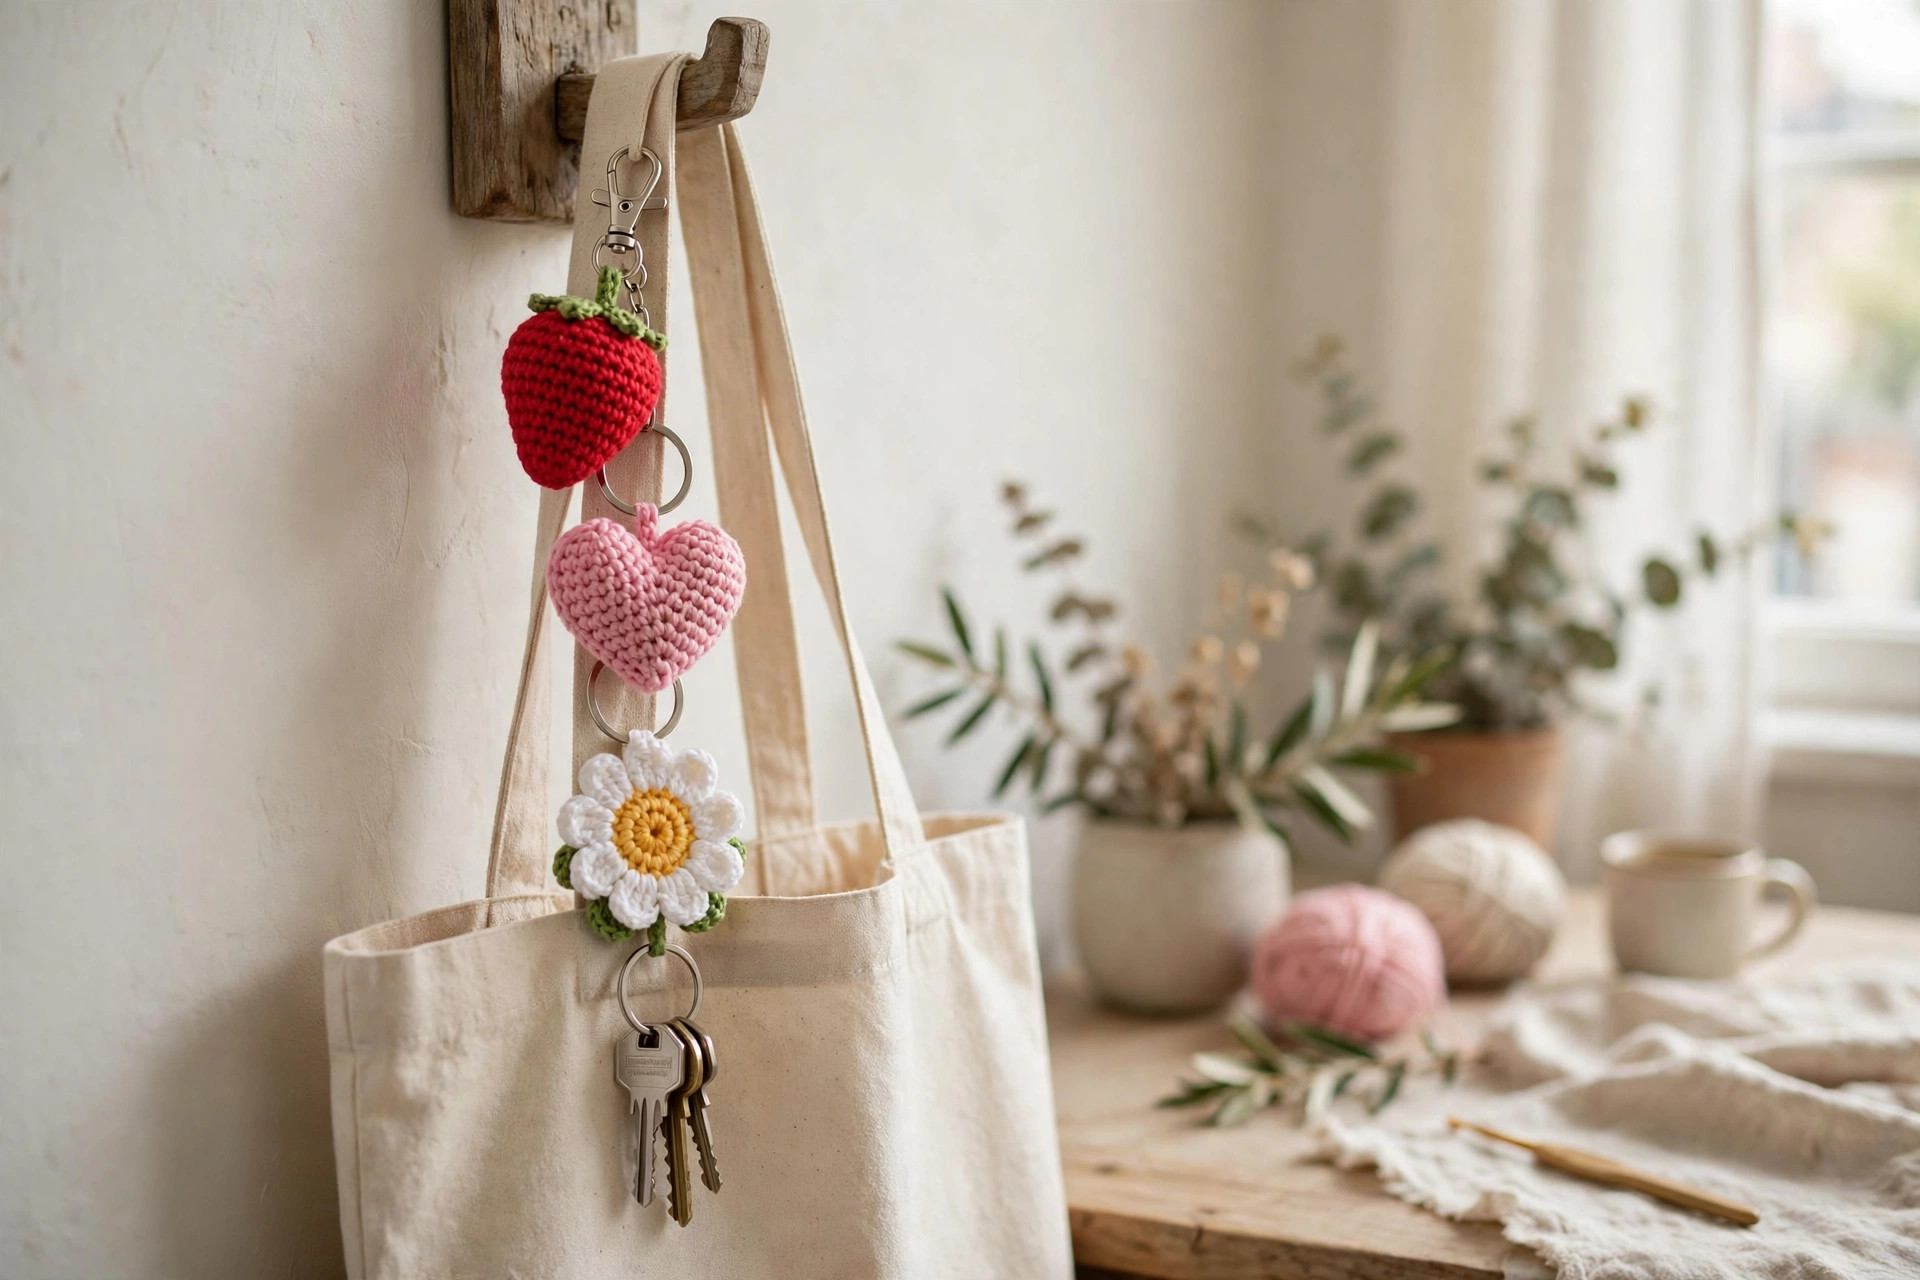
- Add the clasp. Thread the split ring through the small ring at the base of the lobster clasp. Now the clasp can clip onto keys, a bag strap, or a zipper pull.
- Test the join. Tug the charm firmly three or four times. If the chain loop stretches, reinforce it with two or three extra stitches through its base.
- Add your keys. Clip the lobster clasp onto your keyring, or clip the split ring directly onto a key.
Hardware tip: buy split rings and lobster clasps in bulk packs (25 mm rings, 12 mm clasps). A pack of 20 costs very little. Avoid rings smaller than 20 mm — they're fiddly to open and wear the yarn faster.
Finishing touches
Weave in ends like you mean it. Keyrings get pulled, dropped, and yanked. Weave each tail through at least 2 cm of stitches in two different directions before trimming, and for the hanging loops, run the tail through the base of the loop twice. A tail that pops out on day one is the only real failure mode of this pattern.
Block the daisy. Lay the daisy face down on a towel, spritz lightly with water, press the petals flat, and leave it to dry. The strawberry and heart don't need blocking.
Three more variations to try next
Once you've made the trio, the same techniques make a whole keyring collection:
- Mini bee. Work the strawberry body in yellow instead of red, and before stuffing, embroider two black stripes around the middle. Add two small white wings (ch 5, sc, hdc, dc, hdc, sc) sewn to the top, and skip the leaf crown. Same round counts as the strawberry, so it's a free fourth design.2. Two-tone heart. Work the lobes and R5–R8 in one color, then switch to a second color for R9 to the end — the change lands right where the heart starts tapering, so it looks deliberate.
- Sunflower daisy. Make the daisy center bigger (add R4: [2 sc, inc] × 6 for 24 sts) and work the petals in yellow with a brown center. It comes out a cheerful sunflower about 9 cm across.
If small amigurumi has become your new favorite thing, our crochet ghost pattern is another quick make in the same size range, and the free crochet bunny pattern takes the same spirals up to a huggable scale. Flower lovers can try our crochet flower pattern for a full bouquet of blooms.
Troubleshooting tips
- You can see stuffing through the stitches. Your tension is too loose or your hook is too big. Switch to a 2.75 mm hook, or consciously tighten up — keyring fabric should be dense, because it gets far more wear than a shelf decoration.
- The heart has a hole between the lobes. Almost always the R5 join round. Pull the joining yarn snug; after stuffing, close any gap with two or three whipstitches.
- The strawberry looks like a ball. Check R9 and R10, and stuff before R11, not after — fiberfill can't reach the tip once it's closed.
- The daisy petals curl forward. Your petal chains are too tight. Remake the petals with looser tension or go up half a hook size for the petal round only.
- The hanging loop stretches out. Reinforce it with extra stitches through its base, or work the loop with two strands held together.
- The split ring won't close. You've overloaded it — one crochet loop per ring. For two charms on one ring, put each charm on its own split ring and link the rings together instead.
Frequently asked questions
Is this crochet keyring pattern really free?
Yes — the complete pattern above is free, no email signup, no PDF purchase required. Sharing the post or saving it on Pinterest is the kindest thank-you.
What skill level is this pattern?
Confident beginner. If you can crochet a magic ring and single crochet in the round, you have every skill this pattern needs. Start with the daisy if you've never made amigurumi — it's flat, with no stuffing, and works up in about 30 minutes.
How long does it take to make all three keyrings?
About two hours total: 45 minutes for the strawberry, 40 for the heart, 30 for the daisy, and 5 minutes each to attach the hardware.
What size split ring and clasp do I need?
A 25 mm split ring and a 12 mm lobster clasp (or swivel clasp) are the standard keyring sizes and the ones used in the photos. Smaller rings are fiddly to open and wear the yarn faster.
Can I sell the finished keyrings I make?
Yes! You may sell finished keyrings made from this pattern in small batches (craft fairs, markets, gifts). Please credit Little Loop Finds as the pattern designer with a link back to this page. The pattern text and photos may not be redistributed, republished, or sold.
Can I use a different yarn weight?
Absolutely. Use the hook size recommended on your yarn label minus 0.5 mm (so the fabric stays tight), and your keyrings will simply come out bigger or smaller. Chunky yarn with a 5.0 mm hook makes a gloriously squishy 9 cm strawberry — just scale the split ring up too.
Are these keyrings safe for babies and toddlers?
Not as keyrings — the split ring and clasp are small metal parts. But the strawberry and heart charms themselves, made without hardware and with embroidered features only, make lovely soft toys for little hands. Never give a child a charm with a split ring or clasp attached.
More free patterns to try
Keep the hook moving: the crochet bag charms scale the same idea up for your favorite tote, the crochet chapstick holder is another small accessory that clips onto your keys, the free crochet duck pattern is a cheerful amigurumi in the same size family, and the crochet pencil case pattern is a practical match for your new keyring. For seasonal makes, our crochet ornaments turn the same small-shape skills into tree decorations.