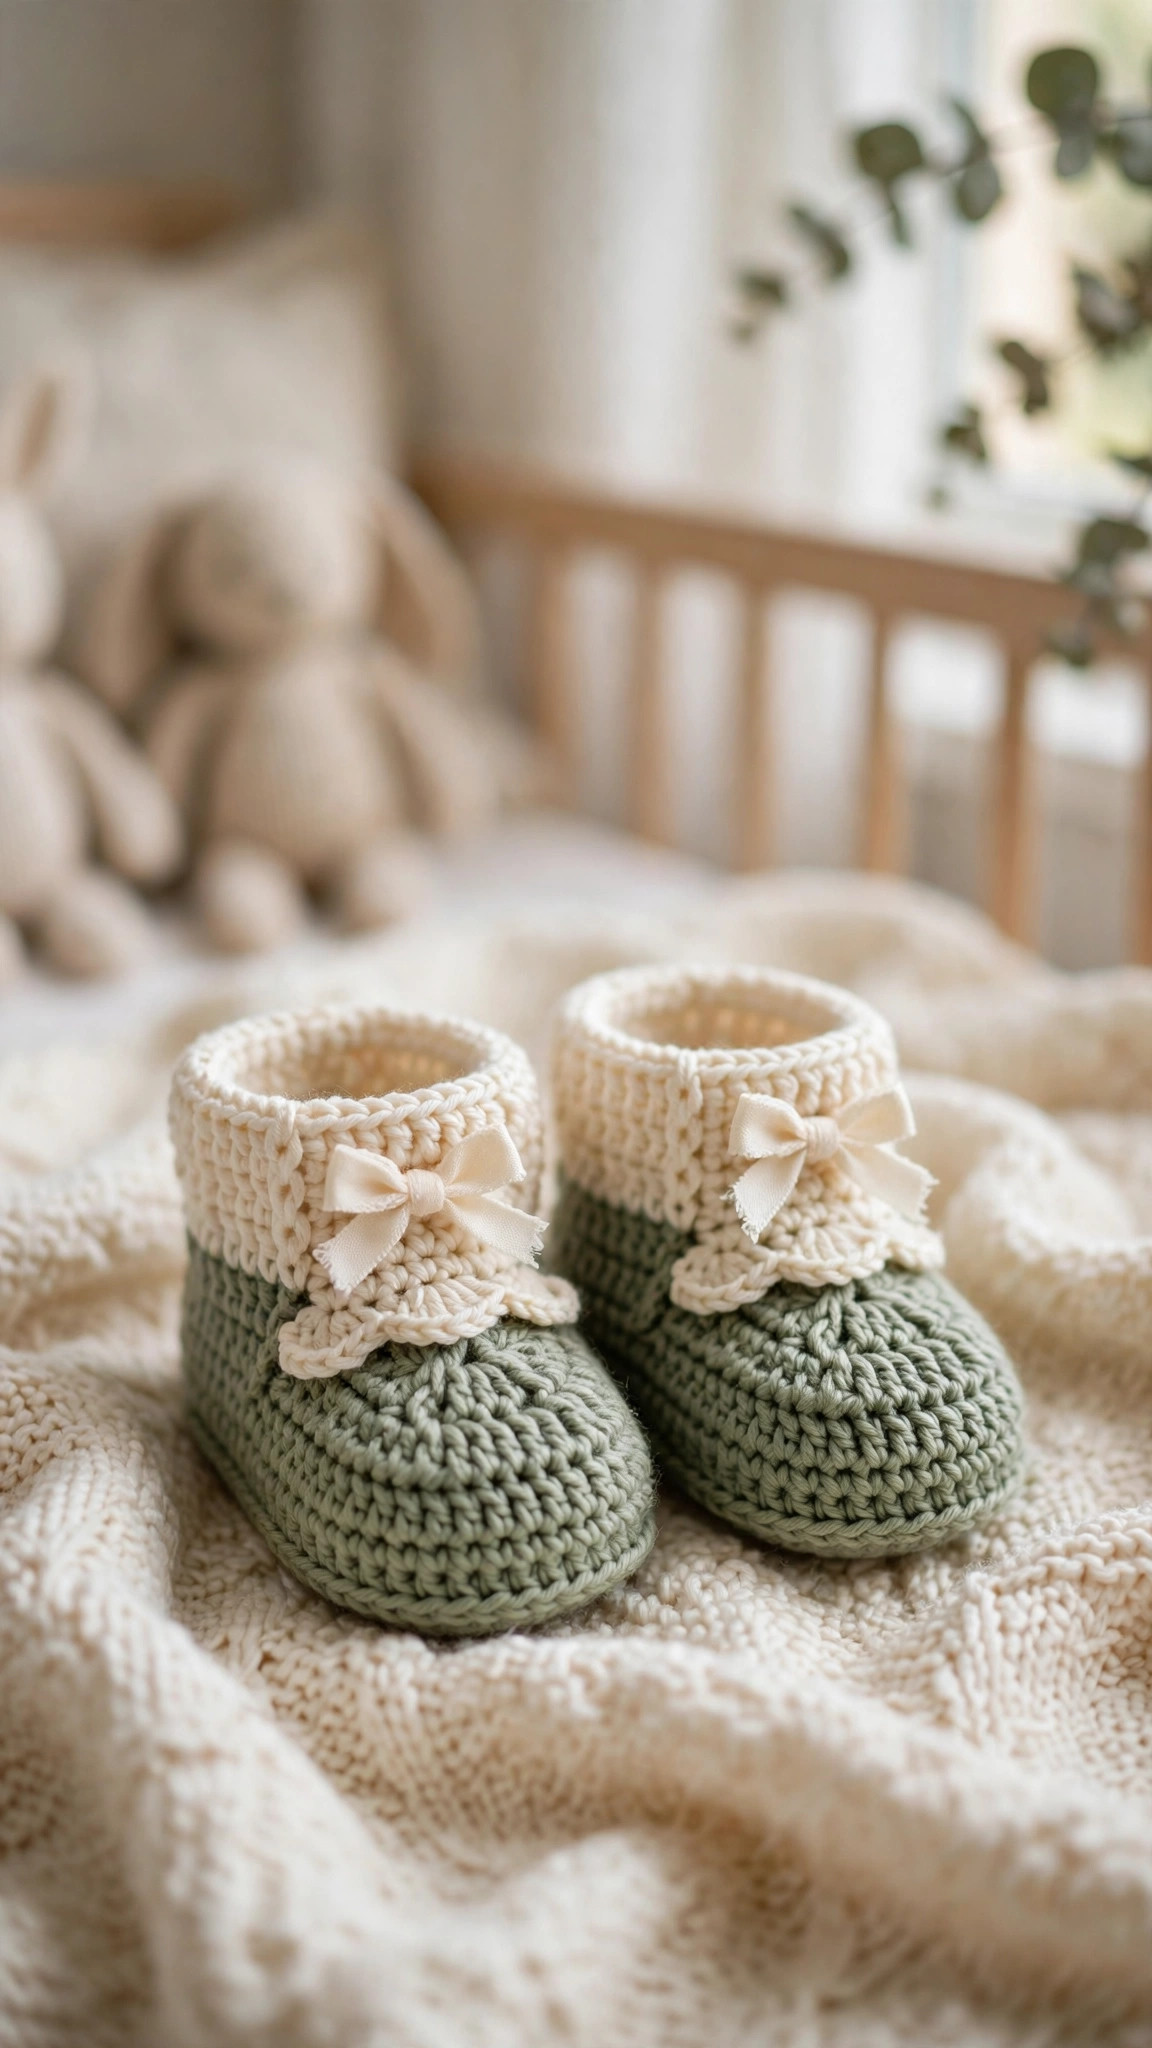
Free crochet infant shoes pattern: soft baby booties with a tie bow
Soft little booties with a ribbed cuff and a tie bow that actually stays on tiny feet, worked bottom-up from a simple oval sole with no sewing, in three sizes from newborn to 12 months.

Baby · Crochet
- Finished size
- About 9 cm / 3.5 in sole (0-3 mo)
- Making time
- About 2-3 hours a pair
- Hook
- 3.5 mm, DK-weight yarn
- Pieces
- 2 shoes, no sewing
- Skill
- Beginner
In this post
If you've been searching for a crochet infant shoes pattern that actually stays on tiny feet, this is the one. These soft little booties are worked bottom-up from a simple oval sole, shaped with a neat row of toe decreases, and finished with a ribbed cuff and a tie bow that keeps them exactly where they belong. No sewing, no fiddly assembly, and one evening is all it takes to make a pair.
Why you'll love this crochet infant shoes pattern
Most baby shoe patterns fail in one of two ways: they either slip straight off the foot, or they involve so much seaming and shaping that a simple gift turns into a weekend project. This pattern was designed to dodge both problems. The sole is a classic oval worked around a foundation chain, with clean standard increase math, so it lies flat and holds its shape. The toe shaping is three short rounds of decreases placed right across the front of the foot, which gives the bootie its sweet rounded toe without any sewing. And the tie bow threaded through the ankle is the real secret: it cinches the cuff gently so the shoe stays put through naps, car rides and enthusiastic kicking.
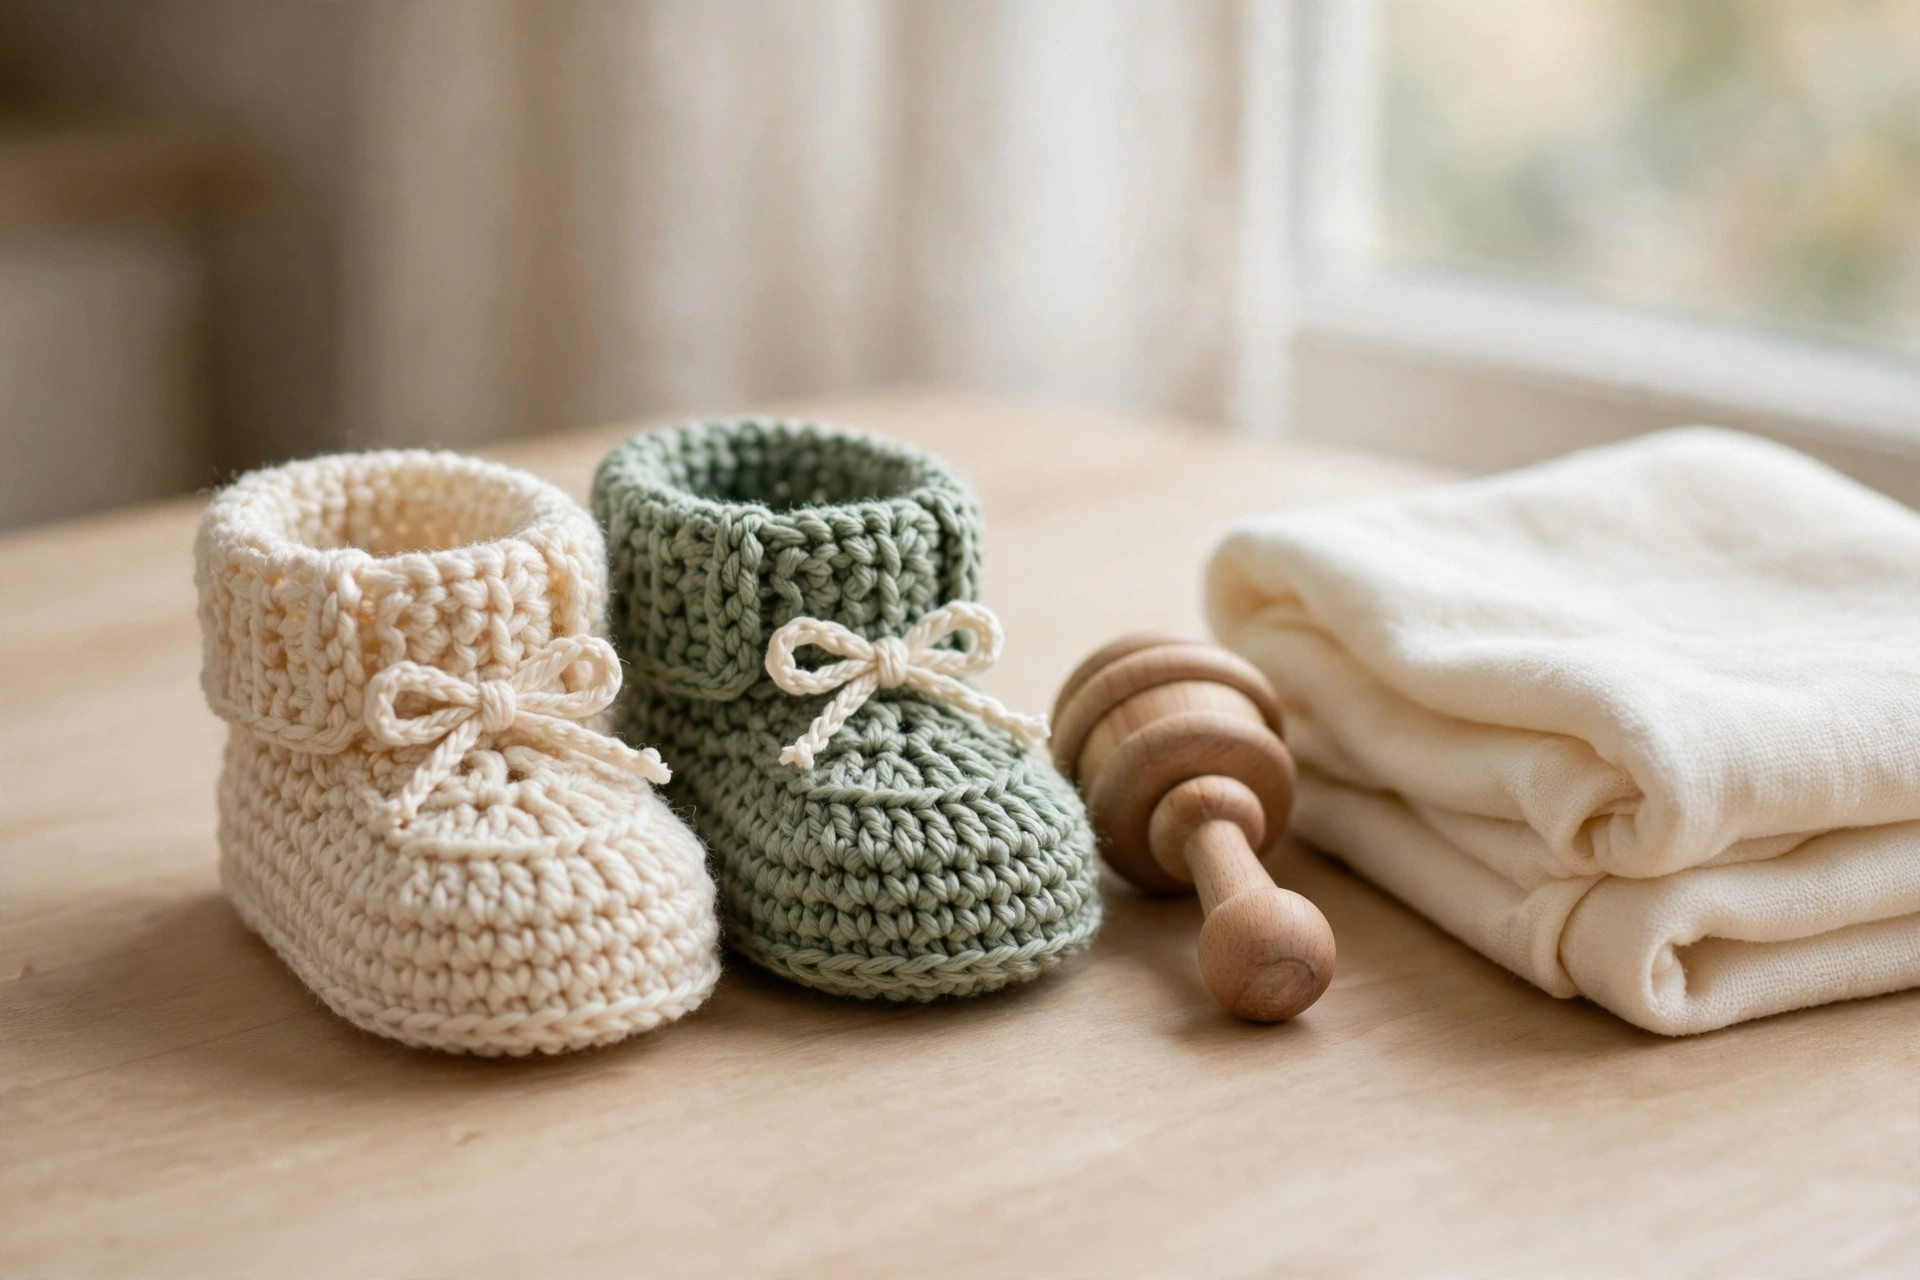
It's also a genuinely stash-friendly project. One pair in the smallest size uses less than half a skein of DK yarn, and the two-color version in the photos uses a main color and a small contrast scrap for the cuff and bow. That makes it the perfect last-minute baby shower gift: start after lunch, wrap it up by dinner.

Materials you'll need
| Supply | What to get |
|---|---|
| Main yarn | DK-weight (#3) cotton or soft acrylic in sage green, about 30 g |
| Contrast yarn | DK-weight (#3) in cream, about 15 g |
| Crochet hook | 3.5 mm (E-4) |
| Notions | Tapestry needle, stitch markers, scissors, tape measure |
A quick note on yarn choice: soft cotton DK is the best pick for baby shoes because it is breathable, washable and holds its shape. A soft premium acrylic works too and is often gentler on a tight budget. Avoid scratchy or fuzzy yarns, and skip anything with metallic thread. If your yarn is worsted-weight (#4) instead of DK, go up to a 4.0 mm hook and check your sole measurement after round 4, your booties will simply come out a touch bigger.
Size, gauge and skill level
- Finished size: 0-3 months, sole about 9 cm (3.5 in) long. The pattern also gives 3-6 months (10 cm / 4 in) and 6-12 months (11 cm / 4.25 in) in the size table below.
- Gauge: 5 single crochets measure about 2.5 cm (1 in). Gauge matters more here than in amigurumi because the shoe has to fit a real foot, so measure your sole after round 4. If it is longer than 9 cm, drop to a 3.25 mm hook; if it is shorter, go up to a 3.75 mm hook.
- Skill level: confident beginner. You should know how to chain, single crochet, half double crochet, increase, decrease, and work in the back loop only. Everything else is explained below.
| Size | Foot length | Foundation chain | Sole rounds R1-R4 | After toe shaping |
|---|---|---|---|---|
| 0-3 months | 9 cm / 3.5 in | ch 11 | 22, 28, 34, 40 sts | 27 sts |
| 3-6 months | 10 cm / 4 in | ch 13 | 26, 32, 38, 44 sts | 31 sts |
| 6-12 months | 11 cm / 4.25 in | ch 15 | 30, 36, 42, 48 sts | 35 sts |
If you are making these as a gift and don't know the baby's exact foot size, the 0-3 month size is the safest bet: babies grow fast, and a slightly roomy bootie with the tie cinched is far better than one that is too tight. For a matching gift set, pair these booties with our baby bonnet, which uses the same DK yarn and works up just as quickly.
Abbreviations — US terms
| Abbreviation | Meaning |
|---|---|
| ch | chain |
| sc | single crochet |
| hdc | half double crochet |
| inc | increase (2 sc in the same stitch) |
| dec | decrease (sc 2 together, invisible decrease recommended) |
| BLO | back loop only |
| st(s) | stitch(es) |
| R | round |
| FO | fasten off |
A note on decreases: the invisible decrease (insert hook in the front loop only of the next two stitches, yarn over, pull through both loops, yarn over, pull through two loops) keeps your fabric smooth with no little bumps. Use it everywhere this pattern says "dec" and the toe of your bootie will look professionally finished.
The pattern (US terms)
Work in continuous spirals unless noted. Mark the first stitch of each round with a stitch marker and move it up as you go. The stitch count at the end of every round is in parentheses. The round begins at the back of the heel, so the decrease sections in the toe shaping land across the front of the foot. The full instructions below are for the 0-3 month size; the size table above gives the stitch counts for 3-6 and 6-12 months. Both shoes are identical, there is no left and right.
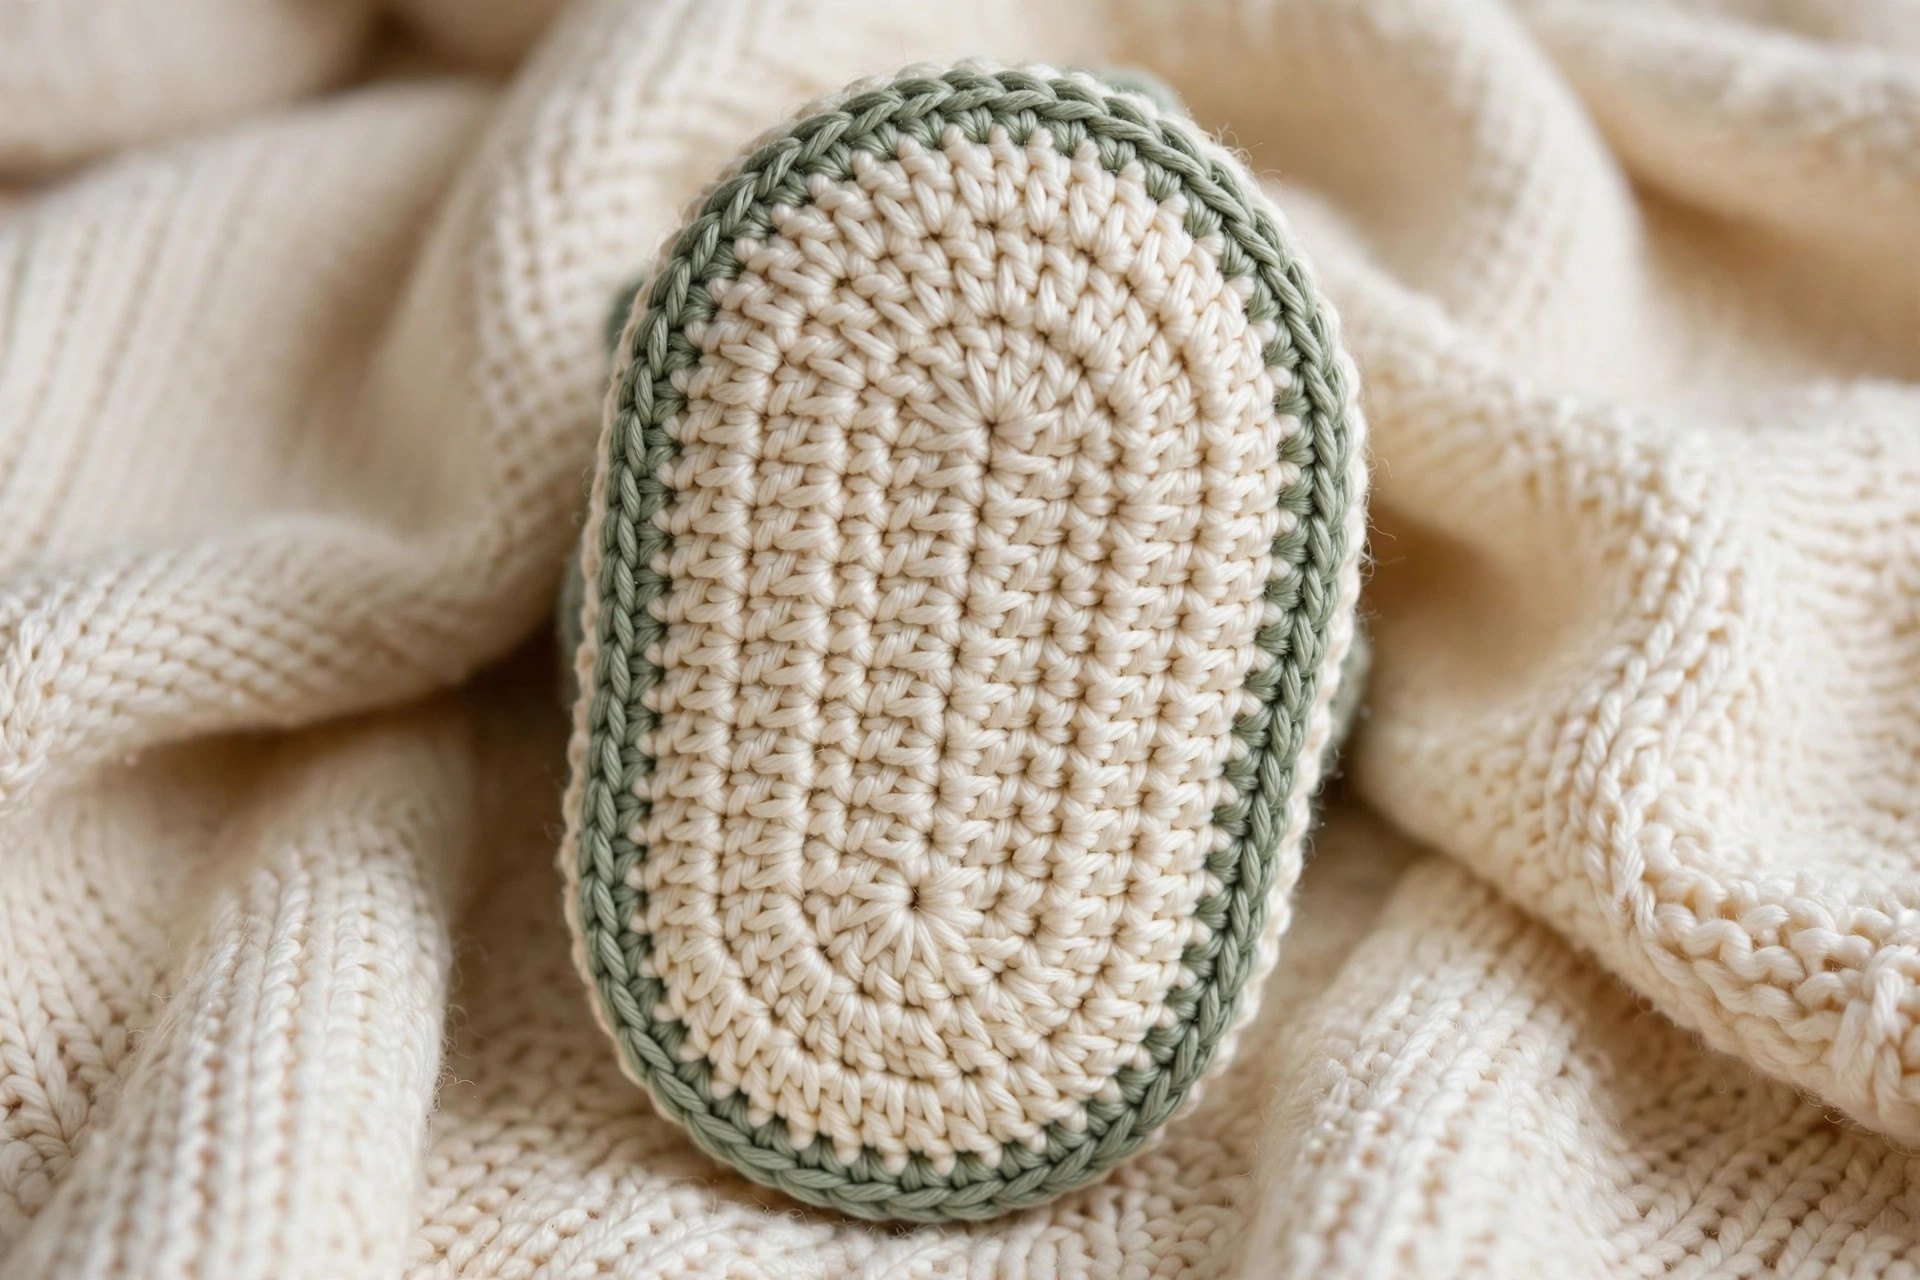
Sole — main color (sage green)
- R1: Ch 11. Sc in 2nd ch from hook, sc in next 8 ch, 3 sc in last ch. Working along the other side of the chain: sc in next 8 ch, 2 sc in last ch (22)
- R2: Inc in first st, sc 8, inc × 3, sc 8, inc × 2 (28)
- R3: [Sc, inc], sc 8, [sc, inc] × 3, sc 8, [sc, inc] × 2 (34)
- R4: [2 sc, inc], sc 8, [2 sc, inc] × 3, sc 8, [2 sc, inc] × 2 (40)
Your sole should now be a neat oval about 9 cm (3.5 in) long. If it curls at the edges, don't worry, the next round pulls it flat.
Sides of the foot — main color (sage green)
- R5: Sc in BLO of each st around (40). Working in the back loop only creates a crisp ridge that turns the sole up into the sides of the shoe.
- R6-R7: Sc in each st around (40), 2 rounds even. These two rounds build the walls of the foot.
Tip: the front loop you left behind in round 5 makes a pretty ridged line around the bottom of the shoe. If you like the look in the photos, leave it as is. If you prefer a cleaner finish, work a round of slip stitches in contrast yarn into those front loops before moving on.
Toe shaping — main color (sage green)
This is where the flat oval becomes a shoe. The decreases sit across the front of the foot, centered on the toe.
- R8: Sc 12, dec × 6, sc 16 (34)
- R9: Sc 11, dec × 4, sc 15 (30)
- R10: Sc 10, dec × 3, sc 14 (27)
After round 10 the opening should look like a little shoe, narrower at the front and wider at the ankle. If your decreases look off-center, check that the middle decrease of round 8 sits at the very tip of the toe. One stitch off in either direction is fine and won't show once the cuff is on.
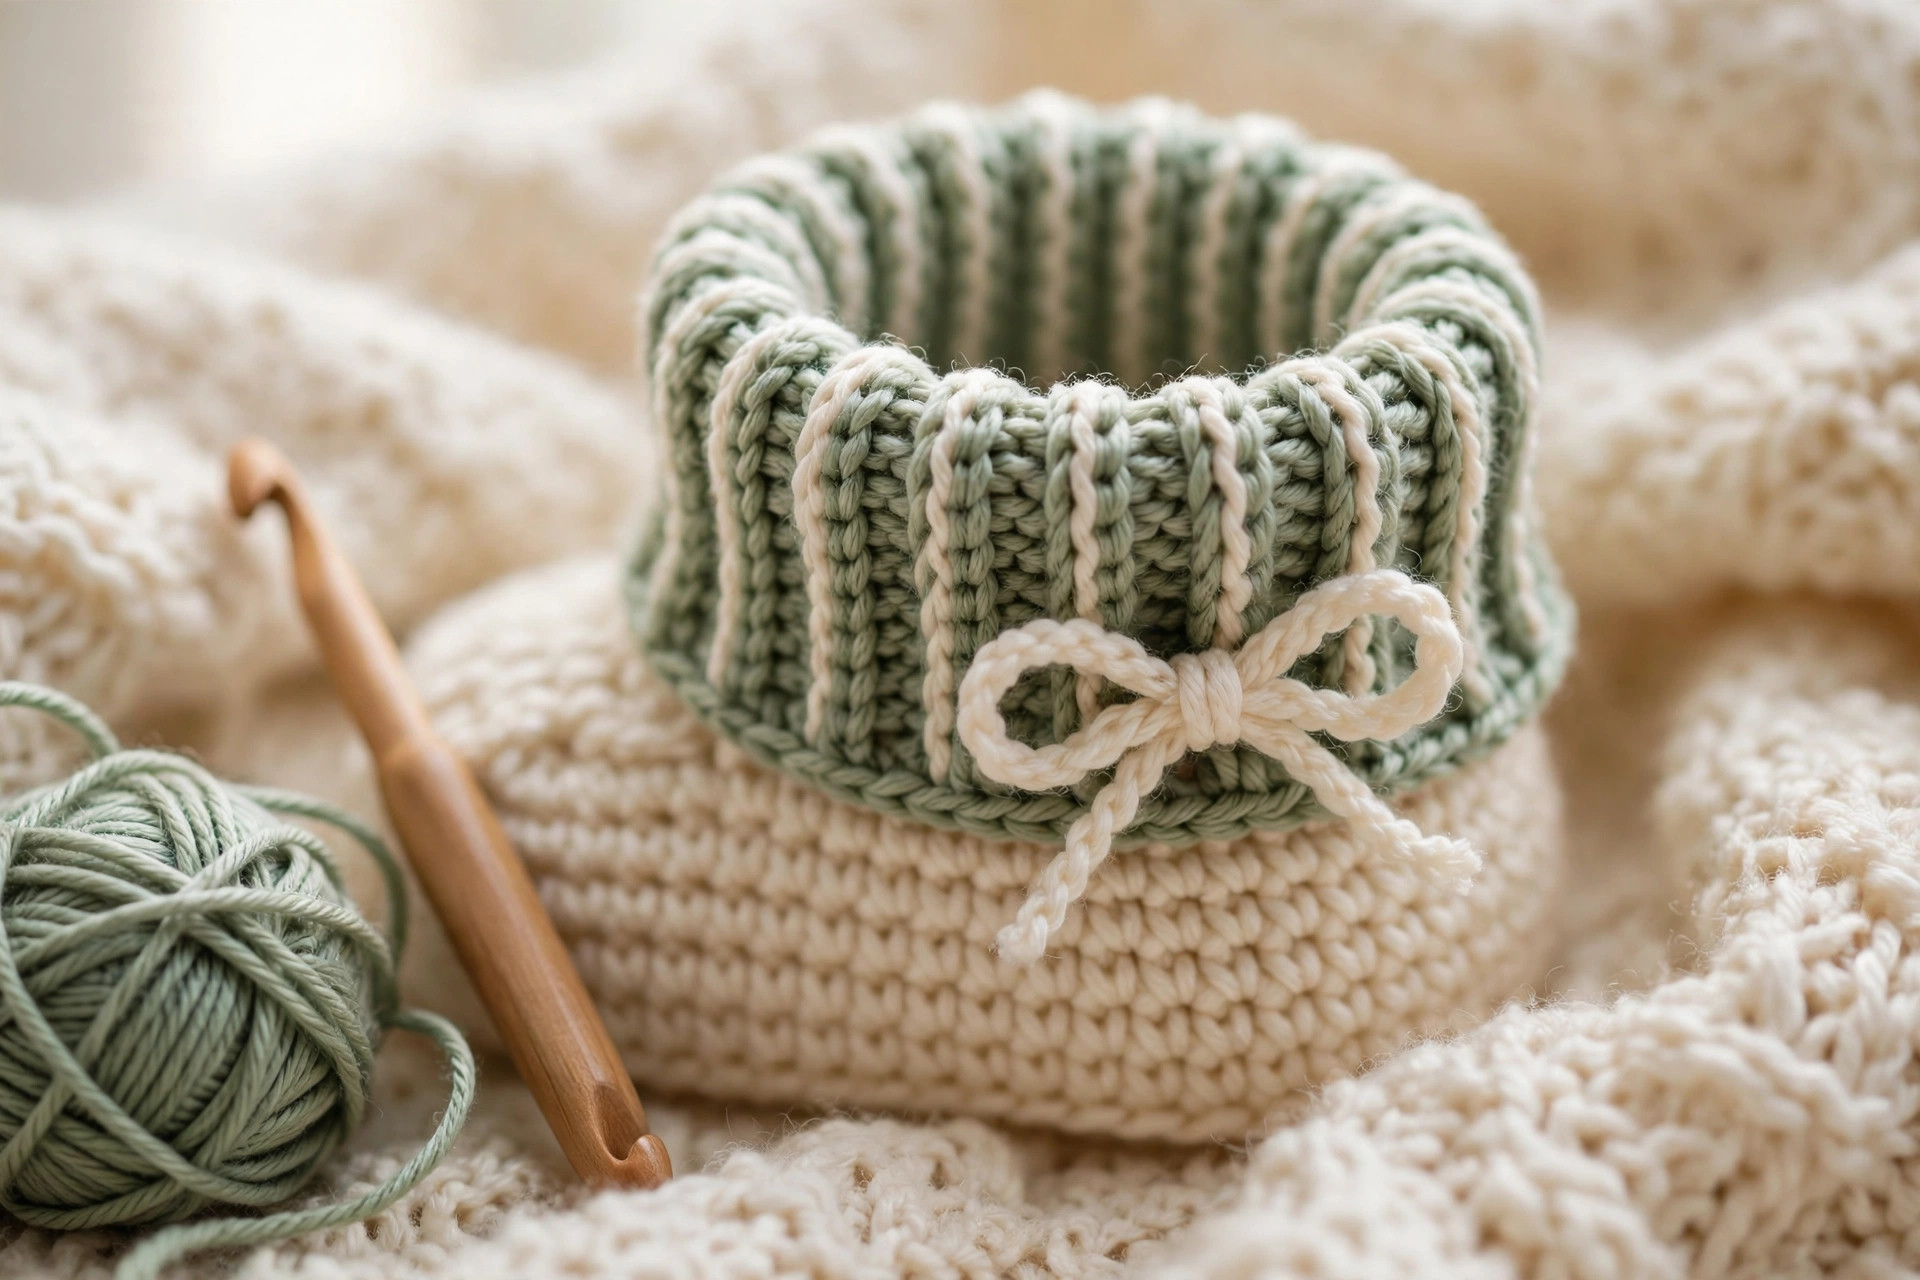
Ankle and cuff — main color, then contrast (cream)
- R11: Sc in each st around (27). This is the ankle round, and it is where the tie will thread through later.
- R12: Join contrast color. Hdc in each st around (27).
- R13-R14: Hdc in each st around (27), 2 rounds even.
- R15: Sc in each st around (27). FO and weave in the end.
The half double crochet cuff has a soft ribbed look and a gentle stretch, which is exactly what you want around a baby's ankle: snug enough to stay up, soft enough to never leave a mark.
The tie bow — contrast color (cream)
- Ch 45. FO, leaving short tails at each end.
- Thread the chain through the stitches of round 11, going in and out of every other stitch, all the way around the ankle. Start and finish at the center front.
- Tie the two ends in a small bow at the front of the shoe. Trim the tails to about 4 cm (1.5 in) so they sit neatly.
Safety note: the tie is a drawstring, so always tie it in a bow, never leave long loose ends, and check it before each wear. For a newborn gift, you can skip the tie entirely and sew a small flat bow or a button to the front of the cuff instead, which removes the drawstring altogether.
Second shoe
Repeat the whole pattern once more. Because both shoes are identical, the second one always feels faster, most makers finish it in about half the time of the first. When both shoes are done, hold them sole to sole and check they match in length. If one is a round longer than the other, it will show, so count the rounds, not just the rows, before you call the pair finished.
Finishing touches
This is a quick job, ten unhurried minutes, but it is what makes the pair look like a gift rather than a practice piece.
Weave in all ends. Use the tapestry needle to weave the yarn tails into the inside of the shoe, following the path of the stitches for at least 3 cm so nothing works loose in the wash. Never knot and trim flush on baby items.
Block lightly. Dampen both booties, gently shape them with your hands, and let them dry flat. This evens out the stitches and sets the oval sole shape. Don't stretch the cuff while blocking or it will lose its gentle grip.
Check the fit. A good baby bootie should slide on easily and stay on when you gently tug the heel. If it slides off too easily, tighten the bow or work the cuff one round shorter next time. If it is hard to get on, your gauge is tight, go up half a hook size for the next pair.
Wash before gifting. Baby skin is sensitive, so wash the finished pair in gentle detergent and let them air dry. Tuck them into a little gift bag with a matching lovey blanket or a baby bonnet and you have a handmade gift set that looks like it came from a boutique.
Three sweet variations to try next
Once you've made one pair, you'll want to try the whole nursery in booties. The same pattern, three personalities:
- All-cream classic. Work the entire shoe in cream and add a tiny crocheted flower or a small button to the front of the cuff instead of the tie. This is the heirloom version, and it photographs beautifully for birth announcements. It also pairs perfectly with the little lamb baby snuggle gift set for a full newborn bundle.
- Mary Jane strap. After round 15, chain 12 from one side of the ankle, skip 8 stitches across the front, and slip stitch into the other side to form a strap. Add a small button on the strap and a button loop on the opposite side. This version stays on the most determined little kickers and looks adorable with a baby frock.
- Boy version with a button. Work the shoe in a soft navy or gray, skip the bow, and sew a small wooden button to the front of the cuff. Swap the cream contrast for a warm tan and you have a pair that suits any baby boy gift. Make a matching baby hat in the same colors and the set is complete.
Troubleshooting tips
- The sole curls up like a bowl. Your increases are too tight or your tension is uneven. Check the stitch counts first, then try going up half a hook size for the sole rounds only.
- The sole is a wavy ruffle instead of a flat oval. Too many increases, or the chain was too long for your gauge. Count round 1 carefully: it should be exactly 22 stitches for the 0-3 month size.
- The toe shaping looks lopsided. The decreases drifted off-center. Count back from the toe tip: the middle decrease of round 8 should sit right at the front center. Frog back to round 8 and rework the decreases one stitch over.
- The shoe won't stay on the foot. Almost always a loose cuff. Make sure the tie is threaded through every other stitch of round 11 and tied in a proper bow, not a single knot. A cuff worked one round shorter also grips better.
- One shoe is bigger than the other. You changed tension between shoes, which is normal on a first pair. Count the rounds on each shoe and compare the sole lengths side by side. The second shoe usually comes out neater because your hands have learned the rhythm.
- The cuff edge flares outward. Your half double crochets are looser than your single crochets. Drop to a 3.25 mm hook for rounds 12-15, or work the cuff in single crochet instead for a firmer edge.
Frequently asked questions
Is this crochet infant shoes pattern really free?
Yes, the complete pattern above is free, no email signup, no PDF purchase required. If you'd like to support the site, sharing the post or saving it on Pinterest is the kindest thank-you.
What skill level is this pattern?
Confident beginner. If you can chain, single crochet, half double crochet and decrease, you have every skill this pattern needs. The trickiest part is the oval sole, and the stitch counts are given for every round so you can check your work as you go.
How long does it take to make a pair?
About 2-3 hours total: roughly 45 minutes per shoe plus finishing and the tie bows. The second shoe is always faster than the first. It's a perfect one-evening project and a great last-minute baby shower gift.
What yarn is safe for baby shoes?
Soft DK-weight cotton or premium acrylic is ideal: breathable, machine washable and gentle on baby skin. Avoid scratchy wool, fuzzy eyelash yarn and anything with metallic thread. Always wash the finished shoes in gentle detergent before the baby wears them.
Can I sell the finished booties I make?
Yes! You may sell finished booties made from this pattern in small batches (craft fairs, gifts, market stalls). Please credit Little Loop Finds as the pattern designer with a link back to this page. The pattern text and photos themselves may not be redistributed, republished, or sold.
Can I make these in a bigger size for a toddler?
The pattern covers up to 12 months. For toddlers who are walking, crocheted soles wear through quickly and can be slippery, so we don't recommend sizing this design up. For older little ones, our free crochet slipper patterns and free crochet boot cuff patterns are the better next project, and a woodland nursery mobile makes a lovely companion gift for the nursery.
More free patterns to try
If these little shoes were fun, keep the hook moving. The baby bonnet matches these booties in the same yarn for a complete newborn set, the little lamb baby snuggle gift set bundles a sweet amigurumi with matching accessories, the free crochet bunny pattern makes a soft companion toy for the same gift basket, and the free crochet duck pattern is a cheerful little friend that works up in a single evening.