Baby bonnet crochet pattern: sweet & simple, 3 sizes
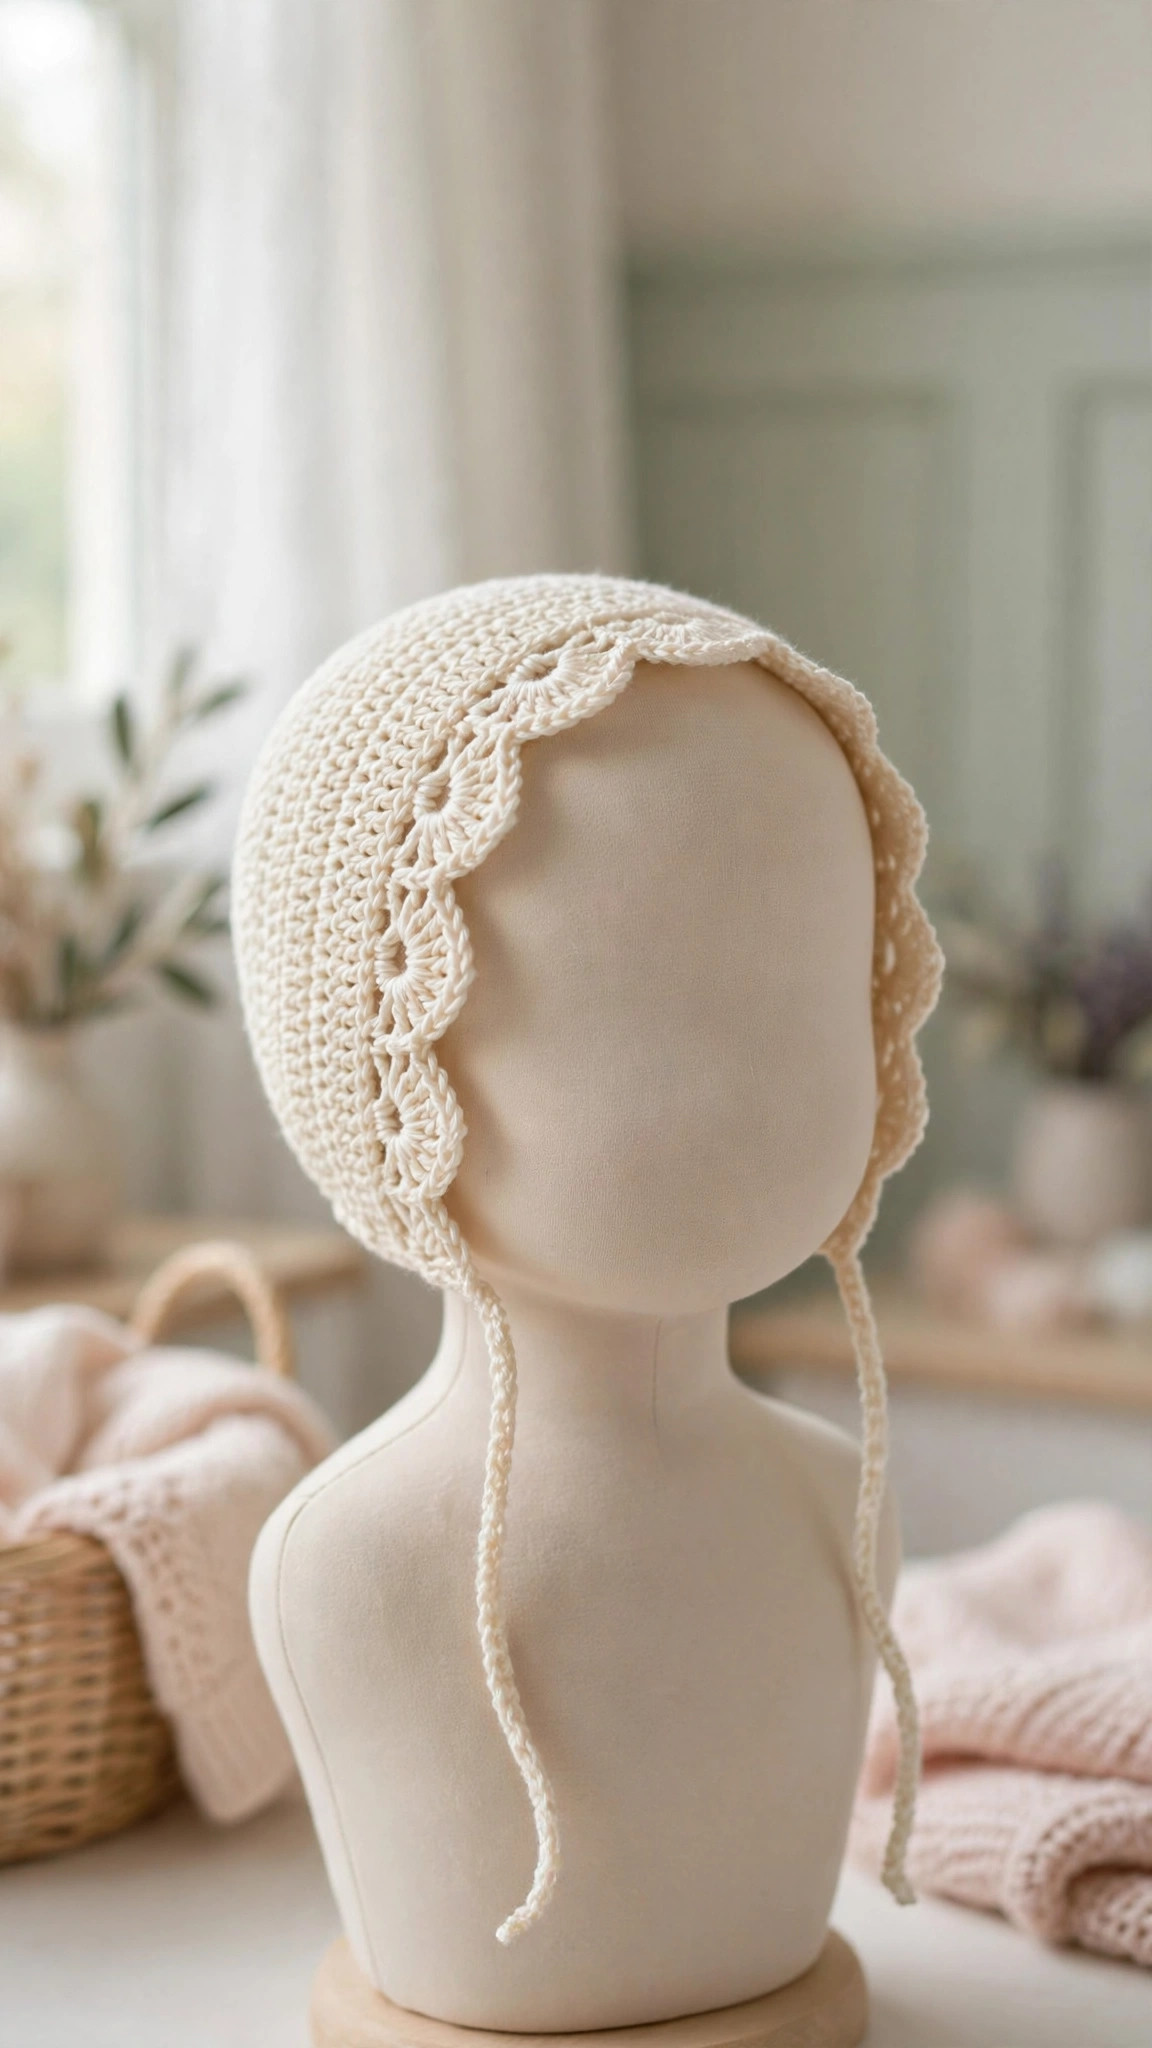
A classic baby bonnet with a smooth half-double-crochet crown, a pretty scalloped front edge and simple chin ties — worked in soft DK yarn in three sizes, from a newborn's first photos to a first-birthday keepsake.

Baby · Crochet
- Finished sizes
- 3 sizes: 0–3, 3–6 and 6–12 months
- Making time
- About 2 hours
- Hook
- 4.0 mm, DK-weight yarn
- Sizes
- 3 sizes with full stitch counts
- Skill
- Beginner
In this post
There is something timeless about a baby bonnet. That little ruffled frame around a tiny face, the soft ties under the chin — it is the kind of handmade piece that ends up in keepsake boxes and gets passed down. This original baby bonnet crochet pattern gives you a classic, gentle bonnet with a smooth rounded crown, a pretty scalloped front edge, and simple chin ties, written in three sizes so you can make one for a newborn photo shoot and another at six months. It works up fast in soft DK yarn, uses nothing fancier than half double crochet, and is the sort of satisfying weekend make you'll want to gift again and again.
Why you'll love this baby bonnet crochet pattern
Most baby bonnet patterns make you choose between fussy and flimsy. This design takes the calm middle road. The crown is a plain half double crochet circle — the same standard increase math used for any flat circle — so it grows evenly with no ruffles and no surprises. Then you simply stop going around and work back and forth in rows. That one change turns a circle into a bonnet: the unworked stitches at the front become the face opening, and the rows form the back and sides that cup baby's head and keep little ears warm.
The scalloped front edge is the detail that makes it look heirloom. It is just a row of five-double-crochet shells worked along the front opening — no special stitches, no chart — but it frames the face beautifully. Choose the optional picot edging instead and the same bonnet turns crisp and vintage. The ties are equally flexible: crochet the simple cord ties written into the pattern, or swap in satin ribbon for a dressier finish.
It is also a genuinely practical gift. DK baby yarn is soft, washable and inexpensive, one ball is enough for any size, and because bonnets are worn for short, supervised outings and photos, this is a make that gets used and admired. If you are building a handmade baby gift set, this bonnet pairs beautifully with the pieces in the little lamb baby snuggle gift set.
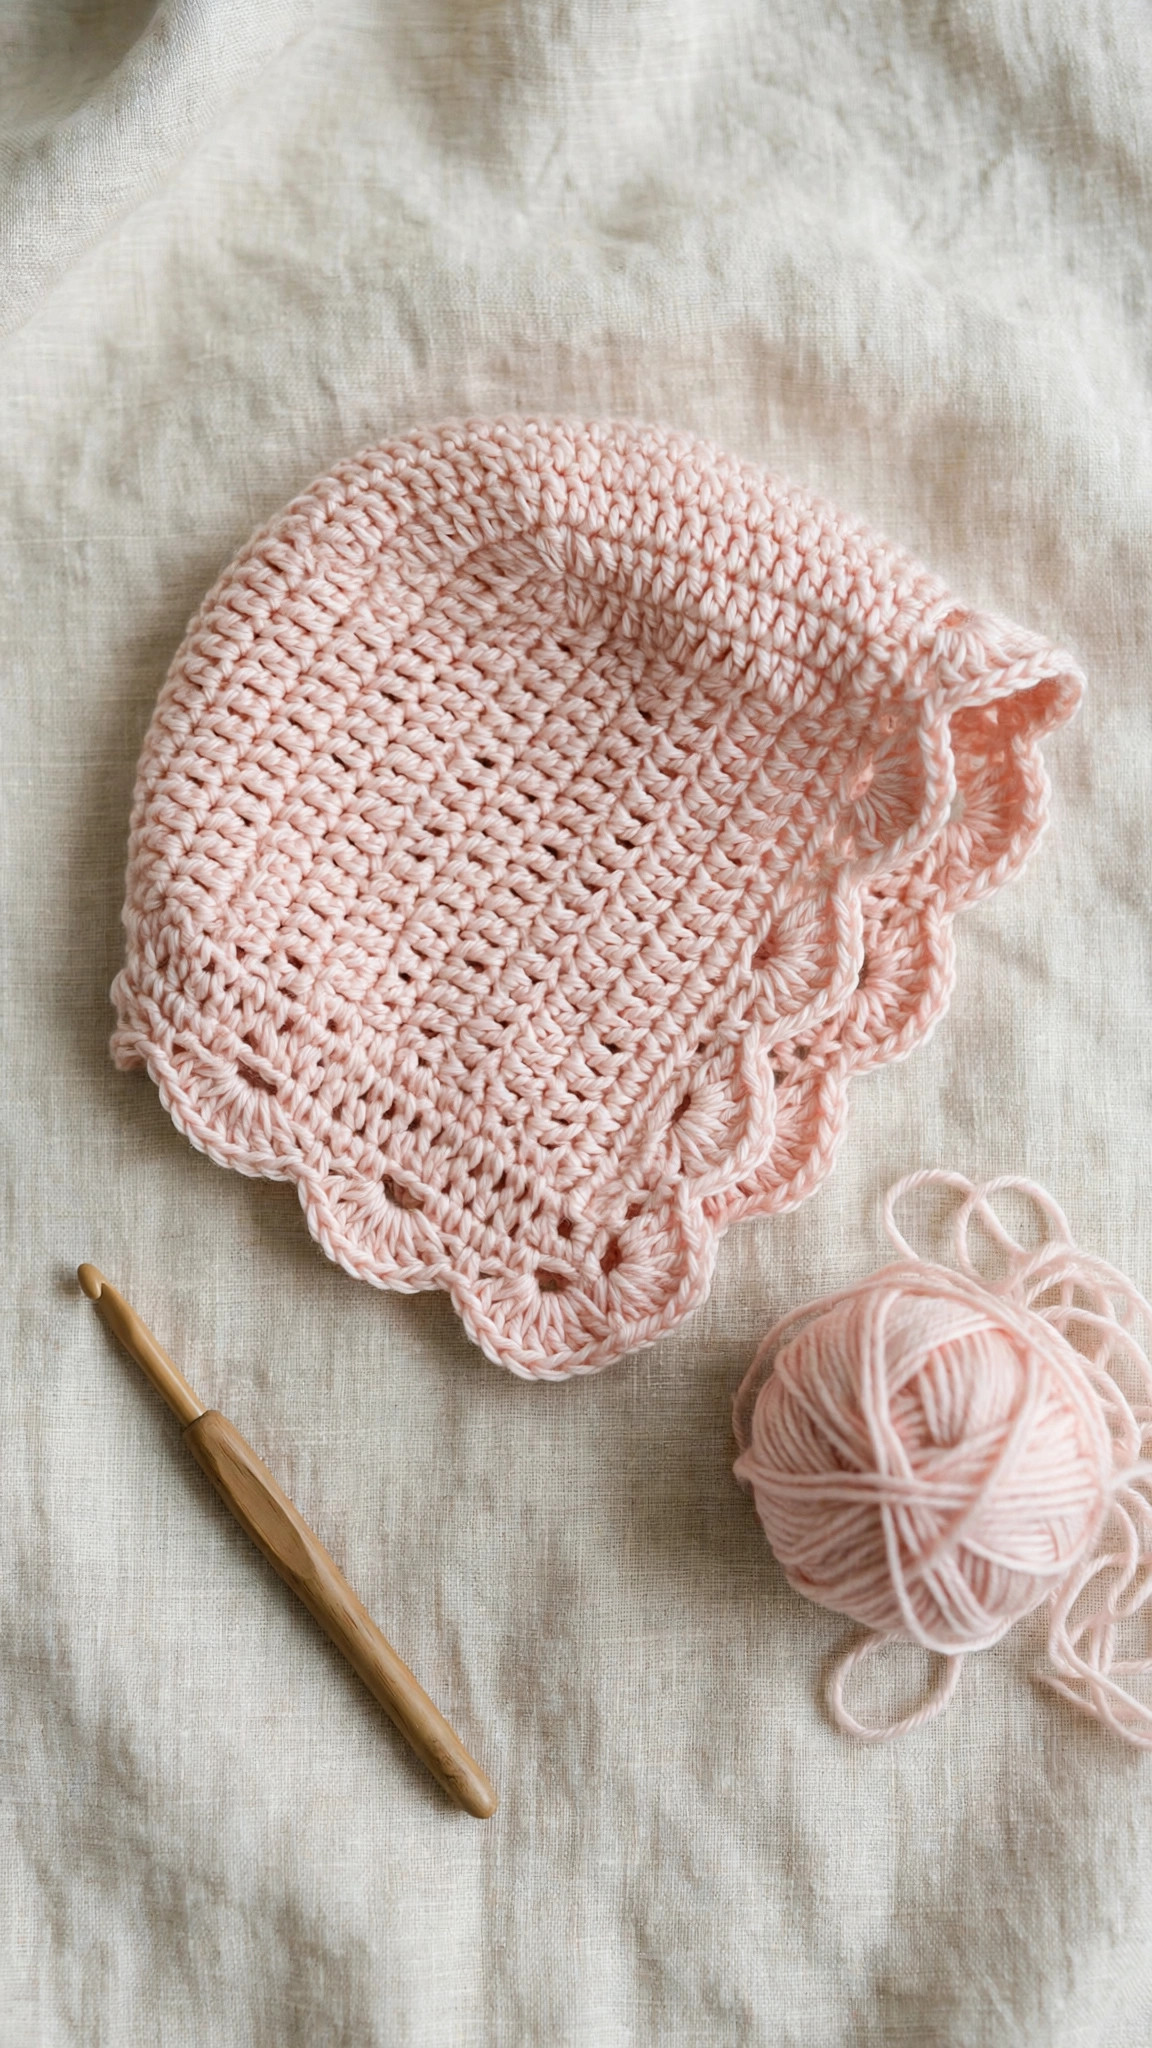
Materials you'll need
| Supply | What to get |
|---|---|
| Yarn | DK / light worsted (#3) soft baby yarn — acrylic, cotton blend or bamboo blend; about 50 g (120 m / 130 yd) for 0–3 months, 60 g (145 m / 160 yd) for 3–6 months, 75 g (175 m / 190 yd) for 6–12 months |
| Crochet hook | 4.0 mm (US G-6) |
| Notions | Tapestry needle with a large eye, stitch markers, scissors |
| For ribbon ties (optional) | 60 cm (24 in) of 6–10 mm satin or grosgrain ribbon, cut in half |
| Optional extras | Small safety pin or clips for trying the fit, fabric-safe marker |
A note on yarn: choose a yarn that feels soft against your inner wrist, because it will sit against a baby's cheeks and neck. Smooth, plied yarns show the scallops best. Avoid fuzzy mohair-style or heavily textured yarns — loose fibres and newborn skin are not friends. Machine-washable yarn is the kind choice for new parents; check the ball band before you buy.
Size, gauge and skill level
| Size | Head circumference | Bonnet depth (crown to neck edge) | Crown circle diameter |
|---|---|---|---|
| 0–3 months | 33–36 cm (13–14 in) | about 12 cm (4¾ in) | about 11.5 cm (4½ in) |
| 3–6 months | 38–41 cm (15–16 in) | about 13.5 cm (5¼ in) | about 13 cm (5 in) |
| 6–12 months | 43–46 cm (17–18 in) | about 15 cm (6 in) | about 14.5 cm (5¾ in) |
- Gauge: 16 hdc × 12 rows = 10 cm (4 in) in half double crochet with a 4.0 mm hook. Gauge matters more here than for a toy — a bonnet has to fit a real head — so take five minutes to swatch. If your swatch has more stitches than 16, go up a hook size; if fewer, go down.
- Skill level: beginner. You should know how to chain, half double crochet and double crochet. Everything is worked in plain stitches; the increases follow the standard flat-circle sequence and every count is written out for you.
- Fit tip: bonnets should sit snug but never tight, with the front edge resting just above the eyebrows. If baby is between sizes, make the next size up; a bonnet worn slightly large looks charming, while a too-small one pops off.
New to crochet garments for babies? The projects in our easy beginner crochet patterns roundup are a friendly warm-up, and the crown circle here uses exactly the same skills.
Abbreviations — US terms
| Abbreviation | Meaning |
|---|---|
| MR | magic ring |
| ch | chain |
| sl st | slip stitch |
| sc | single crochet |
| hdc | half double crochet |
| dc | double crochet |
| inc | increase (2 hdc in the same stitch) |
| st(s) | stitch(es) |
| R | round |
| FO | fasten off |
A note on the crown: the crown is worked in joined rounds — slip stitch to the first stitch at the end of each round and chain 1 to start the next (the chain does not count as a stitch). Joined rounds keep the circle neat and make the front opening easy to position later. Place a stitch marker in the first stitch of each round so counting stays painless.
The pattern (US terms)
How the bonnet is built: you start with a flat hdc circle (the crown), stopping when it reaches your size. Then you leave the front stitches unworked and crochet back and forth in rows across the remaining stitches — those rows form the back and sides. Finally you work the scalloped edging around the front opening and add the ties. One note before you begin: the chain-1 at the start of a row does not count as a stitch anywhere in this pattern.
Crown circle — all sizes
Worked in joined rounds. The stitch count at the end of each round is in parentheses.
- R1: MR, 10 hdc, sl st to first hdc (10)
- R2: ch 1, inc in each st around, sl st to first hdc (20)
- R3: ch 1, [hdc, inc] × 10, sl st to first hdc (30)
- R4: ch 1, [2 hdc, inc] × 10, sl st to first hdc (40)
- R5: ch 1, [3 hdc, inc] × 10, sl st to first hdc (50)
- R6: ch 1, [4 hdc, inc] × 10, sl st to first hdc (60) — stop here for 0–3 months
- R7: ch 1, [5 hdc, inc] × 10, sl st to first hdc (70) — stop here for 3–6 months
- R8: ch 1, [6 hdc, inc] × 10, sl st to first hdc (80) — stop here for 6–12 months
Check your circle: it should lie flat like a coaster, and its diameter should match the size table above. If the edges curl up, your tension is a little tight — blocking will fix a small curl, but rework the last round with a slightly looser hand if it is dramatic. Do not fasten off yet.
Back and sides — size 0–3 months (60-st crown)
Count 12 stitches for the front opening: these will be the middle of the unworked arc. Find the stitch directly opposite where your round ended (this centres the back), count 6 stitches to each side of it going forward, and place a stitch marker in the 6th stitch on each side. The 12 stitches between the markers are the front — do not work them.
- Row 1: ch 1, turn your work sideways and hdc in each of the 48 unmarked stitches, starting in the stitch just past the first marker (48). Remove the markers once Row 1 is complete — the gap is now obvious.
- Rows 2–8: ch 1, turn, hdc in each st across (48). At the end of Row 8, do not fasten off.
Back and sides — size 3–6 months (70-st crown)
- Count 14 stitches for the front opening: mark the 7th stitch on each side of the front centre as above.
- Row 1: ch 1, hdc in each of the 56 unmarked stitches (56).
- Rows 2–9: ch 1, turn, hdc in each st across (56). At the end of Row 9, do not fasten off.
Back and sides — size 6–12 months (80-st crown)
- Count 16 stitches for the front opening: mark the 8th stitch on each side of the front centre as above.
- Row 1: ch 1, hdc in each of the 64 unmarked stitches (64).
- Rows 2–10: ch 1, turn, hdc in each st across (64). At the end of Row 10, do not fasten off.
Tip: lay the work flat after your third row. The unworked front arc should form a clean opening roughly as wide as the size table's crown diameter minus a centimetre or two — don't worry if the edges roll a little; the edging will tame them.
Scalloped front edging — all sizes
Turn the bonnet so the right side faces you and the neck edge is at the bottom. You will work around the front opening: up one side, across the unworked crown arc (the forehead edge), and down the other side. Join your yarn with a slip stitch in the first stitch of the neck edge at the right front corner.
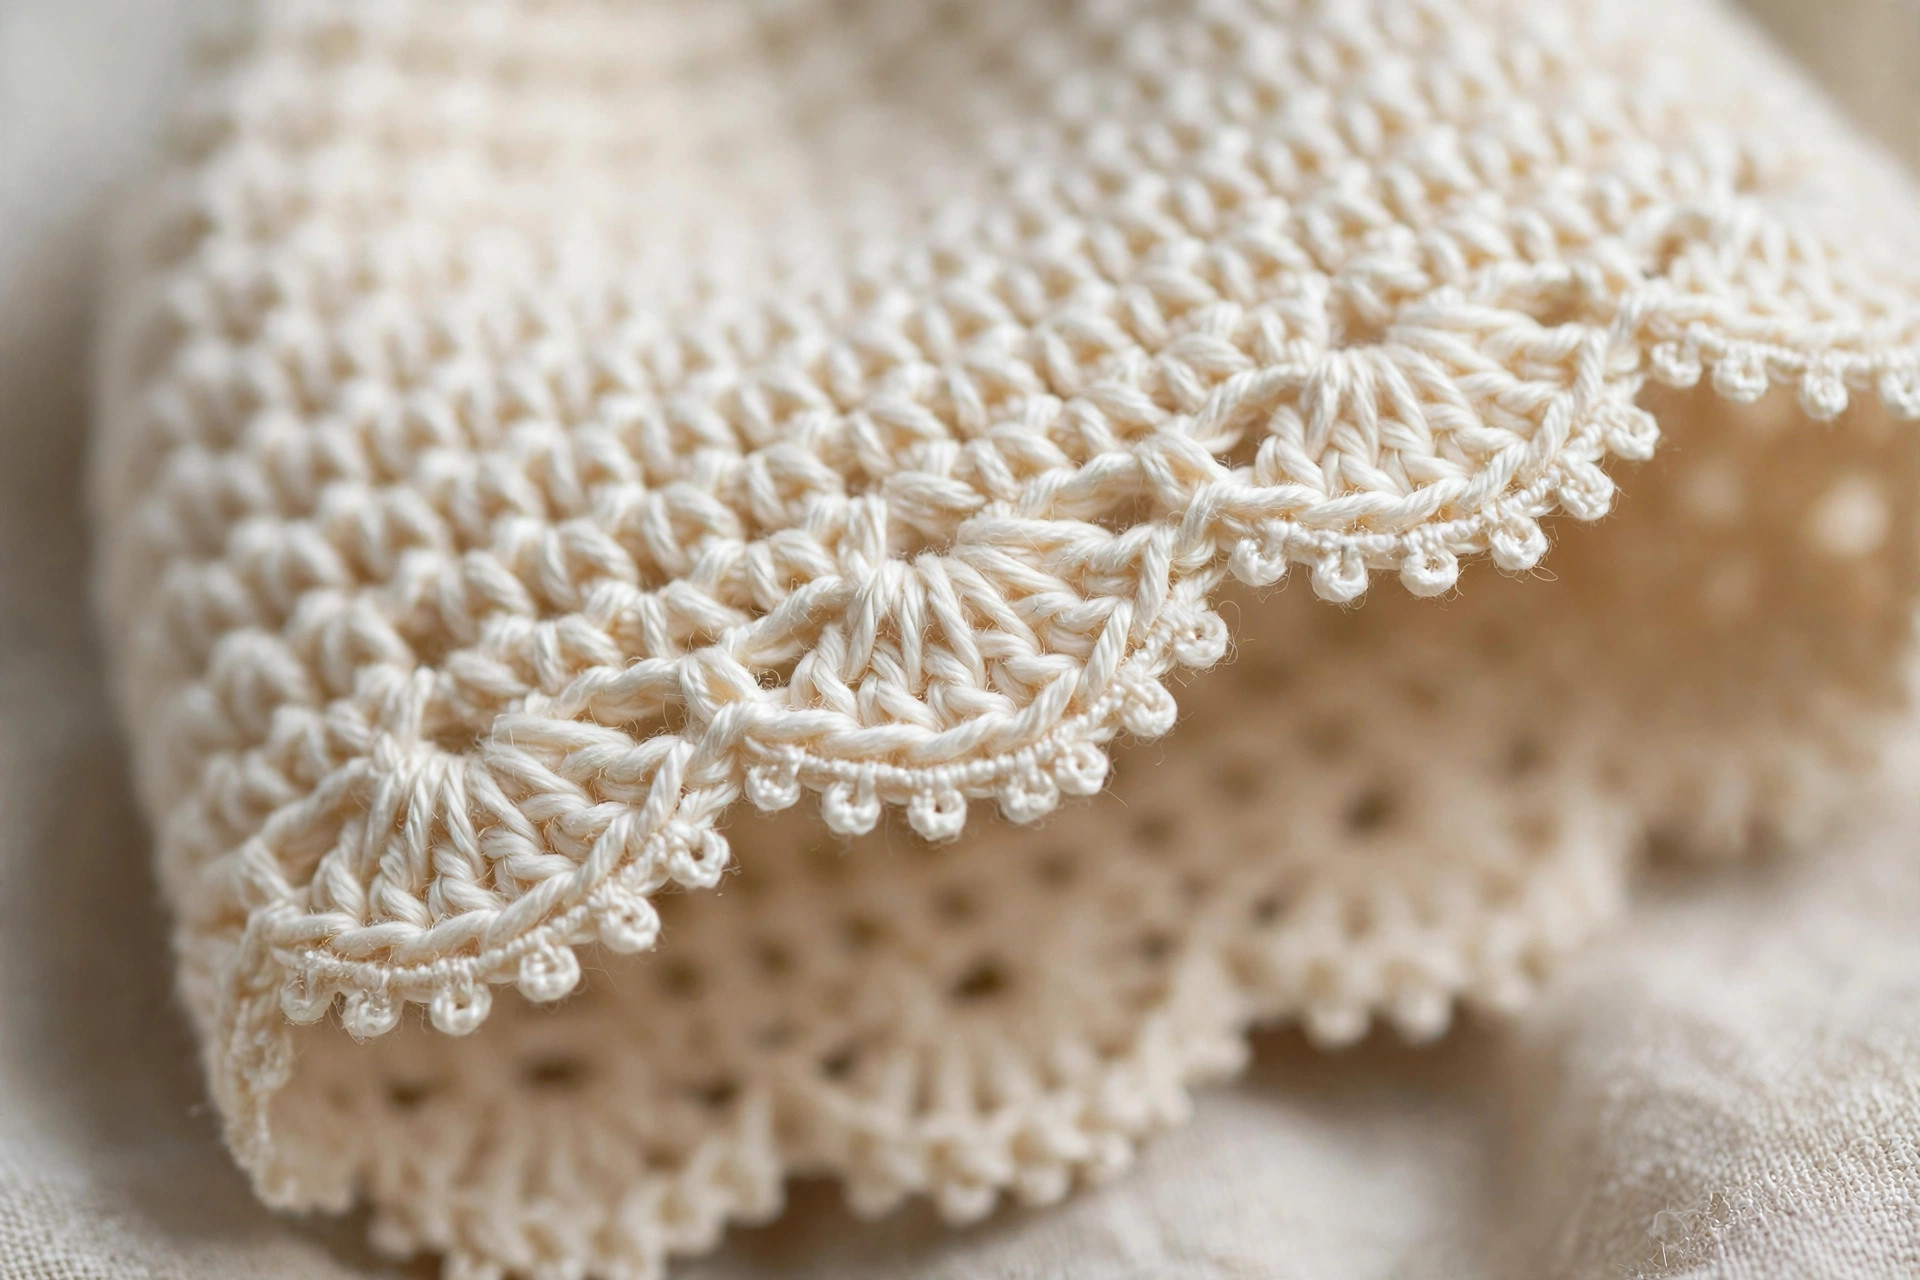
- Edging round: ch 1, sc in the joining st, then repeat [skip 1 st, 5 dc in the next st (one shell), skip 1 st, sc in the next st] all the way around the front opening, finishing with an sc in the last stitch at the left front corner. FO and weave in the end.
Work approximately 1 stitch of edging per row-end or per crown stitch — close enough is genuinely fine here. If the shell pattern doesn't come out perfectly even around a corner, add or drop a skipped stitch; the scallops are forgiving. For the daintier picot version, skip to the finishing section below.
Chin ties — crocheted cord, all sizes
Make two identical ties.
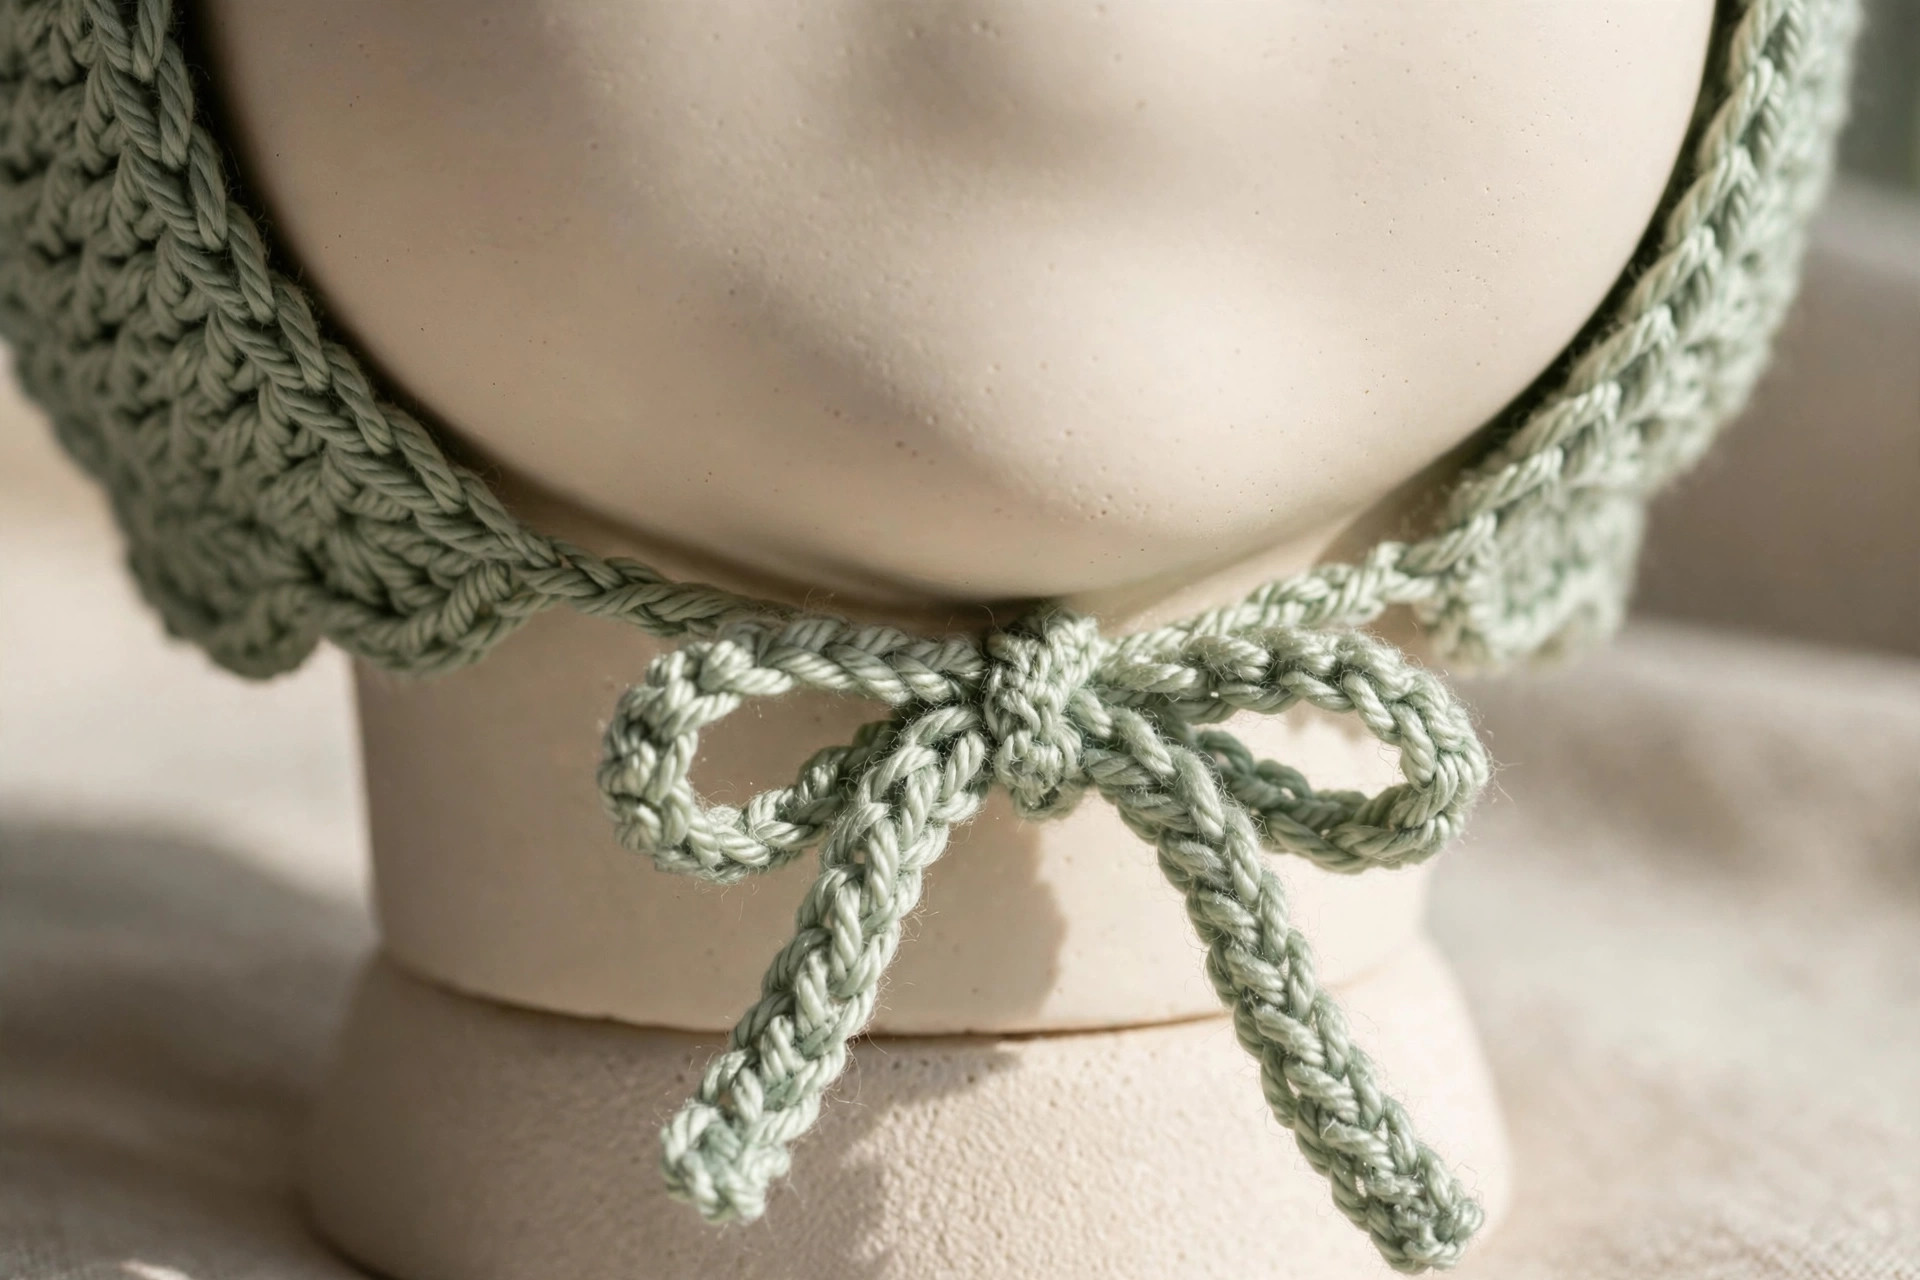
- Ch 46 (51, 56) for 0–3 (3–6, 6–12) months — this makes a tie about 25 (28, 31) cm / 10 (11, 12) in long.
- Row 1: sl st in the 2nd ch from the hook and in each ch across. FO, leaving a 15 cm (6 in) tail at each end.
- Attach one tie at each front bottom corner: thread both tails through the corner stitch, tie a firm square knot, then weave the tails into the bonnet's edge with your tapestry needle for a few centimetres so the join is secure. Give each tie a gentle tug — it should feel firmly anchored, not stretchy.
Ribbon ties (optional alternative): cut your 60 cm ribbon in half. Seal each cut end over a flame or with fray-check. At each front corner, sew the ribbon end to the inside of the corner with small, tight stitches, passing through the ribbon twice and anchoring into several nearby stitches. Ribbon ties look dressy for photos and keep their bow beautifully.
Finishing touches
Weave in and soften. Weave in all ends with the tapestry needle, running each tail through stitches three times in different directions so nothing works loose in the wash. Then gently shape the bonnet: cup it in your hands and ease the crown into a rounded dome, and smooth the scallops flat with your fingertips. Consider a gentle hand wash and a flat dry before gifting — it softens the yarn and evens the stitches beautifully.
Optional picot edging. Prefer a crisper, vintage look? Swap the shells for this: join yarn at the right front corner as before, then repeat [sc in the next 2 stitches, picot in the next stitch] around the front opening, ending with an sc in the last stitch. A picot is worked as ch 3, sl st into the first chain you just made — it forms a tiny pointed loop. Work a picot in every third stitch and the whole front edge turns into a delicate scalloped lace outline.
A quick word on baby safety — please read
Bonnets with ties are supervised-wear items only. Use this bonnet for outings, walks and photos while baby is awake and with an adult. Always tie the ties snugly under the chin, never loosely. Remove the bonnet completely before naps, sleep, car-seat rides and any time baby is out of your sight — cords and ties of any kind are a strangulation risk for sleeping or unsupervised babies. Check the tie joins before every wear, and retire or re-sew a tie that starts to pull loose. These are the same common-sense rules used for any tied baby garment.
Three sweet variations to try next
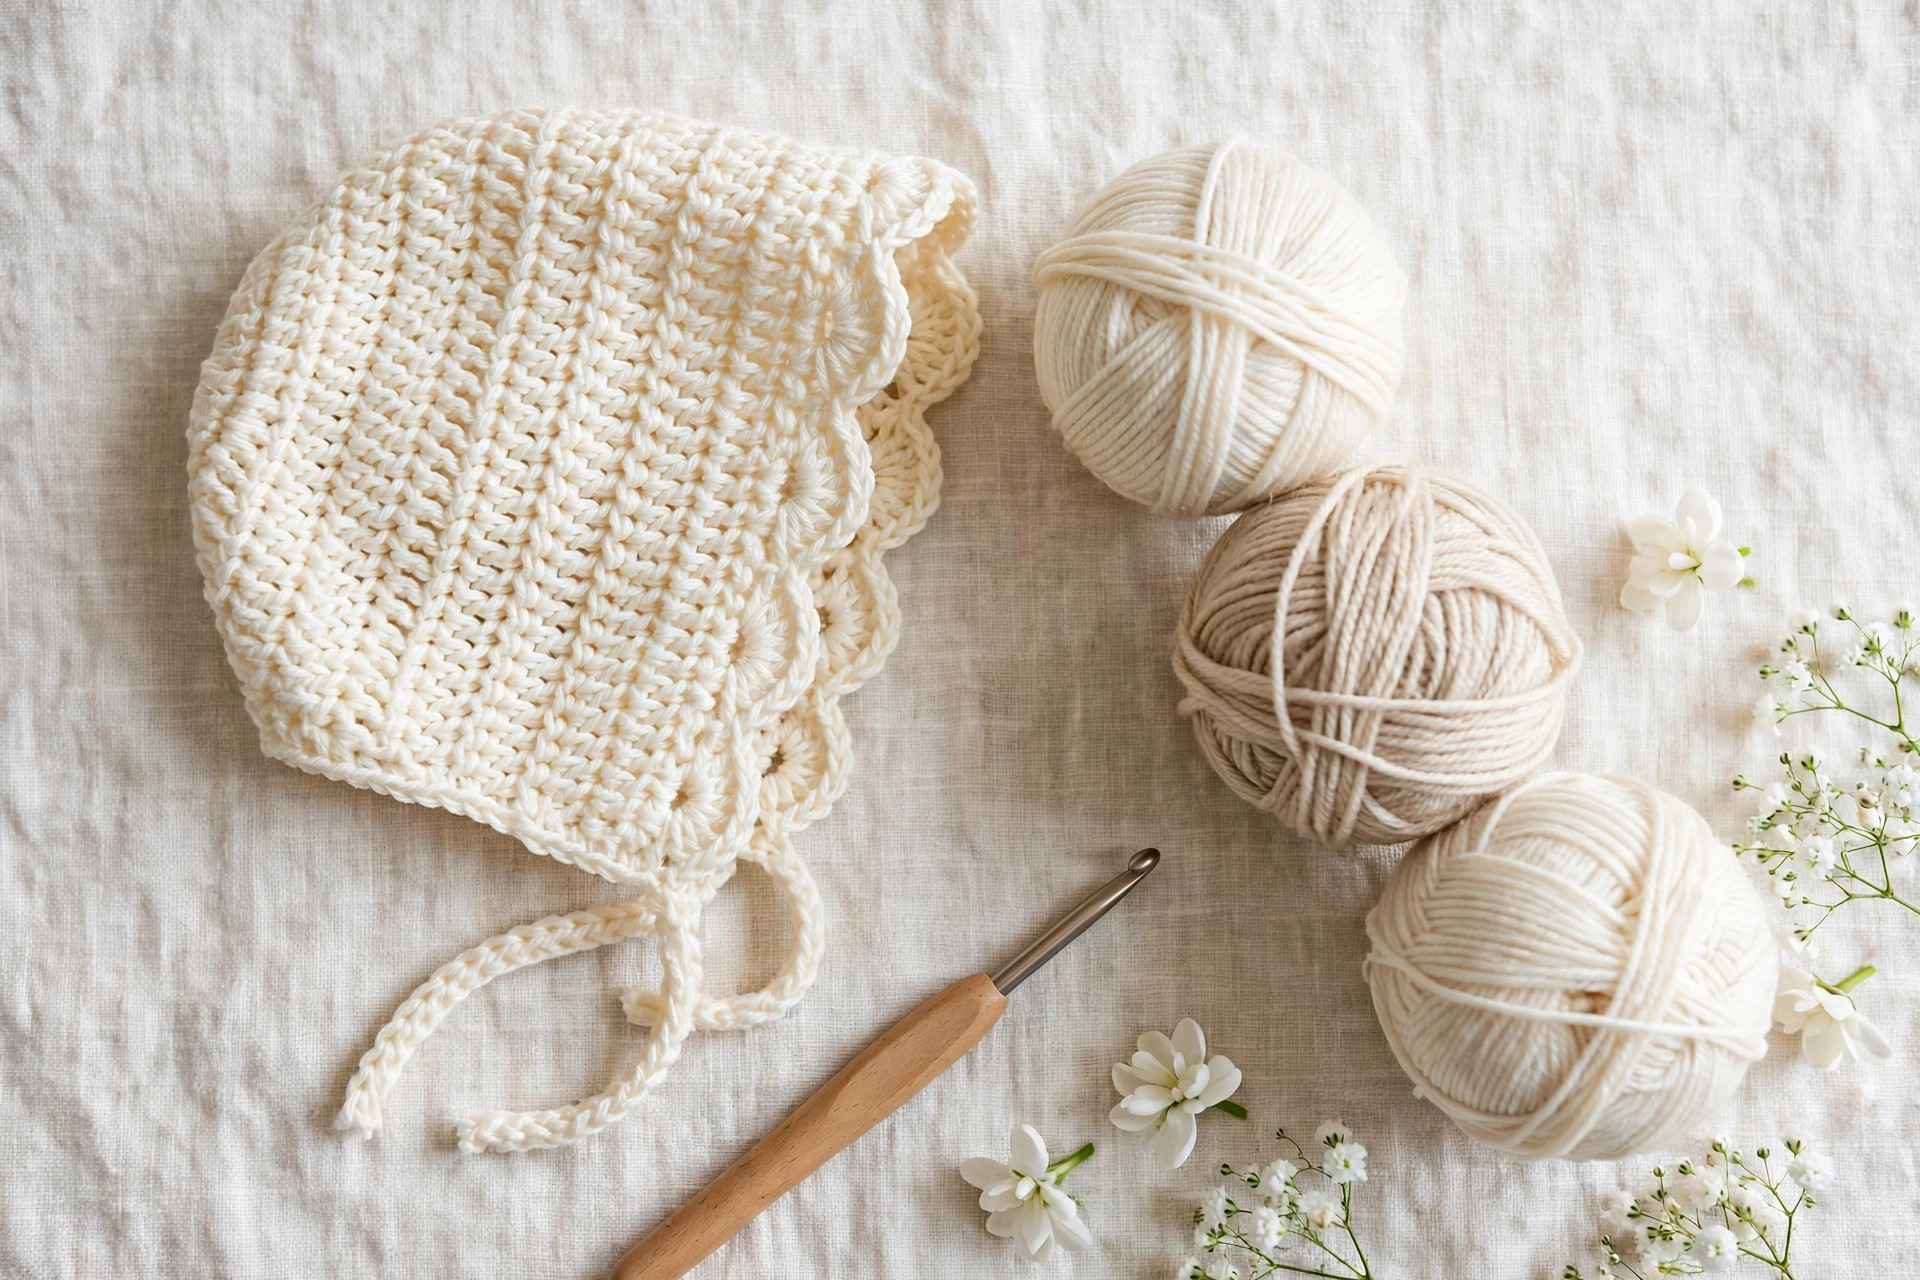
- Striped garden bonnet. Change colour at the end of every crown round — soft cream, sage and blush is a gorgeous combination — then work the scallop edge in a contrast shade. The stripes show off the circle construction and make the bonnet look far more advanced than it is.
- Heirloom lace-front bonnet. Keep the pattern exactly as written, but work the picot edging instead of the shells and thread a narrow ribbon through the base of the edging stitches, tying it at the front for occasions. In all-white yarn this is a beautiful christening or naming-day bonnet.
- Appliqué cutie bonnet. Crochet the tiny heart from our free crochet heart pattern in a contrast colour and sew it flat to one side of the crown, or add a small crochet flower at each temple. Keep appliqués flat and securely sewn, with no buttons or beads.
Troubleshooting tips
- The crown ruffles like a lettuce leaf. Your increases are too generous, usually because your tension loosened as you relaxed. The round counts are standard flat-circle math, so frog back one round and work with a consciously even tension — or drop 0.5 mm on the hook for the crown only.
- The crown cups into a bowl. The opposite problem: stitches too tight. Check your gauge, and be sure you are slip-stitching to join each round.
- The front opening sits too low over baby's eyes. The bonnet is a touch big. Make one size down, or reduce the front opening by two stitches so the edge sits higher.
- The scallops ripple and won't lie flat. Work one fewer shell across the front — it usually settles it. A gentle steam or wash-and-pin block flattens the rest.
- The neck edge feels tight. Your row gauge is tighter than 12 rows per 10 cm. Add one extra body row in the same stitch count — the neck relaxes.
- The ties keep slipping out of their knot. Knot twice, or work the ties in sc instead of slip stitch for a toothier cord — or choose the ribbon option, which holds a bow best.
Frequently asked questions
Is this baby bonnet crochet pattern really free?
Yes — the complete pattern in all three sizes is right here, free, with no signup required. Sharing the post or saving it to Pinterest is the kindest thank-you.
How long does one bonnet take to make?
About 2 hours for most crocheters: roughly 40 minutes for the crown, an hour for the back rows, and half an hour for the edging, ties and finishing.
Can I sell the bonnets I make from this pattern?
Yes. You may sell finished bonnets made from this pattern in small batches — craft fairs, markets, your own shop. Please credit Little Loop Finds as the designer with a link back. The pattern text and photos may not be redistributed or sold.
What yarn can I substitute?
Any DK (weight #3) yarn that meets gauge works — acrylic, cotton and bamboo blends are all lovely. Cotton is cooler for summer babies; acrylic blends are softest and easiest to wash. Avoid wool that isn't superwash if the bonnet will be machine washed, and always check it feels soft against your wrist.
Is a bonnet with ties safe for my baby?
Used correctly, yes — as supervised, awake-time wear. Tie the ties snugly, and always remove the bonnet for sleep, naps, car journeys and any unsupervised moment, exactly as you would with any tied garment. See the safety notes in the finishing section above, and check the tie joins before every wear.
How do I wash the finished bonnet?
Follow your yarn's ball band. Most baby DK acrylics machine wash gently and dry flat. Hand washing in lukewarm water, reshaping the crown over a balled-up towel and drying flat keeps the scallops crisp longest.
More free patterns to try
Building a handmade baby layette? The woodland nursery mobile turns tiny crocheted animals into nursery decor that matches a bonnet gift beautifully, and the one-piece crochet teddy bear makes the sweetest photo companion. For headwear the whole family can wear, the free crochet hat pattern is a cosy next step, and if you loved the scalloped edging here, try it as a border on your next blanket.
The box below contains an Etsy link. If you buy through it, we may earn a small commission at no extra cost to you. Learn more.
No time to make one?
Short on time? Find handmade crochet baby bonnets from independent makers on Etsy.
Browse on Etsy (opens Etsy in a new tab)