Free Crochet Slipper Patterns: Cozy Non-Slip House Slippers
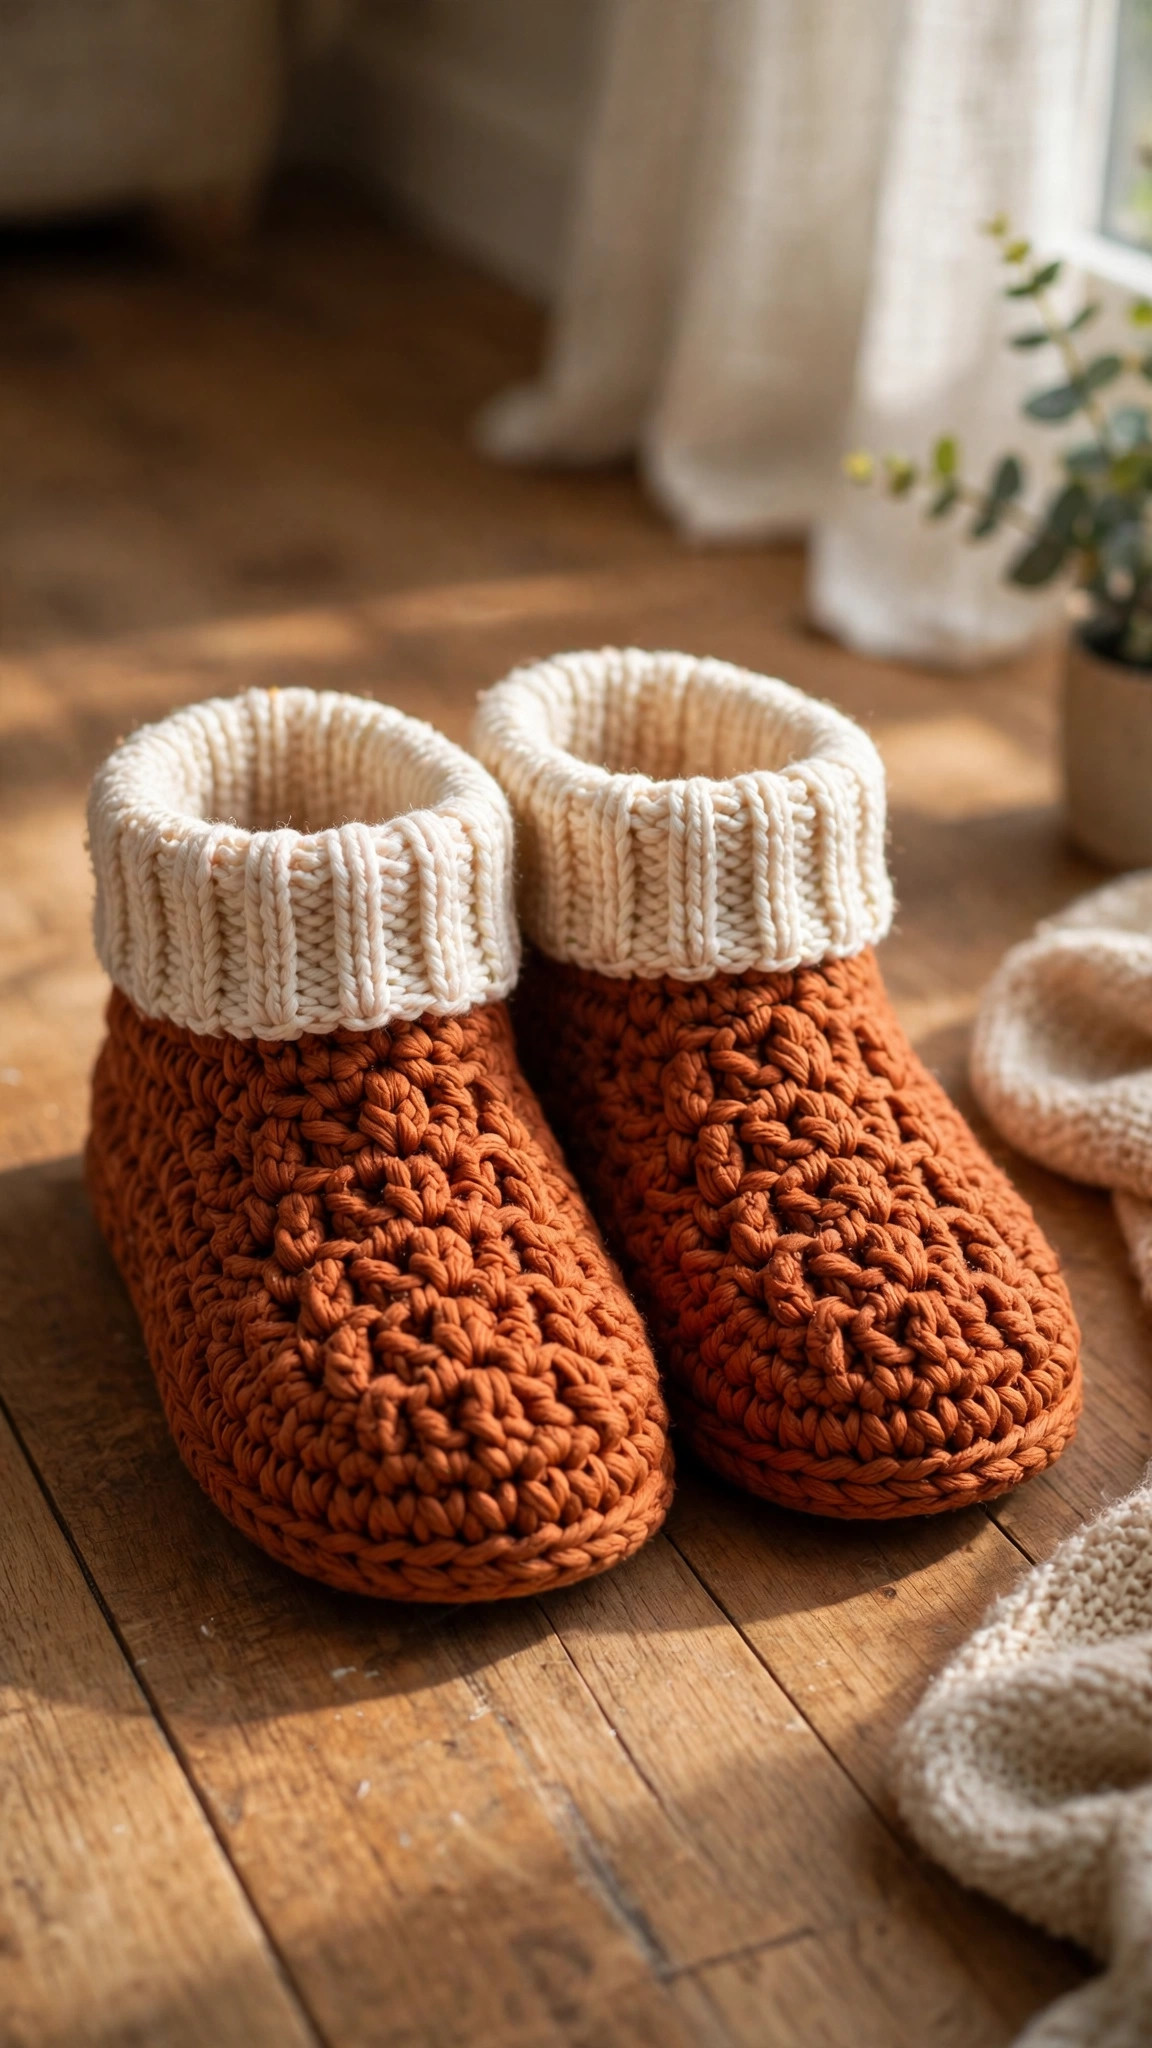
Cozy one-piece house slippers with a thick doubled-yarn oval sole, a simple heel turn that keeps them on, gentle toe shaping and a soft ribbed cuff — with full stitch counts for women's sizes S, M and L, two style variations and three non-slip sole options.

Wearables · Crochet
- Finished size
- Women's S (5–6), M (7–8), L (9–10)
- Making time
- About 2–3 hours per pair
- Hook
- 6.0 mm, worsted yarn held double
- Pieces
- One piece per slipper — no sewing
- Skill
- Easy
In this post
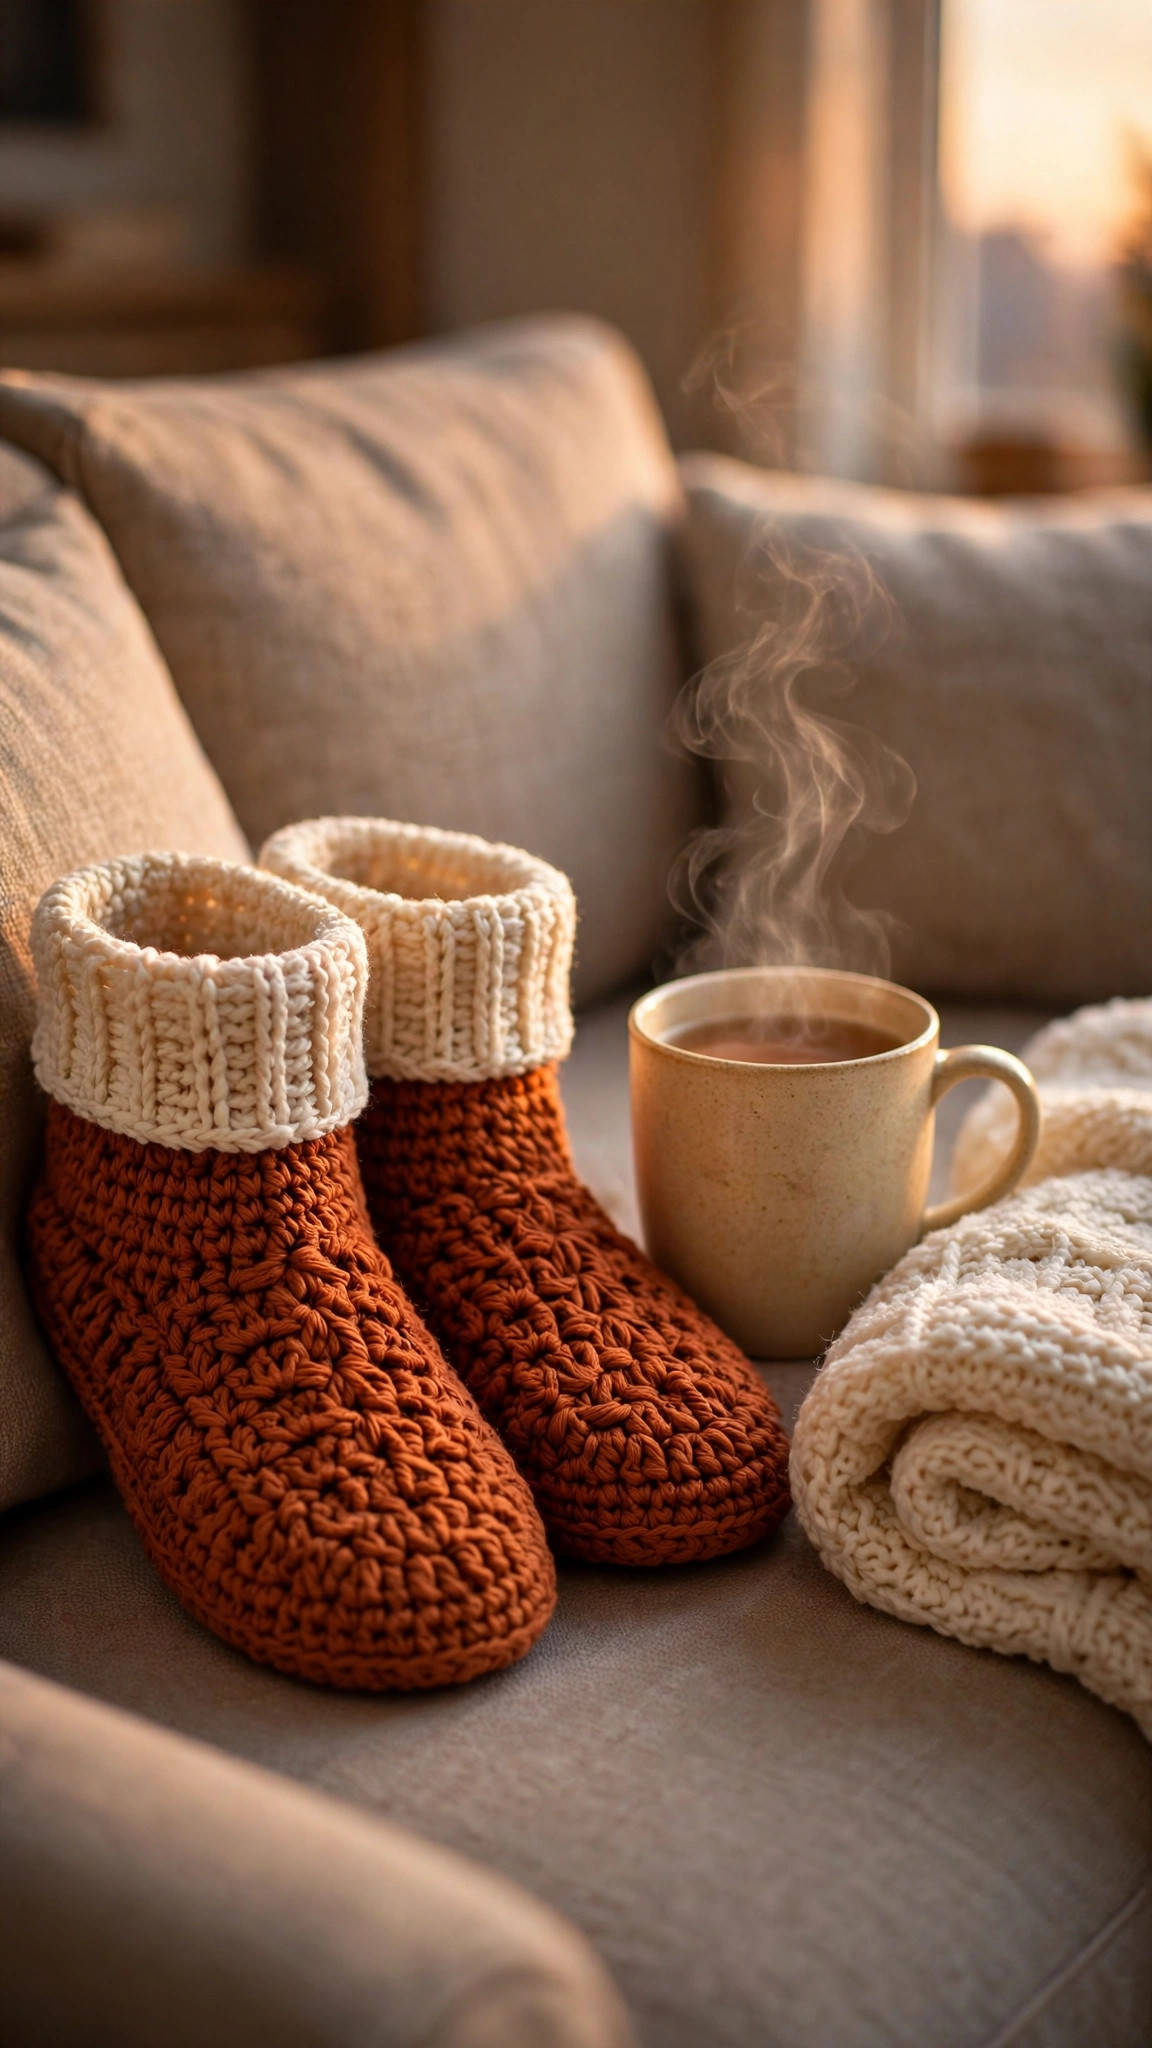
There is a moment on a cold morning — feet on a chilly floor, kettle not yet boiled — when good house slippers become essential equipment. These free crochet slipper patterns give you exactly that pair: thick, cushioned soles worked with two strands of yarn held together, sides that come up properly around your foot, a simple heel turn that cups the back of your foot, and a soft ribbed cuff that hugs your ankle.
This is an original Little Loop Finds design, written in full with round-by-round counts for three women's sizes. Each slipper is worked in one piece — oval sole, sides in continuous rounds, toe shaping, then the cuff. Nothing is sewn together.
Make the classic plain pair first, in one colour. Then try the variations built into the same pattern: a two-tone version with a contrasting cream cuff (the pair in our photos), and a mock-cable or pompom version for gifting season. All start from the same sole.
Contents
- Why you'll love these crochet slippers
- Materials you'll need
- Size, gauge and skill level
- Abbreviations — US terms
- The pattern (US terms)
- Finishing and assembly
- Tips for slippers that fit and last
- FAQ
- What to crochet next
Why you'll love these crochet slippers
First, the sole is genuinely thick. Two strands of worsted worked together make a dense, springy fabric that feels more like a felted shoe sole than a sock — real cushioning on cold tile, and a sole that holds its oval shape instead of curling.
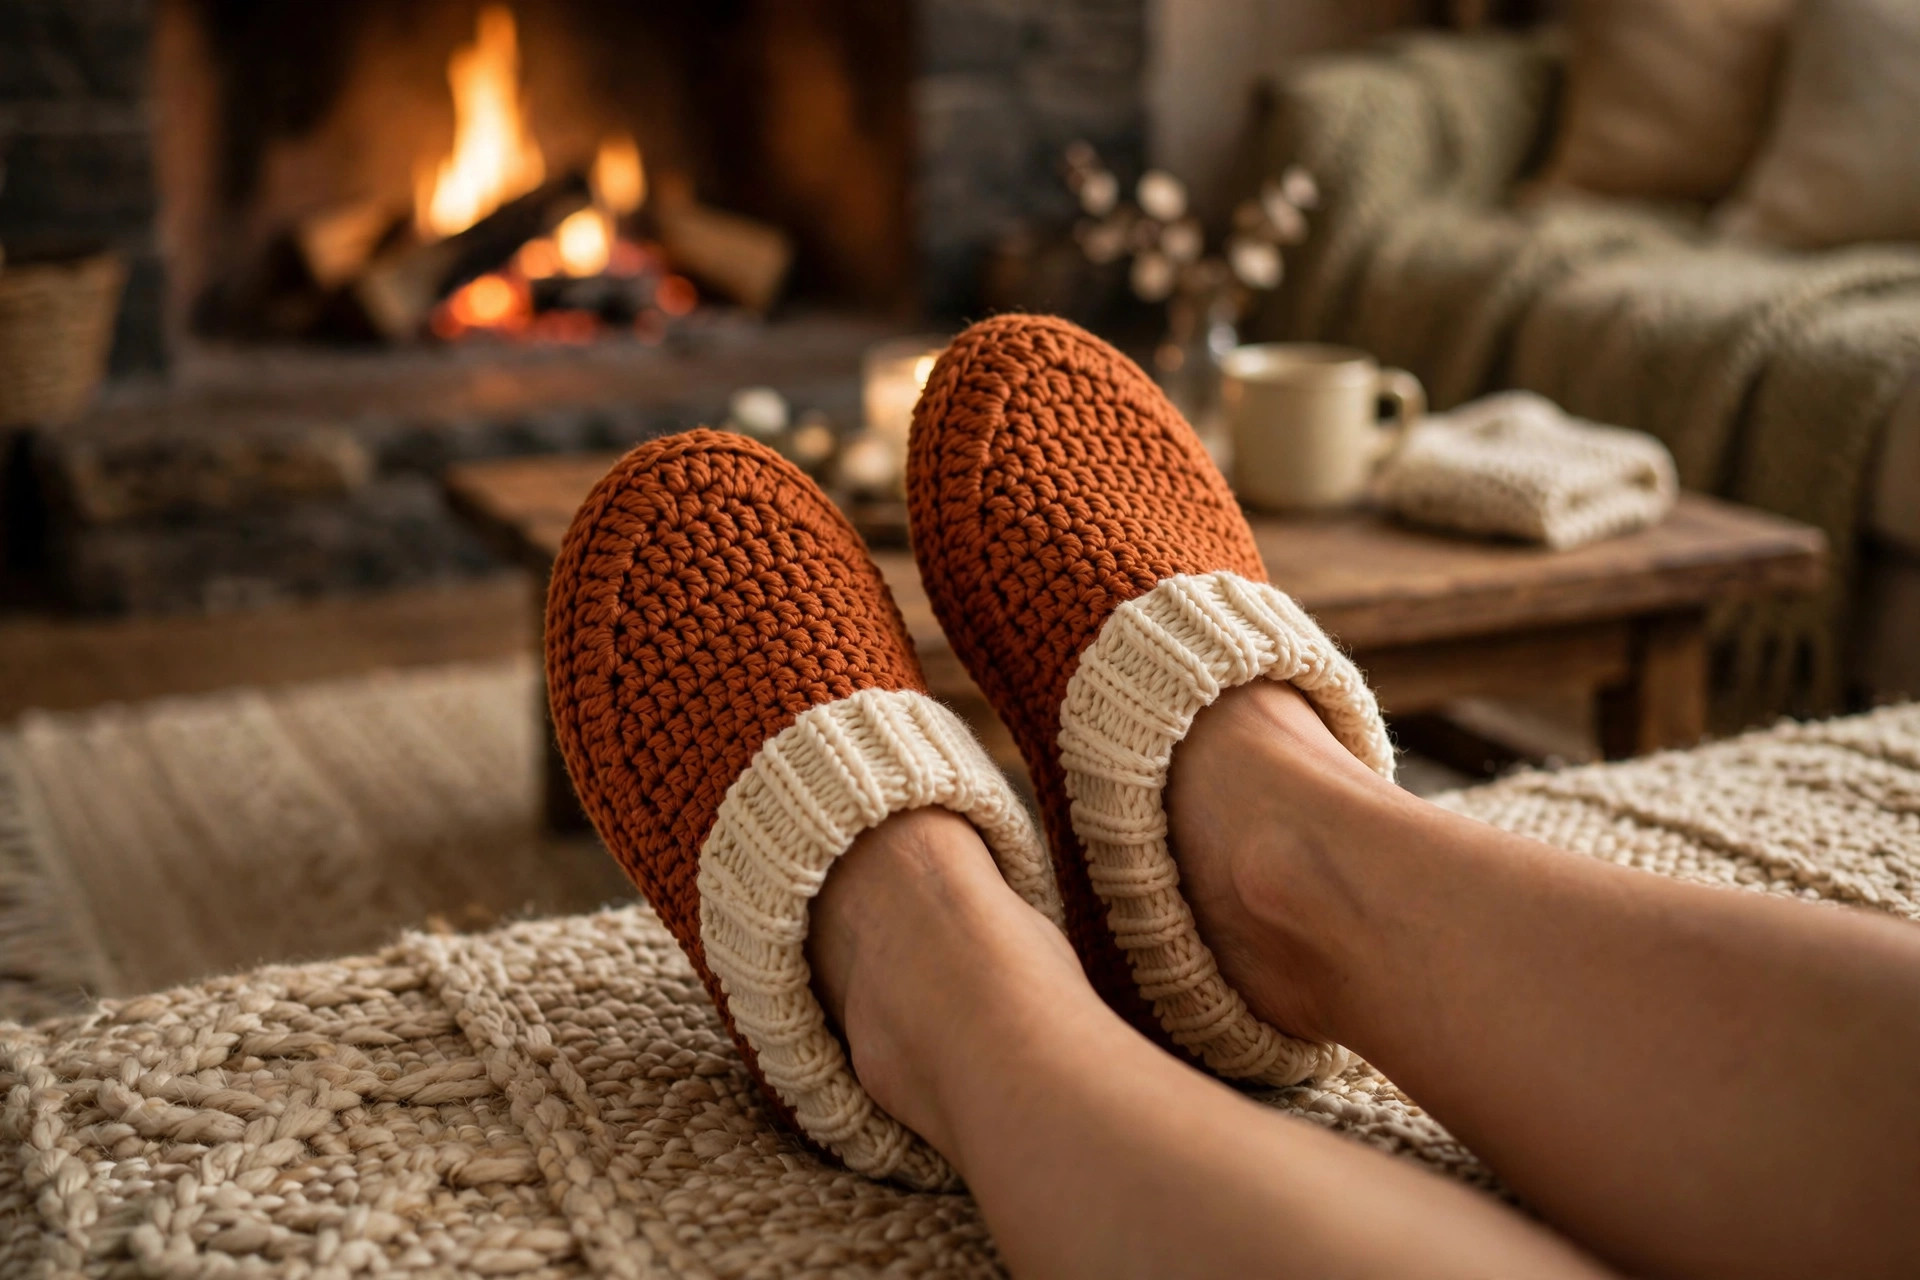
Second, they stay on. Most beginner slipper patterns are tubes with a toe, sliding off at the heel with every third step. Here, a heel turn pulls the back in so it cups your heel, and the ribbed cuff grips gently at the ankle. No toe-scrunching shuffle.
Third, the fit is written for real feet. Three sizes cover women's US 5 through 10, every shaping round gives each size's count, and the finishing notes cover wider feet and men's sizes.
Finally, they are fast and forgiving. Half double crochet works up quickly, and the doubled yarn hides small tension wobbles. A brilliant weekend project and handmade gift — and for outdoor boots, pair them with our free crochet boot cuff patterns.
Materials you'll need
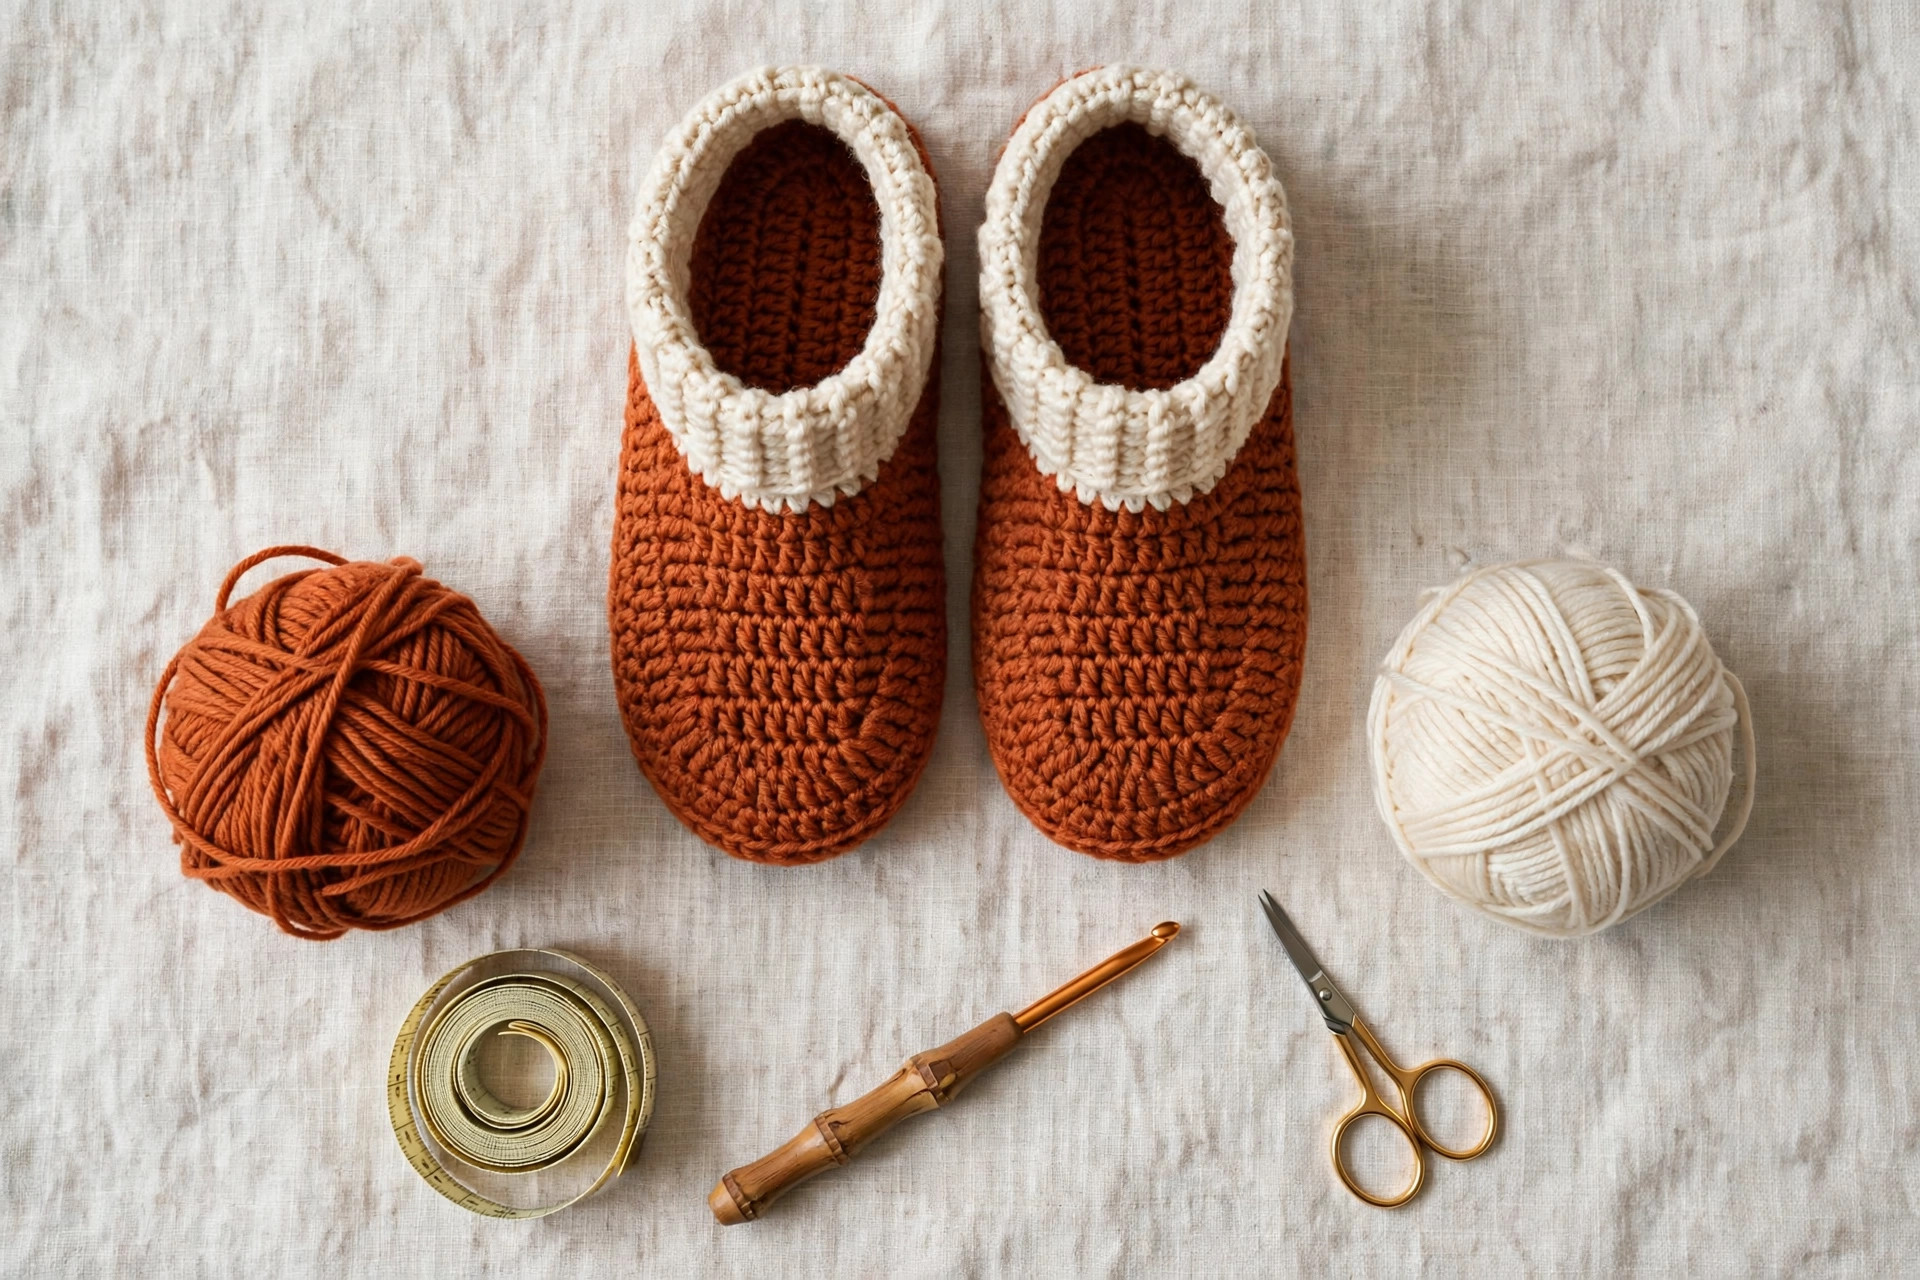
The pattern uses two strands of worsted-weight yarn held together throughout — that gives the sole its cushion and the upper its structure. You can substitute a single strand of bulky (category 5) yarn with exactly the same counts; check gauge either way, because it sets the sole length.
Choose a hard-wearing yarn. Slippers are stood on, scuffed and washed more than almost anything else you crochet. A sturdy acrylic or acrylic-wool blend is ideal: it springs back, washes well and does not felt stiff like pure wool can.
| Supply | What to get |
|---|---|
| Main yarn | Worsted weight (category 4), about 300–350 yards total held double — roughly 170 g — in rust orange or your main colour |
| Cuff yarn (two-tone version) | Worsted weight, about 60 yards held double, in cream or a contrast colour |
| Alternative yarn | Bulky weight (category 5), about 170–190 yards, single strand, instead of the doubled worsted |
| Hook | 6.0 mm (US J-10) crochet hook |
| Notions | Yarn needle with a large eye, 2 stitch markers, scissors, measuring tape |
| For non-slip soles | Puff fabric paint, or suede/leather sole patches and strong thread, or clear silicone sealant |
| Optional | Thin foam or felt insoles, cut to size, for extra cushioning |
The main yarn estimate covers a pair in size L. For the classic plain version the cuff uses main yarn too. Buy one extra ball if your tension is loose.
Size, gauge and skill level
Skill level: Easy. You need chain, half double crochet, hdc2tog, double crochet, and front-post/back-post double crochet for the cuff — each explained below. The plain cuff option in the variations skips post stitches entirely.
Sizes: Women's US S (5–6), M (7–8) and L (9–10). Counts are written S (M, L) throughout — highlight your size before you start. Finished sole lengths: about 23 cm / 9 in (S), 25 cm / 9.75 in (M) and 26.5 cm / 10.5 in (L). Choose the size whose sole is about 0.5 cm (1/4 in) longer than the foot — crochet stretches in wear, and a snug start fits perfectly after a day.
Gauge: 11 half double crochet stitches and 8 rounds measure about 10 cm (4 in) with yarn held double and a 6.0 mm hook. Gauge matters here because it sets the sole size. If your stitches run small, go up to a 6.5 mm hook.
Construction in brief: Sole in oval rounds, one back-loop round to turn the corner, sides with a heel turn, toe shaping in two rounds, then a double-crochet round and three ribbed cuff rounds.
Abbreviations — US terms
US terms throughout. (UK note: a US half double crochet is a UK half treble; a US double crochet is a UK treble.)
| Abbreviation | Meaning |
|---|---|
| ch | chain |
| hdc | half double crochet |
| dc | double crochet |
| hdc2tog | half double crochet 2 together — decrease |
| fpdc | front-post double crochet |
| bpdc | back-post double crochet |
| BLO | back loop only |
| st(s) | stitch(es) |
| rnd(s) | round(s) |
| FO | fasten off |
Half double crochet two together (hdc2tog): Yarn over, insert hook into the next stitch, yarn over and pull up a loop. Without completing the stitch, yarn over, insert hook into the following stitch, yarn over and pull up a loop (6 loops on hook). Yarn over and pull through all 6 loops.
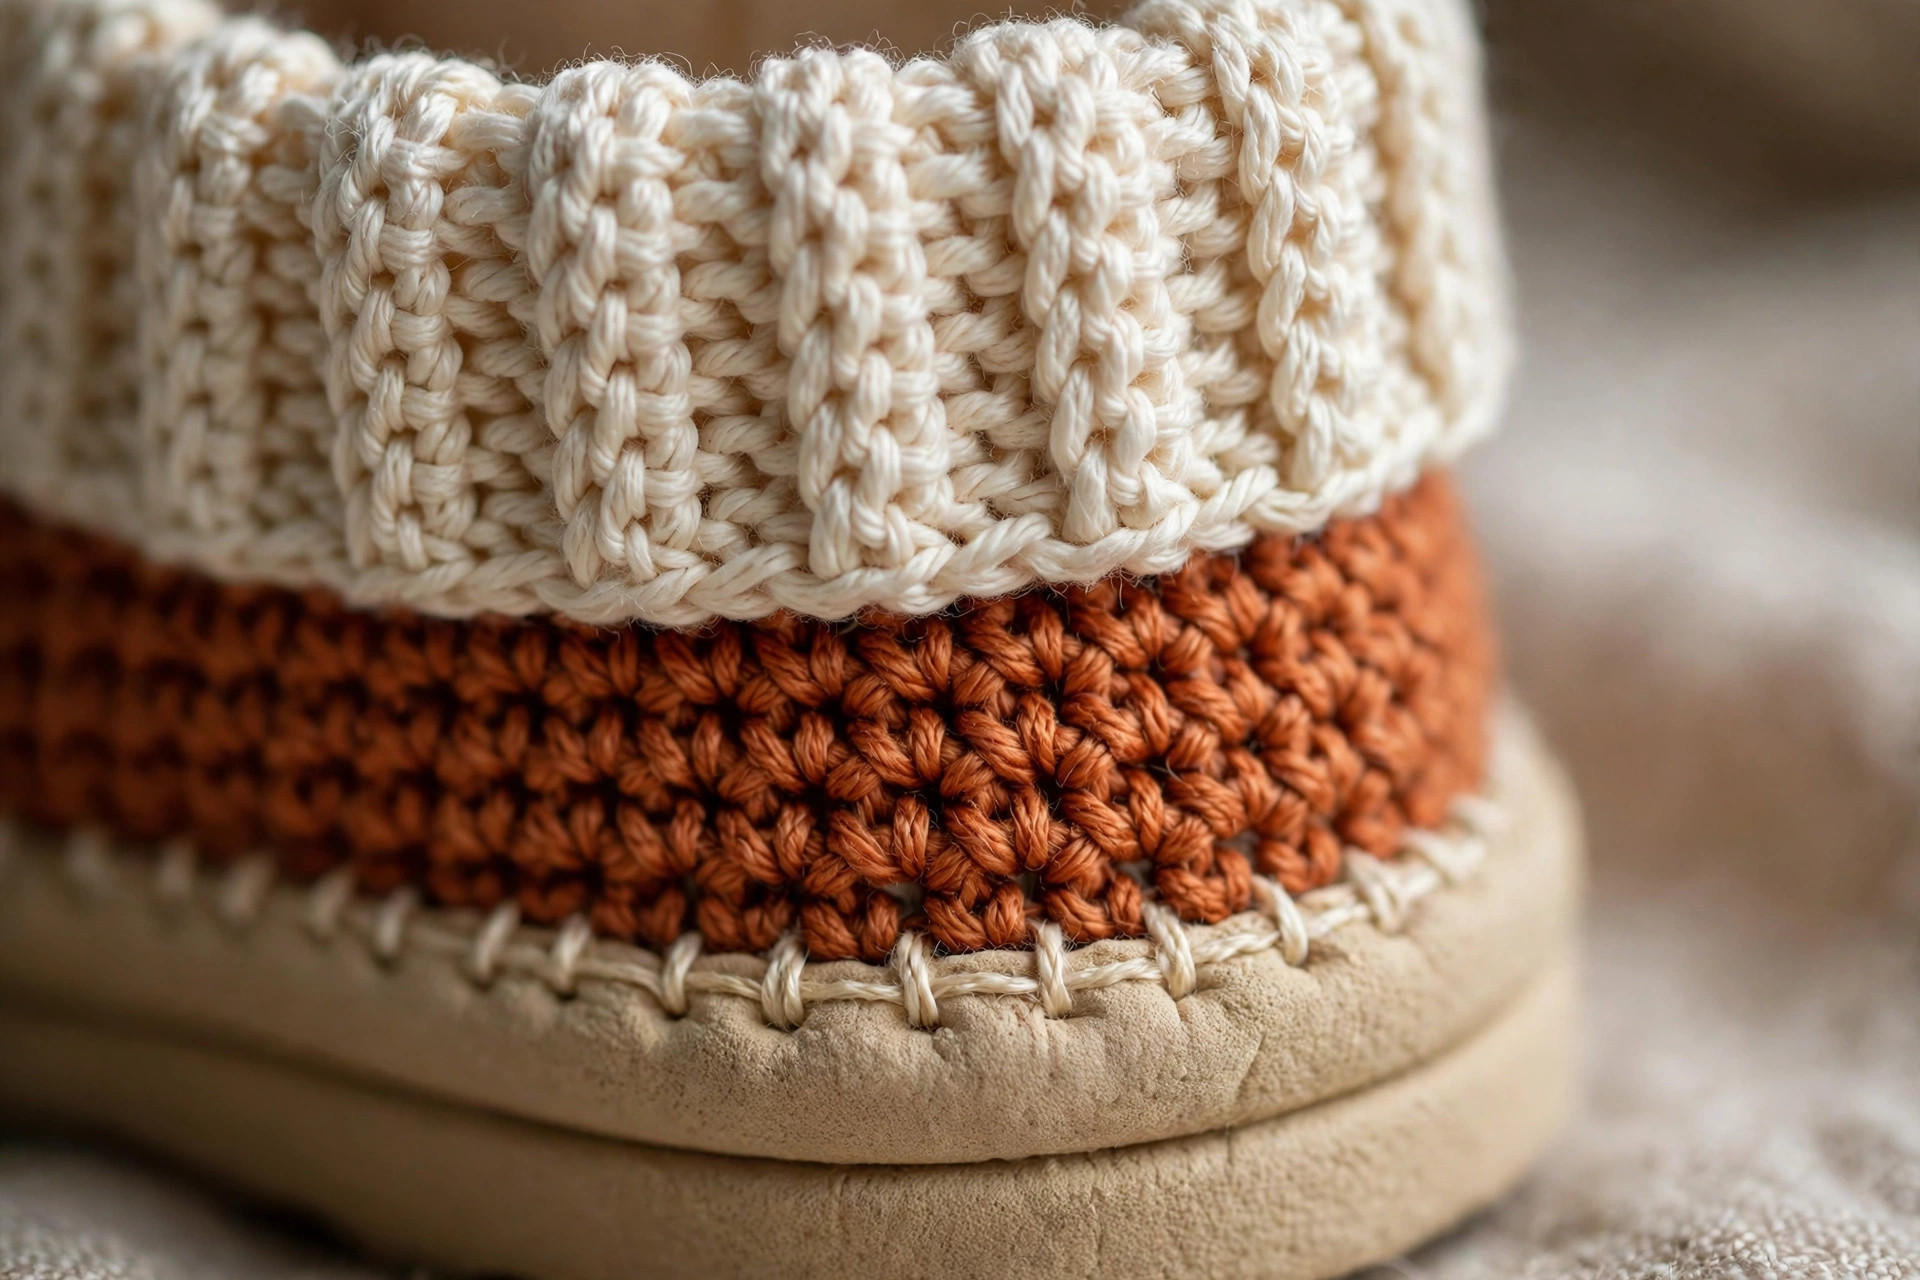
Front-post and back-post double crochet: For fpdc, yarn over and insert your hook from front to back to front around the post of the stitch below, then complete a normal double crochet. For bpdc, insert from back to front to back. Alternating them pushes one column forward and the next back — that ribbing makes the cuff stretchy and snug. Check yours against the cuff close-up in the pattern below.
A note on rounds: Work in continuous spirals — do not join at the end of each round. Mark the first stitch and move the marker up as you go. You also need markers in the centre stitch at each end of the sole oval, because the heel turn and toe shaping happen at opposite ends, and mixing them up is the one mistake that ruins a slipper.
The pattern (US terms)
Make two slippers exactly the same — there is no left and right foot, and after a day of wear each slipper moulds itself to the foot it lives on.
The sole — worked as an oval
The sole is worked around a foundation chain: down one side, around the end, and back up the other. The two ends of the oval become the toe and the heel.
Foundation chain: With two strands held together (or one strand of bulky), ch 18 (20, 22).
- R1: Hdc in the 2nd ch from the hook and in each of the next 15 (17, 19) ch, 3 hdc in the last ch. Rotate and work along the other side of the chain: hdc in each of the next 15 (17, 19) ch, 2 hdc in the final ch (36, 40, 44)
- R2: 2 hdc in the first st, hdc in each of the next 15 (17, 19) sts, 2 hdc in each of the next 3 sts, hdc in each of the next 15 (17, 19) sts, 2 hdc in each of the last 2 sts (42, 46, 50)
Check the oval now: it should lie flat, and extend about 0.5 cm (1/4 in) beyond heel and toes against the foot. Change hook size now if it does not.
- R3: Working in BLO, sc in each st around (42, 46, 50) — the corner where the sole turns into the sides; back loop only gives a crisp, shoe-like edge
Mark the centre stitch at the toe end and at the heel end. From here, "toe marker" and "heel marker" mean those stitches — move both up each round.
The sides and the heel turn
- R4: Hdc in each st around (42, 46, 50)
- R5 — the heel turn round: Hdc in each st to the heel end. Working over the 6 sts centred on the heel marker, hdc2tog 3 times. Hdc in each remaining st to the end of the round (39, 43, 47)
Those three decreases are the whole heel turn. They pull the back inwards so it curves around your heel instead of standing up like a bucket. Try the slipper on now: it should already feel like it wants to stay on.
- R6: Hdc in each st around (39, 43, 47)
Toe and instep shaping
Now close the front while leaving the foot opening. All decreases sit at the toe end, centred on the toe marker.
- R7: Hdc in each st to the toe end. Working over the 12 sts centred on the toe marker, hdc2tog 6 times. Hdc in each remaining st to the end of the round (33, 37, 41)
- R8: Hdc in each st to the toe end. Working over the 6 sts centred on the toe marker, hdc2tog 3 times. Hdc in each remaining st to the end of the round (30, 34, 38)
- R9: Sc in each st around (30, 34, 38) — this firm round sets the edge of the foot opening and stops it stretching baggy
Try the slipper on again. The opening should sit comfortably across your foot, the toe roomy rather than pointy, the heel staying put when you lift your foot. If the toe feels short, your gauge is tight — the fix is a 6.5 mm hook next time, not extra rounds.
The ribbed cuff
For the two-tone pair, fasten off the main colour after Round 9 and join the cream at the heel marker. For classic plain, keep going in the main colour.
- R10: Dc in each st around (30, 34, 38) — one plain double-crochet round gives the post stitches below something to grip
- R11: [Fpdc around the next st, bpdc around the next st] repeat around (30, 34, 38)
- R12: Repeat R11, working fpdc around each raised front-post stitch and bpdc around each recessed back-post stitch (30, 34, 38)
- R13: Repeat R12 (30, 34, 38)
FO, leaving a tail of about 20 cm (8 in), and weave it down through the cuff so the join disappears into the ribbing. For a taller, bootie-style cuff, work one or two extra repeats of R12 — lovely with pyjamas and a crochet scarf patterns for beginners project on your lap.
Variation 1 — Classic plain
Work the entire slipper, sole to cuff, in one colour with no join at Round 10. This is the fastest version and the best first pair: one less end to weave, and the cuff reads as texture rather than contrast. Deep, heathered colours — charcoal, forest, plum, denim — look especially good plain. If post stitches feel like too much at first, work Rounds 11 to 13 as plain dc rounds instead.
Variation 2 — Mock cable and pompom
Mock cable: Keep sole, sides and shaping the same. On Rounds 4 and 6, work a front-post hdc around every 4th stitch across the top of the foot, between the side midpoints. Those raised stitches form subtle ribs up the instep that read as mock cables. They replace ordinary stitches, so round totals do not change. Keep the cuff plain so the instep stays the star.
Pompom cuff: Work the two-tone version, then make two pompoms of about 5 cm (2 in) in the cuff colour — or a third colour entirely; mustard on rust is extremely cheerful. Sew one firmly to the front centre of each cuff, knotting on the inside. A small crochet bow or two vintage buttons gives the same finished look.
Finishing and assembly
There is no assembly — one piece, remember — but these steps turn a finished crochet object into slippers you will wear every day.
1. Weave in every end properly. Doubled-yarn ends are chunky and work loose if just trimmed. Thread each tail through nearby stitches in two directions before trimming, then tug firmly to check nothing travels.
2. Block lightly, by hand. No boards needed: wear the slippers for ten minutes, or push a rolled towel into each toe overnight. Your own feet are the best blocking they will get.
3. Add extra cushioning if you want it. Trace each sole on a thin foam or felt insole, cut just inside the line, and slip it inside. It adds warmth, comes out for washing, and extends the life of the sole stitches.
4. Make them non-slip — do not skip this on hard floors. Crochet soles on wood, tile or laminate are genuinely slippery. Choose one fix. Fabric paint dots: a grid of puff-paint dots or wavy lines across the sole, left flat for at least 4 hours. Suede patches: an oval of suede or leather slightly smaller than the sole, sewn on around the edge — the most durable option, and our pick for gifts. Silicone: thin dots or stripes of clear sealant spread with an old credit card, cured for a full 24 hours. Test on one slipper first, and refresh paint or silicone when it wears smooth.
5. Men's sizes and wider feet. For men's US 11–13, or wide feet, start from the size L counts but chain 24 for the foundation. That adds 4 stitches to every sole count — Round 2 ends at 54 — carried through sides, shaping and cuff, with toe and heel decreases worked as written, centred on the markers. Add one extra plain hdc round after Round 6 for taller feet, and use a 6.5 mm hook. The cuff total stays even, so the ribbing still works.
Tips for slippers that fit and last
Make both slippers in the same week. Tension is a mood as much as a measurement, and a pair worked months apart can differ by half a size. Note your hook size and any changes — future you, making a December gift pair, will be grateful.
Mark the ends every round. The heel turn and toe shaping sit at opposite ends of the same oval. Losing track of which is which is the classic slipper disaster; two markers prevent all of it.
Expect a snug first fit. These should feel firm, almost tight, at first — doubled worsted relaxes by roughly half a size in the first few days. Perfect on minute one means sloppy by the weekend.
Rotate and wash them kindly. Two pairs in rotation last far longer than one worn daily. Wash cool, reshape the soles flat, and dry away from radiators. Keep a free crochet scrubby patterns project in the same basket and your cosy-corner kit is sorted.
Gift them thoughtfully. Add a handwritten note — yarn, hook size, "wash cool, refresh the sole dots yearly." Making several pairs? Work all the soles first, production-line style; shaping goes much faster in a batch.
FAQ
Are these crochet slippers really free, and is the pattern original?
Yes to both. The complete pattern is published in full on this page, and it is an original Little Loop Finds design with its own construction and stitch counts. Make as many pairs as you like for yourself and for gifts.
How long does a pair of crochet slippers take?
About 2 to 3 hours — roughly an hour per slipper, plus finishing. The doubled yarn and 6.0 mm hook make them grow quickly; a sole and sides can appear in one film-length sitting.
What is the best yarn for crochet slippers?
A sturdy worsted acrylic or acrylic-wool blend, held double, or a hard-wearing bulky yarn used single. Prioritise spring and abrasion resistance over softness — delicate yarns wear through at the heel within weeks.
How do I stop crochet slippers being slippery?
Add grip: puff fabric paint dots, sewn-on suede patches, or cured silicone sealant, as detailed in Finishing. Never gift slippers for hard floors without one of these — it is a safety step, not decoration.
Can I make these slippers in men's sizes?
Yes. Use the wide-fit adjustment in Finishing: size L counts with a foundation chain of 24, four extra stitches carried through every round, one extra side round, and a 6.5 mm hook. That covers most men's US 11–13 and wide women's fits.
My soles curl up at the edges — what went wrong?
Usually the back-loop round. Check Round 3 was worked in the back loop only, all the way around — it is the hinge between sole and sides. A too-small hook can also cup the sole; go up a size and press the sole flat under a heavy book overnight.
Can I sell slippers I make from this pattern?
Yes — you may sell finished slippers made by hand from this pattern in small quantities, crediting Little Loop Finds as the designer. Please do not republish the pattern text and photos themselves.
What to crochet next
Your feet are sorted — now finish the cosy outfit:
- Keep the warmth going with our free leg warmer crochet pattern — the same ribbing as the slipper cuff, in a longer tube.
- Make a matching set with a free crochet hat pattern in the same doubled worsted.
- Warm your hands with the easy mitten crochet pattern — an evening's work.
Happy crocheting — may your floors be warm and your kettle quick.
The box below contains an Etsy link. If you buy through it, we may earn a small commission at no extra cost to you. Learn more.
No time to make one?
Short on time? Find handmade crochet slippers from independent makers on Etsy.
Browse on Etsy (opens Etsy in a new tab)