Free Crochet Boot Cuff Patterns: Ribbed & Lacy Styles
Close the chilly gap at the top of your boots with two original cuff patterns: a stretchy ribbed classic that grips like a good sock, and a lacy scalloped cuff with a pretty shell edge. Both are sized by calf measurement in four sizes and take just 2 to 3 hours a pair.

Wearables · Crochet
- Finished size
- 11–17 in circumference, 4 sizes
- Making time
- About 2–3 hours per pair
- Hook
- 5.0 mm (US H-8)
- Pieces
- 2 cuffs per pair
- Skill
- Easy
In this post
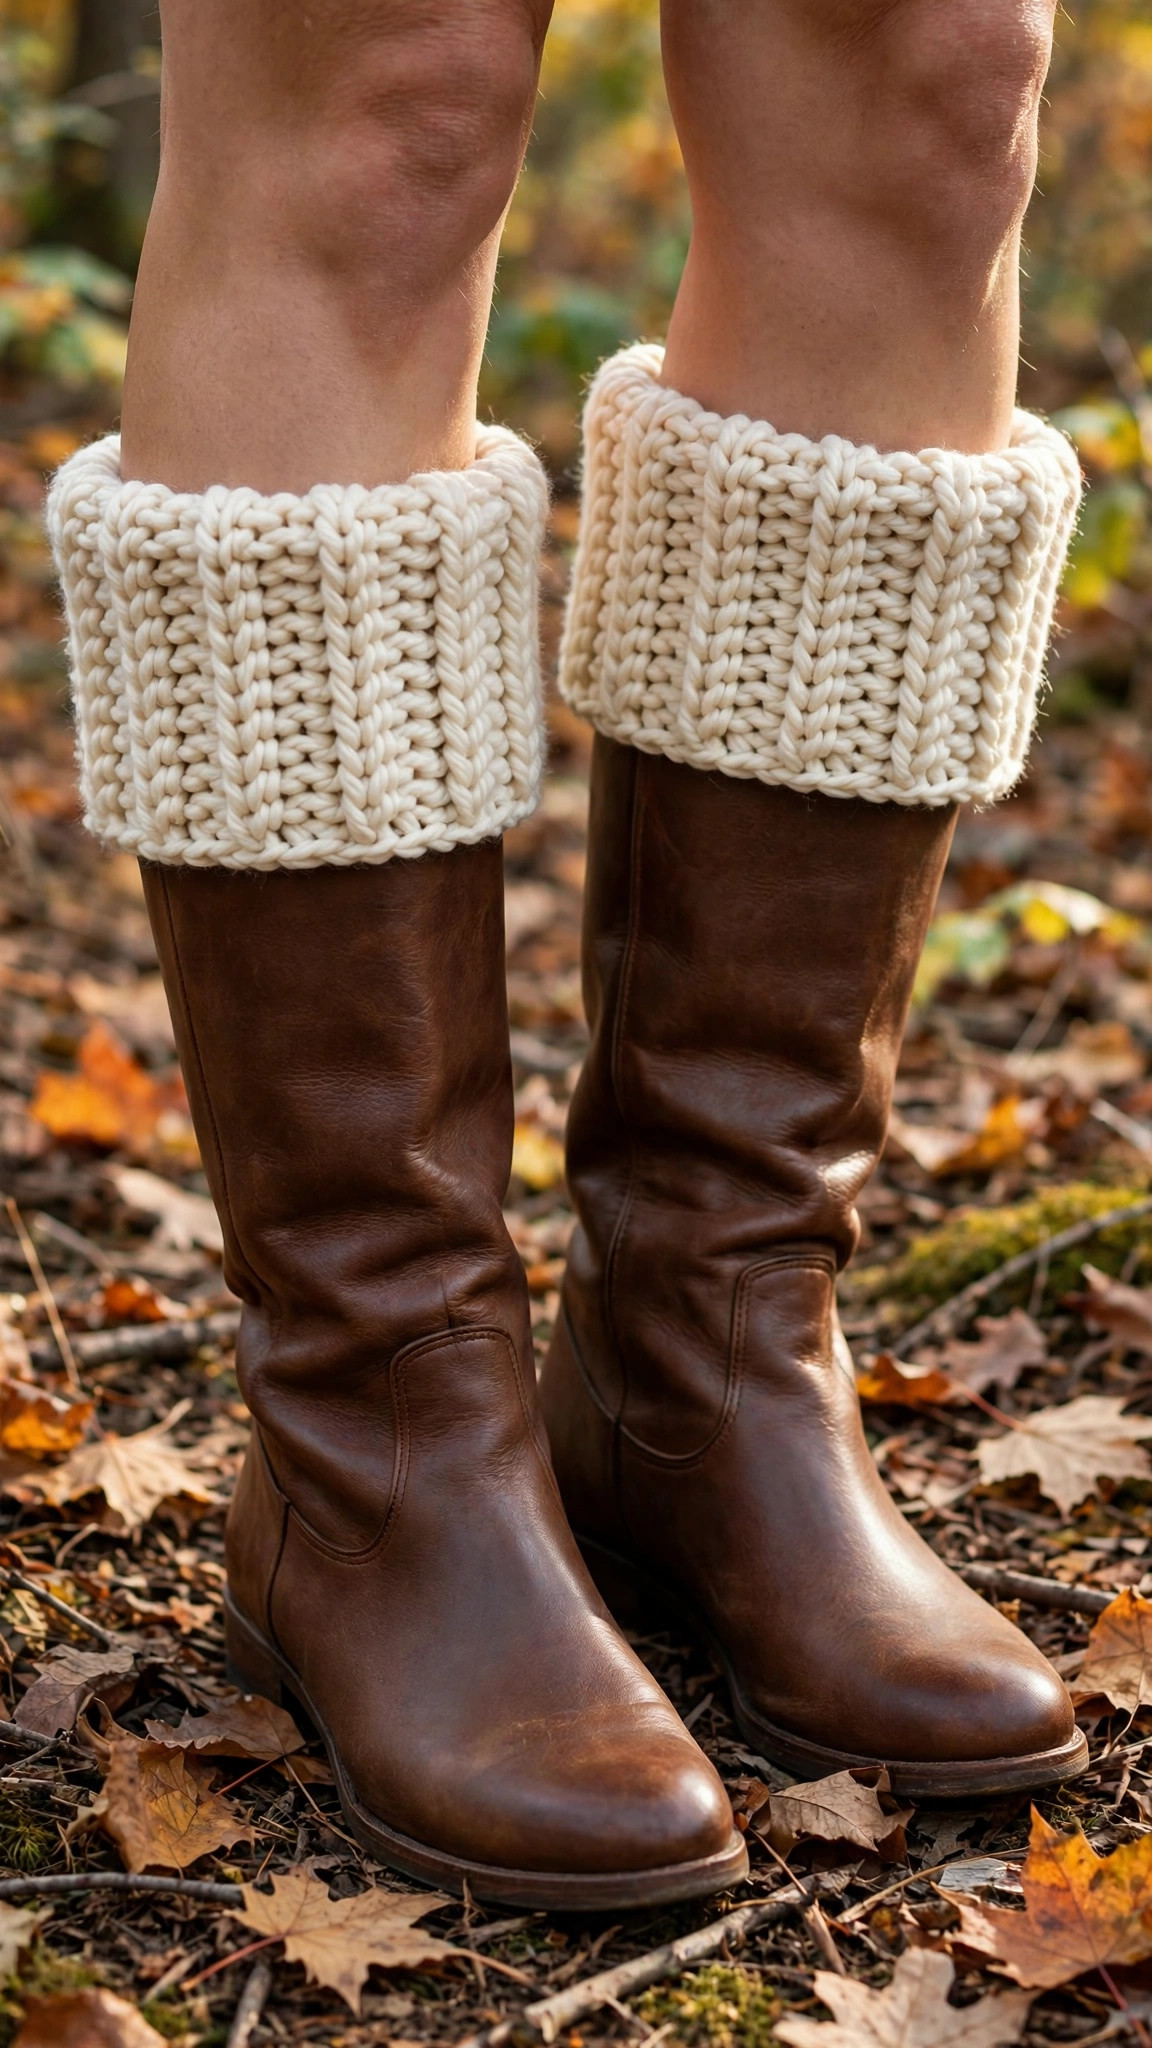
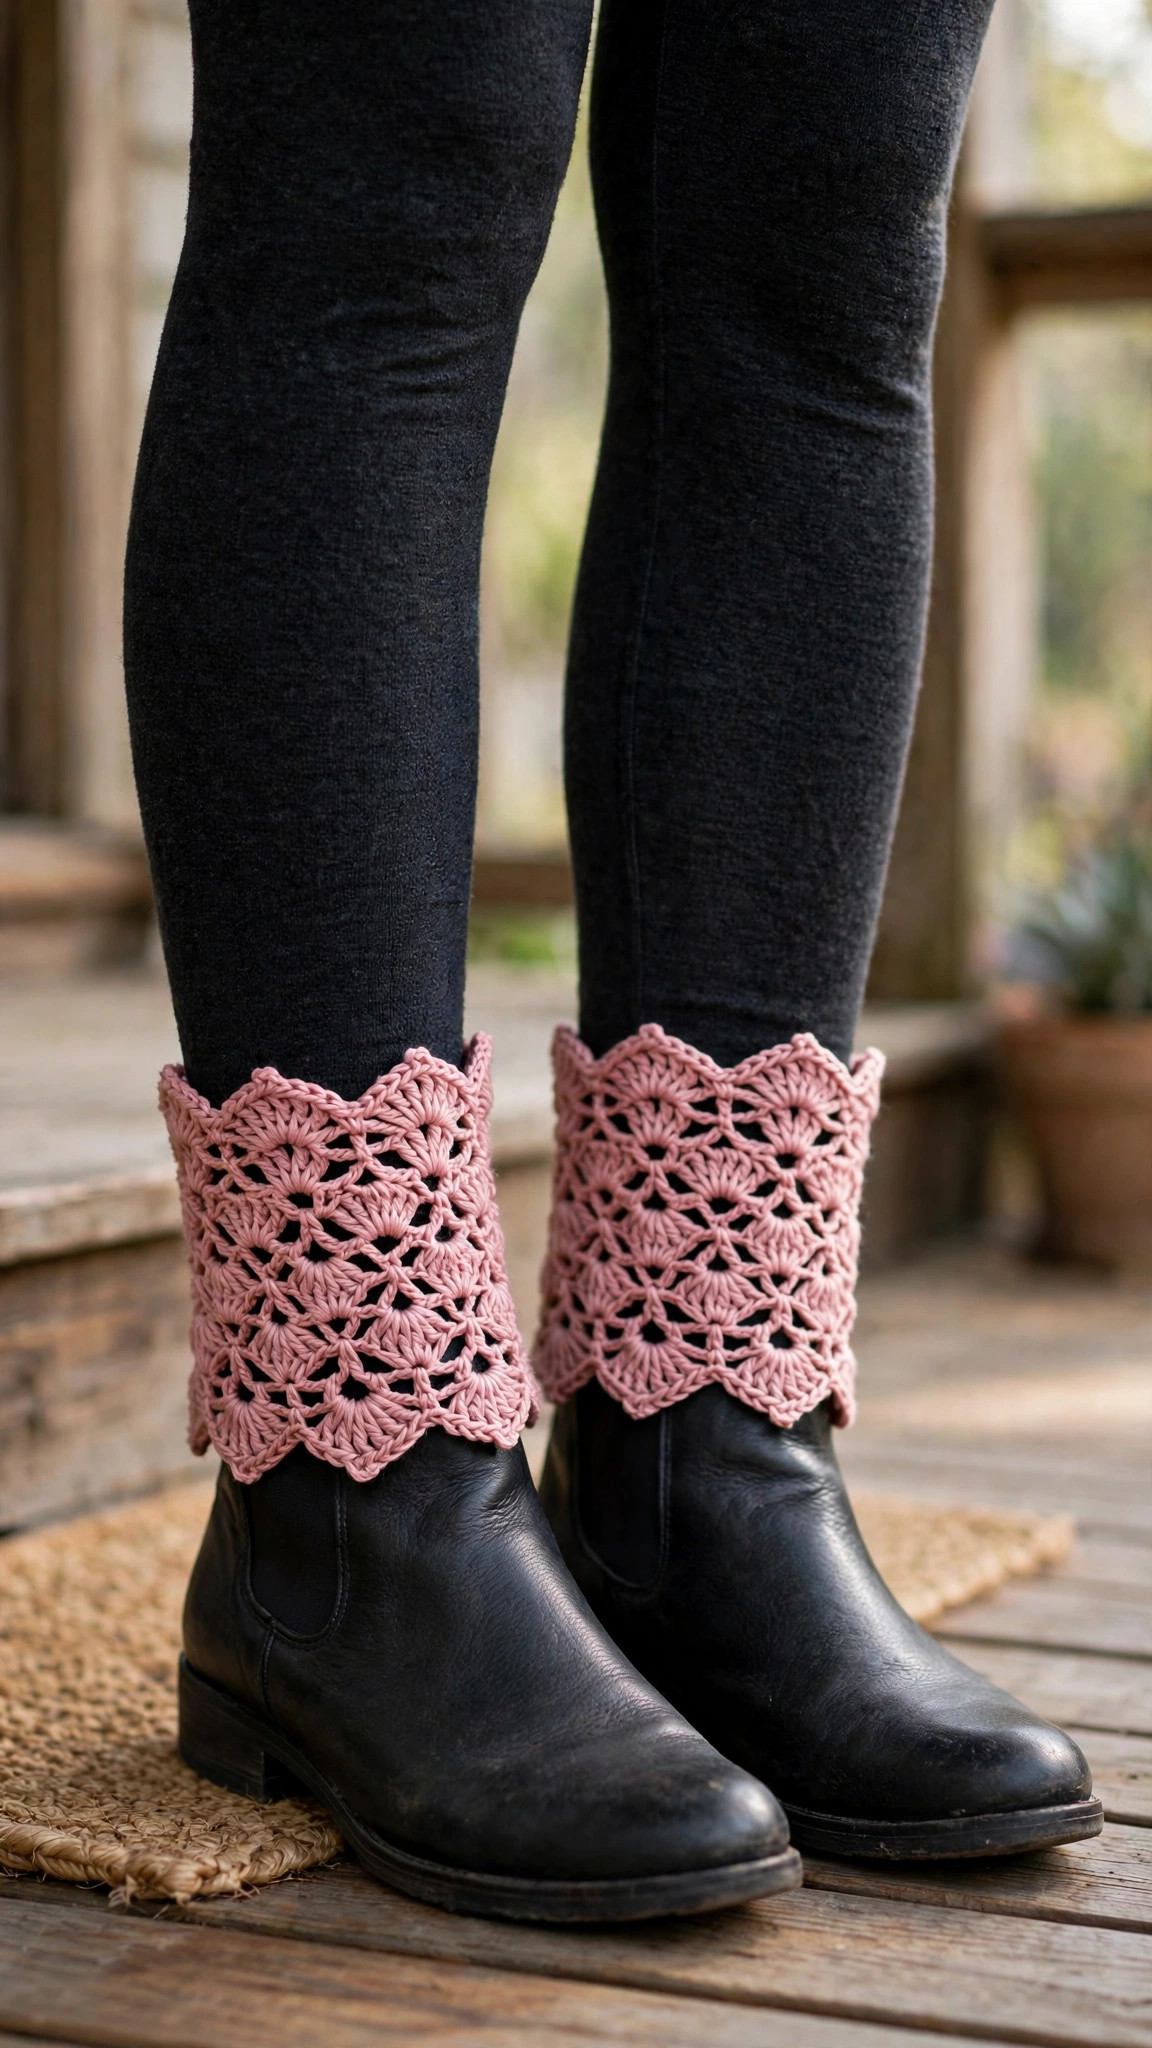
Boot season has one small problem nobody warns you about: the gap. That chilly space at the top of your boots where cold air sneaks in, socks slump down, and an otherwise great outfit looks unfinished. These free crochet boot cuff patterns fix all three problems at once. A boot cuff peeks out over the top of your boots like the cosy cuff of a thick sock — except you never have to crochet the whole sock. You get the layered, pulled-together look in a fraction of the time, with less than one ball of yarn per pair. This post gives you two complete, original designs. The Ribbed Classic Cuff is sturdy, stretchy and unisex, worked in front-post and back-post ribbing that grips gently and never slides down. The Lacy Scalloped Cuff is its dressier sister: an open shell pattern with a soft scalloped edge, beautiful over ankle boots with leggings, tights or a skirt. Both are sized by calf measurement rather than shoe size, use US terms with full stitch counts for four sizes, and need only one hook, worsted weight yarn, and stitches you most likely already know.
Contents
- Why you'll love these boot cuffs
- Materials you'll need
- Size, gauge and skill level
- Abbreviations — US terms
- The patterns (US terms)
- Finishing and care
- Tips for a perfect fit
- FAQ
- What to crochet next
Why you'll love these free crochet boot cuff patterns
First, the speed. A pair of boot cuffs is one of the fastest satisfying makes in crochet: no heel, no toe, no sole — just a short tube of stitching, about five and a half inches tall. If you enjoy snug, stretchy cuff fabric, try our longer free leg warmer crochet pattern next, which uses the same idea at full calf length.
Second, the fit is honest. Patterns that come in "one size" quietly assume one calf, one boot shaft and one thickness of jeans tucked inside. Real legs are not like that. These patterns are graded across four sizes based on the measurement that actually matters — the circumference of your leg where the top of your boot sits. Measure once, pick your size, and the stitch counts do the rest.
Third, the two styles cover different wardrobes. The ribbed cuff is the everyday workhorse: dense, warm, and neat enough for anyone, in any colour. It looks like the top of a good hiking sock and behaves like one too — the ribbing has real sideways stretch and recovery, so it hugs without squeezing. The lacy cuff is the one you reach for when an outfit needs softening: its shells show off the stitch work, and the scalloped edge frames an ankle boot beautifully.
Materials you'll need
| Supply | What to get |
|---|---|
| Yarn | Worsted weight (category 4) acrylic, wool or wool blend, approx. 120–180 yds / 110–165 m per pair depending on size |
| Crochet hook | 5.0 mm (US H-8), or the size needed to meet gauge |
| Yarn needle | Large-eye blunt needle for weaving in ends and sewing on buttons |
| Scissors | For trimming ends |
| Tape measure | Essential — sizes are chosen by calf measurement |
| Stitch marker | One locking marker to track the start of rounds |
| Buttons (optional) | Two 20–25 mm buttons per pair, for the ribbed cuff's decorative tab |
| Blocking supplies (optional) | A towel or foam mats and rust-proof pins, mainly for the lacy cuff |
A note on fibre: wool and wool blends give the ribbed cuff the best stretch recovery. Acrylic is a good budget choice and washes easily, though the ribbing relaxes a little more over time. For the lacy cuff, pick a yarn with crisp stitch definition and avoid fuzzy yarns, which blur the shells.
Size, gauge and skill level
Skill level: Easy. The ribbed cuff suits a confident beginner ready to learn post stitches — they are explained below and are simpler than they sound. The lacy cuff uses shells, which are just groups of double crochets in one stitch.
How to measure: Wrap a tape measure around your leg where the top of your boot sits — the widest part of the calf for knee boots, or just above the ankle bone for ankle boots. Measure over whatever you will wear under the cuff (bare leg, tights or skinny jeans), snug but not tight, and choose the size whose range contains your measurement. Both patterns have about 1 inch (2.5 cm) of negative ease built in, so the cuff stays up by gentle grip.
| Size | Calf measurement | Ribbed cuff — finished circumference | Lacy cuff — finished circumference | Stitches to start |
|---|---|---|---|---|
| S | 12–13 in / 30.5–33 cm | approx. 11 in / 28 cm | approx. 11.5 in / 29 cm | Ribbed 44 sts · Lacy 42 sts |
| M | 14–15 in / 35.5–38 cm | approx. 13 in / 33 cm | approx. 13.25 in / 33.5 cm | Ribbed 52 sts · Lacy 48 sts |
| L | 16–17 in / 40.5–43 cm | approx. 15 in / 38 cm | approx. 15 in / 38 cm | Ribbed 60 sts · Lacy 54 sts |
| XL | 18–19 in / 45.5–48 cm | approx. 17 in / 43 cm | approx. 16.5 in / 42 cm | Ribbed 68 sts · Lacy 60 sts |
Finished height: About 5.5 in (14 cm) as written. Notes for a shorter 4 in (10 cm) ankle-boot version are in the tips.
Gauge — ribbed cuff: 16 stitches and 9 rounds = 4 in (10 cm) in post-stitch ribbing with a 5.0 mm hook, measured relaxed, not stretched.
Gauge — lacy cuff: 3 shell repeats (18 stitches) and 8 rounds = about 5 in (12.5 cm) wide and 4 in (10 cm) tall in shell pattern with a 5.0 mm hook.
Gauge matters more here than on a blanket, because a cuff an inch too big will slide straight down into your boot. Swatch for the style you choose and change hook size if needed: too many stitches per 4 inches means go up a hook size, too few means go down. The same ribbing trick also makes a snug brim on our crochet headband pattern free project.
Abbreviations — US terms
This pattern uses US crochet terms throughout.
| Abbreviation | Meaning |
|---|---|
| ch | chain |
| sl st | slip stitch |
| sc | single crochet |
| dc | double crochet |
| FPdc | front post double crochet |
| BPdc | back post double crochet |
| sk | skip |
| st(s) | stitch(es) |
| rnd(s) | round(s) |
| rep | repeat |
| [ ] | work the instructions inside brackets the number of times stated |
How to work a FPdc: Yarn over, insert your hook from front to back to front again around the post (the vertical body) of the stitch below, yarn over and pull up a loop, then finish the double crochet as normal. The stitch pops towards you.
How to work a BPdc: Yarn over, insert your hook from back to front to back again around the post of the stitch below, yarn over and pull up a loop, then finish the double crochet as normal. This stitch pushes away from you. Alternating groups of the two builds the ribs.
The patterns (US terms)
Make two cuffs the same for a pair — the instructions below are for one cuff, so work them twice. Both designs are worked in joined rounds from the top down. Join every round with a slip stitch to the first stitch and chain 2 to start the next round; this chain 2 does not count as a stitch, so the first stitch of each round goes into the same stitch as the join. That one rule keeps your counts even and the seam nearly invisible.
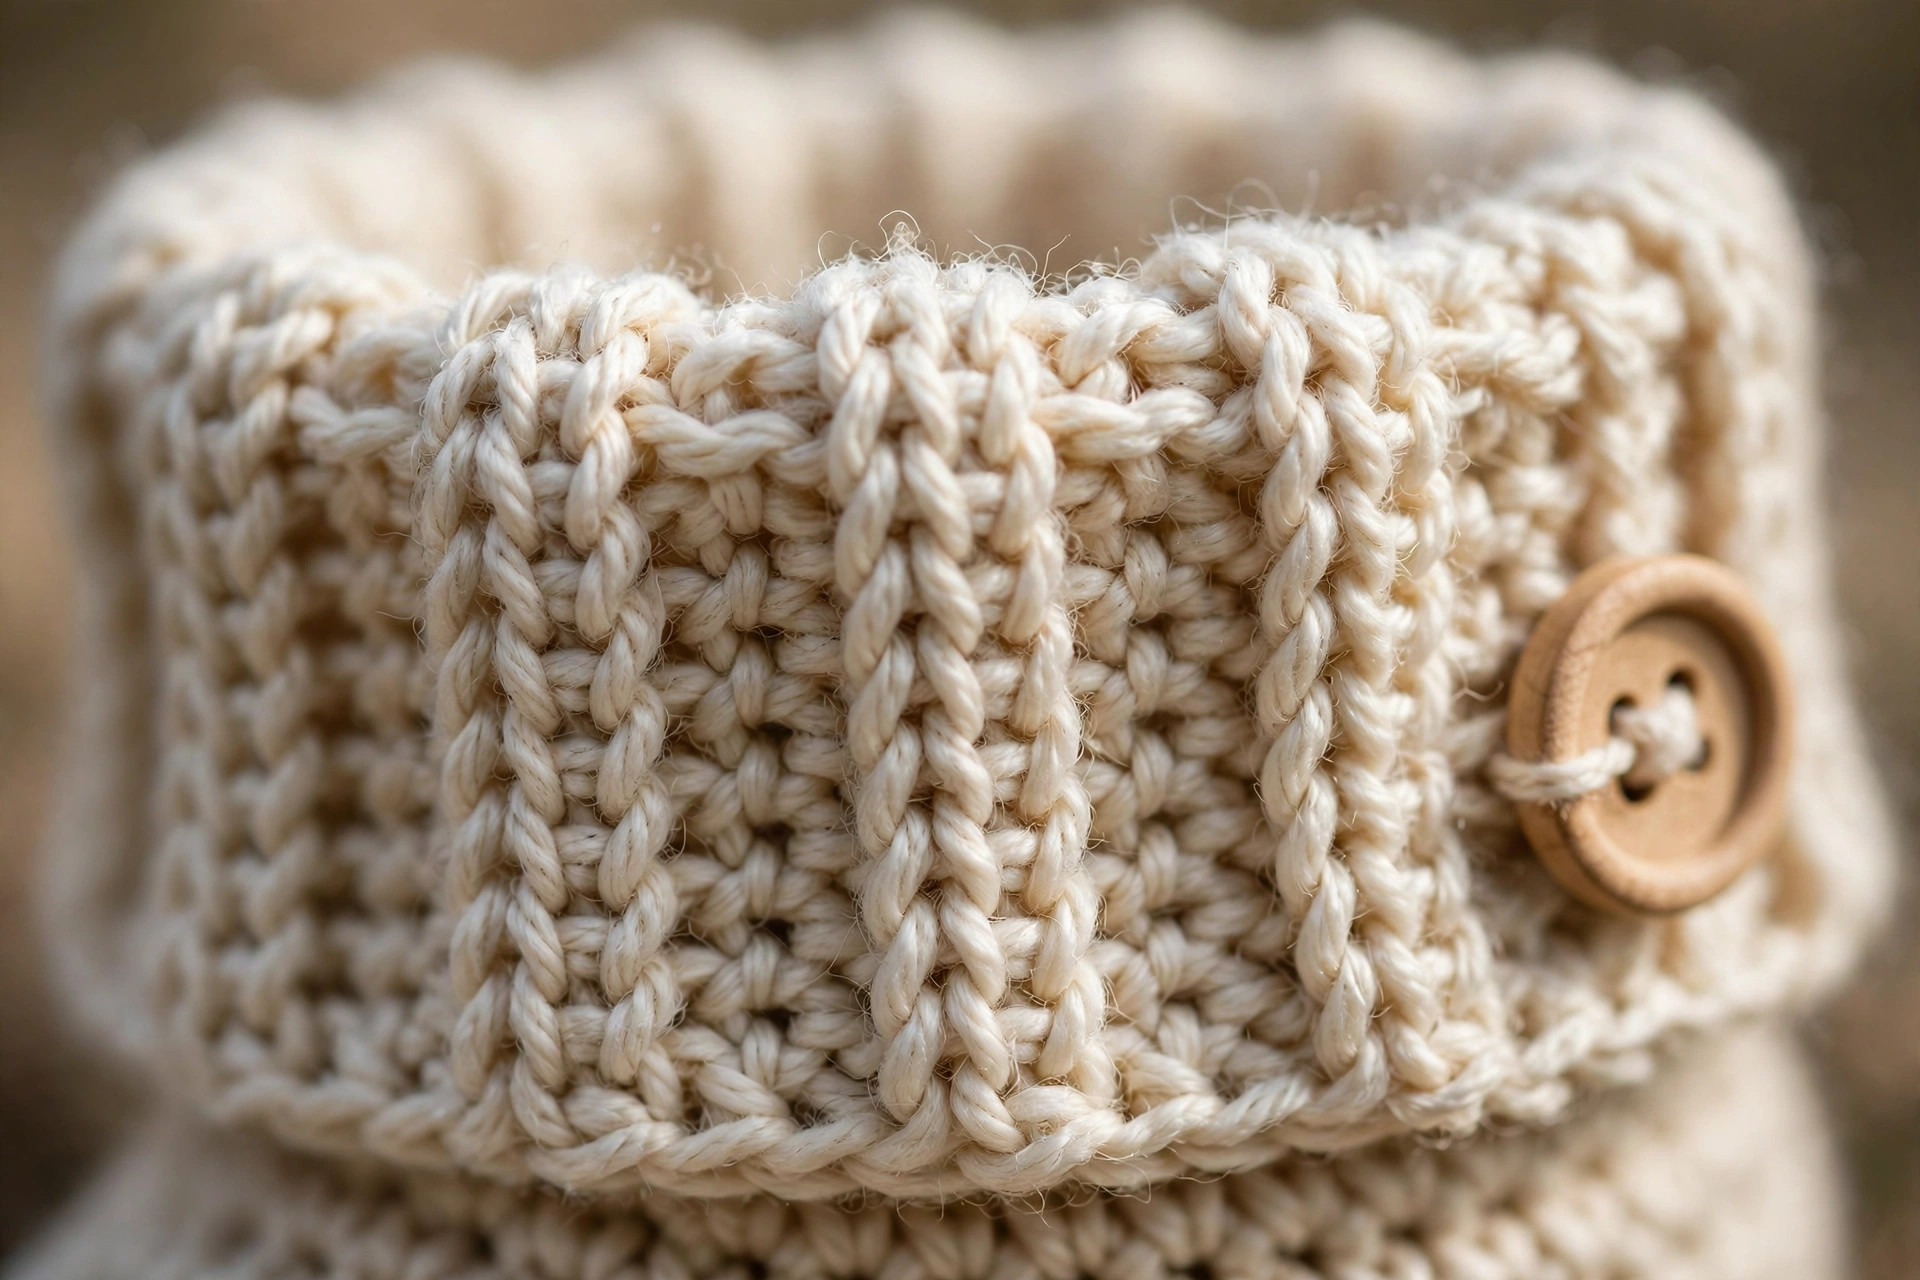
Style 1: The Ribbed Classic Cuff
This is the sturdy everyday cuff. Columns of post stitches create a fabric that looks like knitted ribbing, stretches sideways by nearly half its width, and springs back when you take it off. The foundation count is a multiple of 4, which keeps the rib repeat — two raised columns, two recessed columns — running unbroken around the leg.
Before you start: Choose your stitch count from the size table: S 44 sts, M 52 sts, L 60 sts, XL 68 sts.
Rnd 1 (foundation): Ch 44 (52, 60, 68). Taking care not to twist the chain, join with a sl st to the first ch to form a ring. Ch 2, dc in every ch around, join with a sl st to the first dc. (44, 52, 60, 68 dc)
Rnd 2 (set the rib): Ch 2, [FPdc around each of the next 2 sts, BPdc around each of the next 2 sts] rep around, join with a sl st to the first FPdc. (44, 52, 60, 68 sts)
Rnds 3–12: Ch 2, [FPdc around each of the next 2 sts, BPdc around each of the next 2 sts] rep around, join. Work every post stitch around the matching stitch in the round below, so the columns stack in straight vertical lines. If a column drifts, you have worked a front post where a back post belongs — unpick that stitch now rather than a whole round later.
Rnd 13 (bottom edge): Ch 1, sc in every st around, join with a sl st to the first sc. This firmer edge stops the cuff flaring and gives a clean line where it meets the boot. Fasten off, leaving a 6 in (15 cm) tail. (44, 52, 60, 68 sc)
Optional button tab (make 1 per cuff): Ch 6. Row 1: Sc in the 2nd ch from the hook and in every ch across, turn. (5 sc) Rows 2–8: Ch 1, sc in every st across, turn. (5 sc) Fasten off, leaving a long tail. Wrap the tab around two raised rib columns on the outside of the cuff, about 1 in (2.5 cm) down from the top edge, sew both short ends to the cuff, and sew a button in the centre. The button is purely decorative — the tab does not open.
Make the second cuff exactly the same. Mirror the tab position on each outer ankle.
Style 2: The Lacy Scalloped Cuff
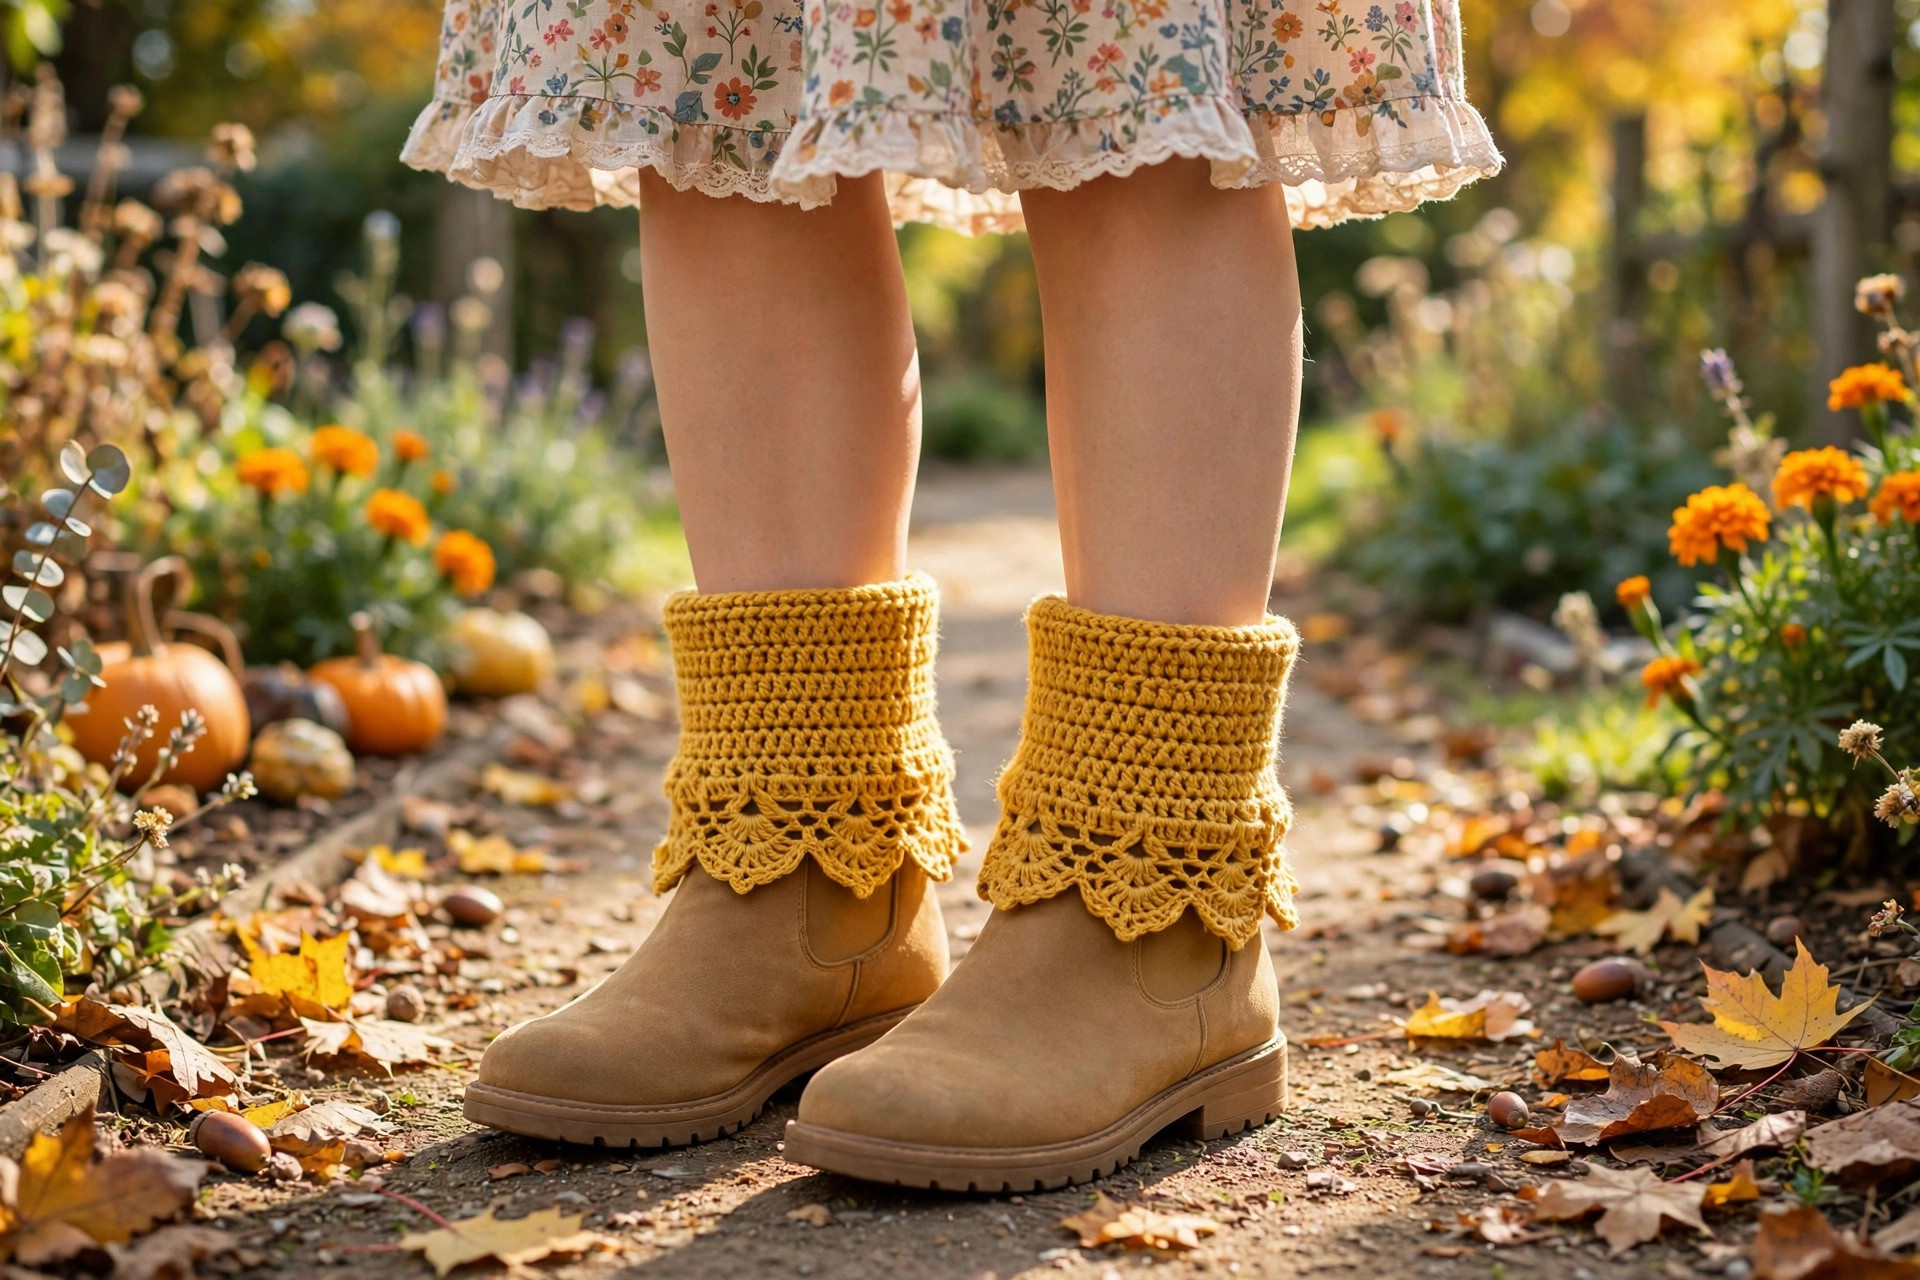
This cuff trades a little warmth for prettiness. Rounds of five-double-crochet shells create a light, open fabric with real drape, and the final round swaps the plain shells for deeper scallops that ripple over the top of your boot. It works up faster than the ribbed version because the shells eat inches quickly. The stitch count is a multiple of 6: one shell repeat uses 6 stitches.
Before you start: Choose your stitch count from the size table: S 42 sts (7 shells), M 48 sts (8 shells), L 54 sts (9 shells), XL 60 sts (10 shells).
Rnd 1 (foundation): Ch 42 (48, 54, 60). Taking care not to twist the chain, join with a sl st to the first ch to form a ring. Ch 2, dc in every ch around, join with a sl st to the first dc. (42, 48, 54, 60 dc)
Rnd 2 (first shell round): Ch 1, sc in the same st, sk next 2 sts, 5 dc in the next st (first shell made), sk next 2 sts, [sc in the next st, sk next 2 sts, 5 dc in the next st, sk next 2 sts] rep around, join with a sl st to the first sc. (7, 8, 9, 10 shells)
Rnd 3: Sl st in the next 2 sts so you are sitting in the centre (3rd) dc of the first shell. Ch 1, sc in that centre dc, sk next 2 sts, [5 dc in the next sc, sk next 2 sts, sc in the centre dc of the next shell, sk next 2 sts] rep around, ending with 5 dc in the last sc, join with a sl st to the first sc. From here on, shells always sit in the single crochets below, and single crochets always sit in the centre stitch of the shells — once you see that rhythm, you barely need to count.
Rnds 4–9: Repeat Rnd 3 six more times. Your cuff should now measure about 4.5 in (11.5 cm) tall. Try it on over your boot: the fabric relaxes with wear, so a snug-but-comfortable fit now is exactly right.
Rnd 10 (scalloped edge): Sl st in the next 2 sts to reach the centre dc of the first shell. Ch 1, sc in that centre dc, sk next 2 sts, [7 dc in the next sc (a deeper scallop), sk next 2 sts, sc in the centre dc of the next shell, sk next 2 sts] rep around, ending with 7 dc in the last sc, join with a sl st to the first sc. Fasten off, leaving a 6 in (15 cm) tail. (7, 8, 9, 10 scallops)
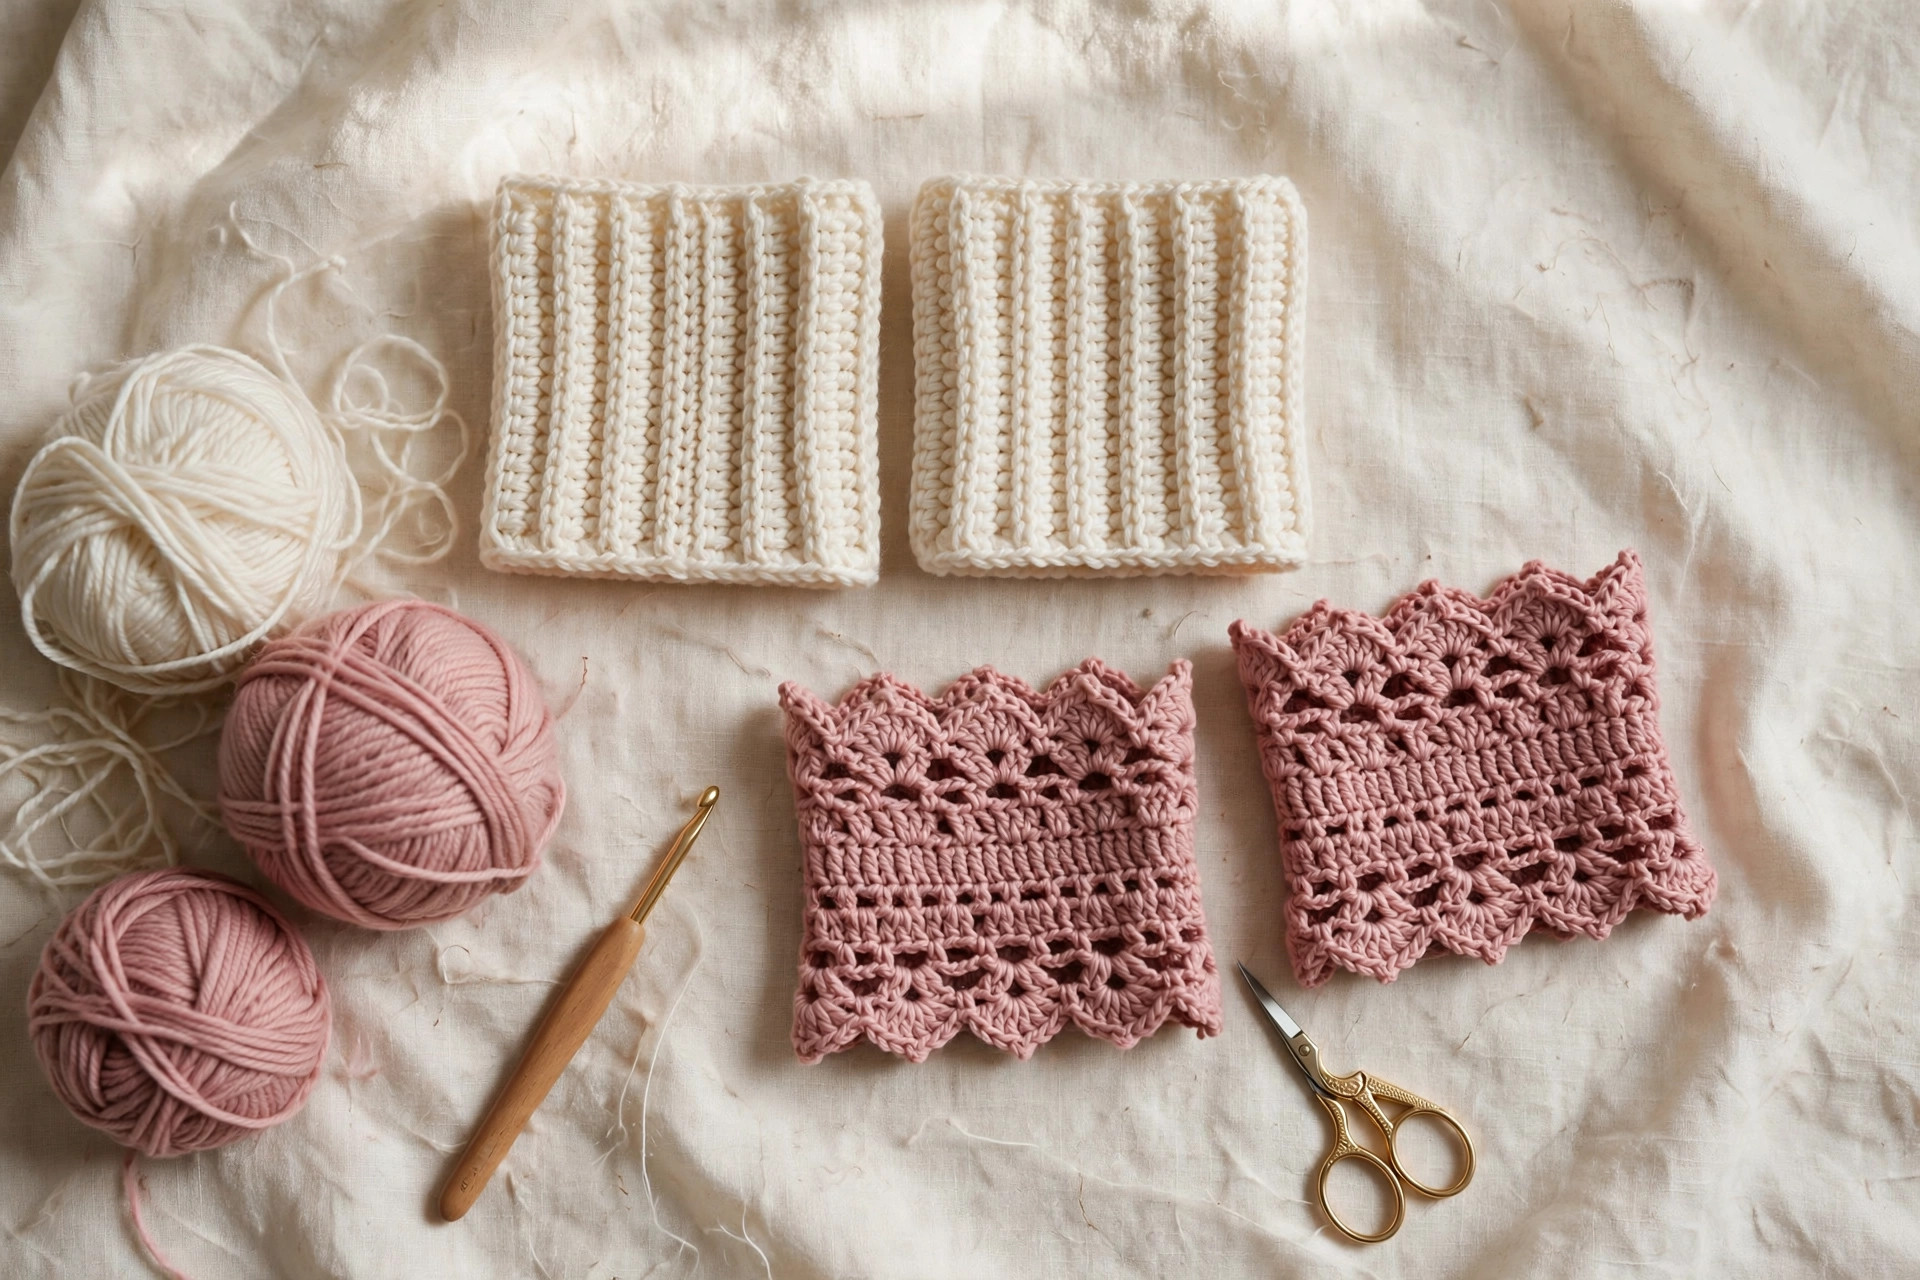
Make the second cuff exactly the same. Check both cuffs have the same number of scallops and lie the same length side by side — a height difference is easy to fix before weaving in by adding or removing one repeat of Rnd 3.
Finishing and care
Weave in both tails on each cuff, travelling back and forth through the backs of stitches at least three times. Hide tails inside a recessed back-post column on the ribbed cuff, and along the solid foundation round on the lacy cuff.
The ribbed cuff needs no blocking — shape it with your hands, since blocking can flatten the spring out of the ribbing. The lacy cuff benefits from a gentle block: soak in lukewarm water for ten minutes, press the water out in a towel, lay flat and coax each scallop into an even curve. Dry completely before wearing.
Wash in cool water with mild detergent and dry flat. Store wool cuffs flat through summer, not stretched over boots.
Tips for a perfect fit
Try on over the actual boot. A cuff that fits your bare calf may be too small once it has to clear a boot shaft, zips and jeans. From halfway onwards, slide the cuff over the boot you intend to wear it with — checking beats re-making a size.
Between sizes? Let the style decide. For the ribbed cuff, size down: the ribbing stretches generously, and a snugger start still grips at the end of the day. For the lacy cuff, size up: shell fabric has little sideways stretch, and a strained cuff distorts the shells.
Adjust the height, not just the width. For short ankle boots, work the ribbed cuff to Rnd 9 before the edge round (about 4 in / 10 cm), or repeat Rnd 3 of the lacy cuff only four times before the scalloped edge. For tall riding boots, add two extra rounds. Keep both cuffs matched.
Mind your join. If your seam spirals or the rib columns lean, the culprit is usually the chain 2 being counted as a stitch, or a skipped first stitch. Mark the first stitch of every round and check your count against your size before joining. Boot cuffs also make ideal gifts alongside a cosy hat from our free crochet hat pattern collection.
FAQ
Are these boot cuff patterns really free?
Yes — both patterns are written out in full above, with every round and stitch count included. No sign-up and no purchase needed. If you enjoy them, saving the post on Pinterest is the nicest way to say thank you.
How long does a pair of boot cuffs take to make?
About 2 to 3 hours for most crocheters. The lacy cuff is usually faster because the shells cover ground quickly; the ribbed cuff's post stitches are slower but very rhythmic.
What yarn works best for boot cuffs?
A worsted weight (category 4) yarn with some elasticity. Wool and wool-acrylic blends give the ribbed cuff lasting stretch and recovery, while a smooth acrylic or cotton-acrylic blend shows off the lacy shells best.
My cuffs keep sliding down into my boots. What can I do?
Sliding is almost always a sizing issue. Check your size against a calf measurement taken where the boot top sits, and check your gauge — a loose gauge quietly adds an inch. Sizing down when between sizes helps, especially for the ribbed cuff. As a last resort, thread thin elastic through the top round and tie it off to fit; it stays invisible and solves the problem.
Can I wear these over ankle boots, or only tall boots?
Both styles work over ankle boots, and the lacy cuff is particularly pretty that way. Measure just above the ankle bone for sizing, and consider the shorter 4-inch height from the tips section so the cuff does not overwhelm a short boot.
Can I sell boot cuffs I make from these patterns?
Yes — you may sell finished pairs you have made by hand, in small batches at markets or online. Please credit Little Loop Finds as the designer with a link back to this post where possible. The pattern text and photographs themselves may not be copied, republished or sold.
What to crochet next
The box below contains an Etsy link. If you buy through it, we may earn a small commission at no extra cost to you. Learn more.
No time to make one?
Short on time? Find handmade crochet boot cuffs on Etsy.
Browse on Etsy (opens Etsy in a new tab)