Lovey Blanket Crochet Pattern: Sweet Bunny Security Blanket
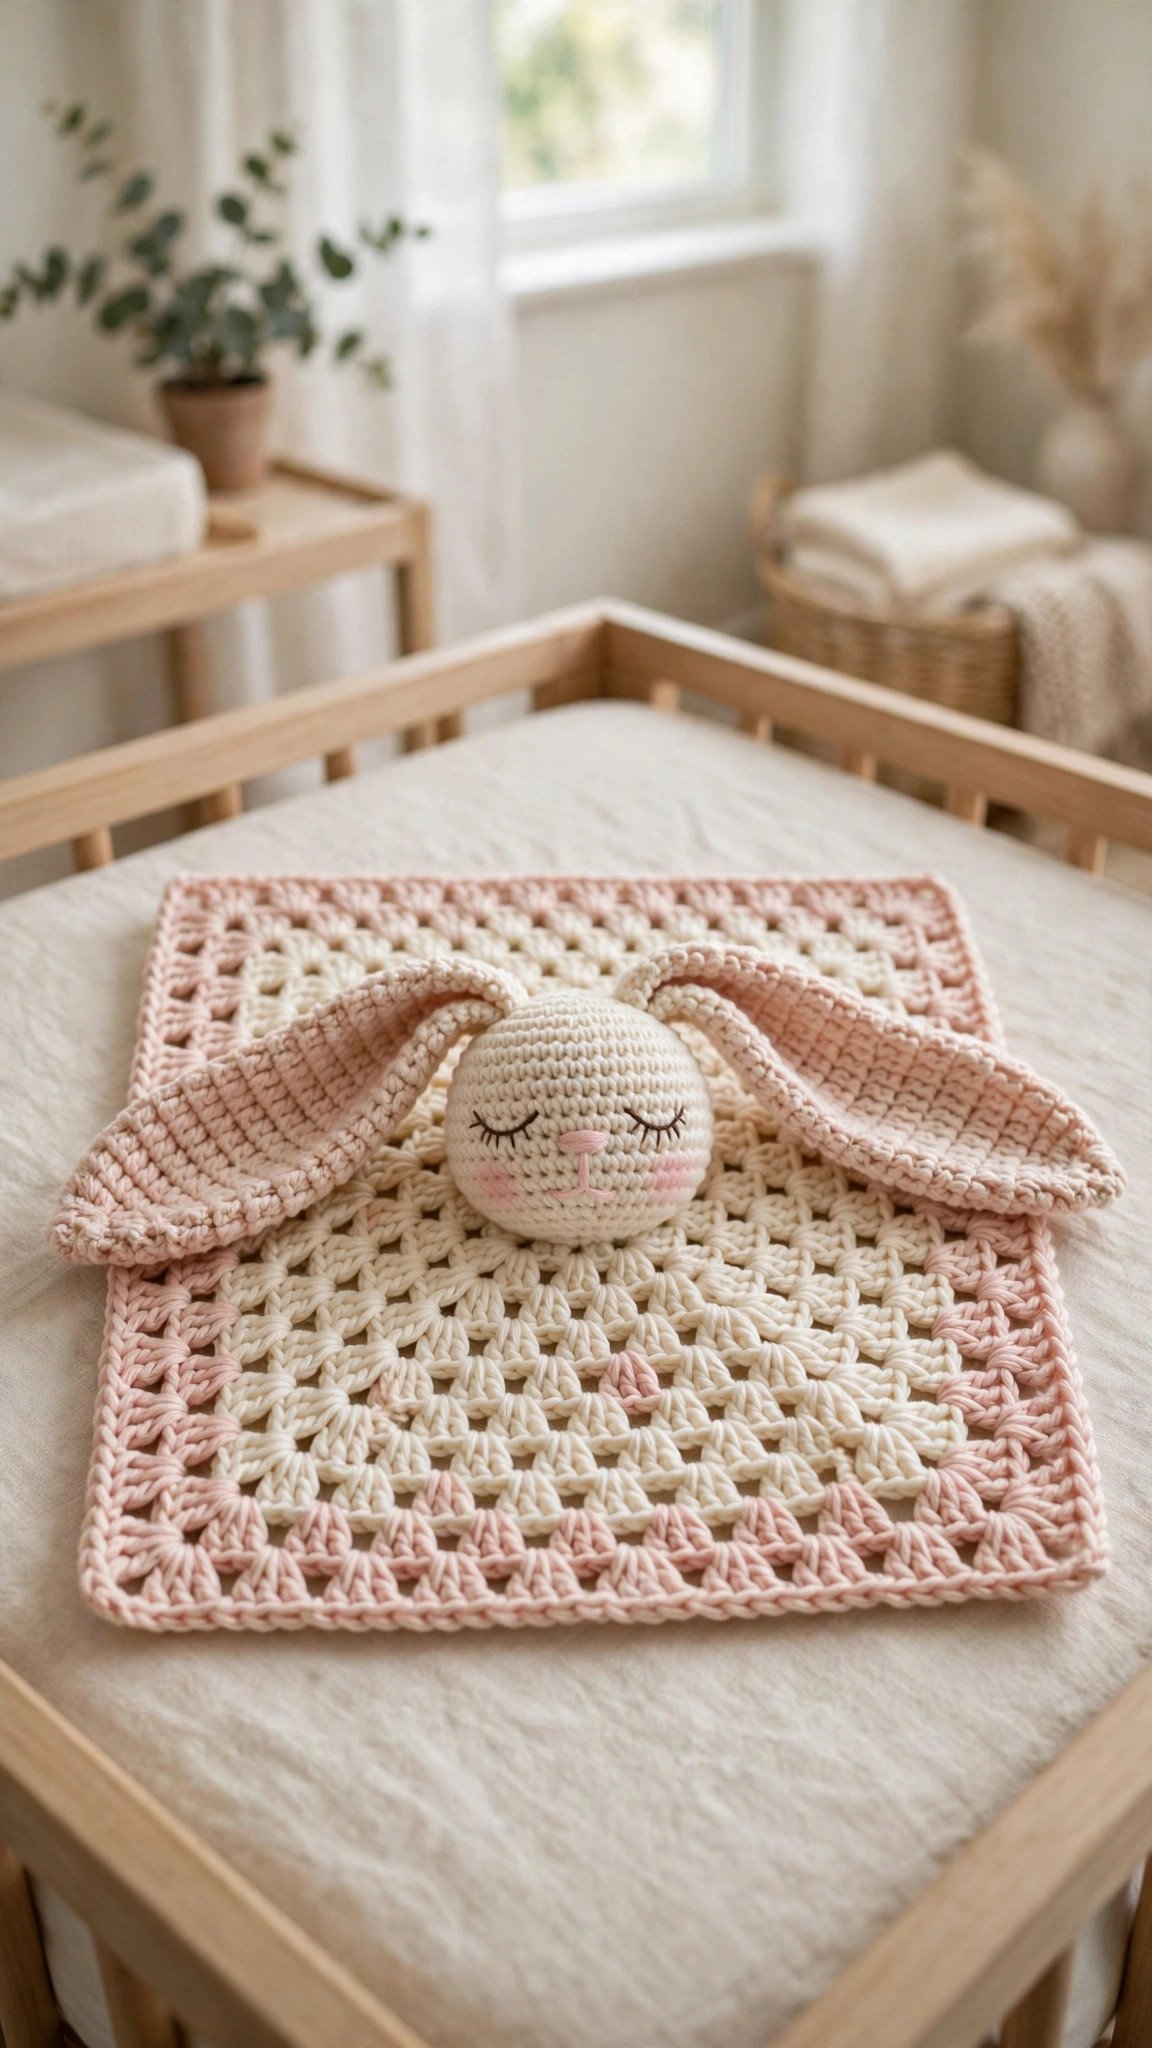
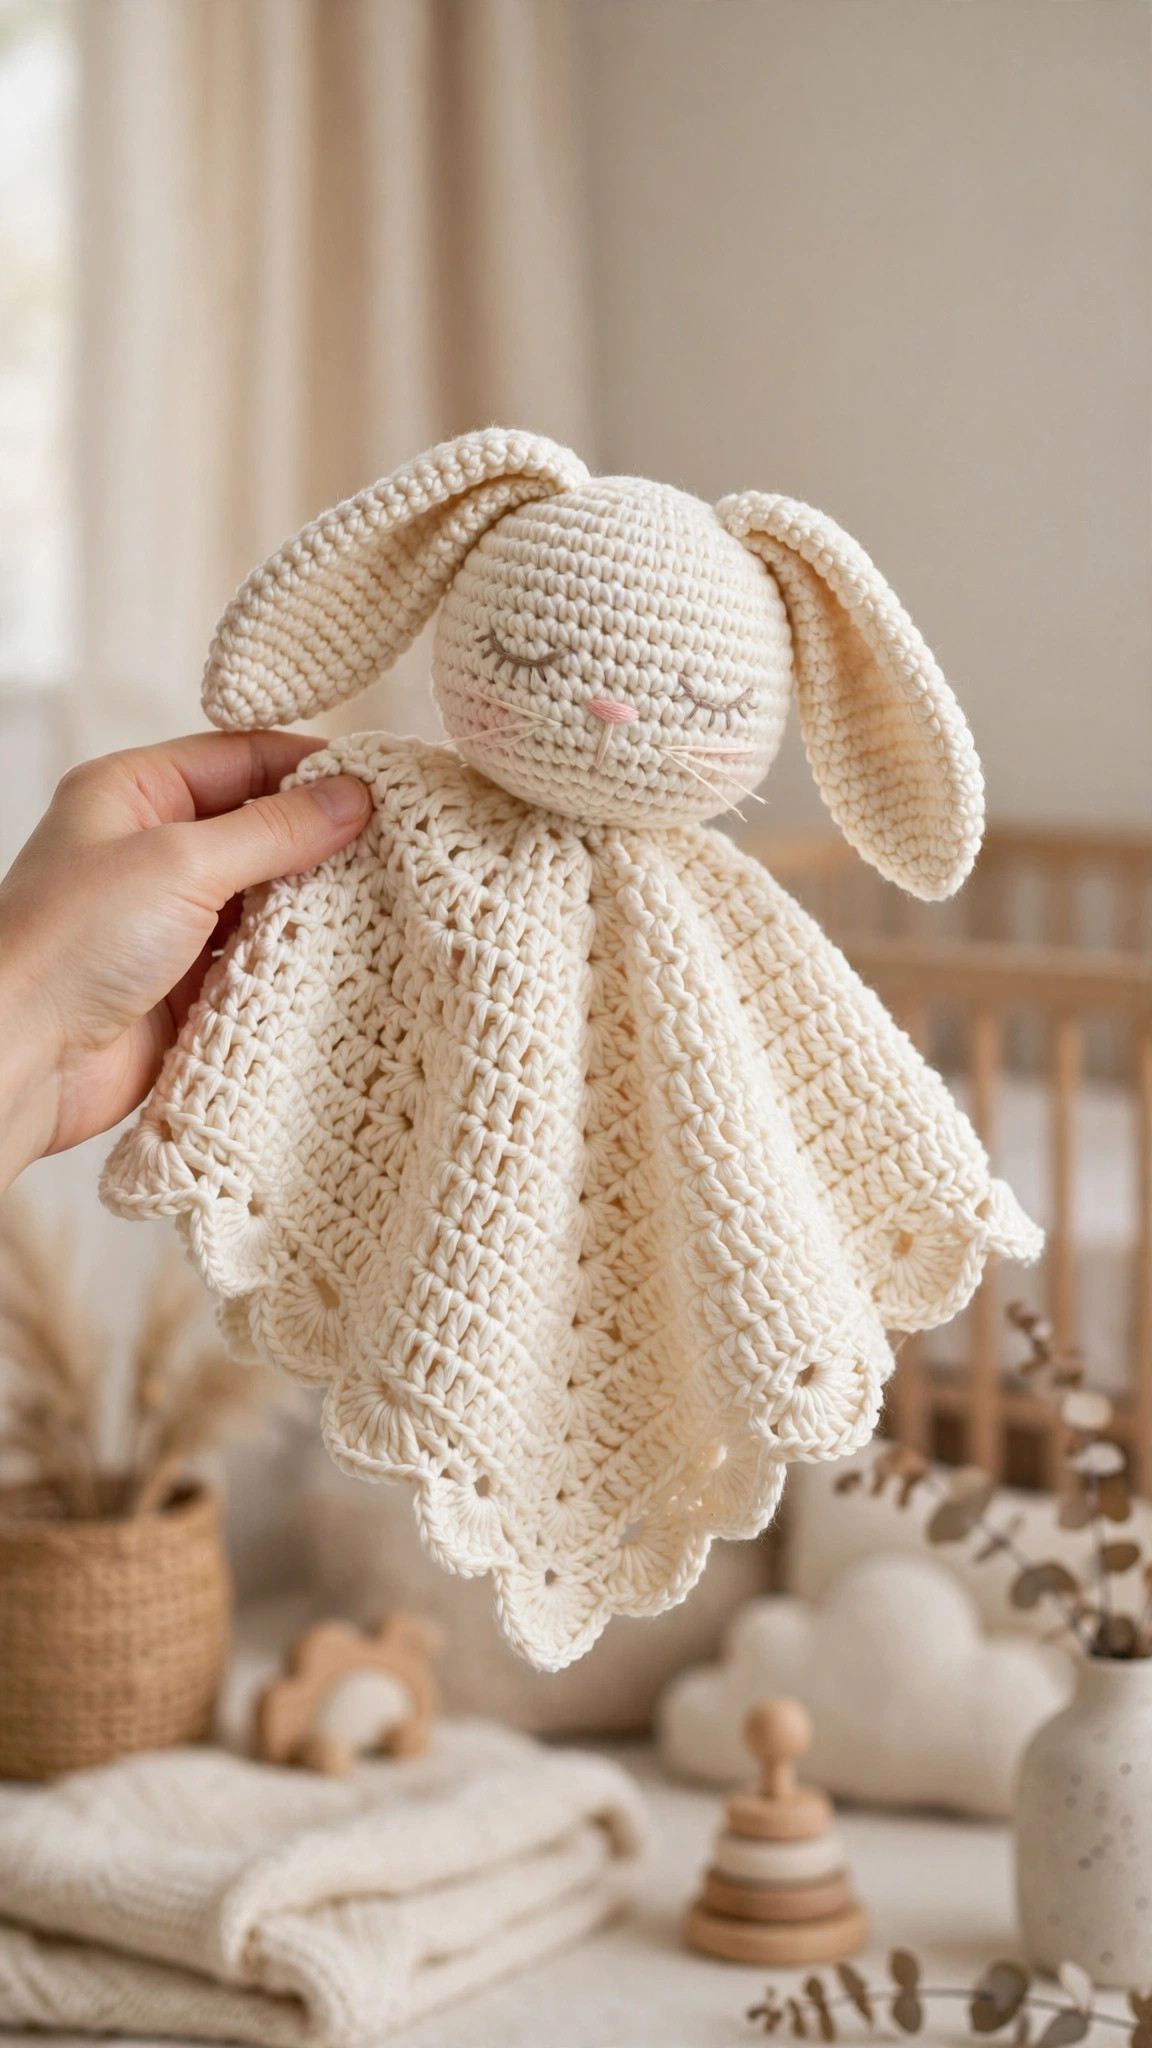
This lovey blanket crochet pattern pairs a simple shell-stitch mini blanket with a sweet bunny head, embroidered sleepy face and long floppy ears. Every feature is stitched, never plastic, and the head is double-sewn for a baby-safe finish you can tug-test with confidence.

Baby · Crochet
- Finished size
- 30 × 30 cm blanket
- Making time
- 4–6 hours
- Hook
- 4.0 mm (US G-6)
- Pieces
- Blanket, head, 2 ears
- Skill
- Confident beginner
In this post
There is something about a lovey that no shop-bought toy quite matches. It is small enough for tiny hands to grab, soft enough to rub against a sleepy cheek, and just substantial enough to feel like a real blanket in miniature. This lovey blanket crochet pattern pairs a simple shell-stitch square with a bunny head worked in the round, with every feature embroidered and the head attached with a double-sewn, tug-tested seam.
If you want a handmade baby shower gift that feels personal without taking weeks, this is the one. The blanket is a relaxing two-row repeat, and the head and ears use only basic stitches. Most crocheters finish in a couple of evenings.
Contents
- Why you will love this lovey
- Materials you'll need
- Size, gauge and skill level
- Abbreviations — US terms
- The pattern (US terms)
- Finishing: attaching the head safely
- Tips for a lovey that lasts
- FAQ
- Read next
Why you will love this lovey
First, the size is just right. A lovey is a comfort object a baby can clutch, wave around and eventually drag everywhere. At about 30 cm square, it gives little fingers plenty of soft fabric to hold without yards of trailing blanket to trip over once your baby is toddling.
Second, the shell stitch is a gift for gift-making. It looks lacy and pretty, drapes beautifully in soft baby yarn, and yet it is nothing more than double crochet shells anchored by single crochet stitches. No clusters, no post stitches, no counting beyond a six-stitch repeat — if you can work a double crochet, you can make this while watching a film.
Third, the bunny is genuinely baby-safe by design. The eyes are embroidered sleepy curves, the nose is a few pink stitches, and there is not a single hard component to work loose. The head is stuffed firmly at a tight gauge so the stuffing stays inside.
Finally, this is a stash-friendly project. The blanket takes roughly one ball of DK baby yarn, the head and ears need only scraps, and a tiny amount of pink and dark thread finishes the face. Building a whole handmade nursery set? Our guide to easy crochet patterns for blankets will help you plan a coordinating full-size blanket.
Materials you'll need
Choose yarns labelled for babies where you can: they are soft on delicate skin and survive frequent washing, which a well-loved lovey will need.
| Supply | What to get |
|---|---|
| Main yarn | Approx. 150 m DK / light worsted baby yarn in cream or a soft pastel |
| Contrast yarn | Small amount (about 10 m) in soft pink for the nose and inner-ear detail |
| Embroidery thread | Short length of black or dark brown stranded cotton for the sleepy eyes |
| Hook | 4.0 mm (US G-6) crochet hook |
| Stuffing | Small handful (about 20 g) of polyester toy stuffing |
| Yarn needle | Blunt tapestry needle with a large eye |
| Embroidery needle | Sharper needle for the face embroidery |
| Stitch markers | 2–3 removable markers for the amigurumi rounds |
| Scissors | Small, sharp pair |
One word on yarn choice: avoid fluffy, eyelash or heavily haloed yarns. Long fibres can work free and end up in a baby's mouth, and fuzzy yarn hides your stitches, making tight, even fabric harder. A smooth cotton or quality acrylic baby DK gives crisp shells and a firm head.
Size, gauge and skill level
Finished size: The blanket measures about 30 × 30 cm (12 × 12 in) including the border. The bunny head is about 7 cm (2¾ in) across and each ear about 10 cm (4 in) long, making the whole lovey roughly 40 cm (16 in) from ear tip to blanket corner.
Gauge: 18 stitches and 8 shell rows = 10 cm (4 in) in shell pattern with a 4.0 mm hook. In single crochet for the head, 20 stitches and 22 rounds = 10 cm (4 in). Gauge matters more for the head: if your single crochet is loose, drop to a 3.5 mm hook so no stuffing pokes through.
Skill level: Confident beginner. Be comfortable with chains, single and double crochet, magic-ring rounds, and simple increases and decreases.
Sizing up: Add one shell repeat — six chains — per extra 5 cm of width, and work extra repeat rows to match. Bigger is not always better for a comforter, though; small hands manage the classic size best. For a full-size coverlet instead, the star blanket crochet pattern grows from the centre out to any size.
Abbreviations — US terms
| Abbreviation | Meaning |
|---|---|
| ch | chain |
| sc | single crochet |
| dc | double crochet |
| sl st | slip stitch |
| st(s) | stitch(es) |
| sk | skip |
| rep | repeat |
| inc | increase — work 2 sc in the same stitch |
| dec | invisible decrease — insert hook in front loops only of next 2 sts, yarn over, pull through, yarn over, pull through 2 loops |
| MR | magic ring |
| ( ) | stitch count at the end of the row or round |
The pattern (US terms)
Work the blanket first, then the head and ears. Embroider the face before you stuff and close the head, and sew everything together at the end. Read the safety notes in the finishing section before starting the head — they affect how tightly you crochet.
Part 1 — The shell-stitch blanket
The blanket is worked flat in rows, over a six-stitch shell repeat, so the starting chain is a multiple of 6 plus 2.
Foundation: With main yarn and the 4.0 mm hook, ch 62.
Row 1: Sc in the 2nd ch from the hook and in each ch across, turn. (61 sc)
Row 2 (shell row A): Ch 1 (does not count as a stitch), sc in the first st, *sk 2 sts, 5 dc in the next st (shell made), sk 2 sts, sc in the next st; rep from * across, turn. (10 shells, 11 sc)
Row 3 (shell row B): Ch 3 (counts as first dc), 2 dc in the first st (half shell made), *sc in the centre dc of the next shell, 5 dc in the next sc; rep from * across, ending with sc in the centre dc of the last shell and 3 dc in the last sc (half shell made), turn. (9 full shells, 2 half shells, 10 sc)
Row 4: Ch 1, sc in the first dc, *5 dc in the next sc, sc in the centre dc of the next shell; rep from * across, ending with sc in the top of the beginning ch-3 of the previous row, turn. (10 shells, 11 sc)
Rows 3 and 4 are your repeat. The shells nestle into the gaps left by the row before, creating that pretty scalloped fabric with no complicated stitch placement — aim shells at the single crochet stitches and single crochets at the centre stitch of each shell.
Rows 5–21: Rep Rows 3 and 4, ending with a Row 3 row — 20 shell rows in total (Rows 2–21). The blanket should measure about 26 cm (10¼ in) from the foundation row.
Row 22 (straightening row): Ch 1, work 1 sc in each dc and each sc across, working 3 sc across the top of each shell (first dc, centre dc, last dc) and 1 sc in each sc between shells, turn. (61 sc)
Do not fasten off — the border follows directly.
Border Round 1: Ch 1, sc in each st across the top (61 sc), 3 sc in the corner; rotate and work 59 sc evenly down the side (about 3 sc per 2 shell rows), 3 sc in the corner; sc in each foundation ch across the bottom (61 sc), 3 sc in the corner; work 59 sc up the last side, 3 sc in the final corner, sl st to first sc. (approx. 252 sc)
Border Round 2 (shell edge): Ch 1, sc in first st, *sk 2 sts, 5 dc in next st, sk 2 sts, sc in next st; rep from * around, working a 7 dc shell in each corner's centre stitch, join with sl st. (approx. 42 shells)
Border Round 3 (firming round): Ch 1, sc in each st around, working 3 sc at each corner tip, join with sl st. Fasten off and weave in ends securely — for a baby item, weave each tail back and forth in three directions so it cannot work free in the wash. (approx. 260 sc)
Lightly block the blanket: pin to 30 cm square, spritz with water and leave to dry. Blocking opens the shells, flattens the border and makes attaching the head easier.
Part 2 — The bunny head
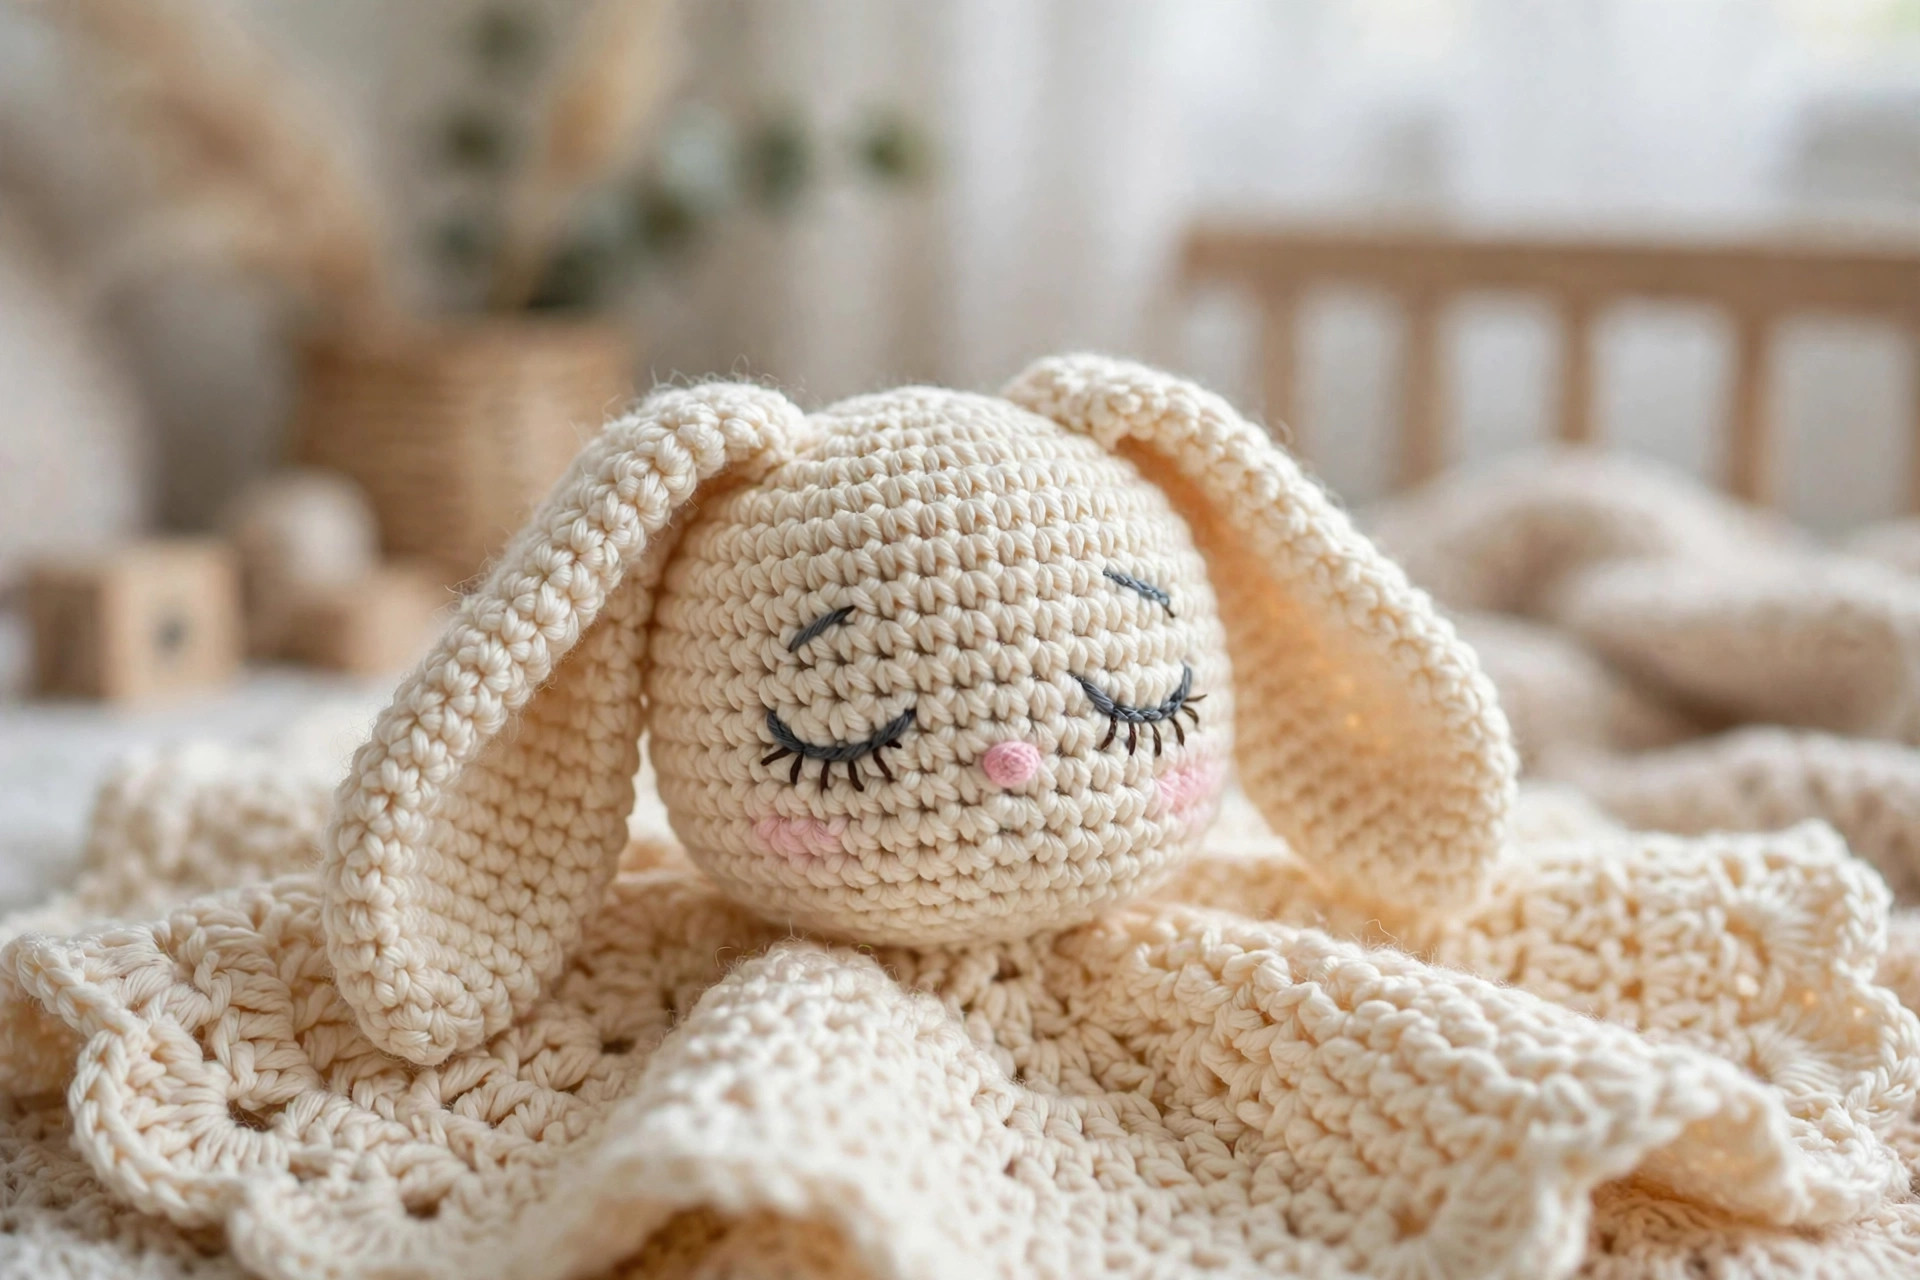
The head is a simple sphere worked in continuous spiral rounds of single crochet. Do not join rounds; move a stitch marker up each round. Stuff firmly as directed — a firm head holds its embroidered face smooth. If your stitches look gappy, switch to a 3.5 mm hook for this part.
Rnd 1: Work 6 sc in a MR. (6)
Rnd 2: Inc in each st around. (12)
Rnd 3: (Sc in next st, inc in next st) 6 times. (18)
Rnd 4: (Sc in next 2 sts, inc in next st) 6 times. (24)
Rnd 5: (Sc in next 3 sts, inc in next st) 6 times. (30)
Rnds 6–10: Sc in each st around. (30) — 5 plain rounds forming the sides of the head.
Rnd 11: (Sc in next 3 sts, dec) 6 times. (24)
Rnd 12: (Sc in next 2 sts, dec) 6 times. (18)
Pause here. Embroider the face now, while you can still reach inside the head (instructions below) — embroidery threads are far easier to bury at this stage. Then stuff firmly, adding small pieces at a time until the head feels plump with no soft spots.
Rnd 13: (Sc in next st, dec) 6 times. (12)
Rnd 14: Dec 6 times. (6)
Fasten off, leaving a very long tail — at least 60 cm (24 in) — because this tail becomes your sewing thread for attaching the head. Weave it through the front loops of the final 6 stitches, pull gently to close the hole, and secure with a knot buried inside the head. Do not trim the tail.
Part 3 — The ears (make 2)
The ears are worked in rounds too, left unstuffed and flattened for that soft, floppy drape: a rounded tip, straight sides and a slight narrowing towards the base. They are worked tip-first, so the final round is the base that sits against the head.
Rnd 1: Work 5 sc in a MR. (5)
Rnd 2: Inc in each st around. (10)
Rnd 3: (Sc in next 4 sts, inc in next st) 2 times. (12)
Rnds 4–9: Sc in each st around. (12) — 6 rounds.
Rnd 10: (Sc in next 4 sts, dec) 2 times. (10)
Rnds 11–12: Sc in each st around. (10)
Fasten off, leaving a 30 cm (12 in) tail on each ear. Flatten each ear so the tail sits at one edge, and, if you like, add a few running stitches in contrast pink up the centre front to suggest the inner ear — or leave the ears plain. Never add beads, bows or any other small decoration to a lovey.
Finishing: embroidery, attachment and safety
This is the most important section of the pattern. A lovey gets chewed, pulled, washed and slept on, so how you finish it matters as much as how you crochet it.
Embroidering the sleepy face
With the head at Round 12, unstuffed, find the centre front. The face sits across Rounds 8 to 10 from the top.
Sleepy eyes: Using dark embroidery thread doubled, or thin black yarn, come up at the front of the head on Round 9, about 4 stitches left of centre. Work a gentle downward curve of 5–6 small backstitches spanning about 3 stitches, dipping lowest at its centre — a curved, closed, sleeping eye. Mirror it on the right side. Add one tiny stitch angling down at the outer end of each curve for a sweet eyelash, if you like. Knot the ends inside the head, buried where the stuffing will trap them.
Nose and mouth: With contrast pink yarn, work a small bar of 3 satin stitches across 2 stitches on Round 10 at the centre, then one vertical stitch down from its centre and two tiny diagonal stitches for a soft Y-shaped bunny mouth. Keep stitches snug and flat.
Embroidered features are the heart of this design's safety: no safety eyes, buttons or plastic noses, because any hard part is a hazard if it works loose. Embroidery cannot come off in pieces — at worst it frays with the fabric itself, which tight stitches make very unlikely.
Attaching the ears
Flatten the base of each ear and position the ears on top of the head, angled slightly outward, across Rounds 3 to 5. Whipstitch each ear base to the head over about 6 stitches, passing the needle through both layers of the ear base and into the head every stitch. Go around each ear twice — ears get pulled, so sew firmly.
Attaching the head to the blanket
Find the exact centre of the blocked blanket (fold it in quarters and mark the point). Sit the head over the centre, closed base down, face up. Using the long tail left on the head, whipstitch the head to the blanket in a full circle, catching a solid blanket stitch with every pass — about 12 to 16 stitches around the base. Then turn the lovey over and sew a second circle from the underside with fresh yarn, offset from the first. Bury knots between head and blanket and weave tails in several directions.
The tug test: Before this lovey goes near a baby, hold the blanket down and pull the head firmly — harder than you think you should. Twist it, too. Nothing should shift, gap or creak. If any stitch lets go, unpick and sew again with closer stitches. Repeat the tug test after every few washes, and repair or retire the lovey at the first sign of damage.
Supervision note: Loveys are for awake, supervised cuddle time, and for older babies as your health visitor or paediatrician's safe-sleep guidance directs. A clear cot is the safest cot for young infants, so introduce the lovey for sleep only at the age your local guidance recommends.
Tips for a lovey that lasts
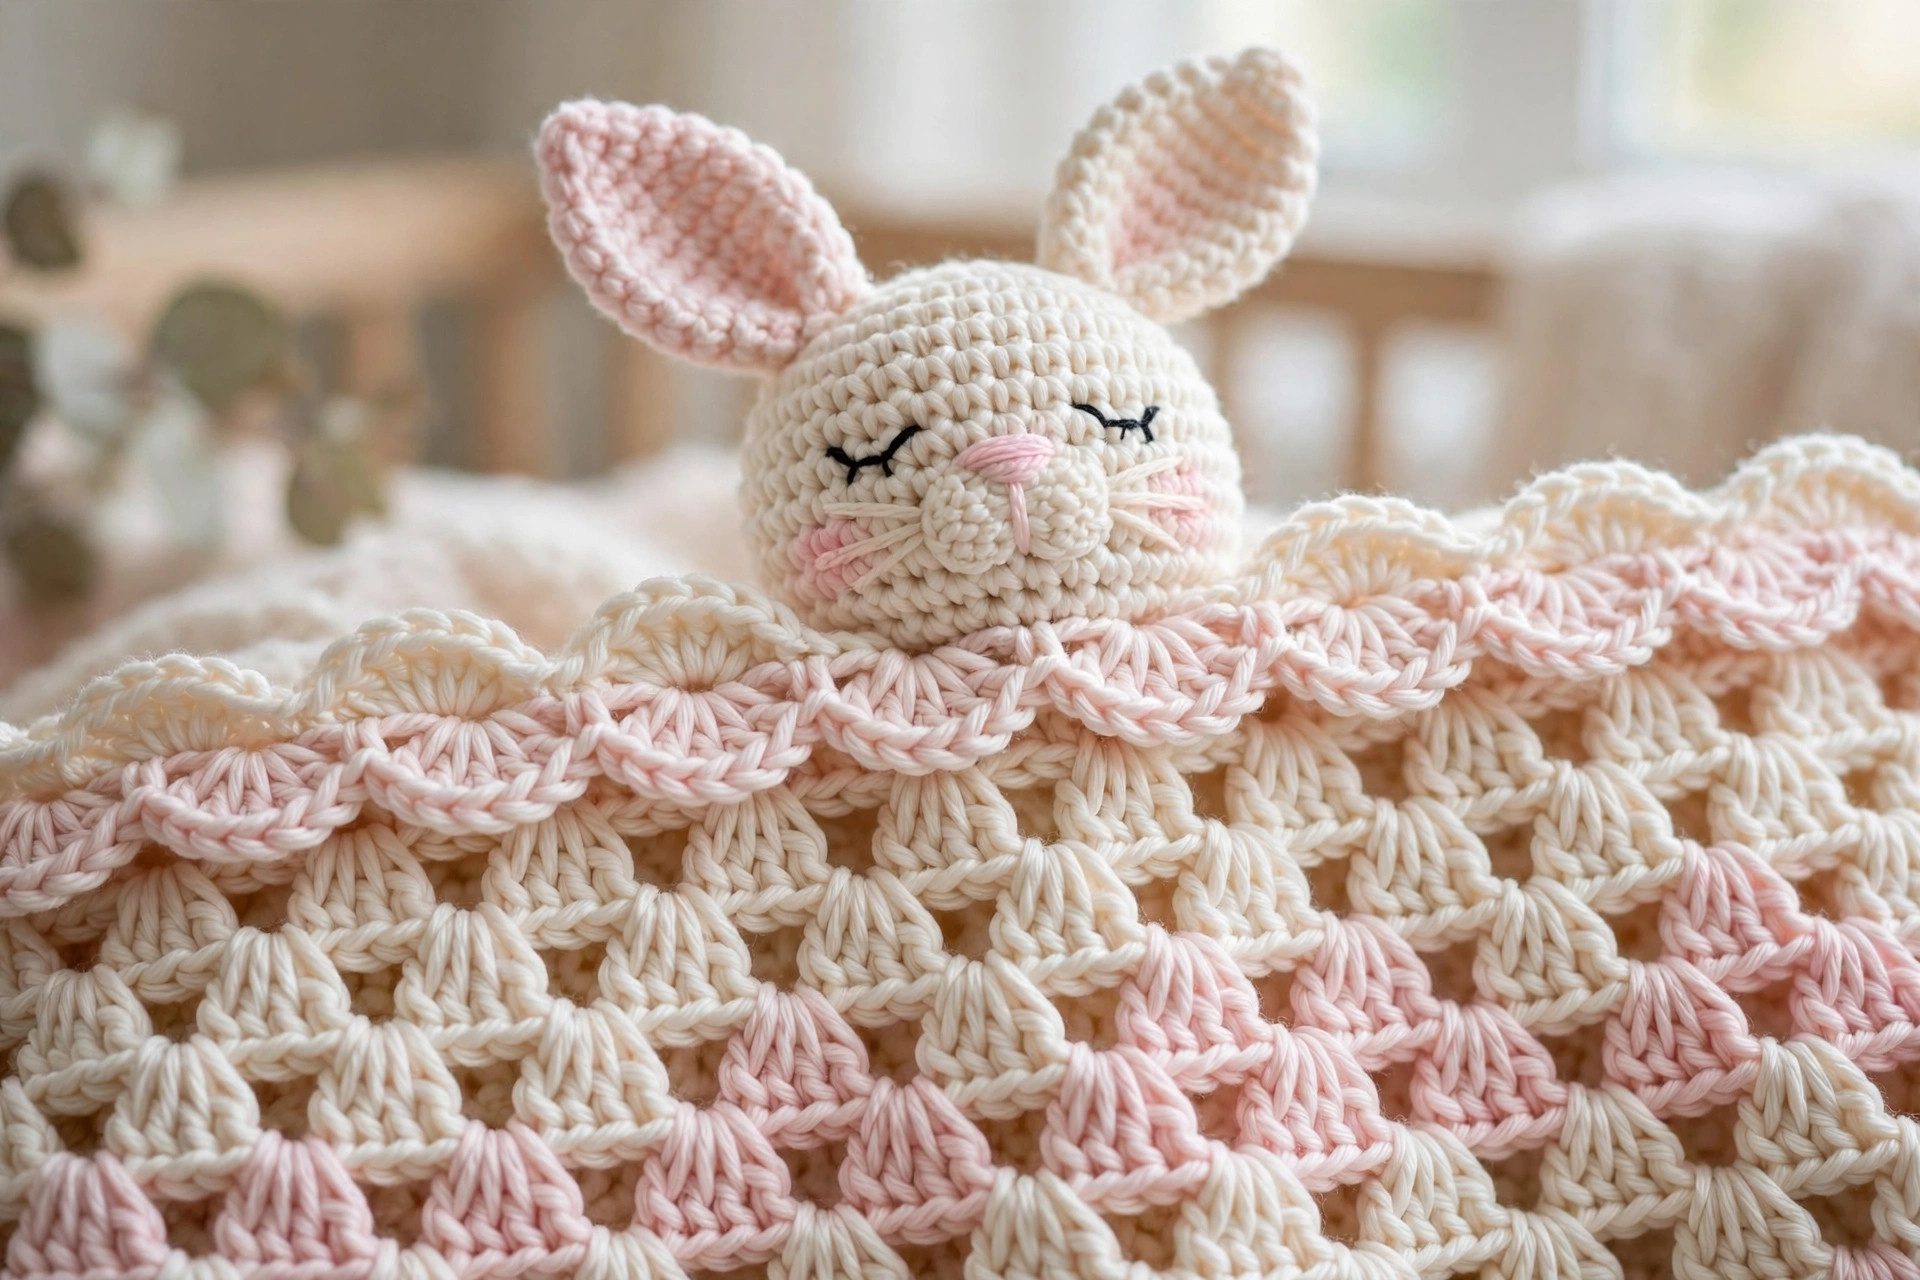
Keep your head stitches tight. If you can see stuffing through your stitches, your hook is too big — drop half a millimetre and the fabric closes up. Tight stitches are not just neater; they are a genuine safety feature.
Weave ends like you mean it. Babies find loose tails instantly. Weave every tail in three directions, and weave the blanket's starting tail into the shell rows so no knot sits under the head.
Make two. Every experienced parent will tell you: the beloved lovey will get lost, left at grandma's, or dropped in a puddle before a long car journey. A backup, rotated regularly so both feel familiar, is the cheapest peace of mind in parenting — and the second works up faster.
Wash it before gifting. A gentle wash settles the stitches and removes loose fibres, so the lovey arrives ready for cuddles. Add a note telling the parents how you washed it.
Pair it up. Wrap this lovey with the little lamb baby snuggle gift set crochet pattern for a bigger present, or add a matching baby bonnet crochet pattern in the same yarn. The woodland nursery mobile crochet pattern shares the same soft, embroidered-faces philosophy.
FAQ
Is this lovey blanket crochet pattern suitable for a newborn?
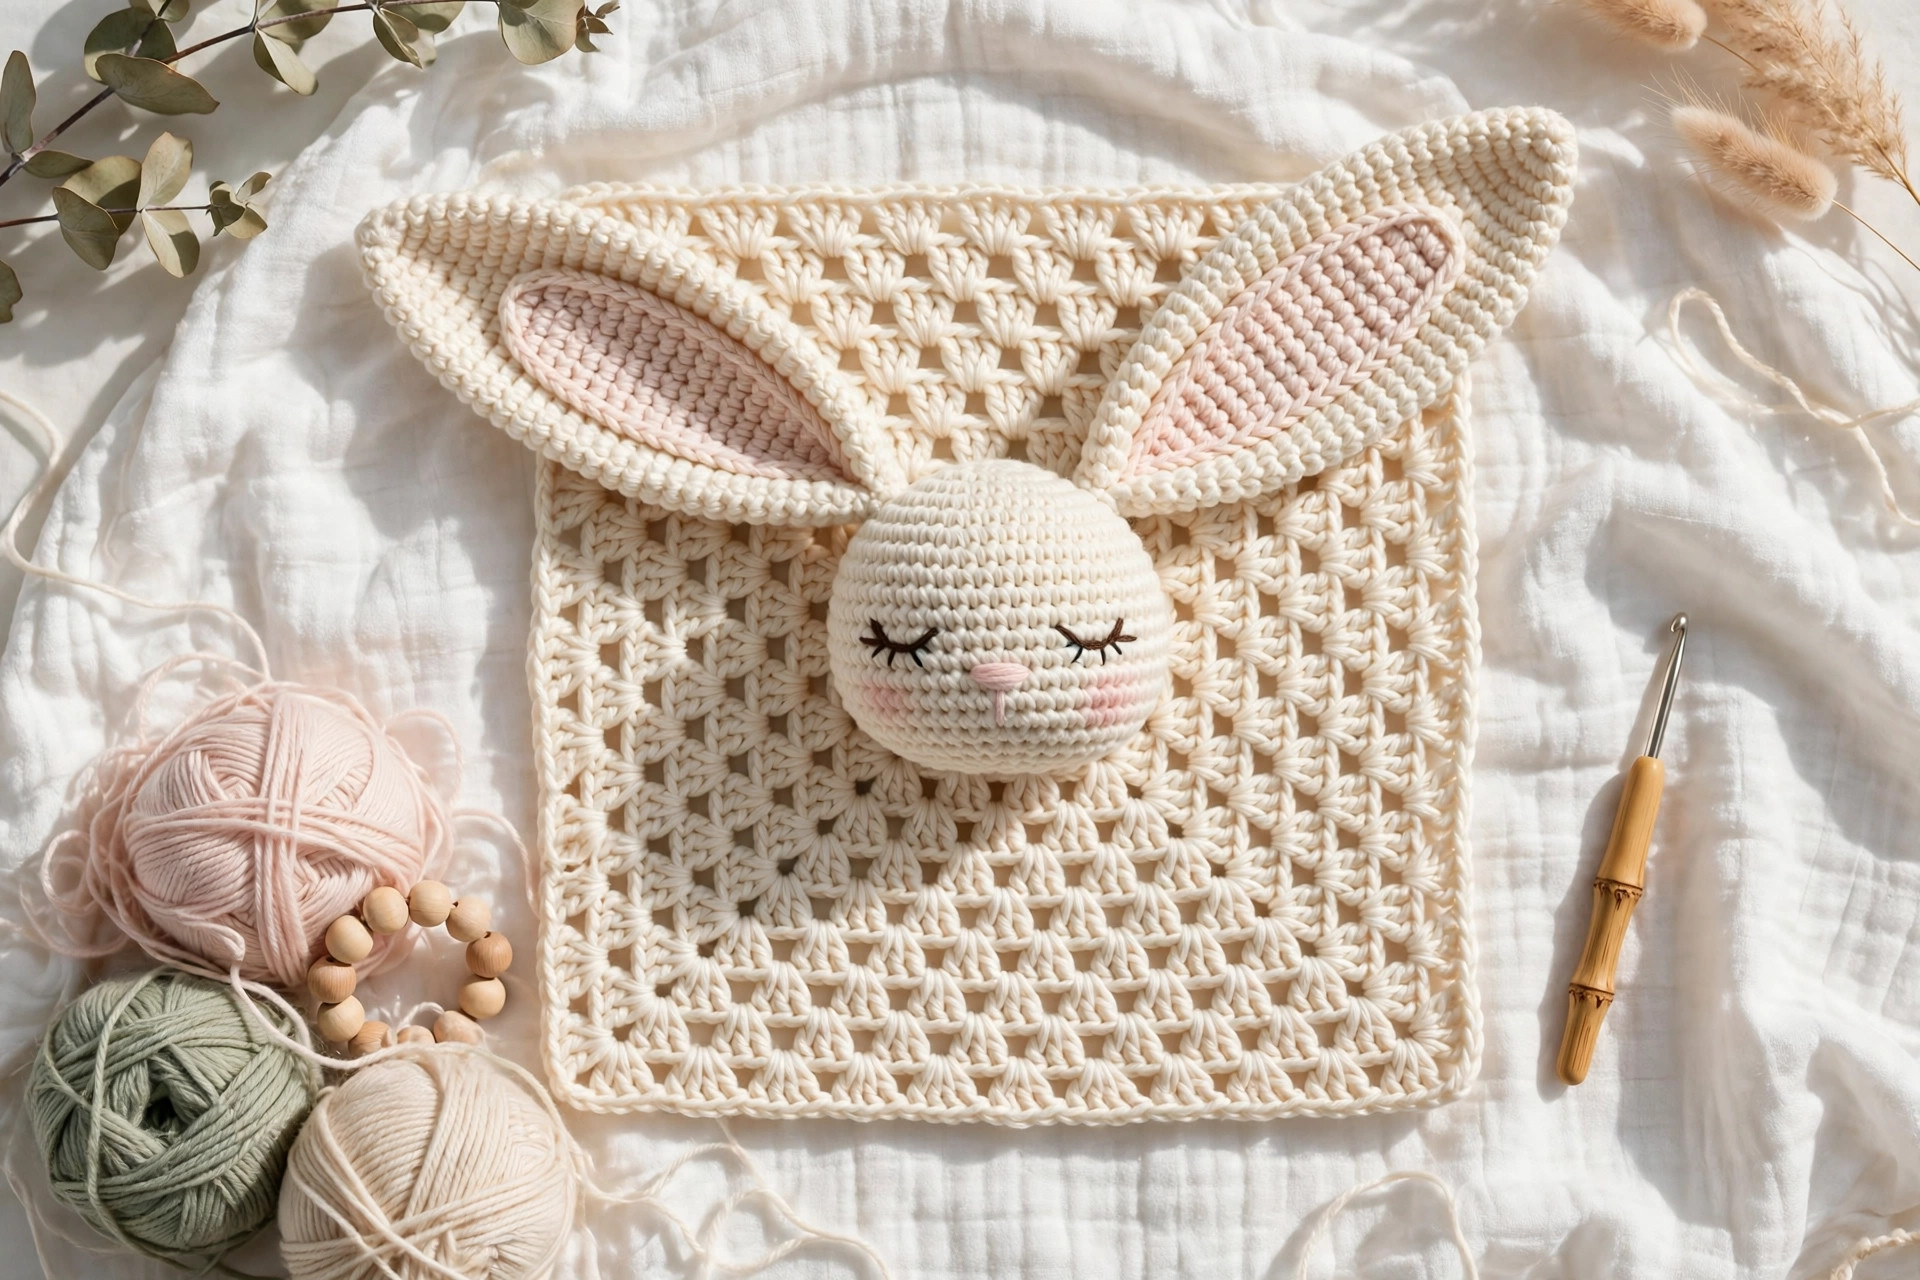
It is made with newborn-safe features — embroidered face, tight stitches, no small parts — and makes a beautiful shower gift. For sleep, follow current safe-sleep guidance in your country (generally a clear cot for young infants): introduce it for supervised cuddles first.
What yarn is safest for a crochet lovey?
A smooth DK or light worsted yarn labelled for babies, in cotton or quality acrylic. Avoid fluffy, eyelash or mohair-style yarns whose fibres can shed, and anything with sequins or metallic threads. Pick yarn that tolerates gentle machine washing.
Why doesn't this pattern use safety eyes?
Safety eyes are hard plastic held by a washer; if one ever works loose, it is a choking hazard. Embroidered eyes cannot detach, look soft and sleepy, and keep the lovey squeezable with no hard lumps against a baby's face.
How long does this lovey take to make?
About 4 to 6 hours over two evenings. The blanket's 20 shell rows take roughly 3 hours, the head and ears about an hour, and embroidery plus assembly another unhurried hour — a perfect last-week-before-the-shower project.
Can I make the blanket bigger?
Yes — add 6 chains to the starting chain per extra shell repeat (about 5 cm), and work extra repeat rows to keep it square. Allow roughly 15 m more yarn per repeat; the original 30 cm size is easiest for small hands.
How do I wash a crochet lovey?
Machine wash on a gentle, cool cycle inside a laundry bag, or hand wash in lukewarm water with mild detergent. Reshape while damp, dry flat, and give the head seam the tug test once dry.
Read next
Loved making something small and giftable? Try the dreamy flower bouquet blanket crochet pattern next.
The box below contains an Etsy link. If you buy through it, we may earn a small commission at no extra cost to you. Learn more.
No time to make one?
Shop baby yarn and lovey-making supplies on Etsy
Browse on Etsy (opens Etsy in a new tab)