Crochet phone case pattern free: snug pouch with flap
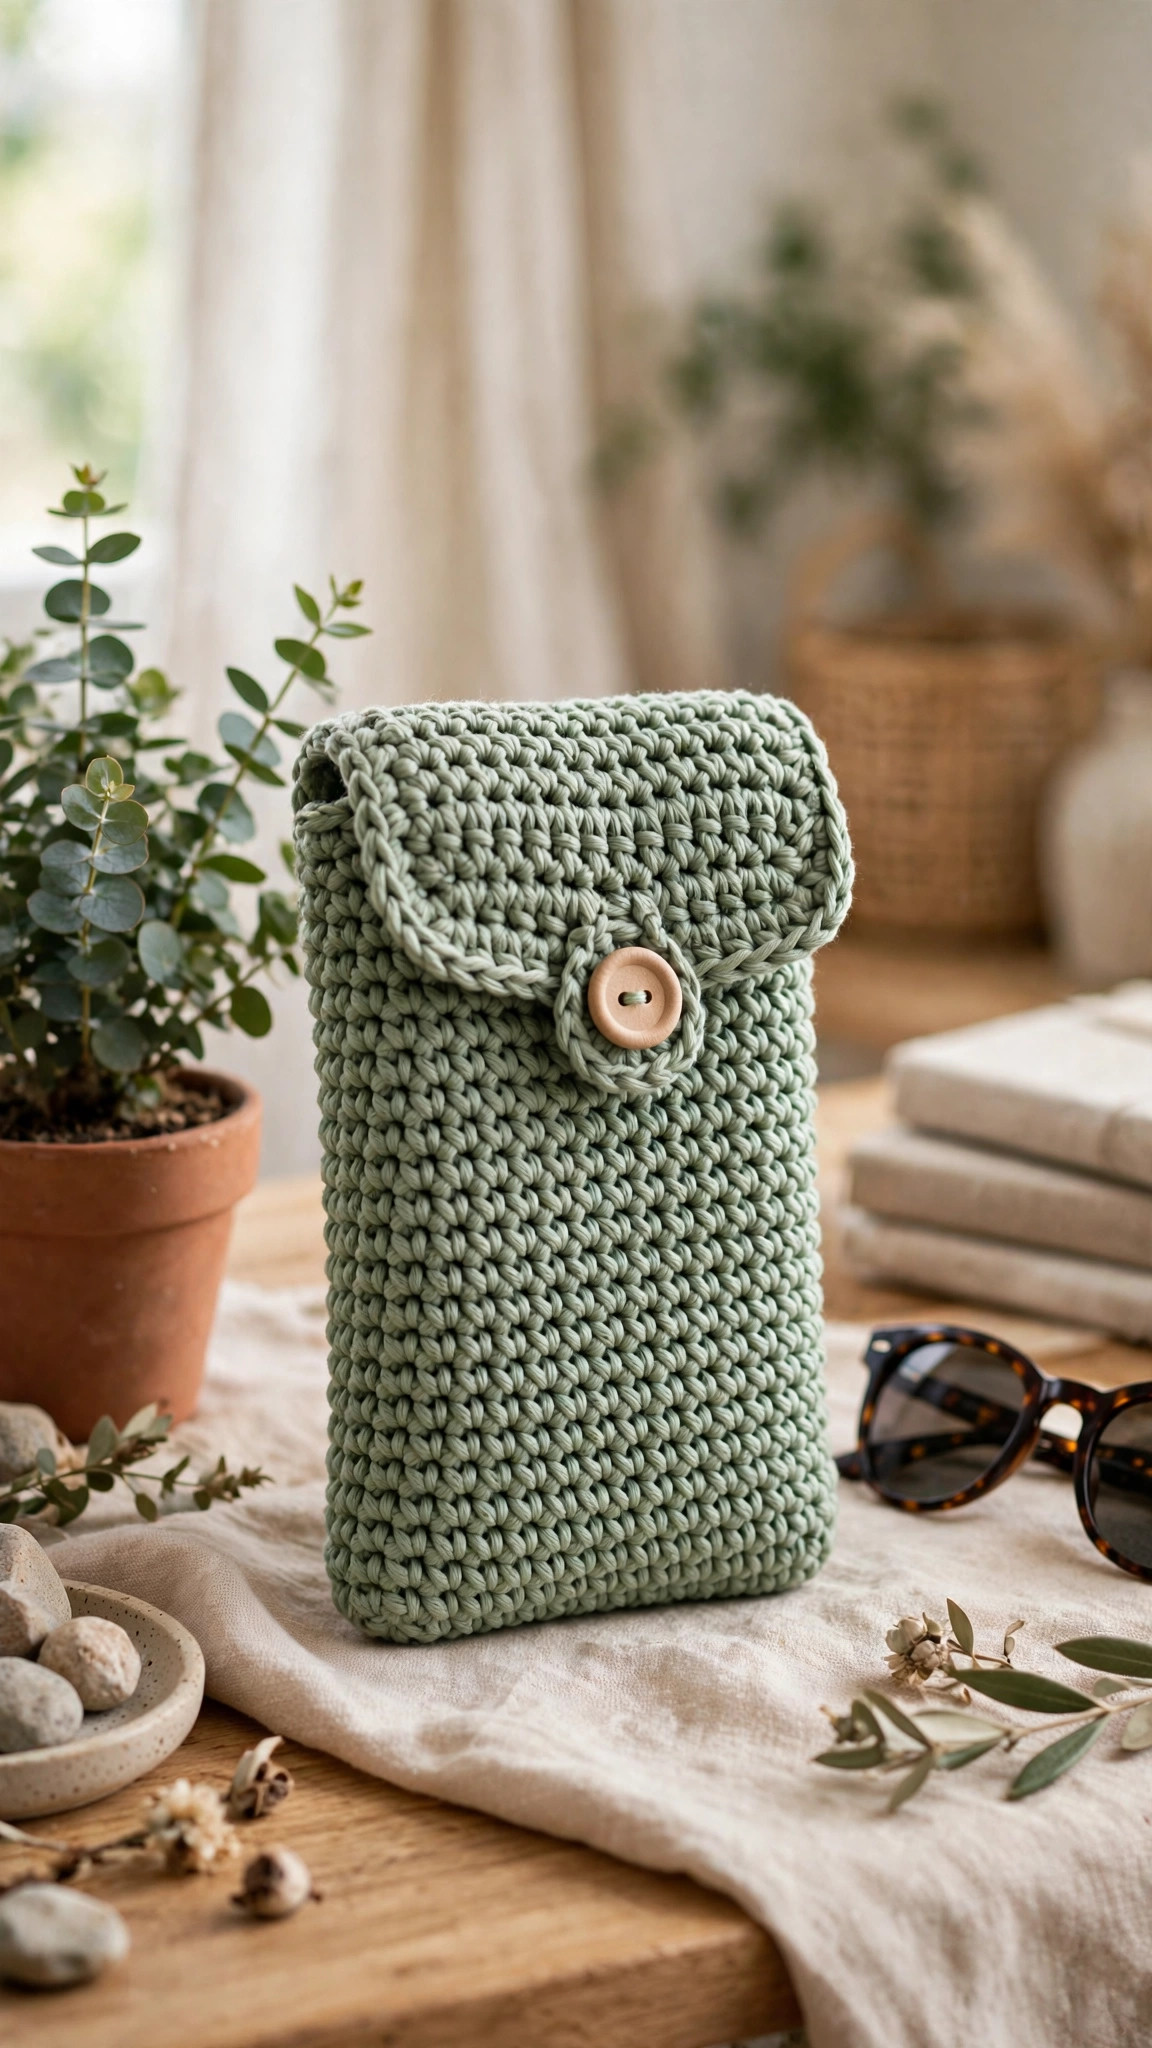
A snug pouch worked in the round with no seams at all, closed with a fold-over flap and a single button. The pattern starts with your phone's own measurements and one simple chain formula, so it fits the phone you actually own — case and all.

Accessories · Crochet
- Finished size
- About 3.5 × 6.75 in, custom fit
- Making time
- 2–3 hours
- Hook
- 4.0 mm (G-6), worsted cotton
- Pieces
- 1 pouch + optional strap
- Skill
- Easy
In this post
Your phone goes everywhere with you — into tote bags full of keys, across café tables, onto the car seat. A hard case protects the back, not the screen. This crochet phone case pattern free solves that in one cozy evening: a snug, sturdy pouch worked in the round with absolutely no seams, a fold-over flap that closes over a button, and an optional wrist strap.
The best part? It is sized to your phone, not to some average phone from three models ago. Below: a measuring method, a chain formula, sizes from small to large, and round-by-round instructions with a stitch count for every round. One small ball of cotton yarn and a 4.0 mm hook, and by bedtime your phone has the handmade jacket it deserves.
Contents
- Why you'll love this phone pouch
- Materials you'll need
- Size, gauge and the sizing formula
- Abbreviations — US terms
- The pattern: base, body, flap and strap
- Finishing
- Tips for a snug fit
- FAQ
- What to make next
Why you'll love this crochet phone case
It actually fits. Most phone pouch patterns give you one size and wish you luck. This one starts with your phone's real measurements — width, height, and thickness with its everyday case on — and turns them into a chain count with a tiny formula.
There are no seams to sew. The pouch is worked in continuous rounds from an oval chain base, so the bottom is closed as you crochet and the sides rise in one unbroken tube. The only sewing is one button and the strap ends. If you enjoyed the seamless construction of our crochet basket pattern free, you will feel right at home here.
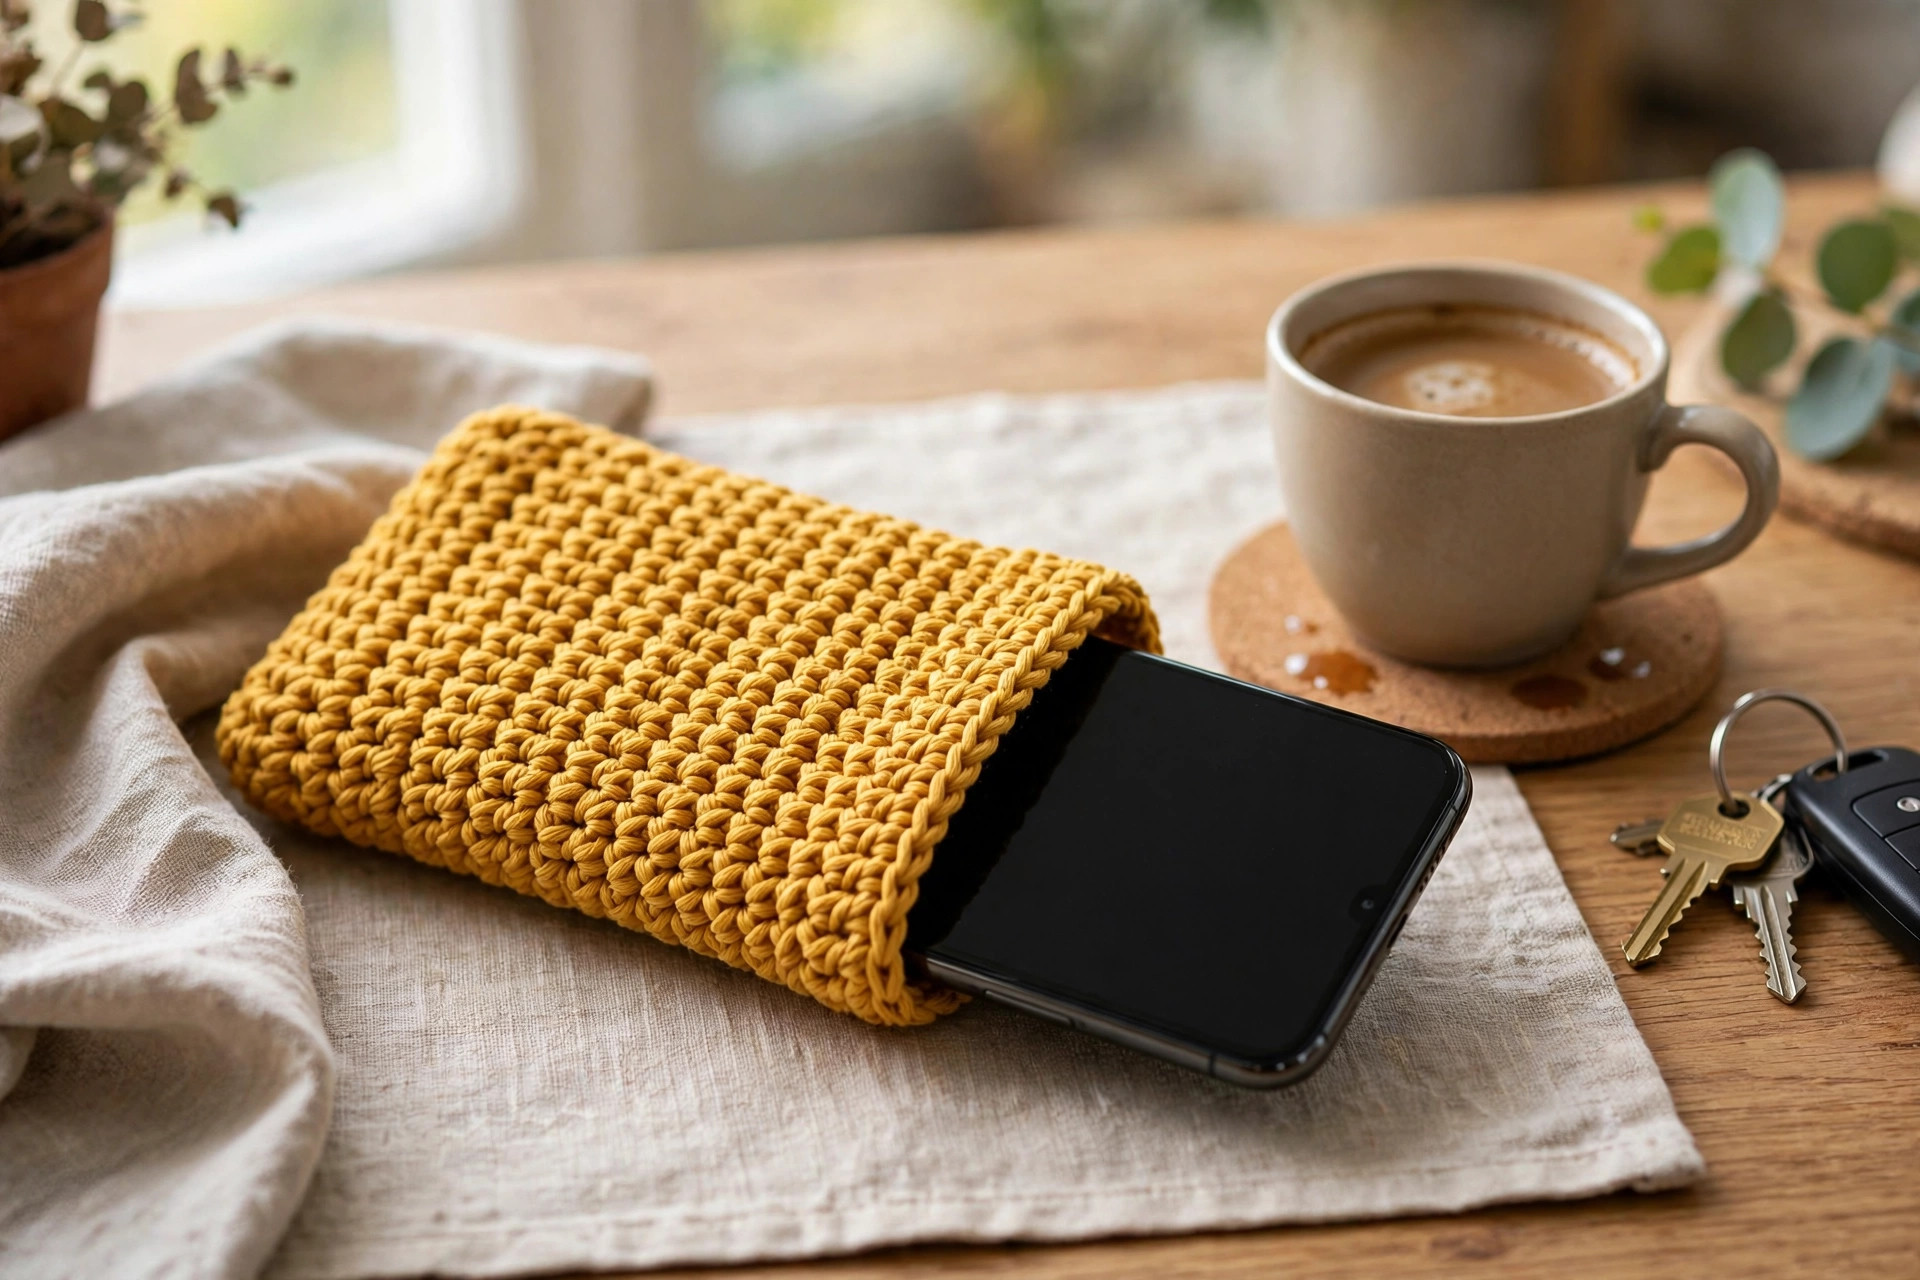
The fabric is genuinely protective. Waistcoat stitch — single crochet worked into the center of the stitch below — creates a dense, almost woven fabric with little stretch and no gaps. It cushions corners, keeps keys away from the screen, and holds its shape in a bag.
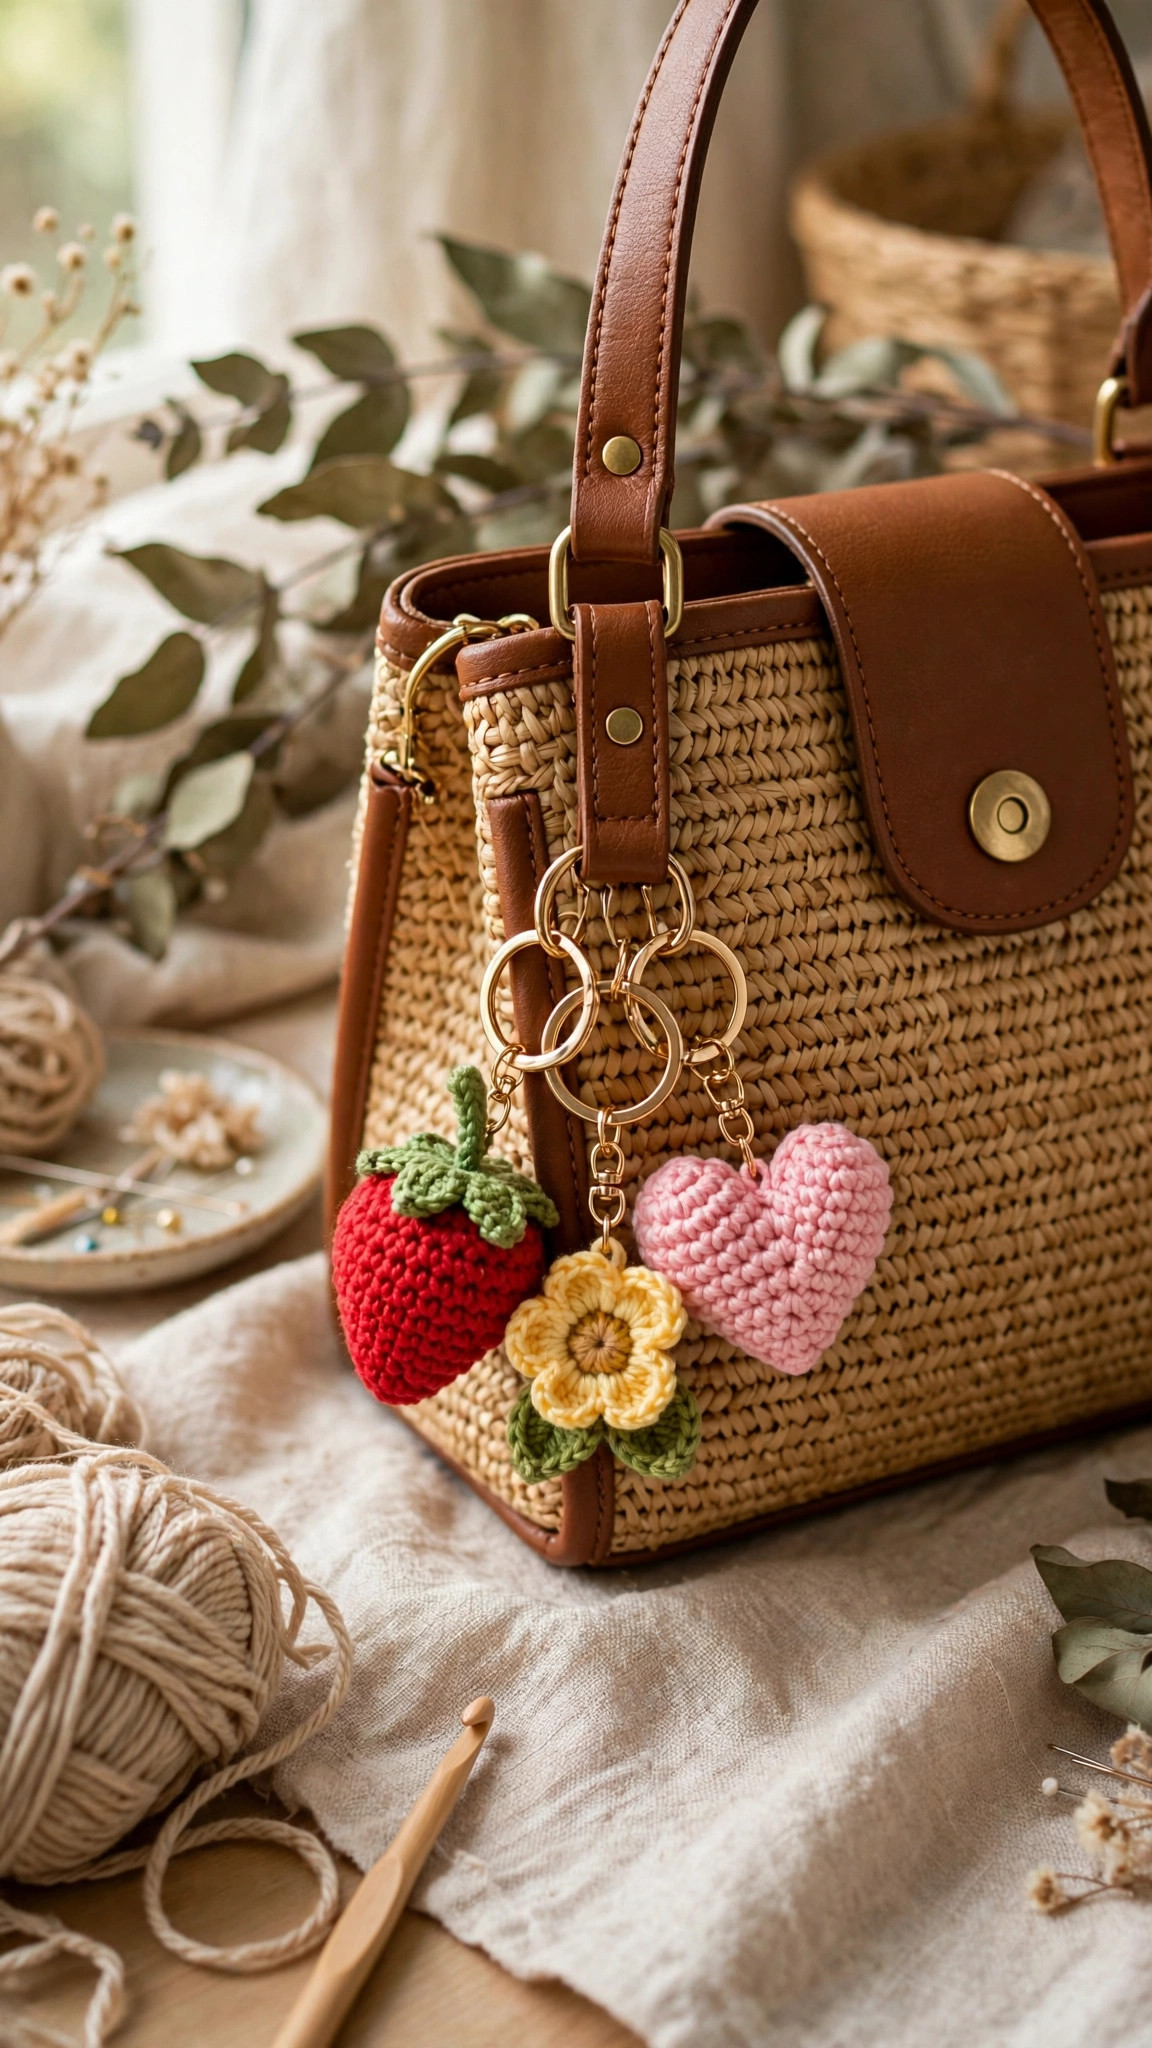
It is fast and frugal. One small ball of worsted cotton, roughly 50 g, makes the standard size with yarn to spare, and most crocheters finish in a single evening — a brilliant last-minute gift. Work it solid, striped, or variegated, and add a charm from our crochet bag charm patterns free to make it unmistakably yours.
Materials you'll need
Cotton is the yarn this pouch was designed for. It has almost no stretch, so the snug fit you crochet is the fit you keep, and it slides in and out of bags without grabbing. A cotton-acrylic blend also works well.
| Supply | What to get |
|---|---|
| Yarn | Worsted-weight (#4) cotton, about 50 g / 85 yd (78 m) |
| Crochet hook | 4.0 mm (US G-6) |
| Button | One flat button, 20–25 mm (about 7/8 in) |
| Tapestry needle | Blunt-tip, large eye, for ends, button and strap |
| Stitch marker | One locking marker for the start of each round |
| Measuring tape | Flexible tape for measuring your phone |
| Scissors | For trimming ends |
| Optional | Sewing needle and thread for small button holes; a second color for stripes |
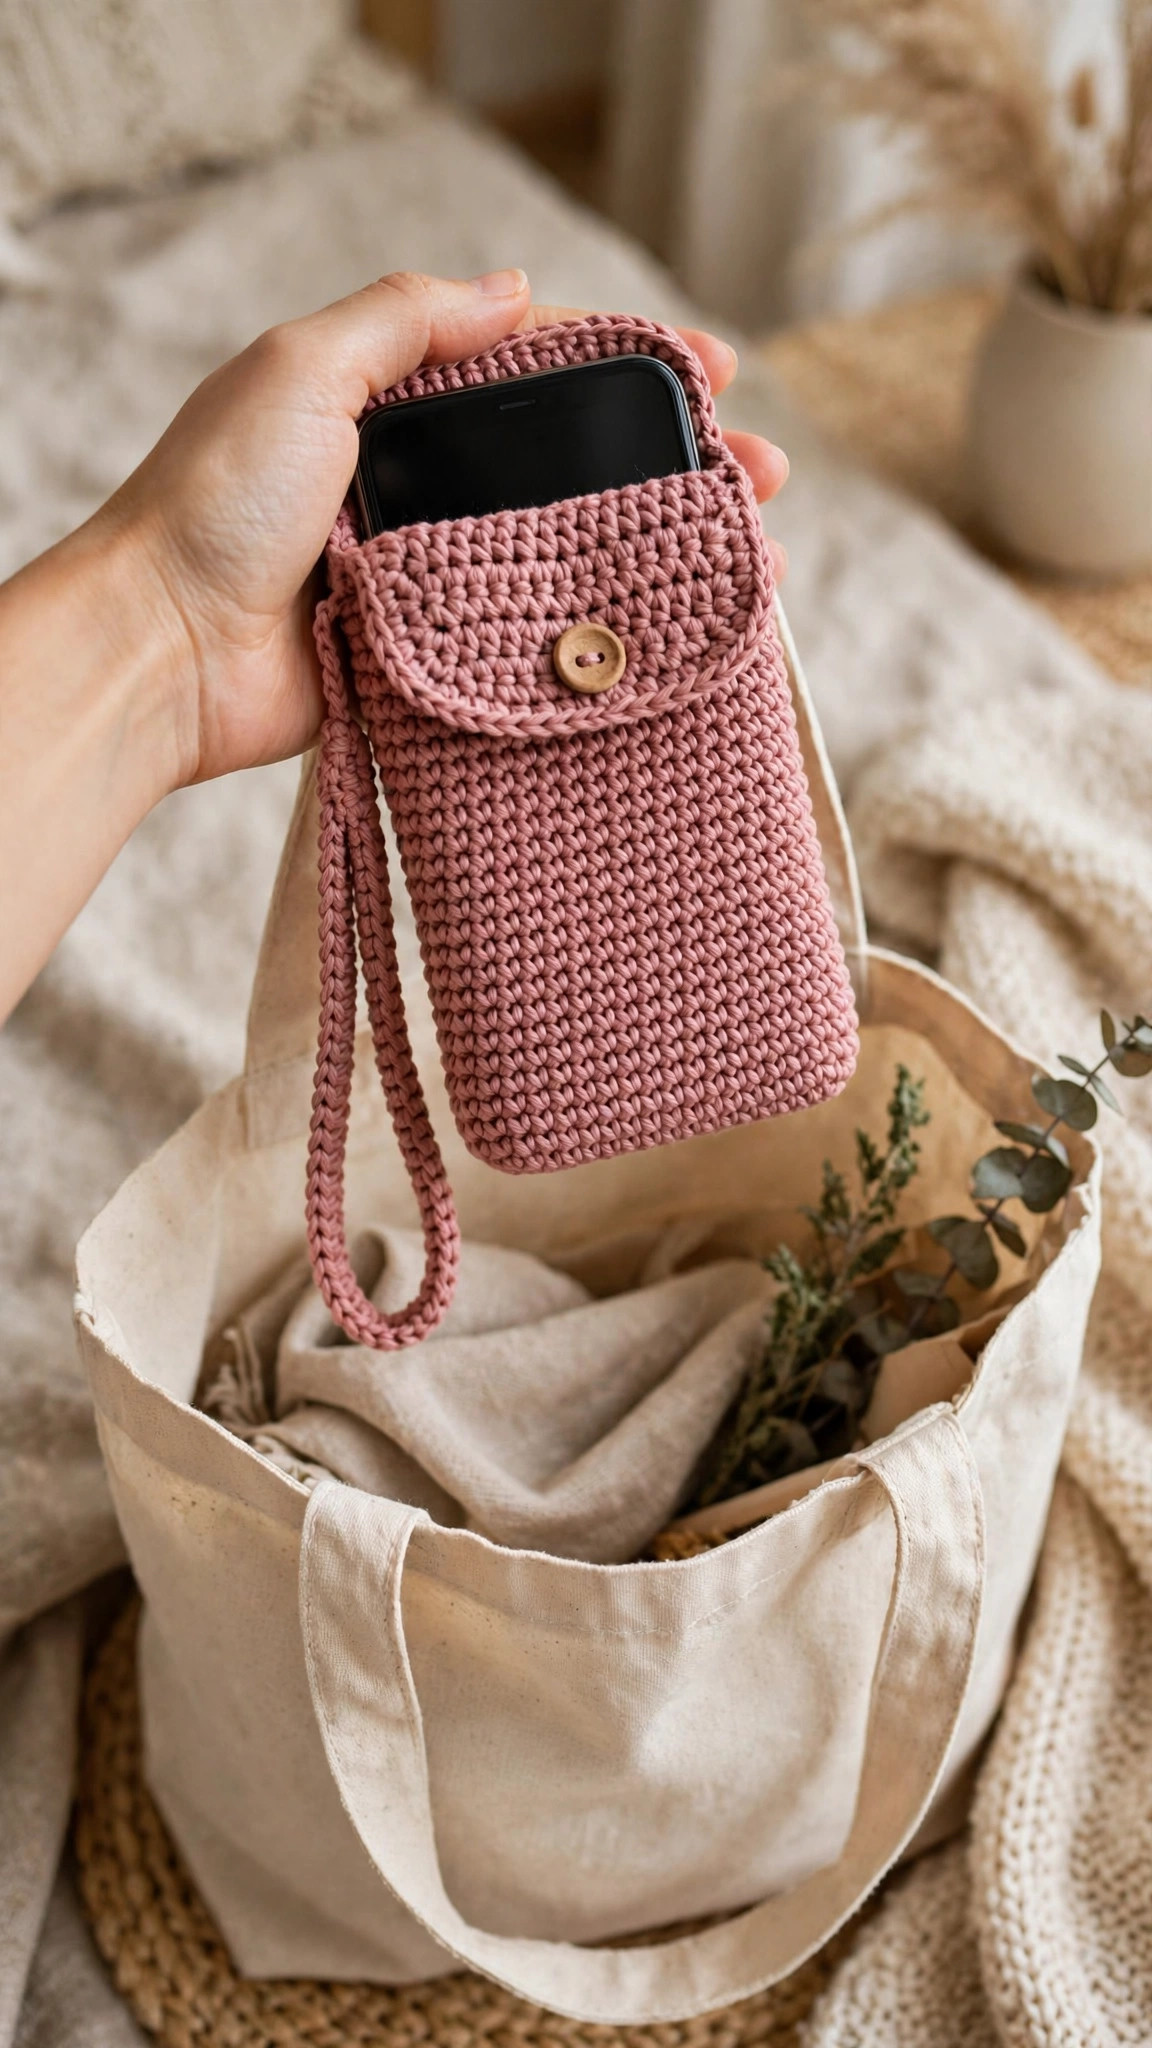
Flat buttons sit best under a flap; wooden, coconut, and matte plastic all suit the cotton texture, and the loop in the pattern is sized for a 20–25 mm button.
Size, gauge and skill level
- Skill level: Easy — dots 2 of 3. You should be comfortable with chains, single crochet, working in the round, and simple decreases. The waistcoat stitch is just a single crochet placed in a slightly different spot, explained fully below.
- Gauge: 18 stitches × 20 rounds = 4 in (10 cm) in waistcoat stitch with worsted cotton and a 4.0 mm hook — that is 4.5 stitches and 5 rounds per inch. Gauge matters more than usual here because the whole sizing system is built on it.
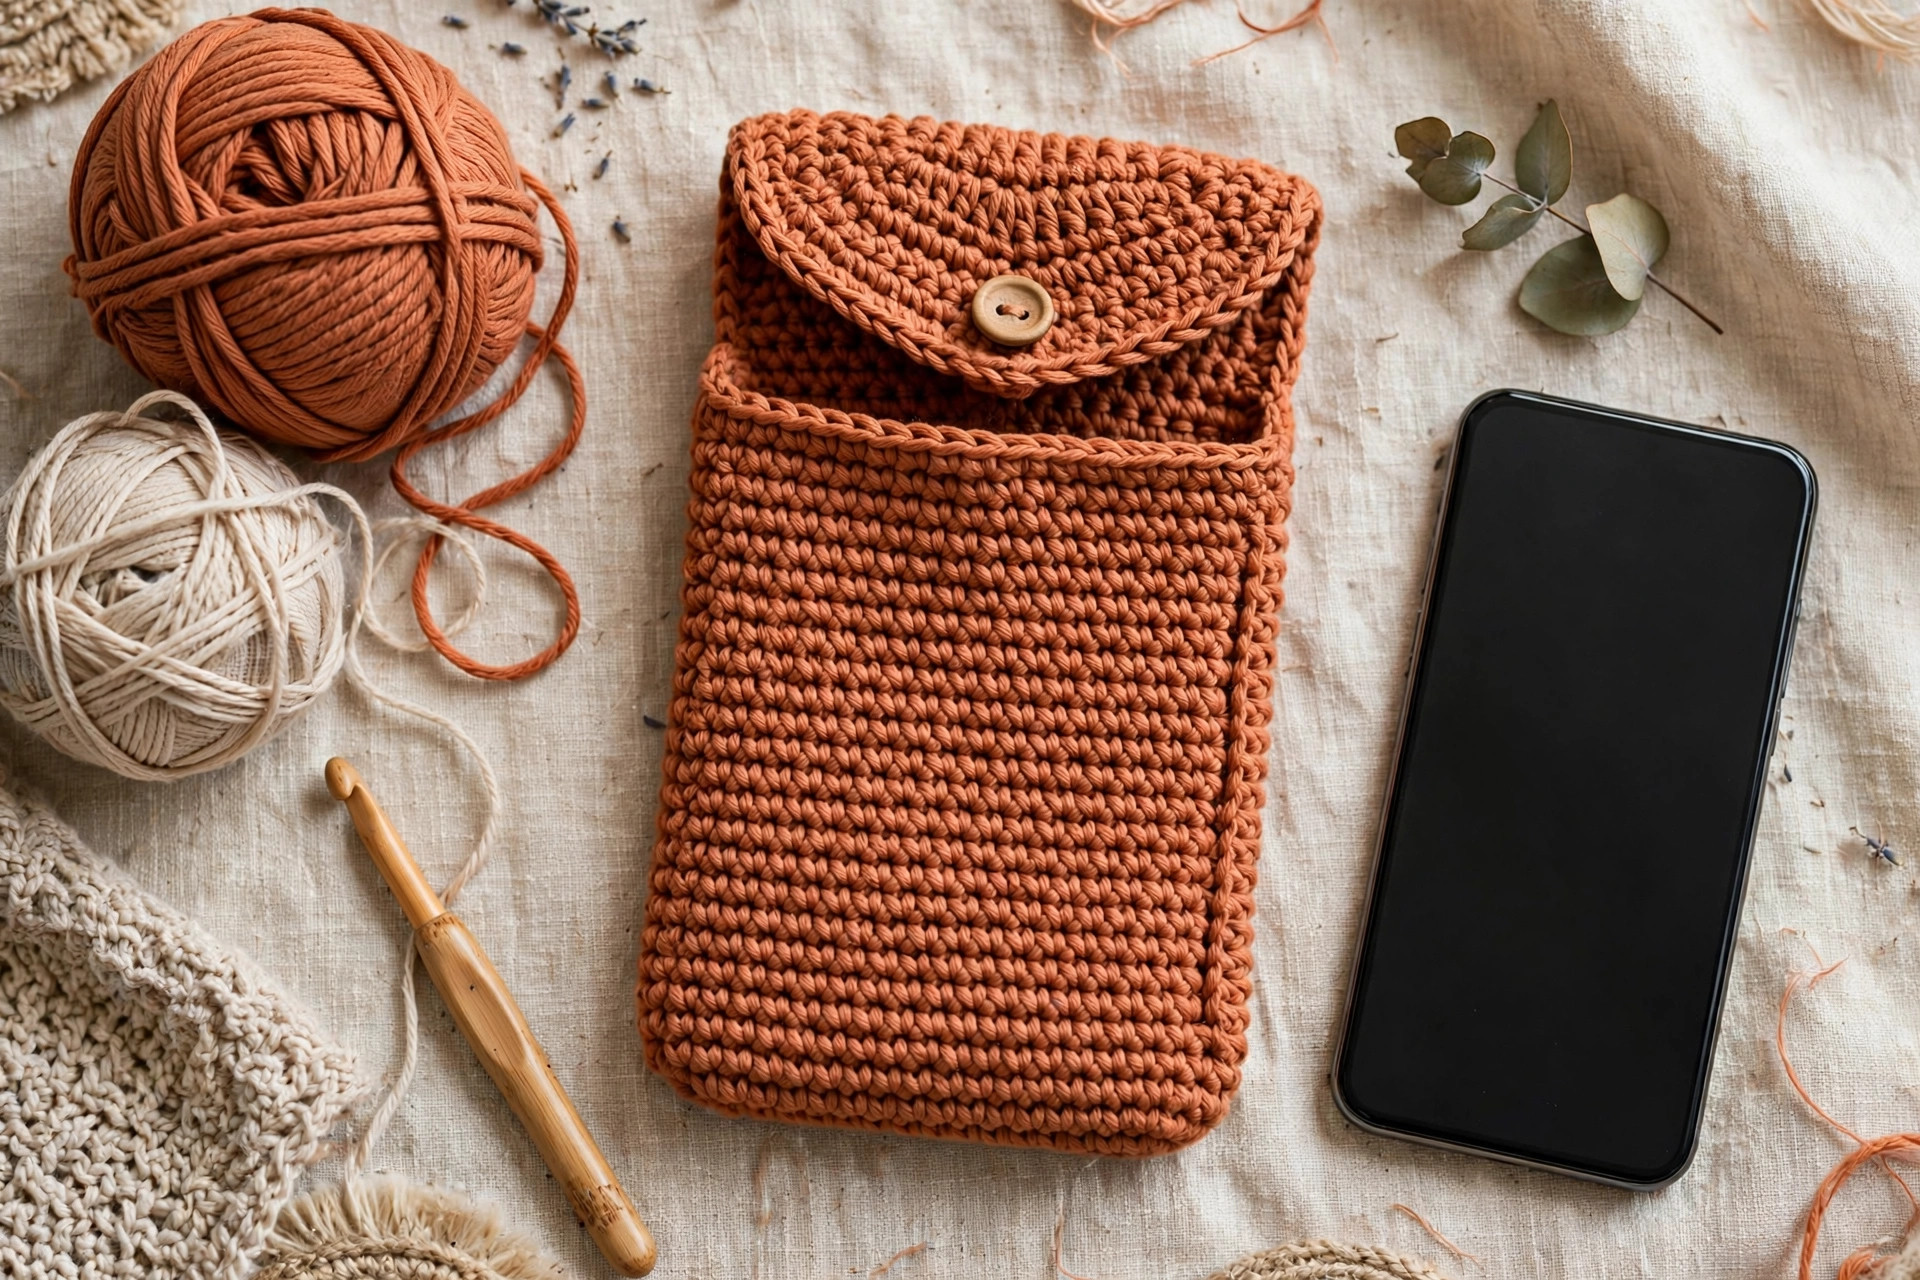
- Finished size (sample): About 3.5 in wide × 6.75 in tall (9 × 17 cm) with the flap open, fitting a phone up to about 3 in wide × 6.25 in tall × 0.4 in thick (7.5 × 16 × 1 cm), with a slim case on.
Measure your phone (do not skip this)
Measure with the phone in the case you use every day. If you use no case, measure the bare phone.
- Width (W): across the front, edge to edge.
- Height (H): top to bottom.
- Thickness (T): front glass to back.
The sizing formula
Starting chains = round up [(W + T) × 4.5] − 1
The width you need across the flat pouch is the phone's width plus its thickness — the fabric travels across the front, around the edge, and across the back. Multiplying by 4.5 converts inches to stitches at this gauge; rounding up adds a whisper of ease, and subtracting 1 accounts for the turning chain.
Total rounds = round [(H + 0.5) × 5]
The extra half inch lets the phone sit fully inside with the flap folding comfortably over the top.
Worked example — the sample in the photos: W = 3 in, T = 0.4 in, H = 6.25 in. Chains: (3 + 0.4) × 4.5 = 15.3, round up to 16, minus 1 = chain 15, giving 32 stitches around. Rounds: (6.25 + 0.5) × 5 = 33.75, round to 34 rounds. Those are exactly the numbers in the pattern below.
Common phone sizes
| Phone size | Phone W + T | Starting chain | Stitches around | Total body rounds |
|---|---|---|---|---|
| Small (up to 2.8 in wide, 5.8 in tall) | about 3.15 in | Ch 14 | 30 sts | 32 rounds |
| Standard (about 3 in wide, 6.25 in tall) | about 3.4 in | Ch 15 | 32 sts | 34 rounds |
| Large (about 3.4 in wide, 6.7 in tall) | about 3.9 in | Ch 17 | 36 sts | 36 rounds |
If your phone falls between rows, choose the larger chain count — a pouch 2 stitches too wide still works, while one 2 stitches too narrow is a wrestling match. The flap instructions give counts for the standard size, plus the adapting rule.
Abbreviations — US terms
| Abbreviation | Meaning |
|---|---|
| ch | chain |
| sc | single crochet |
| wst | waistcoat stitch (single crochet worked into the center of the stitch below — see below) |
| sl st | slip stitch |
| st(s) | stitch(es) |
| rnd(s) | round(s) |
| wst2tog | waistcoat stitch decrease: work two stitches together (explained in the flap) |
| rep | repeat |
| [ ] | total stitch count for the round or row |
Waistcoat stitch, explained once and for all: A normal single crochet goes under the two top loops of the stitch below. A waistcoat stitch goes into the center of the stitch below — push your hook down between the two vertical legs of the V, right through the middle of the stitch, then yarn over and complete a single crochet as usual. The result looks like neat little Vs stacked on each other, almost like knitting. Keep your tension relaxed: if the hook will not slide through the center, your previous round is too tight.
The pattern (US terms)
The instructions below are written for the standard size (ch 15, 32 stitches, 34 rounds). For another size, use your chain count from the table and the same construction: the base round always ends with 2 × (chains + 1) stitches, the body is plain waistcoat rounds up to your total round count, and the flap is worked across the back half of the stitches.
Place a marker in the first stitch of every round and move it up as you go. The body is worked in a continuous spiral — do not join rounds and do not turn. Try the phone inside at rounds 18 and 30; it should slide in with gentle resistance, not force.
Base — the oval foundation
Foundation: Ch 15.
Rnd 1: 2 sc in 2nd ch from hook, sc in next 12 ch, 4 sc in last ch, then working down the opposite side of the chain, sc in next 12 ch, 2 sc in last ch. [32 sc]
You now have a flat oval: 16 stitches along each long side, the extra stitches at the ends forming the curves. This oval is the closed bottom of your pouch — no sewing, ever. Check the count twice; every later round is 32 stitches.
Rnd 2: Sc in each st around. [32 sc]
Round 2 is deliberately plain single crochet. It firms up the base, defines the two sides, and gives round 3's waistcoat stitches a clear, even row to bite into.
Body — waistcoat stitch rounds
Rnd 3: Wst in each st around. [32 wst]
Rnds 4–34: Wst in each st around. [32 wst]
That is the whole body: the same round, repeated. A few things to watch:
- The sides should stay straight. If the pouch narrows, your tension is tightening — relax your yarn hand. If it flares, you are adding a stitch at the curve ends; count to 32 every fifth round.
- The fit check matters. At round 18, slip the phone in. The width should feel like a firm hug. Too loose now means too loose forever, because cotton does not shrink back — restart with 1 fewer chain.
- Stripes are free. Change color in the last yarn-over of a round's final stitch. Two contrast rounds at rounds 12–13 and 24–25 gives a classic Breton look.
At the end of round 34, do not fasten off. Slip the phone in one last time: the top edge should sit about half an inch above the phone. For a taller phone, add rounds — each adds about 0.2 in (5 mm).
Flap — worked flat on the back half
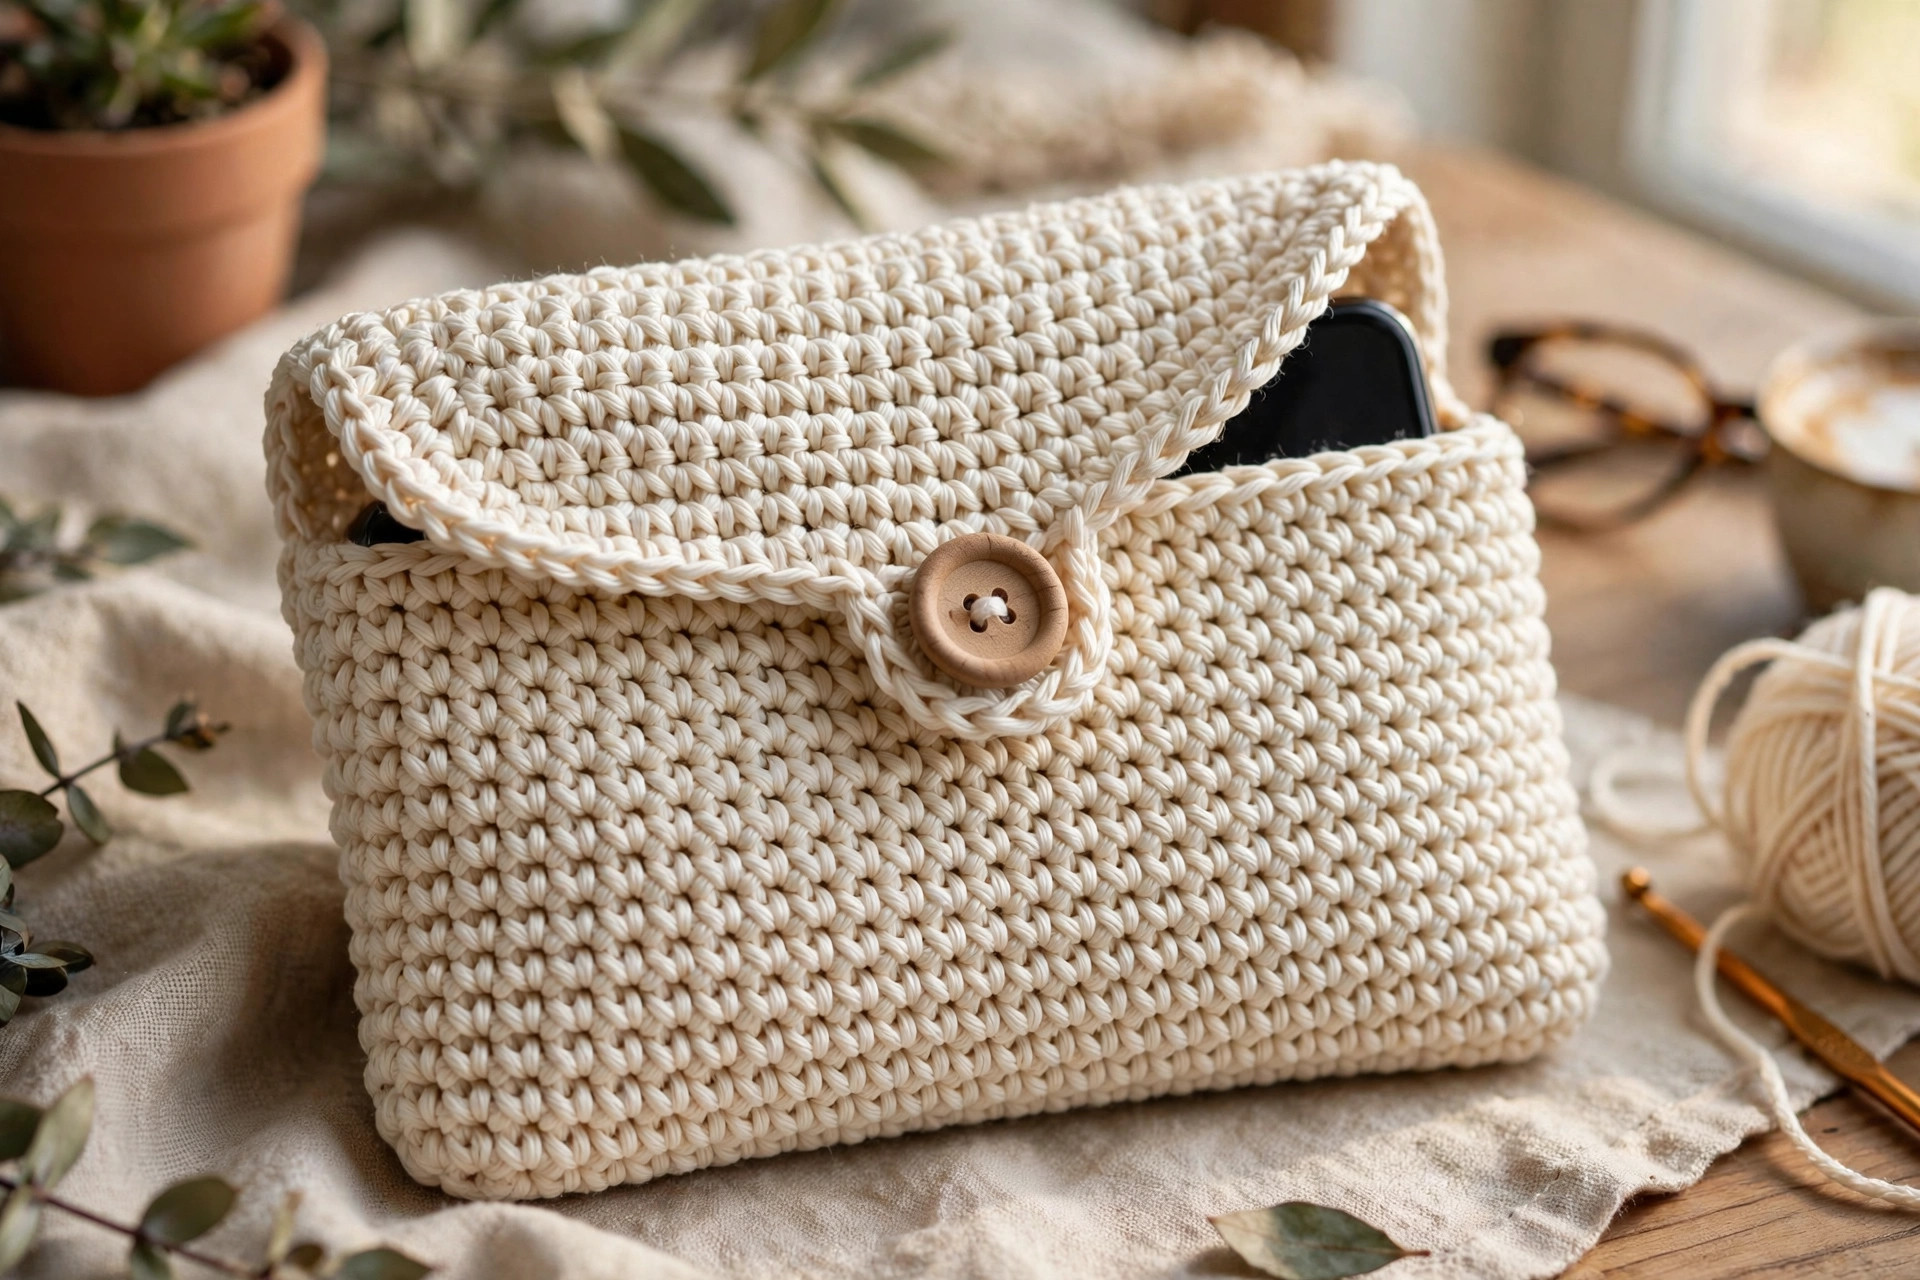
The flap is worked back and forth in rows across the back 16 stitches only — exactly half the pouch. With the pouch flat and the round marker at one side edge, the 16 stitches along the back face are your flap stitches; the flap must sit on one flat face, not around a corner.
Row 1: Ch 1, turn the work so you are looking at the back face, wst in next 16 sts. [16 wst]
Rows 2–9: Ch 1, turn, wst in each st across. [16 wst]
Row 10: Ch 1, turn, wst2tog, wst in next 12 sts, wst2tog. [14 wst]
To work a wst2tog: insert the hook into the center of the next stitch and pull up a loop, insert into the center of the following stitch and pull up a loop (3 loops on hook), yarn over and pull through all 3. The decreases sit at the edges and start the flap's gentle taper.
Row 11: Ch 1, turn, wst in each st across. [14 wst]
Row 12: Ch 1, turn, wst2tog, wst in next 10 sts, wst2tog. [12 wst]
Row 13: Ch 1, turn, wst in each st across. [12 wst]
Button loop: Ch 9, sl st into the center stitch of Row 13 (the 6th stitch), fasten off. The chain forms a loop standing up from the middle of the flap tip — check that it slips over your button with a little resistance. Too loose is worse than too tight; the Finishing section shows how to resize it.
Adapting the flap to other sizes: start with half your stitch count (15 sts for small, 18 for large). Work 8 straight rows, decrease at each end of the next row, work 1 straight row, decrease again, finish with 1 straight row — ending 4 stitches narrower, with the same tapered shape.
Wrist strap (optional, but highly recommended)
The strap takes ten minutes — loop it around your wrist at markets, or clip it inside a tote so the pouch never migrates to the bottom.
Row 1: Ch 61, sc in 2nd ch from hook and in each ch across. [60 sc]
Fasten off, leaving two long tails of about 8 in (20 cm). Fold the strap in half to form a loop. Sew one end firmly to the inside top edge at one side seam, stitching through at least 4–5 pouch stitches and passing the needle through the strap end three or four times. Repeat with the other end right beside it — both ends on the same side, so the strap forms a clean hanging loop. Bury the tails before trimming.
Prefer a removable strap? Sew a small lobster clasp to each end instead. The sewn version is simply the strongest.
Finishing
- Weave in the ends. You should have only two or three. Weave each through the centers of stitches in two directions — waistcoat fabric grips ends beautifully.
- Position the button. Fold the flap down with the phone inside and let the loop fall onto the front face. Mark where its center lands — that is where the button goes (usually about 2 in / 5 cm below the top edge, but trust the loop).
- Sew the button to the front face only, passing the needle through the fabric four to six times. Wrap thread under it twice before knotting off inside, giving it a slight shank so the flap sits under it without straining the loop.
- Fix the loop if needed. Too small? Snip it out, rejoin yarn at the flap tip, and work ch 11 instead of ch 9. Too large, work ch 7.
- A gentle set. Leave the pouch flat under a book for an hour to settle the flap's fold line.
Tips for a snug, professional finish
- Tension is the whole game. The hook must pass through the center of every stitch; if your hands ache, your rounds are too tight. Relax, or go up a hook size and redo the math.
- Measure with the case on, then trust the numbers. The most common disappointment is measuring a bare phone and then using a chunky case daily. If you swap cases, size for the chunky one.
- Count on a rhythm. Count to 32 at the end of every fifth round. Waistcoat stitch hides mistakes until the shape skews, and five rounds is early enough for an easy fix.
- Use the marker. In a spiral of identical stitches there is no seam line to orient you, and the flap must start on a flat face. The marker guarantees that.
- Keep the top round tidy. The last body round shows just below the flap fold; working it slowly and evenly gives the pouch its shop-bought edge.
- Making it as a gift? Pair it with a coordinating extra from our free crochet bag patterns roundup, plus a handwritten note with the washing instructions from the FAQ.
FAQ
My phone is between sizes. Which chain count do I choose?
Always the larger one. A pouch with 2 extra stitches still hugs the phone once the flap is buttoned; one that is 2 stitches too small strains and wears out early. If the larger size feels roomy, work the first three rounds with a hook 0.5 mm smaller, then switch to the 4.0 mm.
Can I use acrylic yarn instead of cotton?
Yes, with one adjustment. Acrylic stretches and relaxes with wear, so size down: use the chain count one step below your formula result (or subtract 2 chains). Avoid slippery or fuzzy yarns — they hide the stitch centers.
I find waistcoat stitch slow. Can I use plain single crochet?
Absolutely. Work the body in ordinary single crochet through both top loops, keeping every count the same. The pouch will be softer and stretchier, and since plain single crochet grows slightly faster per round, check the height from round 28 onward and stop when the top edge sits half an inch above the phone.
Will this fit a phone with a chunky protective case?
Yes — that is what the thickness measurement is for. Measure the phone in the chunky case, run the formula again, and use the new chain count. Chunky cases usually push you one table row up, from the standard ch 15 to the large ch 17.
How long does the pouch take to make?
About 2–3 hours for the standard size: roughly one hour for the first 15 rounds while you find your rhythm, then faster rounds. The strap adds ten minutes, the button five.
How do I wash the finished pouch?
Cool gentle machine wash, or hand wash with mild soap. Reshape while damp and dry flat with the flap folded down.
Can I sell pouches I make from this pattern?
Yes — finished pouches are yours to sell at markets and online, and a credit line naming Little Loop Finds is always appreciated. The written pattern itself stays here on the blog for everyone to enjoy free.
What to make next
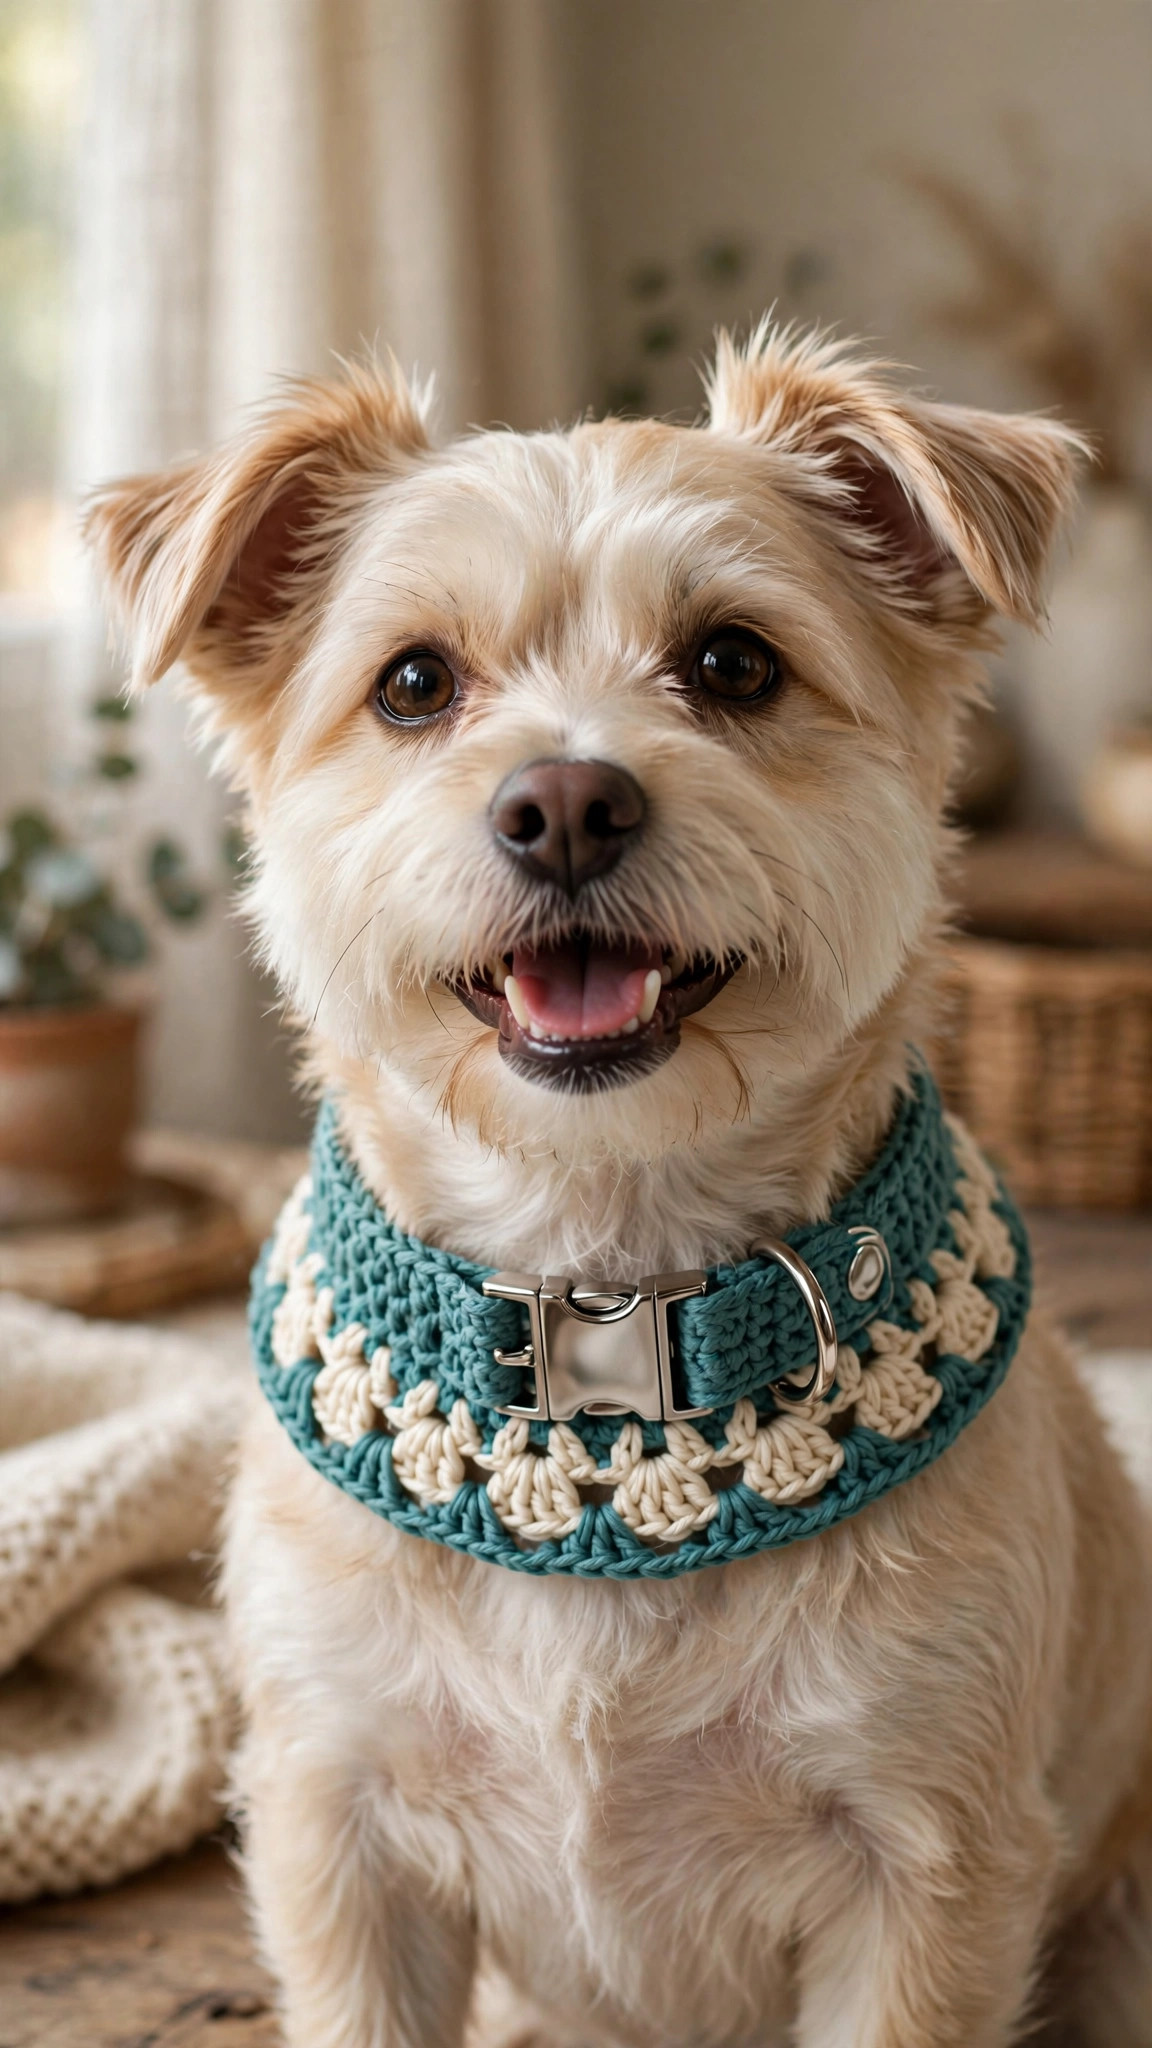
Your phone is dressed — now give the rest of your everyday kit the same treatment. A sleep mask crochet pattern uses the same soft cotton and careful measuring. The strap skills here transfer straight to a crochet dog collar pattern, and a crochet pocket scarf pattern free adds pockets roomy enough to hold the phone pouch itself.
Happy crocheting — may your screen stay scratch-free.
The box below contains an Etsy link. If you buy through it, we may earn a small commission at no extra cost to you. Learn more.
No time to make one?
Short on time? Find handmade crochet phone cases from independent makers on Etsy.
Browse on Etsy (opens Etsy in a new tab)