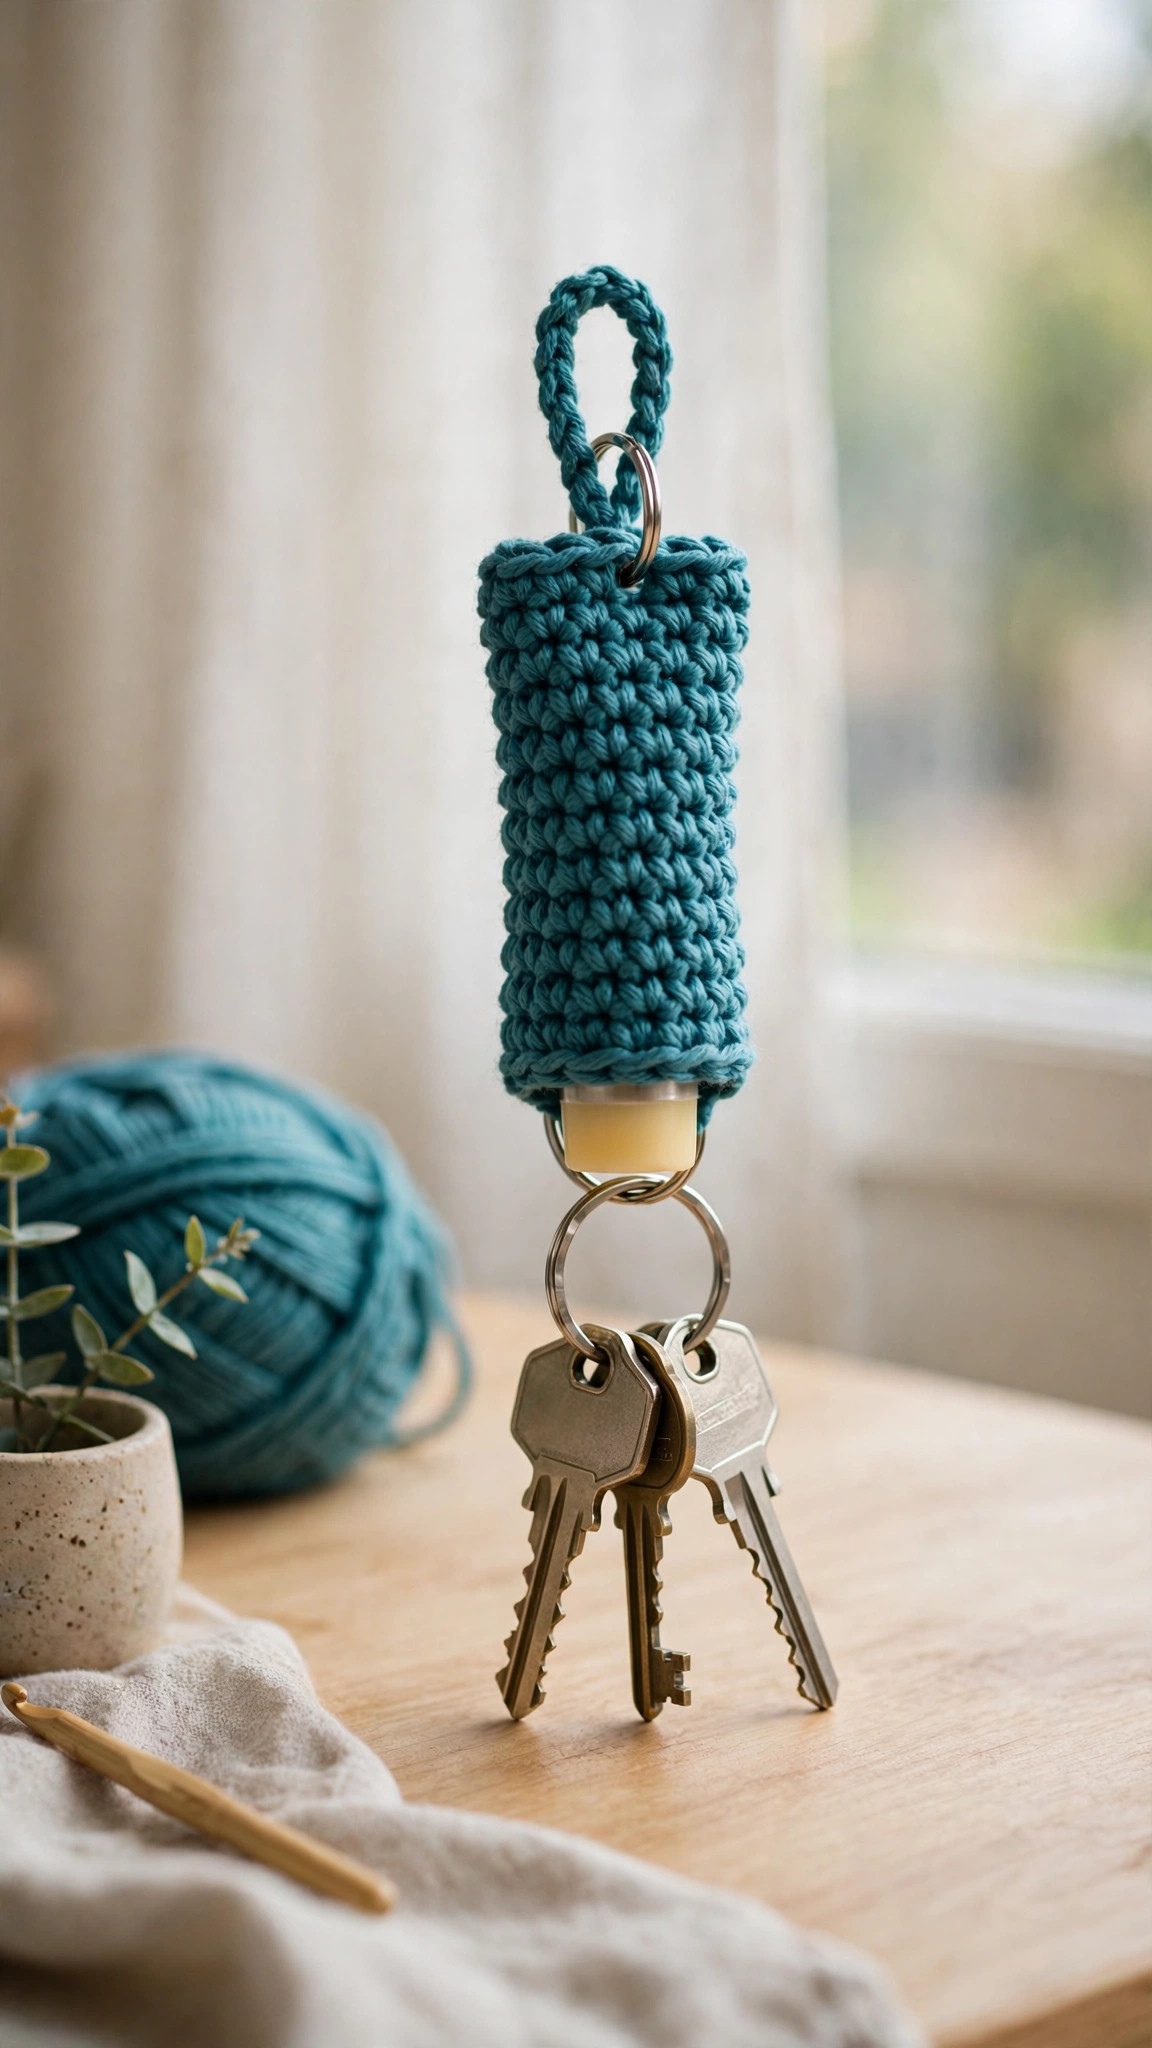
Crochet chapstick holder pattern: quick keychain tube
A snug little tube that keeps a standard lip balm on your keys, bag or lanyard — worked from the base up in single crochet rounds with a reinforced hanging loop, from about 8 yards of DK cotton in under half an hour.

Quick makes · Crochet
- Finished size
- About 7 cm / 2.75 in tall tube
- Making time
- About 20–30 minutes
- Hook
- 3.5 mm, DK cotton yarn
- Pieces
- 1 piece, no sewing
- Skill
- Beginner
In this post
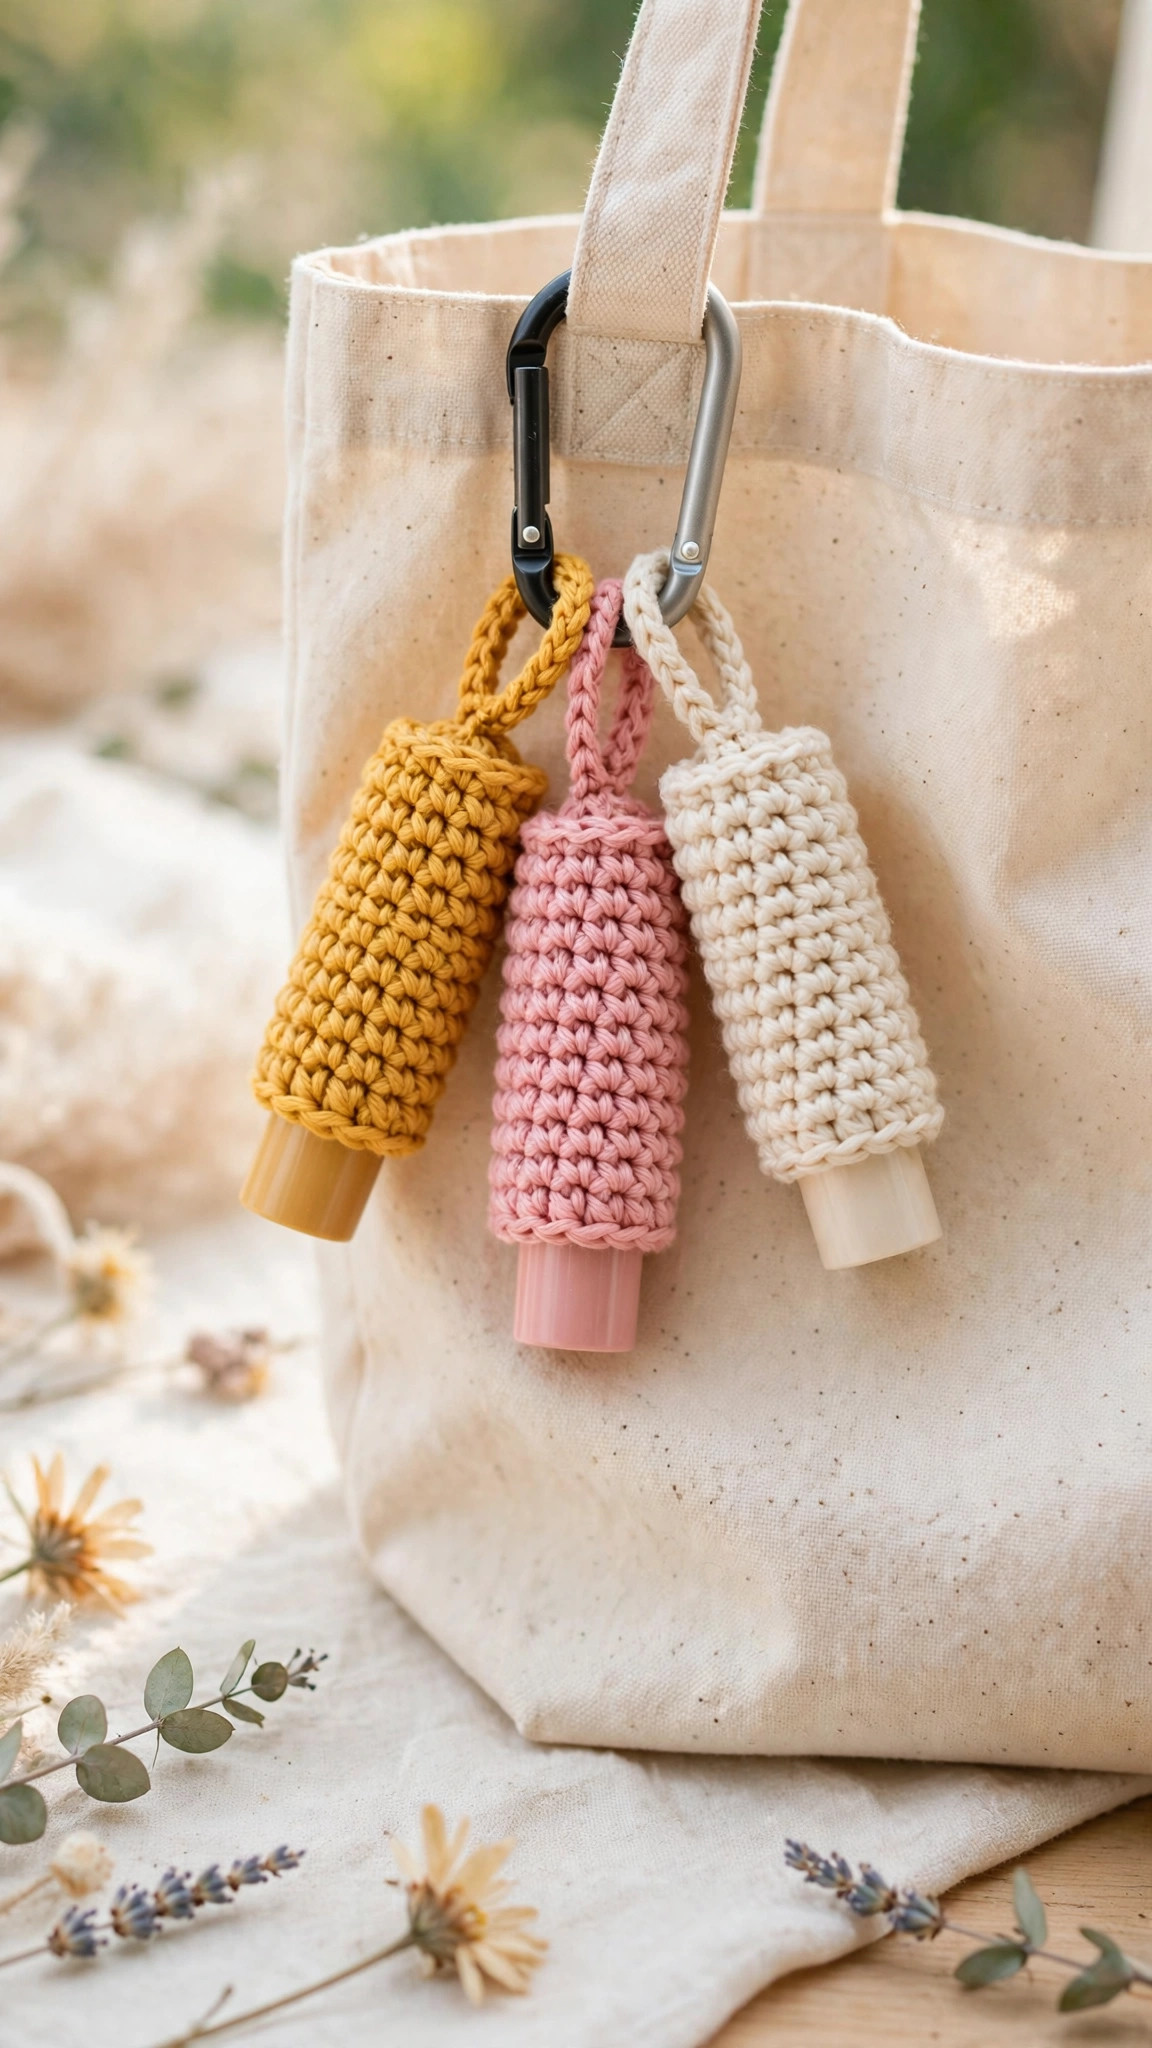
You know that moment. Your lips are dry, your lip balm is somewhere — coat pocket, car door, bottom of a bag, or lost entirely — and by the time you find it, you have bought another one. This crochet chapstick holder fixes that: a snug little tube that holds a standard lip balm stick, with a loop at the top so it lives on your keys, bag zip, or lanyard, exactly where you need it.
This is an original Little Loop Finds design, worked from the base up in simple single crochet rounds. There is no sewing and no shaping beyond one easy increase round at the start. You make a tiny flat circle, turn it into a tube, work straight up until it fits your balm, then chain a sturdy hanging loop. Most makers finish the first one in under half an hour.
It also uses only a few yards of yarn, so it is a perfect scrap project. The end of a cotton ball, the last metre of a favourite colour, the leftover from a dishcloth — all of it is enough.
Contents
- Why you'll love this chapstick holder
- Materials you'll need
- Size, gauge and skill level
- Abbreviations — US terms
- The pattern (US terms)
- Finishing your holder
- Tips, variations and selling ideas
- FAQ
- What to crochet next
Why you'll love this chapstick holder
First, it solves the problem. A balm loose in a bag gets gritty, melts into a pocket in summer, and disappears when you need it most. In its own holder, clipped to a bag or hanging with your keys, it stays clean and easy to grab.
Second, it is genuinely quick. Twelve stitches around is not a typo — this tube is tiny. The body is plain single crochet in a continuous spiral, with no repeats to memorise and no counts that ruin the project if you lose track by a round.
Third, it is useful in bulk. One holder is a treat; ten are stocking stuffers, party favours, teacher thank-yous, and craft-fair add-ons people actually keep. Clip one to a crochet hobo bag, then make a matching set in the bag's leftover yarn.
Finally, it is forgiving. The sizing notes below show how to nudge the fit up or down if your balm is a fraction wider or taller than standard. Make one, try it on your balm, and adjust the next.
Materials you'll need
Cotton is the yarn to choose here. A holder lives a rough life: keys scrape it, bags squash it, and it may get warm in a car. Smooth DK cotton keeps neat, tight stitches, does not pill like soft acrylic, and washes if a balm leaks. Acrylic works in a pinch, but avoid fluffy, chenille, or loosely spun yarn — you need to see your twelve stitches and keep the tube snug.
You need only about 8 yards (roughly 5 grams) of DK yarn per holder. Solid colours show the neat spiral best, but striping two tiny scraps is covered in the variations below.
Hardware is your choice: a split keyring for keys, a lobster clasp or carabiner to move between bags, or the loop threaded straight onto a strap or zip pull.
| Supply | What to get |
|---|---|
| Yarn | DK weight (category 3) cotton yarn, approx. 8 yards / 5 g per holder |
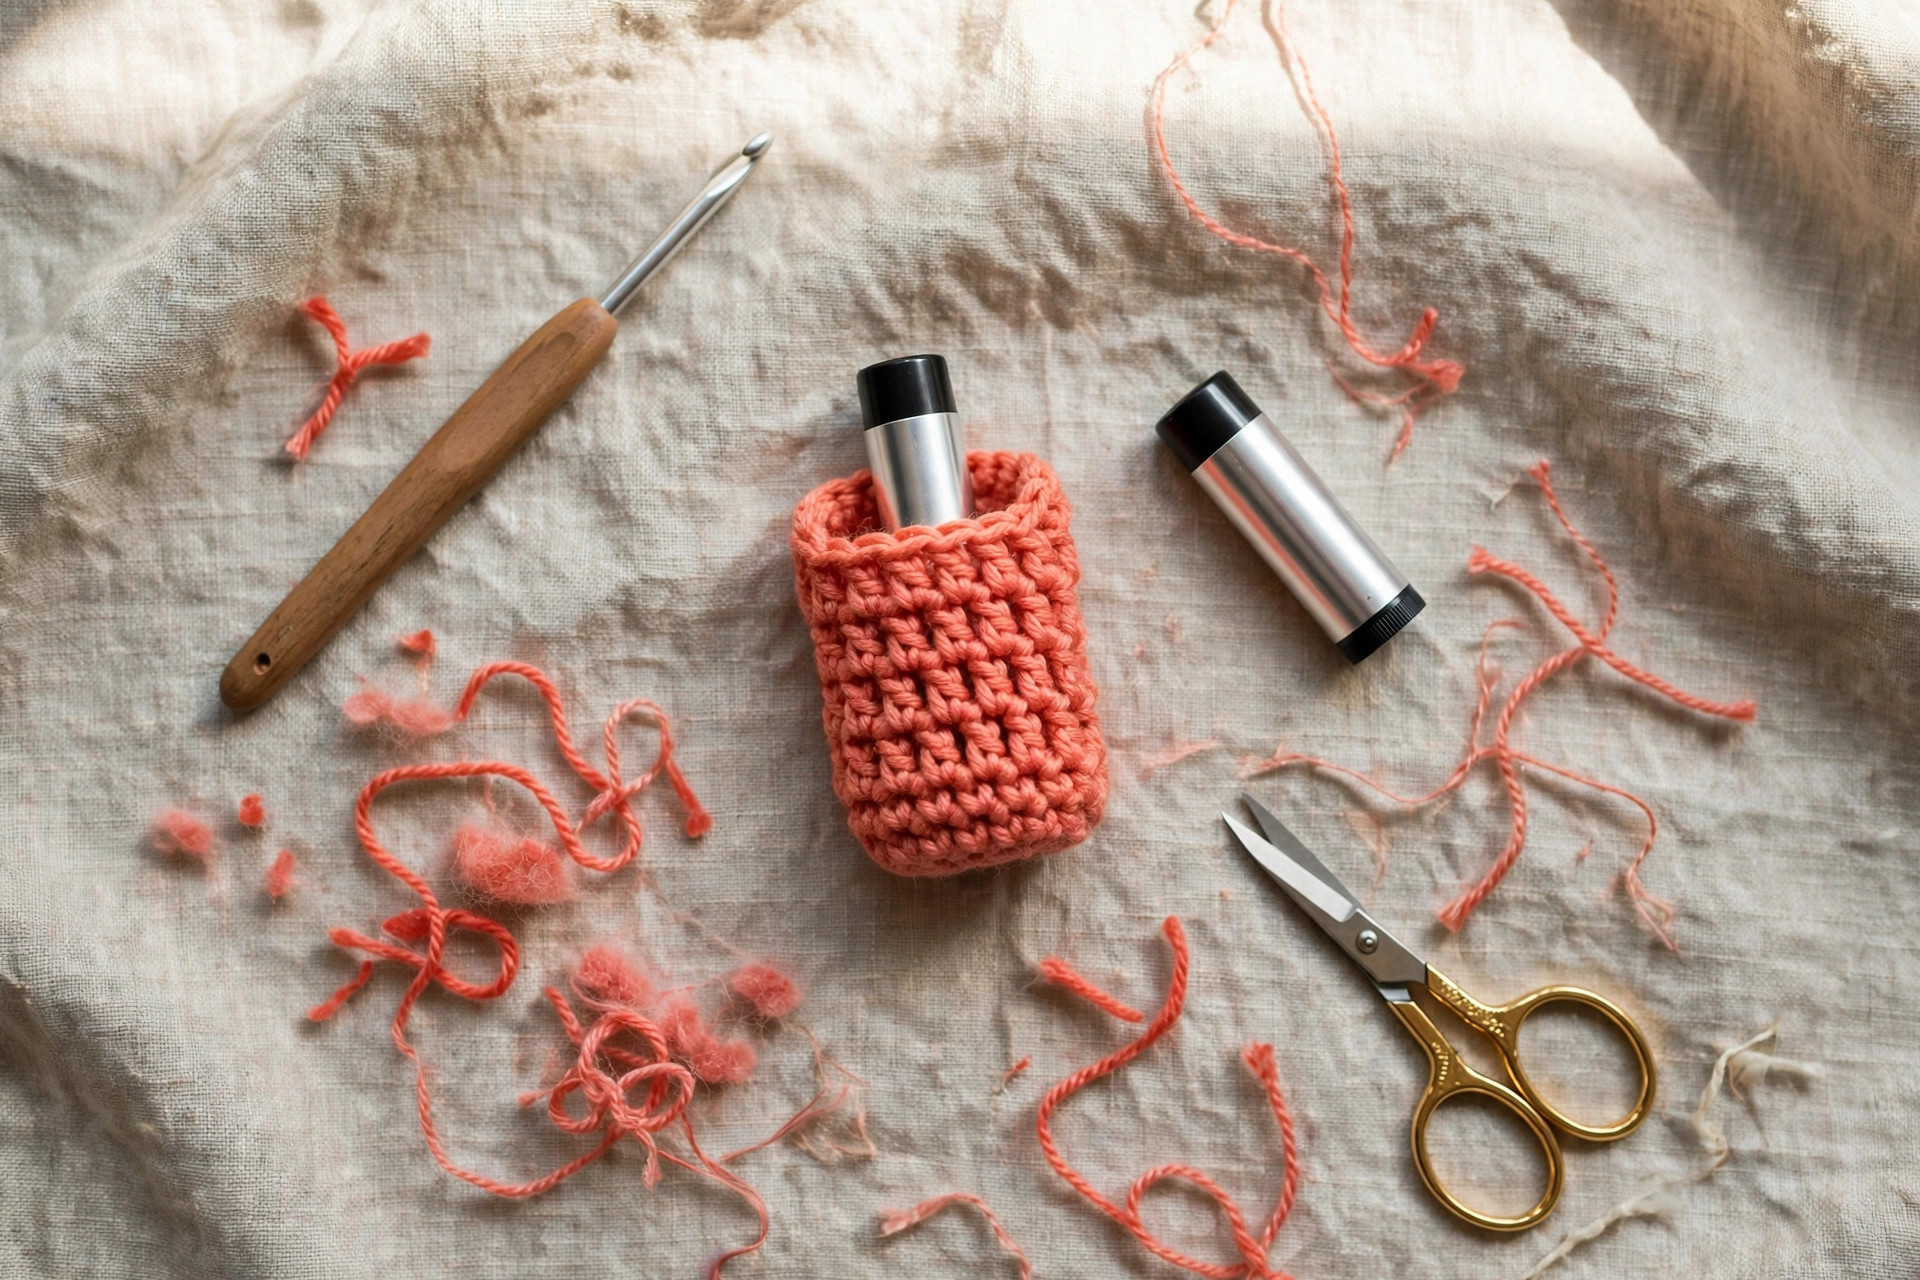
| Hook | 3.5 mm (US E-4) crochet hook |
| Notions | Yarn needle with a large eye for weaving in ends |
| Measuring | Tape measure or ruler; your lip balm tube to test the fit |
| Cutting | Sharp scissors |
| Hardware | 1 split keyring, small lobster clasp, or small carabiner (optional) |
| Optional | 1 stitch marker; a small button (about 10–12 mm) for the button-flap variation |
Size, gauge and skill level
Skill level: Beginner. You should know how to make a magic ring (a chain-ring alternative is given), chain, single crochet, increase by working two stitches into one stitch, work into the back loop only, and slip stitch. Everything else is explained as you reach it.
Finished size: The tube measures about 2.2 inches (5.5 cm) around and about 2.75 inches (7 cm) tall, not counting the loop. The loop adds about 1.5 inches (4 cm) of hanging length. Unstretched, the tube is about 0.7 inches (1.8 cm) across.
Will my balm fit? A standard tube is about 0.65 inches (16–17 mm) in diameter and about 2.6 inches (67 mm) tall including its cap. This holder is sized for exactly that: snug enough not to slide out on keys, loose enough to push up from the base with a fingertip. Taller and wider tubes are covered in the sizing notes.
Gauge: 18 single crochet stitches and 20 rounds = 4 inches (10 cm), with DK cotton and a 3.5 mm hook, in the round. On a project this small, gauge is a fit check: make the base and a few rounds, slide your balm in, and judge from that. Too tight, go up to a 4.0 mm hook; balm wobbles, go down to 3.0 mm. Aim snug — cotton relaxes a little with use.
Abbreviations — US terms
US terms throughout. (UK note: a US single crochet is a UK double crochet.)
| Abbreviation | Meaning |
|---|---|
| ch | chain |
| sc | single crochet |
| inc | increase — work 2 sc into the same stitch |
| BLO | back loop only |
| sl st | slip stitch |
| st(s) | stitch(es) |
| rnd(s) | round(s) |
A note on rounds: The body is worked in a continuous spiral — do not join or turn at the end of each round. Place a marker in the first stitch and move it up as you go, or simply count to 12 each time you come back around. That spiral gives the tube its smooth, seamless look.
The pattern (US terms)
Work in one colour, or change colour using the stripe notes below. Keep tension firm and even — tight stitches hold the balm securely.
Step 1: The base
The base is a small flat circle. The back-loop round then turns the edge up sharply, so the tube sits flat.
Rnd 1: Make a magic ring, work 6 sc into the ring, pull the ring closed. 6 sc
No magic ring? Chain 2 and work 6 sc into the second chain from the hook instead — the result is the same, with a tiny centre hole you can close when you weave in the starting tail.
Rnd 2: Inc in each stitch around — 2 sc into every stitch. 12 sc
Rnd 3: Sc in BLO of each stitch around. 12 sc
Your circle should measure roughly 0.7 inches (1.8 cm) across and cup upward slightly. Pop your balm's base in now: it should sit centred, crochet just touching its sides. If it feels wildly loose or impossible to seat, restart now with a hook one size up or down — this is the cheapest moment.
Step 2: The tube
From here it is plain sailing: one single crochet in every stitch, round after round, until the tube is tall enough.
Rnds 4–16: Sc in each stitch around. 12 sc per round — 13 plain rounds
That is 16 rounds in total. The tube should measure about 2.5 inches (6.4 cm) tall. Slide your balm in: the top edge should sit just below the line where cap meets body. Add or remove plain rounds until that line sits right, and note your final count if you plan a batch.
Step 3: The hanging loop
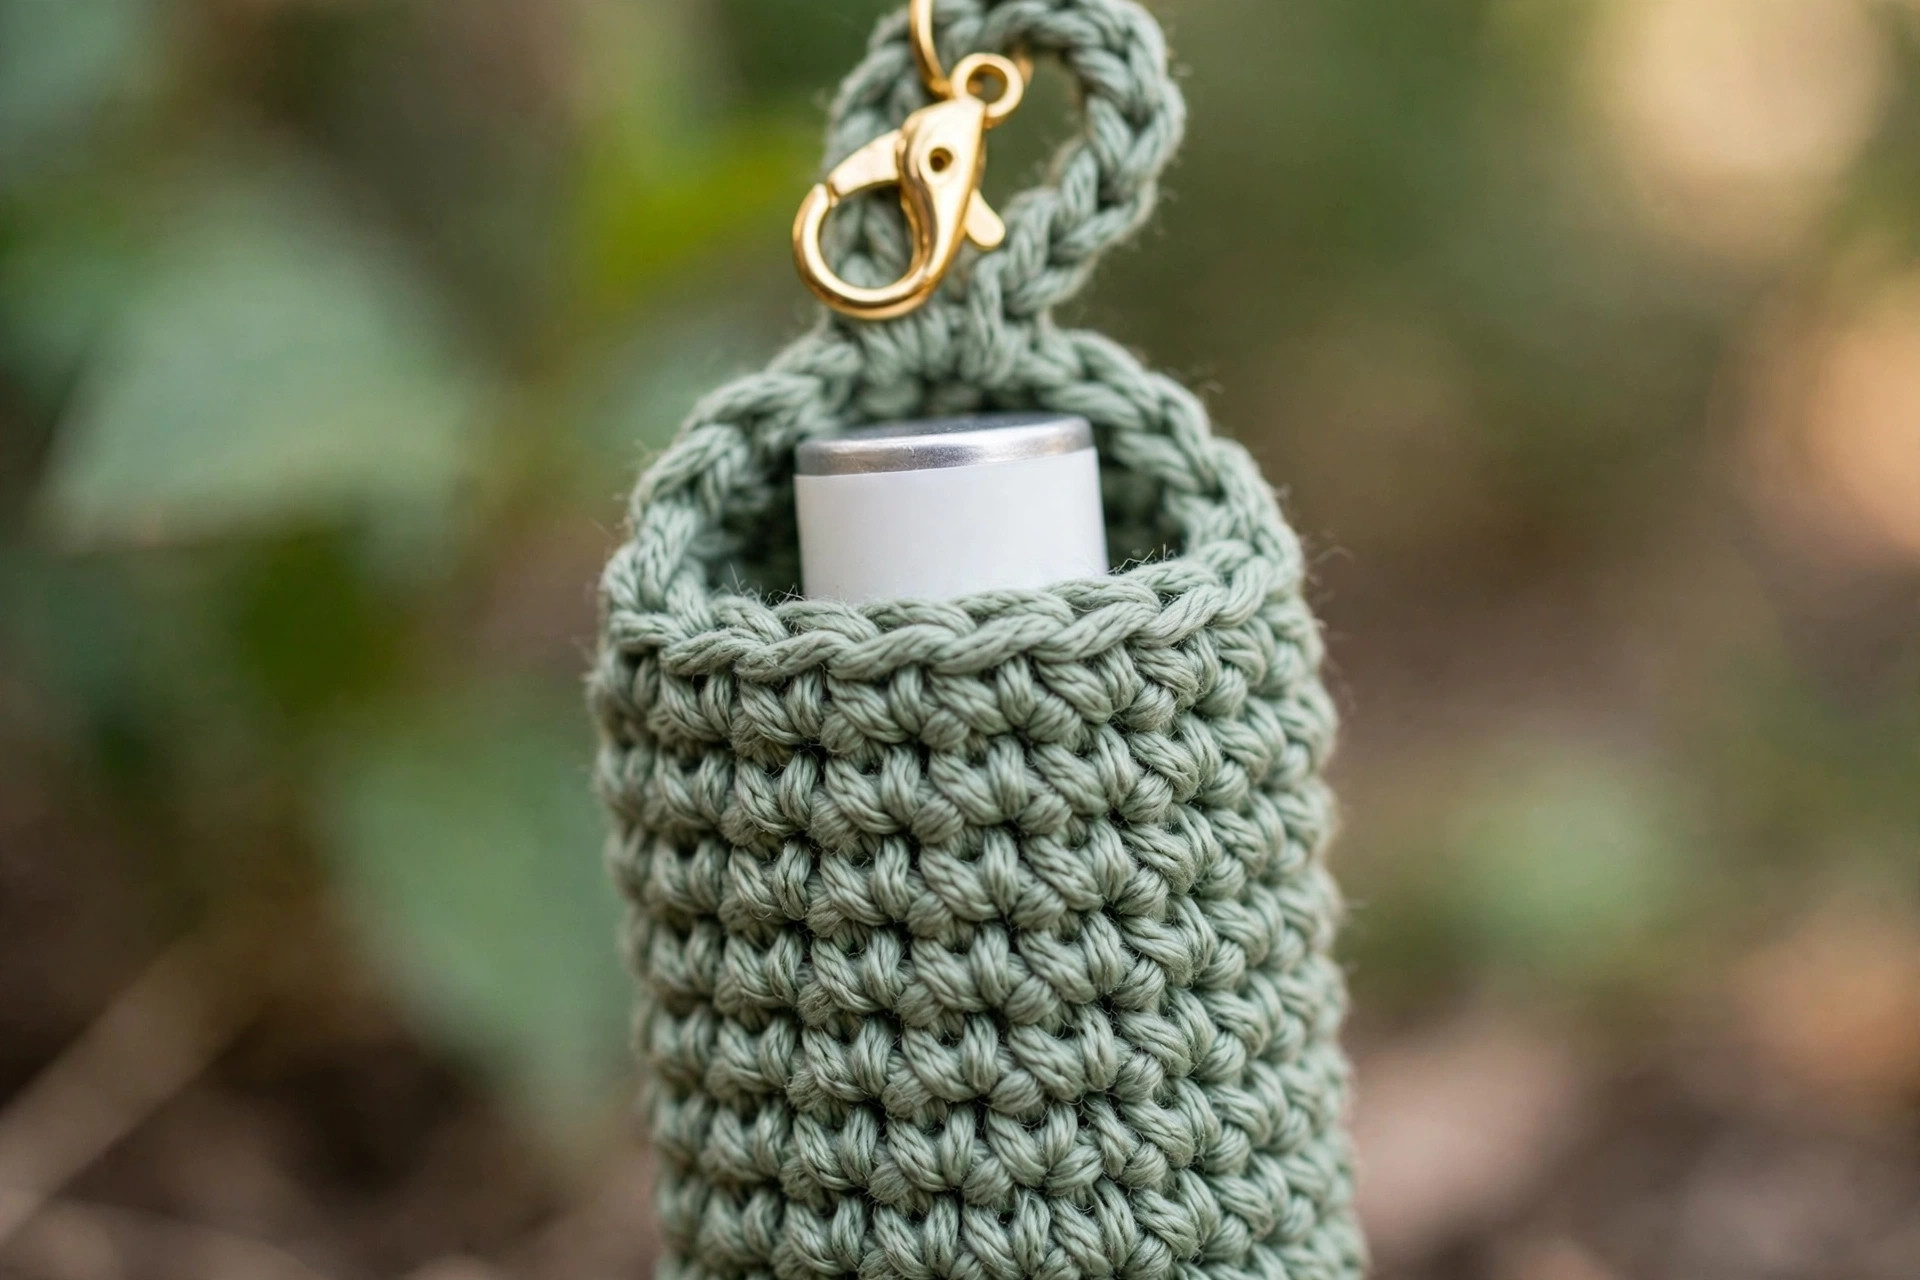
The loop is chained from the top of the tube, attached opposite, then reinforced with single crochet around the chain. That reinforcement is worth two minutes: a plain chain stretches and wears thin on a metal ring, while a crocheted-over loop stays flat and strong.
Do not fasten off at the end of the tube.
Loop foundation: Ch 20. Count 6 stitches across the top opening from where your chain starts — that stitch directly opposite is your anchor. Sl st into that stitch to close the loop.
Turn your work so you can crochet back around the loop.
Loop reinforcement round: Ch 1 (does not count as a stitch), work about 22 sc evenly around the chain loop, covering the chain completely, then sl st into the top edge stitch next to your anchor to secure the round. If stitches bunch, use 20; if gaps show the chain underneath, use 24 — full, even coverage matters more than the exact number.
Fasten off, leaving a 6-inch tail.
That is the holder finished in its classic keychain form. Thread the loop onto a split ring as you would add a key, clip a lobster clasp straight through the loop, or push a carabiner through it for a bag strap.
Sizing notes
For a wider tube (about 0.75 inches / 19 mm — some tinted and natural-brand balms): keep 12 stitches but move up to a 4.0 mm hook and worsted cotton. The tube comes out a fraction wider and taller per round, so work one fewer plain round and check against your balm. For a still wider fit, add an increase round at the start of the tube — [sc in next 3 sts, inc in next st] three times, for 15 stitches — and work the body at 15 stitches around, testing the fit after three plain rounds.
For a taller tube (about 3 to 3.25 inches — many SPF sticks): work the pattern as written, but continue the plain rounds to Rnds 4–20 instead of 4–16, checking the cap line before you start the loop.
For a shorter tube (mini and sample-size balms): stop the plain rounds at Rnd 12 or 13, so the holder still covers the cap join. A mini balm in a full-height holder sinks out of reach, so the shorter tube is a real functional change, not just a saving.
For a child's school bag: make the standard size, but chain 26 for the loop instead of 20, so it fits around a thicker strap or chunky zip pull without any hardware a small child could lose.
Finishing your holder
Weave in both ends. Run the starting tail through the centre stitches to close any gap, zigzag, and trim. Take the finishing tail down inside the tube, travel it an inch one way and back, then trim flush — ends hidden inside never snag on keys.
Give the loop a gentle tug to settle the reinforcement stitches evenly, and pinch the base flat so the holder stands up. No blocking is needed — cotton this small holds the shape you crocheted.
Before gifting, shake the holder upside down over a soft surface — the balm should stay put — then push the base up with a fingertip: the balm should rise enough to grab. Snug in, easy out.
Tips, variations and selling ideas
Fit troubleshooting
The balm falls out. The tube is a touch loose. Remake with a hook 0.5 mm smaller, and test early. To rescue a finished holder, thread matching yarn through the top round and tie a tiny bow that narrows the opening.
The balm will not go in. Do not force it. Go up a hook size or use the 15-stitch option above, and check you are not accidentally working into the back loop on body rounds, which makes a tighter tube.
The tube twists or leans. Usually one round has 11 or 13 stitches instead of 12, and the spiral carries the error up invisibly. Count every third or fourth round — it takes five seconds.
The loop feels flimsy. You may have skipped the reinforcement round or worked it too loosely. Unpick back to the chain if you can, and work the covering stitches firmly. For heavy key bunches, use the strap-style long loop below, doubled, for extra strength.
Four easy variations
1. Keyring classic. The pattern as written. Use the sturdiest split ring you have if it is going on car keys — daily metal-on-yarn wear is the toughest test any holder faces.
2. Lanyard and wristlet version. Chain 60 to 80 for the loop instead of 20, attach opposite as written, and reinforce the same way. The long loop goes around a wrist or onto a lanyard hook — teachers, nurses, festival-goers and parents at the park all love this one.
3. Carabiner bag clip. Keep the loop short — chain 14 instead of 20 — and clip a small carabiner through it. The short loop stops the balm swinging against the bag. This version looks especially cheerful hung next to other crochet bag charm patterns on the same bag.
4. Button-flap version. Skip the hanging loop. After the final body round, work the flap: sc in the next 6 stitches, turn, ch 1, sc in those 6 stitches for 4 rows, then on the last row sc in 2 stitches, ch 2 and skip 2 stitches for a buttonhole, sc in the last 2. Fasten off, sew a small button to the front of the tube opposite the flap, and fold the flap over the cap to button it closed. With no hanging loop, this version suits pockets, makeup bags and glove compartments, and pairs neatly with a crochet phone case in the same cotton for a tidy bag set.
Stripes with scraps. To stripe, change colour at the start of any body round: finish the last stitch of the old colour by pulling the new colour through the final two loops, then carry on. Two-round stripes look smart, a single contrast round at the top edge looks deliberate, and using a different scrap for the loop is a charming way to use the very last yard of a beloved yarn.
Gift and craft-fair ideas
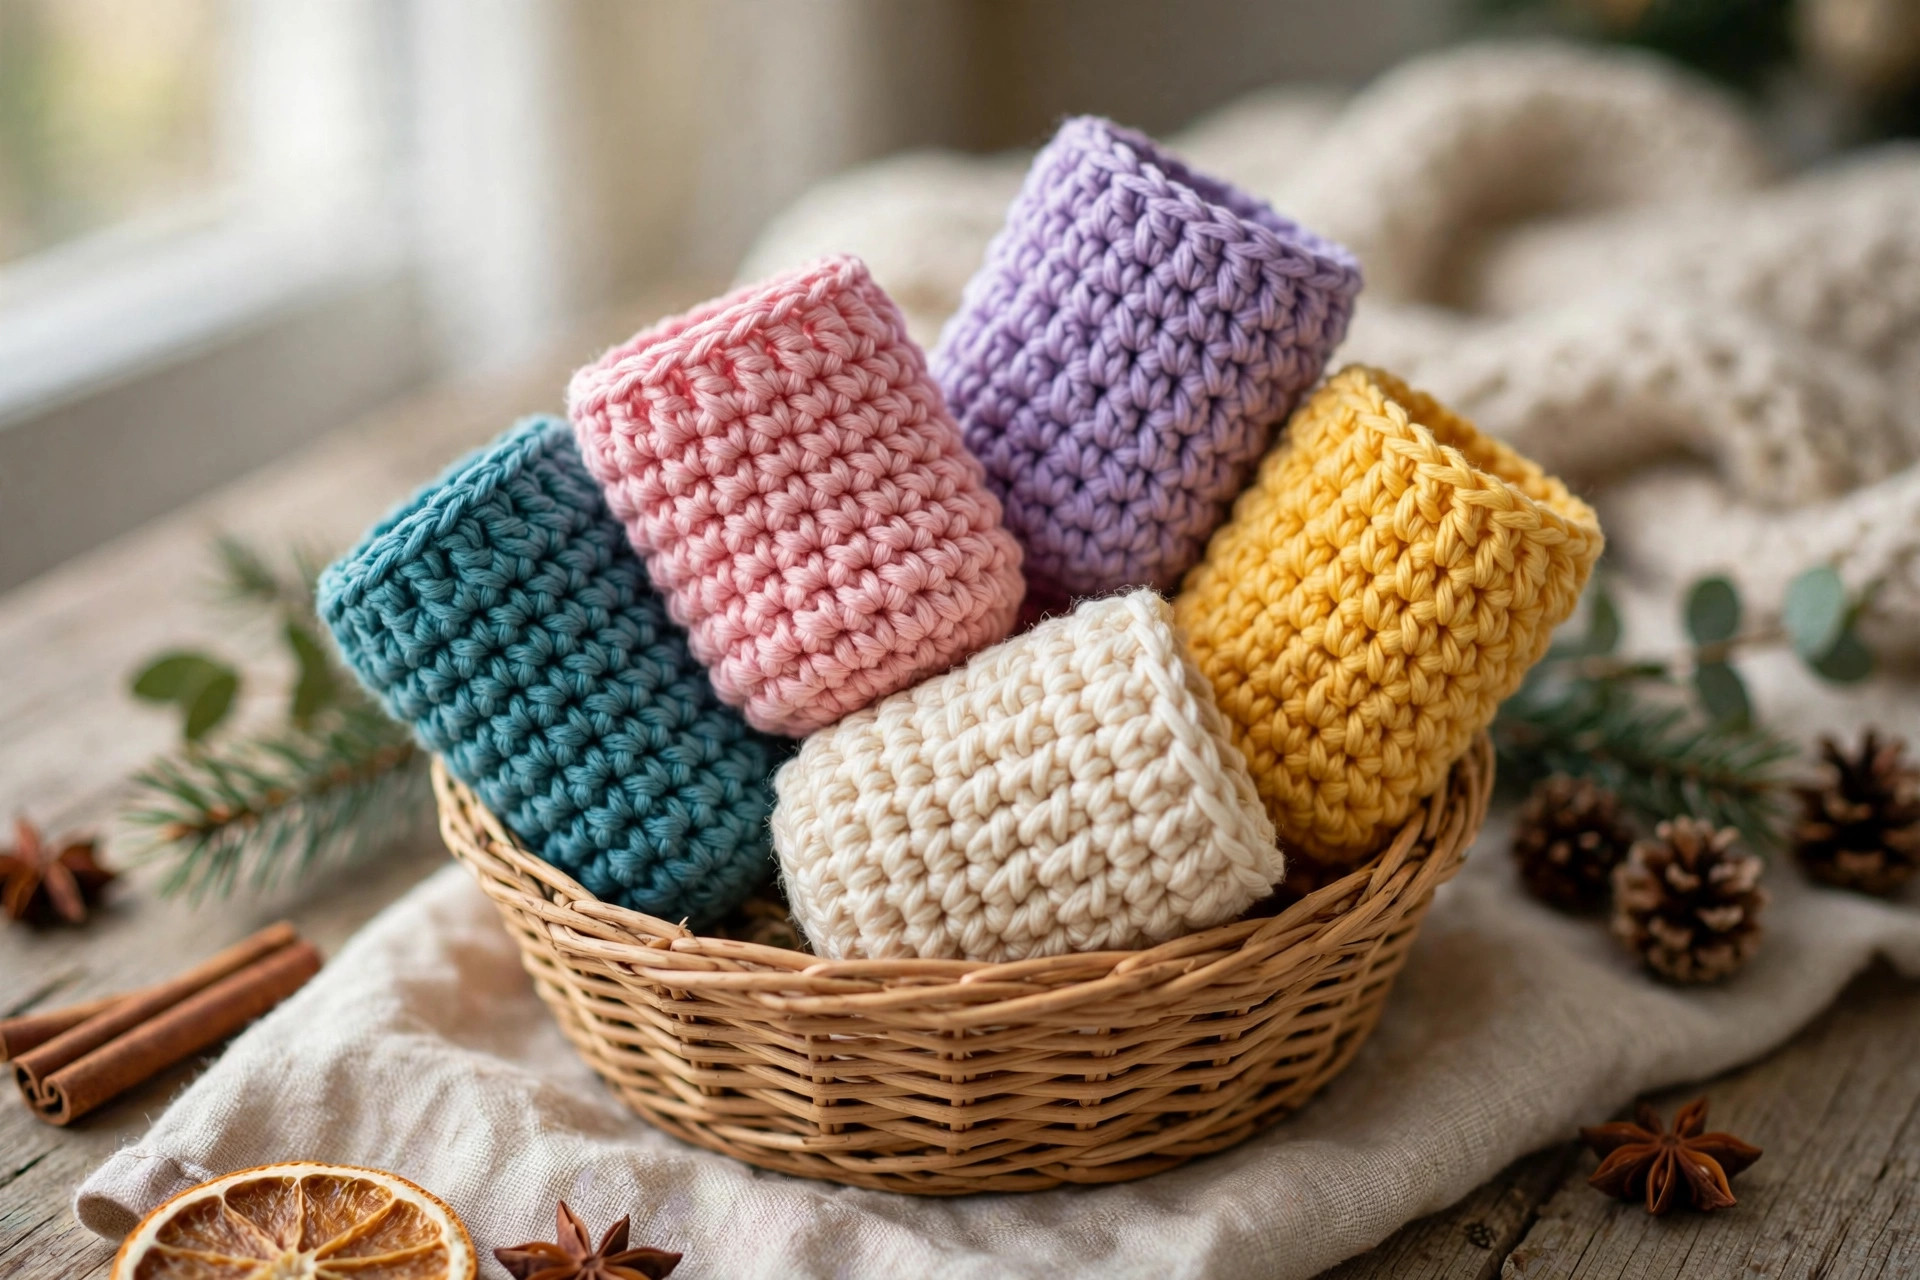
For craft fairs, display holders hanging from a branch, mug tree, or hooks — hanging shows what they are for. Price them as an accessible add-on, offer school and team colours, and keep a basket by the till. Sell some with a new, sealed balm inside as ready-to-give sets at a higher price, and empty holders as the budget option.
For gifts, tuck one inside a Christmas stocking, attach one to a gift bag handle instead of a bow, or clip one to a water bottle for a back-to-school present. For party favours, use event colours and add a tiny dated tag.
FAQ
How long does one chapstick holder take to make?
About 20 to 30 minutes for most crocheters, including weaving in ends and adding a keyring. Your first may take a little longer while you check the fit; by the third or fourth, most makers finish one in about 15 minutes, which is why they are so popular for batch gift-making.
What yarn is best, and can I use acrylic?
DK cotton is best: smooth, strong, washable, and snug with little stretch. Acrylic works if smooth and tightly plied — go down half a hook size for its extra stretch. Avoid fluffy yarns: you need to see all twelve stitches, and fuzz wears thin against keys.
My lip balm is a different size — how do I adjust?
Seat your balm in the cup after Rnd 3. Wider: use a 4.0 mm hook or the 15-stitch option. Taller: add plain rounds until the top sits just below the cap line. Mini balms: stop two to three rounds early. Always judge against the actual balm.
Can a beginner really make this?
Yes — one of the friendliest first projects in the round. If you can single crochet and increase, you have every skill required. At twelve stitches around, counting is easy and a restart costs five minutes at most.
How do I stop the loop wearing out on my keys?
Work the reinforcement round firmly — it is the biggest durability upgrade in the pattern. Use a smooth split ring, and check the loop every few months on car keys. If it wears thin, snip it off and work a fresh loop from the top edge in minutes.
How do I wash a crochet chapstick holder?
Remove the balm and any metal hardware first. Hand wash in lukewarm water with a drop of mild detergent, or machine wash in a small mesh bag on a gentle cycle if your cotton's label allows it. Roll in a towel, reshape with your fingers, push a clean balm tube inside while it dries to hold the shape, and dry flat away from direct heat.
Can I sell holders I make from this pattern?
Yes — you may sell finished holders you make by hand at markets, fairs, and in your own shop. Please credit Little Loop Finds as the designer where practical, and do not reproduce or sell the written pattern itself.
What to crochet next
Your keys are sorted — now put those small-project skills and tiny scraps to work on these reader favourites:
- Keep a bigger everyday essential just as tidy with a crochet phone case.
- Plan the best stocking stuffers with a classic crochet Christmas stocking pattern.
- Add a sweet gift tag or mini make with a free crochet heart pattern.
Happy crocheting — and may you never buy an emergency lip balm again!
The box below contains an Etsy link. If you buy through it, we may earn a small commission at no extra cost to you. Learn more.
No time to make one?
Short on time? Find handmade crochet chapstick holders from independent makers on Etsy.
Browse on Etsy (opens Etsy in a new tab)