Crochet Hobo Bag Pattern Free: Easy Slouchy Tote
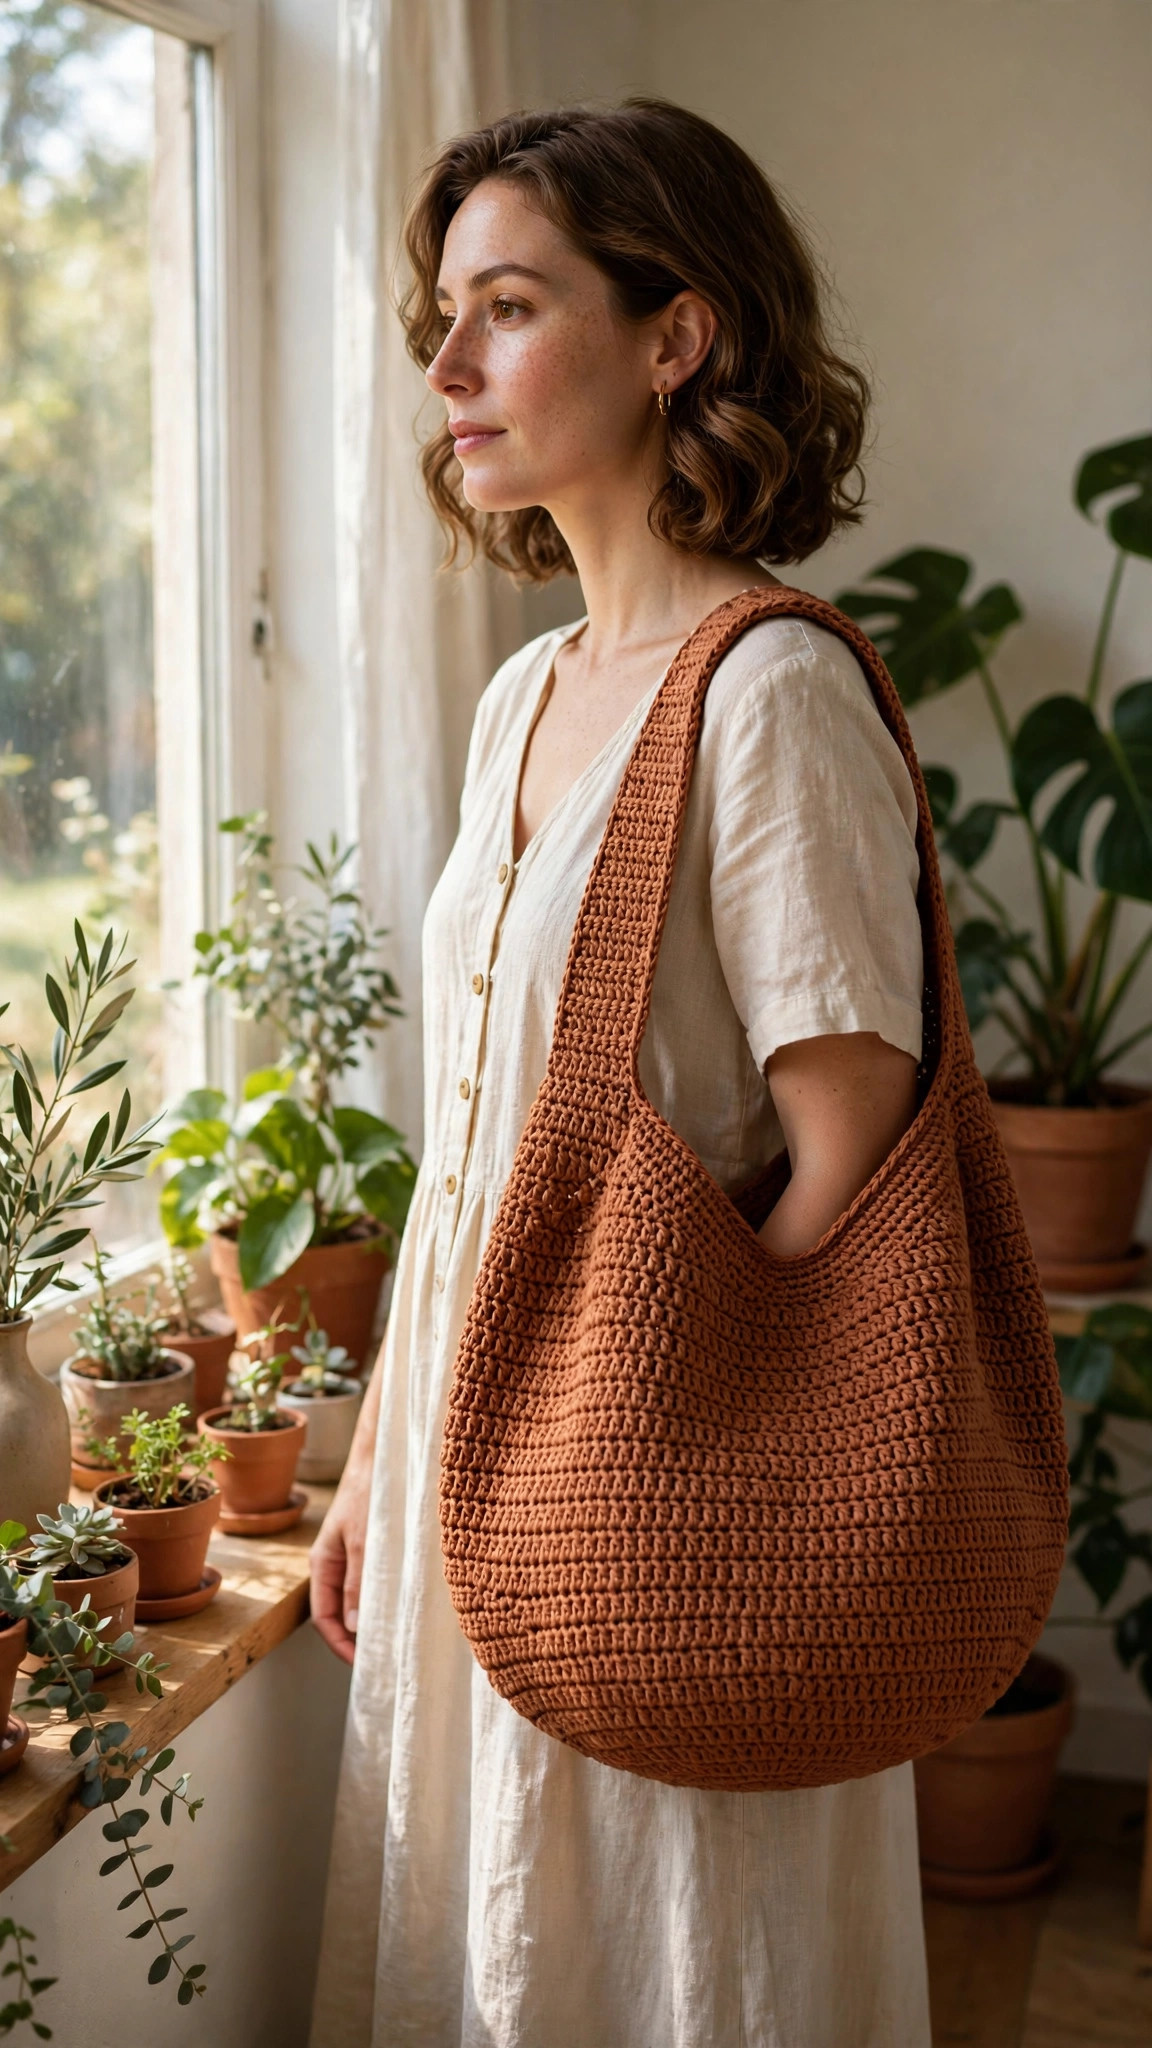
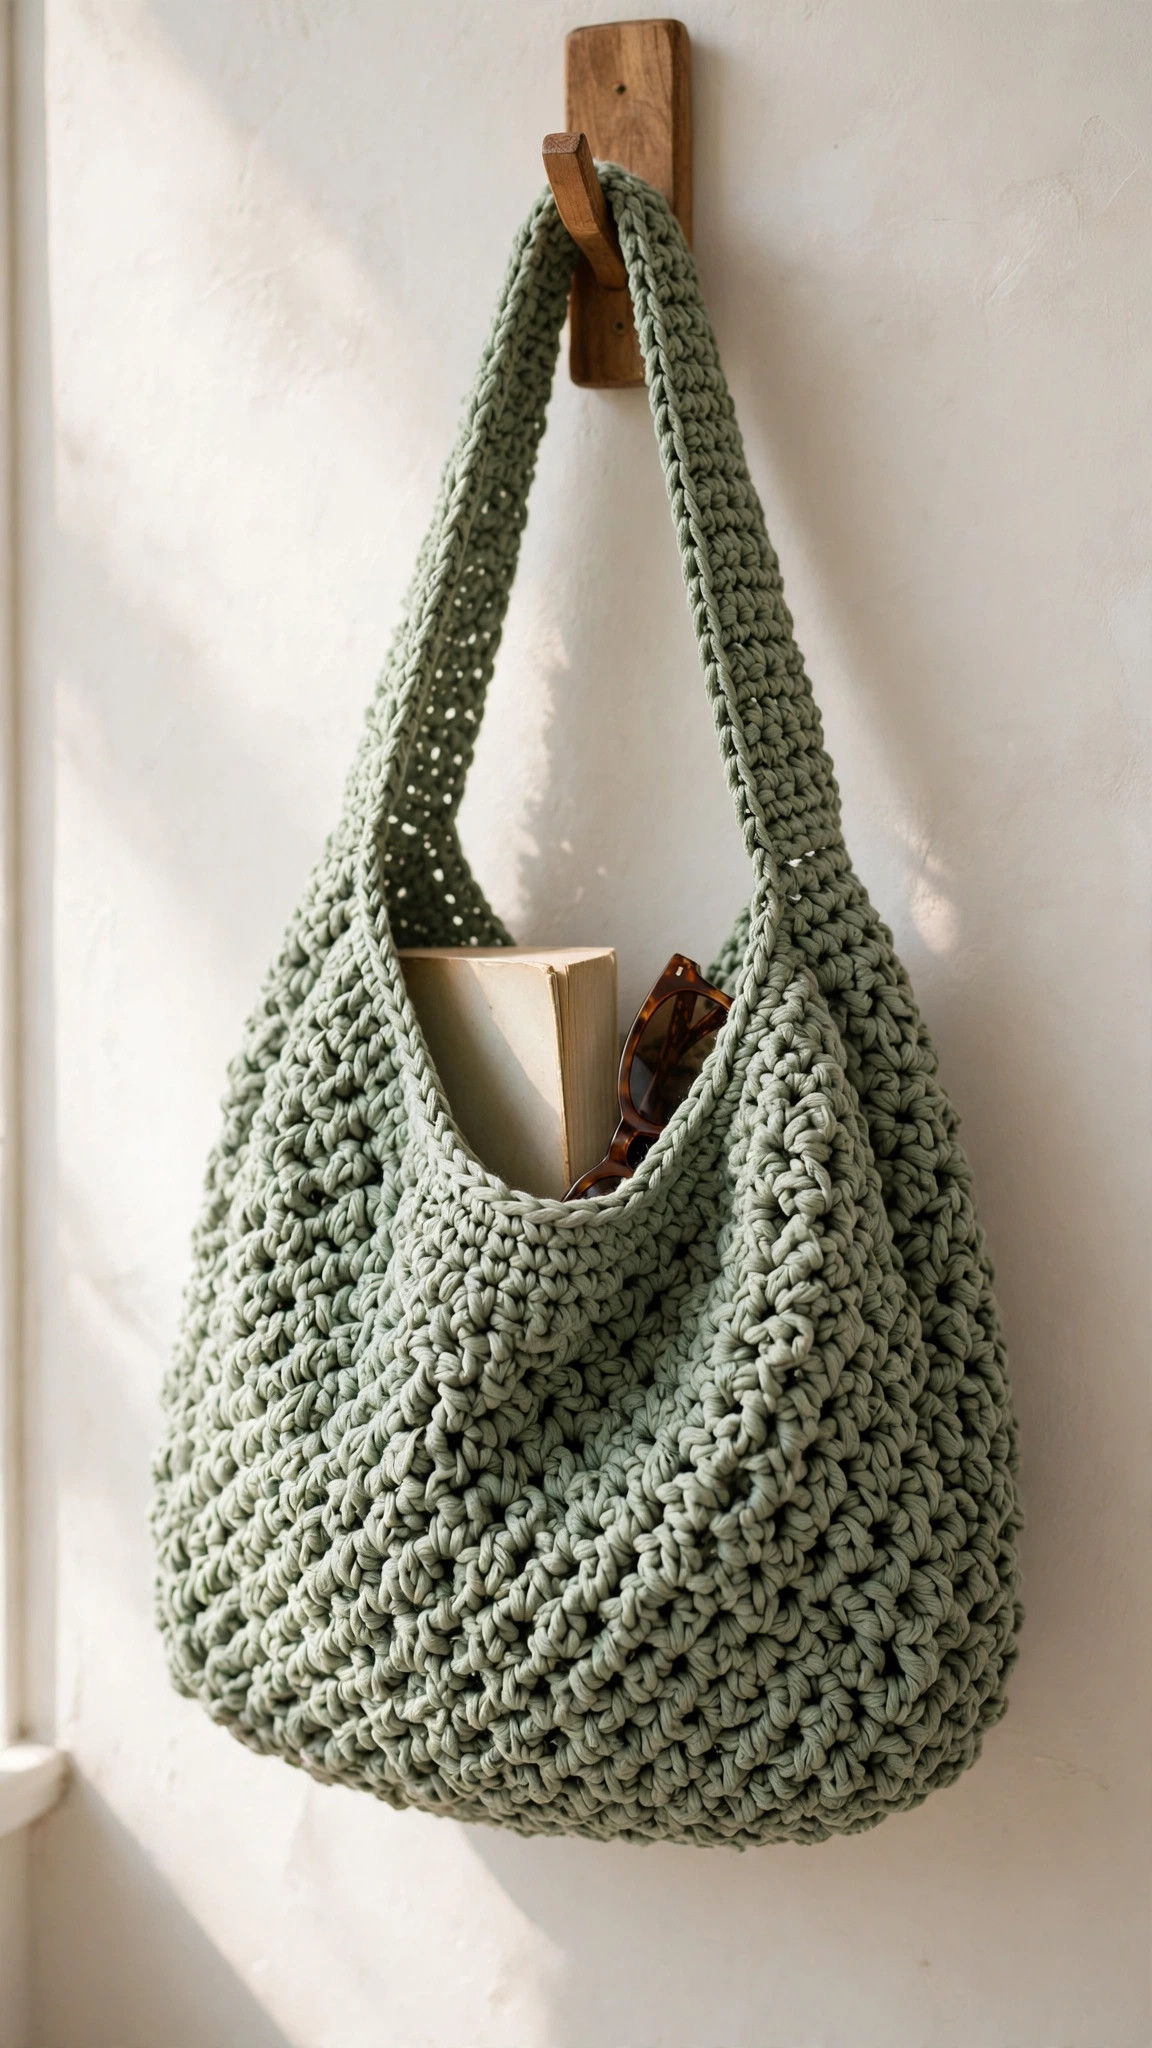
A roomy, slouchy hobo bag with a firm round base that sits flat, straight sides that swallow everyday essentials, a gently tapered top, and a wide strap that spreads the load across your shoulder — worked base-up in plain half double crochet with full stitch counts.

Bags · Crochet
- Finished size
- About 14 in wide x 12 in tall
- Making time
- About 6–8 hours
- Hook
- 5.5 mm, worsted cotton yarn
- Pieces
- Body in 1 piece, strap in rows
- Skill
- Easy
In this post
Most bags make you choose: pretty or practical, roomy or comfortable, quick to make or worth keeping. This crochet hobo bag refuses to pick a side. It is soft and slouchy, swallows a paperback, water bottle, purse and light jumper, and its wide strap sits comfortably on your shoulder. Best of all, it is built from one simple shape — a flat circle that turns a corner and grows straight up.
This is an original Little Loop Finds design, worked base-up in joined rounds of half double crochet, with no bottom panel to sew in and no hardware to buy. The base increases follow the same pattern for eight rounds, the sides are plain relaxing rounds, and the strap is a strip of rows joined opposite. If you can chain, half double crochet, and decrease, you have every skill it needs.
Make it in sturdy cotton for an everyday tote that holds its shape, or a softer acrylic blend for maximum slouch — and pick the colour you will actually reach for daily.
Contents
- Why you'll love this hobo bag
- Materials you'll need
- Size, gauge and skill level
- Abbreviations — US terms
- The pattern (US terms)
- Finishing your hobo bag
- Tips for a bag that lasts
- FAQ
- What to crochet next
Why you'll love this hobo bag
First, the base. A hobo bag lives or dies by its bottom: too floppy and everything pools in a heap, too rigid and it loses its drape. This design starts with a flat, firm circle that gives your belongings a real floor to sit on, then one back-loop round turns the work upwards cleanly, so the sides grow straight while the base stays flat.
Second, the slouch is designed, not accidental. The sides are worked straight for a roomy body, then two decrease rounds ease the top in, so the opening is narrower than the bag's widest part. Belongings stay put and the top folds softly instead of gaping — yet it still opens wide enough to load easily.
Third, the strap. Skinny straps are why many handmade bags end up retired in a cupboard. This one is ten stitches wide — nearly three inches — so a full bag's weight spreads across your shoulder, and it is easy to lengthen or shorten before joining.
Finally, the size is genuinely useful: about 14 inches wide and 12 inches tall, it fits a 13-inch laptop in a sleeve, gym clothes, a market shop, or a crochet project plus spare yarn. Browse our other free crochet bag patterns once this one is on your shoulder.
Materials you'll need
Yarn choice matters more for bags than for most crochet, because a bag is stretched by weight every time you use it. Worsted cotton is my first recommendation: very little stretch, crisp stitch definition, and the toughness to survive floors and pavements. Cotton blends are a good middle ground; pure acrylic works too, but expect more stretch, and consider going down half a hook size for a firmer fabric.
Mid tones such as terracotta, sage, denim blue and mustard hide everyday marks far better than pale shades. You will need roughly 660 yards — about 560 for the body, 100 for the strap. Four 100-gram balls of worsted cotton, at around 180 yards each, will cover it with a little left over.
| Supply | What to get |
|---|---|
| Yarn | Worsted weight (category 4) cotton or cotton blend, approx. 660 yards total |
| Hook | 5.5 mm (US I-9) crochet hook |
| Notions | Yarn needle with a large eye for joining the strap and weaving in ends |
| Markers | 4 stitch markers for base increases and strap placement |
| Measuring | Tape measure for gauge, base diameter and strap length |
| Cutting | Sharp scissors |
| Optional | 1 wooden button, about 1 inch across, for an optional button loop |
Size, gauge and skill level
Skill level: Easy. You should know how to make a magic ring (or chain and join), chain, half double crochet, work into the back loop only, slip stitch to join rounds, and decrease — hdc2tog is explained below. Every round ends with a stitch count to check against.
Finished size: About 14 inches (35.5 cm) wide, 12 inches (30.5 cm) tall from base to top edge, base diameter about 9 inches (23 cm). Strap drop is about 11 inches (28 cm), and the strap is about 2.75 inches (7 cm) wide. Width is measured on a gently filled bag, as it behaves in use.
Gauge: 14 half double crochet stitches and 10 rounds = 4 inches (10 cm), in the round with a 5.5 mm hook. Gauge controls size, yarn use and firmness: work too loosely and keys will find the gaps. Too many stitches per 4 inches means tighter, smaller work — go up a hook size. Too few means looser, larger work — go down a size. Aim for a substantial fabric with no obvious holes held up to the light.
Abbreviations — US terms
US terms throughout. (UK note: a US half double crochet is a UK half treble; a US single crochet is a UK double crochet.)
| Abbreviation | Meaning |
|---|---|
| ch | chain |
| sc | single crochet |
| hdc | half double crochet |
| hdc2tog | half double crochet 2 together (decrease) |
| sl st | slip stitch |
| BLO | back loop only |
| st(s) | stitch(es) |
| rnd(s) | round(s) |
How to work hdc2tog: Yarn over, insert hook into the first stitch, yarn over and pull up a loop (3 loops on hook). Yarn over, insert hook into the next stitch, yarn over and pull up a loop (5 loops). Yarn over and pull through all 5 loops — two stitches become one.
A note on rounds: The body is worked in joined rounds: join each round with a slip stitch into the first half double crochet, then chain 2 for the next round. The chain 2 does not count as a stitch, and the first stitch of each new round goes into that same first stitch. Mark the first stitch if the join is hard to spot.
The pattern (US terms)
Read all the steps once before starting, especially the strap placement in Step 5. Count at the end of every base round — the whole bag depends on reaching 96 stitches before the sides begin.
Step 1: The circular base
Rnd 1: Make a magic ring, ch 2 (does not count as a stitch throughout), work 12 hdc into the ring, pull the ring closed, join with a sl st to the first hdc. 12 hdc
No magic ring? Chain 4, join with a slip stitch to make a ring, and work the 12 half double crochet into it instead; close the centre hole later with the starting tail.
Rnd 2: Ch 2, work 2 hdc in each st around, join with a sl st to the first hdc. 24 hdc
Rnd 3: Ch 2, *hdc in the next st, 2 hdc in the next st; repeat from * around, join. 36 hdc
Rnd 4: Ch 2, *hdc in each of the next 2 sts, 2 hdc in the next st; repeat from * around, join. 48 hdc
Rnd 5: Ch 2, *hdc in each of the next 3 sts, 2 hdc in the next st; repeat from * around, join. 60 hdc
Rnd 6: Ch 2, *hdc in each of the next 4 sts, 2 hdc in the next st; repeat from * around, join. 72 hdc
Rnd 7: Ch 2, *hdc in each of the next 5 sts, 2 hdc in the next st; repeat from * around, join. 84 hdc
Rnd 8: Ch 2, *hdc in each of the next 6 sts, 2 hdc in the next st; repeat from * around, join. 96 hdc
Lay the circle flat: about 9 inches across, with no ruffling or cupping. Strong ruffling means the increases were too loose — a smaller hook for the base fixes it. Cupping means the opposite: relax your tension, or go up a hook size for the base.
Step 2: Turn the corner
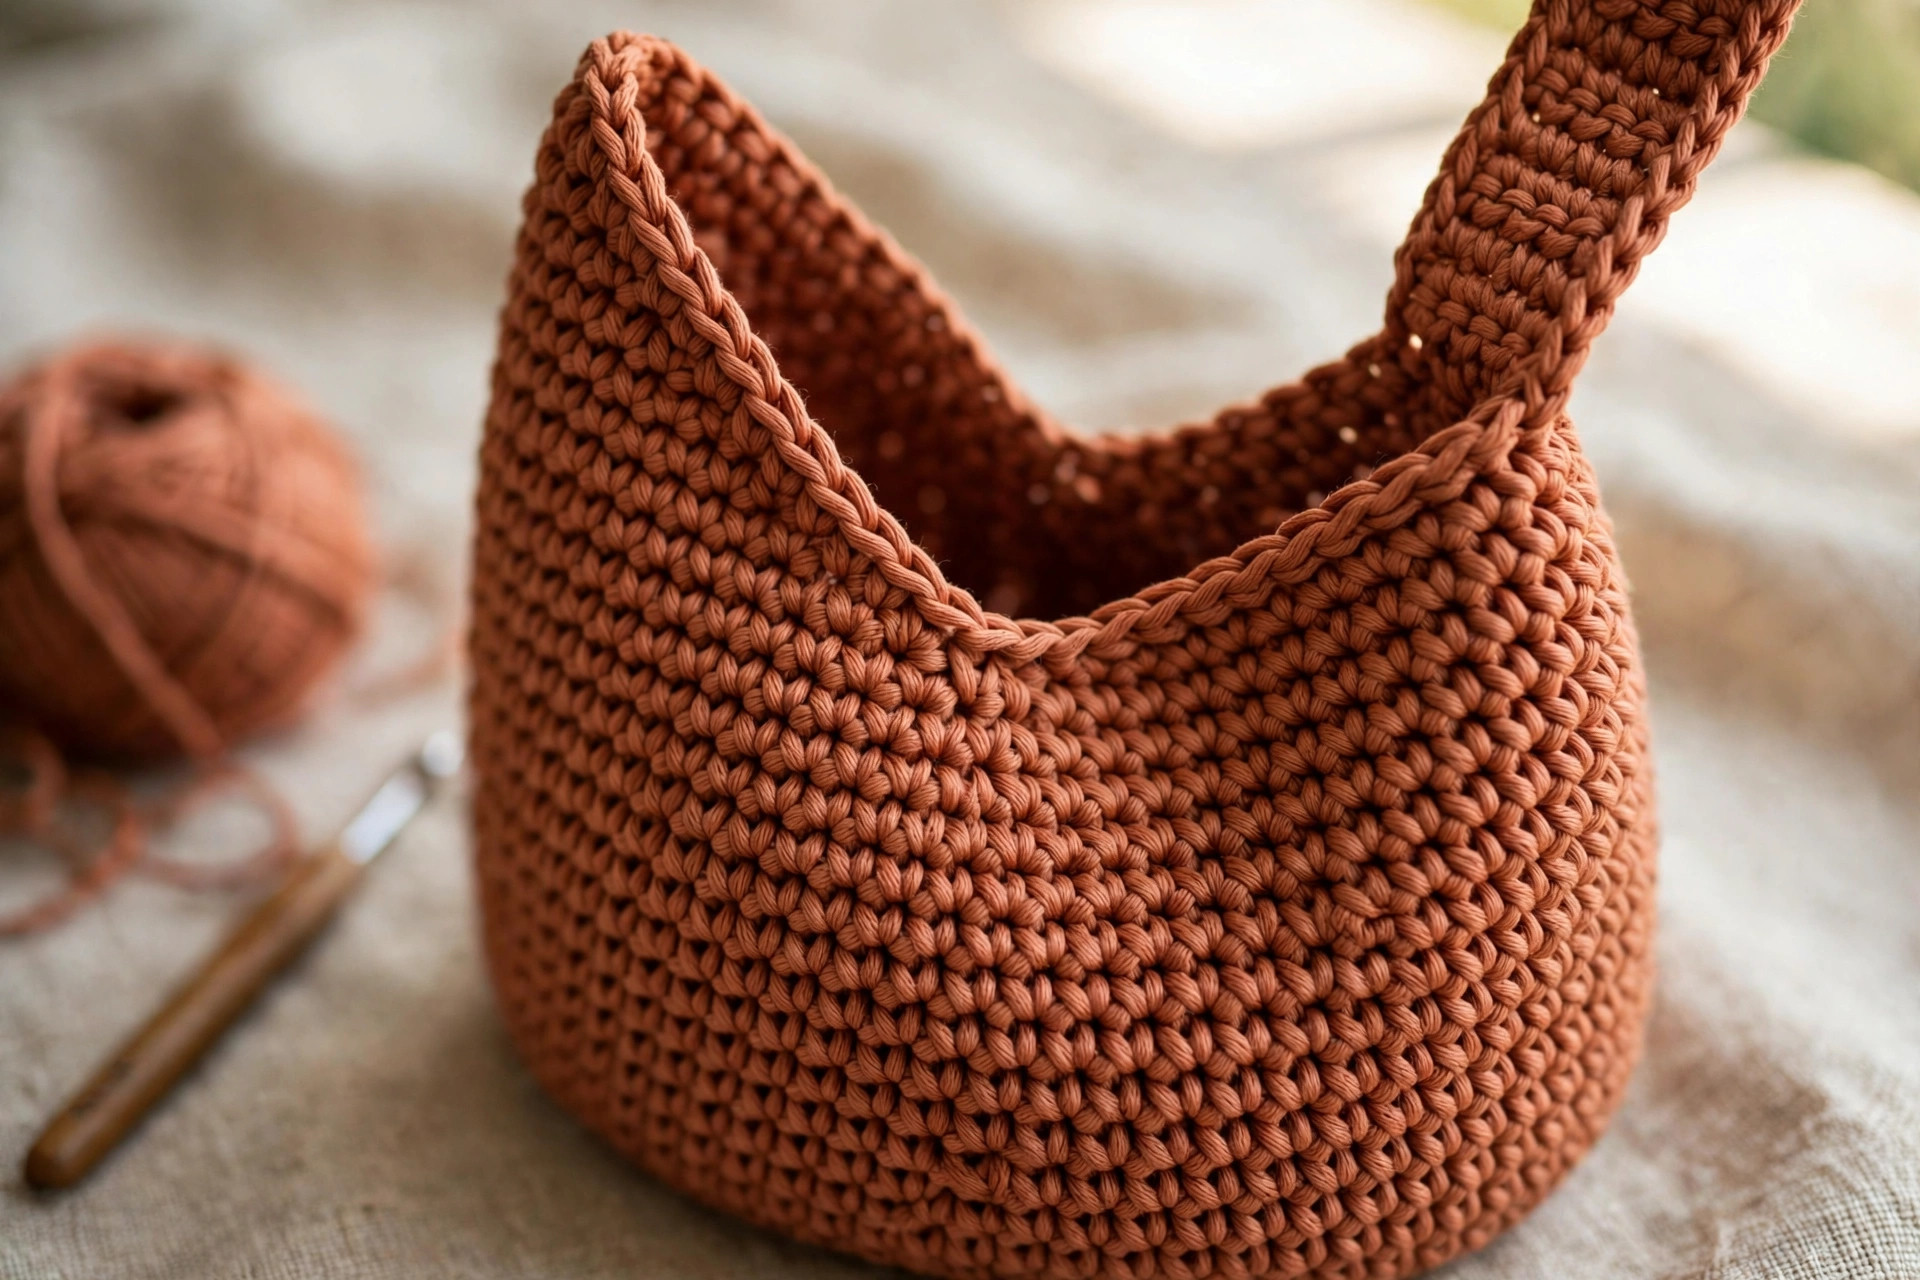
Rnd 9: Ch 2, hdc in BLO of each st around, join with a sl st to the first hdc. 96 hdc
This back-loop round is the bag's hinge: it leaves the front loops as a neat ridge outside and turns the fabric upwards at a crisp angle. From here on, work into both loops as normal.
Step 3: The straight sides
Rnds 10–33: Ch 2, hdc in each st around, join with a sl st to the first hdc. 96 hdc
That is 24 plain rounds building about 10 inches of height — rhythmic, relaxing stitching. Work one colour throughout, change colour for the last six or eight rounds for a two-tone bag, or add stripes: two contrast rounds at rounds 20 and 26 gives a subtle nautical feel. Join new colours at the slip stitch of the previous round so changes sit in the back seam line.
Check proportions as you go: drop in a couple of books after round 24 and hold the bag against your body. Stop at round 30 for a shallower bag, or add two rounds for a deeper one.
Step 4: Taper the top
Two decrease rounds ease the opening in from 96 stitches to 80, giving the bag its soft, gathered top.
Rnd 34: Ch 2, *hdc in each of the next 10 sts, hdc2tog; repeat from * around, join. 88 sts
Rnd 35: Ch 2, *hdc in each of the next 9 sts, hdc2tog; repeat from * around, join. 80 sts
Rnd 36 (edging): Ch 1 (does not count as a stitch), sc in each st around, join with a sl st to the first sc. 80 sc
Fasten off and weave in the end — the strap is joined with fresh yarn, keeping its starting point strong. The body is complete: about 12 inches tall, with a firm round base and a slightly narrowed top.
Step 5: Mark the strap positions
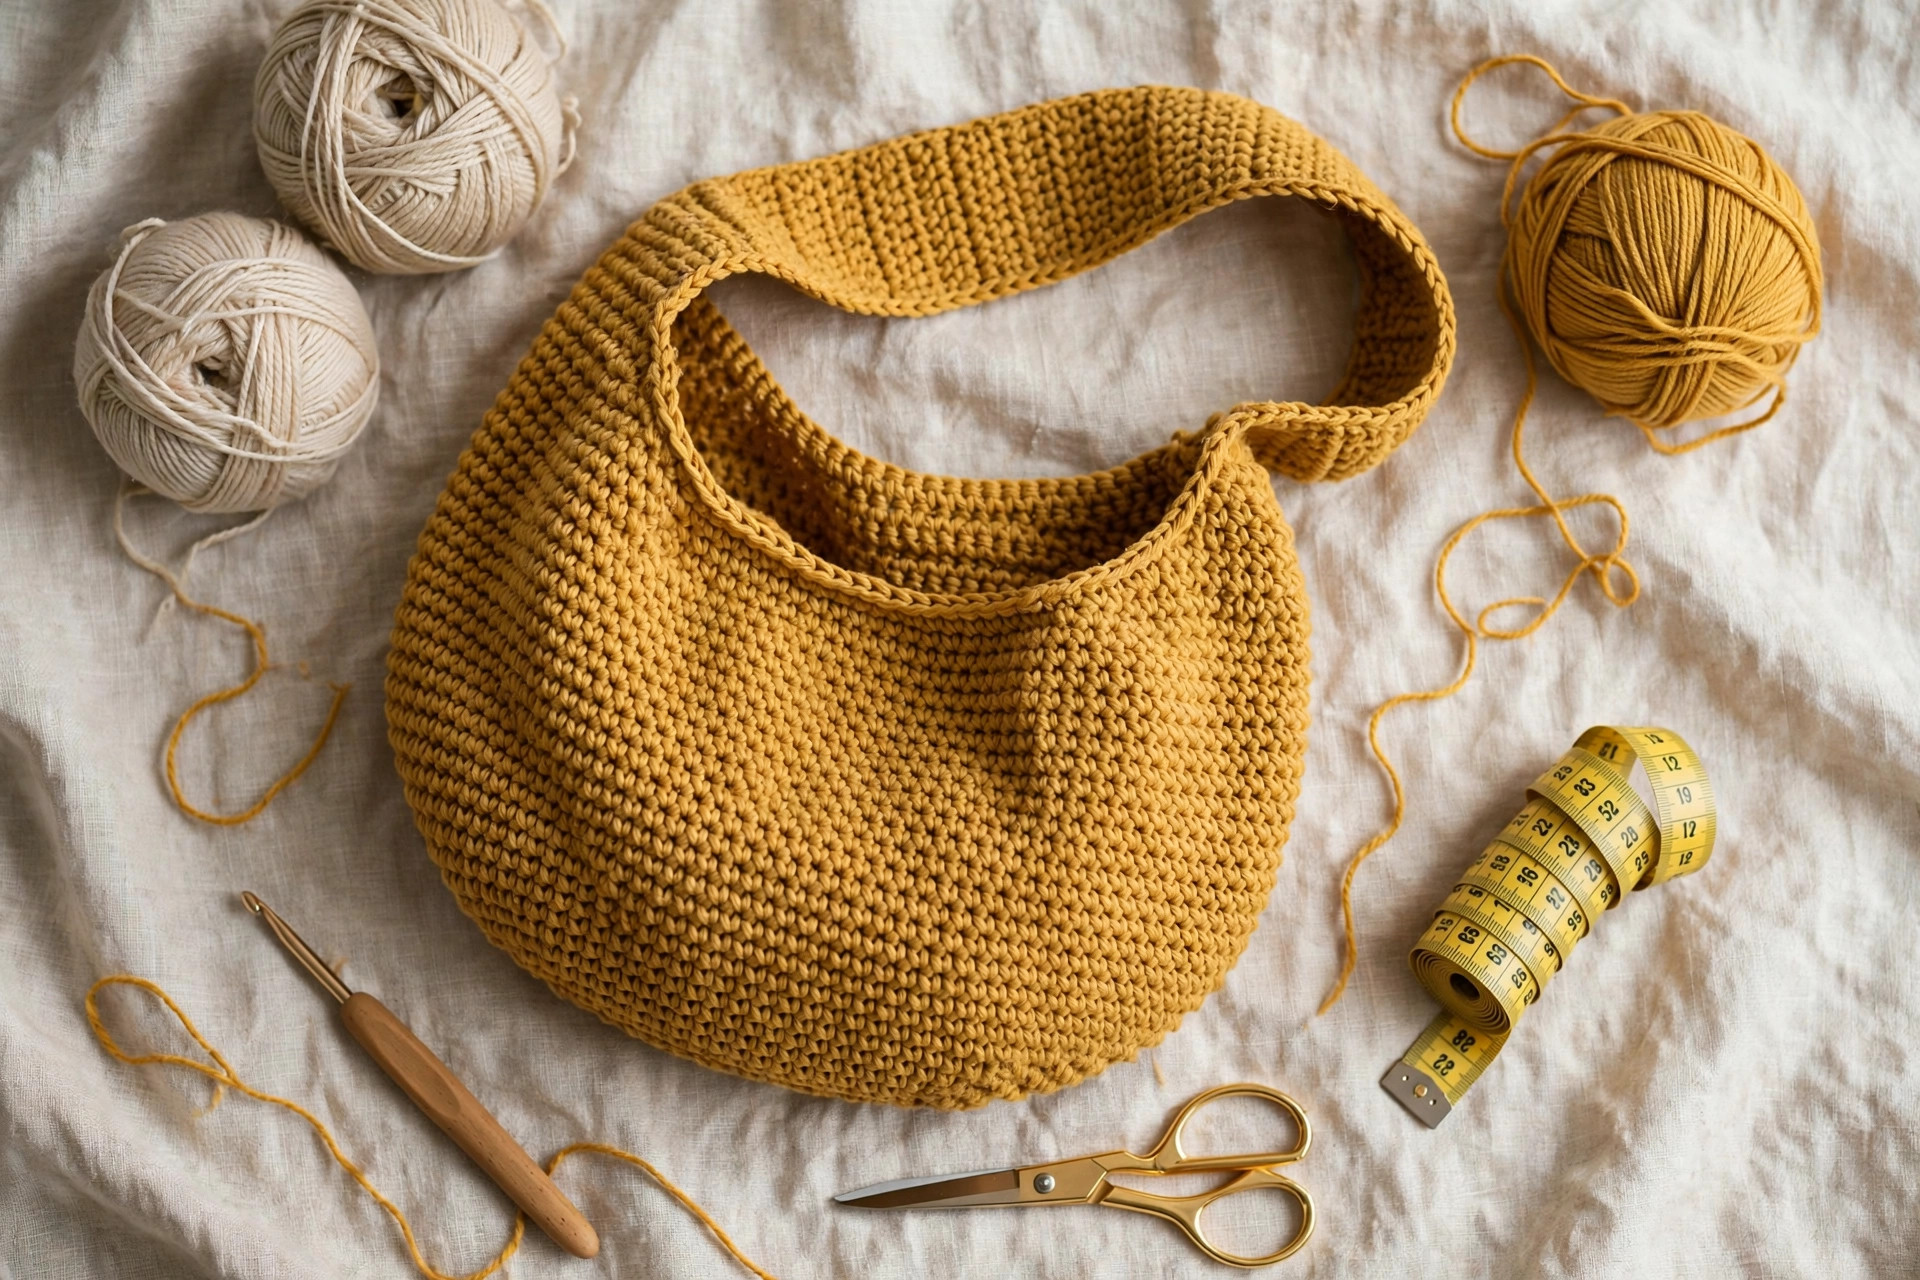
Lay the bag flat with the back seam centred at the back, so the top edge forms two layers of 40 stitches each. On the front layer, count 15 stitches in from the right-hand fold and mark the next stitch: stitches 16 to 25 — ten stitches, centred — will hold one end of the strap. Mark the same ten centred stitches on the back layer. The strap joins one set, spans your shoulder, and joins the other, so the bag hangs balanced, with the open side sections forming the signature hobo drape.
Step 6: Work the strap
Join your yarn with a slip stitch in the first marked stitch of the front layer, ready to work across the ten marked stitches.
Row 1: Ch 2 (does not count as a stitch), hdc in the same st and in each of the next 9 marked sts, turn. 10 hdc
Rows 2–44: Ch 2, hdc in each st across, turn. 10 hdc
That is 44 rows: a strap about 17.5 inches long and 2.75 inches wide. Check the drop first — pin the free end to the back layer's marked stitches, put a book inside, and lift the bag onto your shoulder; the body should hang at about hip level. Every two rows changes strap length by roughly 0.8 inches, so unravel or add rows as needed.
For an extra-firm strap, work every row into the back loop only — the ridged fabric resists stretching.
Fasten off, leaving a tail of at least 18 inches for joining — it does the hardest work in the whole bag.
Step 7: Join the strap
Hold the free end against the ten marked stitches on the back layer, right sides out and the strap untwisted — lay the bag flat and check the strap lies smooth end to end before sewing, because a twisted strap is genuinely annoying to fix later.
Thread the long tail onto your yarn needle and whipstitch through each pair of matching stitches — one strap stitch, one top-edge stitch, ten pairs — going through each pair twice. This seam carries the full weight of every loaded bag. Pull snug but not puckering, weave the remaining tail through the seam three times, then trim. Weave the starting tail in just as securely at the first end.
Finishing your hobo bag
Weave in every end, travelling about an inch in one direction, then back the opposite way, then once more at a slight angle. Bag ends are flexed every time the bag is lifted, and that three-direction weave stops them creeping out in use. Trim only after weaving, never before.
Blocking is gentle work: stuff the bag with clean towels until it holds its shape, smooth the base flat, arrange the strap in a curve, and leave it overnight. Cotton relaxes into that shape and remembers it.
Now the extras. An optional button loop keeps the bag shut on the bus: sew a 1-inch wooden button inside the centre of the front top edge, join yarn at the centre of the back top edge, chain 12, and slip stitch into the same stitch to form a loop, checking it fits the button first. Or browse our crochet bag charm patterns for a tiny charm that marks the bag as yours.
Lining is optional: firm half double crochet has no real gaps and does not need one for everyday use. Add one only for sharp or very small items, or for inside pockets, sewn in loosely at the top edge only so the bag keeps its slouch.
Tips for a bag that lasts
Reinforce by habit. The strap joins and base do the hard work. You have double-stitched the joins; protect the base with your firmest tension in rounds 1 to 9, and never overload the bag beyond what you would comfortably carry in any tote.
Manage the stretch. Cotton relaxes a little in its first weeks, then settles; slight lengthening is normal hobo character. Acrylic blends stretch more and recover less, hence the smaller-hook suggestion. Store the bag empty and loosely folded — never hanging up full.
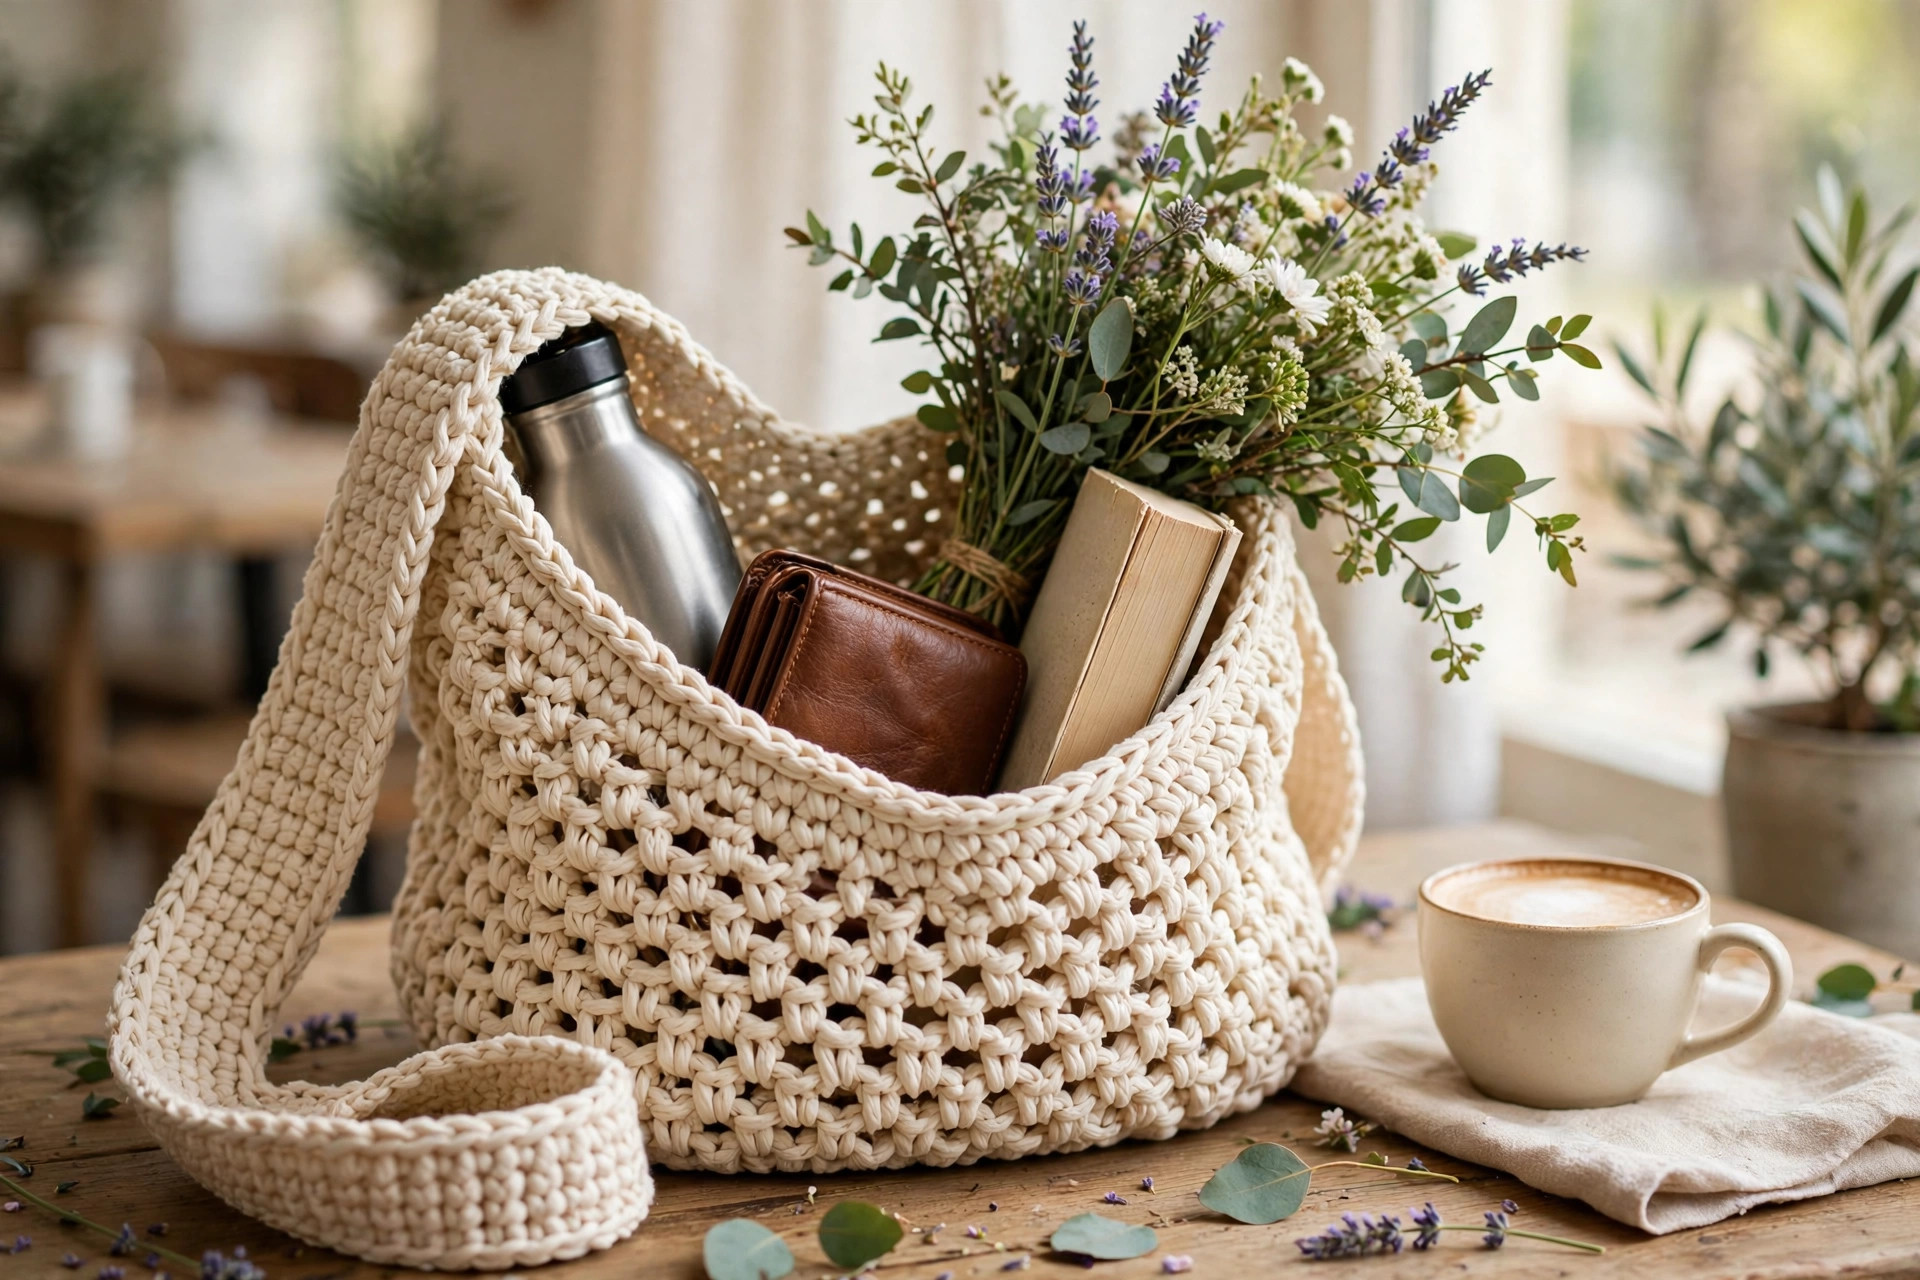
Keep small things corralled. One generous space is the hobo bag's charm and its chaos. Drop a pouch inside for keys and coins — a handmade crochet phone case does the same for your phone, and stops the screen rattling against your keys.
Wash it like you want to keep it. Machine wash cotton gently in cool water, inside a laundry bag, then reshape while damp and dry flat, away from strong sun. Hand washing extends the colour life of bright shades.
Fix snags immediately. Never cut a pulled loop: ease the slack back along the row with your hook tip, a little into each neighbouring stitch, then steam gently. A snag repaired in two minutes never becomes a hole.
FAQ
Is this hobo bag suitable for a confident beginner?
Yes. The base follows the standard circle formula — twelve stitches added per round, spaced further apart each time — and after eight rounds the counting is done. The sides are one stitch repeated, and the strap is a plain rectangle of rows. If you have finished a hat or scarf, you have the skills.
How much yarn do I actually need?
About 660 yards of worsted yarn: roughly 560 for the body and 100 for the strap. Four 100-gram balls at around 180 yards each are enough, with a little left over. Budget about 23 yards per additional side round for a deeper bag.
Can I make the bag bigger or smaller?
Easily. For a larger bag, add one or two base rounds before the back-loop round — each adds 12 stitches and about 3.4 inches of circumference — then work the sides to your chosen height. For a smaller bag, stop the base at round 6 (72 stitches) or round 7 (84 stitches), decreasing every eleventh stitch, then every tenth, in the taper.
Why does my base curl or ruffle?
Ruffling means the rounds grew too fast — usually a loose first stitch after the chain 2, or an increase worked twice in one place. Cupping means stitches too tight, or an increase missed. Count every round against the pattern counts and lay the work flat after each round; recounting early beats frogging later.
Will the strap stretch out of shape?
A little give is normal and comfortable, and the wide design spreads the load. Minimise it with cotton, firm tension, the back-loop-only strap option, and by not leaving the bag hanging full. If a much-loved strap lengthens, unpick one join, unravel a few rows, and rejoin.
Does the bag need a lining or a closure?
Neither is required. The fabric is dense enough for everyday contents, and the tapered top keeps the opening sitting closed on your shoulder. The optional button loop adds travel security; a lining is only needed for interior pockets or lots of small, sharp-edged items.
What to crochet next
Your new bag deserves handmade company — start with the small things that live inside it:
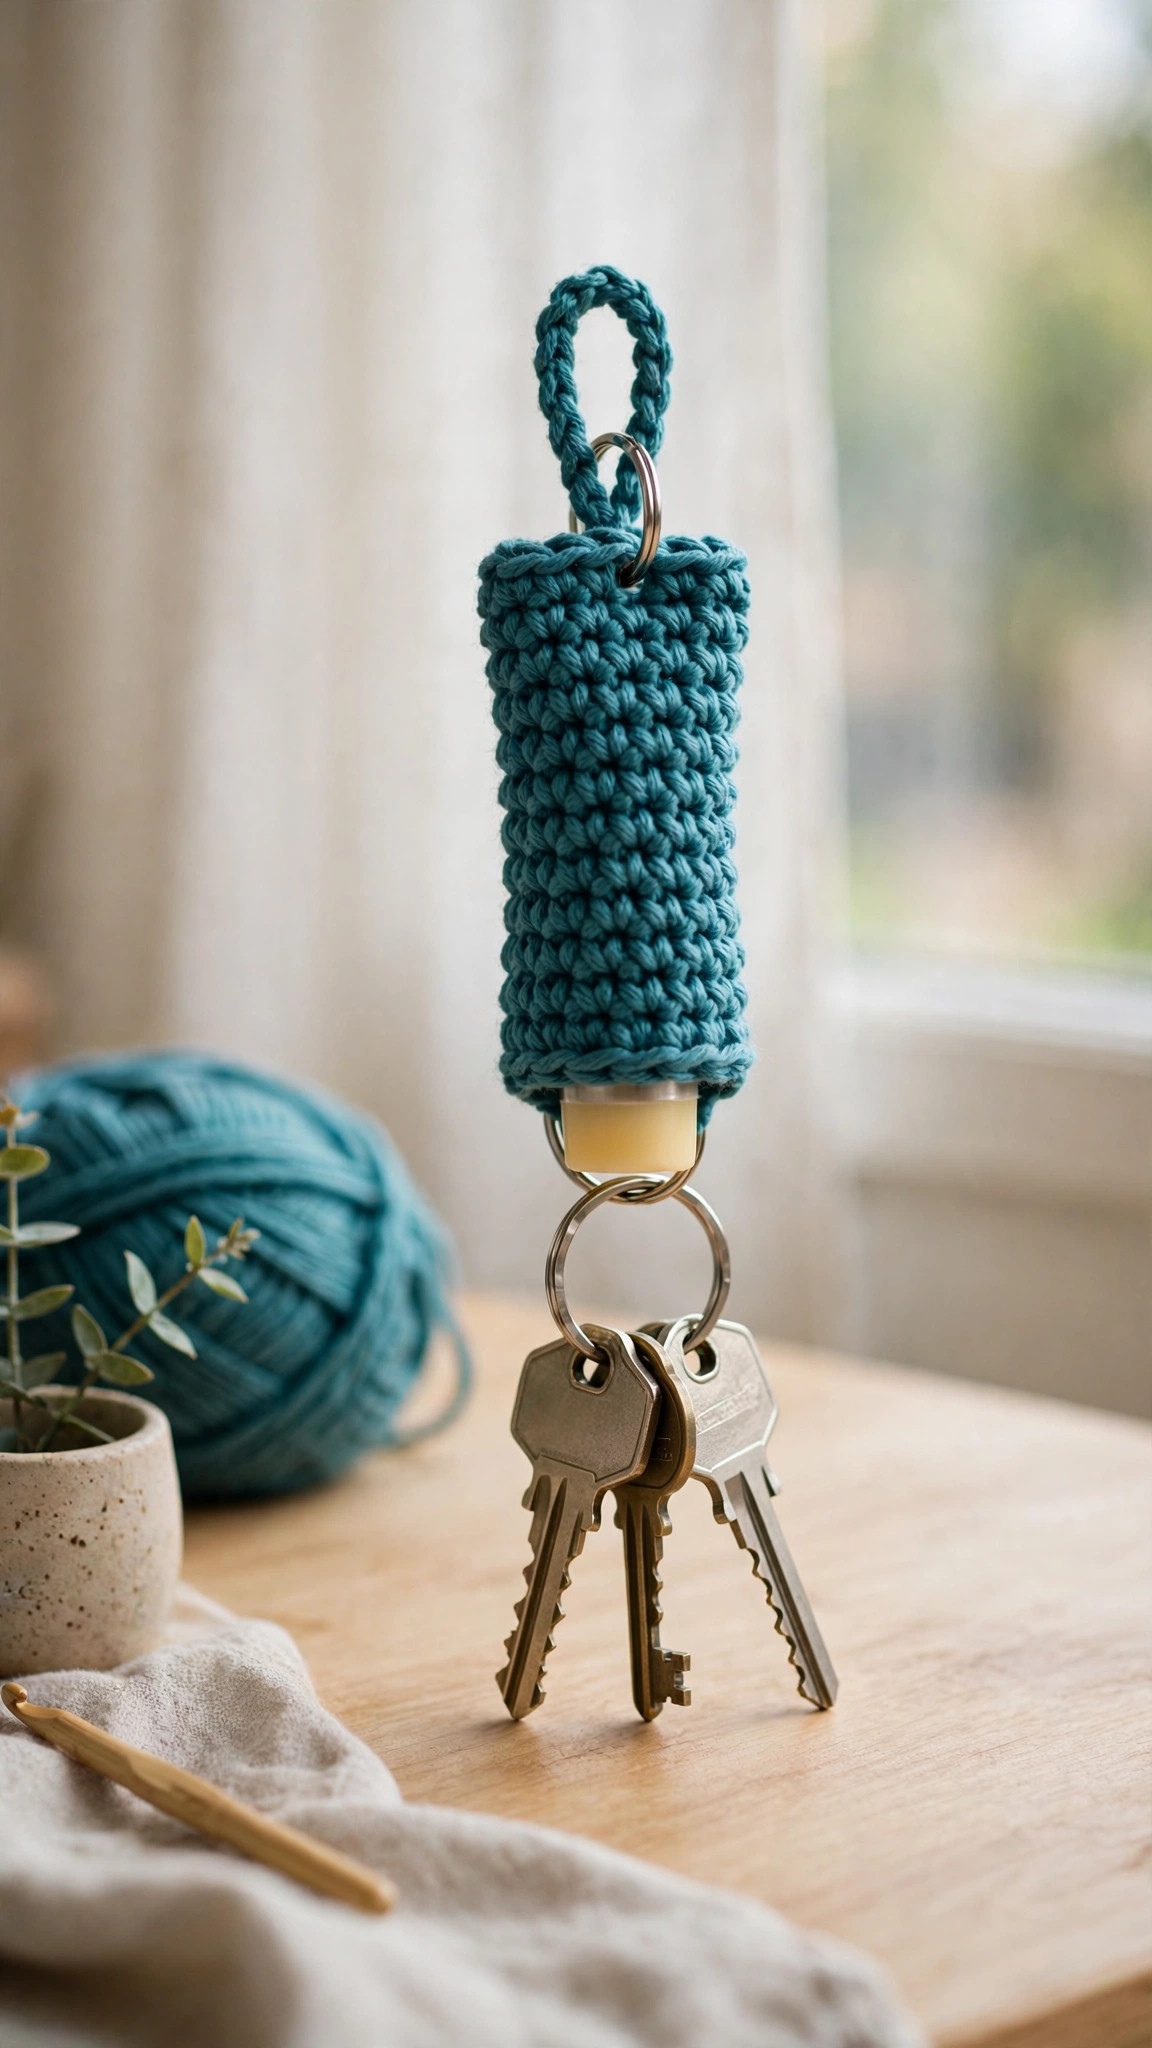
- Tuck in a quick crochet chapstick holder pattern so lip balm stops disappearing into the bottom of every bag.
- Clip on an accent from the crochet flower pattern — one flower in contrast cotton makes a pretty bag pin or charm.
- Fill the bag with your next project and start again — a second hobo in a different shade makes a handmade rotation.
Happy crocheting — may your new bag carry everything, everywhere, for years!
The box below contains an Etsy link. If you buy through it, we may earn a small commission at no extra cost to you. Learn more.
No time to make one?
Short on time? Find handmade crochet hobo bags from independent makers on Etsy.
Browse on Etsy (opens Etsy in a new tab)