Puff Stitch Crochet Hat Pattern for Toddler, Child & Adult
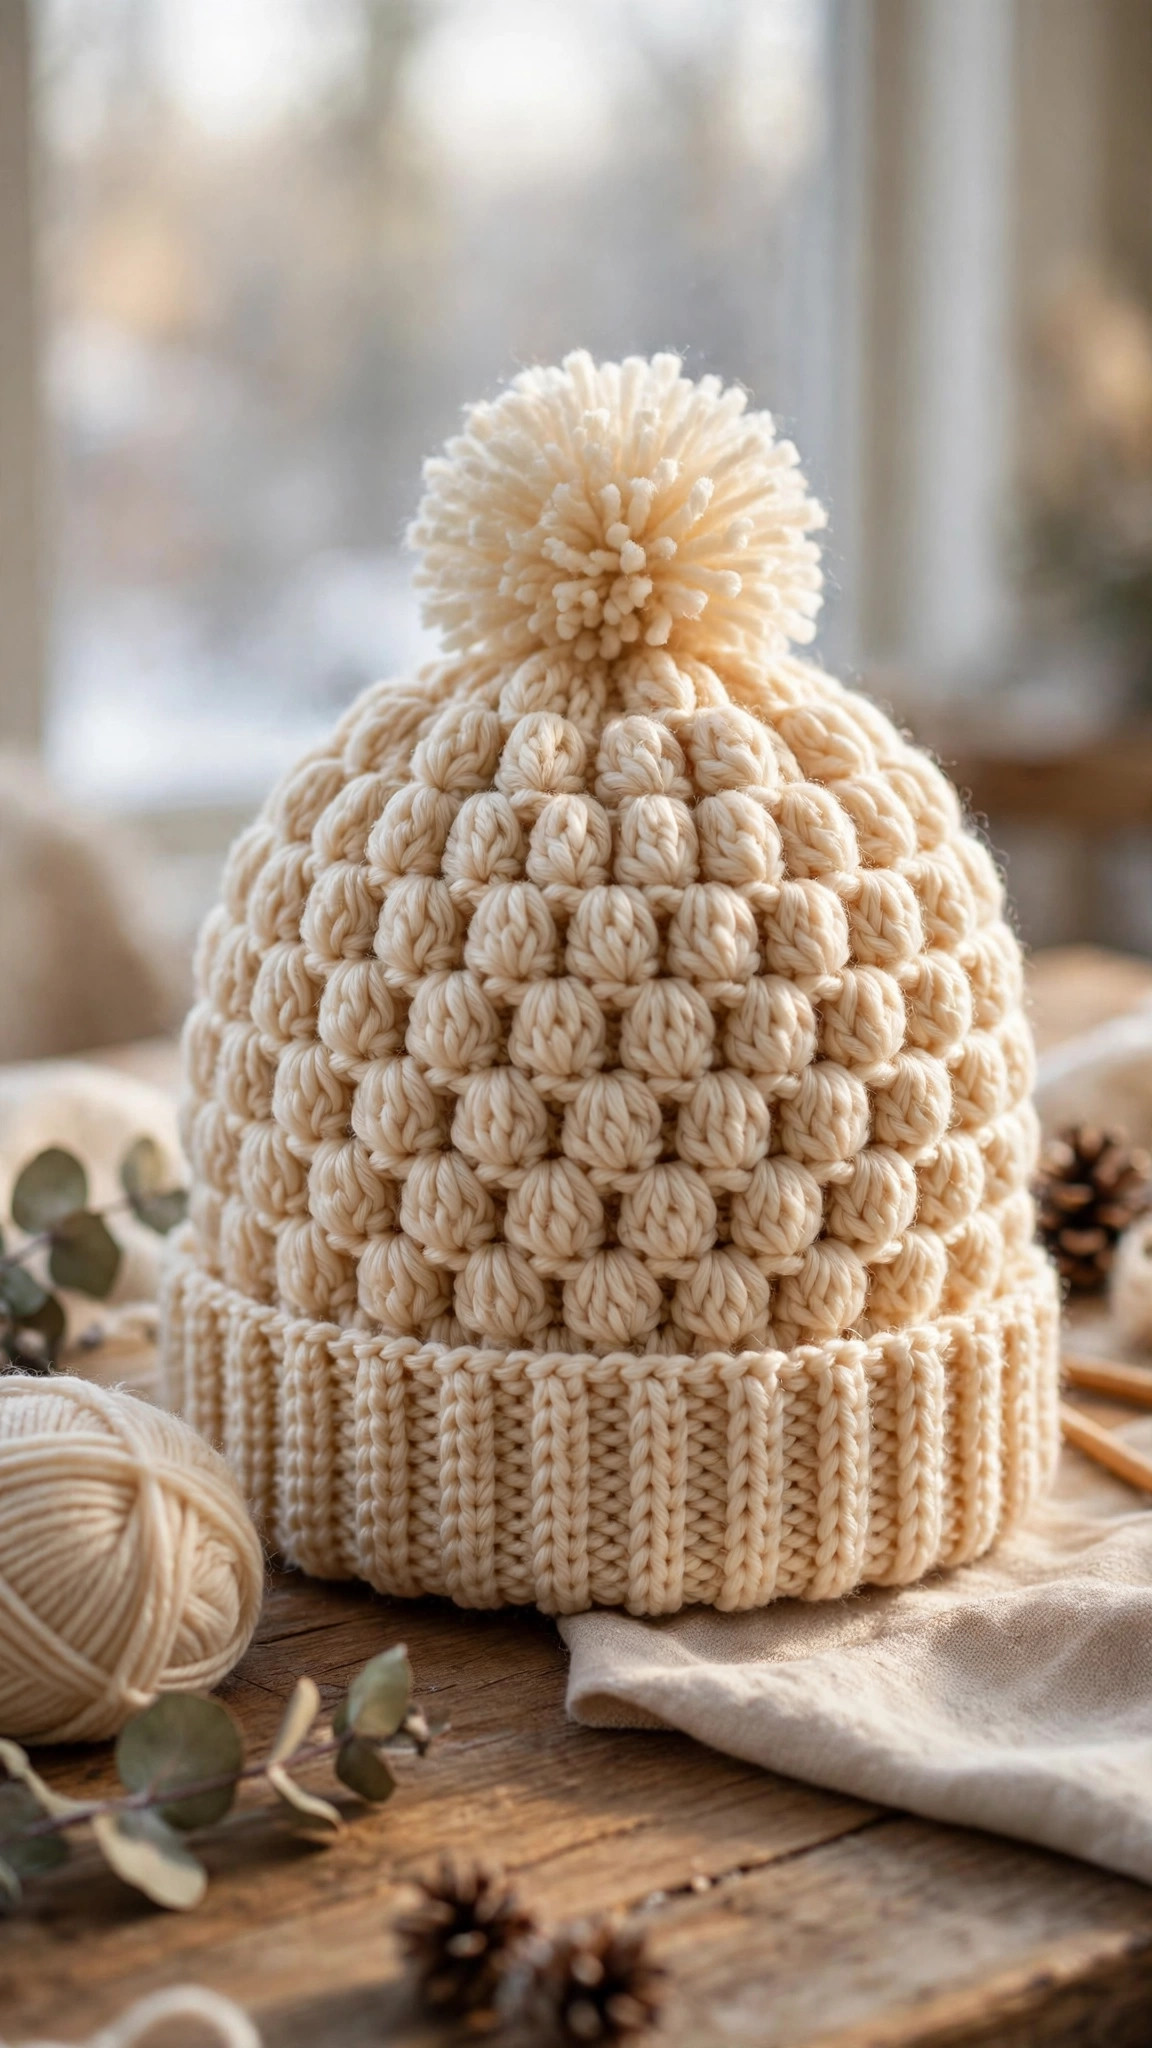
Those pillowy puffs look boutique-made, but this beanie is a simple one-round repeat over a stretchy ribbed brim. Work it in toddler, child or adult size, then finish it sleek or add the big bouncy pom-pom.

Hats · Crochet
- Finished size
- 17.5–21.5 in circumference
- Making time
- 2–3 hours
- Hook
- 5.5 mm (US I-9)
- Sizes
- Toddler, child & adult
- Skill
- Confident beginner
In this post
This puff stitch beanie looks fancy but works up fast. Those soft, pillowy puffs give you all the texture of a boutique hat, the ribbed brim keeps the fit snug without squeezing, and the optional pom-pom turns it into the hat everyone asks about. Make it once for yourself, and you will soon be making more for the whole family.
This pattern covers toddler, child, and adult sizes in one set of instructions. The brim is crocheted flat in back-loop single crochet for stretchy, almost knitted ribbing, then seamed into a ring. The puff stitch body is worked in rounds straight up to the crown, which closes with simple decrease rounds and a gathered top.
Nervous about puff stitches? Do not be. A puff is just a handful of half-finished half double crochets pulled together in one go, and I will walk you through it step by step before the pattern starts.
Contents
- Why you'll love this puff stitch hat
- Materials you'll need
- Size, gauge and skill level
- Abbreviations — US terms
- How to crochet the puff stitch
- The pattern (US terms)
- Finishing
- Tips for perfect puff stitches every time
- FAQ
- What to make next
Why you'll love this puff stitch hat
First, the texture. Puff stitches catch light and shadow in a way plain stitches cannot, so even a single solid colour looks rich and interesting. In cream, dusty rose, or deep mustard, this hat looks like it took far longer than it did — perfect for gifts.
Second, the fit. Many crochet hats slip because the brim stretches out and never recovers. The back-loop single crochet brim here behaves like knitted ribbing: it stretches over the head, then springs back and holds the hat in place, even on busy toddlers. That spring also makes sizing forgiving when you only have an approximate head measurement for a gift.
Third, the rhythm. After the setup round, the body is a one-round repeat — puff, chain one, skip one — and the tall rounds stack up quickly. It is genuine sofa crochet: engaging, but simple enough for conversation.
Finally, the versatility. Skip the pom-pom for a sleek beanie, add it for a playful winter hat, fold the brim for double ear warmth, or wear it unfolded for slouch.
Materials you'll need
Worsted weight yarn gives the puffs real body and squish, works up quickly, and makes a warm hat without heaviness. A soft acrylic or acrylic-wool blend is ideal: easy to wash, gentle on skin, and great at holding puff definition. Avoid very slippery yarns for your first version.
You will need roughly 120 yards (toddler), 150 yards (child), and 190 yards (adult), including the pom-pom — about 20 yards less without it. One 100-gram ball usually covers toddler or child; the adult size may dip into a second ball, so check yardage first.
| Supply | What to get |
|---|---|
| Yarn | Worsted weight (category 4) acrylic or acrylic-wool blend, approx. 120–190 yards depending on size |
| Hook | 5.5 mm (US I-9) crochet hook |
| Notions | Yarn needle with a large eye for seaming and weaving in ends |
| Measuring | Tape measure for head size and gauge checking |
| Cutting | Sharp scissors |
| Optional | Stitch marker to mark the start of rounds |
| Optional | Pom-pom maker, or sturdy cardboard approx. 4 inches wide |
A stitch marker helps you keep your place in all that texture — clip a locking marker into the top of the first puff of each round. Cardboard works fine for the pom-pom, though a maker gives a denser, more even result.
Size, gauge and skill level
Skill level: Confident beginner to intermediate. You should know single crochet, half double crochet, chaining, slip stitch joins, and back loop only work. The puff stitch and crown decreases are taught in full below.
Finished sizes:
| Size | To fit head | Finished circumference | Finished height |
|---|---|---|---|
| Toddler (2–4 years) | 18–19 inches | About 17.5 inches | About 7.5 inches |
| Child (5–10 years) | 20–21 inches | About 19.5 inches | About 8.5 inches |
| Adult | 22–23 inches | About 21.5 inches | About 9.5 inches |
The finished circumference is deliberately a little smaller than the head measurement. That negative ease lets the ribbed brim grip gently so the hat stays put. Heights include the brim. Between sizes? Choose smaller for a snug fit, larger if the wearer has lots of hair to tuck inside.
Gauge: In puff stitch pattern with a 5.5 mm hook, 10 puffs and their chain spaces across and 8 rounds down = about 4 inches square after light blocking. In the brim, 12 rows of back-loop single crochet = about 4 inches. Gauge matters more for width than height, since you can add or remove a body round. Swatch smaller than 4 inches? Go up a hook size. Larger? Go down a size.
To measure a head, wrap the tape around the widest part, just above the eyebrows and ears, snug but not tight.
Abbreviations — US terms
US terms throughout. In UK terms, a US single crochet is a double crochet, and a US half double crochet is a half treble.
| Abbreviation | Meaning |
|---|---|
| ch | chain |
| sc | single crochet |
| hdc | half double crochet |
| puff | puff stitch (see special stitch below) |
| puff2tog | puff stitch decrease (see special stitch below) |
| sl st | slip stitch |
| BLO | back loop only |
| st(s) | stitch(es) |
| rep | repeat |
| yo | yarn over |
Special stitch — puff stitch: Yarn over, insert hook into the stitch or space indicated, yarn over and pull up a long loop (3 loops on hook). Repeat three more times in the same place until you have 9 loops on your hook. Yarn over and pull through all 9 loops at once, then chain 1 to close and secure the puff. That closing chain is part of the stitch. Pulling each loop up to the same height — roughly the height of a half double crochet, or a touch taller — is the secret to even puffs.
Special stitch — puff2tog (decrease puff): Yarn over, insert hook into the first space, yarn over and pull up a loop twice (5 loops on hook), then yarn over, insert hook into the next space, yarn over and pull up a loop twice (9 loops on hook). Yarn over and pull through all 9 loops, chain 1 to close. This turns two puff positions into one and shapes the crown smoothly.
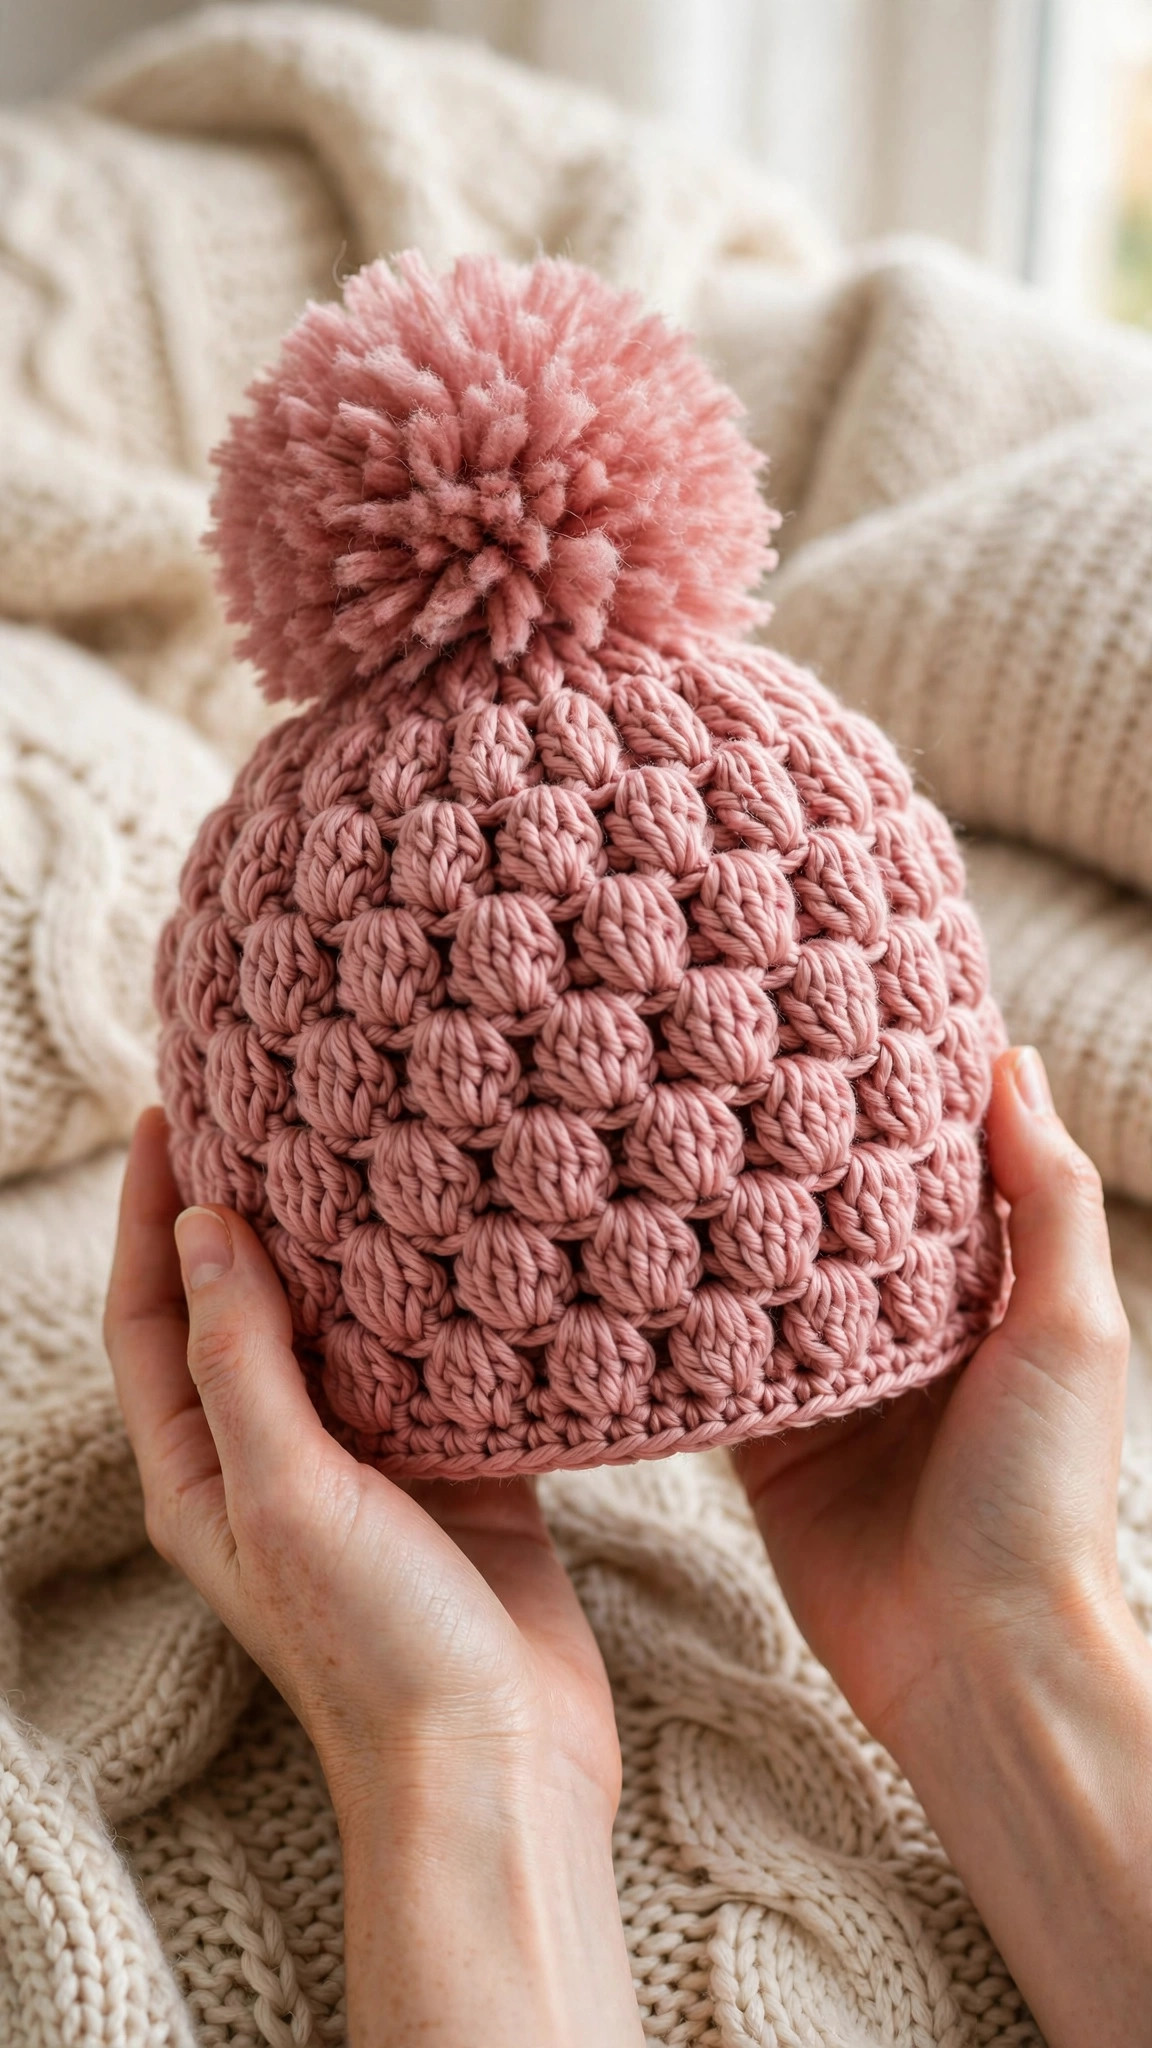
How to crochet the puff stitch
Practise on a small swatch first: chain a short foundation, work a row of single crochet, then try puffs into every other stitch with a chain between them.
Yarn over, insert your hook, yarn over and pull a loop up long and loose — short loops make flat, strained puffs. Repeat four times in the same stitch until you have nine loops on your hook, then yarn over and draw through all nine in one smooth pull, wiggling the hook gently if needed. Finish with a chain one to lock the puff.
Consistency is everything: lift every loop to the same height, and snug the closing chain firmly without strangling it. By the second round of the hat, the stitch becomes automatic.
The pattern (US terms)
Instructions are given for Toddler (Child, Adult). One number applies to all sizes. Count at the end of every round for the first few rounds.
The ribbed brim
The brim is worked flat in rows, then seamed into a ring, in back-loop single crochet throughout.
Chain 13 for 12 working stitches plus a turning chain, giving a brim about 2 inches deep. For a deeper fold-up brim, chain 17 and work 16 stitches per row.
Row 1: Sc in the second chain from the hook and in each chain across, turn. (12 sc)
Row 2: Ch 1 (does not count as a stitch), sc in BLO of each stitch across, turn. (12 sc in BLO)
Repeat Row 2 until you have 66 (76, 84) rows. Do not fasten off. Unstretched, the strip measures roughly 16.5 (19, 21) inches — ribbing contracts, so lay it flat without stretching to measure.
Seam the brim: Fold the strip to meet the first and last rows. Slip stitch through both thicknesses, or whipstitch for a flatter join. Turn the ring so the seam is inside and row-ends face up; you will work one stitch into each row-end.
The body setup round
Round 1 (setup): Ch 1, work 1 sc into the end of each brim row around, join with a sl st to the first sc. 66 (76, 84) sc. This total must be even and match your size, as the puff repeat uses two stitches per puff.
Round 2 (first puff round): Ch 2, puff in the same stitch as the join, ch 1, skip 1 stitch, *puff in next stitch, ch 1, skip 1 stitch; repeat from * all the way around, join with a sl st to the top of the first puff. You will have 33 (38, 42) puffs, each separated by a chain-1 space.
The body rounds
Round 3: Sl st into the first chain-1 space, ch 2, puff in that same space, ch 1, *puff in next chain-1 space, ch 1; repeat from * around, join with a sl st to the top of the first puff. 33 (38, 42) puffs.
Repeat Round 3, working each new puff into the chain-1 space of the round below, until you have the total number of puff rounds for your size, counting Round 2 as the first puff round:
- Toddler: 10 puff rounds in total, hat measuring about 5.5 inches from the top of the brim.
- Child: 12 puff rounds in total, hat measuring about 6.5 inches from the top of the brim.
- Adult: 14 puff rounds in total, hat measuring about 7.5 inches from the top of the brim.
Try the hat on before the crown — this is your last easy height adjustment. Add a round for slouch, remove one for a closer fit; the crown adds roughly 2 inches. This same construction is a great base for character hats, like this playful crochet dinosaur hat pattern.
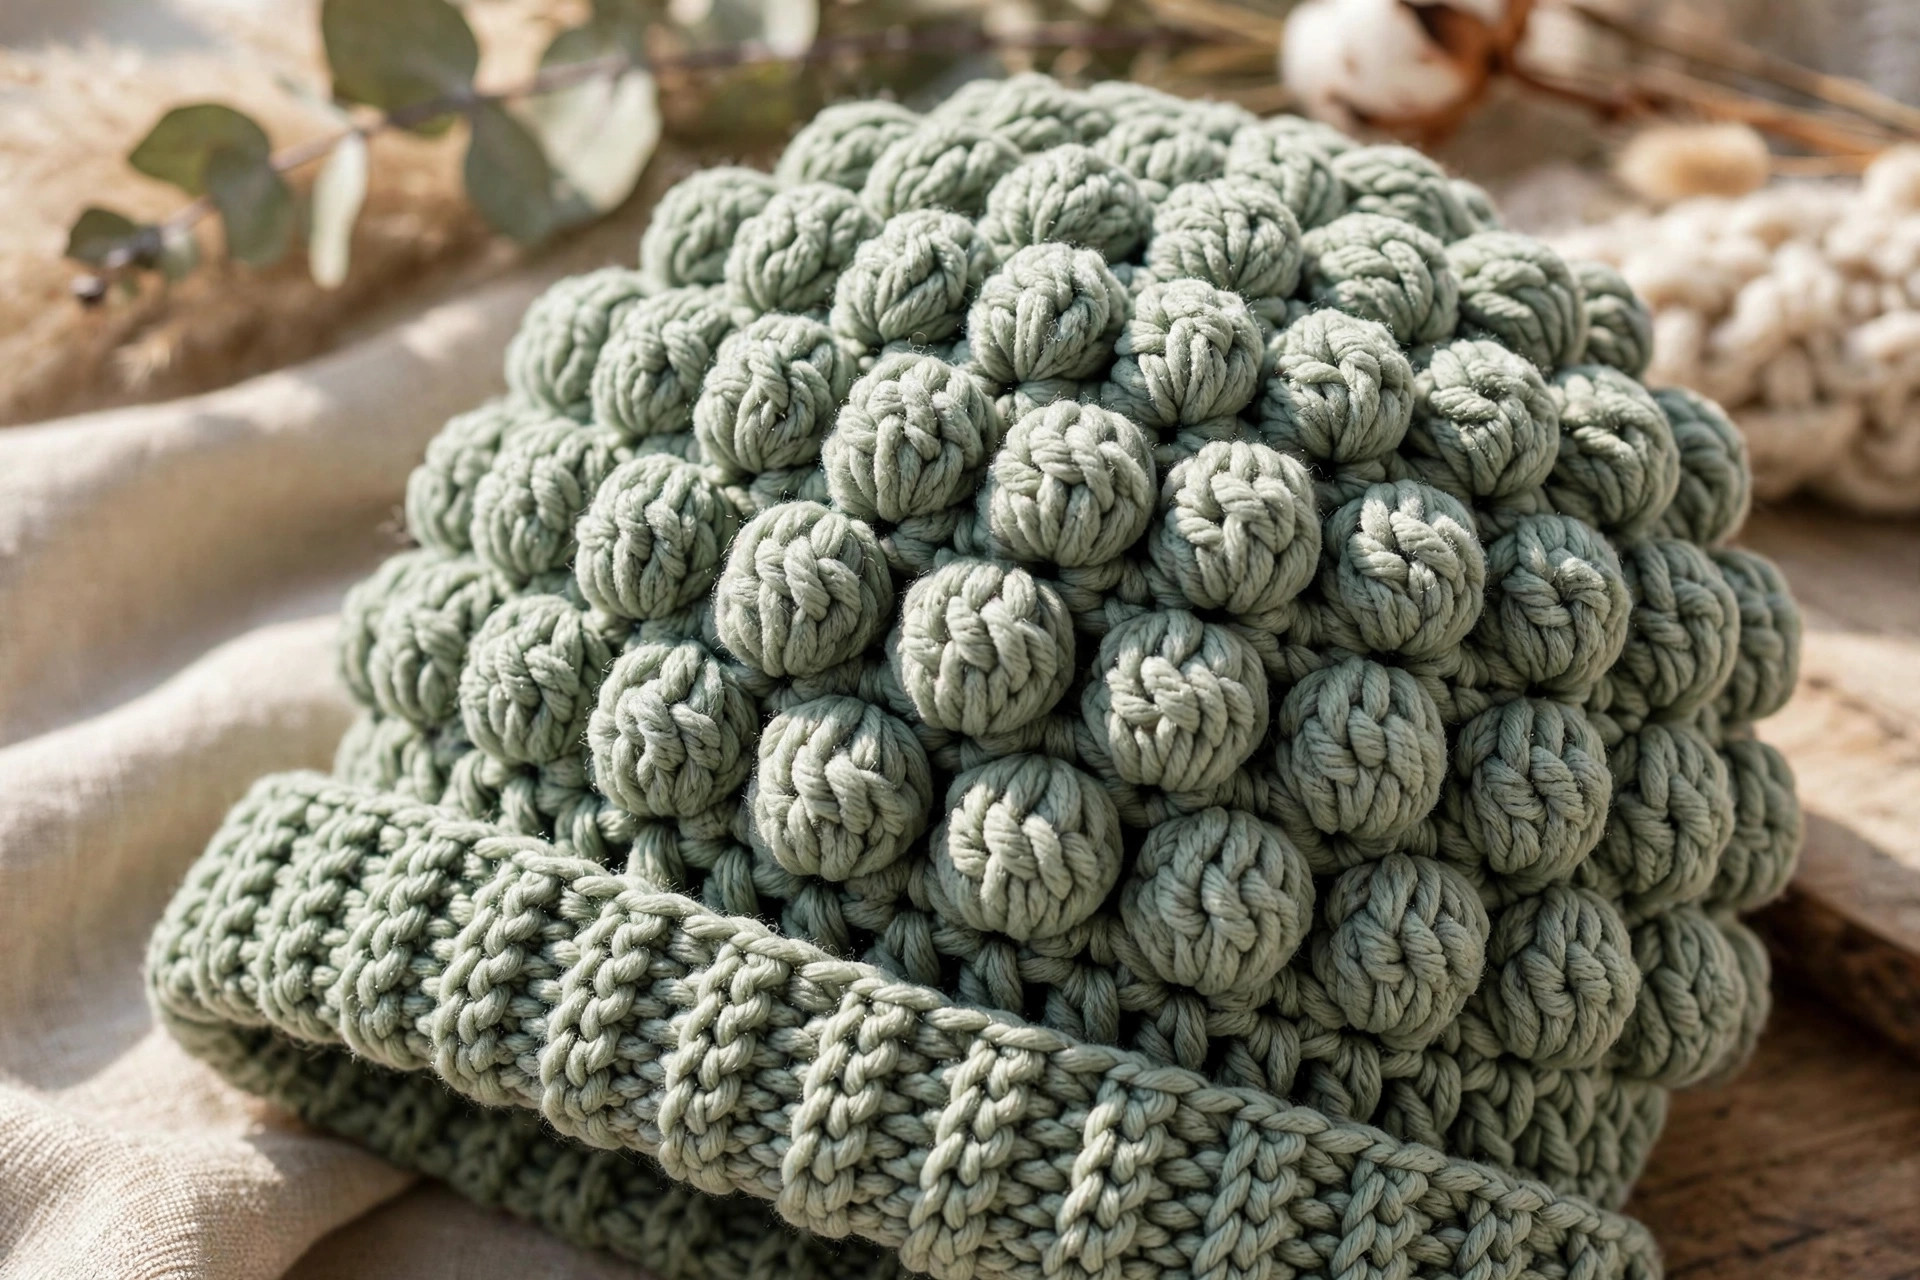
The crown decreases
The crown uses three decrease rounds plus a gathering round.
Crown Round 1: Sl st into the first chain-1 space, ch 2, puff in that space, ch 1, then work puff2tog in place of 6 (7, 7) evenly spaced puff positions around, with a normal puff in every other space, join with a sl st to the top of the first puff. 27 (31, 35) puffs. Space decreases roughly every fifth puff; exact spacing is not critical, but spreading them out keeps the crown round.
Crown Round 2: Sl st into the first chain-1 space, ch 2, puff in that space, ch 1, then work puff2tog over 7 (8, 9) evenly spaced pairs of spaces around, with a normal puff in every other space, join with a sl st to the top of the first puff. You will have 20 (23, 26) puffs.
Crown Round 3: Sl st into the first chain-1 space, ch 2, *puff2tog over the next 2 spaces, ch 1; repeat from * around, join with a sl st to the top of the first decrease puff. You will have 10 (12, 13) puffs. For the adult size, one normal puff will remain unpaired — work it as a normal puff; the gathering round closes any small difference.
Gathering round: Ch 1, work 2 sc in each chain-1 space around, join with a sl st to the first sc. You will have 20 (24, 26) sc. Fasten off, leaving a tail of about 10 inches for closing the top.
Closing the top
Thread the tail on your yarn needle, run a running stitch through every gathering-round stitch, and pull firmly like a drawstring to cinch the top closed. Seal any small hole with two or three tiny stitches, then weave the tail in a circle inside so it cannot loosen. Pom-pom ties will cover this closure. For a festive twist on this shaping, see the Grinch hat crochet pattern.
Finishing
Weave in every end in three directions through the backs of the puffs so each end locks in place and stays invisible. Snip close, then stretch the hat gently with your hands so the puffs settle and bloom — handling flattens them a little.
Blocking is optional but worthwhile for wool blends: light steam held a few inches away, or a soak and lay-flat dry over a bowl at head size, evens out the crown. Never press puffs flat with an iron.
Finally, check the fit: brim just above the eyebrows, ears covered, and the hat staying put with a gentle head shake. Try the brim folded for a classic cuffed look.
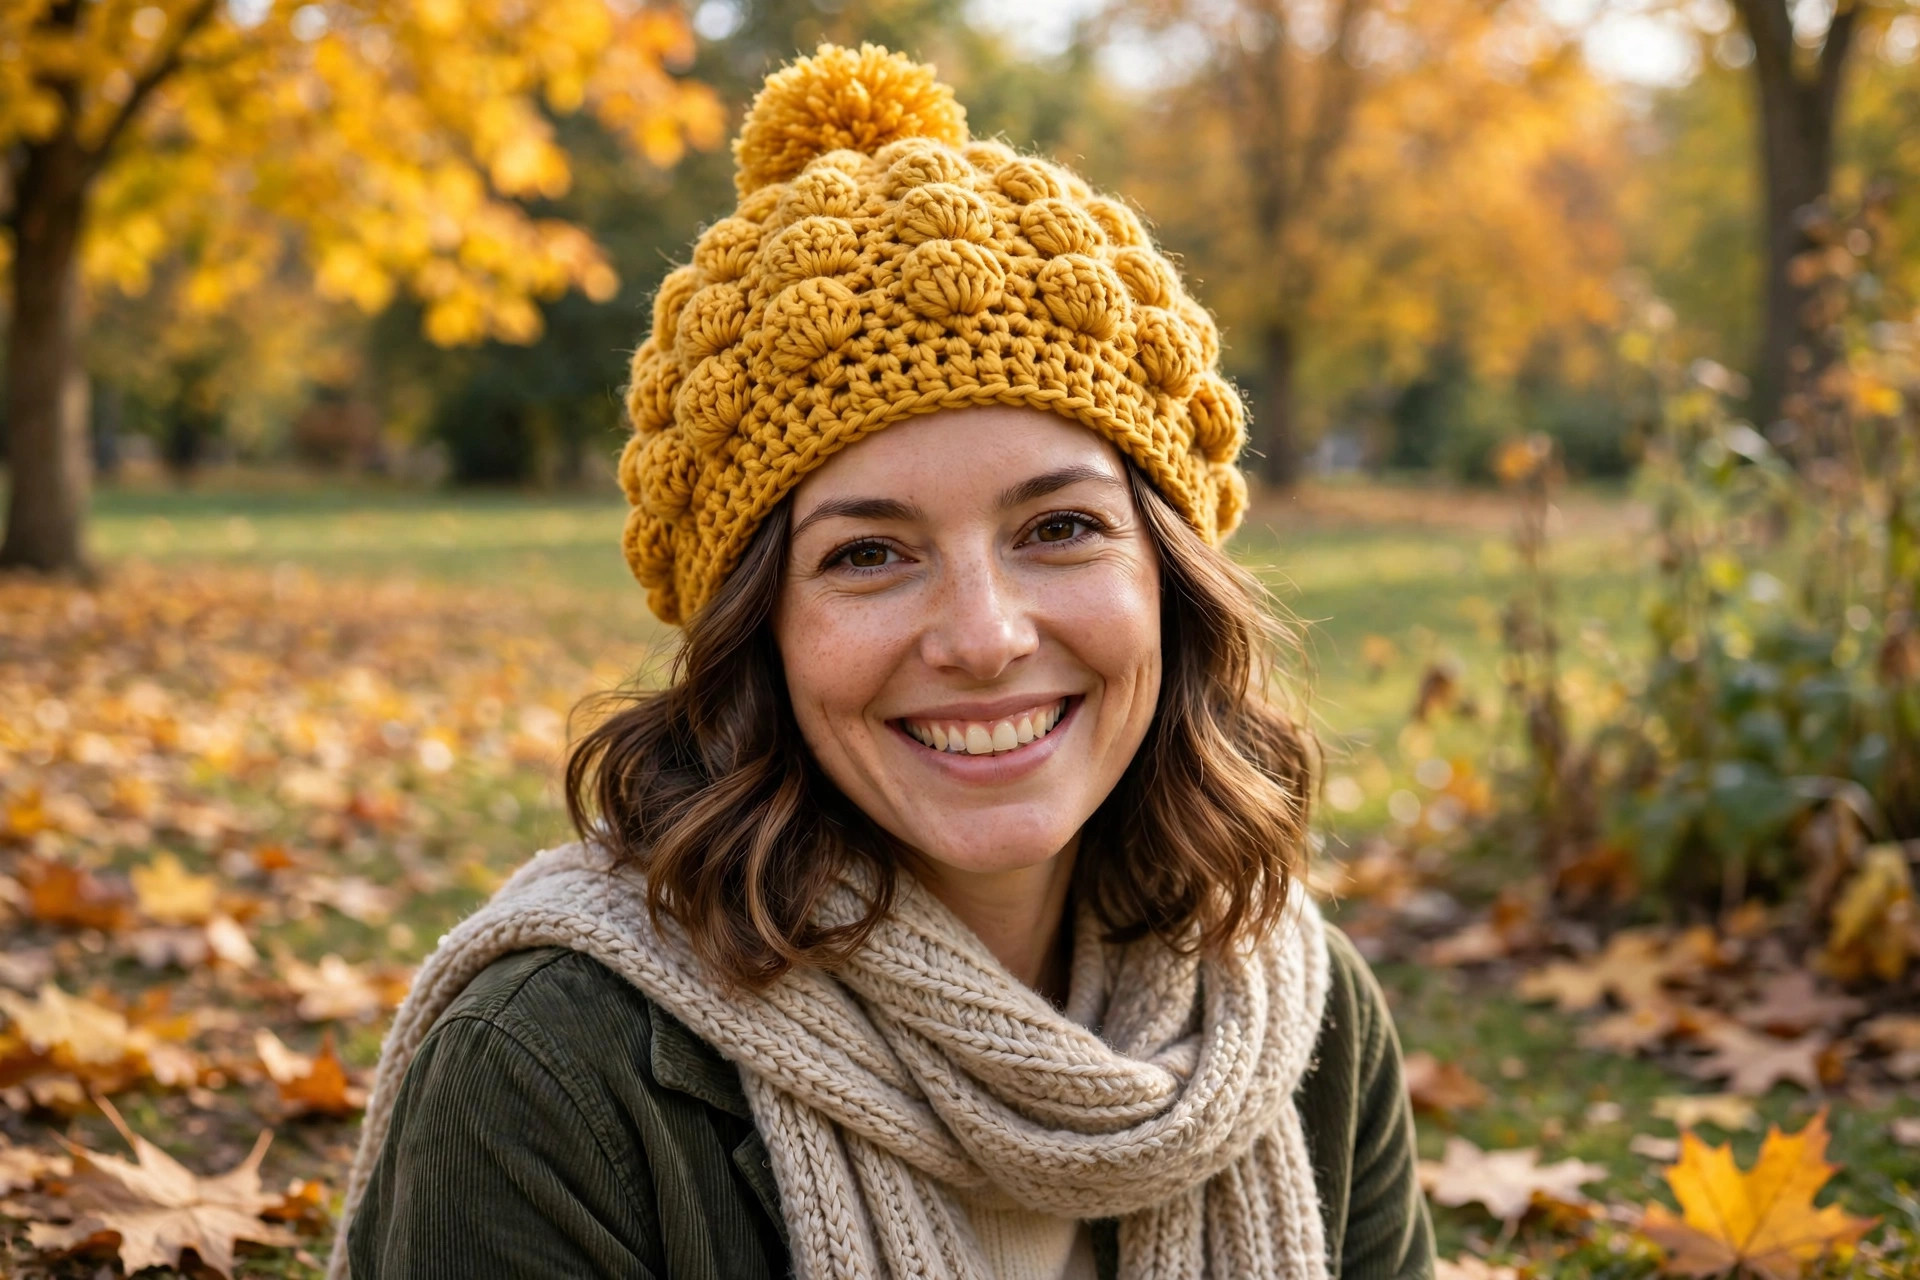
Adding the yarn pom-pom
Wrap yarn about 100 times around sturdy cardboard about 4 inches wide, or a pom-pom maker on the large setting — more wraps always look better. Slide the bundle off, tie a separate 10-inch length very tightly around the middle with a double knot, then cut through all the loops on both sides. Fluff, roll between your palms, and trim into a round ball a little at a time, leaving the tying tails long.
Thread both tails through the centre top of the hat about half an inch apart and tie firmly inside. For a removable pom-pom, sew a small button inside the crown and loop the ties around it instead. This hat pairs sweetly with the ear coverage of this crochet earflap hat pattern for the coldest days.
Tips for perfect puff stitches every time
Pull every loop to the same height. Uneven loops are the top cause of scruffy puffs. Count a steady rhythm through the four insertions if it helps.
Stay loose on the puff, firm on the close. Tight insertions make the pull-through a struggle and split yarn. Snug the closing chain so the top stays pinched and defined.
Use a smooth, tapered hook. Nine loops drag through at once, and a sharp-lipped hook catches plies. If yarn keeps splitting, changing hooks often fixes it.
Choose smooth, tightly plied yarn. It shows puffs at their best. Fuzzy yarns blur the texture — save them for the pom-pom.
Count after every round at first. It is easy to skip a hidden space or double up in one. Ten seconds of counting prevents a lopsided crown.
Reserve pom-pom yarn early. A generous pom-pom uses 20 yards or more, so set aside a bundle before the crown. Love back-loop ribbing? Try a quick crochet headband pattern next.
FAQ
How long does this hat take to make? About two and a half to three hours for the adult size, including the pom-pom, and ninety minutes to two hours for toddler. The second hat will be much faster.
Can a beginner really make this hat? Yes, for a confident beginner comfortable with single and half double crochet. The puff is taught step by step, and construction is simple: a flat strip, then rounds of one repeat. Practise a swatch first.
What yarn works best for puff stitch hats? A smooth worsted weight acrylic or acrylic-wool blend: plump, well-defined puffs, warmth, and easy washing. Choose a lighter colour for your first puff project so the spaces are easy to see.
Why does my hat look too small before I finish? The ribbed brim contracts strongly until worn, and the puff body blooms after finishing. Trust your gauge, measure the strip unstretched, and try it on before worrying.
How do I make the hat slouchier? Add two or three extra body rounds before the crown and wear the brim unfolded. Each round adds just under an inch — and uses a little more yarn.
Can I make this hat in stripes or two colours? Absolutely. Work the brim in one colour and the body in another, or change colour every two puff rounds at the join, completing the closing chain with the new colour. Weave ends as you go.
How do I wash the finished hat? For acrylic blends, machine wash gently in a mesh bag on cool, then reshape and dry flat. For wool, hand wash lukewarm, press water out in a towel, and dry flat. Remove a detachable pom-pom first.
What to make next
One hat is rarely the end of the story. For a coordinating set, this collection of men's crochet scarf patterns pairs beautifully with a textured hat.
The box below contains an Etsy link. If you buy through it, we may earn a small commission at no extra cost to you. Learn more.
No time to make one?
Prefer a ready-made version? Browse puff stitch crochet hats on Etsy
Browse on Etsy (opens Etsy in a new tab)