Free crochet headband pattern: twisted rib ear warmer
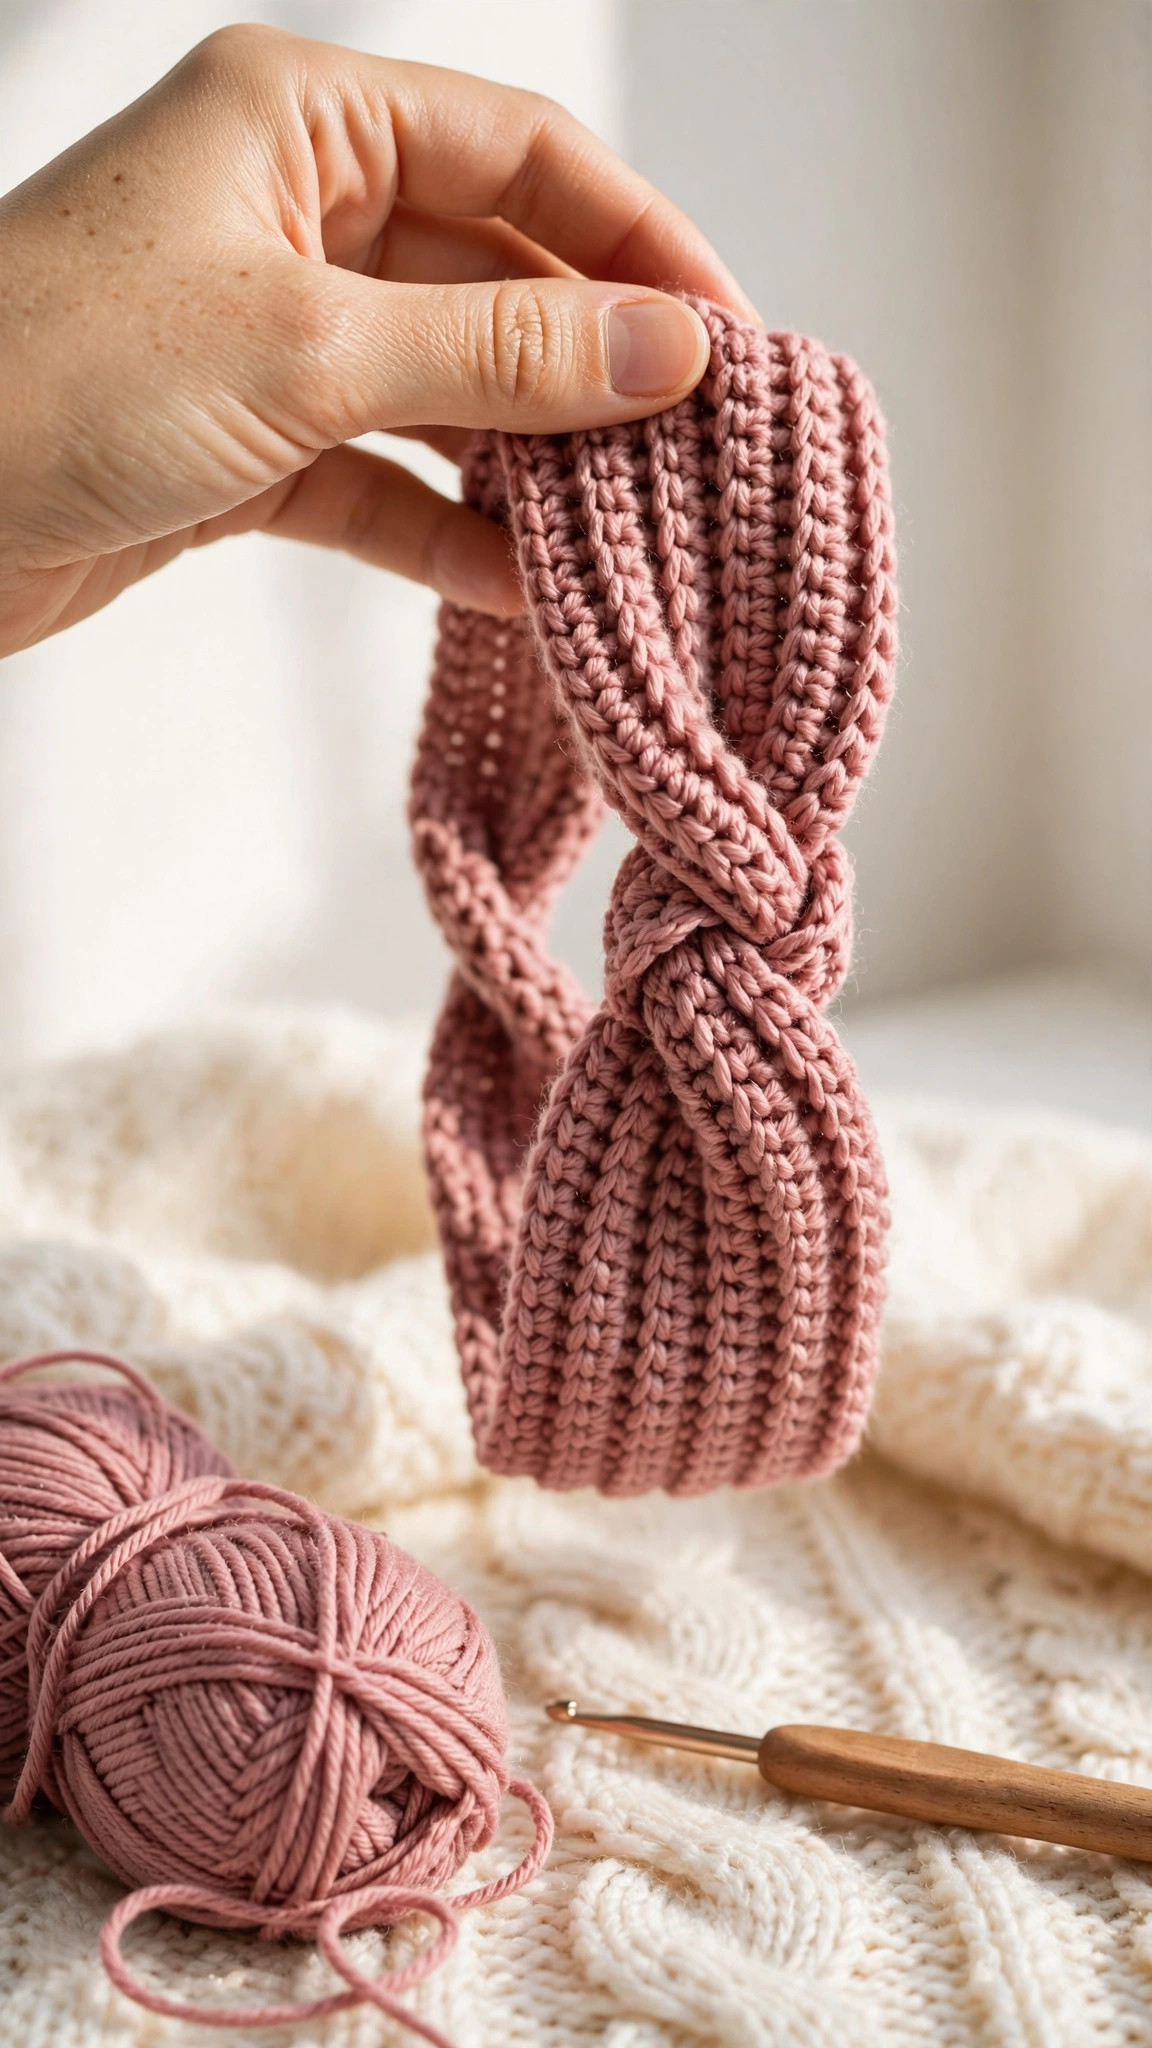
A cozy twisted-rib headband with a clever faux-twist knot that looks intricate but is just a fold — one ribbed rectangle in front-post/back-post double crochet, four sizes from toddler to large adult, three widths, and about an hour of relaxing crochet.

Accessories · Crochet
- Sizes
- Toddler to large adult, 3 widths
- Making time
- About 1–2 hours
- Hook
- 5.5 mm, worsted-weight yarn
- Stitch
- FPdc/BPdc rib, one rectangle
- Skill
- Beginner
In this post
If you've been searching for a crochet headband pattern that's free, fast, and doesn't look like every other ear warmer on the internet — this twisted rib headband is the one. The center "knot" looks impressively intricate, but it's just a clever fold: you crochet one simple ribbed rectangle, interlock the ends like two links of a chain, and stitch. No shaping, no short rows, no sewing elastic into anything. The front-post ribbing gives it genuine stretch, so it stays put through windy walks and playground duty, and the whole thing works up in about an hour.
Why you'll love this free crochet headband pattern
Most free headband patterns give you a plain strip of single crochet sewn into a loop — functional, but flat-looking and prone to stretching out by February. This pattern was designed around the one stitch that actually behaves like knitwear: alternating front-post and back-post double crochet. The resulting rib contracts sideways like a real knit headband, so it grips gently instead of sliding, and it springs back after every wear.
The twist is the other half of the magic. Because the knot is formed by folding rather than crocheting, the headband is fully reversible — flip it over and the back looks just as neat as the front. And since the entire project is one rectangle, there are no size charts to decode and no fiddly shaping to miscount: if your rectangle fits around the head, the headband fits.
It's also a genuinely stash-friendly project. Any single 100 g skein of worsted-weight yarn makes one headband in any size, with yarn to spare. Make the narrow width for sporty ponytail days, the classic width for everyday wear, and the wide width when you want full ear coverage on cold mornings.
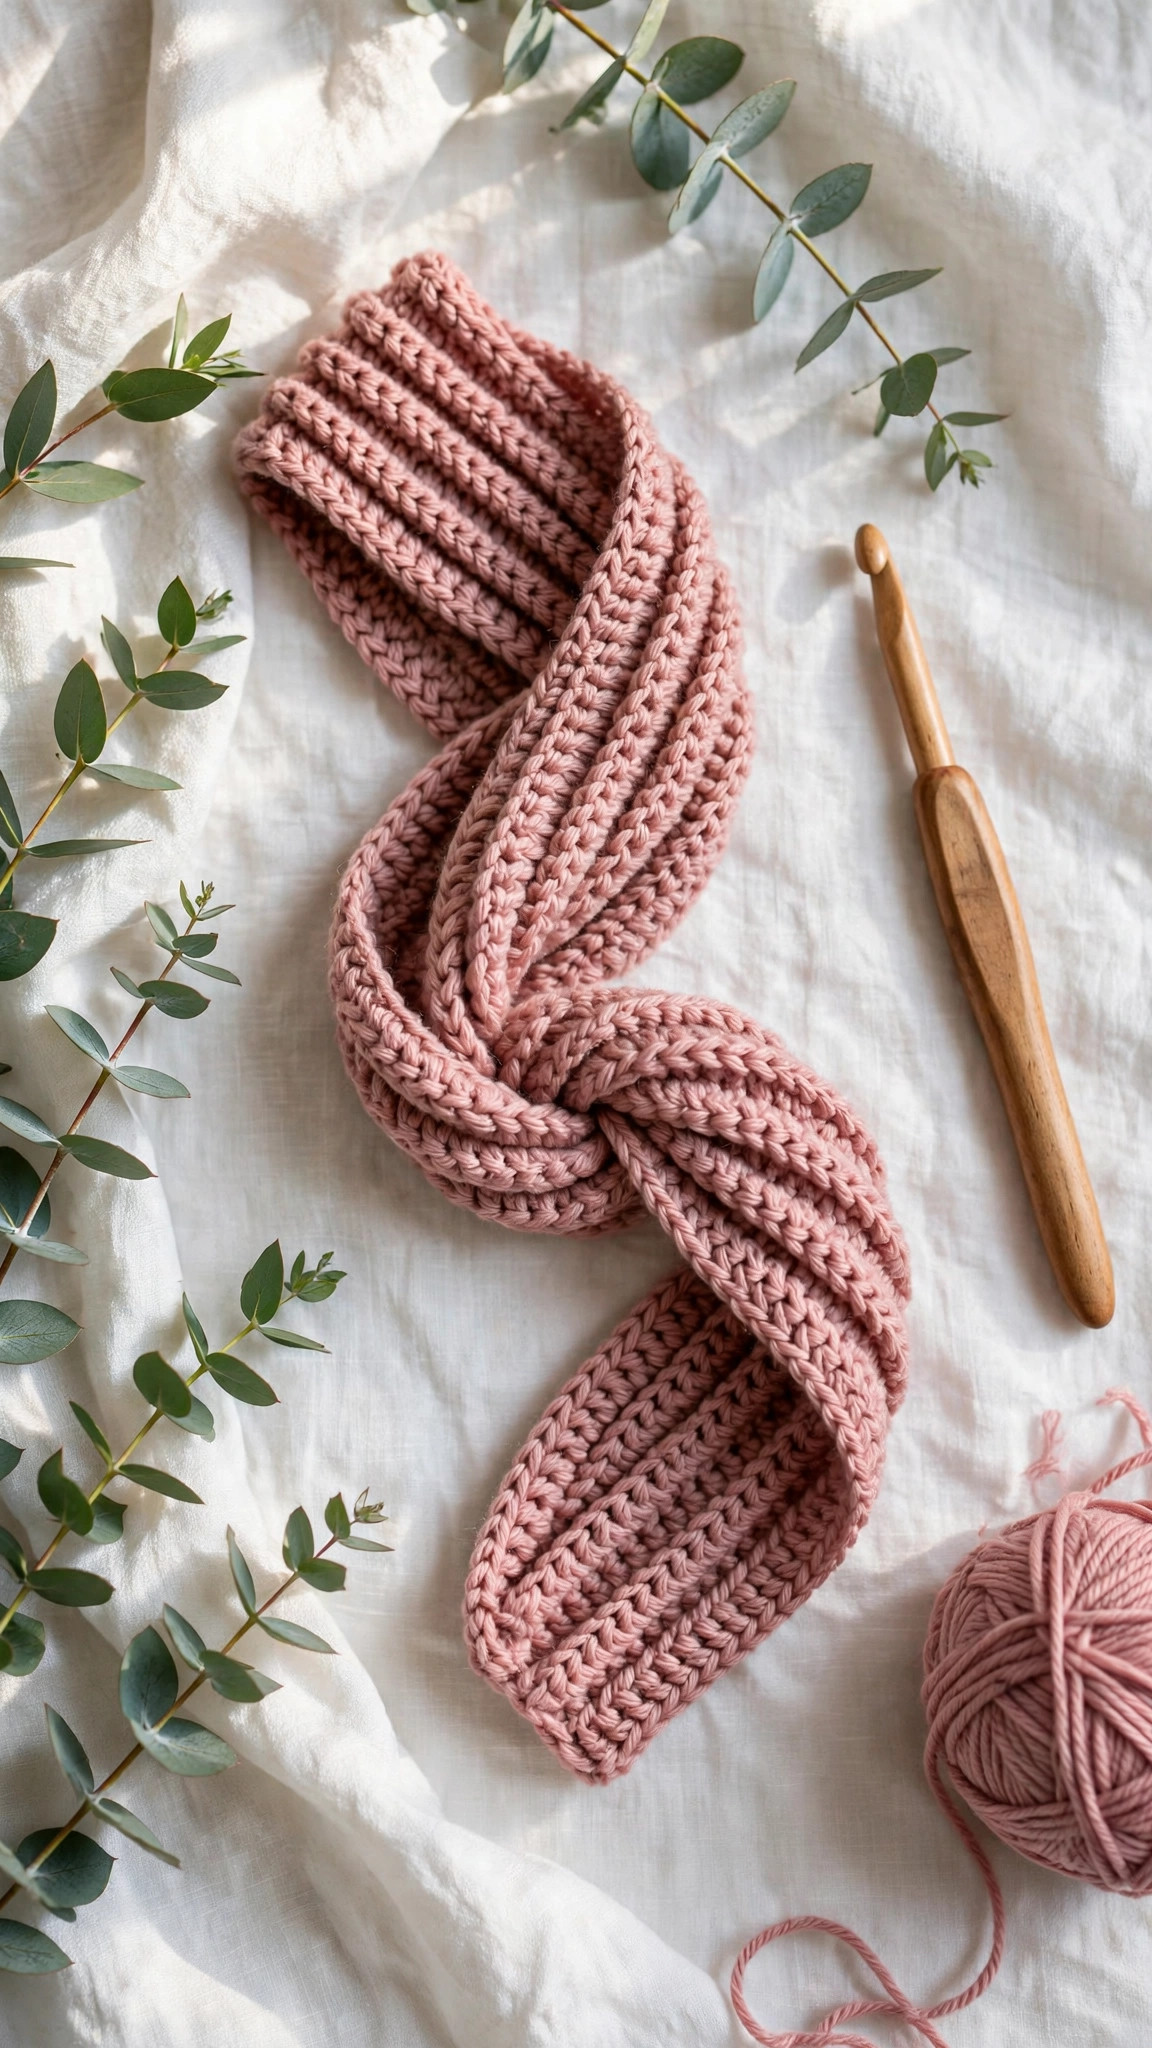
Materials you'll need
| Supply | What to get |
|---|---|
| Main yarn | Worsted-weight (#4) acrylic or wool blend, 50–90 g (one 100 g skein makes any single headband) |
| Crochet hook | 5.5 mm (I-9) |
| Tapestry needle | For the twist seam and weaving in ends |
| Notions | Scissors, stitch markers, flexible measuring tape |
A quick note on yarn choice: an acrylic or acrylic-blend yarn is the practical pick for headbands — it has memory, so the rib keeps springing back wash after wash. Pure wool is warmer and feels luxurious, but a 100% wool rib can relax and loosen over a season of wear; if you use wool, work the band 1 inch shorter than the chart says. Cotton looks crisp but has almost no elasticity, so save it for decorative summer-weight versions, not winter ear warmers.
How much yarn? Roughly 50 g for the narrow width, 65 g for the classic width, and 90 g for the wide width in adult size (less for toddler/child). One standard 100 g skein covers any single headband comfortably.
Size, gauge and skill level
Pick your size from the head circumference, then pick your width from the row counts. The band is designed with about 1.5–2 inches of negative ease — it should measure smaller than the head relaxed, then stretch to fit. That's what keeps it on.
| Size | Head circumference | Foundation chain | Finished band (relaxed) |
|---|---|---|---|
| Toddler (2–4 yrs) | 18 in / 46 cm | Ch 60 | ~16.5 in / 42 cm |
| Child (5–10 yrs) | 20 in / 51 cm | Ch 66 | ~18.5 in / 47 cm |
| Adult | 22 in / 56 cm | Ch 74 | ~20.5 in / 52 cm |
| Large adult | 23–24 in / 58–61 cm | Ch 78 | ~22 in / 56 cm |
| Width | Rows of ribbing | Finished width |
|---|---|---|
| Narrow (sporty) | 6 rows | ~2.5 in / 6.5 cm |
| Classic (everyday) | 8 rows | ~3.5 in / 9 cm |
| Wide (full ear coverage) | 12 rows | ~5 in / 13 cm |
- Gauge: 14 sts × 9 rows = 4 in / 10 cm in front-post/back-post rib, measured relaxed (not stretched), with a 5.5 mm hook and worsted-weight yarn. If your ribbing is much looser, drop to a 5.0 mm hook; much tighter, go up to 6.0 mm.
- Skill level: advanced beginner. You should know how to chain and double crochet. Front-post and back-post stitches sound fancy but take about five minutes to learn — they're just double crochet worked around the post of a stitch instead of under its top loops, and the Abbreviations section below shows you exactly how.
Between sizes? Size down — the rib stretches more happily than it shrinks. And if you're making a winter gift set, this headband pairs beautifully with our free crochet hat pattern: same yarn, same cozy vibe, one happy recipient.
Abbreviations — US terms
| Abbreviation | Meaning |
|---|---|
| ch | chain |
| dc | double crochet |
| FPdc | front post double crochet |
| BPdc | back post double crochet |
| st(s) | stitch(es) |
| RS / WS | right side / wrong side |
| sl st | slip stitch |
| FO | fasten off |
How to work the post stitches: For a FPdc, yarn over, insert your hook from front to back to front around the post (the vertical bar) of the indicated stitch in the row below, yarn over, pull up a loop, and finish like a normal double crochet. For a BPdc, insert the hook from back to front to back around the post instead. The stitch leans toward you (FPdc) or away from you (BPdc) — that's what builds the ribbed ridges. Practice the first two rows slowly; by row three your hands will know the rhythm.
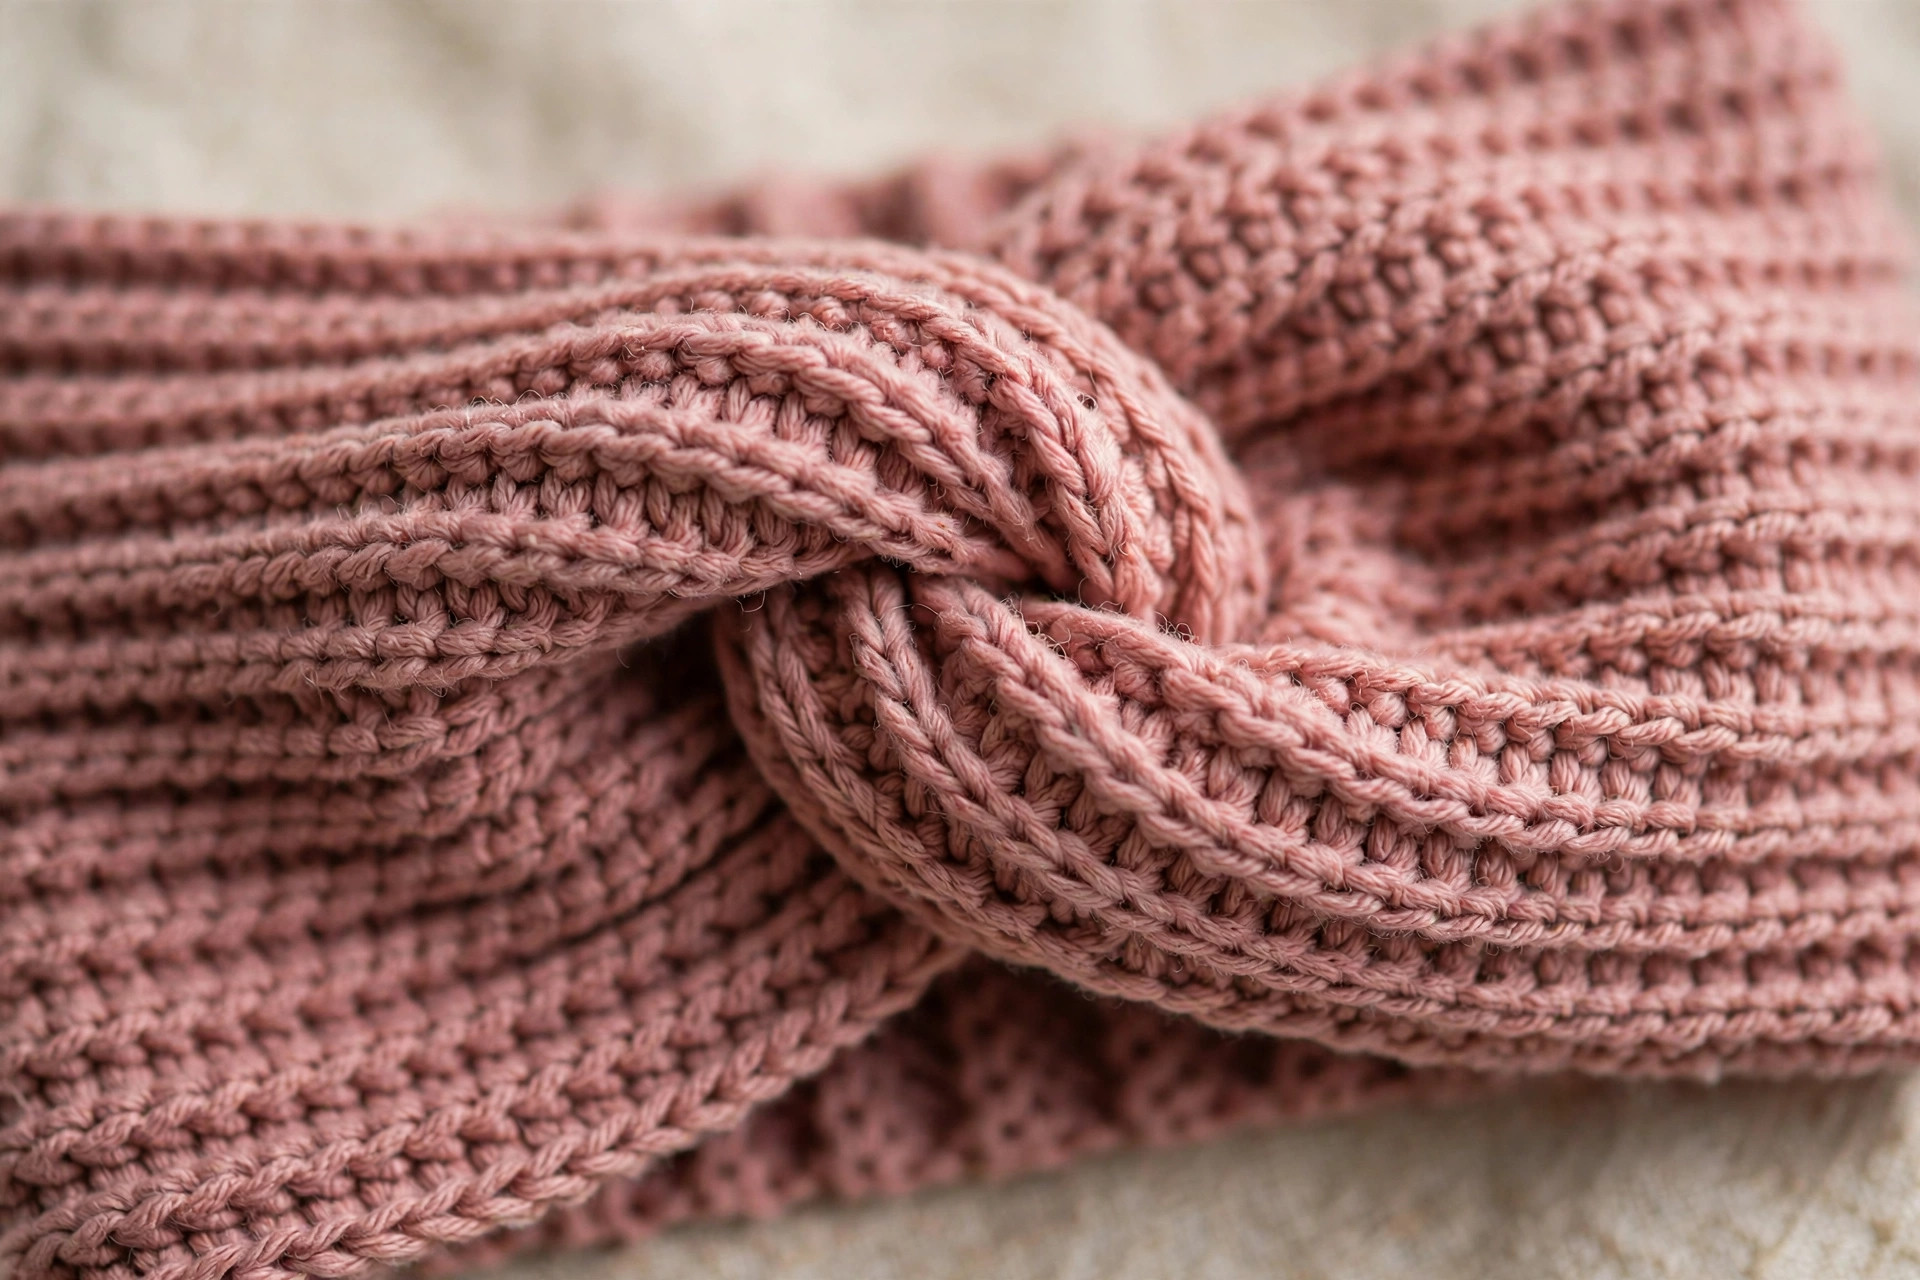
The pattern (US terms)
The headband is worked flat in one rectangle, then folded into the twist. The ch-2 turning chain at the start of each ribbing row does not count as a stitch — work your first FPdc around the very first stitch of the row.
Step 1 — Foundation chain
Chain the number from the size table above: 60 (toddler), 66 (child), 74 (adult), 78 (large adult). Chain loosely — a tight foundation edge will pinch the headband's edge and refuse to stretch. If your chains tend to be tight, chain with a 6.0 mm hook, then switch to 5.5 mm for the rows.
Fit check you shouldn't skip: single-crochet is not involved here, but the principle stands — lay your chain around the wearer's head (or a head form). It should overlap the starting end by roughly 1.5–2 inches when relaxed. If it's more than 2.5 inches short or long, adjust your chain in multiples of 4.
Step 2 — The ribbed band
- Row 1 (RS): Dc in the 4th ch from the hook (the 3 skipped chains count as your first dc) and in each ch across. You now have 58 / 64 / 72 / 76 dc — exactly 2 fewer than your starting chain. Turn.
- Row 2: Ch 2 (does not count as a st), \FPdc around the next st, BPdc around the next st; repeat from \ across. Turn.
- Rows 3+: Repeat Row 2. Work until the band reaches your chosen width: 6 rows for narrow, 8 rows for classic, 12 rows for wide. Always end after an even-numbered row so both long edges match, then FO, leaving a 40 cm / 16 in tail for seaming.
Count your stitches at the end of Row 2 — it should be exactly your Row 1 count (58 / 64 / 72 / 76). Post stitches are easy to accidentally skip or double up when you're learning them, and catching it on Row 2 saves the whole band. Mark the right side with a stitch marker or a scrap of contrast yarn; you'll want to know which face is which when you fold the twist.
Step 3 — Forming the twist knot
This is the fun part. Take your time — neat folding is the entire secret.
- Lay the band flat with the right side up, long edges horizontal.
- Bring the two short ends toward the center so they overlap by about 1 inch / 2.5 cm. The band is now roughly half its original length, ends stacked at the middle.
- Take the right-hand end: fold its top long edge down and its bottom long edge up toward each other, like closing a soft taco shell. The end now forms a shallow "U" (or "C") shape.
- Take the left-hand end and fold it the same way, then slide it into the "U" of the right-hand end. The two folded ends now interlock like two links of a chain — that's your twist knot. Adjust until the interlock looks symmetrical: each folded end should grip the other equally.
- Thread your tapestry needle with the long tail. Whipstitch through all four layers along the interlocked section, going back and forth twice so the join is secure. Pull snug, but don't yank — puckering here is the one thing that makes the twist look homemade instead of handmade.
- Weave in both ends on the wrong side of the seam, then rotate the band so the twist sits centered at the front and the seam tucks underneath it.
Troubleshooting the fold: if the knot looks lopsided, you almost certainly folded one end deeper than the other. Undo the interlock (don't cut anything — it's just folded fabric) and refold so both "U" shapes are the same depth before sliding them together.
Step 4 — Finishing
Weave in any remaining ends with your tapestry needle, working the tails through the backs of several stitches and trimming close. Give the headband a gentle steam block if the edges curl: hover a steam iron 2–3 inches above the fabric (never press ribbing flat — you'll crush the texture) and let it cool. Try it on. The band should feel snug for the first few minutes and then settle — that's the negative ease doing its job.
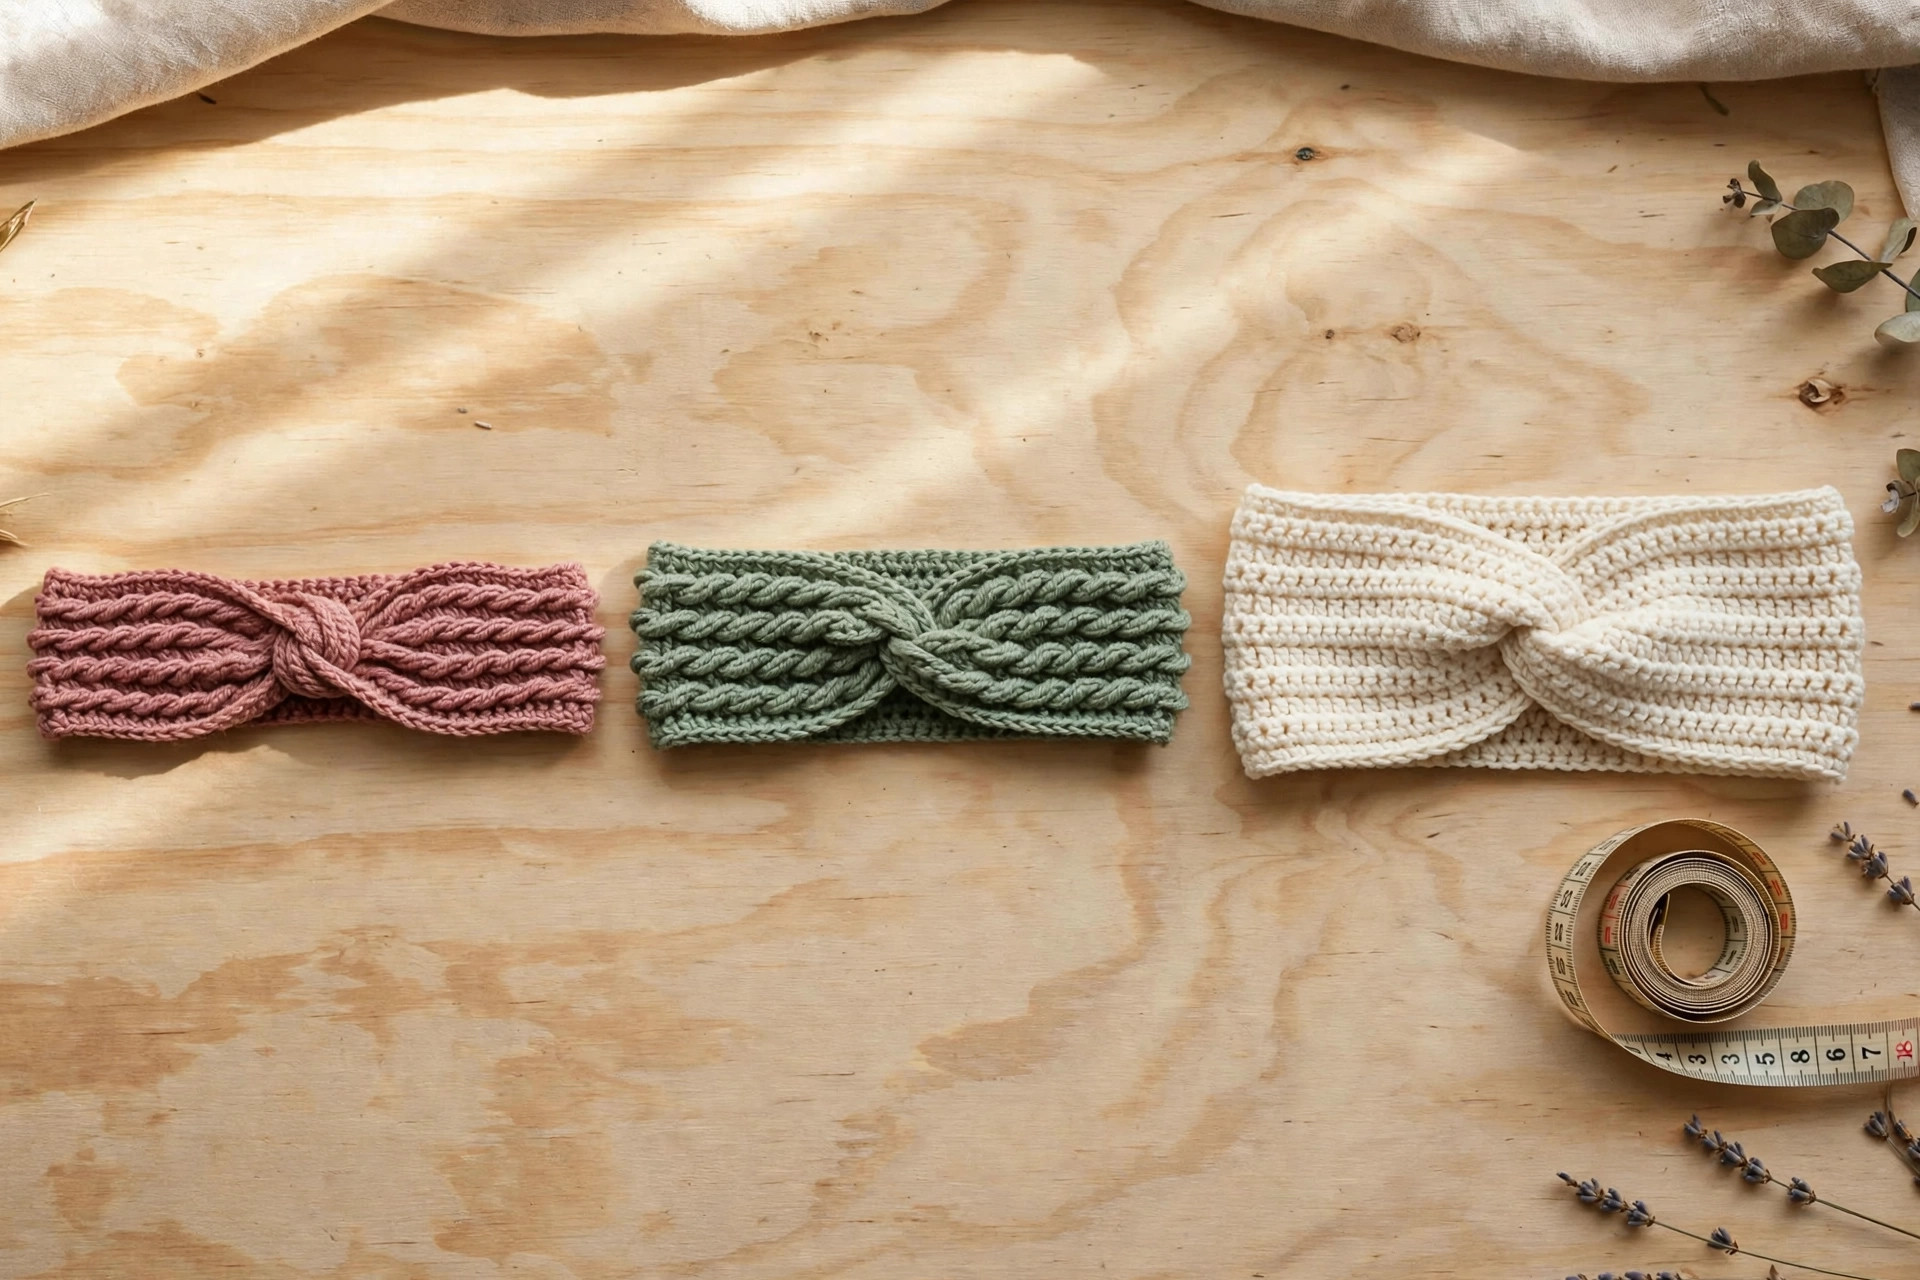
Three pretty variations to try next
The same rectangle-and-twist construction, three different personalities:
- Two-tone stripes. Change color every 2 rows of ribbing. Because you're working flat rows (not rounds), there are no jogs to worry about — just carry the unused color loosely up the side edge or cut and weave in. A cream-and-sage or dusty-rose-and-charcoal combo looks boutique-bought.
- Flower appliqué. Sew a small crocheted bloom over one side of the twist knot — it covers the seam area beautifully and turns the headband into a statement piece. Our free crochet flower pattern has the perfect sizes; make the medium bloom and tack it on with the same yarn.
- Straight-seam ear warmer. Skip the twist entirely: fold the band in half with right sides together, whipstitch the short ends, turn right-side out. You get a clean, wide, reversible band — ideal for the 12-row width and for anyone who finds the twist fiddly on a first attempt. Pair it with a scarf from our crochet scarf patterns for beginners collection and you've got a coordinated set from one skein each.
Troubleshooting tips
- The headband slides up or feels loose. Your band is too long — the rib needs 1.5–2 inches of negative ease. Remake with 4 fewer foundation chains (keep it a multiple of 4 so the rib stays even). Switching to a smaller hook for the whole band also tightens things up.
- It's too tight and gives you a headache. Go up 4 chains, or block the finished band: soak it, gently stretch it over a dinner plate, and let it dry. Acrylic relaxes a little with blocking and stays there.
- The long edges curl inward. Completely normal for fresh-off-the-hook ribbing. A light steam (hover, don't press) relaxes it, and a day of wear finishes the job. If it bothers you, work Row 1 with a hook one size larger.
- Your rib columns zigzag instead of stacking. You worked two FPdc (or two BPdc) in a row somewhere. Count to your stitch total at the end of every row until the rhythm is automatic — the count never changes (58 / 64 / 72 / 76).
- The twist knot looks bulky or lumpy. You stitched through more than four layers, or pulled the seaming too tight. The interlock should be exactly two folded ends = four layers of fabric. Restitch with a lighter hand.
- The foundation edge is wavy while the rest is straight. Classic tight-chainer syndrome. Redo the chain with a larger hook, or consciously loosen up — the foundation edge has to stretch as much as the rib does.
- Yarn splitting on the post stitches. FPdc and BPdc ask the hook to travel around the post, which can catch plied yarn. Switch to a hook with a rounded (not pointy) head, and slow down on the yarn-over.
Frequently asked questions
Is this crochet headband pattern really free?
Yes — the complete pattern above is free, no email signup and no purchase required. If it saved you a gift-buying panic, sharing the post or pinning it on Pinterest is the kindest thank-you.
What skill level is this pattern?
Advanced beginner. If you can chain and double crochet, you can make this — front-post and back-post stitches are the only "new" skill, and they're explained step by step in the Abbreviations section. The twist itself is folding, not crocheting.
How long does it take to make?
About 1–2 hours total: roughly an hour of relaxed crocheting for the adult classic width, plus 15 minutes for the twist and finishing. The narrow toddler size can be done in under an hour — it's one of the fastest handmade gifts you can make.
Can I sell the finished headbands I make?
Yes! You may sell finished headbands made from this pattern in small batches (craft fairs, Etsy, gifts). Please credit Little Loop Finds as the pattern designer with a link back to this page. The pattern text and photos themselves may not be redistributed, republished, or sold.
Can I use a different yarn weight?
Absolutely. Use the hook size recommended on your yarn label, then chain until the relaxed chain measures the wearer's head circumference minus 2 inches — keep the chain count even (FPdc/BPdc rib needs an even stitch count). Work rows until you reach your chosen width. Bulky yarn with a 6.5 mm hook makes an ultra-cozy version in about 45 minutes.
Will this headband actually stay on during activity?
That's exactly what the ribbing is for. The front-post/back-post rib contracts like knitwear and the 1.5–2 inches of negative ease keep gentle tension all the way around. For high-movement wear (running, skiing), choose the wide width — more fabric contact means more grip — and consider working the band half an inch shorter than the chart.
More free patterns to try
If this headband worked up nicely, keep the hook moving. The free crochet hat pattern turns one skein into the matching piece for a winter gift set, the crochet scarf patterns for beginners collection uses the same relaxing stitch rhythms at a bigger scale, the free crochet flower pattern gives you appliqués to dress up any headband, the free crochet heart pattern makes sweet Valentine's or baby-shower toppers, the crochet cardigan sweater pattern is the cozy layer to wear it all with, and the free crochet bag patterns round out a fully handmade gift bundle.
The box below contains an Etsy link. If you buy through it, we may earn a small commission at no extra cost to you. Learn more.
No time to make one?
Short on time? Find handmade crochet headbands from independent makers on Etsy.
Browse on Etsy (opens Etsy in a new tab)