Free Crochet American Flag Pattern: Lapghan Throw
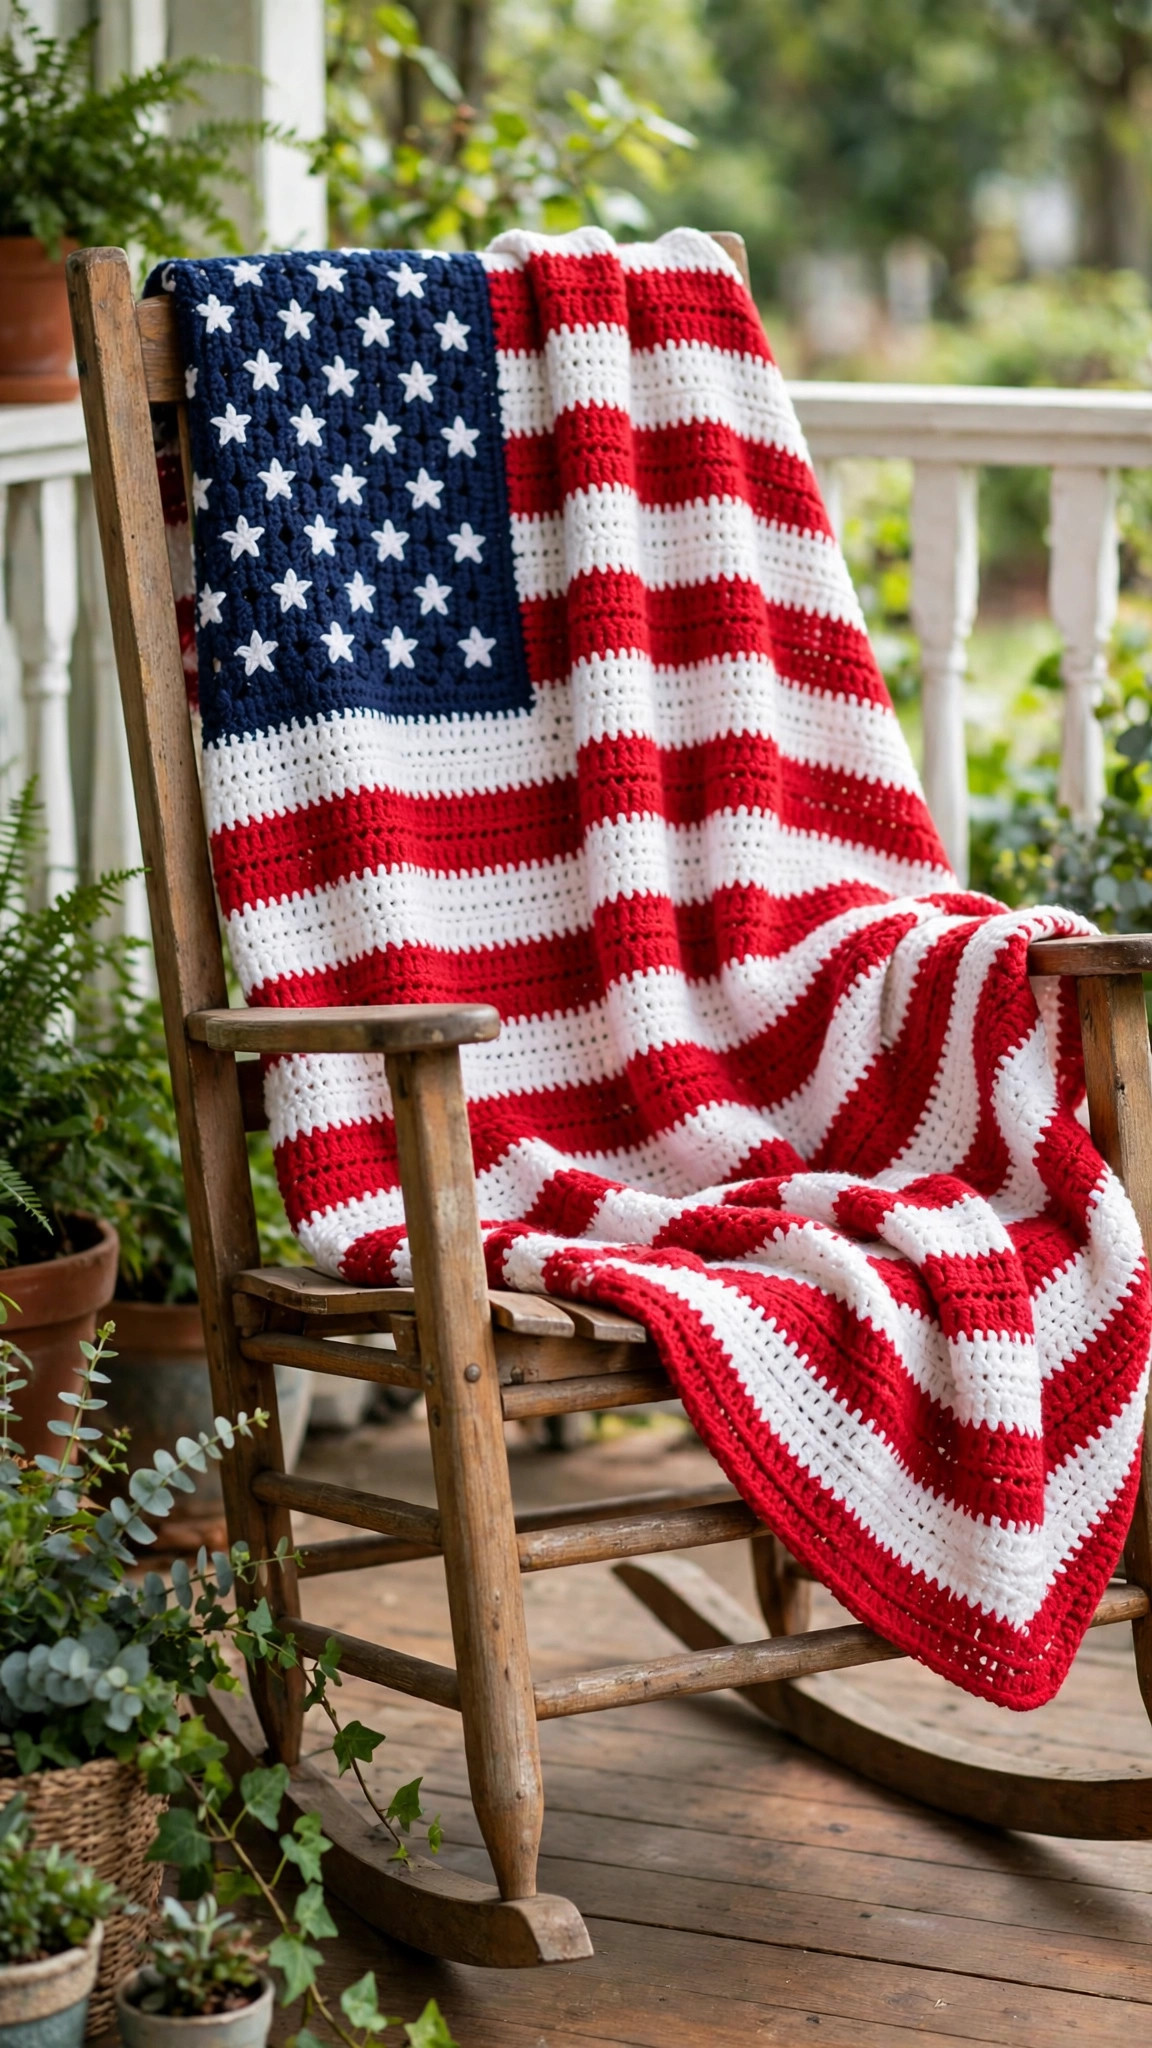
A bold red, white and blue lapghan worked in simple single crochet stripes, with a navy intarsia field and sweet appliqué stars sewn on at the end. It is a relaxing, giftable make for summer porches, holidays and cozy evenings in.

Blankets · Crochet
- Finished size
- 40 x 52 in lapghan
- Making time
- 12–18 hours
- Hook
- 5.5 mm (US I-9)
- Rows & stars
- 195 rows, 20 stars
- Skill
- Confident beginner
In this post
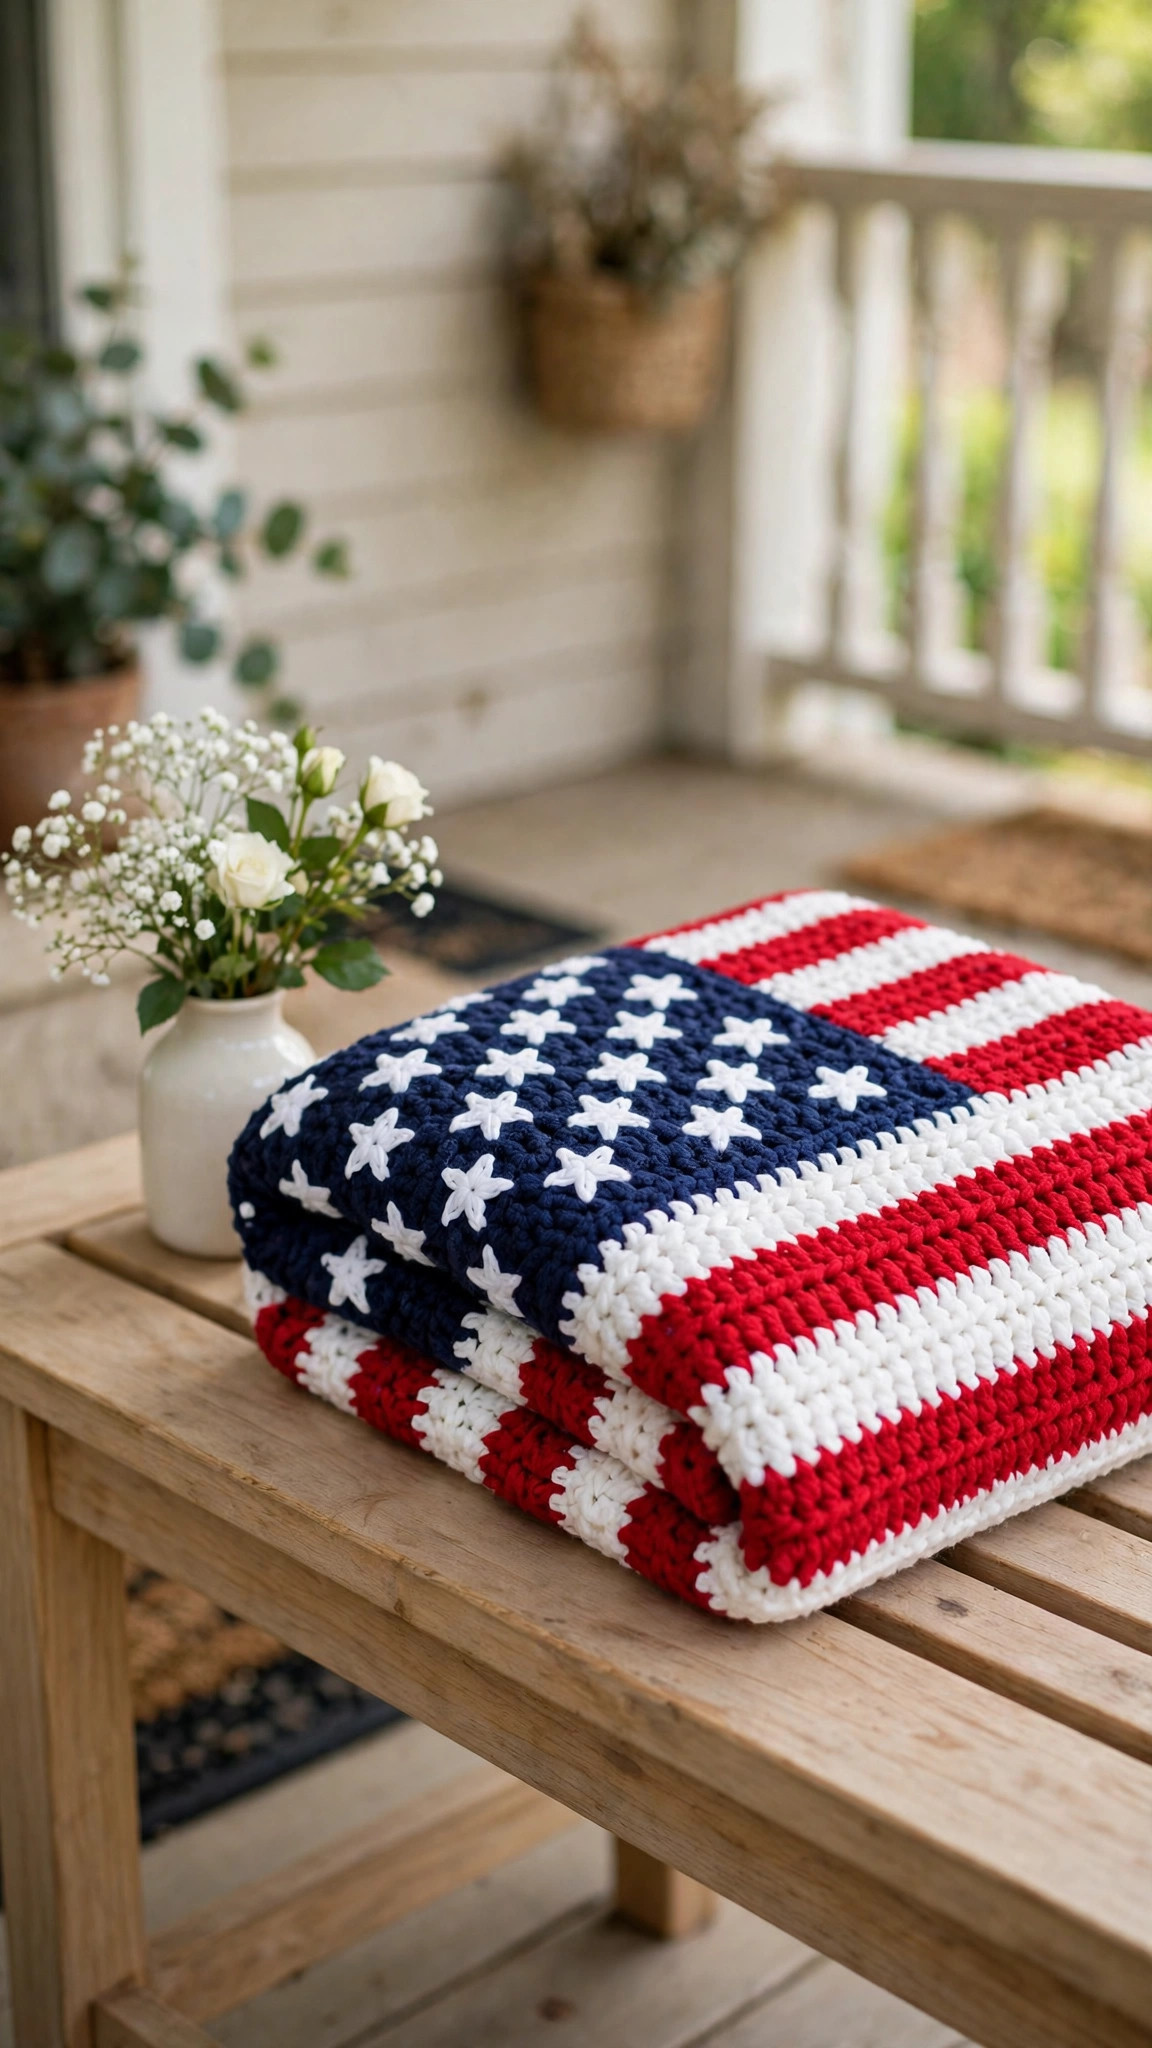
There is something about draping a handmade flag throw over the back of a porch chair that makes the whole space feel ready for summer. This free crochet American flag pattern turns simple single crochet stripes into a bold, graphic lapghan with a deep navy corner field and sweet little white stars, and the best part is that there is not a single complicated stitch in it. If you can chain, single crochet, and change color, you can make this blanket.
I designed this throw at a true lapghan size — big enough to cover your legs on a cool evening, but small enough that the stripes move quickly. The body is worked in one piece from the bottom up: the lower stripes run the full width, and the upper rows use a simple intarsia join where the navy field sits beside the stripes, so there are no long floats to catch on the back. The stars are tiny separate motifs stitched on at the end, giving a lovely, slightly raised finish.
Make it for the Fourth of July, a Memorial Day porch refresh, a veterans' gift, or simply because you love a classic red, white, and blue palette — everyone who sees it folded on the couch will ask where it came from.
Contents
- Why you'll love this flag throw
- Materials you'll need
- Size, gauge and skill level
- Abbreviations — US terms
- The pattern (US terms)
- Finishing
- Tips for neat stripes and stars
- FAQ
- What to make next
Why you'll love this flag throw
First, the stitch could not be simpler. The entire blanket is single crochet, worked back and forth in rows, so your hands settle into an easy rhythm while the stripes do all the visual work. The color changes give you natural little milestones every 15 rows that keep the work feeling fresh.
Second, the construction is forgiving. Because the navy field uses an intarsia join rather than carried yarn, the back stays tidy with no long strands to snag. If intarsia is new to you, this is a gentle first project for it: there is only one join per row, it happens in exactly the same place every time, and the star appliqués hide the corner completely.
Third, it is endlessly giftable. A handmade flag throw suits housewarmings, military homecomings, retirement gifts, summer birthdays, and fundraiser baskets. Fold it, tie it with twine, and it looks like you spent far longer on it than you did. The same stripe layout also works in softer shades — dusty blue, cream, and faded barn red give a lovely vintage farmhouse feel.
If you enjoy patriotic and seasonal makes, the star blanket crochet pattern is a beautiful companion piece if stars are your favorite motif.
Materials you'll need
Worsted weight acrylic is the practical choice here: it holds bold color, washes well, and blocks into crisp stripes. Choose a smooth, non-fuzzy yarn so the color blocks stay sharp, and buy each color from the same dye lot if you can, because red shades vary noticeably between lots.
| Supply | What to get |
|---|---|
| Yarn — red | Worsted weight (size 4) acrylic, approx. 700 yds / 640 m |
| Yarn — white or soft cream | Worsted weight (size 4) acrylic, approx. 620 yds / 567 m |
| Yarn — navy blue | Worsted weight (size 4) acrylic, approx. 380 yds / 347 m |
| Crochet hook | 5.5 mm (US I-9) |
| Yarn needle | Large-eye tapestry needle for weaving ends and sewing stars |
| Scissors | Sharp pair for trimming ends |
| Stitch markers | 2, to mark the intarsia join if helpful |
| Blocking mats and pins | Optional but recommended for crisp edges |
| Small safety pins or fabric clips | For positioning stars before sewing |
The white yardage includes enough yarn for all 20 star motifs. If you substitute cotton or a cotton blend, expect slightly less drape and a touch more weight — the stitch counts stay the same, but check your gauge, as cotton can work up smaller.
Size, gauge and skill level
Finished size: approximately 40 inches wide x 52 inches long (102 x 132 cm) after light blocking — a generous lapghan that covers legs and laps comfortably without trailing on the floor.
Gauge: 13 single crochet x 15 rows = 4 inches (10 cm). Gauge matters more than usual here, because the stripe proportions and the size of the blue field depend on it. Make a swatch at least 6 inches square, block it lightly, and measure across the middle. If your swatch is too small, go up a hook size; too large, go down.
Skill level: confident beginner to easy intermediate. You need to chain, single crochet, change color, and work a simple intarsia join. The star motif uses a few taller stitches, but each star takes only two quick rounds.
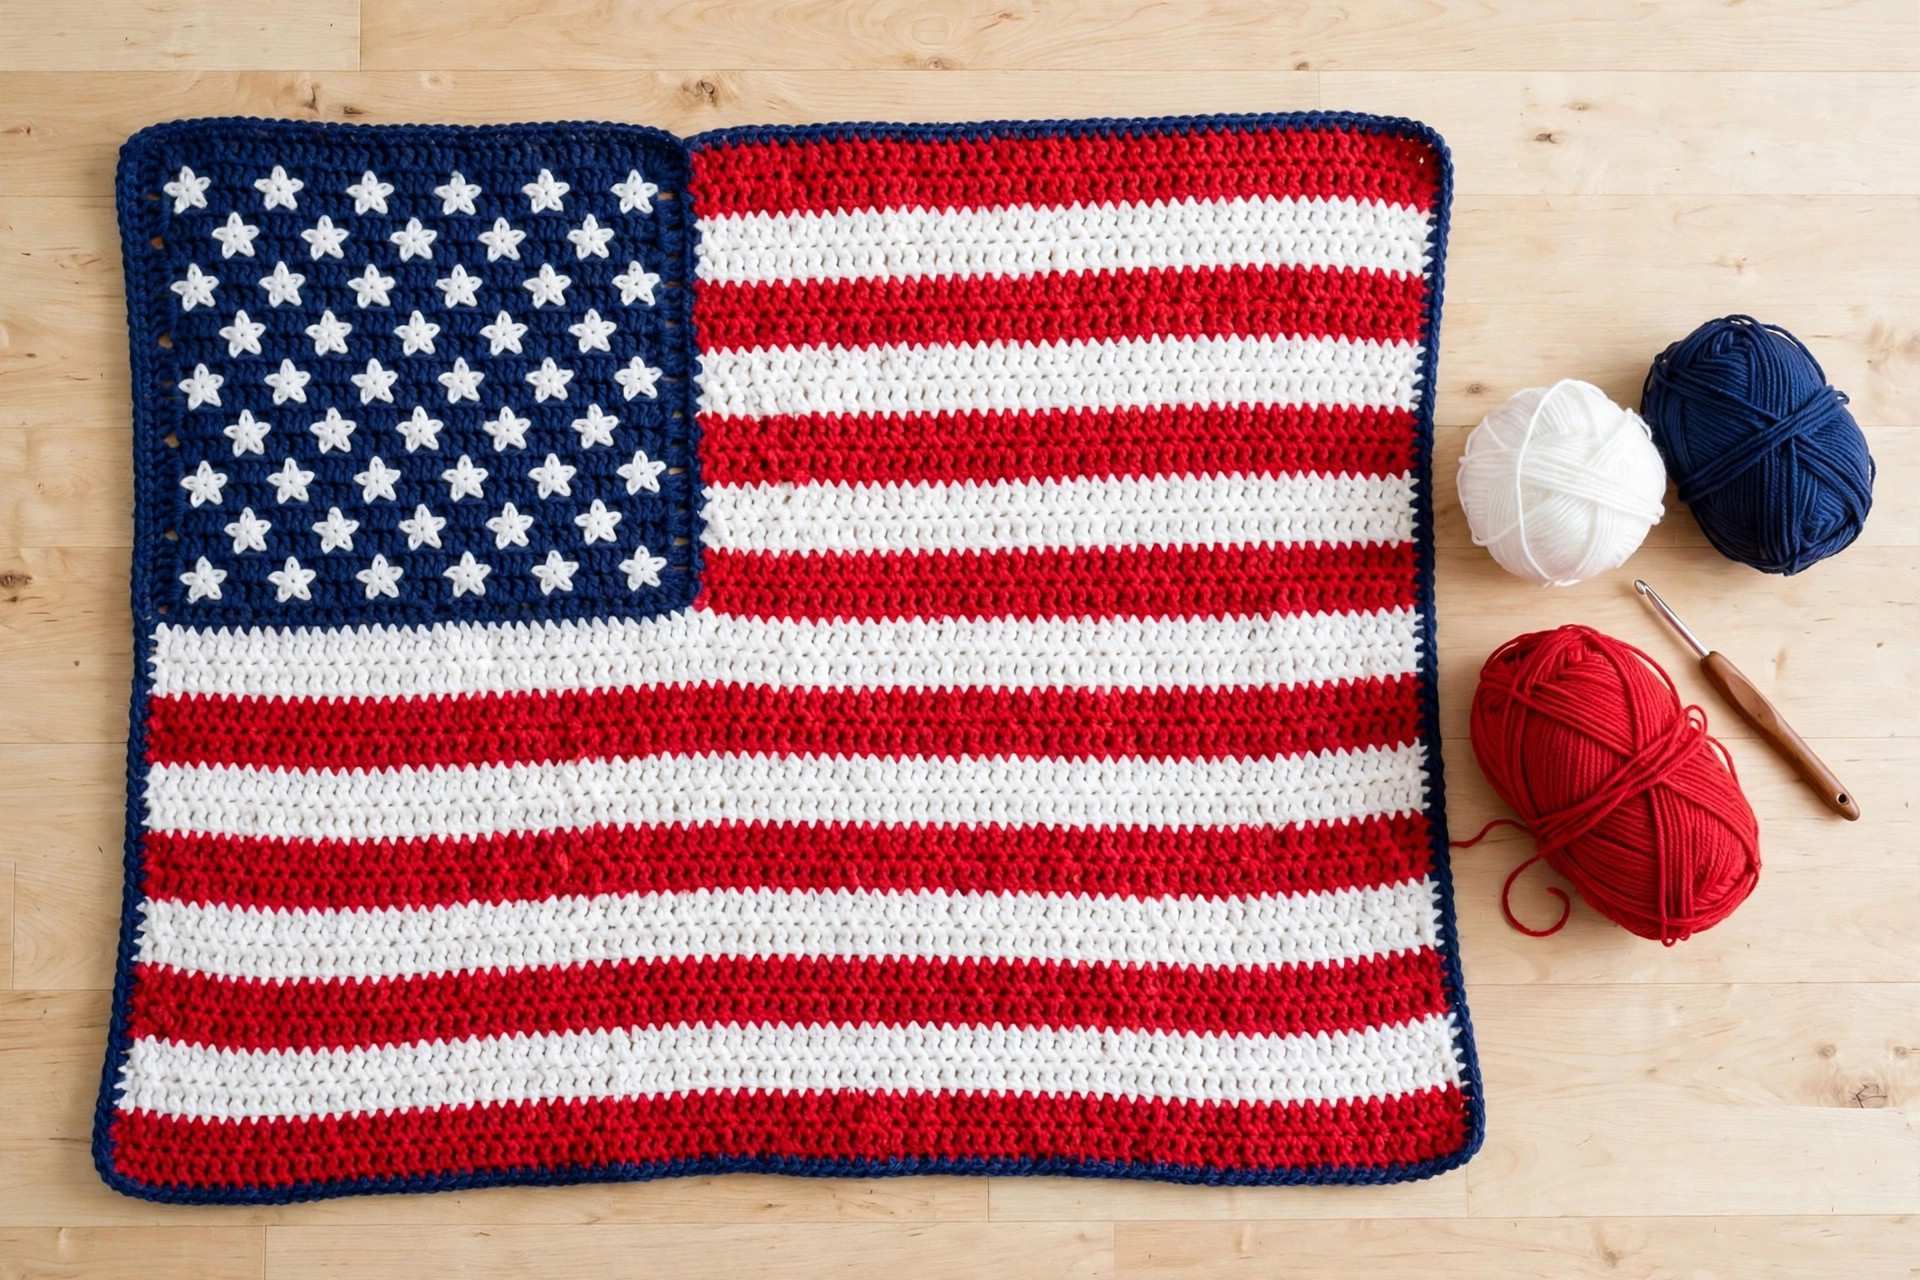
How the blanket is built: 13 stripes in total, each 15 rows tall, giving 195 rows. Stripes 13 up to 8 (the bottom six stripes) are worked across the full 130 stitches. For stripes 7 up to 1 (the top seven stripes), the first 52 stitches are navy and the remaining 78 stitches continue the stripe colors, joined with intarsia. The flag starts and ends with a red stripe, just like the real thing.
Abbreviations — US terms
| Abbreviation | Meaning |
|---|---|
| ch | chain |
| sc | single crochet |
| hdc | half double crochet |
| dc | double crochet |
| tr | treble crochet |
| sl st | slip stitch |
| st(s) | stitch(es) |
| rep | repeat |
| RS | right side |
| WS | wrong side |
All instructions use US terms. If you usually work in UK terms, remember that a US single crochet is a UK double crochet, and check each abbreviation before starting a star.
The pattern (US terms)
Work the blanket from the bottom stripe upward, so the first stripe you make is the bottom red stripe of the finished flag. Keep your tension even and count stitches every few rows — every row has exactly 130 stitches, and catching a lost stitch early saves a lot of frogging.
Foundation: With red, ch 131.
Row 1 (RS): Sc in 2nd ch from hook and in each ch across, turn. (130 sc)
Row 2: Ch 1 (does not count as a st), sc in each st across, turn. (130 sc)
Repeat Row 2 for every row of the blanket, changing colors as directed below. To change color at the end of a row, work the last sc of the row until 2 loops remain on the hook, then yarn over with the new color and pull through both loops. The next row begins in the new color with a clean edge and no knot.
The stripes section — full width rows
The bottom six stripes are worked in one color at a time across all 130 stitches.
- Stripe 13 (red): Rows 1–15 in red. (130 sc per row)
- Stripe 12 (white): Rows 16–30 in white. (130 sc per row)
- Stripe 11 (red): Rows 31–45 in red. (130 sc per row)
- Stripe 10 (white): Rows 46–60 in white. (130 sc per row)
- Stripe 9 (red): Rows 61–75 in red. (130 sc per row)
- Stripe 8 (white): Rows 76–90 in white. (130 sc per row)
That is 90 rows complete. Give your work a gentle stretch and check that it measures roughly 24 inches tall; small differences are fine and blocking will even them out. Do not trim any ends until the blanket is blocked.
The blue field — intarsia rows
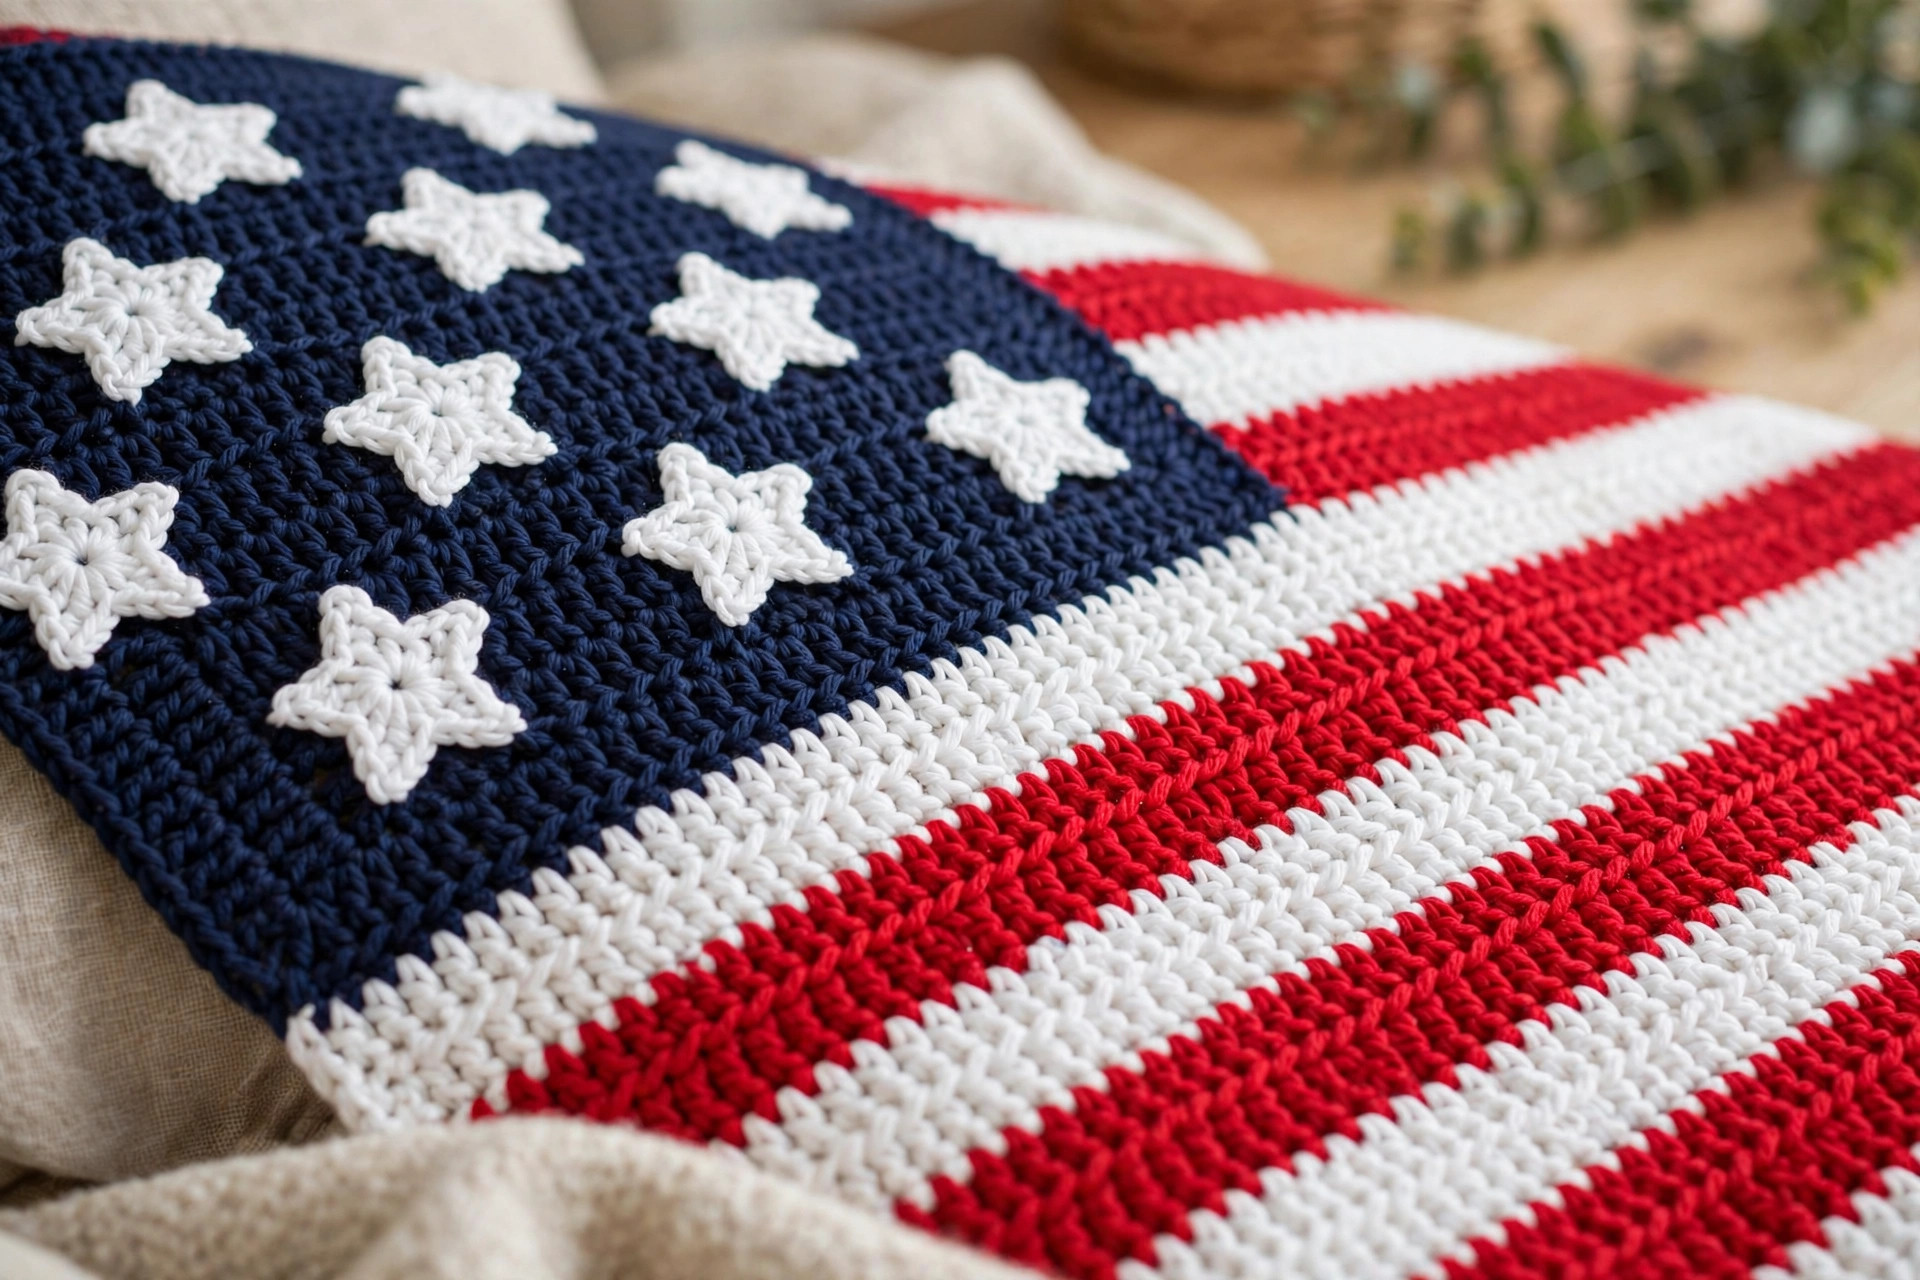
For the top seven stripes, each row has two sections: 52 navy stitches for the blue field, then 78 stitches in the stripe color. Use a separate ball or bobbin of navy and a separate ball of the stripe color, and do not carry either yarn across the back of the other section.
How to work the join: At the color change, drop the working yarn toward the wrong side, pick up the new color, and continue. On the next row, twist the two yarns around each other once at the join — this closes the gap intarsia can leave. On right-side rows you change from navy to the stripe color at stitch 53; on wrong-side rows you start in the stripe color and change to navy at stitch 79, so the field always sits on the same edge. A stitch marker between stitches 52 and 53 makes the first few rows effortless.
- Stripe 7 (red): Rows 91–105. Sc in navy for 52 sts, change to red, sc in red for 78 sts. (130 sc per row: 52 navy + 78 red)
- Stripe 6 (white): Rows 106–120. Sc in navy for 52 sts, change to white, sc in white for 78 sts. (130 sc per row: 52 navy + 78 white)
- Stripe 5 (red): Rows 121–135. Sc in navy for 52 sts, change to red, sc in red for 78 sts. (130 sc per row: 52 navy + 78 red)
- Stripe 4 (white): Rows 136–150. Sc in navy for 52 sts, change to white, sc in white for 78 sts. (130 sc per row: 52 navy + 78 white)
- Stripe 3 (red): Rows 151–165. Sc in navy for 52 sts, change to red, sc in red for 78 sts. (130 sc per row: 52 navy + 78 red)
- Stripe 2 (white): Rows 166–180. Sc in navy for 52 sts, change to white, sc in white for 78 sts. (130 sc per row: 52 navy + 78 white)
- Stripe 1 (red): Rows 181–195. Sc in navy for 52 sts, change to red, sc in red for 78 sts. (130 sc per row: 52 navy + 78 red)
After Row 195, fasten off. Your blanket body is complete: 195 rows, 13 stripes, and a navy field that spans the top 7 stripes and the first 52 stitches of the width.
Separate panel alternative: If you would rather avoid intarsia completely, work all 195 stripe rows across the full 130 stitches, then make the field separately: with navy, ch 53, sc in the 2nd ch from the hook and across (52 sc), and work 105 rows of single crochet. Sew the panel over the top corner with a whipstitch, matching its edges to the first 52 stitches and the top 105 rows. The stars will cover the seam, and nobody will ever know the difference.
The star motif — make 20
Each star measures about 2.5 inches (6.5 cm) from point to point and takes just a few minutes. Make all 20 before you start placing them, and leave a long tail on every star for sewing.
With white, make a magic ring.
Round 1: Ch 1, work 10 sc into the ring, pull the ring closed, join with a sl st to the first sc. (10 sc)
Round 2: *Sc in the next st, ch 5, sc in the 2nd ch from the hook, hdc in the next ch, dc in the next ch, tr in the next ch (one point made), skip the next st of Round 1; rep from * 4 more times. Join with a sl st to the first sc of the round. (5 points, 10 sts of Round 1 used)
Fasten off, leaving a tail of about 12 inches (30 cm) for sewing. Tug each point gently to sharpen it, and pull the starting tail snug so the center closes. If points curl, press each star under a book for an hour — they flatten beautifully once sewn down.
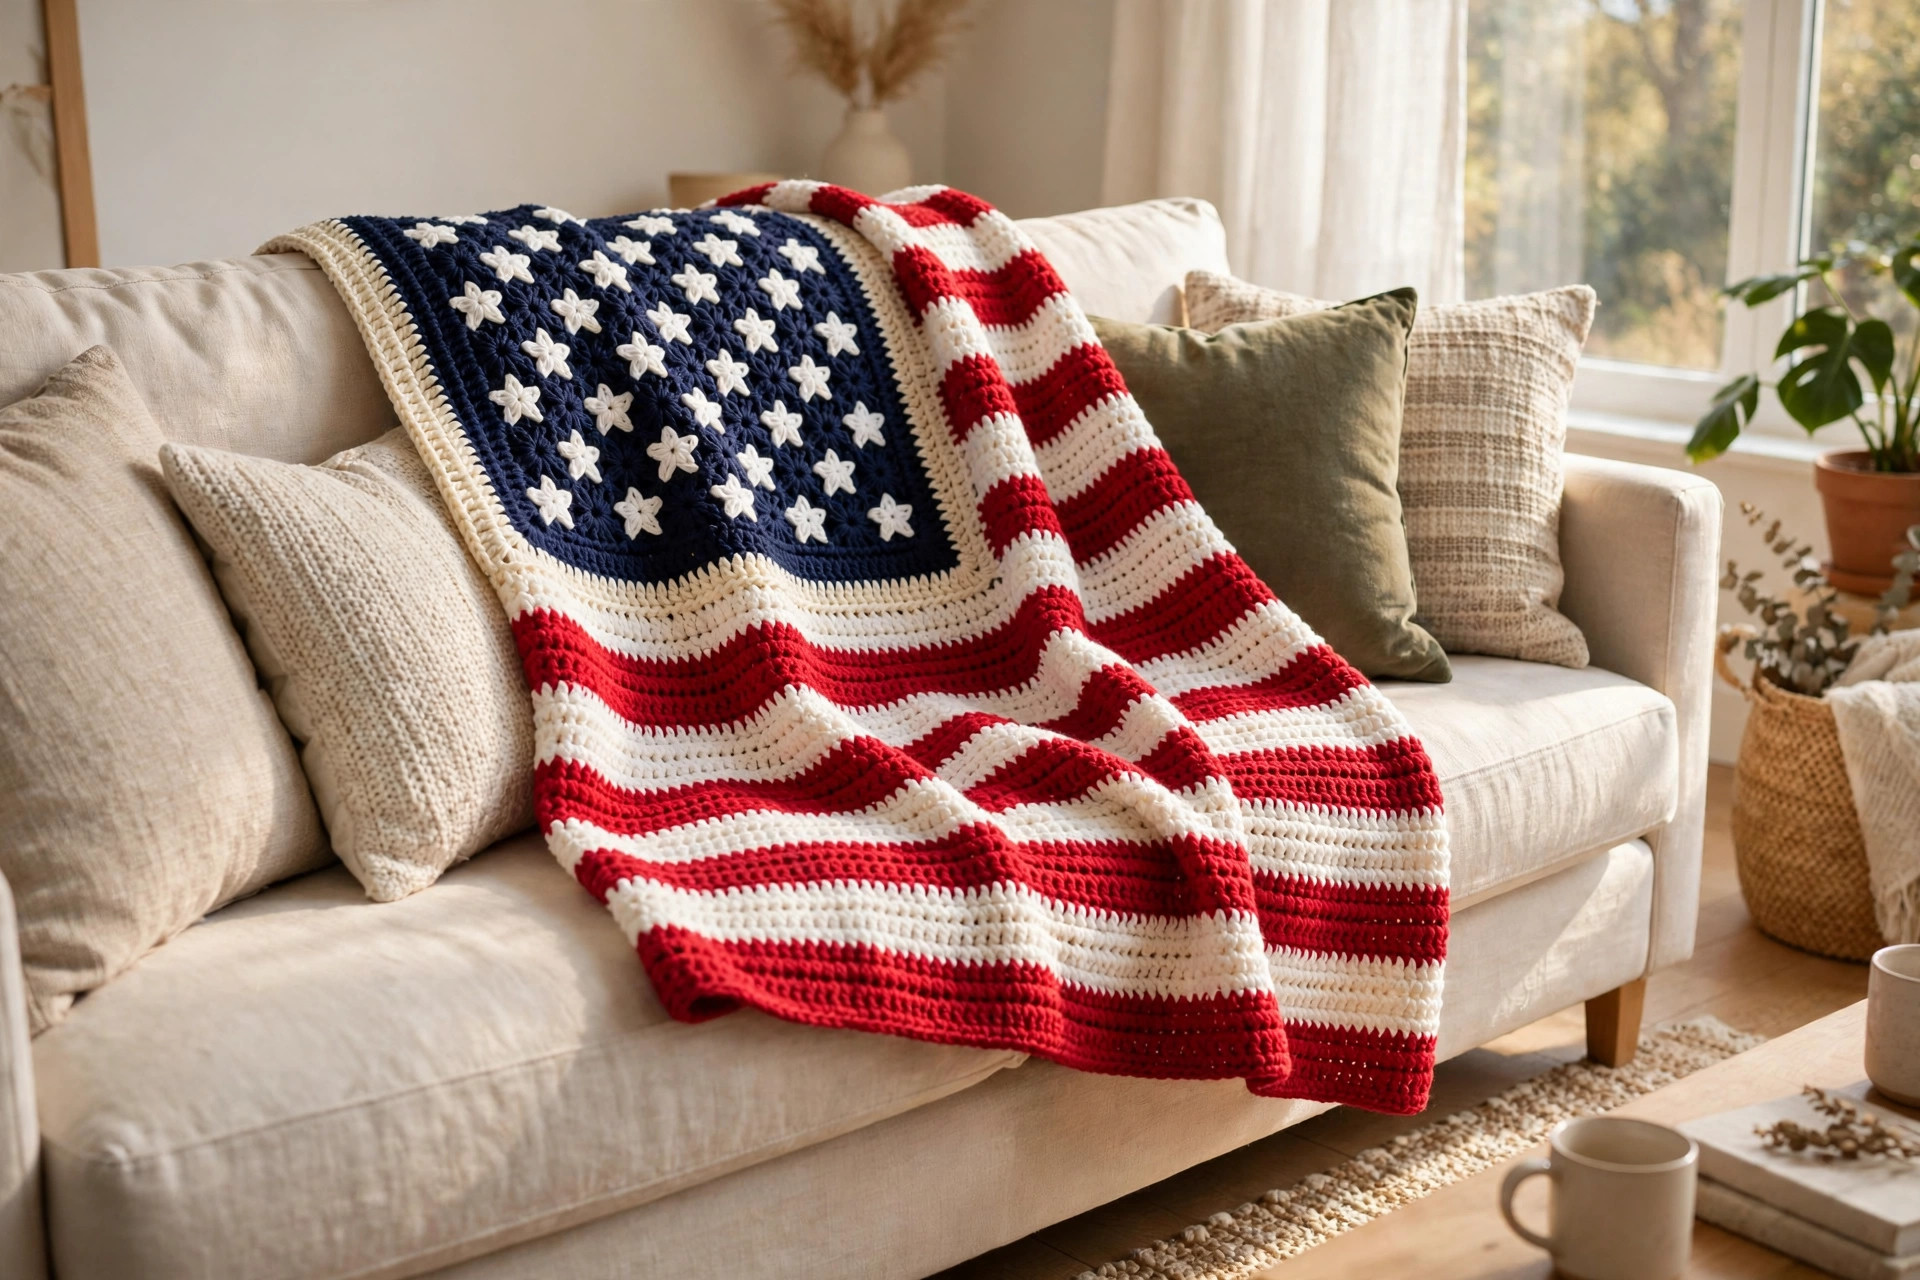
Placing the stars: Lay the blocked blanket right side up with the navy field at the top left, and arrange the 20 stars in 4 rows of 5. Place the rows roughly 26 rows apart, starting about 13 rows down from the top edge, and the columns roughly 10 stitches apart, starting about 5 stitches in from the left edge. Pin or clip every star in place, step back, and adjust until the grid looks even — slightly handmade spacing is part of the charm. Sew each star down with its long tail, stitching through the center and the base of each point so the points stay flat in the wash.
Finishing
Border: With red, join yarn at any corner on the right side and work 1 round of single crochet around the whole blanket: 1 sc in each stitch along the top and bottom, 3 sc in each corner, and roughly 3 sc for every 4 rows along the sides. Join with a sl st, fasten off. Your exact side-edge count does not need to match mine — flat is what matters, so add or skip a stitch wherever the edge pulls or flares. You can skip the border entirely if you prefer; just block carefully.
Weaving in ends: Weave every end through at least three changes of direction on the wrong side, then trim close. Pay special attention to the intarsia join ends, and stretch the blanket gently before trimming so nothing pops out later.
Blocking: Lay the blanket flat, shape it to 40 x 52 inches, and pin the corners and edges so the stripes run straight. Mist lightly with water (or steam from a distance if your yarn label allows), then leave it to dry completely. Blocking makes a dramatic difference here: the field squares up, the stripe lines sharpen, and the throw drapes more professionally. Sew the stars on after blocking so they sit perfectly flat.
Tips for neat stripes and stars
Keep stripe edges straight. Count to 130 at the end of every stripe section. Most wavy flag blankets come from a quietly gained or lost stitch at a row end. Remember the ch-1 does not count as a stitch, and put your first sc of each row into the very first stitch.
Change color like a pro. Always complete the last stitch of the old color with the new color. This one habit gives you a crisp color line instead of a blurred one — it is the whole secret behind tidy stripes.
Manage your intarsia yarn. Wind the navy and stripe yarns onto bobbins or into small balls so they do not tangle. Turn the blanket in alternating directions — clockwise one row, anti-clockwise the next — and tangles mostly disappear.
Make spare stars. Crochet 22 or 23 stars instead of 20, then choose the 20 neatest. Leftover stars make sweet coasters, gift toppers, and ornaments, and they pair nicely with the projects in my crochet garland pattern free roundup of ideas.
Photograph it flat. Lay the finished throw flat in natural light and smooth the stripes with your hands before taking your photo — a well-blocked flag blanket looks genuinely impressive in pictures.
For more red, white, and blue inspiration, browse the crochet table runners free patterns for a matching picnic table, or stitch a set from the crochet doily patterns free collection to layer underneath a tabletop display.
FAQ
How long does this blanket take to make? Most crocheters finish in 12 to 18 hours of relaxed stitching spread over one to two weeks. The stripes are quick, meditative single crochet, and the 20 stars take roughly 10 minutes each including sewing. Crochet a stripe a day and you will be blocking your throw in under two weeks.
Can a beginner make this pattern? Yes, if you are a confident beginner comfortable with single crochet and basic color changes. The intarsia join looks more advanced than it is — there is only one join per row and it never moves. If it worries you, use the separate panel alternative instead; then the only skills you need are single crochet and simple sewing. Newer crocheters may also enjoy the projects in easy crochet patterns for blankets first.
Why are there 20 stars instead of 50? At lapghan scale, 50 appliqué stars would be tiny, crowded, and fiddly to sew. Twenty stars at 2.5 inches each fill the field in a clean 4 x 5 grid and read clearly from across the room. For a fuller field, make the stars with a smaller hook and thinner yarn and fit 30 or more, spacing the grid evenly.
Can I make the blanket bigger? Absolutely. Work 156 stitches across (the navy field becomes the first 62 stitches) and add one extra red and white stripe pair at the bottom, keeping the field over the top seven stripes. Re-check your gauge and buy extra yarn — a larger version needs roughly 25 percent more of every color.
What yarn works best for this blanket? A smooth worsted weight acrylic, for crisp color blocks, easy washing, and good value. Cotton blends give a cooler, heavier throw, but show every tension wobble. Avoid fuzzy or variegated yarns, because they blur the stripe edges that make this design work.
How do I wash and store the finished throw? Machine wash acrylic on a gentle, cool cycle and tumble dry low, or lay flat to dry to keep the edges crisp. The stars are sewn at five points, so they hold up well in the wash. Store the blanket folded loosely rather than on a hanger.
Can I sell blankets made from this pattern? Yes — you are welcome to sell finished blankets you have made by hand at markets, fairs, and online. A credit line mentioning Little Loop Finds is appreciated. Please do not redistribute the written pattern itself; share a link to this page instead.
What to make next
Happy stitching — your finished flag throw has earned its moment draped over the porch rail.
The box below contains an Etsy link. If you buy through it, we may earn a small commission at no extra cost to you. Learn more.
No time to make one?
Prefer a ready-made throw? Browse handmade flag blankets on Etsy
Browse on Etsy (opens Etsy in a new tab)