Crochet Earflap Hat Free Pattern in 4 Sizes
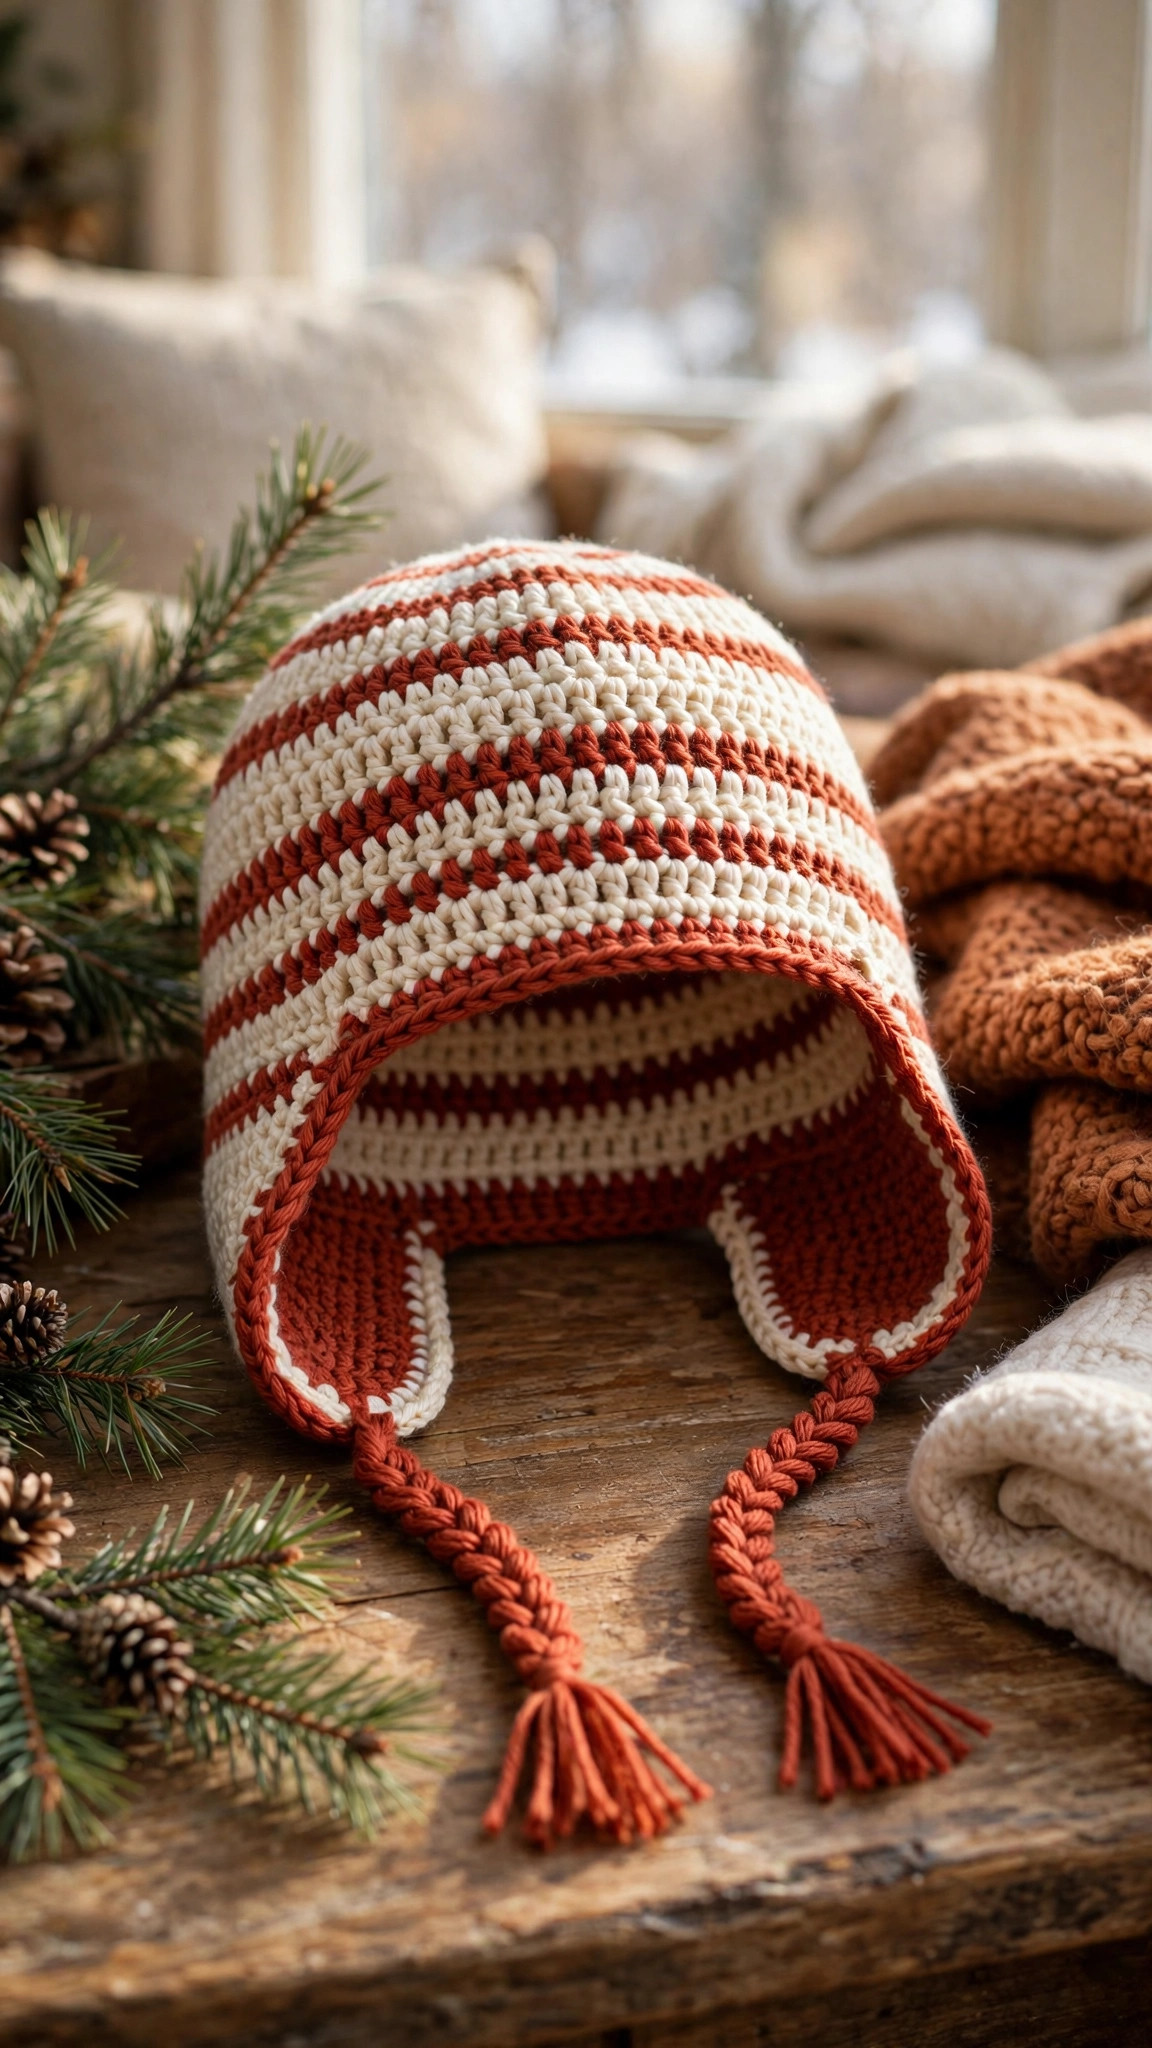
Cold ears ruin a winter walk, so this top-down hat is built to fix that — shaped earflaps, snug braided ties and a cosy half double crochet fabric. It comes in baby, toddler, child and adult sizes, with full stitch counts for every round so you never have to guess.

Hats · Crochet
- Finished size
- 14.75–22.25 in circumference
- Making time
- 2–5 hours
- Hook
- 5.5 mm (US I-9)
- Sizes
- Baby, toddler, child, adult
- Skill
- Confident beginner
In this post
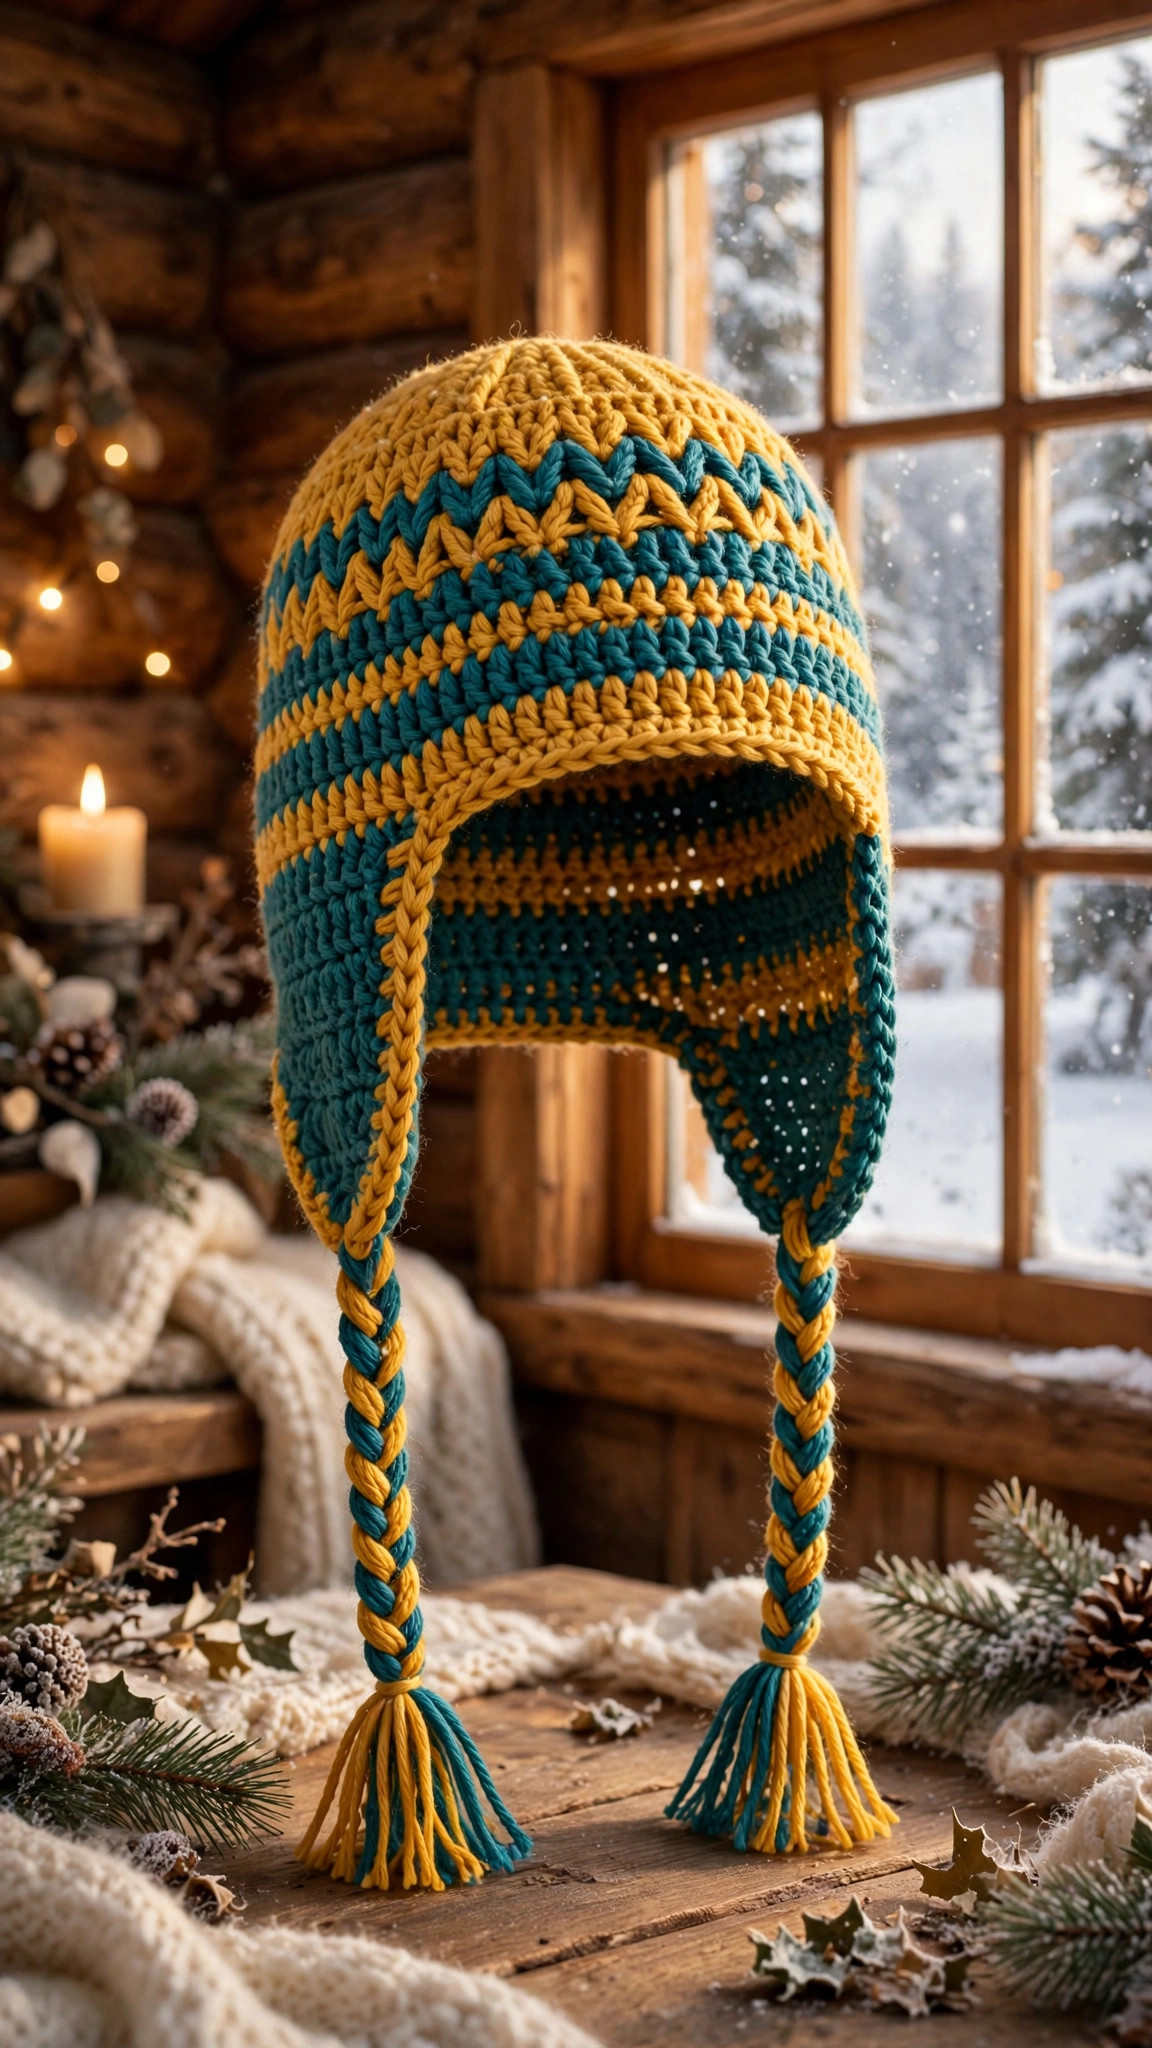
There is a particular kind of cold that sneaks up on you. The hat feels warm enough indoors, then the wind finds the one spot it missed — right around the ears. This crochet earflap hat free pattern solves exactly that. It is worked top-down in soft, squishy half double crochet, with shaped earflaps that actually sit over the ears and braided ties that keep everything in place, even on the wiggliest toddler or the windiest school run.
I have made versions of this hat for babies, toddlers, and my own winter walks. Every time, the hat gets worn constantly. Useful, giftable, and quick enough to finish in an evening or two.
It is written in four sizes — baby, toddler, child and adult — with full round-by-round stitch counts, shaped earflaps with row-by-row decreases, and braided ties. An optional contrasting edging gives a neat finish. If you can work a half double crochet and a decrease, you can make this hat.
Contents
- Why you'll love this earflap hat
- Materials you'll need
- Size, gauge and skill level
- Abbreviations — US terms
- The pattern (US terms)
- Finishing
- Tips for a perfect fit
- FAQ
- What to make next
Why you'll love this earflap hat
First, the fit. Many earflap hats are just beanies with two triangles added as an afterthought, so the flaps sit too far back, end too short, or flap around instead of covering anything. Here the flaps are worked directly onto the brim in exactly the right position, shaped with gradual decreases so they curve gently around the ear and jaw. Add the ties and the hat stays put on sledges, swings and breezy walks alike.
Second, the construction could not be simpler. The crown and body are one continuous piece of half double crochet rounds — no sewing, no separate panels. You start with a small circle, increase until it is the right width for your size, then work straight down. The earflaps are added afterwards, worked in rows across a short section of the brim. If you have made a basic beanie before, you already know most of this pattern.
Third, it is endlessly customisable. Work it in one colour for a classic look, add contrast edging and ties for a playful finish, or change colours for the last few body rounds for a striped brim band. A fluffy pompom turns the adult size into a proper ski-trip hat.
Finally, it is fast and thrifty. Half double crochet grows quicker than single crochet while still giving a dense, warm fabric with no gaps for the wind. The baby size uses well under one ball of yarn, and even the adult size is a stash-buster. For simpler shapes, see our free crochet hat pattern collection.
Materials you'll need
Choose a soft worsted weight (aran) yarn with a little spring to it — a wool or wool-acrylic blend is ideal for warmth, while pure acrylic is practical for kids' hats that will be washed often.
| Supply | What to get |
|---|---|
| Yarn — main colour | Worsted weight / aran (category 4). Approx. 90 yds / 82 m (baby), 120 yds / 110 m (toddler), 160 yds / 146 m (child), 210 yds / 192 m (adult) |
| Yarn — contrast colour (optional) | 20–40 yds / 18–37 m of the same weight for edging and braids |
| Crochet hook | 5.5 mm (US I-9), or the size needed to meet gauge |
| Yarn needle | Large-eye blunt needle for weaving in ends |
| Scissors | For cutting braid strands |
| Stitch marker | One locking marker to track the start of rounds |
| Tape measure | For checking head size, gauge and hat height |
| Pompom maker (optional) | 65–85 mm, if you would like a pompom on top |
Avoid very slippery yarns for the baby and toddler sizes, because the ties can work loose — a slightly grippy wool blend holds a braid beautifully. For a baby, pick something soft and test it against your inner wrist first.
Size, gauge and skill level
Skill level: Confident beginner. You need half double crochet, increasing, decreasing with hdc2tog, chain and slip stitch. The earflaps — the only shaped part — are worked slowly, one row at a time.
Gauge: 13 half double crochet stitches and 9 rows = 4 inches (10 cm), worked in the round with a 5.5 mm hook. Do make a quick swatch: hats are unforgiving about gauge. Too loose and the hat slides over the eyes; too tight and it perches. Too many stitches per 4 inches means go up a hook size; too few, go down.
Sizes and finished measurements:
| Size | Fits head | Finished circumference | Crown to brim height | Final stitch count |
|---|---|---|---|---|
| Baby (6–12 months) | 16–17 in / 41–43 cm | approx. 14.75 in / 37.5 cm | 5.75 in / 14.5 cm | 48 sts |
| Toddler (1–3 years) | 18–19 in / 46–48 cm | approx. 17.25 in / 44 cm | 6.25 in / 16 cm | 56 sts |
| Child (4–10 years) | 20–21 in / 51–53 cm | approx. 19.75 in / 50 cm | 7 in / 18 cm | 64 sts |
| Adult | 22–24 in / 56–61 cm | approx. 22.25 in / 56.5 cm | 8 in / 20.5 cm | 72 sts |
The finished circumference is deliberately a little smaller than the head measurement. Half double crochet has plenty of sideways stretch, and that gentle negative ease keeps the hat snug and the flaps pressed against the ears. Between sizes, or making for a fast-growing child? Size up — the ties snug a roomy hat down. Heights exclude the earflaps, which add roughly 2.5 inches (6.5 cm) on the baby size up to 3.5 inches (9 cm) on the adult size, bringing coverage to just below the earlobe.
Abbreviations — US terms
This pattern uses US crochet terms throughout.
| Abbreviation | Meaning |
|---|---|
| ch | chain |
| sl st | slip stitch |
| hdc | half double crochet |
| inc | increase — work 2 hdc in the same stitch |
| hdc2tog | half double crochet 2 stitches together (decrease) |
| st(s) | stitch(es) |
| rnd(s) | round(s) |
| rep | repeat |
| [ ] | work the instructions inside brackets the number of times stated |
A quick reminder on hdc2tog: yarn over, insert hook into the first stitch and pull up a loop (4 loops on hook), yarn over, insert hook into the next stitch and pull up a loop (6 loops on hook), yarn over and pull through all 6 loops.
The pattern (US terms)
Work the crown and body first. All sizes begin the same way; stop increasing at the round stated for your size, then work the even rounds. Join each round with a slip stitch to the first hdc, and begin each round with a chain 2, which does not count as a stitch — your first hdc goes into the same stitch as the join.
Crown and body — all sizes
Rnd 1: Make a magic ring, ch 2, work 8 hdc into the ring, pull closed, join with sl st to first hdc. (8 sts)
Rnd 2: Ch 2, inc in every st around, join. (16 sts)
Rnd 3: Ch 2, [hdc in next st, inc in next st] rep around, join. (24 sts)
Rnd 4: Ch 2, [hdc in next 2 sts, inc in next st] rep around, join. (32 sts)
Rnd 5: Ch 2, [hdc in next 3 sts, inc in next st] rep around, join. (40 sts)
Rnd 6: Ch 2, [hdc in next 4 sts, inc in next st] rep around, join. (48 sts)
Baby size: stop increasing here. Your circle should measure about 4.75 inches (12 cm) across.
Rnd 7: Ch 2, [hdc in next 5 sts, inc in next st] rep around, join. (56 sts)
Toddler size: stop increasing here. Your circle should measure about 5.5 inches (14 cm) across.
Rnd 8: Ch 2, [hdc in next 6 sts, inc in next st] rep around, join. (64 sts)
Child size: stop increasing here. Your circle should measure about 6.25 inches (16 cm) across.
Rnd 9: Ch 2, [hdc in next 7 sts, inc in next st] rep around, join. (72 sts)
Adult size: stop increasing here. Your circle should measure about 7 inches (18 cm) across.
Even rounds: Ch 2, hdc in every st around, join, for:
- Baby: 7 even rounds (Rnds 7–13). (48 sts)
- Toddler: 7 even rounds (Rnds 8–14). (56 sts)
- Child: 8 even rounds (Rnds 9–16). (64 sts)
- Adult: 9 even rounds (Rnds 10–18). (72 sts)
Measure before moving on: crown centre to brim should be about 5.75 inches (baby), 6.25 inches (toddler), 7 inches (child) or 8 inches (adult). For a slouchier fit, add one or two even rounds now. Do not fasten off; the first earflap starts straight from the brim.
Earflaps — both sides
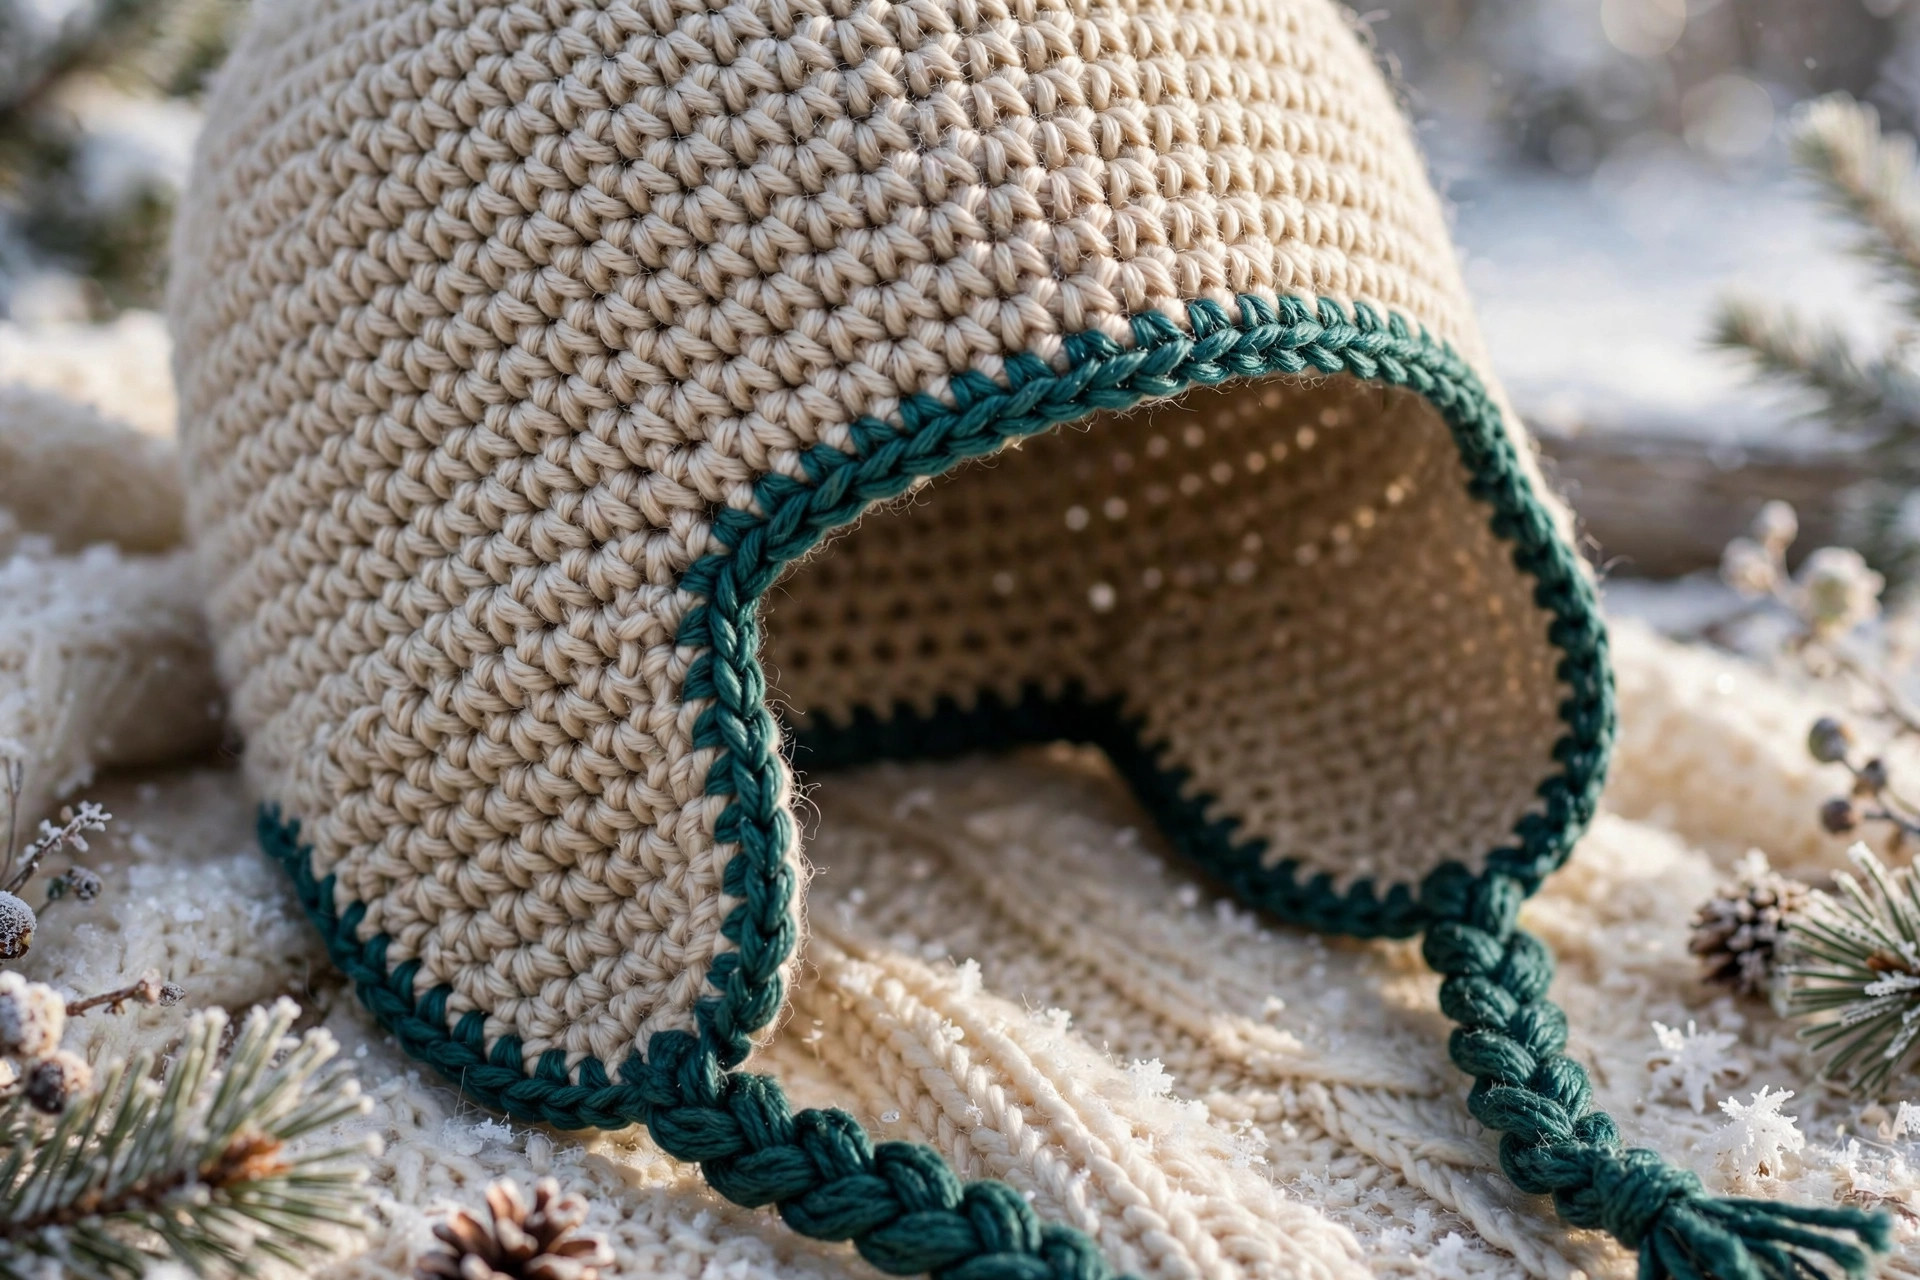
The flaps are worked in rows across part of the brim. The join at the back of the hat is your landmark: with the hat laid flat and the join centred at the back, each flap sits centred over where an ear would be. The counts below do the positioning for you.
First earflap — set-up: With the right side facing, count along the brim from the join and slip stitch or work hdc across: Baby — 7 sts, Toddler — 8 sts, Child — 9 sts, Adult — 10 sts. Turn, and work back and forth in rows. Chain 1 at the start of each row; it does not count as a stitch. Decreases sit at the edges, giving the flap its smooth, curved outline.
Baby flap (9 sts wide): Row 1: Hdc in next 9 sts, turn. (9 sts) Row 2: Hdc2tog, hdc in next 5 sts, hdc2tog, turn. (7 sts) Row 3: Hdc in every st across, turn. (7 sts) Row 4: Hdc2tog, hdc in next 3 sts, hdc2tog, turn. (5 sts) Row 5: Hdc in every st across, turn. (5 sts) Row 6: Hdc2tog, hdc in next st, hdc2tog. (3 sts) Fasten off.
Toddler flap (11 sts wide): Row 1: Hdc in next 11 sts, turn. (11 sts) Row 2: Hdc2tog, hdc in next 7 sts, hdc2tog, turn. (9 sts) Row 3: Hdc in every st across, turn. (9 sts) Row 4: Hdc2tog, hdc in next 5 sts, hdc2tog, turn. (7 sts) Row 5: Hdc in every st across, turn. (7 sts) Row 6: Hdc2tog, hdc in next 3 sts, hdc2tog, turn. (5 sts) Row 7: Hdc2tog, hdc in next st, hdc2tog. (3 sts) Fasten off.
Child flap (13 sts wide): Row 1: Hdc in next 13 sts, turn. (13 sts) Row 2: Hdc2tog, hdc in next 9 sts, hdc2tog, turn. (11 sts) Row 3: Hdc in every st across, turn. (11 sts) Row 4: Hdc2tog, hdc in next 7 sts, hdc2tog, turn. (9 sts) Row 5: Hdc in every st across, turn. (9 sts) Row 6: Hdc2tog, hdc in next 5 sts, hdc2tog, turn. (7 sts) Row 7: Hdc2tog, hdc in next 3 sts, hdc2tog, turn. (5 sts) Row 8: Hdc2tog, hdc in next st, hdc2tog. (3 sts) Fasten off.
Adult flap (15 sts wide): Row 1: Hdc in next 15 sts, turn. (15 sts) Row 2: Hdc2tog, hdc in next 11 sts, hdc2tog, turn. (13 sts) Row 3: Hdc in every st across, turn. (13 sts) Row 4: Hdc2tog, hdc in next 9 sts, hdc2tog, turn. (11 sts) Row 5: Hdc in every st across, turn. (11 sts) Row 6: Hdc2tog, hdc in next 7 sts, hdc2tog, turn. (9 sts) Row 7: Hdc in every st across, turn. (9 sts) Row 8: Hdc2tog, hdc in next 5 sts, hdc2tog, turn. (7 sts) Row 9: Hdc2tog, hdc in next 3 sts, hdc2tog, turn. (5 sts) Row 10: Hdc2tog, hdc in next st, hdc2tog. (3 sts) Fasten off.
Second earflap: Count from the other side of the first flap and skip the stitches across the back of the neck — Baby: 12 sts, Toddler: 14 sts, Child: 16 sts, Adult: 18 sts — then rejoin yarn with a slip stitch in the next stitch and work the flap rows exactly as before. The stitches left unworked across the front should be: Baby — 9 sts, Toddler — 11 sts, Child — 13 sts, Adult — 15 sts. That symmetry confirms both flaps are correctly placed.
Edging and braided ties
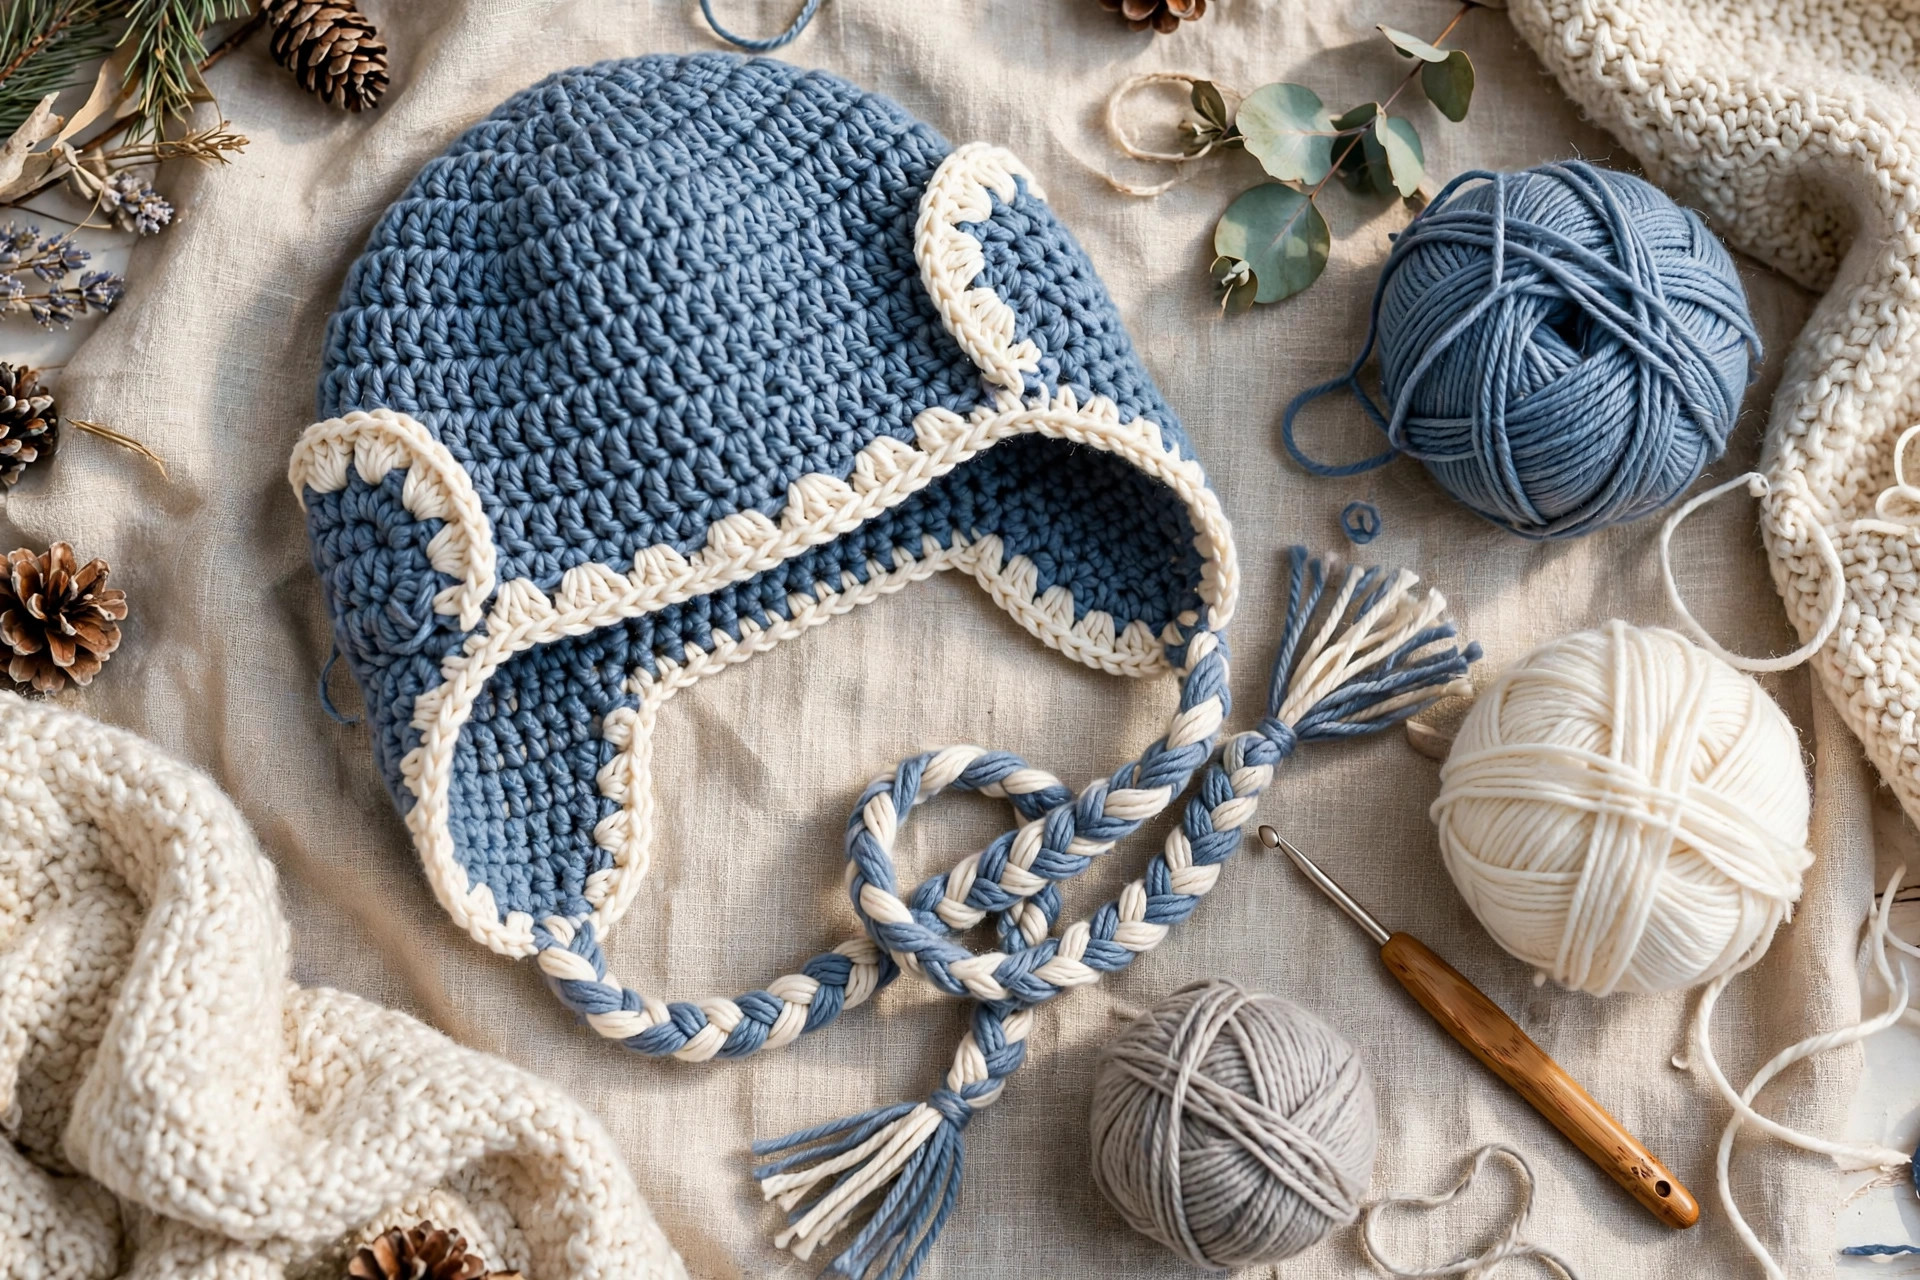
Edging (optional but recommended): Rejoin the main or contrast colour at the back join. Work one round of single crochet evenly around the brim and both earflaps, working 1 single crochet in the end of each flap row along the sides and 3 single crochet in the corner stitch at the bottom tip of each flap so the point stays crisp. Join with a slip stitch and fasten off. This round tidies every edge and stops the brim from curling.
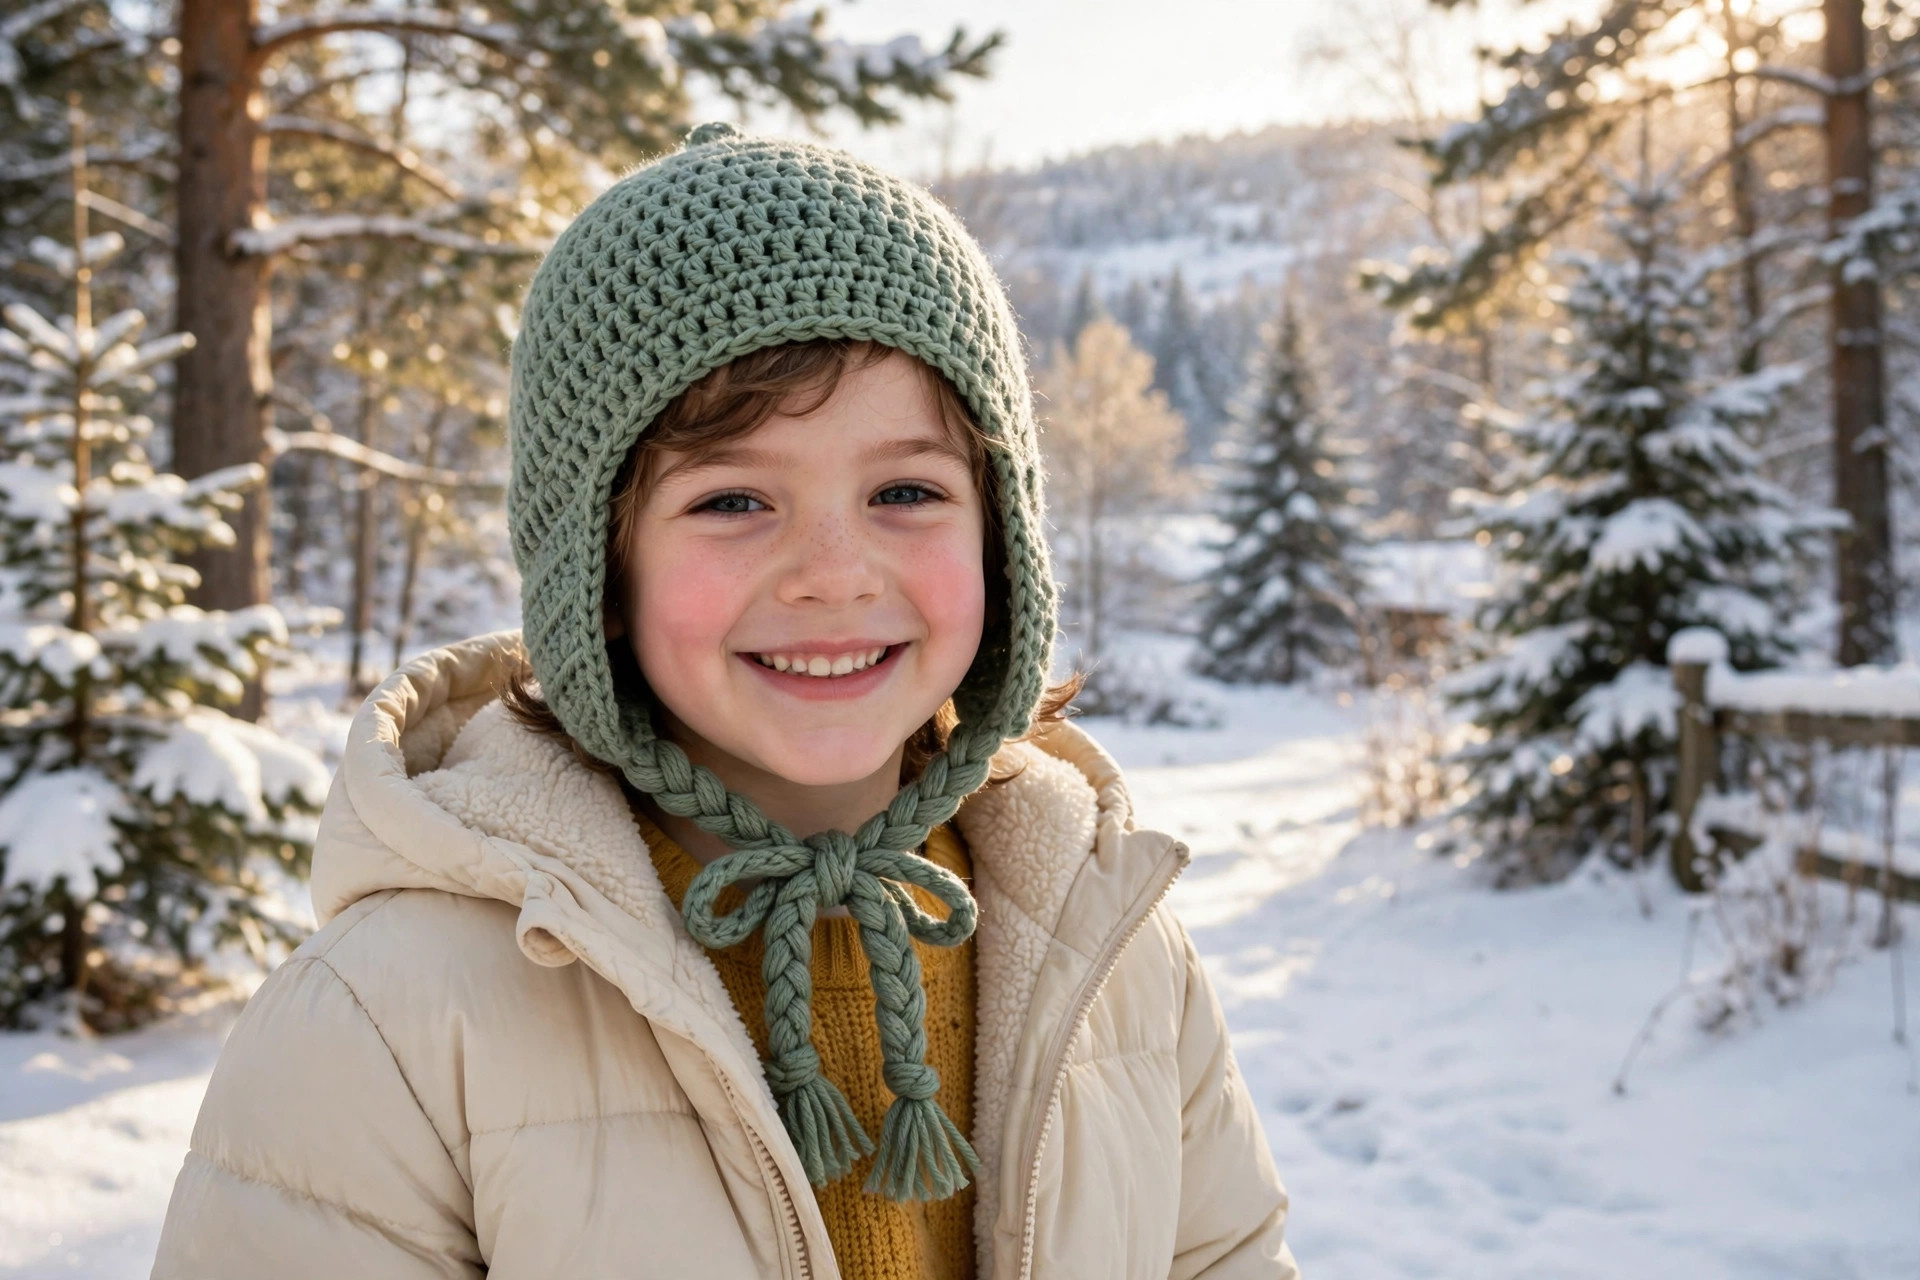
Braided ties (make 2): For baby and toddler, cut 6 strands of yarn, each 24 inches (61 cm) long; for child and adult, cut 6 strands of 30 inches (76 cm). Thread the strands through the bottom tip of one earflap so they fold in half, giving 12 working ends. Divide into 3 groups of 4 and braid firmly for about 5 inches (13 cm) for baby and toddler, or 7 inches (18 cm) for child and adult. Tie an overhand knot under the braid and trim the tassel ends straight, leaving about 1.5 inches (4 cm) below the knot. Repeat for the second flap. Never leave a baby unattended with ties tied.
Finishing
Weave in every end, taking each tail back and forth at least three times so nothing works loose in the wash. Gently steam-block or lay the hat flat and pat it into shape, smoothing the crown dome and flattening the flaps.
Check the fit: the brim should sit just above the eyebrows, the flaps centred over the ears, and the ties should meet comfortably under the chin. Adding a pompom? Sew it through the centre top of the crown with several strong passes of yarn, tying off securely inside.
Your hat is ready for frosty mornings and first snowfalls — and it makes a wonderful gift. For a playful textured twist, try the puff stitch crochet hat pattern next; the texture works beautifully with earflaps added in exactly the same way.
Tips for a perfect fit
Measure the head, not the age. Wrap a tape measure around the head just above the eyebrows and ears, snug but not tight, and choose the size whose range contains that number.
Count as you go. If rounds start to spiral or counts drift, count stitches at the end of every round for the first few rounds. It saves the whole crown.
Keep decreases consistent. Always work hdc2tog the same way, at the very edges of the flap rows. A decrease that wanders one stitch in creates a stepped edge — easier to unpick one row than to live with a lopsided flap.
Adjust flap length freely. For extra coverage, add one plain (non-decrease) row partway down each flap; for a lighter hat, skip the last plain row. Make the same change to both flaps.
Wash before gifting. A gentle wash, dried flat, relaxes the stitches and evens out tension. Add a care note: wash cold, dry flat, and it will last for winters to come.
FAQ
How long does this earflap hat take to make?
About 2 to 3 hours for the baby size, 3 to 4 hours for toddler and child, and 4 to 5 hours for the adult size, including braids. With no colour changes in the body, it is perfect evening crochet.
Can a beginner really make this hat?
Yes. The body is one stitch repeated in the round, the increases follow a predictable pattern, and the only new skills are the hdc2tog decrease and working in rows for the flaps. Check each flap row against its stitch count as you go.
What is the best yarn for a crochet earflap hat?
A worsted weight wool or wool-acrylic blend gives the best balance of warmth, stretch and stitch definition. Pure acrylic is a good budget, easy-care choice for children's hats. Avoid cotton for winter versions — it has little stretch and feels cold when damp.
My crown is wavy, or forming a cone. What went wrong?
Wavy and frilly means too many increases — check the stitch counts and do not work into the chain 2. A cone means too few increases, usually a missed repeat. Unpick to the last flat round and recount.
How do I make the hat bigger or smaller between sizes?
Each extra increase round adds 8 stitches — roughly one size step, about 2.5 inches (6.5 cm) of circumference at this gauge. For a size in between, work increases across only part of a round, then check the fit.
Can I leave off the ties, or add a chin strap instead?
Absolutely. Skip the braids for a clean earflap beanie, or sew on soft elastic or a buttoned strap instead. A button on one flap and a loop on the other keeps ties tidy when not needed.
How do I wash and store the finished hat?
Wash in cool water with mild detergent, reshape while damp and dry flat. Store flat or loosely stuffed with tissue — never hanging, which stretches the flaps.
The box below contains an Etsy link. If you buy through it, we may earn a small commission at no extra cost to you. Learn more.
No time to make one?
Browse handmade crochet earflap hats on Etsy
Browse on Etsy (opens Etsy in a new tab)