Crochet bag charm patterns free: 3 quick charms
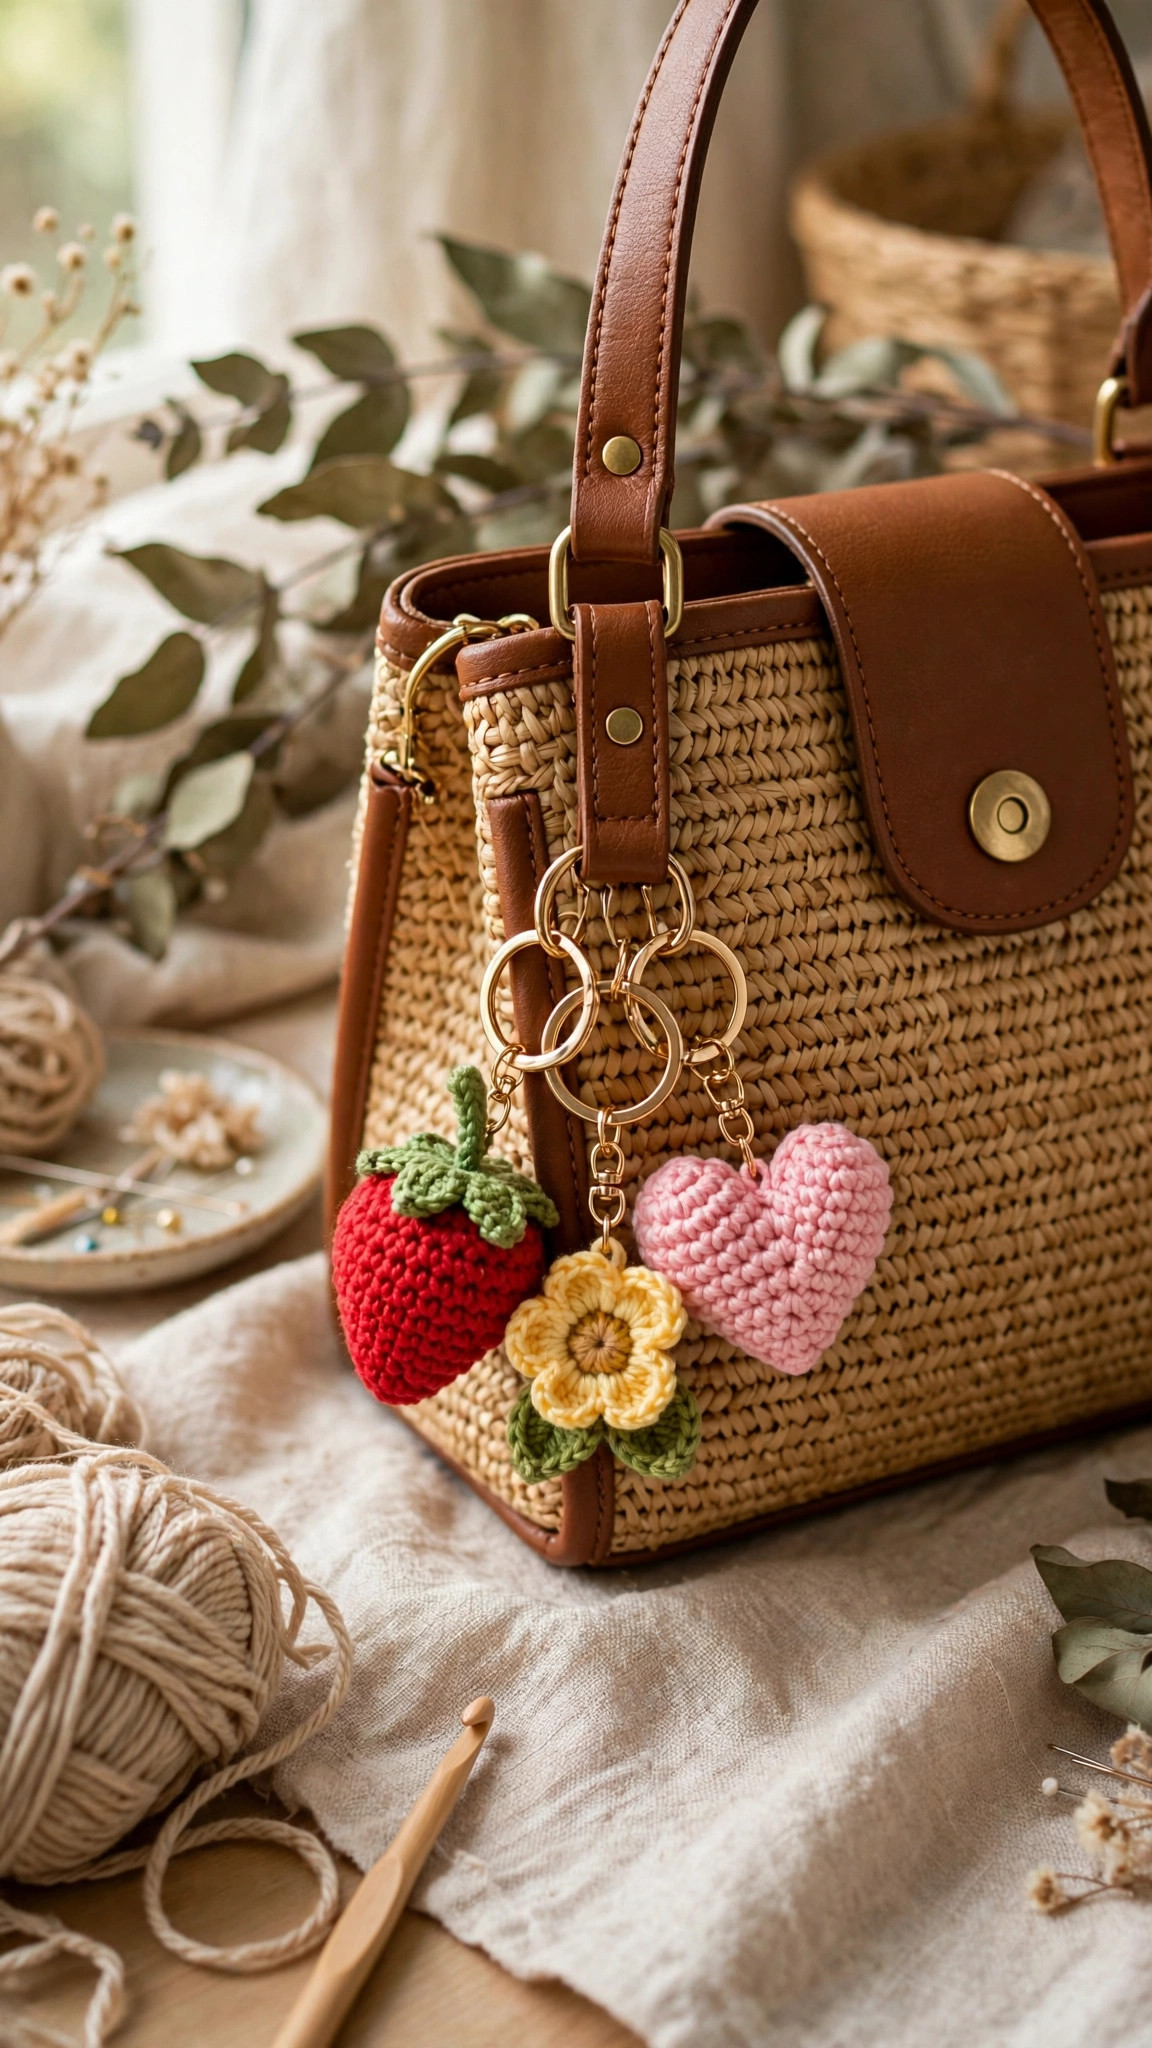
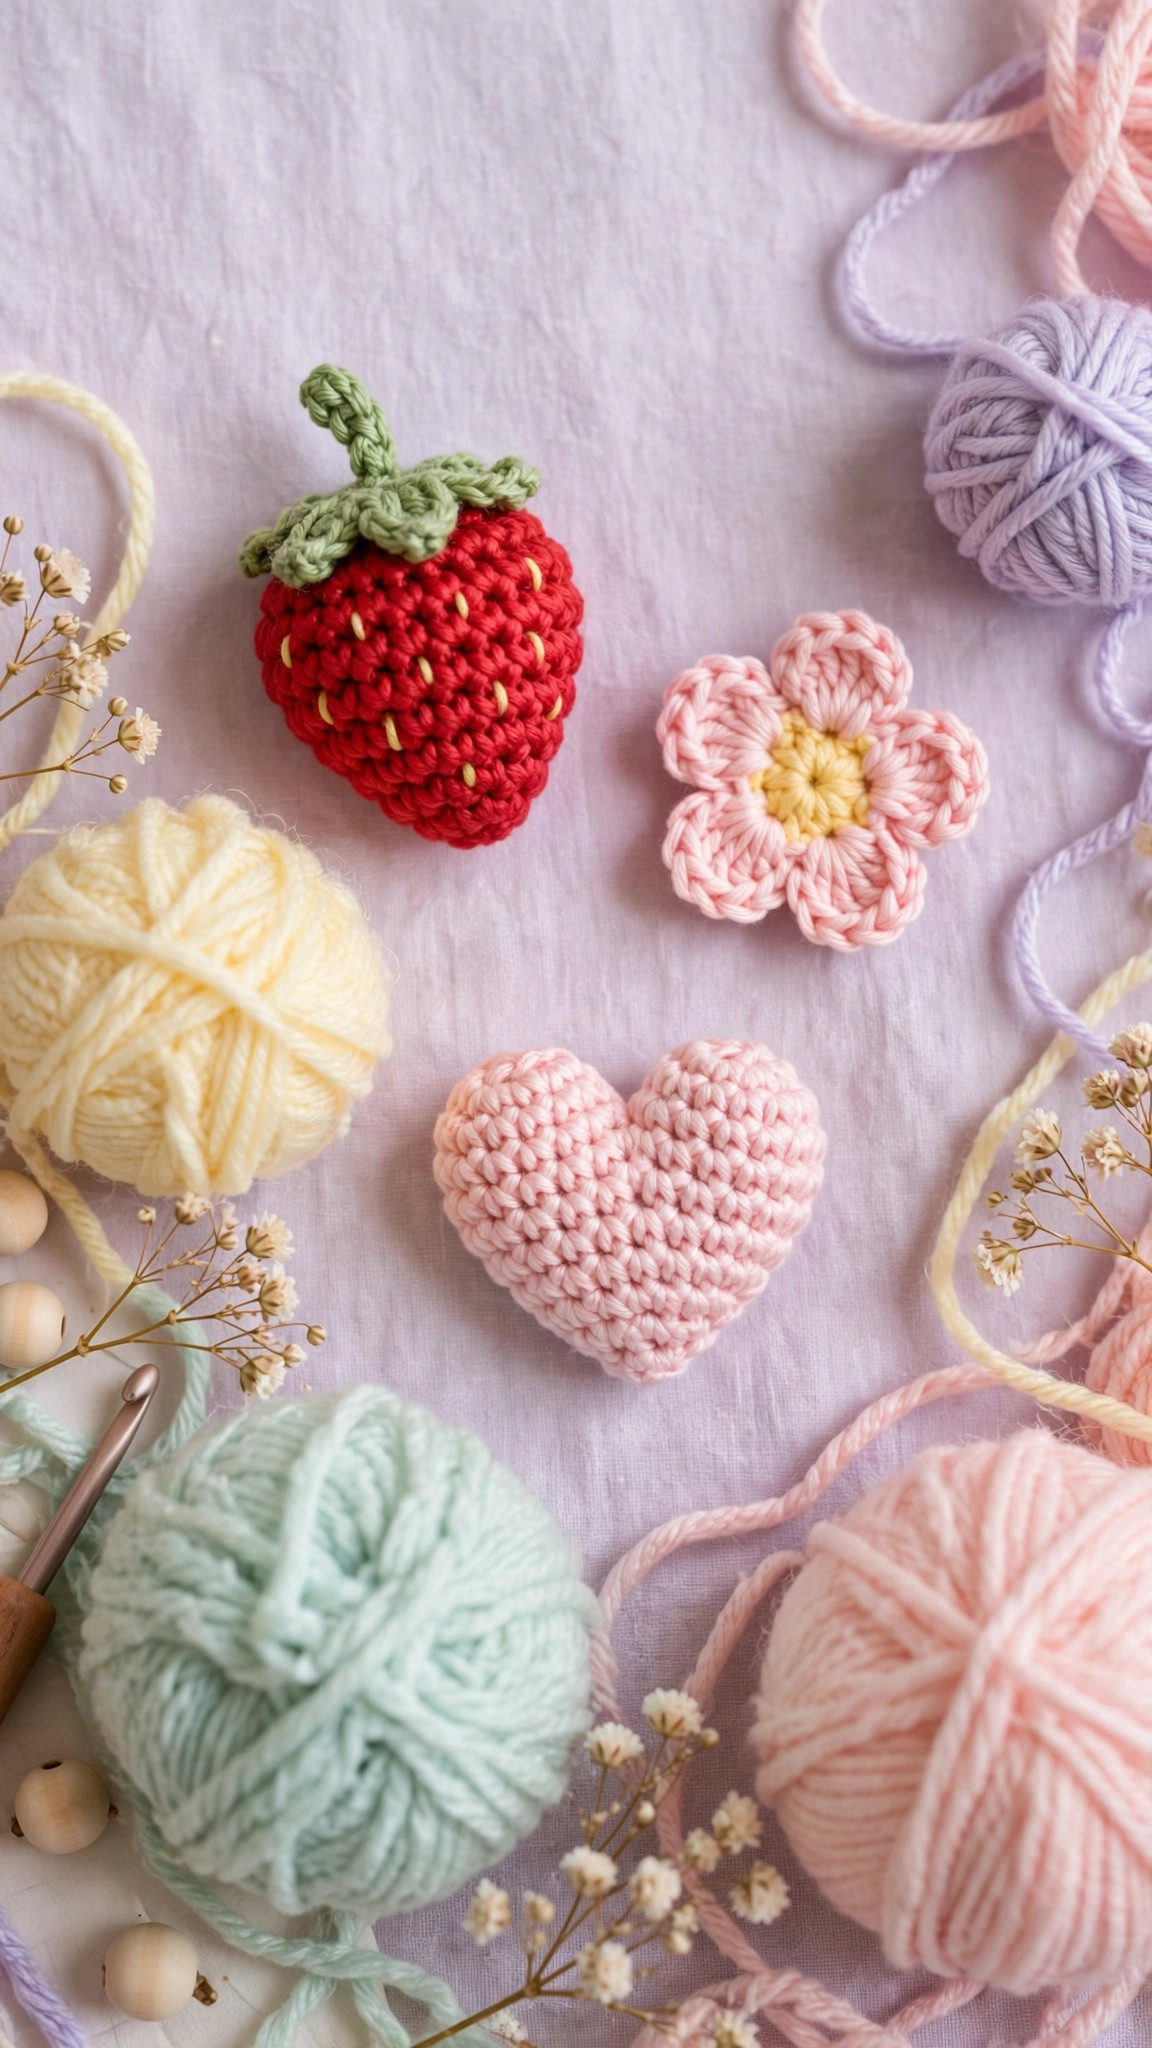
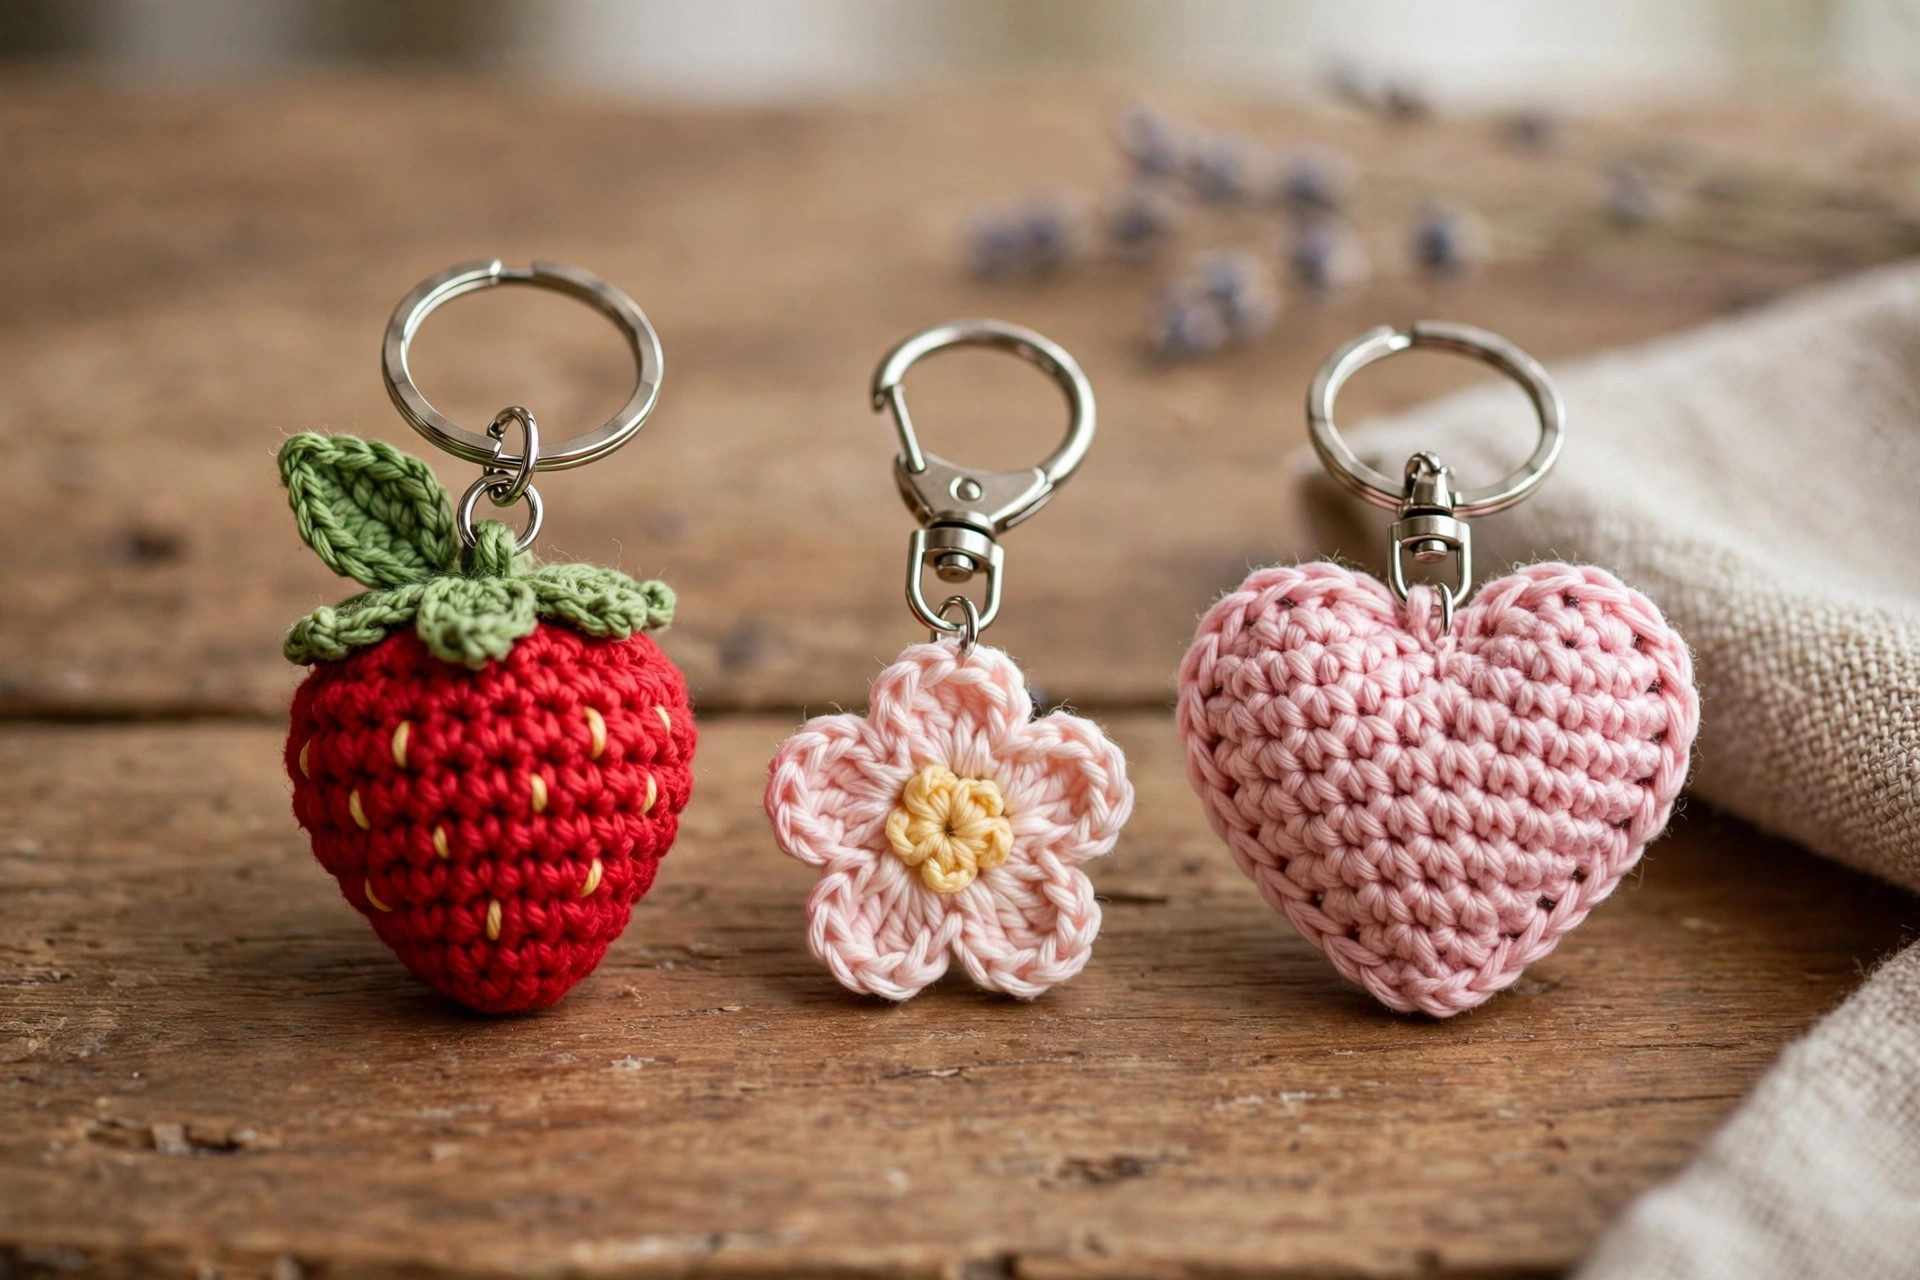
Three tiny makes with big personality — a plump mini strawberry, a sunny tiny flower and a sweet mini heart, each crocheted in under an hour from scrap yarn and clipped straight onto a keyring, clasp or bag strap.

Accessories · Crochet
- Finished size
- About 4–6 cm / 1.5–2.5 in
- Making time
- Under 1 hour per charm
- Hook
- 3.5 mm, worsted or DK yarn
- Designs
- 3 charms in one post
- Skill
- Beginner
In this post
Your handbag called — it wants a personality upgrade. These free crochet bag charm patterns give you three tiny, joyful makes in one post: a plump mini strawberry, a sunny tiny flower, and a sweet mini heart. Each charm finishes in under an hour, uses just a few grams of yarn from your scrap basket, and clips straight onto a keyring, lobster clasp, or bag strap the second you weave in the last end. No big commitment, no endless rounds, just instant handmade charm — literally.
Dress up a plain tote, make last-minute gifts, or add a handmade touch to keys, backpacks, and zipper pulls. They use simple US-term stitches, hold their shape, and look adorable solo or clustered together.
Why you'll love these crochet bag charm patterns
Some projects ask for your whole weekend. These charms ask for a cup of tea and a favorite show — a finished object in a single sitting, with almost no yarn and zero worrying about fit.
They are genuinely quick: the strawberry takes about 45 minutes, the flower about 20, the heart about 25. Finish a whole set in an evening and gift it the next morning. They are brilliant stash-busters too — every charm uses less than 15 grams. That leftover red? Strawberry. The last sunny yellow? Flower center. The soft pink you kept? A heart, obviously. If you have been building confidence with our easy beginner crochet patterns, these are the perfect next step.
They are endlessly personal, too. Pastel pink strawberry for a soft kawaii look, deep red for classic market style. Rainbow flowers for a festival bag, white and cream for a bridal clutch. Hearts for Valentine's, new babies, or your best friend's favorite color. And unlike a plush on a shelf, a charm travels everywhere — school, work, market, luggage — and someone always asks where it came from. Handmade, you get to say.
Materials you'll need
You do not need much, and you almost certainly own most of it already. The table below covers all three charms together — buy the hardware once and it will last through dozens of charms.
| Supply | What to get |
|---|---|
| Red yarn | Worsted-weight (#4) or DK cotton or acrylic in strawberry red, about 10 g |
| Green yarn | Worsted or DK in leaf green, about 5 g for leaves |
| Yellow yarn | Worsted or DK in sunny yellow, about 5 g for flower center |
| Petal yarn | Worsted or DK in white, pink, or your choice, about 5 g |
| Pink yarn | Worsted or DK in soft or bright pink, about 10 g for the heart |
| Crochet hook | 3.5 mm (E-4) for worsted, or 3.0 mm for DK |
| Hardware | Split keyrings 25 mm, lobster clasps, or swivel clasps — one per charm, plus small jump rings |
| Stuffing | Polyester fiberfill, a pinch per charm |
| Notions | Tapestry needle, stitch markers, scissors, optional pliers for jump rings |
Yarn choice matters: cotton or a cotton-acrylic blend is ideal. Charms get handled, swung, and occasionally rained on, and cotton holds its shape and stitch definition through all of it. Use a hook at least 0.5 mm smaller than the ball band recommends — tight fabric keeps stuffing invisible and silhouettes crisp.
Hardware: a 25 mm split keyring works if your bag has a sturdy loop or D-ring. A lobster or swivel clasp is easier to clip on and off for swapping between bags. Jump rings connect the charm's loop to the ring or clasp — open them sideways with pliers, never by pulling apart.
Size, gauge and skill level
- Finished size: strawberry about 5 cm (2 in) tall plus leaves; flower about 6 cm (2.5 in) across; heart about 5 cm (2 in) wide. All measurements are without the keyring.
- Gauge: not critical — what matters is tight, dense fabric so no stuffing shows. As a guide, 5 single crochets should measure about 2 cm (0.75 in) with a 3.5 mm hook and worsted yarn. If you can see gaps, drop a hook size.
- Skill level: beginner to confident beginner. You should know the magic ring, single crochet, half double crochet, double crochet, increase, and invisible decrease. Everything else is explained where it appears.
Our free crochet heart pattern and crochet flower pattern free go deeper on those shapes at a larger scale — these charms are their miniature, bag-ready cousins.
Working in spirals: the strawberry and heart are worked in continuous spirals — do not join rounds. Mark the first stitch of every round, move the marker up, and count every round. On pieces this small, one missed increase changes the whole shape.
Abbreviations — US terms
| Abbreviation | Meaning |
|---|---|
| MR | magic ring |
| sc | single crochet |
| hdc | half double crochet |
| dc | double crochet |
| inc | increase (2 sc in the same stitch) |
| dec | decrease (sc 2 together — invisible decrease recommended) |
| sl st | slip stitch |
| st(s) | stitch(es) |
| ch | chain |
| R | round |
| FO | fasten off |
Invisible decrease: insert hook in front loop only of the next two stitches, yarn over, pull through both, yarn over, pull through two loops. Almost no bump — worth it on tiny charms where every stitch shows.
The patterns (US terms)
Work them in any order — most makers start with the fastest flower, then the heart, then the strawberry. Each pattern is complete on its own, so you can stop after any one with a finished charm in hand.
Charm 1 — Mini strawberry
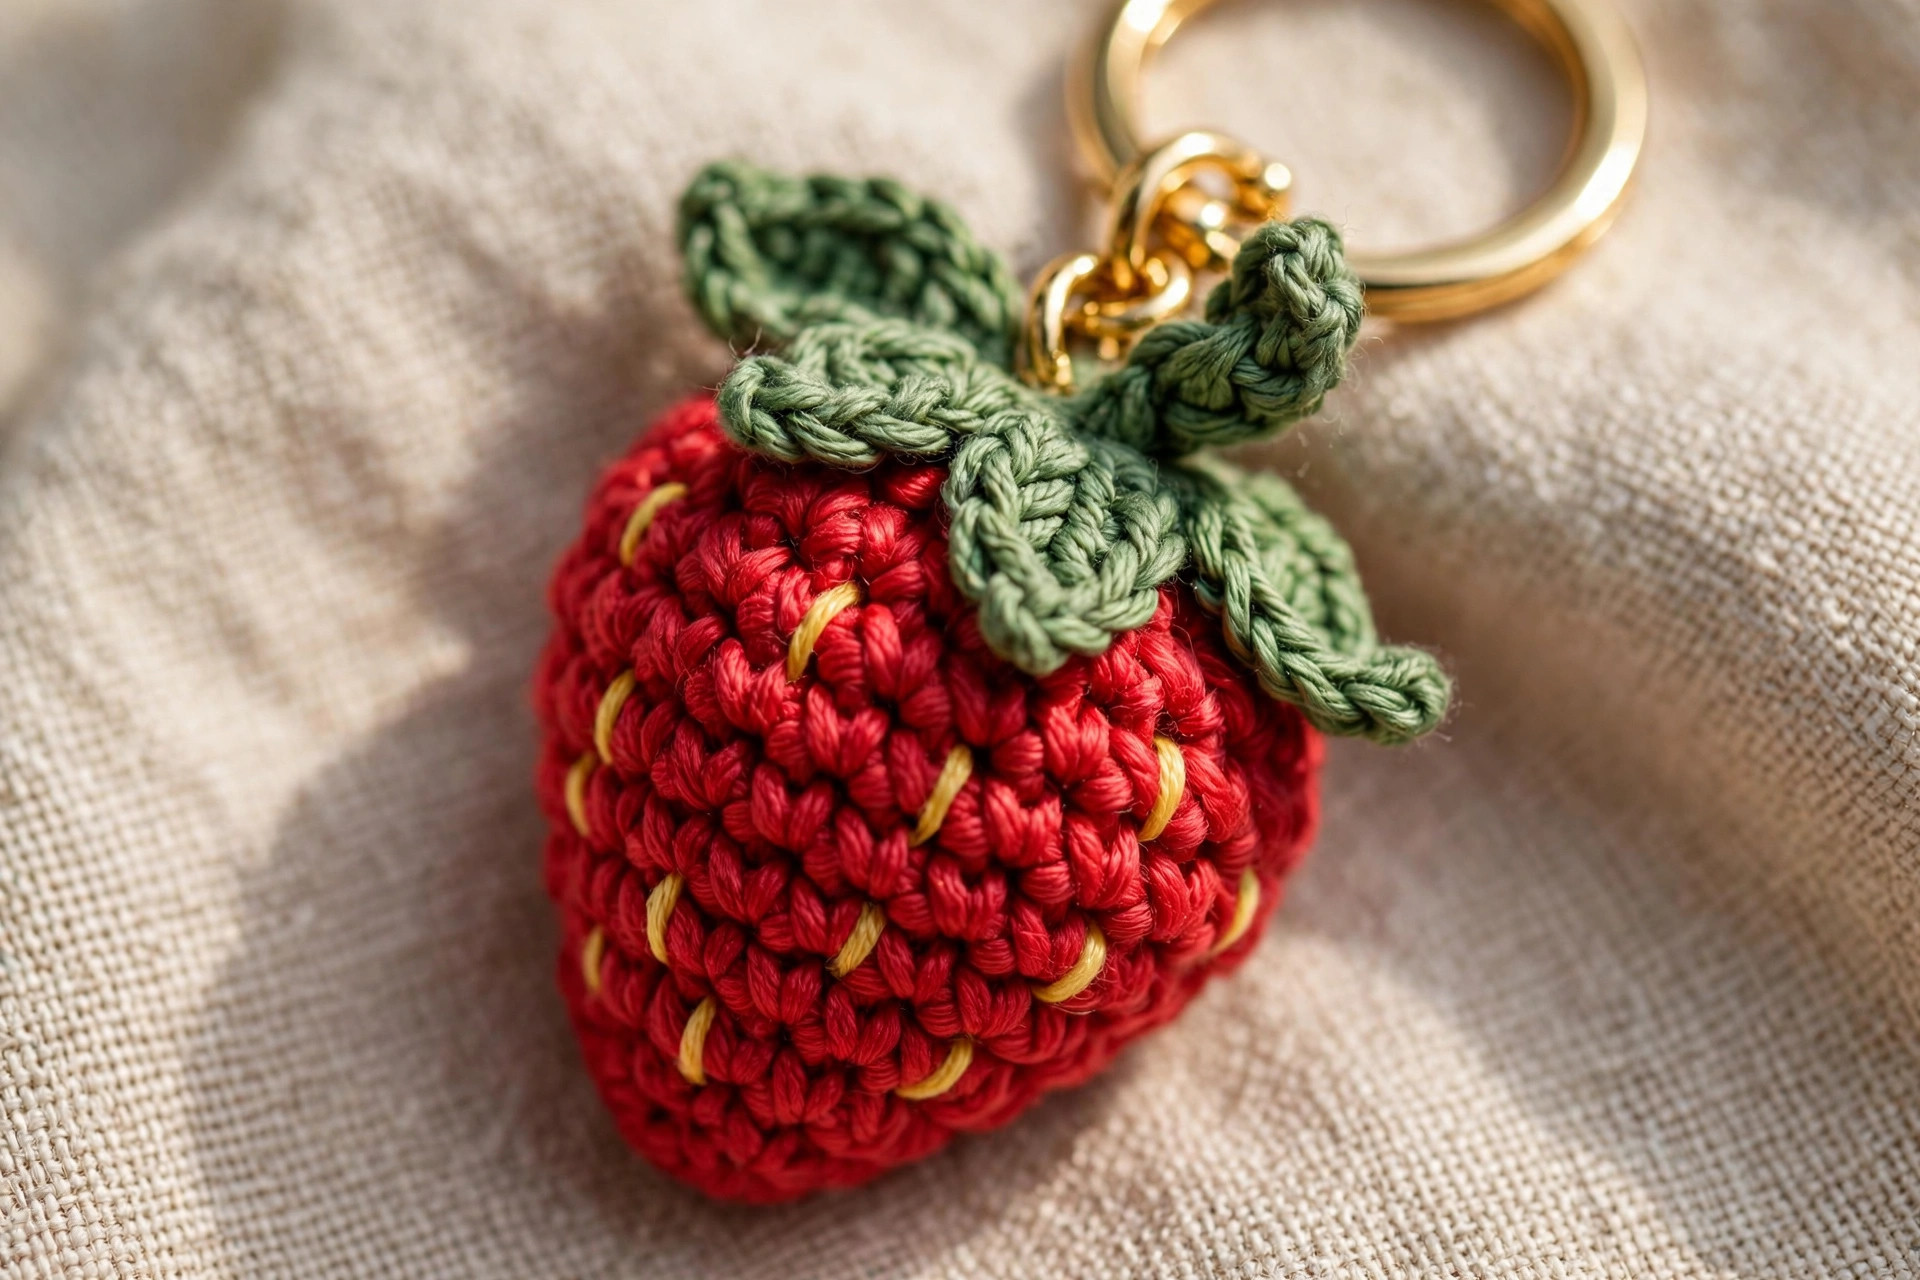
Plump, softly pointed, and topped with a star of leaves, the strawberry gets the most compliments. The body is one piece, the leaf cap is sewn on top, and the seeds are tiny cream stitches — two minutes that turn a red ball into a strawberry.
Body — red
- R1: MR, 6 sc (6)
- R2: inc in each st around (12)
- R3: [sc, inc] × 6 (18)
- R4: [2 sc, inc] × 6 (24)
- R5–R7: sc in each st around (24) — 3 rounds even
- R8: [2 sc, dec] × 6 (18)
- R9: sc in each st around (18)
- R10: [sc, dec] × 6 (12)
- Start stuffing now — a firm pinch, concentrating the fiberfill toward the rounded top so the bottom can taper to a soft point.
- R11: dec × 6 (6)
- R12: sc in each st around (6)
- FO, thread the tail through the front loops of the remaining 6 stitches, pull tight to close, and weave in. Roll the berry gently between your palms to settle the stuffing — plump at the top, softly pointed at the bottom.
Leaf cap — green
Worked flat in one small star shape, no stuffing needed.
- R1: MR, 5 sc, sl st to first sc to join (5)
- R2: [ch 4, sc in 2nd ch from hook, hdc in next ch, dc in next ch, skip 1 st on the ring, sl st in next st] × 5 (5 leaves)
- FO, leaving a long tail of about 25 cm (10 in) for sewing.
Seeds and assembly — cream or pale yellow yarn
Work tiny cream straight stitches, about 2 mm long, scattered over the body — 10–12 seeds, avoiding the top. Pin the leaf cap centered on top, leaves pointing outward, and whipstitch it on with the green tail. For a stem, ch 4 in green, sl st back, sew upright at the center. Attach the hanging loop (see Finishing touches) beside the stem.
Charm 2 — Tiny flower
The 20-minute wonder: a sunny center, five rounded petals, done. Worked mostly flat, it is a lovely first charm. Try classic daisy white, all-pink cherry blossom, or bold orange and purple.
Center — yellow
- R1: MR, 6 sc (6)
- R2: inc in each st around (12)
- R3: sc in each st around (12)
- Sl st to the next st and FO, leaving a short tail to weave in. The center should be a small, slightly domed disc. If yours lies flat, that is fine too — the petals frame it either way, and a flat flower sits slim and neat against a bag.
Petals — petal color
Join the petal yarn with a sl st into any stitch of R3 of the center. Work all five petals in one continuous round, using the 12 center stitches as your base:
- Petal (repeat 5 times): in the next st — sl st, ch 2, 3 dc, ch 2, sl st (one petal made). Sl st in the next st to travel to the next petal position.
- After the fifth petal, sl st to the starting point, FO, and weave in the ends at the back (5 petals)
That formula gives a rounded petal with a gentle point. Pull each petal outward to shape it; if one curls, press the flower under a book for ten minutes.
Backing disc (optional but recommended) — green or petal color
A tiny disc on the back hides woven ends and gives a clean finish — worth three minutes for gifts.
- R1: MR, 6 sc (6)
- R2: inc in each st around (12)
- R3: [sc, inc] × 6 (18)
- FO, leaving a long tail. Pin it to the back of the flower and whipstitch around. Attach your hanging loop at the top of the disc, behind the top petal, so the flower hangs straight and shows its face.
Charm 3 — Mini heart
The sweetest of the set: two small cups joined and worked down to a point, giving a properly plump three-dimensional heart, not a flat appliqué. If you can increase and decrease, you have every skill it needs. For bigger hearts to style alongside these minis, see our free crochet bag patterns roundup.
First cup — pink
- R1: MR, 6 sc (6)
- R2: inc in each st around (12)
- R3: [sc, inc] × 6 (18)
- R4: sc in each st around (18)
- FO and weave in the end. Set aside.
Second cup — pink
- R1: MR, 6 sc (6)
- R2: inc in each st around (12)
- R3: [sc, inc] × 6 (18)
- R4: sc in each st around (18)
- Do NOT fasten off. You are about to join the cups.
Joining and body — pink, continuing from the second cup
- R5 (joining round): sc in the next 9 sts of the second cup (9), then pick up the first cup and sc in all 18 sts around it (18), then sc in the remaining 9 sts of the second cup (9) — (36) total. You now have one wide round with two bumps on top: the top of your heart. Mark the start carefully.
- R6: sc in each st around (36)
- R7: [4 sc, dec] × 6 (30)
- R8: sc in each st around (30)
- R9: [3 sc, dec] × 6 (24)
- Start stuffing now, pushing fiberfill up into both top lobes first — this keeps the heart's two bumps plump and defined — then fill the body.
- R10: sc in each st around (24)
- R11: [2 sc, dec] × 6 (18)
- R12: sc in each st around (18)
- R13: [sc, dec] × 6 (12)
- Top up the stuffing, shaping the point with your fingers as you go.
- R14: dec × 6 (6)
- FO, close as for the strawberry, and weave in. Roll and pinch gently to sharpen the bottom point and plump the lobes.
A tiny gap sometimes opens at the R5 join — if there is an actual hole (not just the heart's top dip), close it with two stitches using the first cup's tail before stuffing.
Finishing touches
The crochet is only half a bag charm. The hardware turns a tiny plush into something that survives daily life — five careful minutes here saves heartbreak later.
Add a strong hanging loop. Thread your needle with a double length of matching yarn, or stronger nylon cord. Strawberry: come up through the leaf cap beside the stem. Flower: attach at the top of the backing disc behind the top petal. Heart: attach at the top center dip. Form a loop about 2 cm (0.75 in) tall, pass back down through the charm, and repeat so the loop is doubled. Knot where it will be hidden, weave ends away, trim. Never use a single strand.
Attach the hardware. Open a jump ring sideways, thread it through the loop, add your keyring or clasp, and close it fully. Or thread the loop directly onto the split ring before knotting. Give it a firm tug test — it should feel completely solid.
Final shaping and care. Plump the strawberry, spread the flower petals, pinch the heart's point. Weave every end back and forth at least twice — a popped-out end is the most common week-one complaint. To clean: spot-clean with a damp cloth and mild soap, reshape while damp, air-dry, and wipe hardware dry. Never hot machine wash.
Four sweet variations to try next
Once the trio is swinging from your bag, the requests start — these four spins keep the same skills feeling new. String several along a cord for a cluster look inspired by our crochet garland pattern free styling.
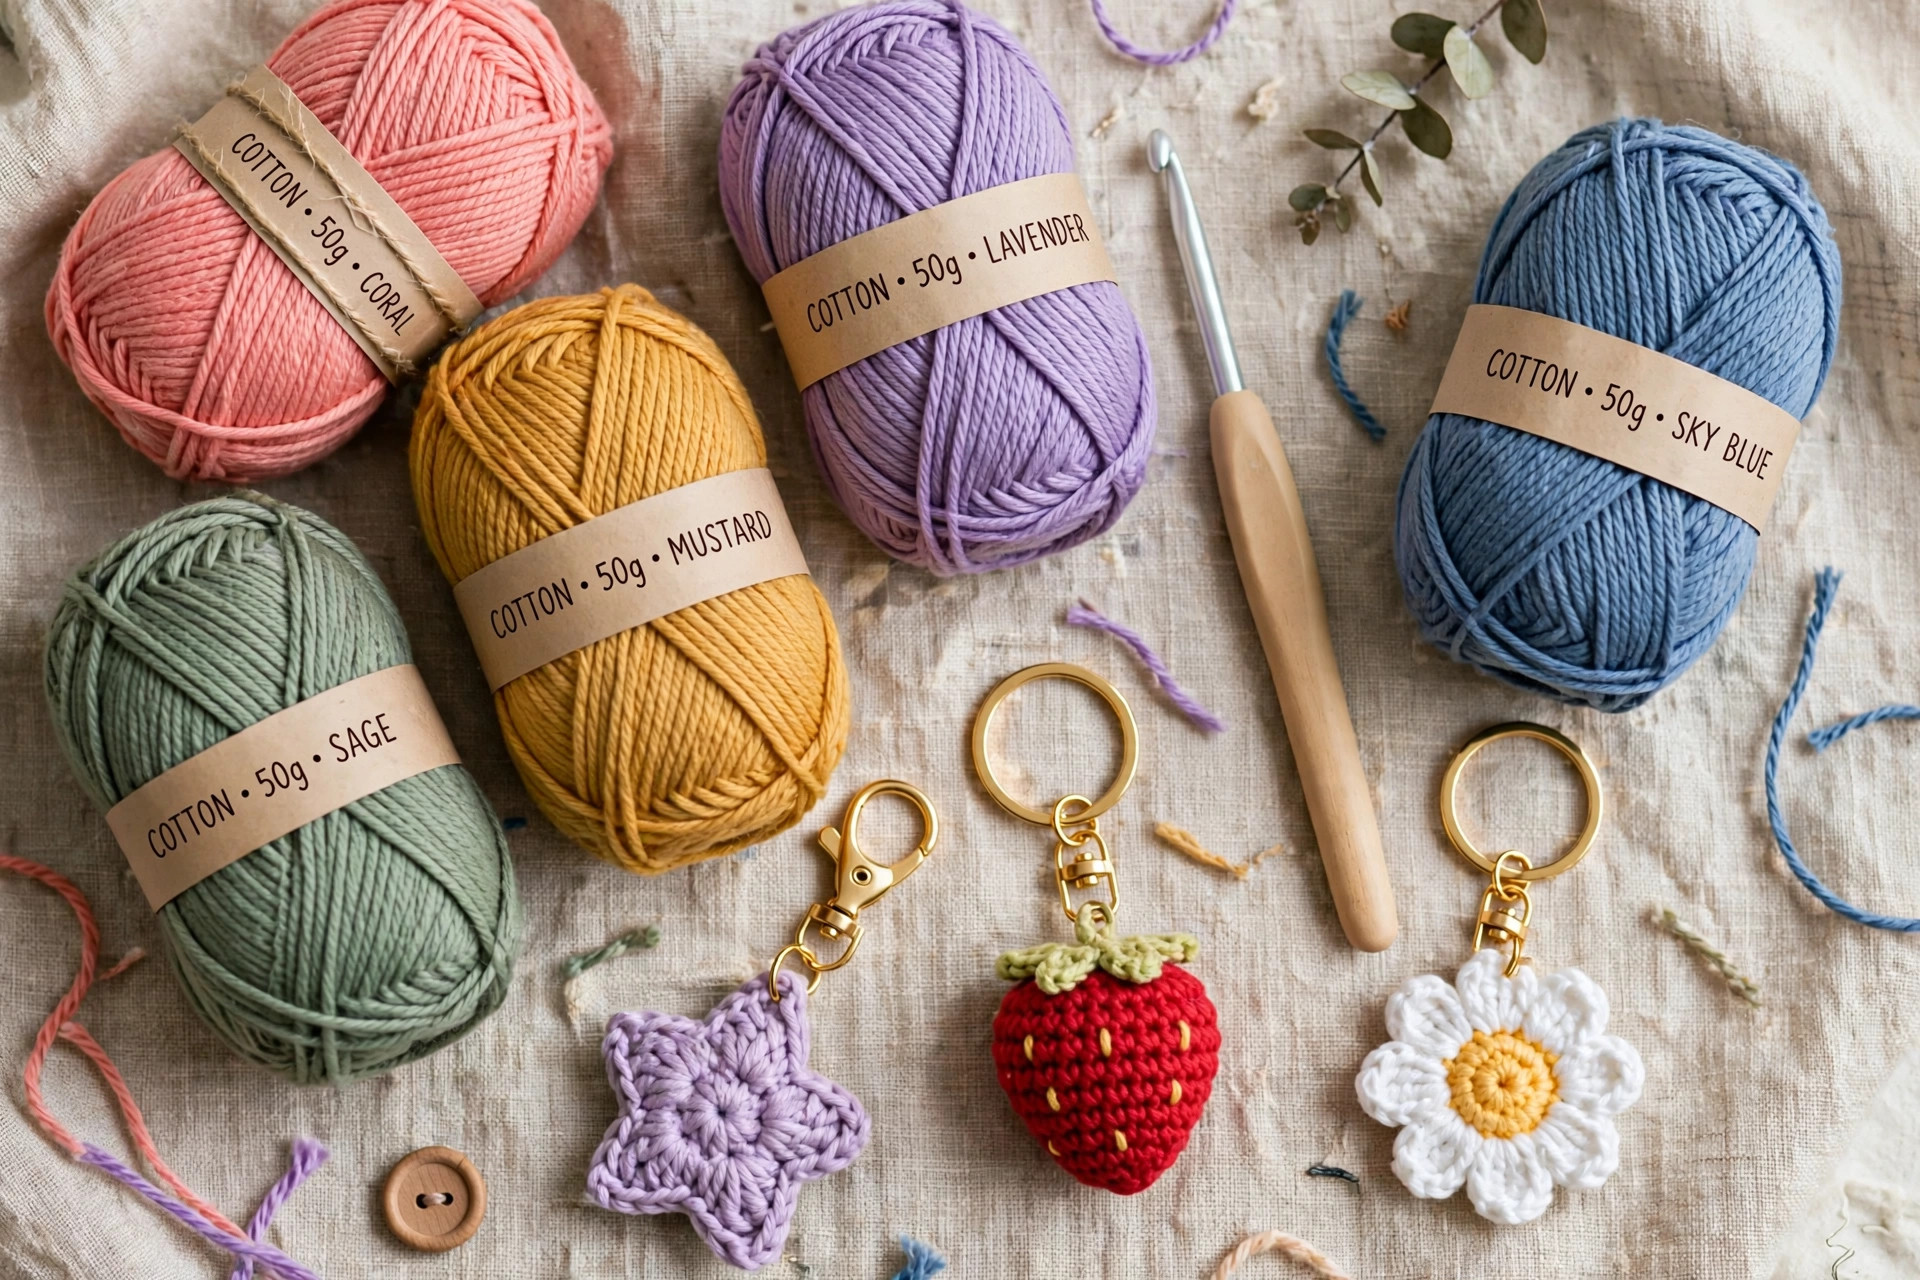
- Mini star. Two flat five-point stars (center of 10 sc, points of [ch 3, sc in 2nd ch, hdc in next ch, sl st to center]) placed back to back with a pinch of stuffing, whipstitched around. Perfect good-luck charm.
- Citrus slice. Flat circle to 24 sts in orange or lemon, one round in white, one round in fruit color as rind, white embroidered segment lines.
- Tiny rainbow. Three chained arcs in red, yellow, and blue sewn to a small white cloud base of clustered sc.
- Initial letter. Small flat circle or heart in a neutral color, recipient's initial embroidered in a contrast yarn. Personalized in five minutes — always the most-requested variation.
Troubleshooting tips
- Stuffing shows through. Fabric is too loose — drop 0.5 mm in hook size, tighten tension, choose matte cotton over silky yarn.
- Strawberry looks like a tomato. Stuff more toward the top so it tapers, and never skip the leaf cap and seeds — they are what say strawberry.
- Heart lobes collapse. Unpick the closure, push fiberfill firmly into each lobe with the blunt end of your hook, then re-close.
- Petals curl into cups. Work the petal round looser, then press under a heavy book for 15 minutes. A backing disc helps too.
- Loop pulled out. Re-attach doubled, passed deep through the body, knotted inside the stuffing.
- Charm faces backward. Attach the loop at the exact top center and keep it short — long loops twist.
- Rounds gain or lose stitches. Count every round and always use the marker. One stray increase is invisible now, obvious later.
Frequently asked questions
Are these crochet bag charm patterns really free?
Yes — all three patterns are free right here, with full round-by-round instructions. No signup, no purchase. Saving the post on Pinterest is the loveliest thank-you.
How long does each charm actually take?
Flower: about 20 minutes. Heart: 25–30 minutes. Strawberry: 40–45 minutes including seeds and leaf cap. Most makers finish a full set in about 90 minutes.
Can a beginner really make these?
Yes — start with the mostly flat flower. If you can make a magic ring and single crochet, you can make all three; every joining step and the invisible decrease are explained where you need them.
What yarn is best for bag charms?
Worsted or DK cotton or cotton-acrylic blend, with a hook 0.5 mm smaller than the label suggests. Cotton keeps its shape and survives daily handling far better than fluffy yarns, which fuzz quickly.
How do I attach a charm without a keyring?
Use a lobster or swivel clasp — it clips onto a zipper pull, D-ring, or strap loop and swaps off just as easily. Or thread ribbon through the loop and tie it to a handle.
Can I sell the charms I make from these patterns?
Yes! Sell finished charms in small batches at fairs and online. Please credit Little Loop Finds with a link back to this page. The pattern text and photos may not be redistributed or sold.
How do I make the charms bigger or smaller?
Change yarn weight and hook together: DK with a 3.0 mm hook for dainty zipper charms, chunky with a 5.0 mm hook for bold tote charms. Keep stitch counts the same — the math scales itself.
More free patterns to try
Keep the momentum going: crochet flower pattern free scales the flower up into coasters, free crochet heart pattern adds larger hearts for garlands, and free crochet bag patterns gives you a handmade bag worthy of your new charms.
The box below contains an Etsy link. If you buy through it, we may earn a small commission at no extra cost to you. Learn more.
No time to make one?
Short on time? Find handmade crochet bag charms from independent makers on Etsy.
Browse on Etsy (opens Etsy in a new tab)