Crochet dog collar pattern: cute, sturdy & safe
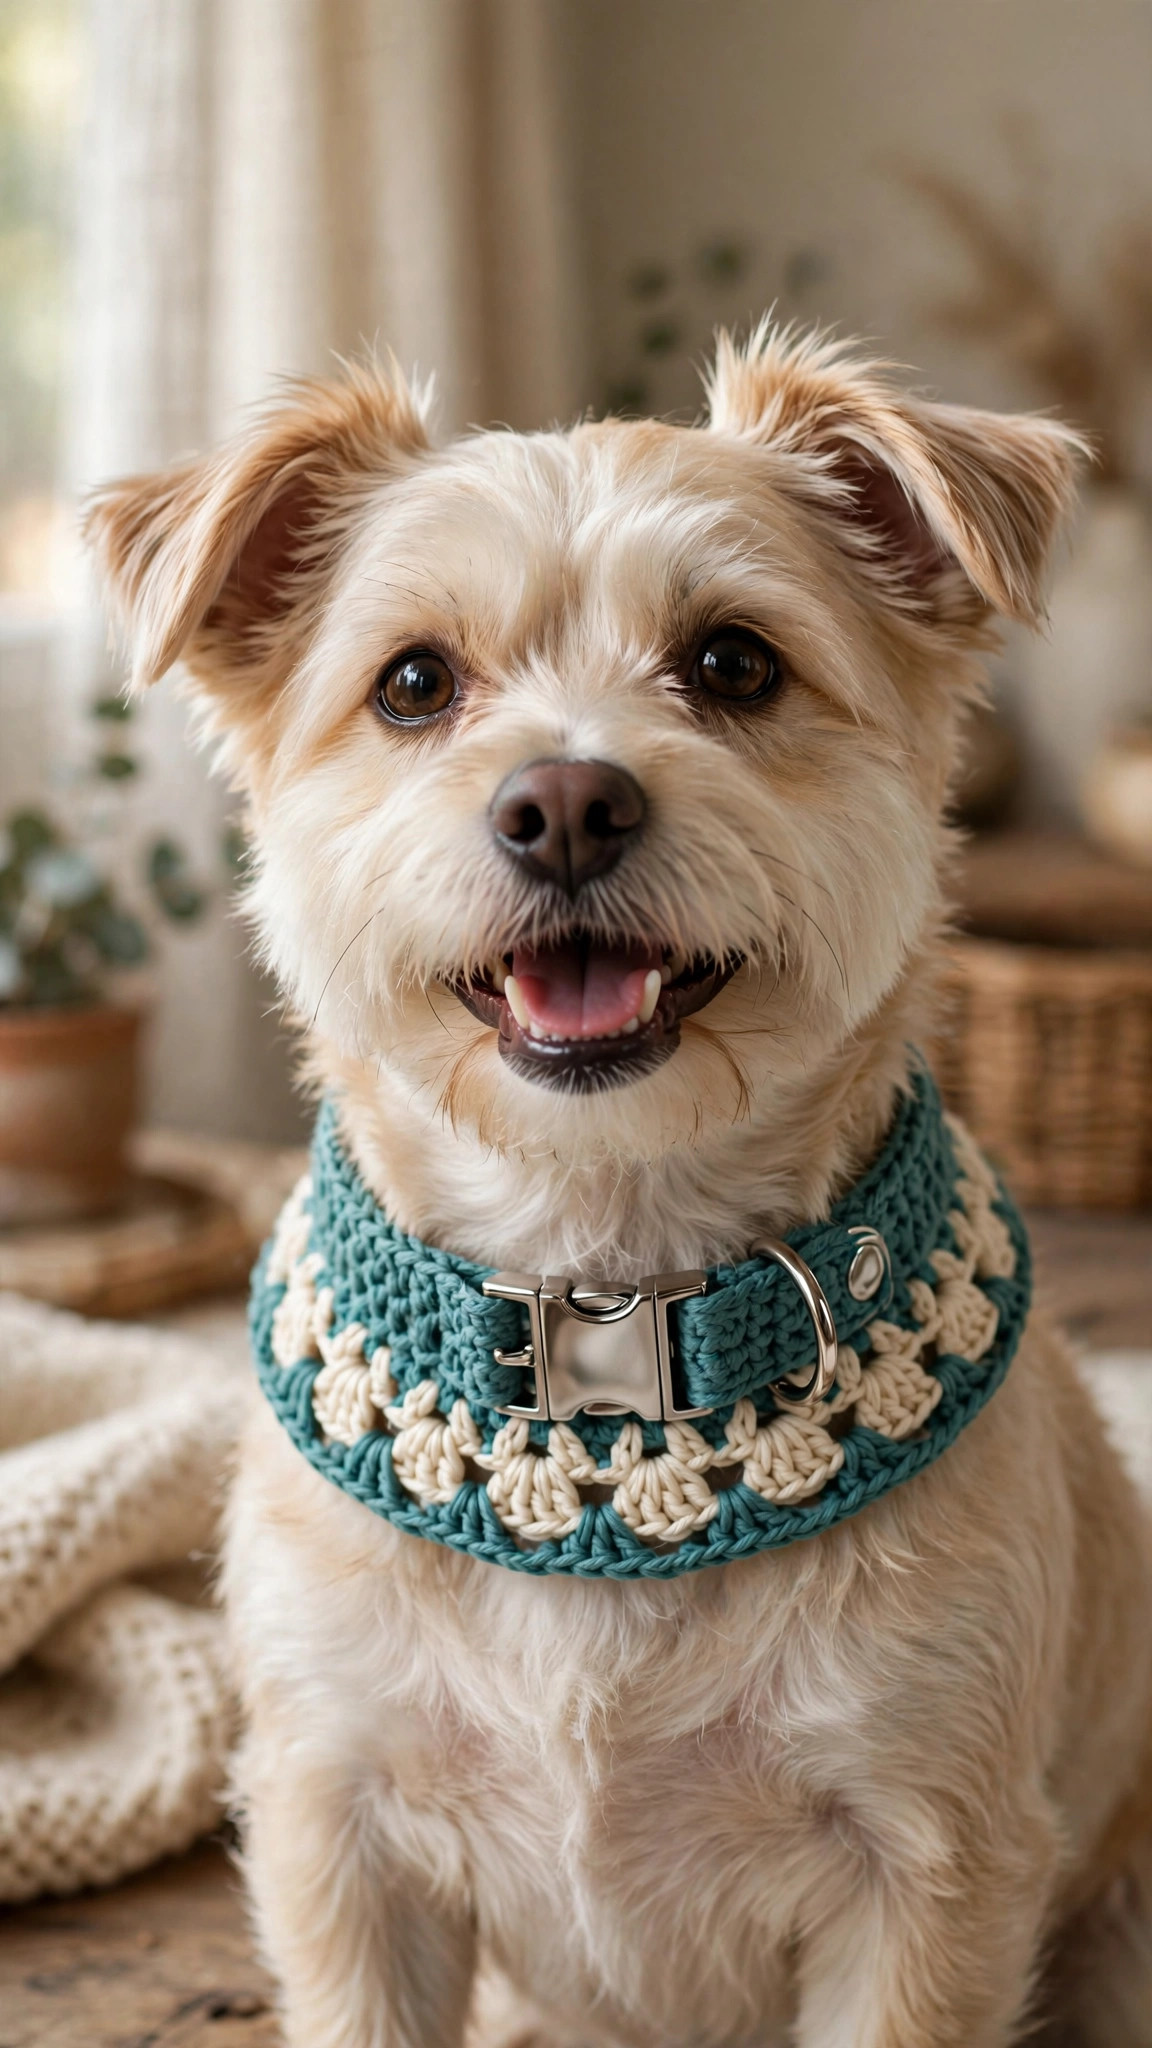
A sturdy flat crochet dog collar in tight cotton single crochet, fitted around a real buckle and welded D-ring and sized XS-XL from your dog's actual neck measurement — a quick, stash-friendly make for supervised, everyday wear.

Pets · Crochet
- Finished sizes
- XS-XL, by neck measurement
- Making time
- About 1.5-2.5 hours
- Hook
- 4.0 mm, cotton yarn
- Sizes
- 5 sizes, 5 buckle holes
- Skill
- Beginner
In this post
Store-bought collars all look the same — black nylon, pink nylon, maybe a paw print if you're lucky. This original crochet dog collar pattern lets you make something far better: a sturdy flat band in your dog's exact colours, worked in tight cotton stitches around real buckle and D-ring hardware, sized from tiny XS pups to big XL gentle giants using just a tape measure. It is quick, useful, and photographs beautifully on walks.
One important promise before we start: crochet is softer and stretchier than nylon webbing, so this is a decorative, everyday ID-tag collar for supervised use — perfect for photos, parties and gentle walks. It is not a tie-out collar, not a training collar, and not the collar to trust with a strong puller. Used the right way, it is safe, comfortable and very, very cute.
Why you'll love this crochet dog collar pattern
First, the fit. Pet-shop collars come in vague small, medium and large buckets that rarely match a real dog — a dachshund has a long, slim neck, a frenchie a short, thick one. Because this pattern starts with your dog's actual neck measurement and a two-finger fit rule, the finished collar sits exactly where it should: snug enough not to slip over the head, loose enough for all-day comfort.
Second, the construction is smarter than it looks. The band is worked flat in tight single crochet in cotton, giving a dense, low-stretch fabric. One end folds around the buckle bar and is stitched down, the D-ring is trapped inside that fold so tags have proper metal to hold onto, and the free end is tapered with buckle holes formed in the stitching. Nothing is glued — every join is sewn.
Third, it is fast and stash-friendly. A size M collar uses roughly 35–40 grams of yarn — one small ball of cotton, or dishcloth leftovers. Most makers finish in a single evening, then start a second in holiday colours. Matching pet sets are dangerously collectable: make this collar, then add a free crochet cat sweater pattern for the cat who rules the house anyway.
And finally, it makes a wonderful gift. New puppy, adoption day, or a dog birthday worth celebrating? A collar in the dog's colours looks thoughtful and boutique-made — because it is. Just measure the lucky dog's neck first, or ask its human for the measurement of a collar that already fits.
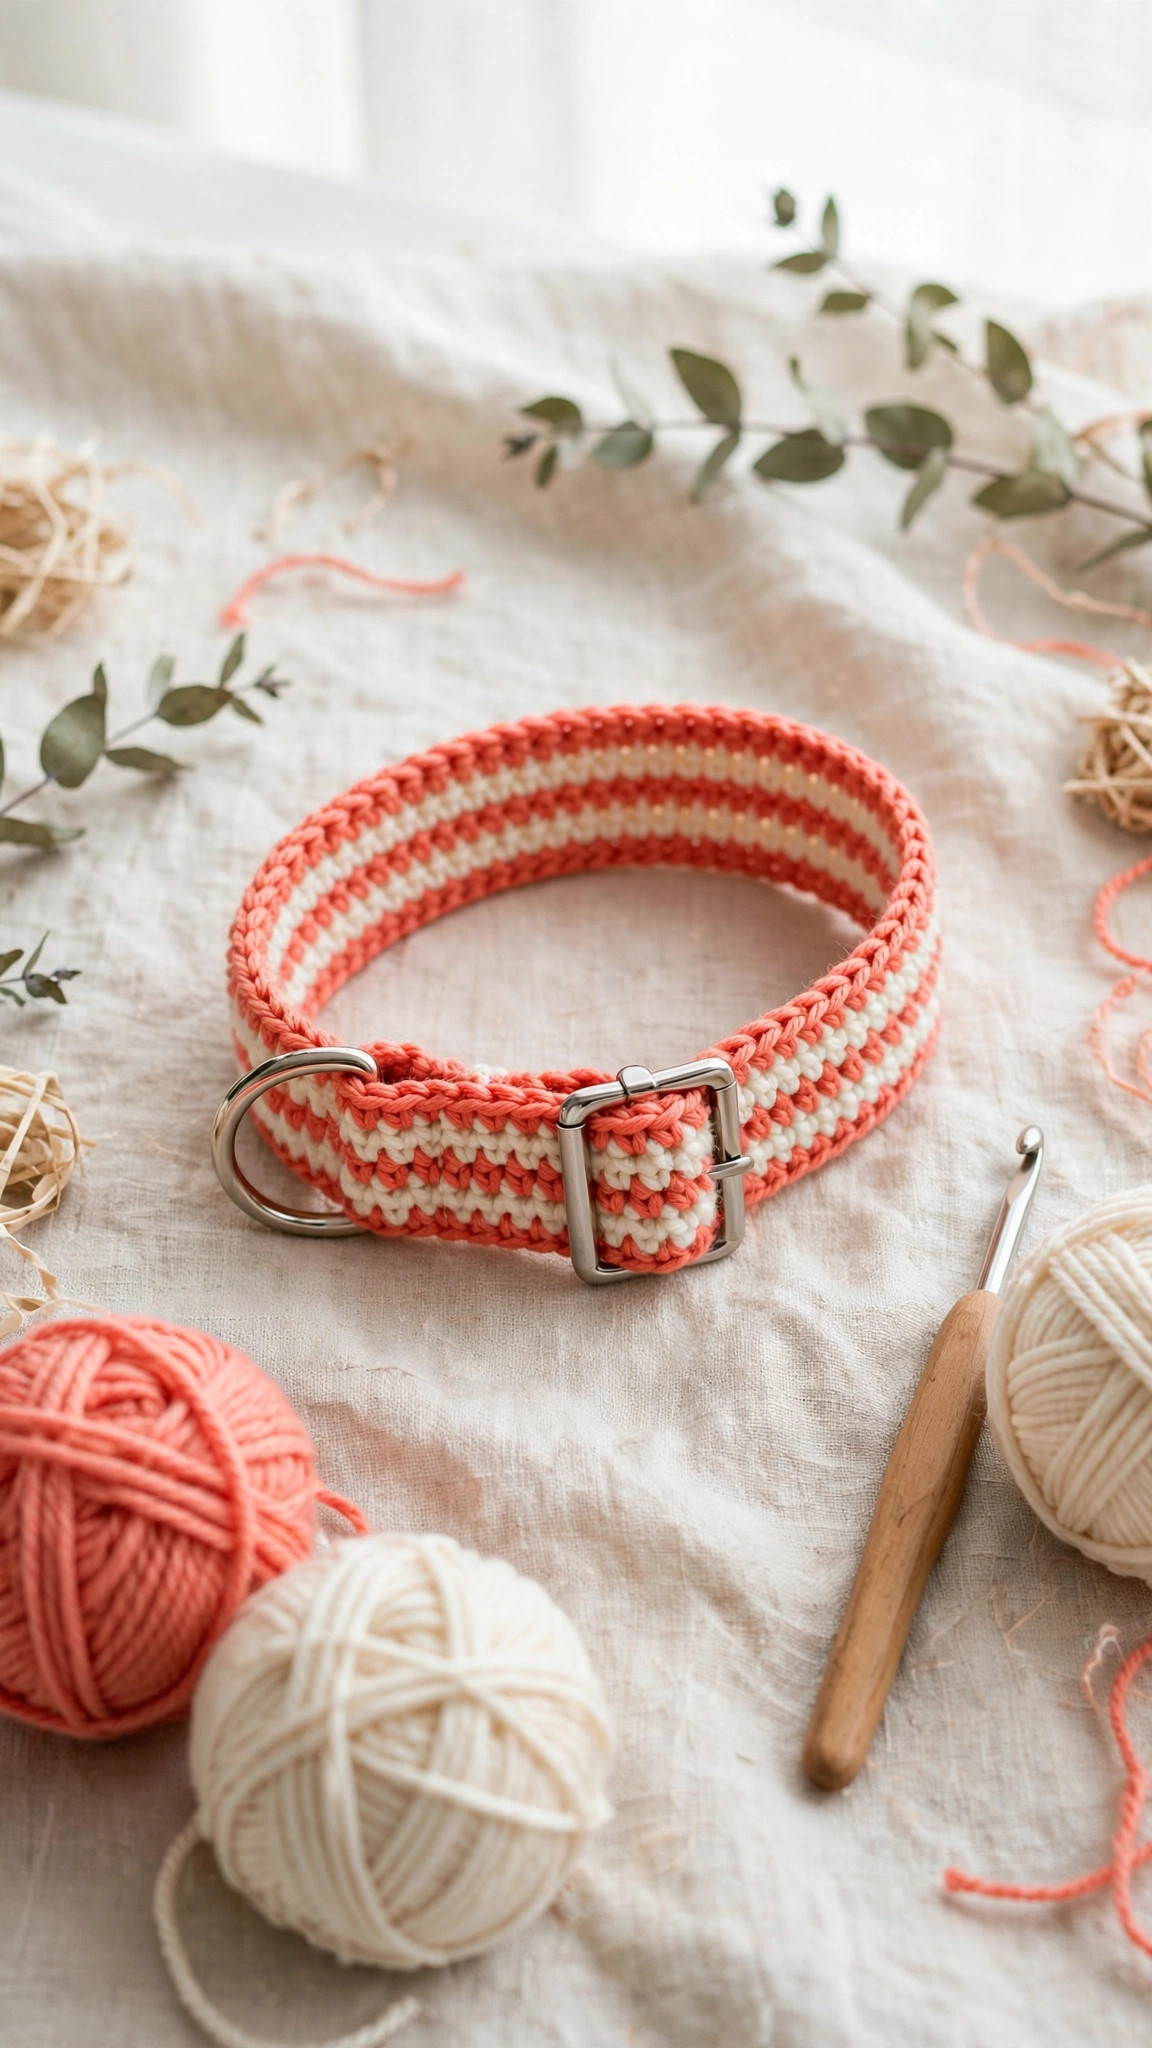
Materials you'll need
| Supply | What to get |
|---|---|
| Main yarn | DK or light worsted (#3–#4) cotton yarn, about 30 g (XS–S), 40 g (M), 55 g (L–XL) |
| Contrast yarn (optional) | Small amount of cotton in a second colour for stripes or edging |
| Crochet hook | 4.0 mm (G-6) — or size needed for a tight, dense fabric |
| Buckle | Side-release or contoured collar buckle, inner width to match your band width (see sizing table) |
| D-ring | Welded metal D-ring, inner width to match your band width — must be welded, not split |
| Keeper loop (optional) | Small metal or plastic keeper/slider in the same width |
| Notions | Tapestry needle, stitch markers, scissors, measuring tape |
| For fitting | Your dog, treats for modelling fees, and a well-fitting current collar if you have one |
A note on yarn: choose cotton, not acrylic, and nothing fluffy or stretchy. Cotton has little give, takes tight stitches beautifully, washes well, and holds buckle holes without sagging. Mercerised cotton looks polished; kitchen cotton is the sturdy workhorse. Avoid chenille, velvet, eyelash and wool.
Hardware matters too. Buy a buckle and D-ring sold for pet collars, in a width matching your band. The band should pass through snugly — not forced, not flopping. A welded D-ring has no gap to escape through.
Size, gauge and skill level
- Finished sizes: XS, S, M, L and XL, sized by neck measurement — see the table below.
- Gauge: 18 sc × 20 rows = 10 cm (4 in) in single crochet with DK cotton and a 4.0 mm hook, worked firmly. Gauge matters here — do the swatch.
- Skill level: easy / confident beginner. Know how to chain, single crochet, work flat in rows, count stitches, and fasten off. Everything else is explained step by step.
How to measure your dog: wrap a tape measure around the middle of the neck, over the fur but not compressing it. Slide two fingers flat between tape and neck — that gap is built into a comfortable fit. No tape? Use string, mark it, then measure it. Or measure the inside of a collar that already fits.
| Size | Dog's neck (with 2-finger gap) | Finished band length | Band width | Starting chain | Buckle & D-ring inner width |
|---|---|---|---|---|---|
| XS | 20–25 cm / 8–10 in | 30 cm / 12 in | 1.5 cm / ⅝ in | ch 7 (6 sc per row) | 15 mm |
| S | 25–30 cm / 10–12 in | 35 cm / 14 in | 2 cm / ¾ in | ch 9 (8 sc per row) | 20 mm |
| M | 30–38 cm / 12–15 in | 43 cm / 17 in | 2.5 cm / 1 in | ch 11 (10 sc per row) | 25 mm |
| L | 38–48 cm / 15–19 in | 53 cm / 21 in | 2.5 cm / 1 in | ch 11 (10 sc per row) | 25 mm |
| XL | 48–58 cm / 19–23 in | 63 cm / 25 in | 3 cm / 1¼ in | ch 13 (12 sc per row) | 32–38 mm |
The finished band is longer than the neck measurement on purpose: the extra covers the buckle fold and hole overlap, giving about 5 cm (2 in) of adjustability — enough for a puppy growth spurt. For a fun layer over it, our crochet bandana free pattern slides neatly onto this band.
Abbreviations — US terms
| Abbreviation | Meaning |
|---|---|
| ch | chain |
| sc | single crochet |
| sl st | slip stitch |
| st(s) | stitch(es) |
| sk | skip |
| R | row |
| RS | right side |
| WS | wrong side |
| FO | fasten off |
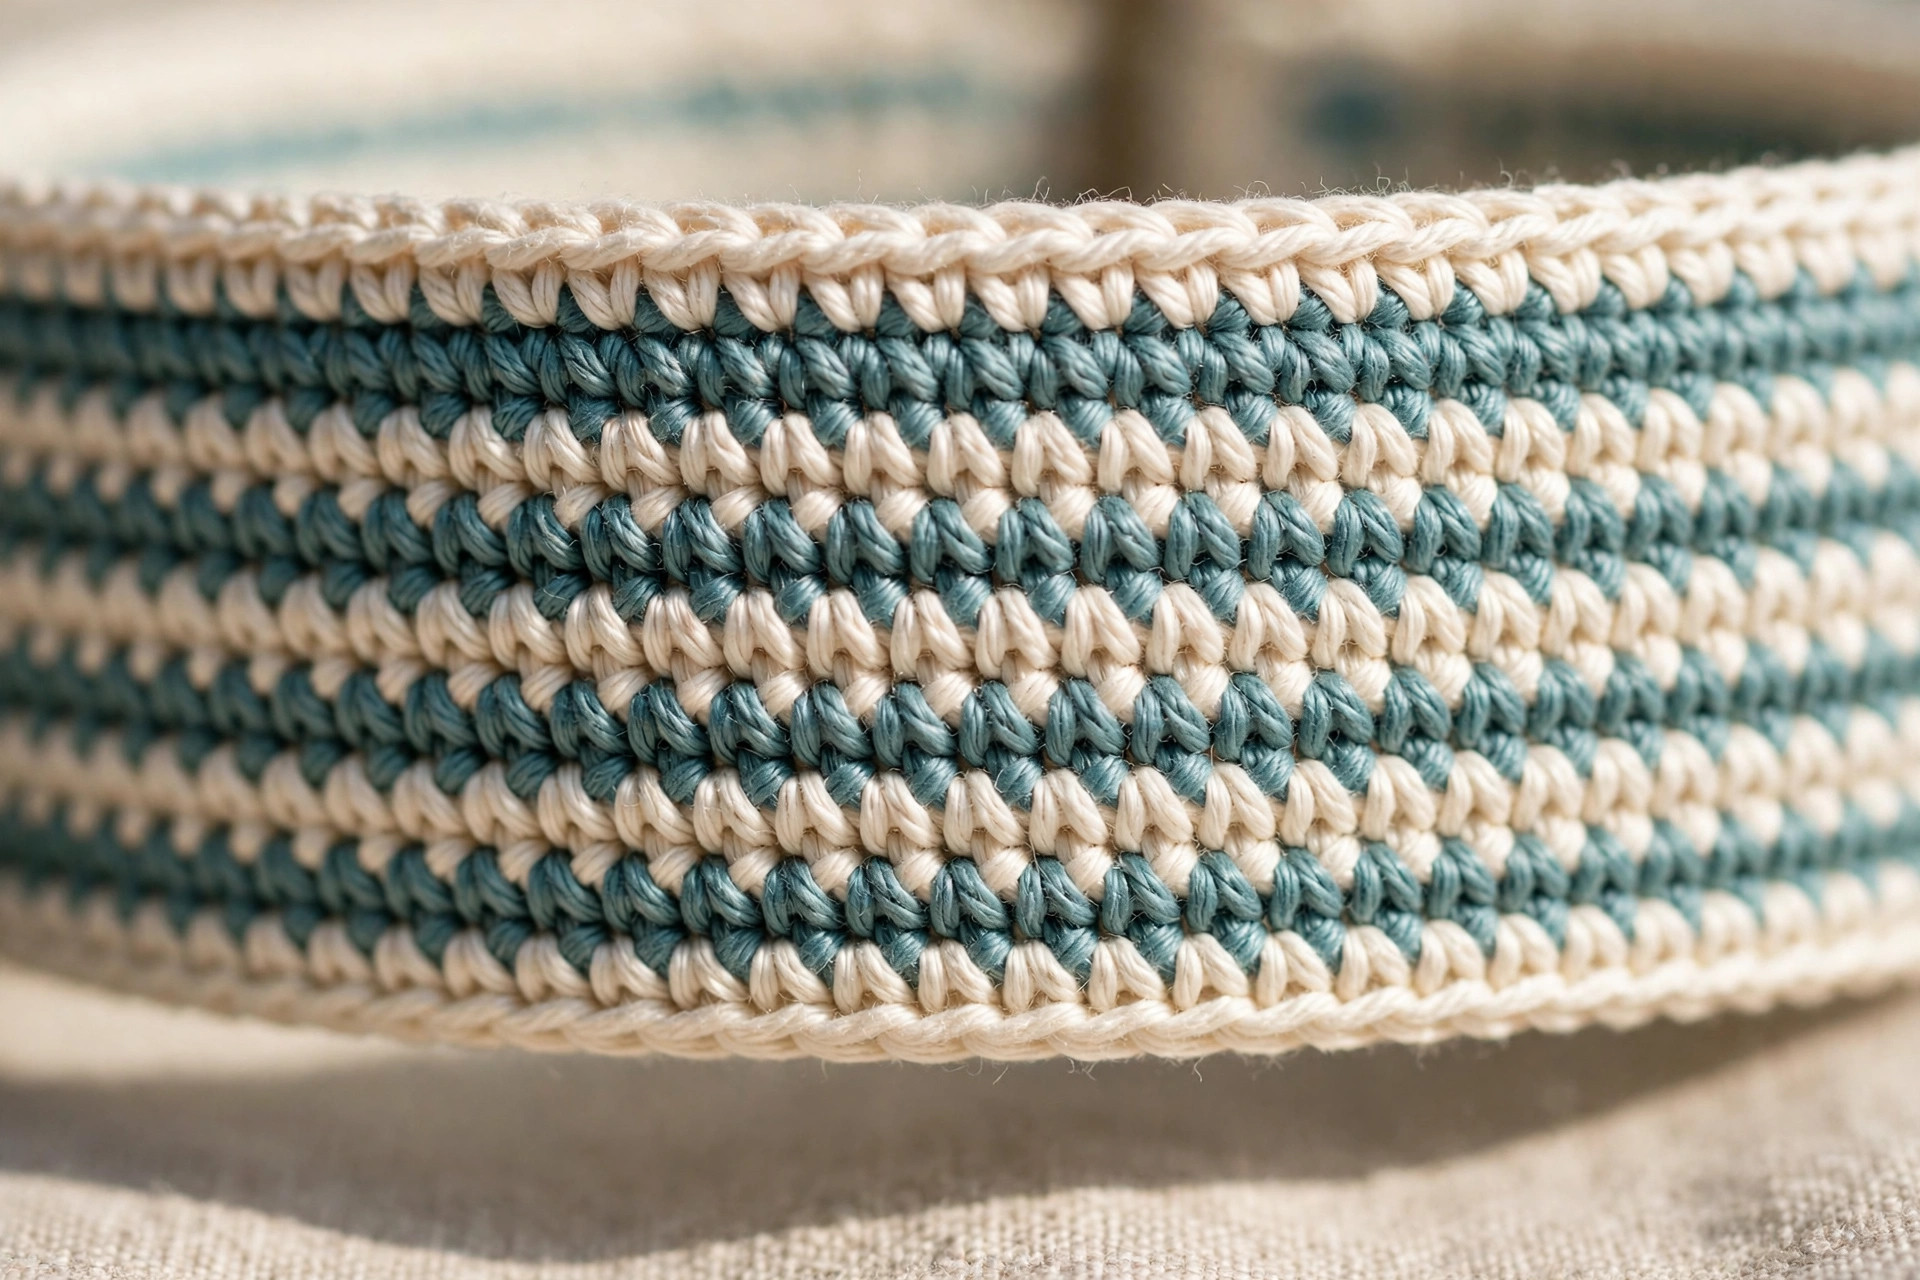
A note on tension: work firmly. You want a band that holds its shape, not a ribbon that drapes. If your swatch is larger than gauge, drop to a 3.5 mm hook. Tight fabric resists stretching, keeps holes round, and stops twisting.
The pattern (US terms)
The instructions below are written in full for size M — 10 sc per row, 43 cm (17 in) finished band. For another size, use your starting chain and stitch count from the sizing table, and work the main band until it reaches your finished length minus about 7 cm (2¾ in) for the hole and taper section. Buckle fold, D-ring fitting and hole placement are identical for every size; only the plain rows in the middle change. Count stitches every row for the first ten rows — after that, your hands will know the width.
Before you start — the swatch and the strap test
Chain 16, work 15 sc across, then work rows until the piece is about square, roughly 22 rows. Measure the middle 10 cm (4 in): count 18 stitches across and 20 rows down. Too few? Too loose — smaller hook. Too many? Larger hook, but err tight. Then pull the swatch firmly: good collar fabric gives a millimetre or two and stops. A stretchy swatch makes a collar that grows — remake it tighter now.
The band — foundation and first rows
- Foundation: ch 11.
- R1: sc in 2nd ch from hook and in each ch across (10). Ch 1, turn.
- R2: sc in each st across (10). Ch 1, turn.
- R3–R6: repeat R2 (10) — 4 more rows, ch 1 and turn at the end of each row.
These first six rows become part of the buckle fold, so keep them neat. Mark the right side of R1 with a stitch marker. For stripes, change colour at the start of a row, and cut and weave ends rather than carrying strands.
The main band — the long, relaxing middle
- R7 onwards: sc in each st across (10). Ch 1, turn. Repeat until the band measures 36 cm (14¼ in) from the foundation edge — for size M at gauge, that is roughly R72 in total.
Yes, it is a lot of plain single crochet — also gloriously meditative podcast crochet. Check length every twenty rows, because small tension drifts add up. For stripes, work rows 20–23 and 48–51 in contrast colour. Stop at 36 cm (14¼ in) for size M; do not fasten off.
The hole section and tapered end (size M)
Buckle holes in crochet are simply planned gaps, reinforced by the dense fabric around them. You will work five holes spaced 2.5 cm (1 in) apart.
- R73–R76: sc in each st across (10). Ch 1, turn at the end of each row.
- R77 (hole row): sc in next 4 sts, ch 1, sk 1 st, sc in next 5 sts (10, counting the ch as a space). Ch 1, turn.
- R78: sc in next 5 sts, sc in ch-1 space, sc in next 4 sts (10). Ch 1, turn.
- R79–R83: sc in each st across (10) — 5 rows. Ch 1, turn.
- R84 (hole row): repeat R77 (10). Ch 1, turn.
- R85: repeat R78 (10). Ch 1, turn.
- R86–R90: sc in each st across (10) — 5 rows. Ch 1, turn.
- R91 (hole row): repeat R77. R92: repeat R78. R93–R97: sc across (10) — 5 rows.
- R98 (hole row): repeat R77. R99: repeat R78. R100–R104: sc across (10) — 5 rows.
- R105 (hole row): repeat R77. R106: repeat R78.
- R107–R108: sc in each st across (10) — 2 rows. Ch 1, turn.
- R109 (taper): sk first st, sc in next 8 sts, sk last st (8). Ch 1, turn.
- R110: sk first st, sc in next 6 sts, sk last st (6). Ch 1, turn.
- R111: sk first st, sc in next 4 sts, sk last st (4). FO, leaving a short tail to weave in.
Your band should now measure about 43 cm (17 in). Lay it flat and check the holes sit centred, framed by solid rows. Give it a firm lengthwise pull — holes should stay small and round. If one looks floppy, your tension loosened mid-band; the edging in Finishing touches will firm it up.
Fitting the buckle and D-ring
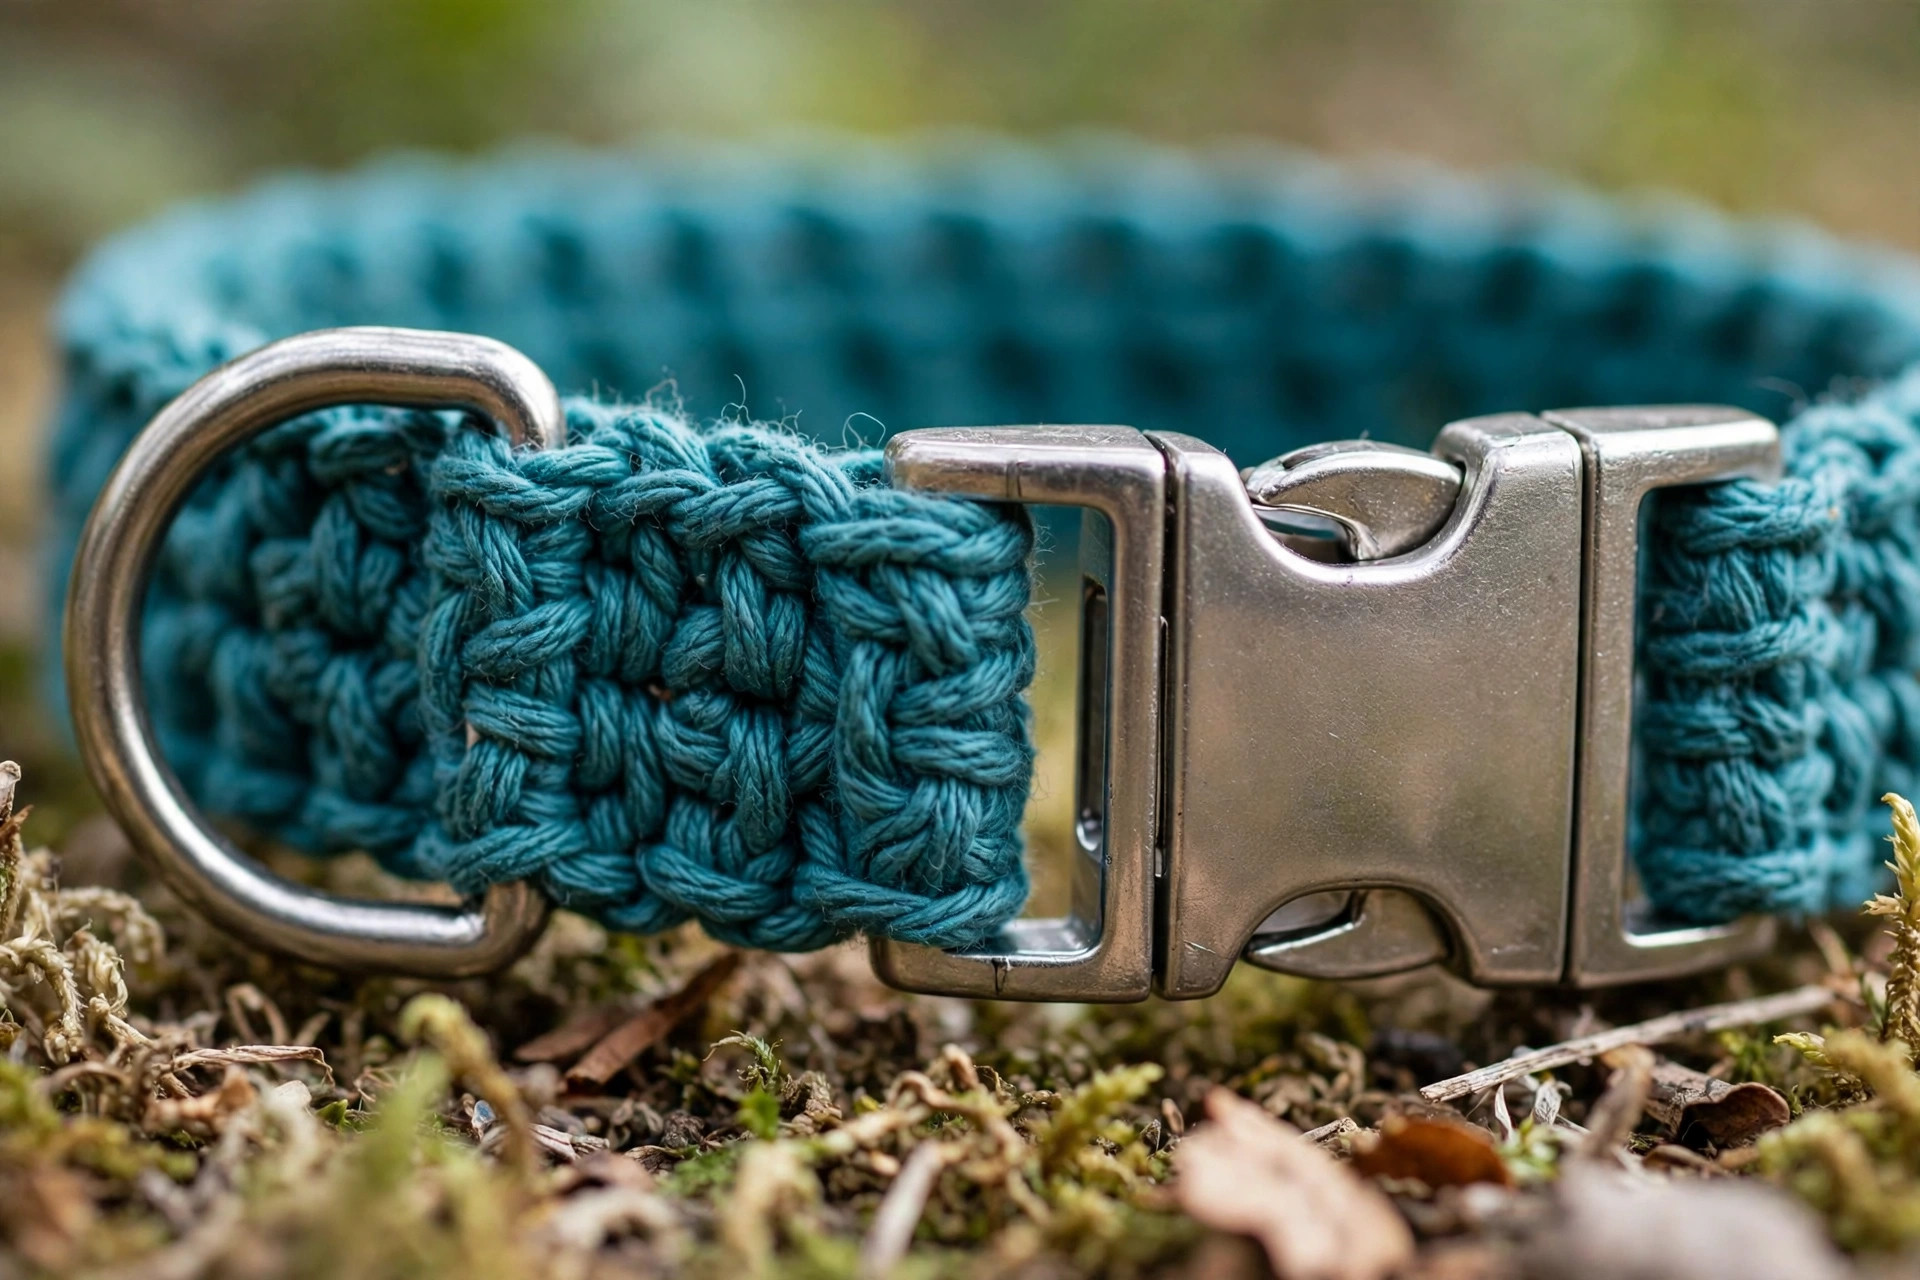
Slide the D-ring onto the band from the foundation end, flat bar first. Thread the foundation end up through the buckle, over the centre bar, and back down, so the right side faces out and the end folds to the wrong side by about 3 cm (1¼ in). Slide the D-ring up into that fold, flat bar against the buckle-bar side, curve pointing back along the band — the ring is now trapped inside the fold. Pin with stitch markers.
With a tapestry needle and a 40 cm (16 in) length of yarn, backstitch across the band through both layers, just behind the buckle bar. Sew a second line 5 mm behind the first. Weave ends in and trim. Adding a keeper loop? Slide it onto the tapered end now. Finally, tug-test hard: buckle it on a middle hole, clip a lead to the D-ring, and pull. Everything should feel boring — boring is good hardware fitting.
Finishing touches
Edge it (optional, recommended). Slip stitch or single crochet down both long edges tidies row ends, discourages curl, and adds a framed finish. Keep it relaxed — a tight edge cups the band — and add an extra stitch at each tapered corner.
Add a surface stripe (optional). With the right side facing, slip stitch a straight line in contrast yarn along the centre of the band, working into one column of stitches end to end. It looks embroidered and takes five minutes.
Weave and trim. Weave every end for at least 3 cm (1¼ in) in two directions on the wrong side, then trim flush. Check the wrong side against your palm — nothing should scratch or catch.
The first fitting. Buckle the collar on the middle hole. Slide two fingers flat between collar and neck — snug, not tight, not swinging. Watch your dog move for a minute, check the D-ring, and reward the model.
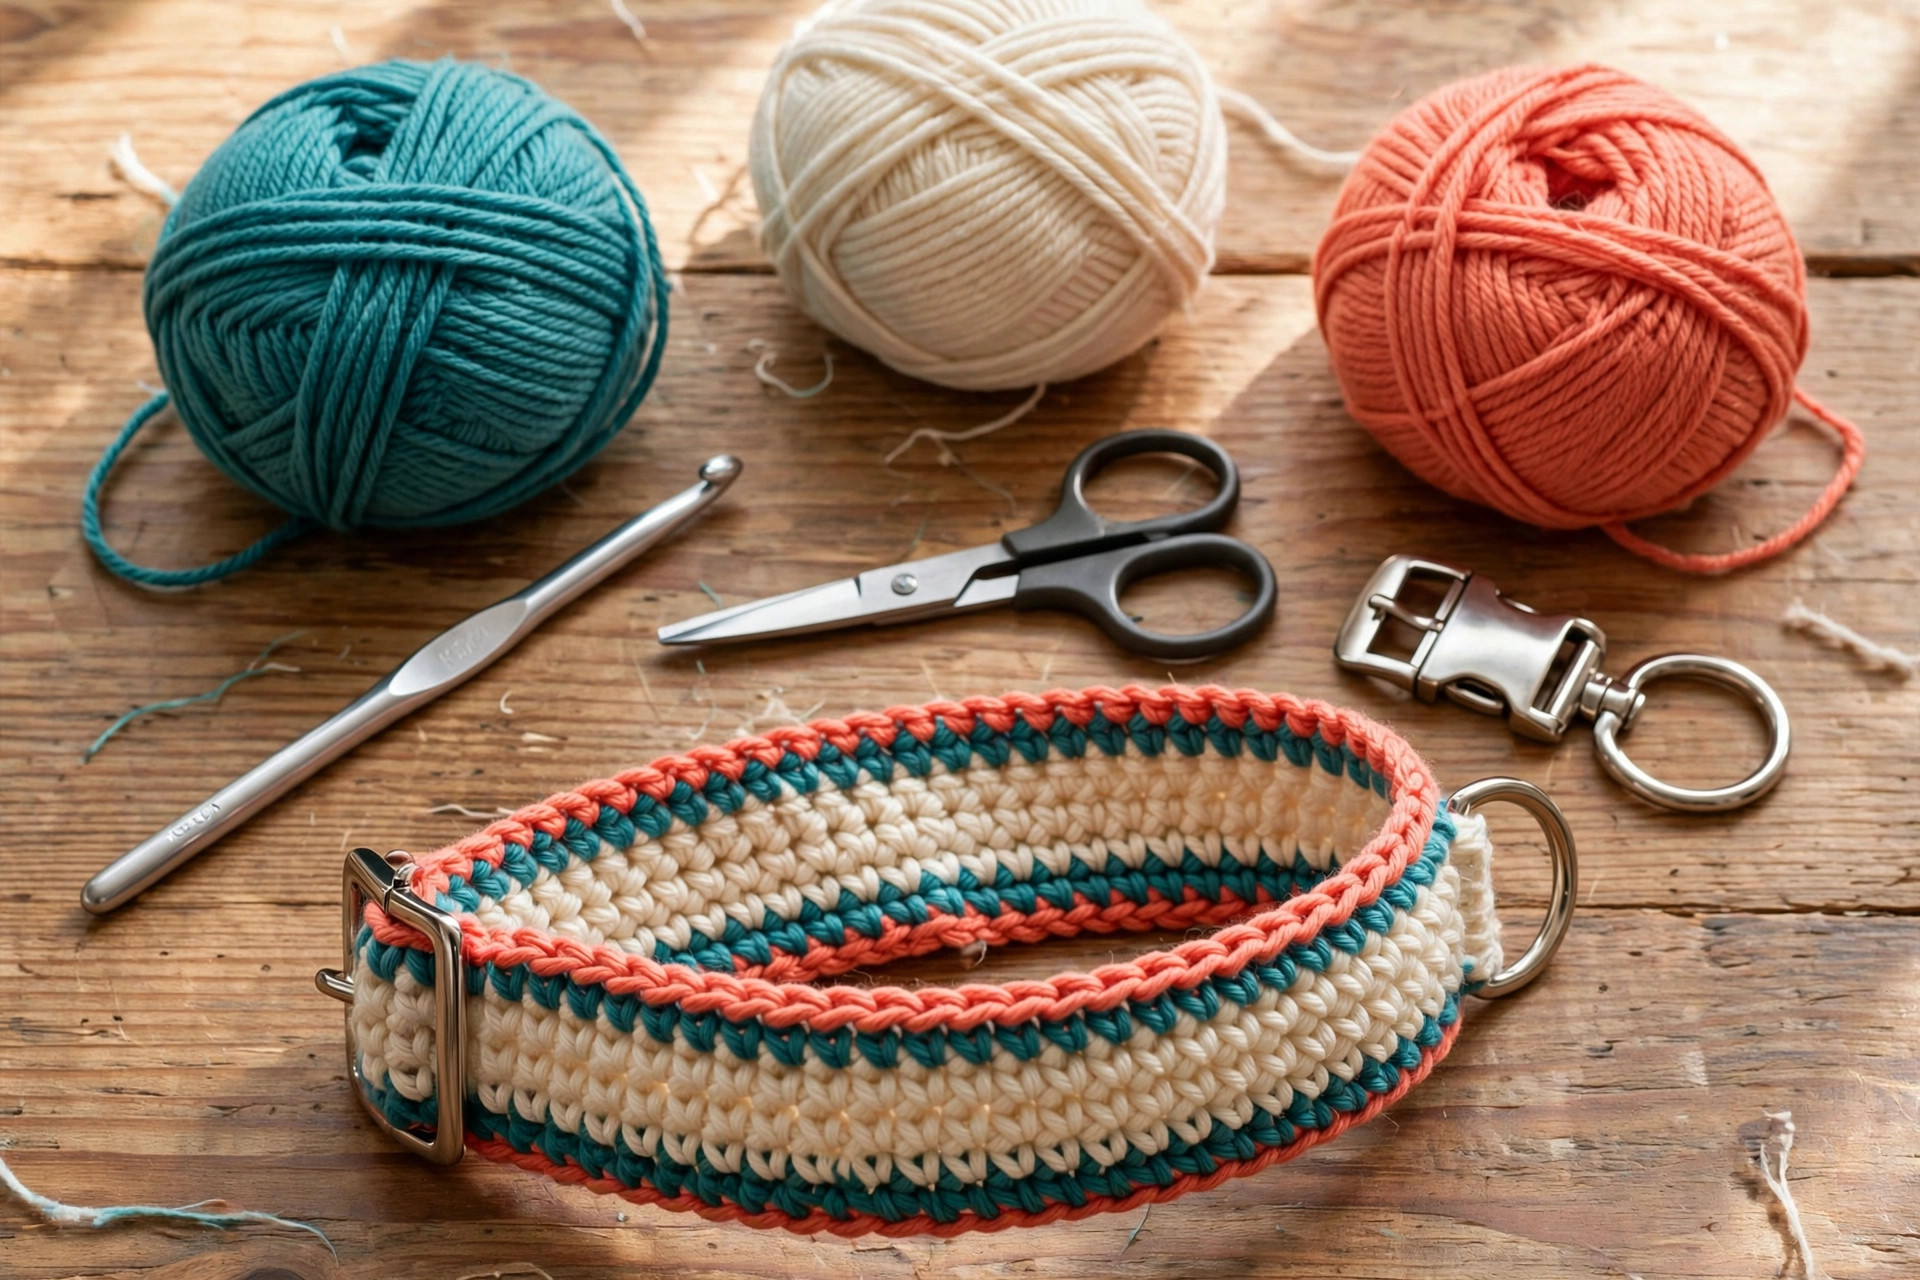
Three cute variations to try next
- The bow-tie collar. Make the collar in a smart solid, then crochet a tiny bow — a small rectangle in contrast yarn, cinched with yarn wraps — and sew it flat beside the D-ring with many secure stitches. Sewn flat is non-negotiable: a dangling bow gets chewed. Wedding and birthday dogs approve.
- The rainbow stripe collar. Change colour every 6–8 rows for a joyful collar that uses up every cotton scrap in your stash. Weave ends as you go, and choose a neutral buckle so the stripes show off.
- The charm collar. Crochet the band plainly, then add an engraved ID tag plus one or two tiny makes from our crochet bag charm patterns free collection at the D-ring. Keep charms small, smooth and securely closed.
Troubleshooting tips
- The collar stretched after a week. Your fabric was too loose. Check gauge, drop a hook size, and remake in true kitchen cotton. A finished collar can be firmed up with a tight edging row down both sides.
- The band twists around the neck. Add the optional edging to stabilise both edges, and re-check that the D-ring is trapped inside the buckle fold — a free-sliding ring lets the collar rotate.
- The buckle fold feels bulky. Re-sew the fold a fraction further back so the layers sit flatter, and press it under a heavy book overnight — cotton responds well to a firm suggestion.
- The holes are stretching oval. The dog is likely between holes, so the prong sits at an angle. Buckle one hole tighter or looser, and aim for a middle hole — end holes are for growth and winter coats.
- The collar looks wavy at the edges. Row-end tension varies — the classic turning-chain wobble. Count stitches every few rows, keep turning chains snug, and add the edging. If crochet is new to you, our easy beginner crochet patterns build exactly this skill.
- My dog chewed the collar. Some dogs are determined chewers, and no yarn collar wins that contest. Keep this collar for supervised outings for a chewer, use a chew-proof commercial collar unsupervised, and store this one up high.
Frequently asked questions
Is this crochet dog collar pattern really free?
Yes — the complete pattern above is free, with no signup and nothing held back. If it made your dog look fabulous, sharing the post or saving it on Pinterest is the kindest thank-you.
Is a crochet collar safe for my dog?
For supervised, everyday use — yes, when made and fitted as written: tight cotton fabric, welded hardware, a two-finger fit, and regular checks for wear. But be clear about the limits: never use it for tie-out, never leave it on an unsupervised dog who chews, and retire it if fabric or stitching looks worn. Let this be the pretty collar, and keep a heavy-duty collar for rough work.
How long does it take to make?
About 1.5–2.5 hours: an hour to ninety minutes for the band (size M is the benchmark), twenty minutes for hardware fitting and sewing, and a few minutes for edging and fitting. XS and S are quicker; XL sits at the top of the range.
Can I sell collars made from this pattern?
Yes — you may sell finished collars in small batches, with credit to Little Loop Finds as designer and a link back to this page. Please include the safety guidance — supervised use, not for tie-out — with every collar you sell. The pattern text and photos themselves may not be redistributed or sold.
What if my dog's neck falls between sizes?
Choose the size giving a middle-hole fit — when in doubt, size up, because the holes give about 5 cm (2 in) of adjustment downward, while a too-short collar has no rescue. You can also add or remove a few plain rows before the hole section; keep the five holes and their spacing as written.
Can I wash the collar?
Yes — another reason we chose cotton. Remove tags and charms, hand-wash or machine-wash gently in a mesh bag, reshape flat, and dry flat away from direct heat. Check buckle stitching and holes after every few washes.
Can I use a different yarn weight?
You can, with care. Worsted cotton with a 4.5 mm hook makes a chunkier band — recheck gauge, adjust your starting chain so the width still matches your hardware, and confirm the band passes through the buckle before sewing. Never size hardware down to fit a too-narrow band. If adjusting patterns is new to you, a free crochet hat pattern first builds the gauge confidence this swap needs.
More free patterns to try
Your dog is dressed — now the rest of the household looks under-accessorised. Happy crocheting, and give the model an extra treat from us.
The box below contains an Etsy link. If you buy through it, we may earn a small commission at no extra cost to you. Learn more.
No time to make one?
Short on time? Find handmade crochet dog collars from independent makers on Etsy.
Browse on Etsy (opens Etsy in a new tab)