Grinch Hat Crochet Pattern Free: Green Santa Hat
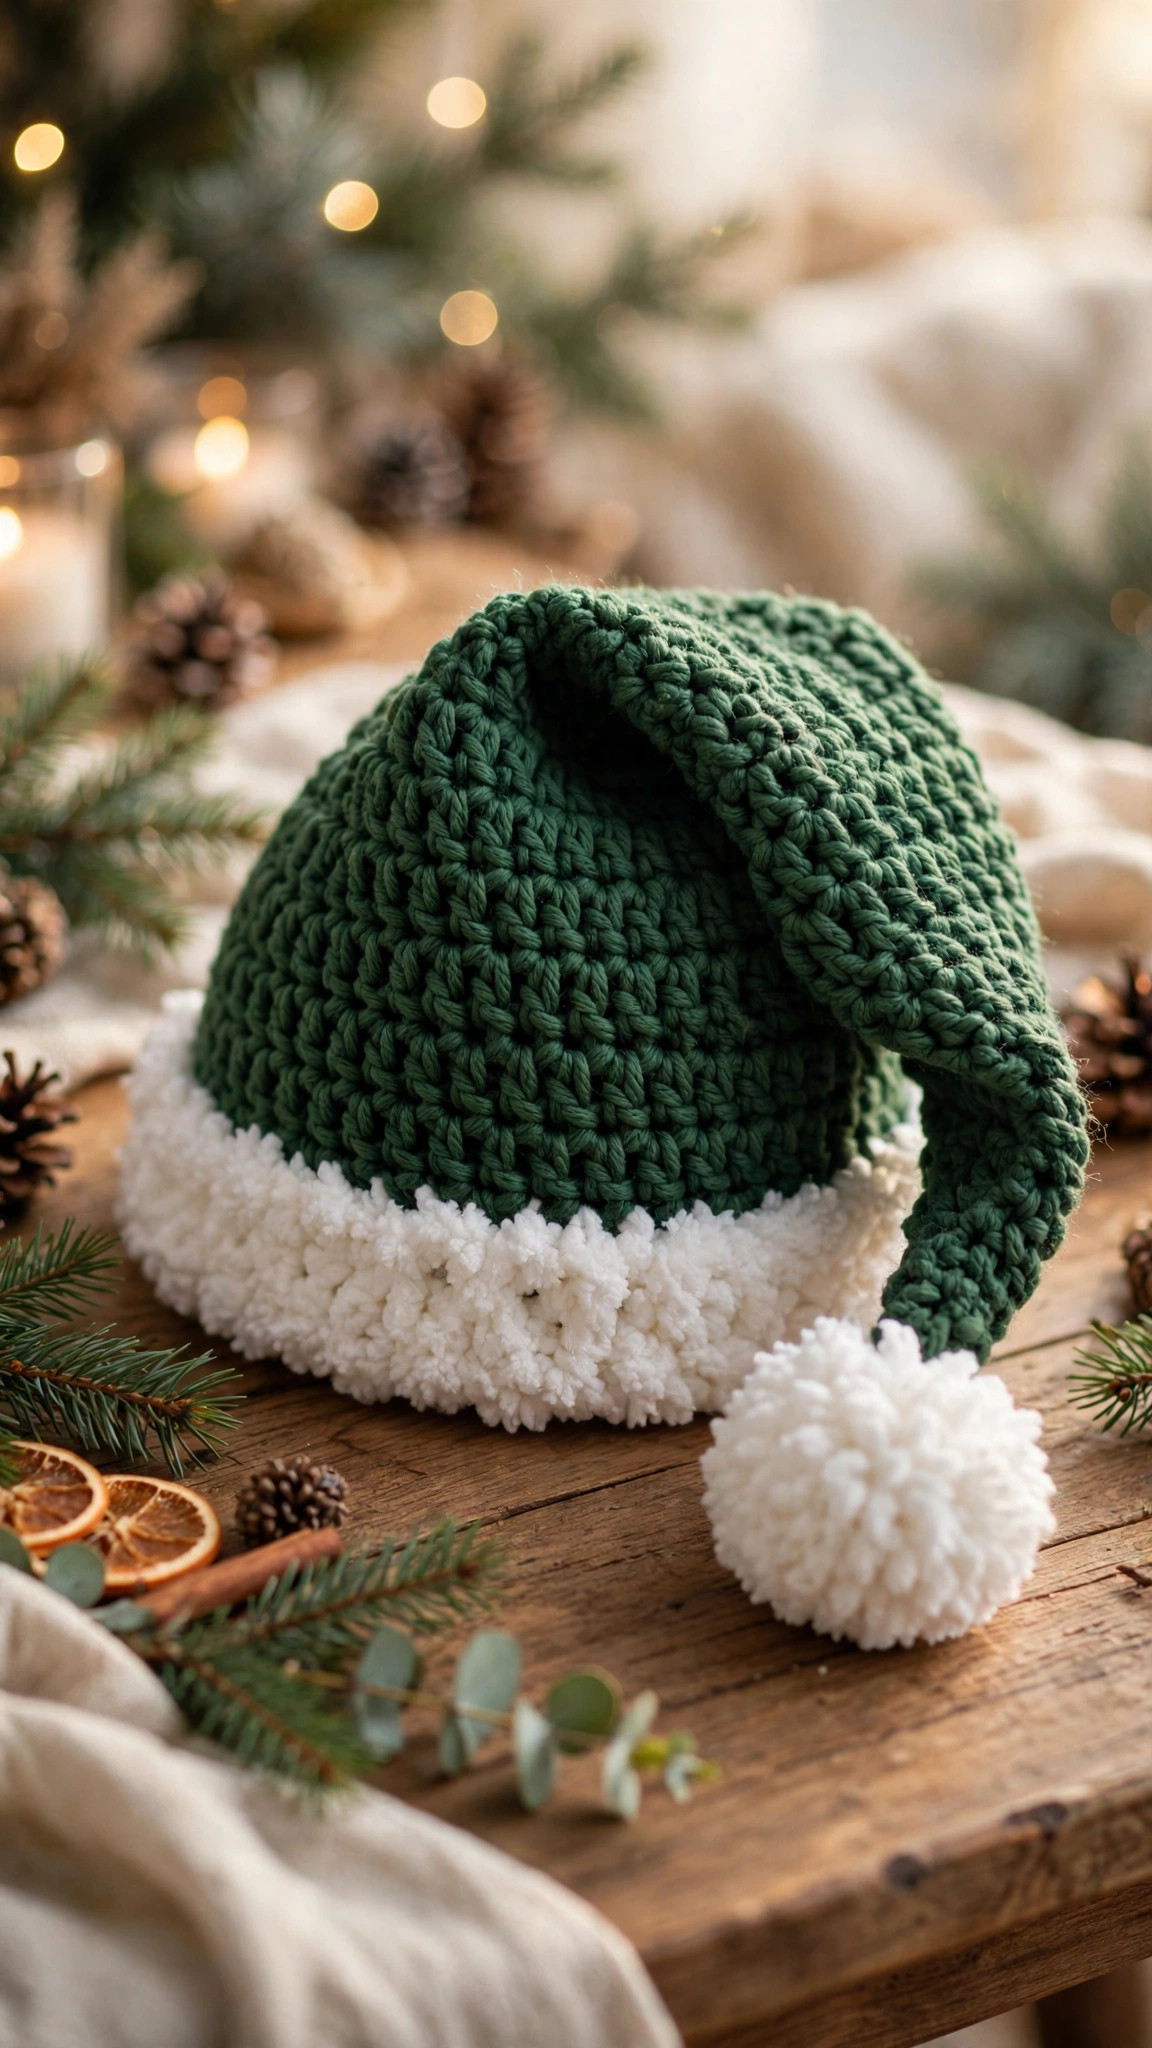
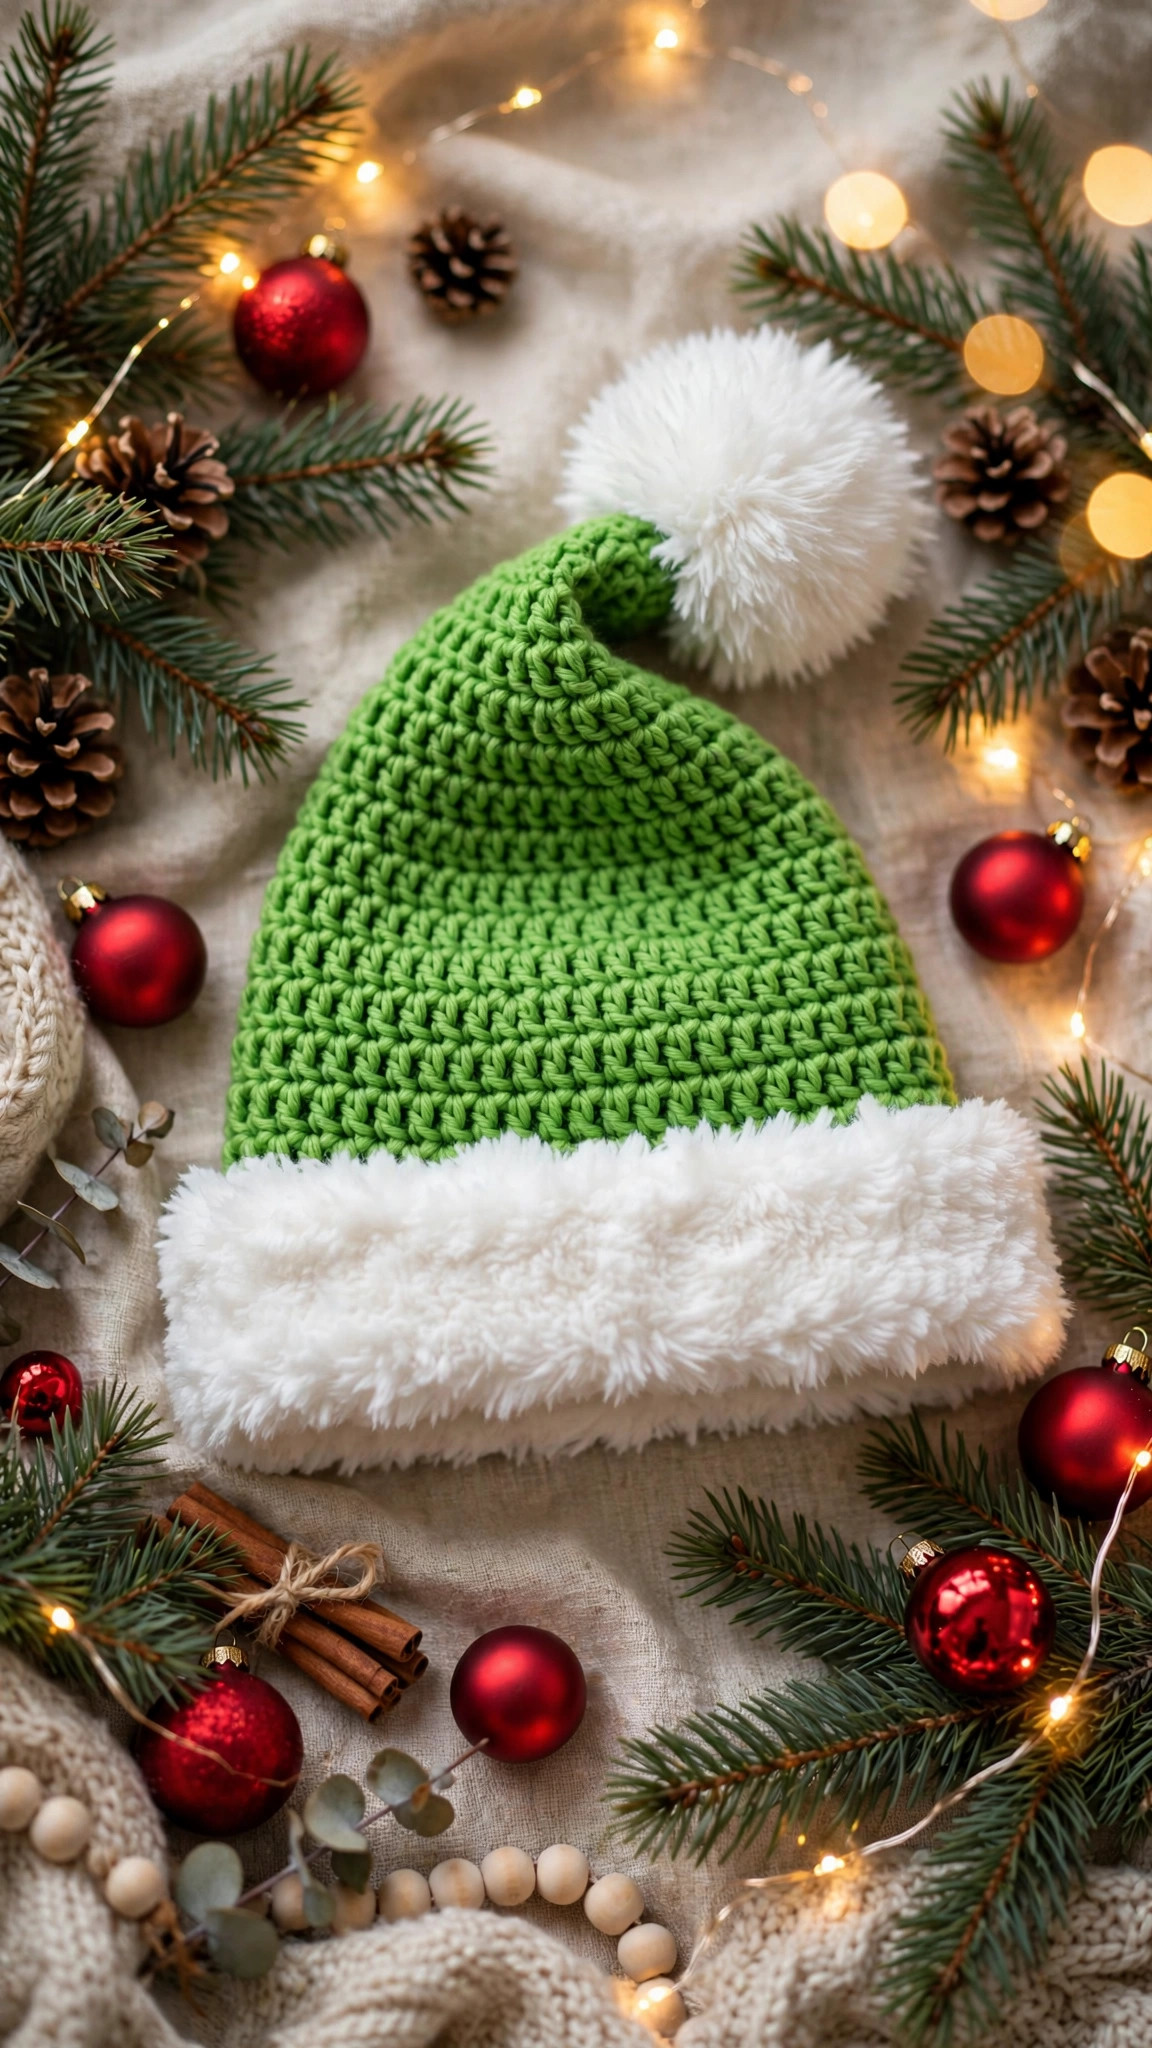
A bright green Santa-style hat with a long droopy tip that flops to one side, a thick folded white brim, and a big soft pompom — worked top-down in simple single crochet spirals in baby, kid and adult sizes.

Hats · Crochet
- Finished size
- About 56 cm / 22 in head
- Making time
- About 3–4 hours
- Hook
- 5.0 mm, worsted-weight yarn
- Pieces
- 1 seamless piece + pompom
- Skill
- Beginner
In this post
Somebody in every family photo is the cheeky one — pulling a face, stealing the last roast potato, and pretending their heart is two sizes too small. This free Grinch hat crochet pattern is made for that person. It is an original green Santa-style hat with a long, droopy tip that flops to one side, a thick fluffy white brim you fold up for extra snugness, and a big soft pompom (or a mischievous little tuft, your choice) on the end. It is bright, it is silly, and it photographs like a dream next to the tree.
The best part? Nothing tricky hides inside. The whole hat is worked in simple single crochet spirals from the tip down, with slow, gentle increases that create that classic long cone. If you can make a magic ring and count to twelve, you can make this hat — probably in one cozy evening with a holiday film on in the background.
Why you'll love this green Santa hat crochet pattern
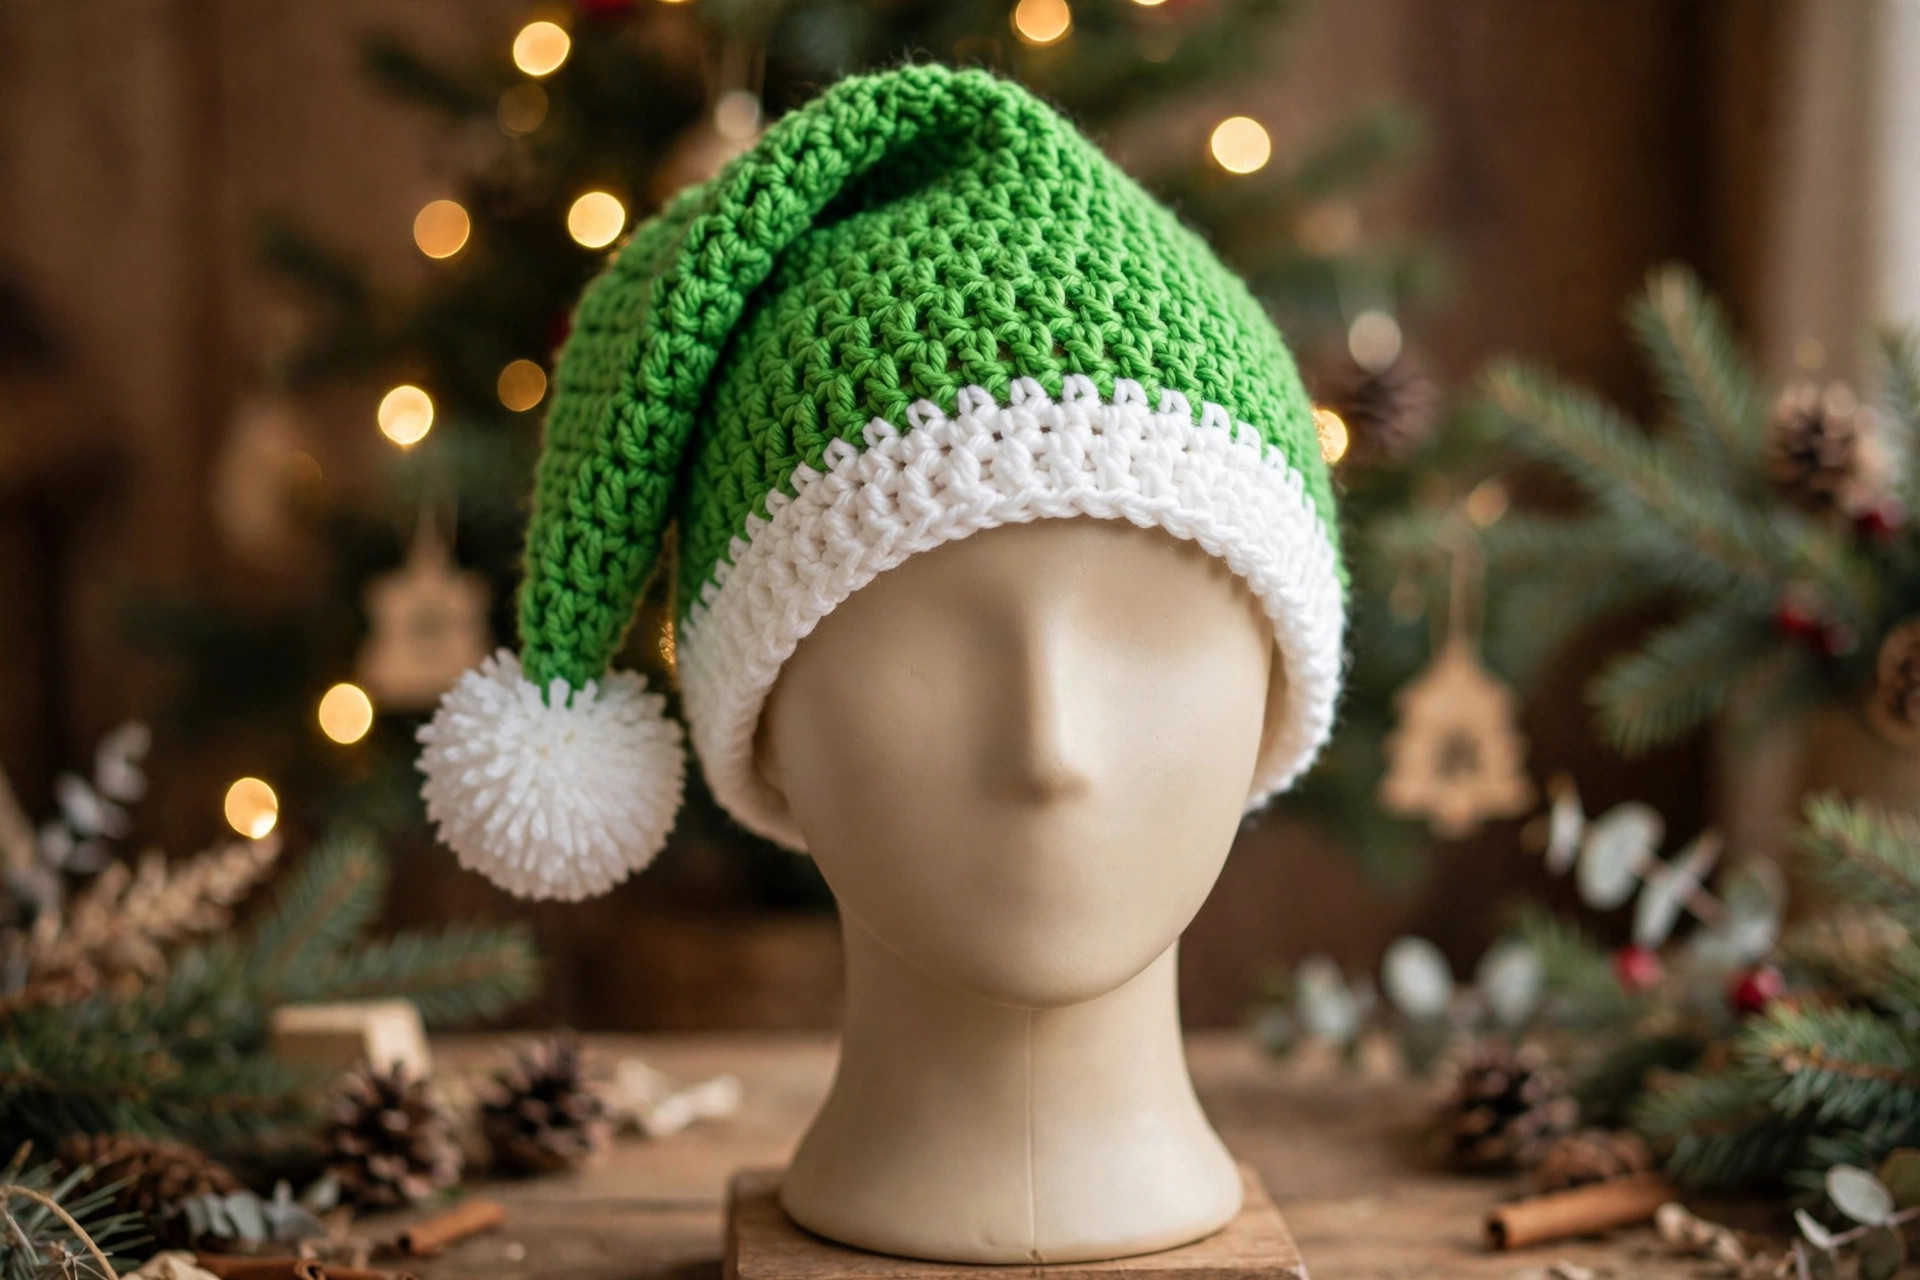
Most crochet Santa hats are short, neat, and a bit sensible. This one is not sensible, and that is exactly the point. The tip is deliberately long — slow increases over more than thirty rounds — so it droops and flops sideways in that wonderfully grumpy way. Give it a flick and it bounces. That lazy drape turns a plain green hat into the hat everyone wants to borrow for photos.
It is also a practical make. Worked top-down in one piece, there are no seams — you spiral until the cone reaches the right width, work the body straight, swap to white for the brim, and fold. The folded brim looks plush, and it covers your ears with two warm layers for carol singing, Christmas markets, or standing in a freezing garden watching someone wrestle with outdoor lights.
And it is endlessly giftable: adult size for the family joker, kid size for the cousin who has perfected the eye-roll, baby size for the most adorable photo subject of all. If novelty hats are your thing, our free crochet hat pattern collection is a great place to browse next, and the silly crochet dinosaur hat pattern uses a similar top-down cone.
Materials you'll need
| Supply | What to get |
|---|---|
| Green yarn | Worsted-weight (#4) acrylic in bright leaf green, about 120 g for adult (80 g kid, 50 g baby) |
| White yarn | Worsted-weight (#4) acrylic in bright white, about 50 g |
| Crochet hook | 5.0 mm (H-8) |
| Stitch marker | One locking marker — essential for spirals |
| Stuffing | A small handful of polyester fiberfill, for the pompom only |
| Notions | Tapestry needle, scissors, measuring tape |
| Optional | A pompom maker if you prefer a yarn pompom |
A note on yarn: smooth acrylic worsted is perfect here. It holds the cone shape, shows your stitches clearly while you count, and survives being stuffed into a coat pocket and worn to three parties in a row. A bright, cheeky leaf green reads best in photos and pops against the white brim. Making a family set? Buy all your green from the same dye lot — greens shift noticeably between lots.
Size, gauge and skill level
- Finished size (adult): about 56 cm (22 in) head circumference, about 48 cm (19 in) long from brim to tip, not counting the pompom. Kid and baby measurements are in the variations section.
- Gauge: 14 sc × 16 rounds = 10 cm (4 in) with a 5.0 mm hook. Gauge matters for hats — one that is 4 cm too small is a hat nobody wears. Make the swatch; it takes five minutes.
- Skill level: beginner. You should know the magic ring, single crochet, and the increase. Everything else, including the perfect droop, is explained step by step.
A note on fit: this hat has about 2 cm (¾ in) of negative ease, so it stays put when the tip flops around. Measure around the forehead, just above the ears, and pick the size closest below that measurement. Between sizes? Size up — a slightly slouchy grouch hat is charming; a too-tight one is just a headache with a pompom.
Abbreviations — US terms
| Abbreviation | Meaning |
|---|---|
| MR | magic ring |
| sc | single crochet |
| inc | increase (2 sc in the same stitch) |
| dec | decrease (sc 2 together) |
| st(s) | stitch(es) |
| ch | chain |
| R | round |
| FO | fasten off |
| FLO | front loop only |
Working in spirals: this hat is worked in continuous spirals — do not join or turn at the end of a round. Keep your marker in the first stitch of every round and move it up as you go. Stitch counts are in parentheses; count at the end of every increase round. Ten seconds of counting saves twenty minutes of unravelling.
The pattern (US terms)
The adult size is written out in full below. Baby and kid sizes simply stop the cone earlier — see the variations section for their final stitch counts.
Crown — the long droopy tip, green
This is the heart of the design. The increases are deliberately slow — six stitches added, then two quiet rounds — and that slow growth stretches the cone into a long, floppy point instead of a short party-hat triangle. Do not add extra increases to speed things up; a faster cone gives you a stiff hat that stands up instead of drooping.
- R1: MR, 6 sc (6)
- R2: sc in each st around (6)
- R3: inc in each st around (12)
- R4–R5: sc in each st around (12) — 2 rounds even
- R6: [sc, inc] × 6 (18)
- R7–R8: sc in each st around (18) — 2 rounds even
- R9: [2 sc, inc] × 6 (24)
- R10–R11: sc in each st around (24) — 2 rounds even
- R12: [3 sc, inc] × 6 (30)
- R13–R14: sc in each st around (30) — 2 rounds even
- R15: [4 sc, inc] × 6 (36)
- R16–R17: sc in each st around (36) — 2 rounds even
- R18: [5 sc, inc] × 6 (42)
- R19–R20: sc in each st around (42) — 2 rounds even
- R21: [6 sc, inc] × 6 (48)
- R22–R23: sc in each st around (48) — 2 rounds even
- R24: [7 sc, inc] × 6 (54)
- R25–R26: sc in each st around (54) — 2 rounds even
- R27: [8 sc, inc] × 6 (60)
- R28–R29: sc in each st around (60) — 2 rounds even
- R30: [9 sc, inc] × 6 (66)
- R31–R32: sc in each st around (66) — 2 rounds even
- R33: [10 sc, inc] × 6 (72)
Droop check: your cone should now measure roughly 33 cm (13 in) from tip to edge. Hold it up by the tip — it should curve gently rather than stick straight out. If it stands stiffly upright, your tension is tight; steam it lightly at the end (see Finishing touches) to coax the flop.
Body — green, worked even
No more increases — just calm, even rounds that give the hat its depth so it sits properly instead of perching.
- R34–R45: sc in each st around (72) — 12 rounds even
Try it on at around R40. The folded brim will cover the lowest 6–7 cm (about 2½ in) of green, and heads vary in height, so add or skip up to three even rounds here. A deeper body is slouchier and cosier; a shorter body sits jauntier.
Brim — white, deep and folded
Change to white at the start of R46 — start the first stitch with the new colour and crochet over the green tail for a few stitches to secure it. No knot needed.
- R46: sc in FLO of each st around (72) — working the front loop only leaves a neat ridge line where the brim will fold
- R47–R53: sc in each st around (72) — 7 rounds even
- FO, leaving a tail of about 20 cm (8 in), and weave it in on the inside.
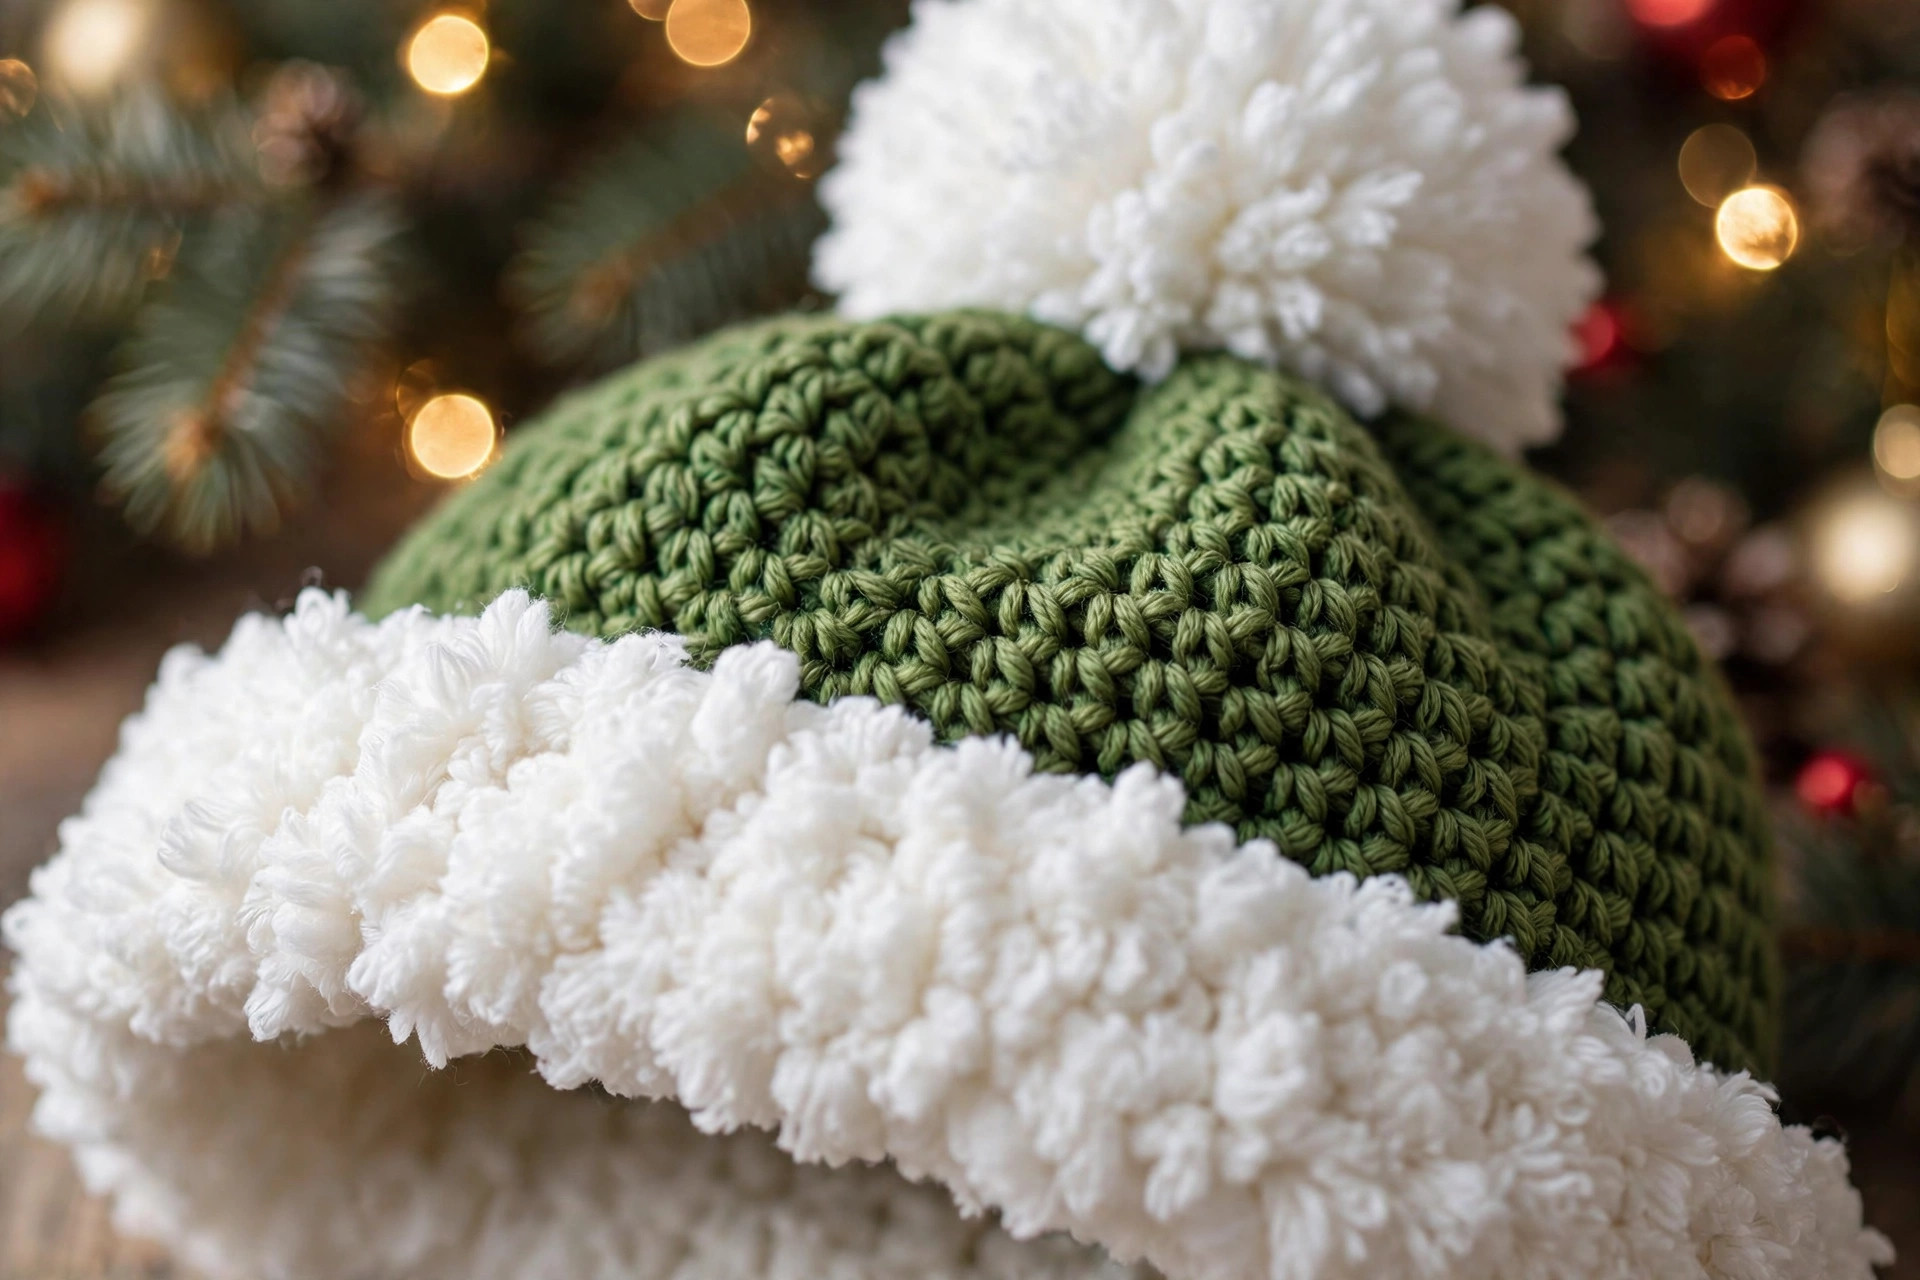
Now fold the white section up over the bottom edge of the green body, so the FLO ridge sits at the very bottom edge. The fold doubles the brim's thickness, hides the colour-change join, and gives that plush, padded Santa-hat look. Most makers find the fold stays put on a head; if yours unrolls, add a few tiny tacking stitches at the back.
Pompom or tuft — white
Choose your ending. The pompom is classic and bouncy; the tuft is quicker, lighter, and cheekier. Both attach to the very tip of the cone.
Crocheted pompom ball:
- R1: MR, 6 sc (6)
- R2: inc in each st around (12)
- R3: [sc, inc] × 6 (18)
- R4: [2 sc, inc] × 6 (24)
- R5–R7: sc in each st around (24) — 3 rounds even
- R8: [2 sc, dec] × 6 (18)
- R9: [sc, dec] × 6 (12) — stuff firmly with fiberfill before the opening shrinks
- R10: dec × 6 (6). FO with a long tail, thread it through the front loops of the last 6 stitches, pull tight to close, then sew the ball firmly to the tip. Go around the join twice — pompoms live exciting lives and get pulled.
Quick tuft alternative: cut twelve strands of white yarn about 15 cm (6 in) long. Fold them in half, push the folded loop through the tip stitch, pull the ends through, and tug snug. Fluff the strands out, then trim into a rough, spiky tuft about 5 cm (2 in) long. Deliberately uneven looks best — this is a tuft with attitude, not a haircut.
Either ending helps pull the tip into its sideways flop. If yours still stands up, fold it to your preferred side and add one discreet stitch through both layers about 8 cm (3 in) down from the tip to hold the fold permanently.
Finishing touches
These last ten minutes separate a hat worn once from a hat fought over every December.
Weave in every end properly. You should have three: the magic-ring tail at the tip (pull it snug first so the tip closes neatly), the green tail at the colour change, and the brim tail. Weave each end back and forth three times in different directions so nothing works loose in the wash.
Steam the droop in. Lay the hat flat, fold the tip to the side you like, cover with a tea towel, and give it a few bursts of steam from an iron held just above the fabric — never press acrylic flat with a hot iron. Let it cool in position and the fold sets beautifully. Cotton needs no help; it droops willingly.
Fluff the brim. Tease the folded stitches outward so the brim looks plump and even, and check in a mirror that the fold line is level.
Add extras, if you like. A jingle bell beside the pompom is pure joy for wearers and pure chaos for anyone watching television nearby. A name tag inside the brim stops the great hat mix-up in a family set. And the matching crochet Christmas stocking pattern makes a brilliant companion gift.
Three sizes: baby, kid and adult variations
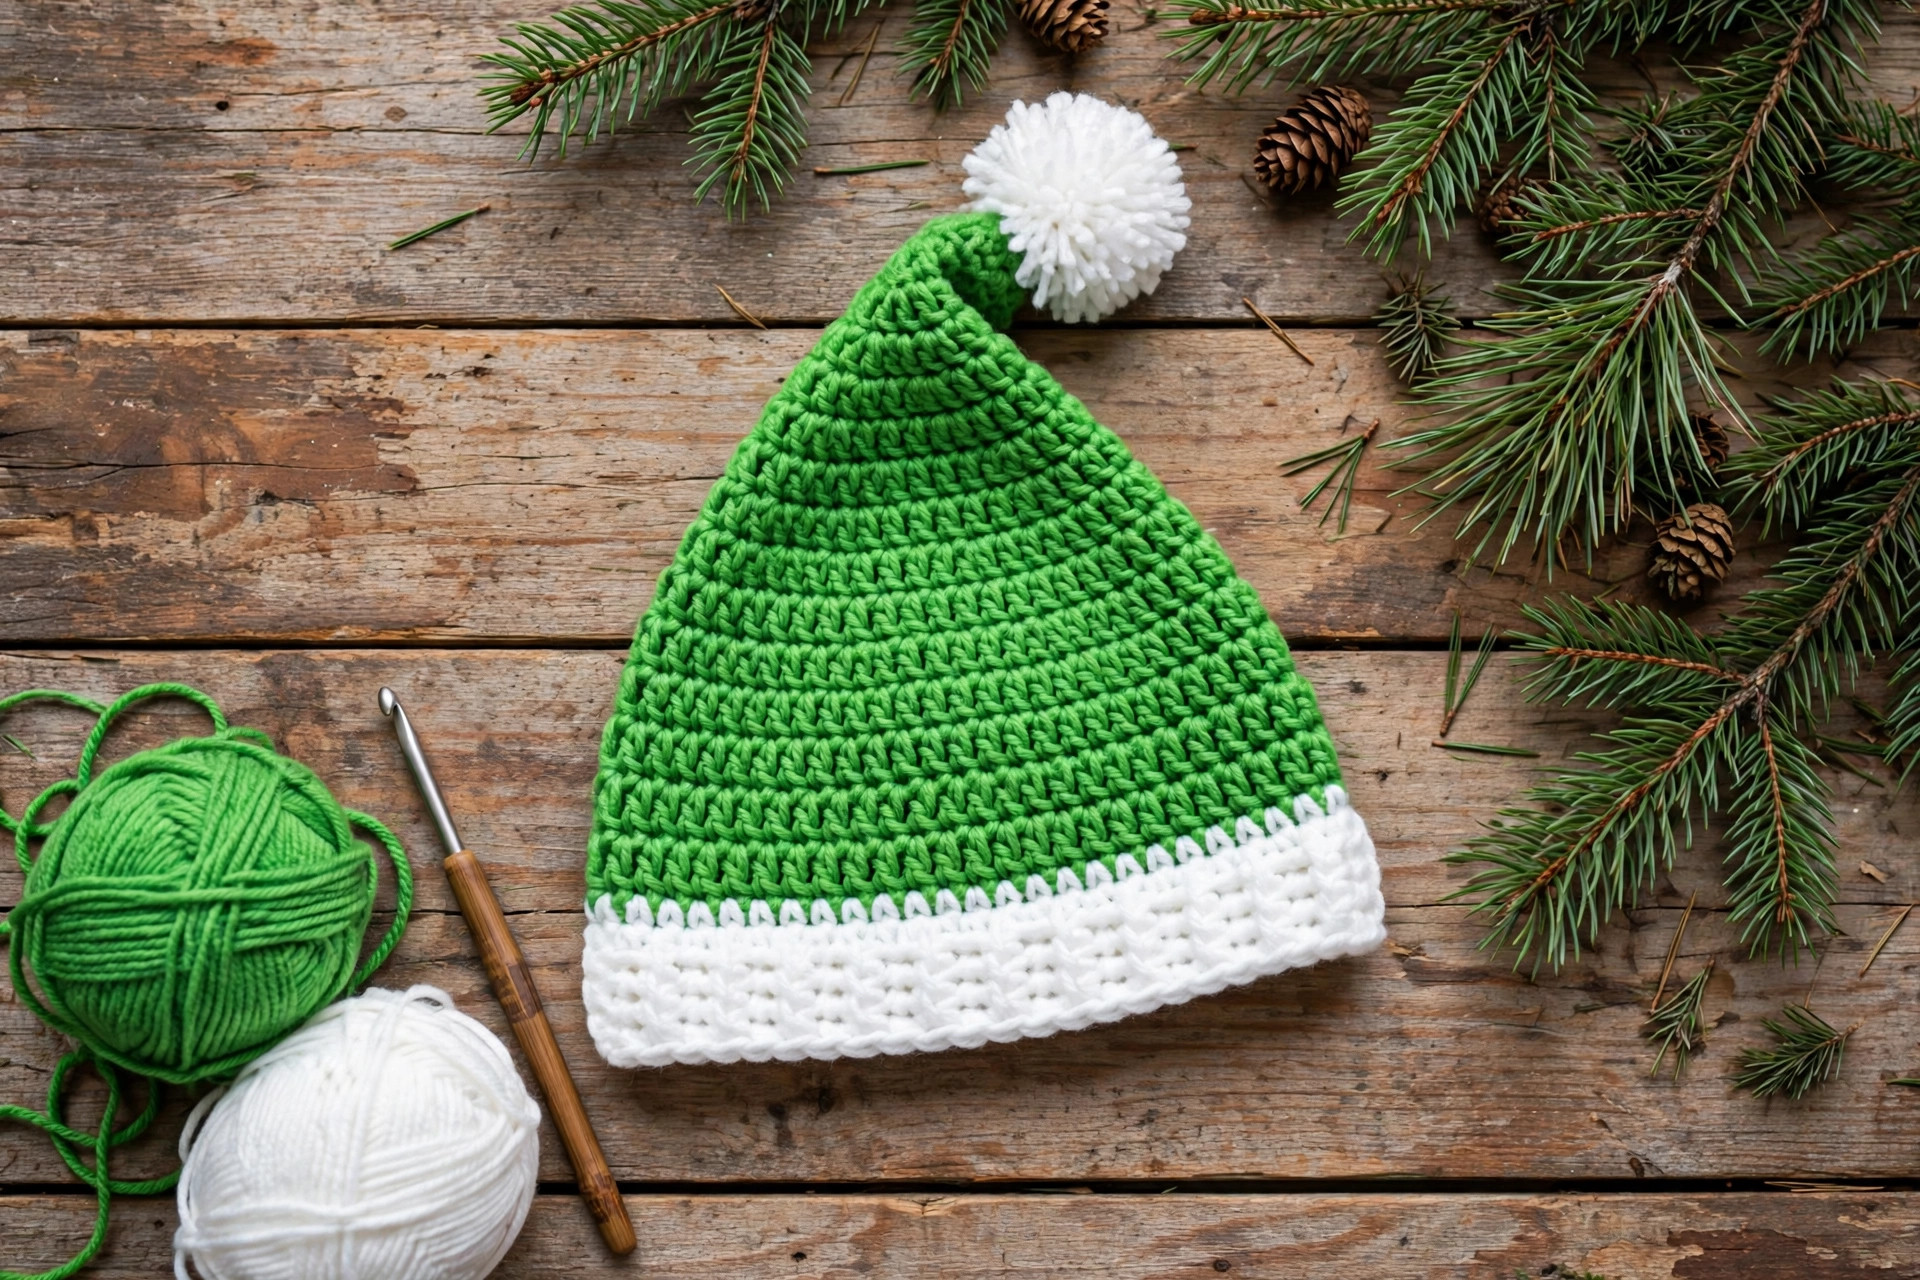
The construction never changes — only where you stop increasing, and how many body rounds you work.
Baby (0–12 months, head 40–44 cm / 16–17 in): Work the cone to R24, finishing at 54 stitches. Work 8 even body rounds in green (54), then the brim: 1 FLO round plus 6 even rounds (54), and fold. Finished length is about 36 cm (14 in) — still delightfully droopy but light. Use a tuft instead of the stuffed pompom for babies, sewn on with extra passes.
Kid (3–8 years, head 48–52 cm / 19–20 in): Work the cone to R27, finishing at 60 stitches. Work 10 even body rounds (60), then the brim: 1 FLO round plus 7 even rounds (60), and fold. Finished length is about 42 cm (16½ in). This size gets the most dramatic flop, because the cone is long relative to the head — lean into it.
Adult (head 54–58 cm / 21–23 in): The full pattern as written. For a large adult head (up to 61 cm / 24 in), add one more sequence: 2 even rounds after R33, then [11 sc, inc] × 6 (78), and continue the body and brim at 78 stitches.
Family set tip: make the hats in descending order of size — the adult teaches you the rhythm, and by the baby hat you'll crochet the cone without looking. Matching sets photograph beautifully on the mantel beside your Christmas spiral ornaments. And for the four-legged family member, the free crochet cat sweater pattern in matching green is a level of commitment we fully support.
Troubleshooting tips
- Your cone stands up instead of drooping. Your tension is tight, or your yarn is stiff. Try the steam trick in Finishing touches. If it still stands, fold the tip, stitch the fold in place about 8 cm down, and embrace the jaunt. Next time, go up half a hook size.
- The hat is too small (or too big). Check your gauge — most fit problems are gauge problems. Too small: work one more increase sequence (6 stitches) before the body. Too big: stop one sequence early. Always measure the head rather than trusting age labels.
- You keep losing count in the spiral. Your marker must live in the first stitch of the round, moved up every round without exception. Also count in chunks: for the [10 sc, inc] rounds, count "ten-and-two" out loud. It feels silly; it works.
- The colour change looks messy. Start the new colour in the last yarn-over of the final green stitch of R45, so the first white stitch is born white. The folded brim hides the join anyway.
- The brim keeps unrolling. Tack it with four small stitches in white yarn through both layers at the back — matching yarn means nobody will find them.
- The pompom wobbles or leans. It was sewn on with one pass and optimism. Re-sew with the long tail, going around the join twice and pulling snugly, and stuff the ball firmly.
- The tip has a tiny hole. The magic ring was not pulled fully closed. Thread the ring tail onto your needle, weave it around the tip stitches once more, pull tight, and weave in. The free elf crochet pattern hat uses the same closed-tip start.
Frequently asked questions
Is this Grinch hat crochet pattern really free?
Yes — the complete pattern above is free, no email signup, nothing held back: all three sizes and both pompom and tuft options. If you'd like to say thank you, saving the pin or sharing the post is the kindest way.
Is this an official or licensed character pattern?
No. This is an original design in the classic green-grouch holiday style — a green Santa hat with a long droopy tip, white folded brim, and pompom — of the kind crocheted for Christmas parties for decades. No character face or costume details are included; it is simply a very green, very grumpy-looking hat.
What skill level do I need?
Beginner. The whole hat is single crochet in spirals with standard increases. If you have made any simple hat or amigurumi before, this will feel familiar. First project? Practise the magic ring on a scrap first, and you will be fine.
How long does it take to make?
About 3–4 hours for the adult size at a relaxed pace — the cone is meditative spiralling, the body is television crocheting, and the pompom takes fifteen minutes. Kid size takes about 2–3 hours, baby about 1½–2 hours.
Can I sell the hats I make from this pattern?
Yes — you may sell finished hats in small batches at craft fairs and online marketplaces. Please credit Little Loop Finds as the designer with a link back to this page where possible. The pattern text and photos themselves may not be copied, republished, or sold.
Can I use a different yarn weight?
Yes, with a hook to match. Chunky yarn with a 6.0 mm hook makes a bigger, floppier hat quickly — stop the cone when its circumference matches the head measurement in the size notes rather than counting rounds. DK yarn with a 4.0 mm hook makes a daintier hat; add an extra increase sequence or two to reach the right circumference.
How do I wash the finished hat?
For acrylic, machine wash cool and gentle inside a laundry bag, then reshape and dry flat — never hang it, or the long tip will stretch even longer. For cotton, hand wash cool and dry flat. Either way, re-fold the brim and re-set the droop while it dries.
More free patterns to try
Keep the Christmas hook moving. The free elf crochet pattern is this hat's cheerful cousin — same top-down construction, pointier energy. Pair your session with the crochet Christmas stocking pattern for a mantel set, add sparkle with the Christmas spiral ornaments, or browse the free crochet hat pattern roundup when January arrives and the grouch hat goes back in the box — something tells us it will be out again next year.
The box below contains an Etsy link. If you buy through it, we may earn a small commission at no extra cost to you. Learn more.
No time to make one?
Short on time? Find handmade green Christmas hats from independent makers on Etsy.
Browse on Etsy (opens Etsy in a new tab)