Free crochet Christmas stocking pattern: classic hearthside design
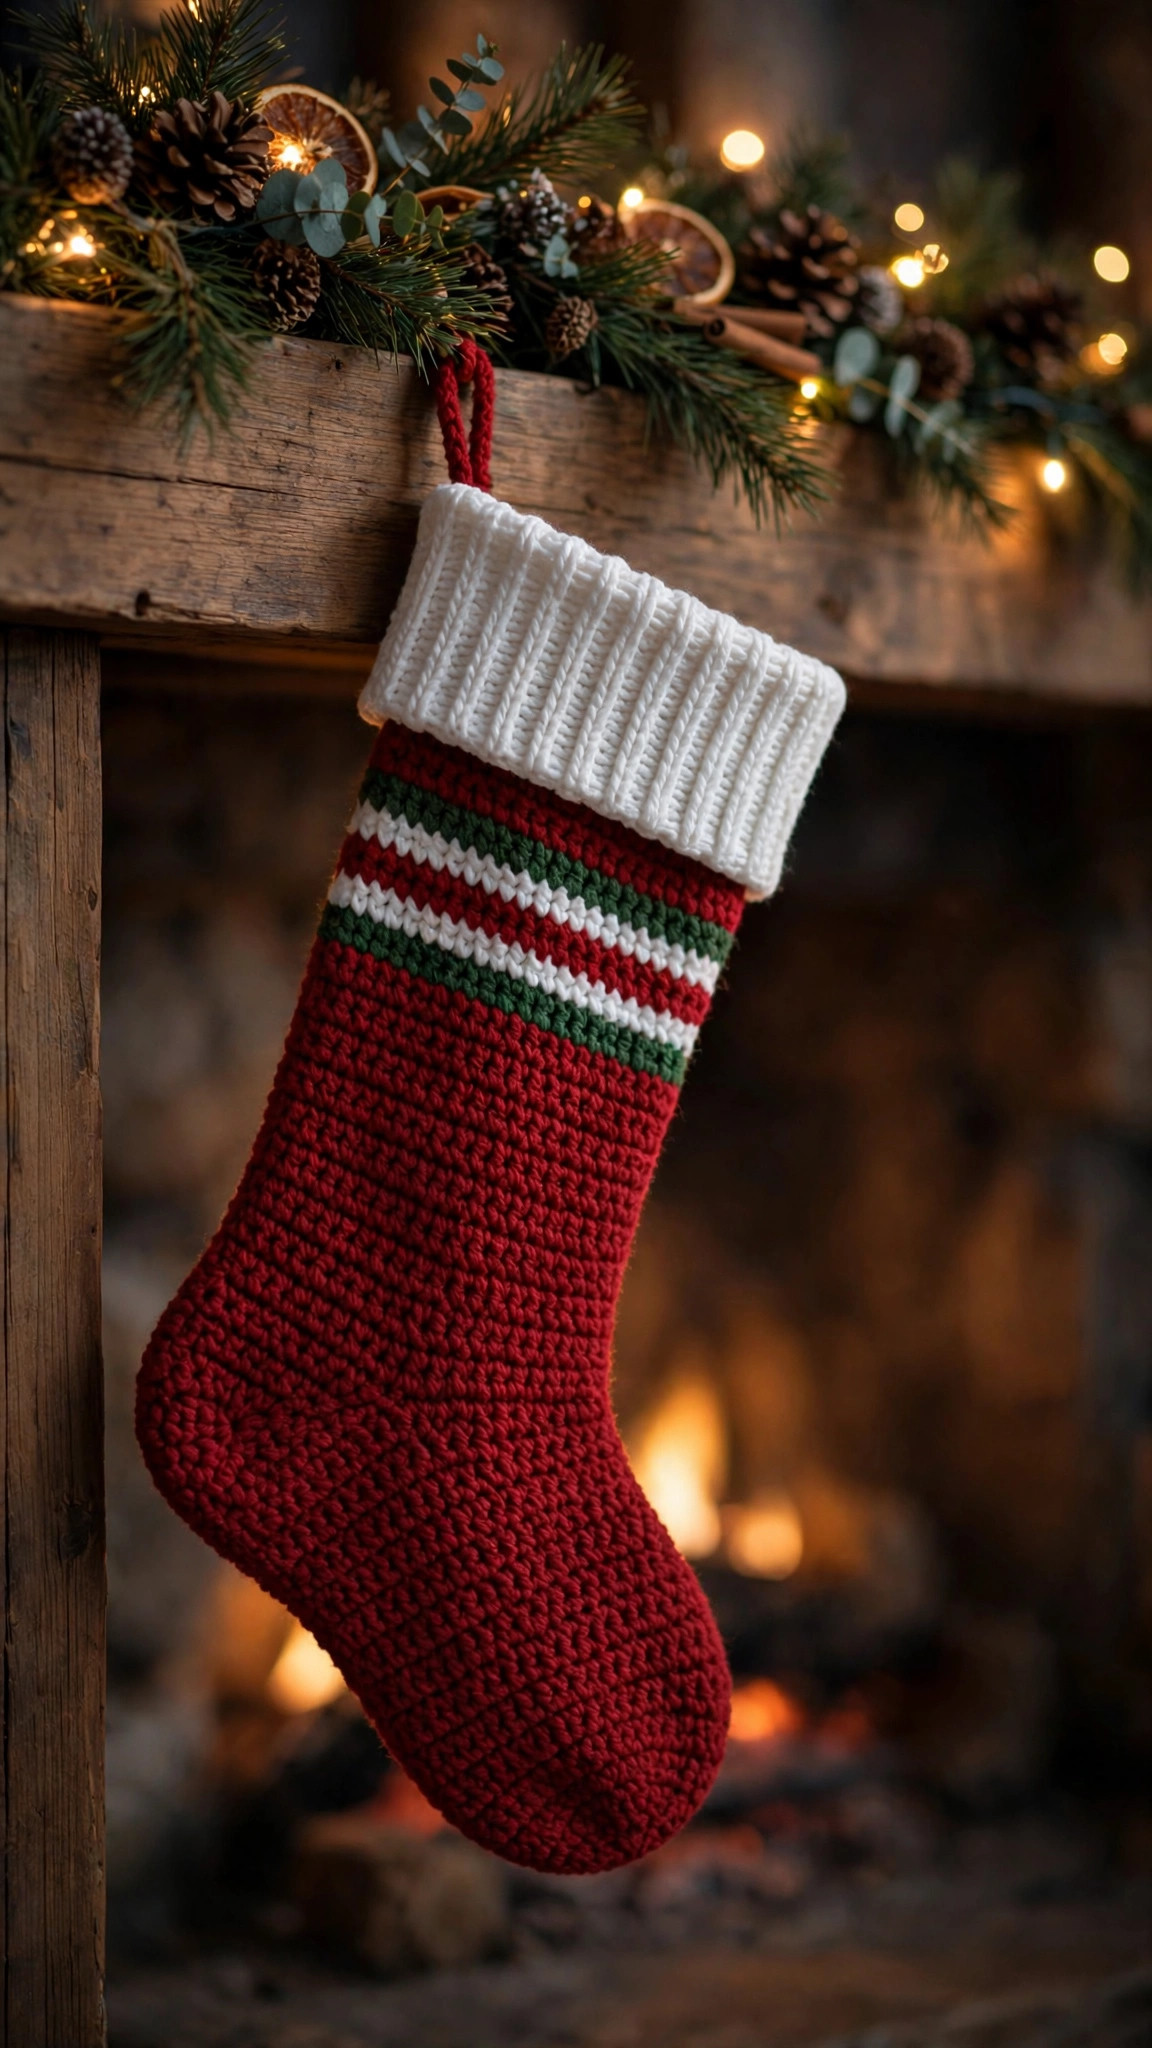
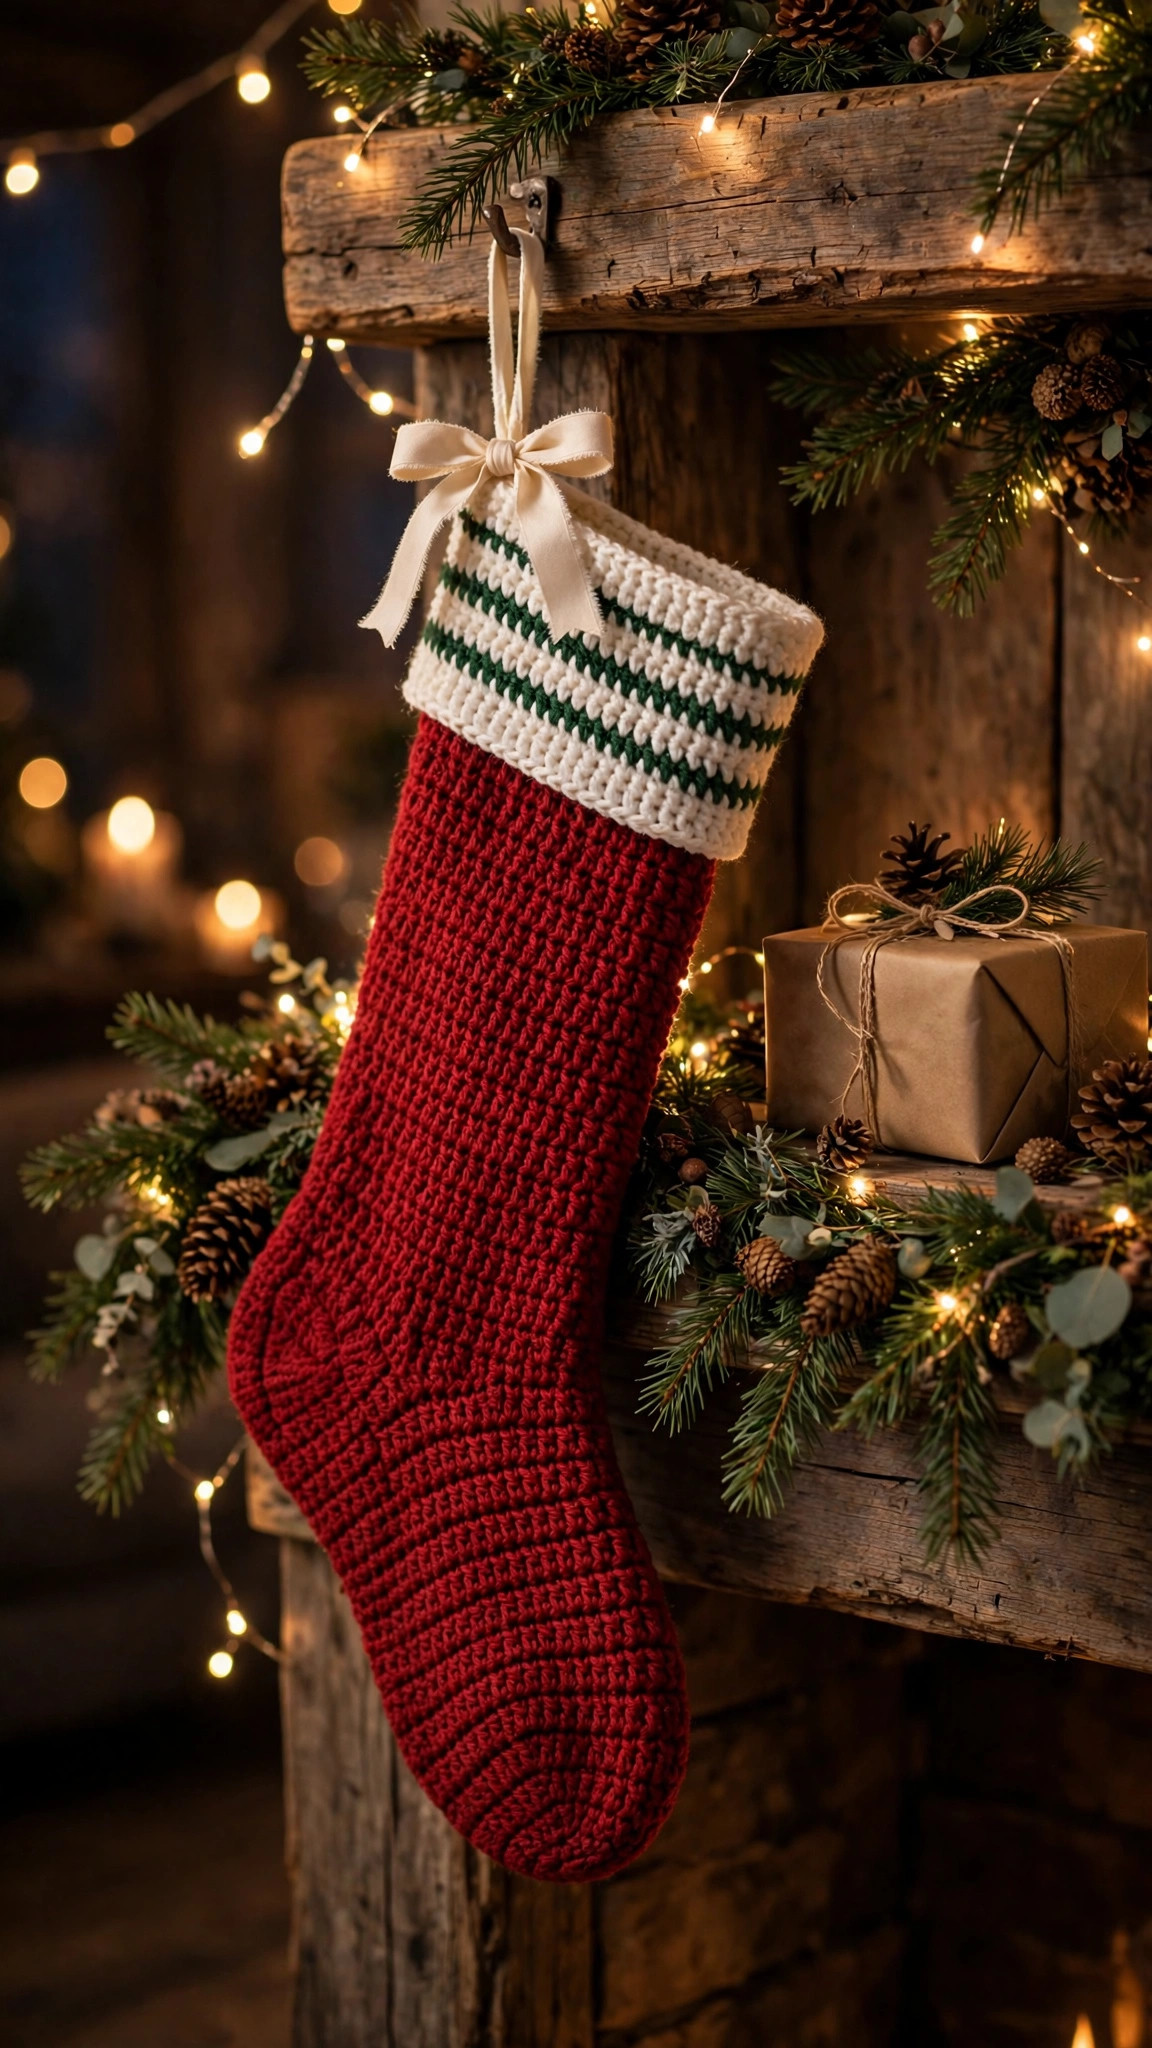
A classic red Christmas stocking with a stretchy white ribbed cuff, green-and-white leg stripes and a proper short-row heel turn — worked top-down in worsted-weight yarn with the stitch count printed on every round.

Christmas · Crochet
- Finished size
- About 43 cm / 17 in long
- Making time
- About 4–5 hours
- Hook
- 5.0 mm, worsted-weight yarn
- Construction
- Top-down: cuff, heel turn, toe
- Skill
- Advanced beginner
In this post
If you've been hunting for a crochet Christmas stocking pattern that's actually free, actually shaped like a real stocking (cuff, leg, heel turn, foot, toe — the whole architecture), and doesn't secretly skip the hard part — this is the one. The Classic Hearthside is worked top-down in worsted-weight yarn with a stretchy ribbed cuff, a proper short-row heel turn, and a gently rounded toe, all in joined rounds with the stitch count printed at the end of every single round. No guessing, no "fudge it here."
Why you'll love this crochet Christmas stocking pattern
Most free stocking patterns cheat: they're a straight tube with a sewn-on "heel" that never quite sits right, or a flat shape folded in half. This one is engineered like a real sock. The heel flap and three-row turn create an actual cup for the heel, the gusset decreases bring the foot back to full width, and the graduated toe closes in a neat cinch. The result hangs with that perfect L-bend instead of flopping like a windsock.
It's also a fast, stash-busting make. One skein of red does the heavy lifting, with scraps of white and green for the cuff, stripes, and toe — the exact colorway in the photos. Make one for every member of the family in an evening each, and your mantel is done before December. Pair it with our Christmas spiral ornaments and the whole mantel starts telling one story.
Materials you'll need
| Supply | What to get |
|---|---|
| Main yarn (A) | Worsted-weight (#4) acrylic in classic red, about 120 g (one full skein) |
| Contrast yarn (B) | Worsted-weight white or cream, about 50 g |
| Contrast yarn (C) | Worsted-weight forest green, about 20 g |
| Crochet hook | 5.0 mm (H-8) |
| Notions | Tapestry needle, stitch markers, scissors |
| Optional | 30 cm cream ribbon for a bow; small white pom-poms |
A quick note on yarn: pick three yarns from the same brand and line if you can — dye lots aside, same-brand worsteds match in thickness, and an even thickness is what keeps your stitch counts honest. Acrylic is the classic choice here: it's washable (stockings get handled), holds the ribbed cuff's stretch, and comes in exactly the right Christmas reds.
Size, gauge and skill level
- Finished size: about 43 cm (17 in) long from cuff to toe; cuff circumference about 28 cm (11 in); leg/foot width about 15 cm (6 in) lying flat.
- Gauge: 13 sc × 14 rows = 10 cm (4 in) with a 5.0 mm hook. Check it — a stocking two inches too narrow won't hold an orange, and the heel math below assumes you're close to gauge. If your swatch is off, change hook size, not the pattern.
- Skill level: advanced beginner. You should be comfortable with chain, single crochet, half double crochet, working in the back loop only, and basic decreases. The heel turn is the spiciest part, and every row tells you exactly how many stitches should be on your hook.
Abbreviations — US terms
| Abbreviation | Meaning |
|---|---|
| ch | chain |
| sc | single crochet |
| hdc | half double crochet |
| BLO | back loop only |
| inc | increase (2 sc in the same stitch) |
| sc2tog | single crochet 2 together (decrease) |
| st(s) | stitch(es) |
| sl st | slip stitch |
| R | round / row |
| FO | fasten off |
A note on color changes: work the last yarn-over of the final stitch in the old color with the new color. Carry unused colors loosely up the inside for the three stripe rounds — with only one round per stripe, it's neater to fasten off and rejoin, but carrying saves you six ends to weave. Your call; both are honest.
The pattern (US terms)
Work the cuff flat in rows, then everything else in joined rounds: ch 1 at the start of each round (it never counts as a stitch), join with a slip stitch to the first stitch. The stitch count at the end of every round is in parentheses — count early, count often. Mark the joining slip stitch of the leg as the back center; the heel is built there.
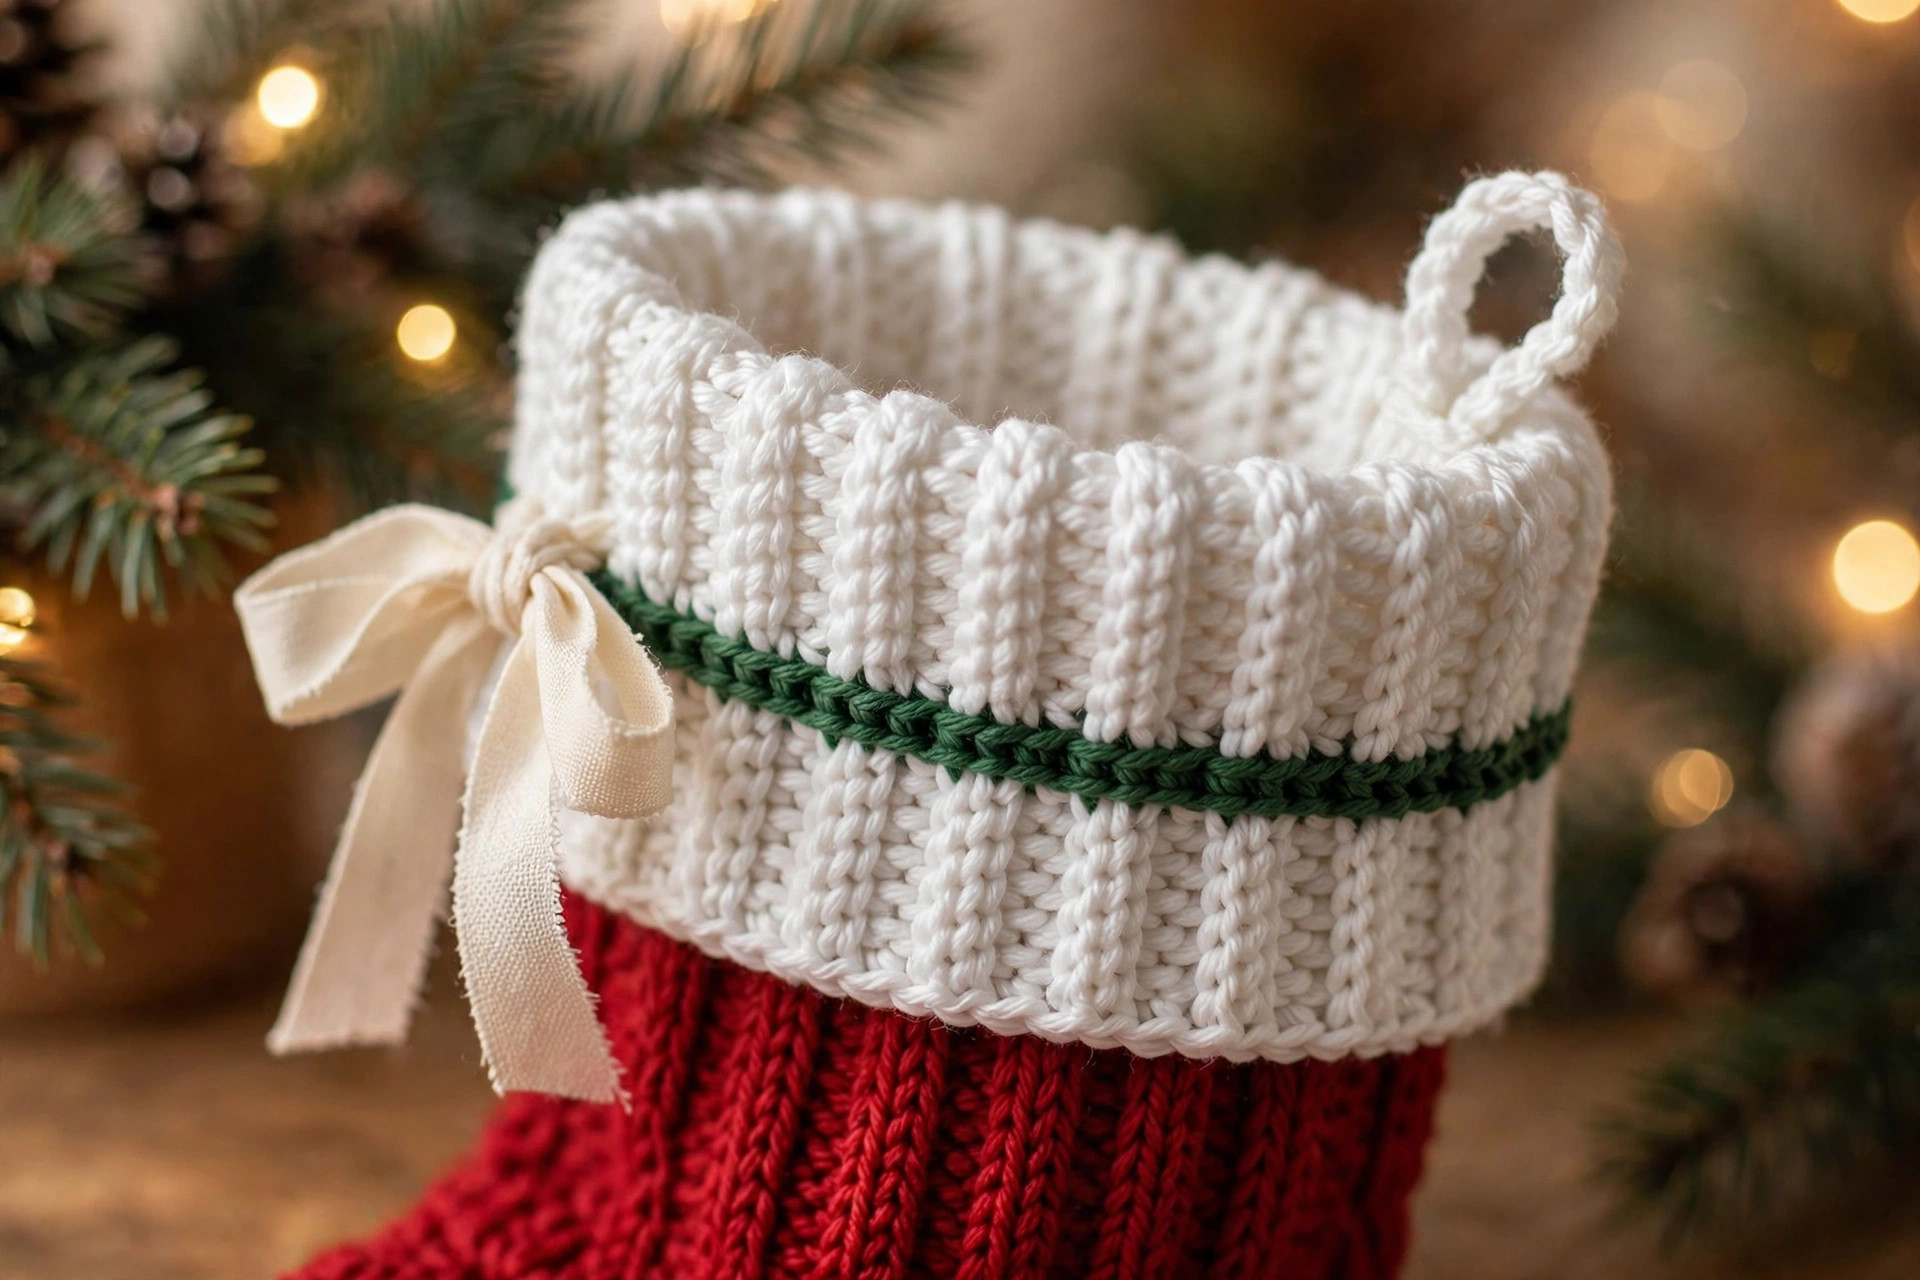
Cuff — white (B)
- Ch 14.
- Row 1: hdc in 2nd ch from hook and in each ch across (13 hdc).
- Rows 2–40: ch 1 (does not count), hdc in BLO of each st across, turn (13).
- Bring the two short ends together. Working through both layers, sl st across to seam (13 sl sts). FO. You now have a ribbed ring, 40 ribs around.
Tip: the seam is the back of the cuff. Press it flat with your fingers now — it disappears into the ribbing once the stocking hangs.
Leg — red (A) with stripes
- R1: join red (A) with a sl st to any row-end along the bottom edge of the cuff, ch 1, work 40 sc evenly around the cuff edge (1 sc in the end of each cuff row), join with sl st to first sc (40).
- R2–R9: ch 1, sc in each st around, join (40) — 8 rounds even.
- R10: change to white (B): ch 1, sc in each st around, join (40).
- R11: change to green (C): ch 1, sc in each st around, join (40).
- R12: change to white (B): ch 1, sc in each st around, join (40).
- R13–R20: change to red (A): ch 1, sc in each st around, join (40) — 8 rounds even.
Place a marker in the joining stitch — this is your back center. The heel flap starts here.
Heel flap — red (A)
- Row 1: ch 1, sc in the same st and in the next 19 sts, turn — the remaining 20 sts are the instep; leave them unworked for now (20).
- Rows 2–10: ch 1, sc in each st across, turn (20).
Heel turn — red (A)
This is the magic. Each row turns early, building the little cup that becomes the heel.
- Row 1 (RS): sc in first 13 sts, sc2tog, sc in next st, turn — 4 sts remain unworked (15).
- Row 2 (WS): ch 1, sc in first 9 sts, sc2tog, sc in next st, turn (11).
- Row 3 (RS): ch 1, sc in first 6 sts, sc2tog, sc in next st, turn (8).
Don't panic about the unworked stitches standing on both sides — the gusset round scoops them up next, and that's what forms the heel cup.
Gusset and foot — red (A)
- Gusset R1: ch 1, sc in each of the 8 heel sts, work 8 sc evenly spaced up the right edge of the heel (about 1 sc per row-end, skipping now and then), sc in each of the 20 instep sts, work 8 sc evenly spaced down the left edge of the heel, join with sl st to first sc (44).
- Gusset R2: ch 1, sc in first 8 sts, sc2tog, sc in next 4 sts, sc2tog, sc in next 20 sts, sc2tog, sc in next 4 sts, sc2tog, join (40).
- Foot R1–R10: ch 1, sc in each st around, join (40) — 10 rounds even.
Tip: try the stocking on your own foot after Gusset R2 (yes, really). The foot should slide on with a little ease. If it's drum-tight, your gauge is off — go up half a hook size and rework from the leg.
Toe — white (B)
- R1: change to white (B): ch 1, [sc in next 8 sts, sc2tog] × 4, join (36).
- R2: ch 1, sc in each st around, join (36).
- R3: ch 1, [sc in next 7 sts, sc2tog] × 4, join (32).
- R4: ch 1, sc in each st around, join (32).
- R5: ch 1, [sc in next 6 sts, sc2tog] × 4, join (28).
- R6: ch 1, [sc in next 5 sts, sc2tog] × 4, join (24).
- R7: ch 1, [sc in next 4 sts, sc2tog] × 4, join (20).
- R8: ch 1, [sc in next 3 sts, sc2tog] × 4, join (16).
- R9: ch 1, [sc in next 2 sts, sc2tog] × 4, join (12).
- R10: ch 1, [sc in next st, sc2tog] × 4, join (8). FO, leaving a 20 cm tail. Thread the tail through the front loops of the remaining 8 sts, pull tight to cinch, and weave in securely.
Finishing touches
Hanging loop. With white (B), ch 25. Sl st into the first ch to form a ring, FO. Sew the loop firmly to the inside back of the cuff with the tapestry needle, going through the same stitches twice — stockings get yanked off mantels by excited children, so make this join bombproof.
Ribbon bow (optional). Tie a 30 cm length of cream ribbon into a bow and stitch it to the front of the cuff, right over the green stripe. It's the detail that makes the stocking look boutique-bought in photos.
Name embroidery (optional). Chain-stitch the recipient's name across the cuff in green or gold yarn before you attach the loop. Keep letters at least 1 cm tall — anything smaller gets lost in the ribbing.
Weave every end. There are more ends than usual on this one (all those stripes). Weave each through the backs of stitches for at least 5 cm, changing direction once. A stocking is handled, stretched, and stuffed for years — lazy ends will work themselves out by the second Christmas. For a full mantel scene, hang it beside our quilted Christmas poinsettia wreath — red, white, and green all the way down.
Three cute variations to try next
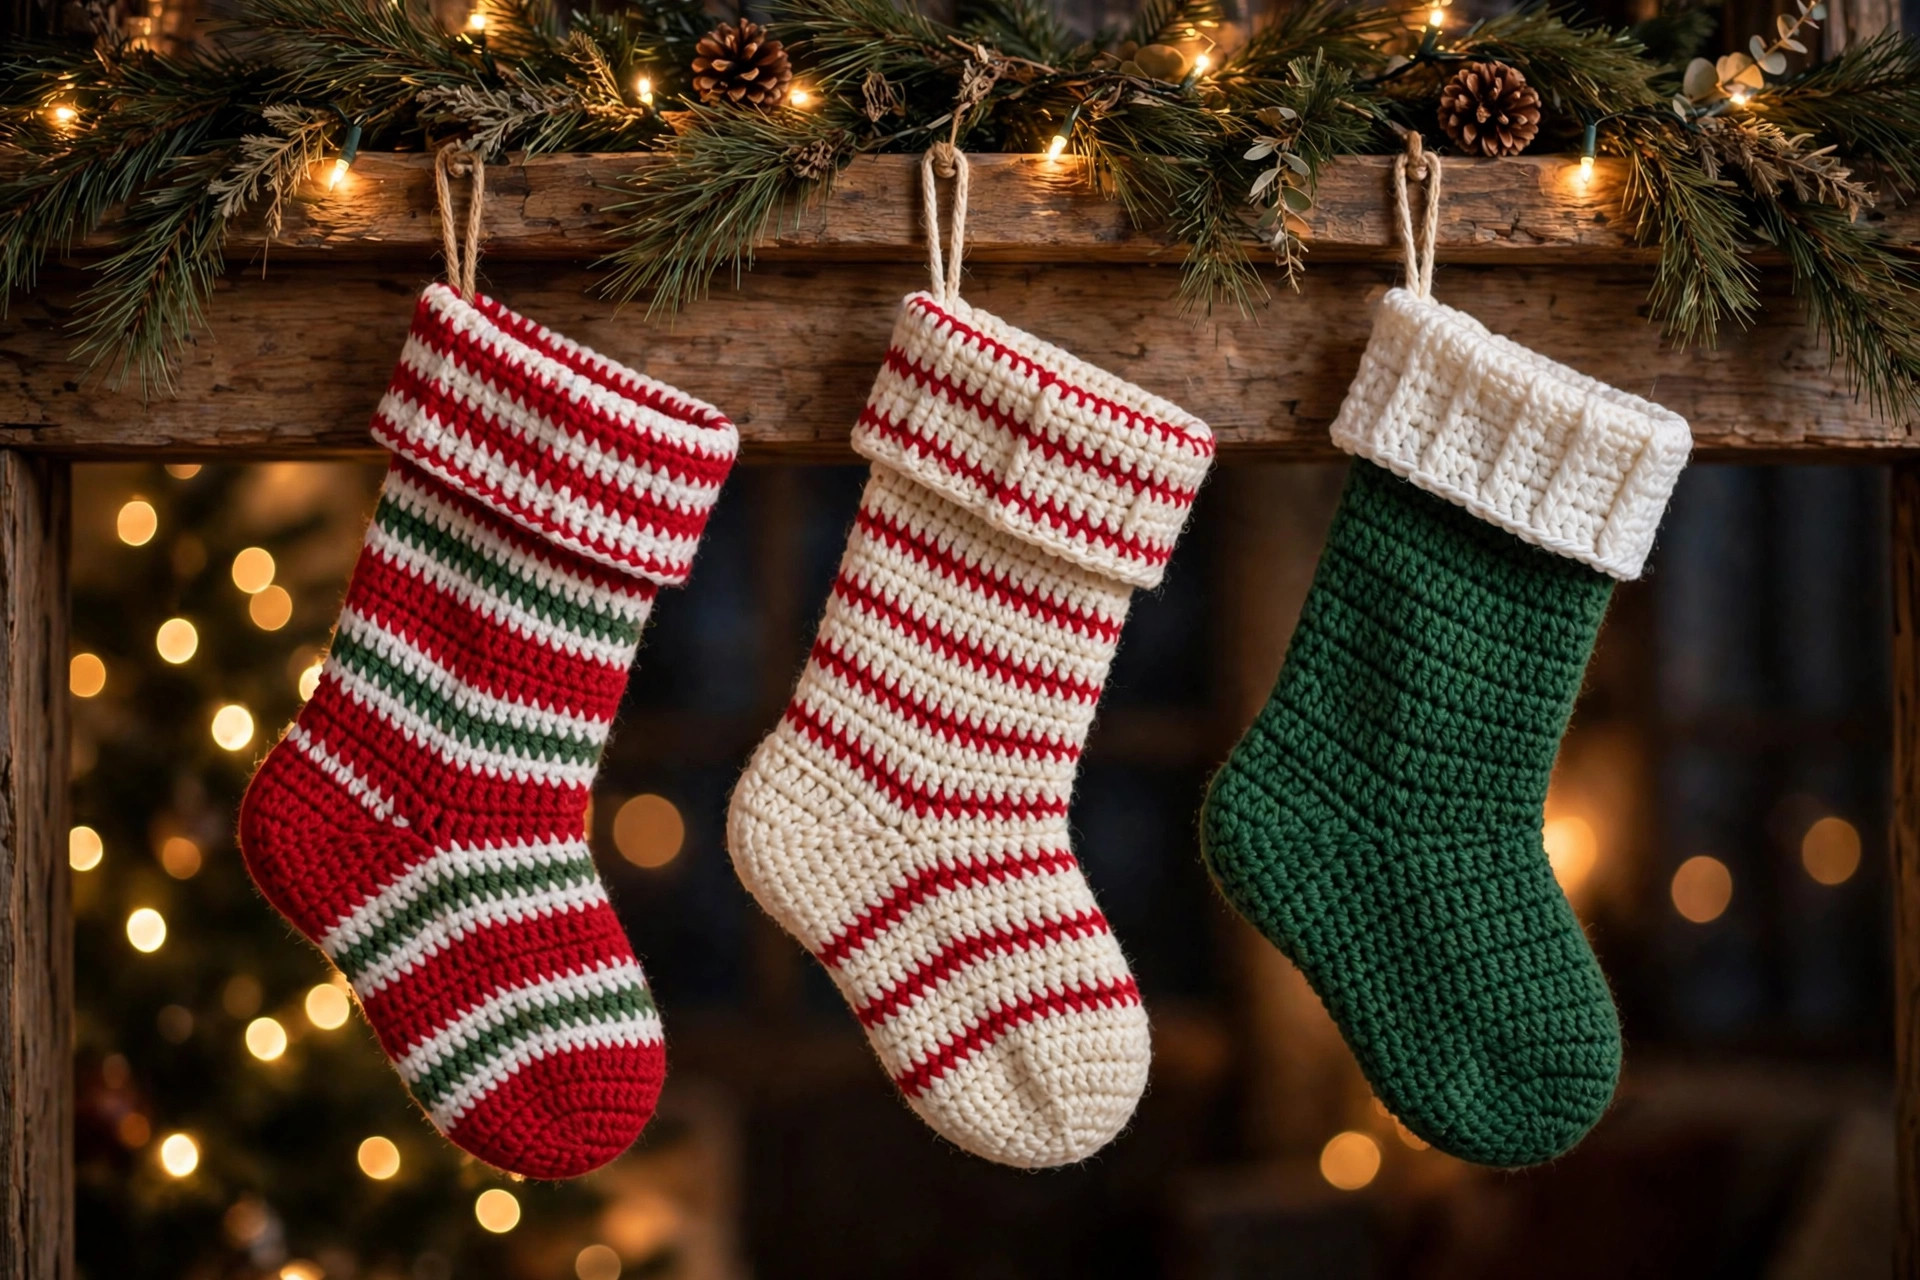
One pattern, a whole mantel:
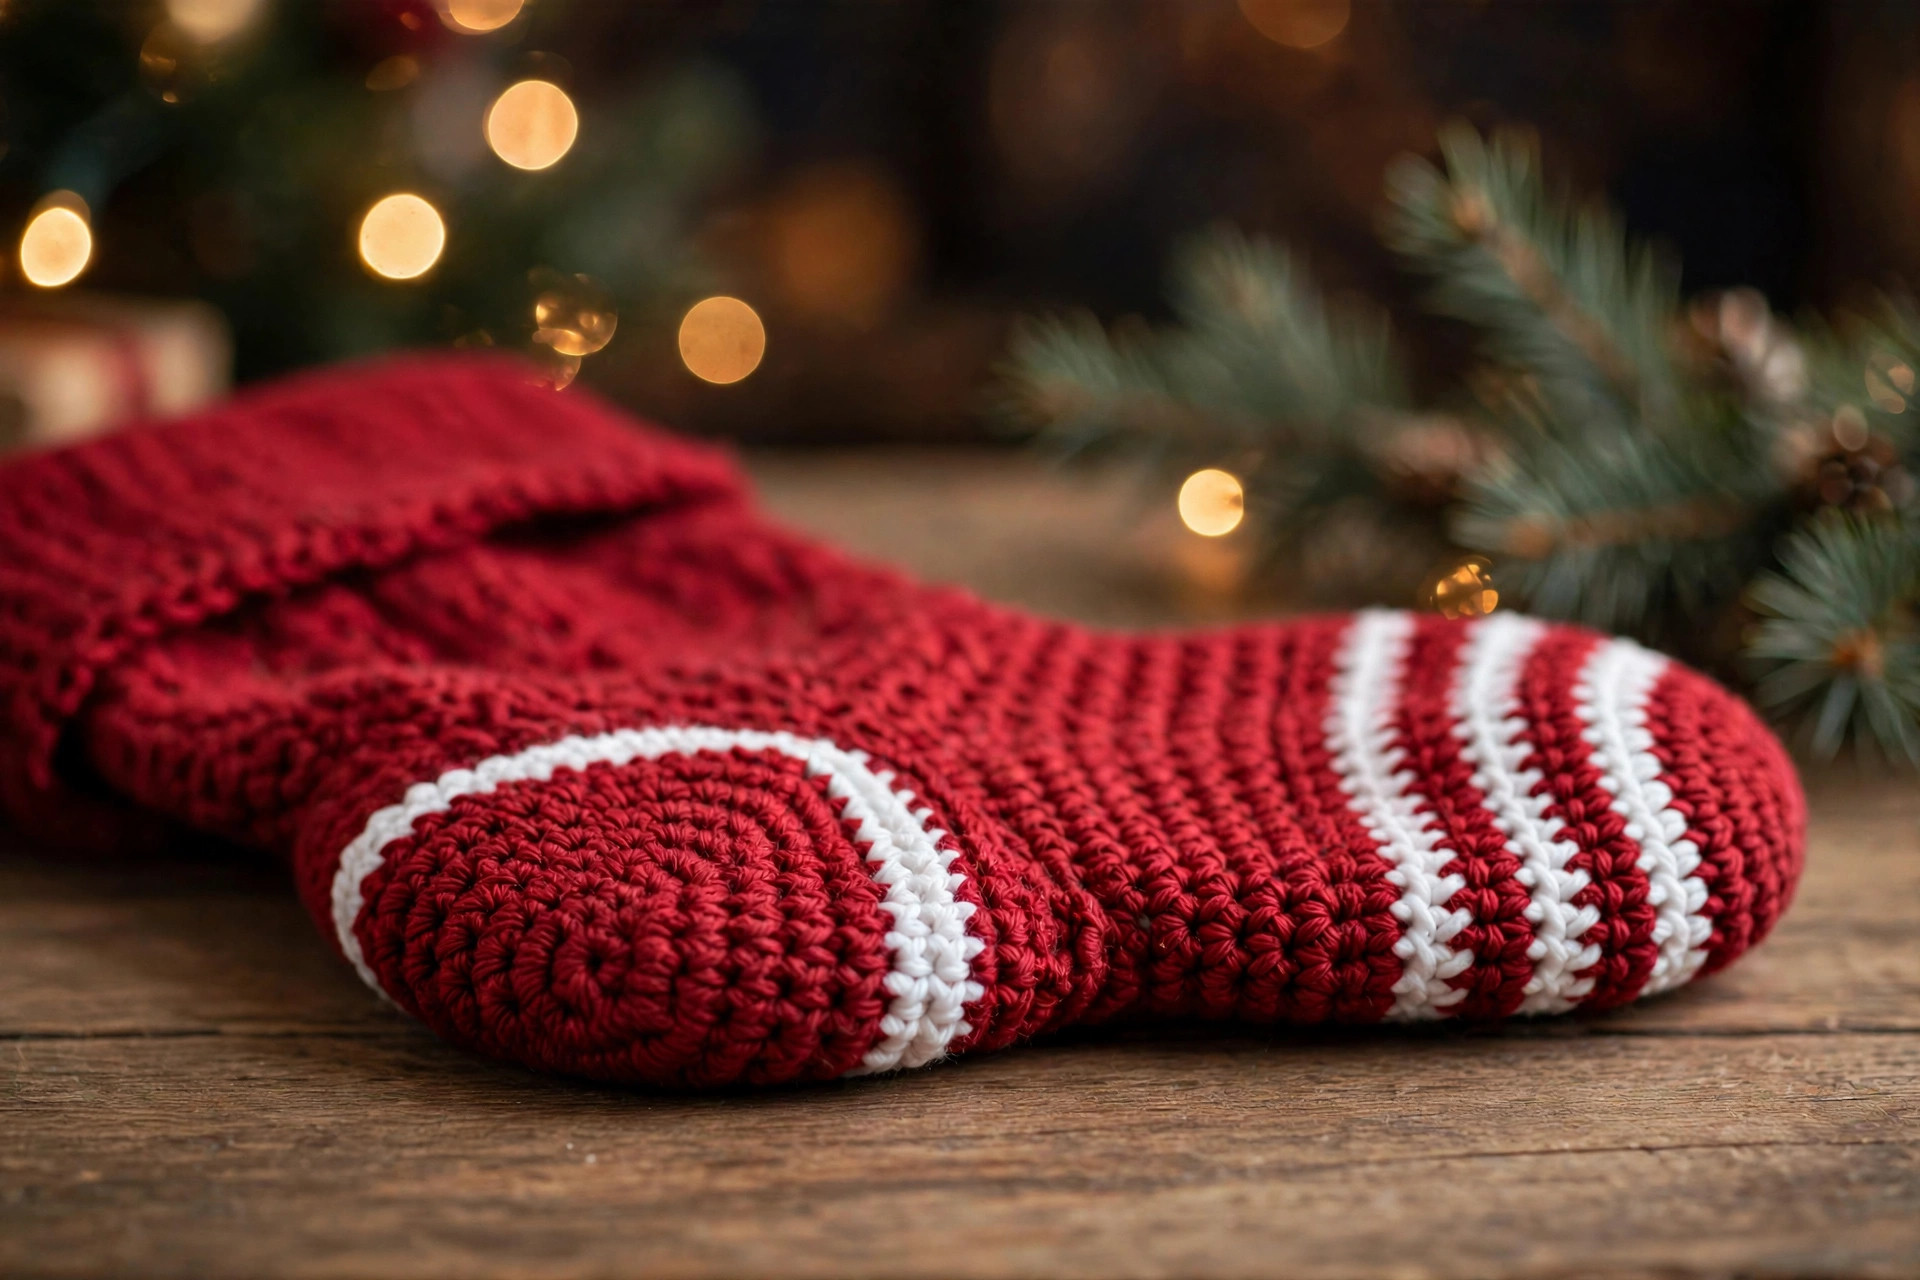
- Candy-cane stripes. Work the entire leg and foot alternating 2 rounds red, 2 rounds white, with a solid white cuff and toe. It's the fastest way to make each family member's stocking identifiable from across the room — and it uses up every scrap in the yarn basket.
- Mini tree stocking. Use a 3.5 mm hook and the exact same pattern — it scales down to about 11 cm (4.5 in), the perfect size to hang on the tree itself as an ornament or gift-card holder. Tuck a folded note inside for an advent-calendar twist.
- Rustic farmhouse. Work the whole stocking in cream or oatmeal with a single red stripe round at the leg and a red toe, then add a sprig of faux greenery to the cuff instead of a bow. It pairs beautifully with the neutral palette of our Christmas patchwork snowman tree.
And if holiday crochet has you hooked, the star blanket makes a gorgeous backdrop for photographing your finished stockings — drape one over it and watch the Pinterest saves roll in.
Troubleshooting tips
- Your stitch count drifts on the leg rounds. You're probably working into the joining slip stitch or skipping the first stitch after the ch-1. The ch-1 never counts: the first real stitch of the round goes in the same stitch as the join.
- The cuff won't stretch over anything. You worked the cuff in both loops instead of BLO. The back-loop-only ribbing is the entire source of the stretch — both-loops fabric is a stiff tube. Worth redoing; the cuff is only 40 short rows.
- The heel looks lumpy or has holes at the turns. Holes come from pulling the turning chain too tight. Keep the ch-1 relaxed at each turn, and when you work Gusset R1, pick up an extra twist: work the edge stitches through both the row-end and the strand below it. Small holes can also be closed later with the yarn tail and a tapestry needle.
- The stocking twists like a corkscrew. Classic too-tight tension combined with joined rounds. Consciously loosen your yarn-overs, and make sure you're joining to the true first stitch of the round, not drifting one stitch over each round.
- Gusset R1 doesn't land on 44. Count the heel (8), each edge (8), and the instep (20) separately. If an edge gives you 7 or 9 no matter how you space them, just adjust: the only number that matters is landing on 40 after Gusset R2's four decreases.
- The toe cinch leaves a little nub. Thread the tail through the front loops only (not both loops), pull in two stages, then take the needle down through the center hole and out the side of the toe to bury it. The nub vanishes.
Frequently asked questions
Is this crochet Christmas stocking pattern really free?
Yes — the complete pattern above is free, no email signup and no PDF purchase required. If it earns a spot on your mantel, saving it on Pinterest or sharing the post is the kindest thank-you.
What skill level is this stocking pattern?
Advanced beginner. If you can single crochet evenly in the round and follow a stitch count, you can do this. The heel turn looks intimidating on paper but it's just three short rows — the pattern tells you exactly how many stitches should be on your hook after each one.
How long does one stocking take to make?
About 4–5 hours total: roughly an hour for the cuff and leg, 45 minutes for the heel and gusset, an hour for the foot and toe, and the rest in color changes, weaving ends, and finishing. An evening project, or a weekend for a set of three.
How big is the finished stocking?
About 43 cm (17 in) long with an 11 in cuff circumference — a true full-size stocking that holds real gifts: an orange, a chocolate bar, small toys. The mini variation (3.5 mm hook) comes out around 11 cm for tree ornaments.
Can I sell finished stockings made from this pattern?
Yes! You may sell finished stockings in small batches (craft fairs, Etsy, gifts). Please credit Little Loop Finds as the pattern designer with a link back to this page. The pattern text and photos themselves may not be redistributed, republished, or sold.
Can I use a different yarn weight?
You can, with one rule: keep the proportions by checking gauge. Chunky yarn with a 6.5 mm hook makes a gloriously oversized statement stocking around 55 cm long — just know your stitch counts stay the same while the finished size grows, so the heel will be roomier too.
Why does my stocking lean instead of hanging straight?
Almost always the cuff seam: if the seam spirals, the whole stocking twists. When seaming the cuff, line up row 1 exactly with row 40 and keep the seam straight. A light steam block (hover a steam iron, don't press) also relaxes acrylic into a perfect hang.
More free patterns to try
Keep the holiday hooks moving. The Christmas spiral ornaments (12 designs in one post) fill the tree to match your mantel, the quilted Christmas poinsettia wreath hangs beside the stockings beautifully, the Christmas patchwork snowman tree brings the same red-white-green palette to the tree skirt, the star blanket is the coziest photo backdrop for your finished makes, and the autumn acorn granny square is a quick tension tune-up between bigger holiday projects.
The box below contains an Etsy link. If you buy through it, we may earn a small commission at no extra cost to you. Learn more.
No time to make one?
Short on time? Find handmade crochet Christmas stockings from independent makers on Etsy.
Browse on Etsy (opens Etsy in a new tab)