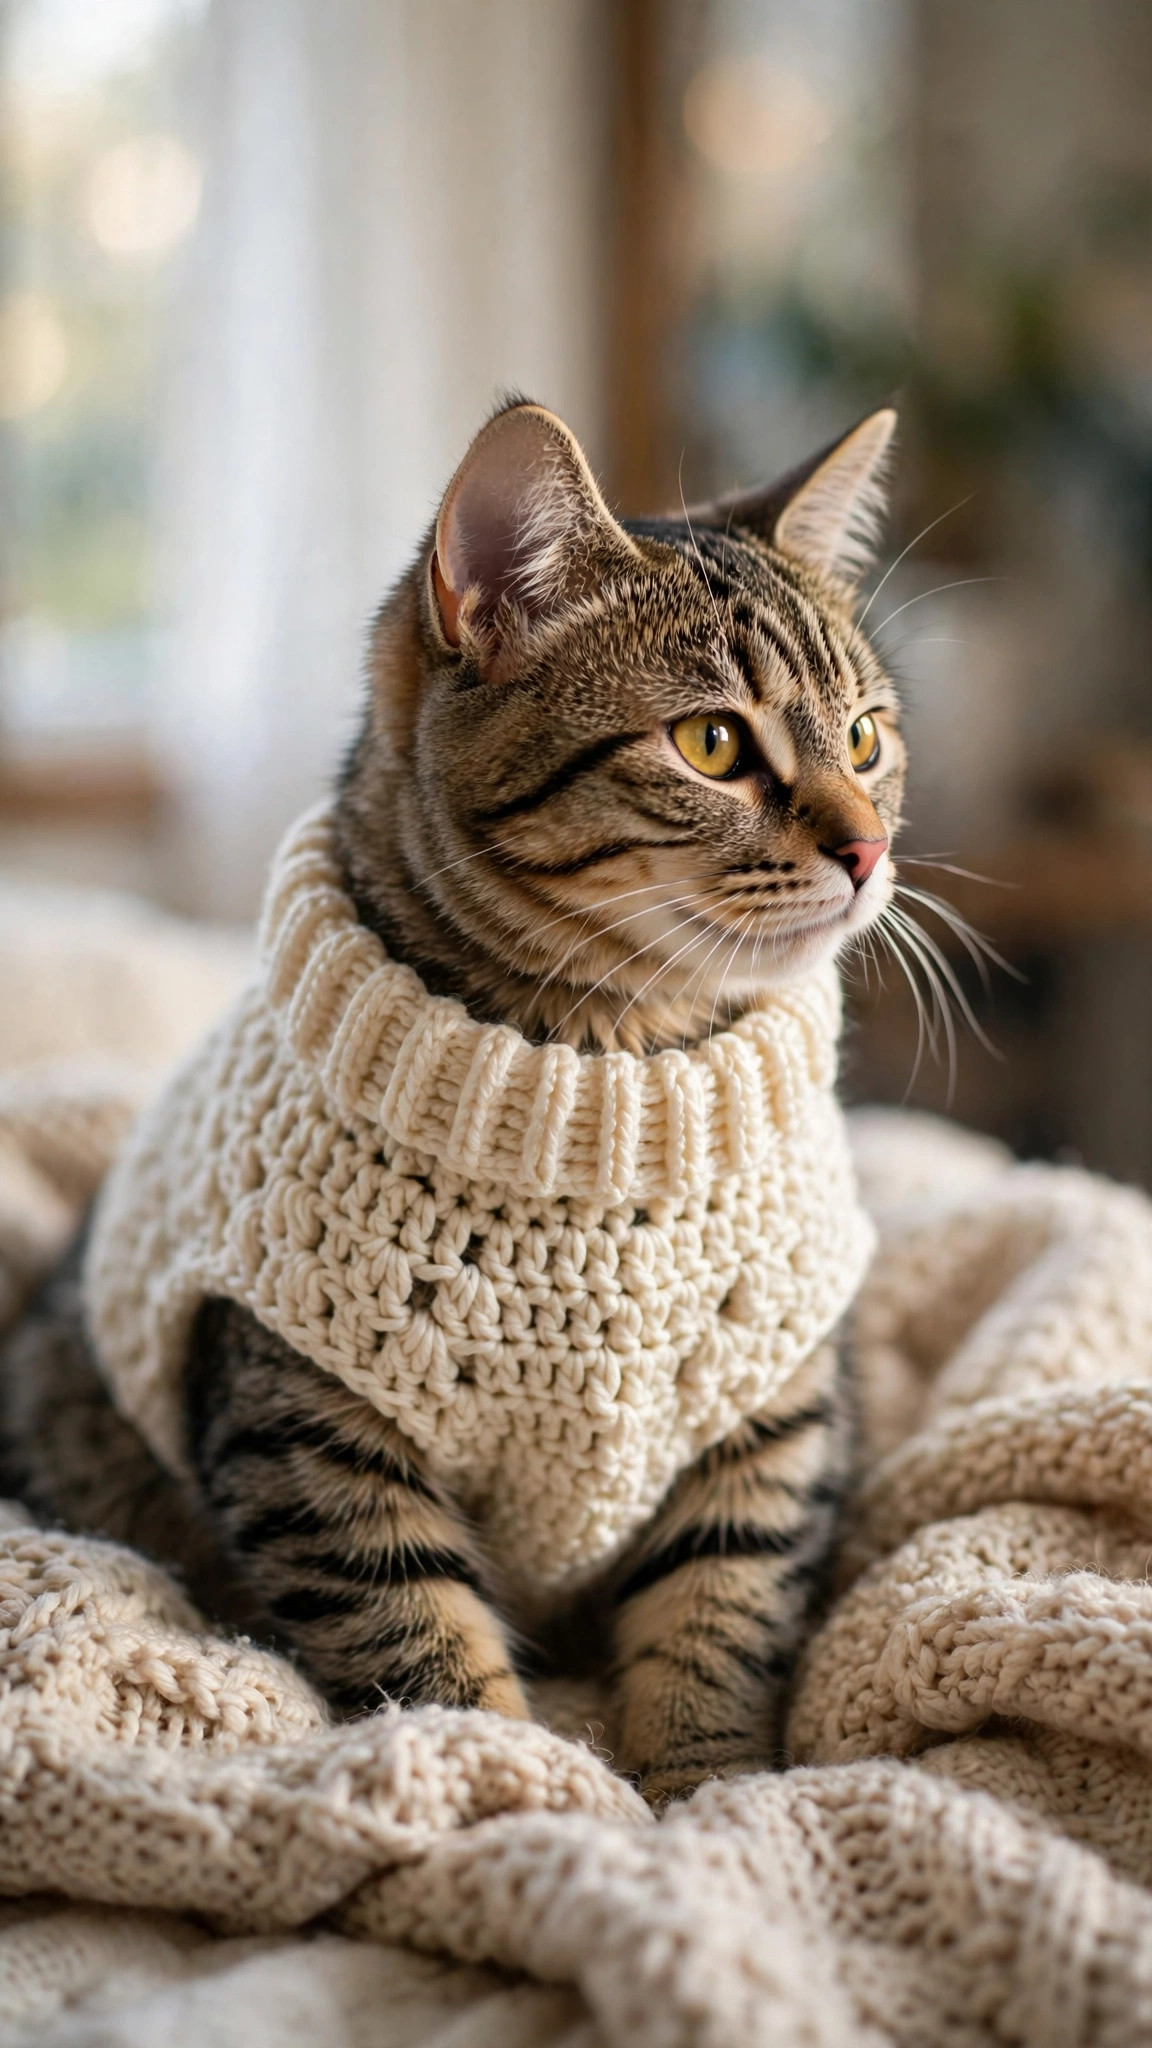
Free crochet cat sweater pattern: cozy, 3 cat sizes
An original cozy cat sweater worked top-down in the round from a stretchy ribbed collar, with two front leg openings formed by working the back and belly panels flat for just a few rows — in three sizes based on chest measurement, from kitten to big cat, in soft non-scratchy worsted yarn.

Pet Patterns · Crochet
- Sizes
- S / M / L — chest 25 / 33 / 41 cm
- Making time
- About 3–5 hours
- Hook
- 5.0 mm, worsted-weight yarn
- Technique
- Top-down, worked in the round
- Skill
- Beginner
In this post
Some cats are born for winter. Yours, currently pressed against the radiator like a furry little pancake, is probably not one of them. Whether you have a hairless breed who shivers in July, a senior cat who feels every draft, or a very dramatic feline who deserves to look fabulous, this free crochet cat sweater pattern has you covered. It's an entirely original design, worked top-down in the round from a stretchy ribbed collar, with two front leg openings formed by working flat for just a few rows — no sewing tiny tubes onto a body, no wrestling match at the armholes.
The sweater comes in three sizes based on your cat's chest measurement — S for kittens and petite cats, M for the average cat, and L for the big, magnificent chonkers — and it uses soft, non-scratchy worsted-weight yarn. One important note: a cat should only ever wear a sweater while supervised, and only if they tolerate it happily. More on that in the FAQ — comfort first, cuteness second (well, a close second).
Why you'll love this free crochet cat sweater pattern
Most pet sweater patterns get the leg holes wrong. They're either afterthought slits that stretch out of shape, or proper little sleeves that turn dressing your cat into a contact sport. This design takes the smarter route: once the yoke reaches the chest, you work the back panel and belly panel flat for a handful of rows at slightly different lengths. When you rejoin in the round, the difference between the two panels leaves two neat openings exactly where a cat's front legs actually are.
Because it's worked top-down, the fit is endlessly adjustable. You can try it on your cat as you go — collar first, then yoke — and simply add or skip plain rounds to tune the body length. The ribbed collar stretches comfortably over the head but springs back to sit snugly at the neck, so there's no sagging neckline for a paw to catch on. And the whole sweater is one piece: when you fasten off the hem, you are done. No assembly, no seams rubbing against sensitive skin.
It's also a brilliant stash-buster. Size S uses about 60 g of yarn, so that leftover ball from a bigger project finally has a destiny.
Materials you'll need
| Supply | What to get |
|---|---|
| Main yarn | Worsted-weight (#4) soft acrylic or acrylic-cotton blend — about 60 g (S), 90 g (M), 120 g (L) |
| Crochet hook | 5.0 mm (H-8) |
| Stitch markers | 4, for marking the panel divisions |
| Notions | Tapestry needle, scissors, tape measure |
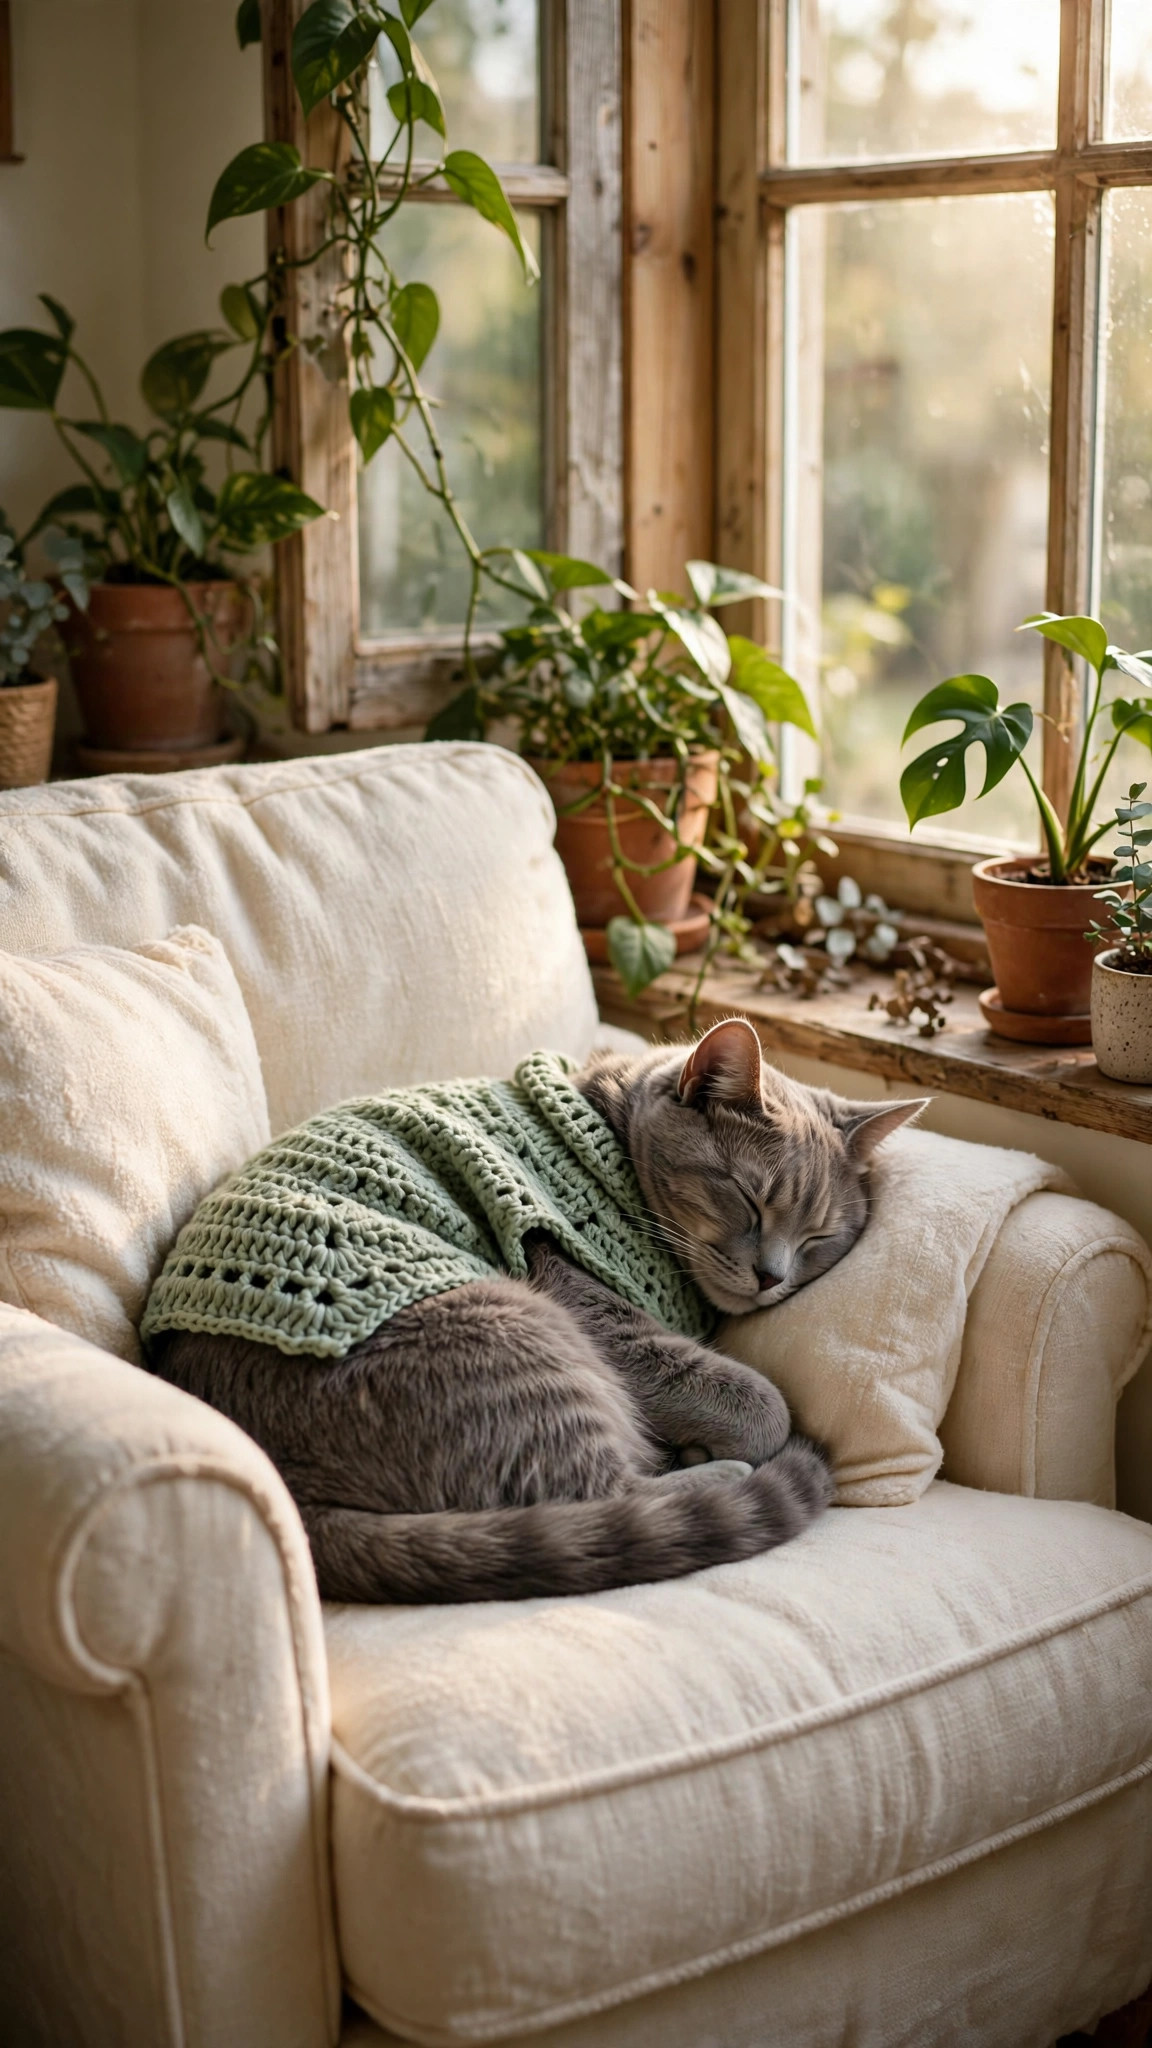
A word on yarn choice, because it matters more for a pet than for almost any other project: pick something genuinely soft and smooth. "Soft" or "anti-pilling" acrylics and cotton-acrylic blends are ideal — gentle against skin, easy to wash (this will get hairy, plan accordingly), and with no fuzzy halo for claws to catch. Avoid scratchy 100% wool, anything with metallic thread, and novelty or eyelash yarns. One 100 g ball is enough for sizes S and M; size L needs a little more, so grab a second ball or embrace a color-blocked hem.
Size, gauge and skill level
- Skill level: beginner-friendly. You should know how to chain, double crochet, and work in the round. The front-post and back-post stitches used for the ribbing are explained below — they're just double crochets worked around the post of the stitch instead of into the top, and they take two minutes to learn.
- Gauge: 14 dc and 8 rounds = 10 cm (4 in) with a 5.0 mm hook. Gauge matters here because this is a garment: swatch, measure, and change hook size if you're off. A too-big sweater slides around; a too-small one restricts movement.
| Size | Fits chest | Neck (unstretched) | Finished back length | Foundation chain |
|---|---|---|---|---|
| S — kitten / small cat | 25 cm (10 in) | 17 cm (6.75 in) | approx. 23 cm (9 in) | 24 |
| M — average cat | 33 cm (13 in) | 23 cm (9 in) | approx. 28 cm (11 in) | 32 |
| L — big cat | 41 cm (16 in) | 29 cm (11.5 in) | approx. 33 cm (13 in) | 40 |
How to measure your cat. Do this while your cat is calm and standing — treats are not bribery, they're project management. Chest: wrap the tape measure around the widest part of the chest, just behind the front legs; this measurement chooses your size. Neck: measure loosely where a collar would sit. Back length: from the base of the neck to the base of the tail. Pick the size whose chest measurement is closest to your cat's — the ribbing and the natural give of crochet allow about 2 cm of flexibility either way, but if your cat is between sizes or very fluffy, size up.
Abbreviations — US terms
| Abbreviation | Meaning |
|---|---|
| ch | chain |
| sl st | slip stitch |
| dc | double crochet |
| FPdc | front post double crochet |
| BPdc | back post double crochet |
| inc | increase (2 dc in the same stitch) |
| st(s) | stitch(es) |
| R | round / row |
| pm | place marker |
| FO | fasten off |
Front post dc (FPdc): yarn over, insert your hook from front to back to front around the post of the stitch below, yarn over and pull up a loop, then finish the double crochet as normal. Back post dc (BPdc): the same idea from the back — yarn over, insert from back to front to back around the post, and finish the dc. Alternating the two is what makes the squishy, stretchy ribbing on the collar and hem.
The pattern (US terms)
All sizes follow the same construction; the numbers are given as S (M, L) throughout. Rounds are joined with a sl st to the first stitch unless you're working the flat panels. The ch 2 at the start of a round does not count as a stitch. Keep a marker in the first stitch of each round and move it up as you go.
The ribbed collar — all sizes
- Foundation: ch 24 (32, 40). Join with a sl st to the first ch to form a ring, taking care not to twist the chain.
- R1: ch 2, dc in each ch around, join. — 24 (32, 40) sts
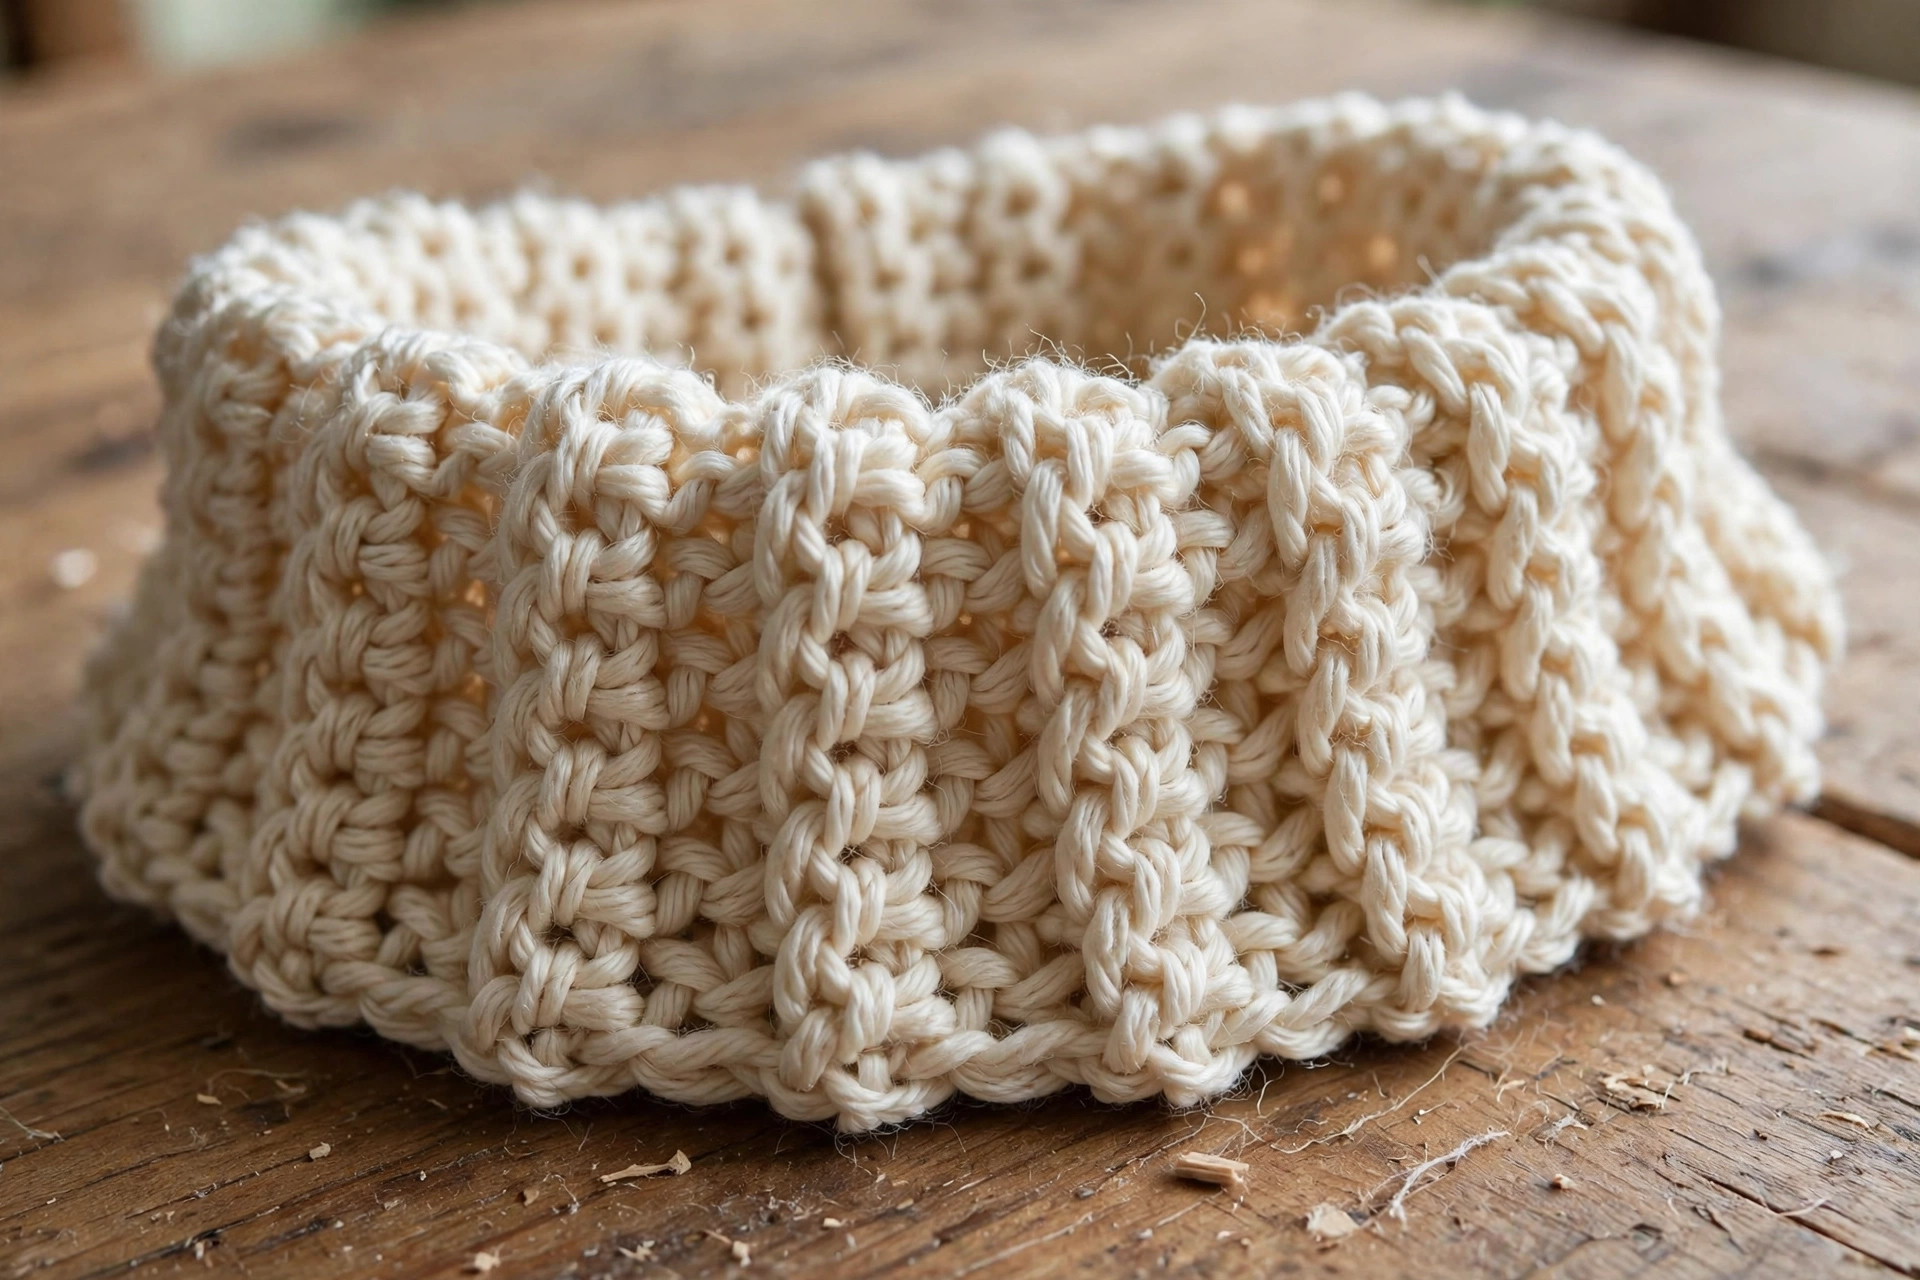
- R2–R5: ch 2, [FPdc in next st, BPdc in next st] repeat around, join. — 24 (32, 40) sts
Try the collar on your cat now (gently, with treats). It should stretch over the head with mild resistance and sit snugly at the neck. Too tight to pass over the ears? Go up a size. Falling off? Go down.
The yoke — increase to the chest
- R6: ch 2, [3 dc, inc] repeat around, join. — 30 (40, 48) sts
- R7: ch 2, [4 dc, inc] repeat around, join. — 36 (48, 56) sts
- R8 onwards: ch 2, dc in each st around, join. Work even until the piece measures about 4 (5.5, 7) cm / 1.5 (2.25, 2.75) in from the bottom edge of the collar. Your stitch count stays at 36 (48, 56).
Quick fit check: the yoke should now cover the chest and reach just behind the front legs — this is where the leg openings will sit, so if it looks short, add another plain round or two.
The leg openings — working flat, briefly
Here is the clever bit. You'll work the back panel and the belly panel separately, in rows, for a few rounds' worth of length. The gap left at each side becomes a leg opening.
First, divide the stitches. Lay the sweater flat with the starting tail at the center top — that top section is the back panel; the section underneath is the belly panel. Count and mark:
- Back panel: 20 (26, 30) sts
- Belly panel: 16 (22, 26) sts
Check your markers: back + belly must equal 36 (48, 56).
Back panel rows (the longer panel):
- Row 1: join yarn at the first back-panel stitch, ch 2, dc in each back-panel st across, turn. — 20 (26, 30) sts
- Rows 2–6 (7, 8): ch 2, dc in each st across, turn.
- FO after the last row, leaving the belly stitches unworked for now.
Belly panel rows (the shorter panel):
- Row 1: join yarn at the first belly-panel stitch on the same round where the back panel started, ch 2, dc in each belly-panel st across, turn. — 16 (22, 26) sts
- Rows 2–2 (3, 4): ch 2, dc in each st across, turn.
- Do not fasten off — you'll rejoin from here.
Look at your sweater: the back panel now extends about 5 cm (2 in) lower than the belly panel at each side. Those two stepped gaps are your leg openings. On the next round you'll close the circle again.
The body — back in the round
- Rejoin round: ch 2, dc in each belly-panel st across — 16 (22, 26) — then continue straight into the first stitch of the back panel's last row and dc across it — 20 (26, 30). Join with a sl st to the first dc. — 36 (48, 56) sts, and you're working in the round again.
- Next rounds: ch 2, dc in each st around, join. Work 3 (5, 6) plain rounds, or until the body is about 2.5 cm (1 in) shorter than your cat's measured back length. — 36 (48, 56) sts
Because the back panel started lower, the sweater is naturally longer over the back and shorter under the belly — exactly the coverage a cat needs, and nothing dangling near the litter box.
The hem
- R1: ch 2, dc in each st around, join. — 36 (48, 56) sts
- R2: ch 2, [FPdc in next st, BPdc in next st] repeat around, join.
- R3: repeat R2.
- FO, leaving a short tail.
The ribbed hem mirrors the collar and keeps the bottom edge from curling or stretching out.
Finishing touches
Weave in all ends with your tapestry needle, working each tail back and forth in three directions so it can't wriggle free — a loose end is a toy, and your cat will find it mid-nap. Give the sweater a gentle stretch in each direction to even out the stitches (this is all the blocking a pet sweater needs), and lay it flat so the ribbing can relax.
Try-on protocol. Put the sweater on your cat in a calm moment, somewhere familiar, for just a few minutes the first time, with treats and praise on standby. Most cats do a brief theatrical statue impression, walk a few suspicious steps, then completely forget they're wearing it — that's success. If your cat freezes for more than a minute, flops and refuses to move, or panics, take it off and try again another day for a shorter session. Never leave a cat unsupervised in any garment: sweaters can snag on furniture and door handles.
Three cute variations to try next
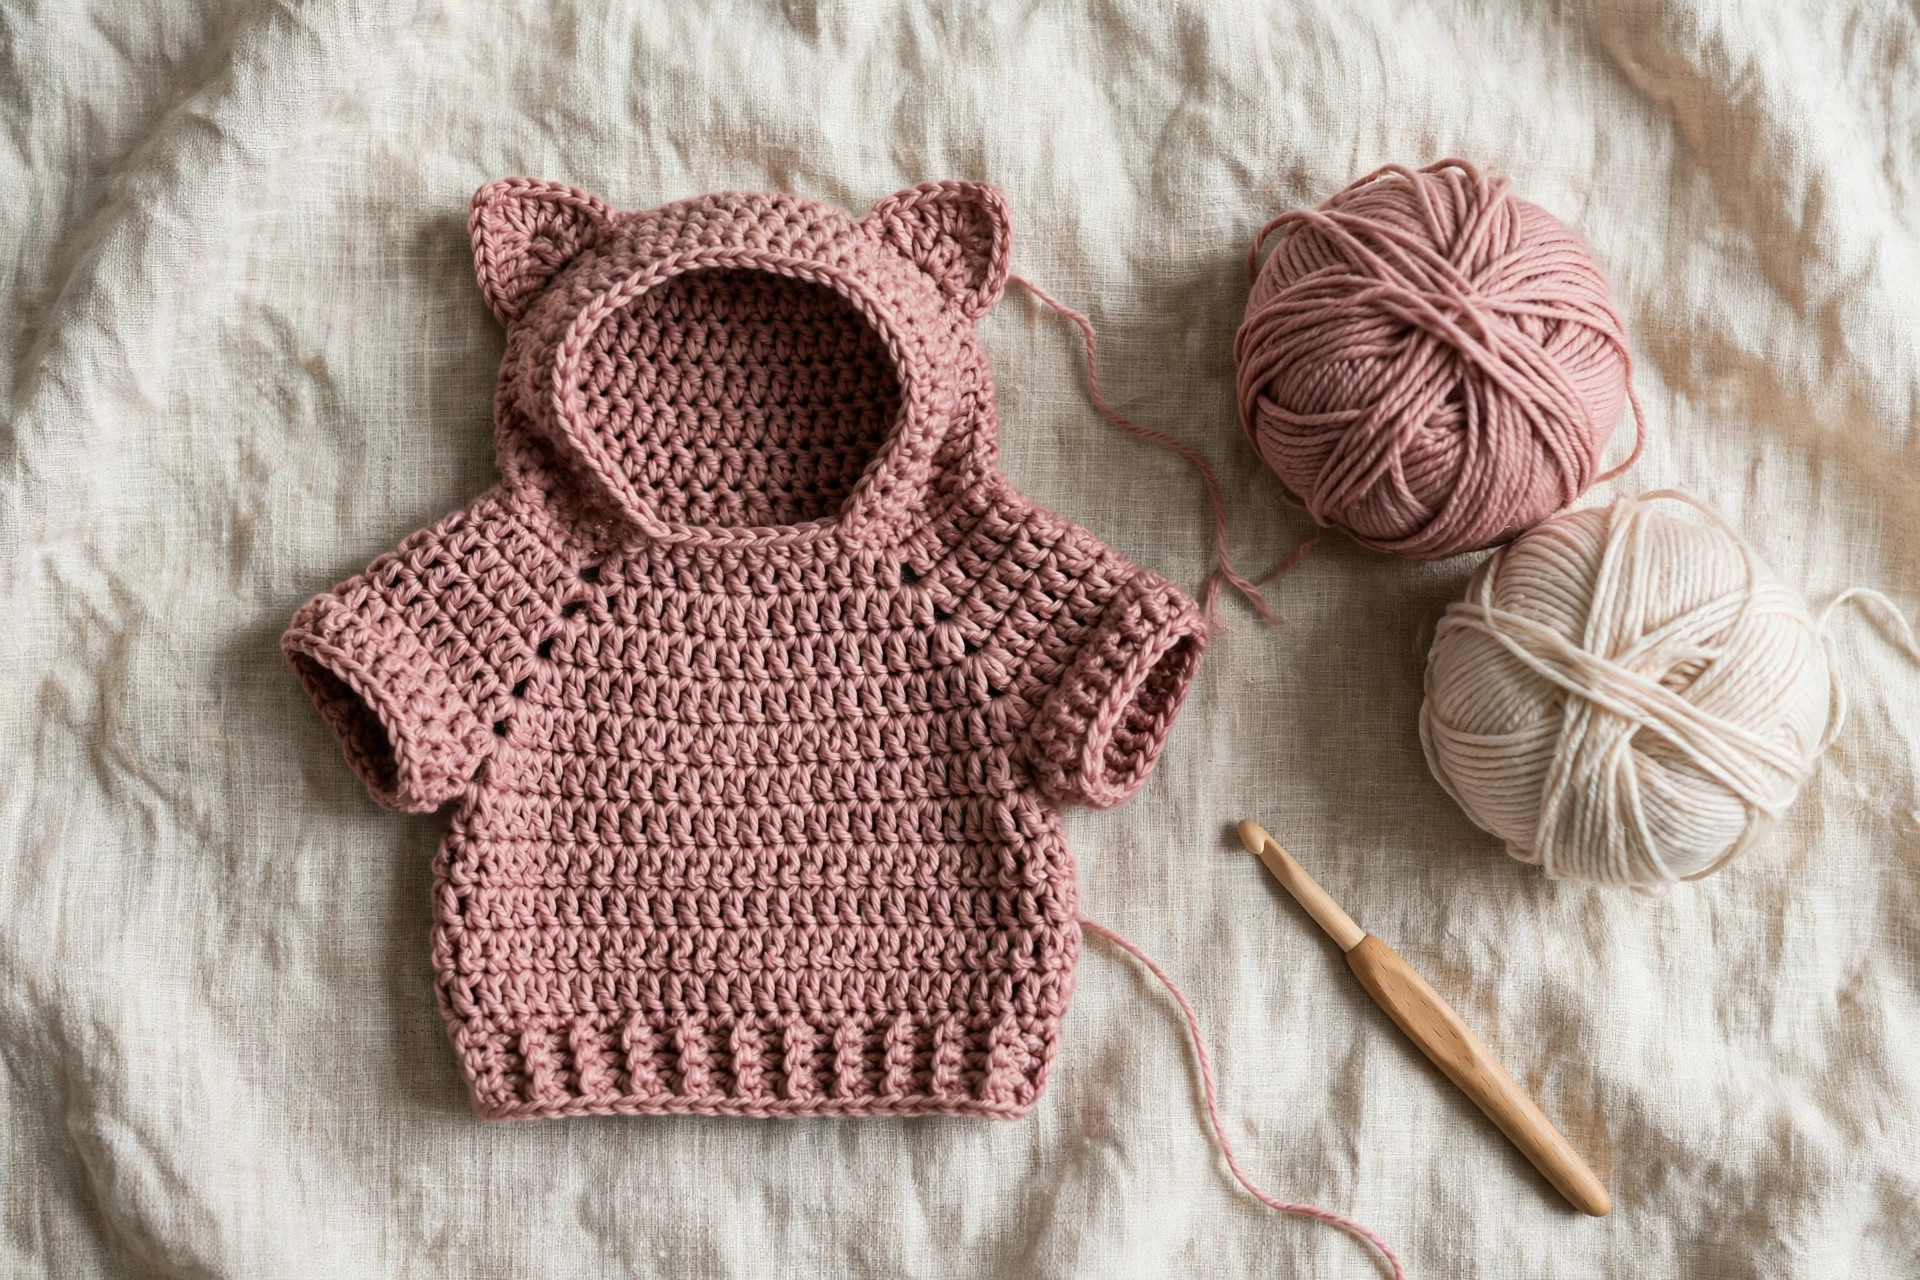
- Classic stripes. Work the collar in a contrast color, then alternate two rounds of main color with two rounds of contrast through the yoke and body, finishing with the contrast again at the hem. Stripes hide pet hair remarkably well (match the colors to the cat for maximum camouflage) and make the top-down construction look extra sharp.
- Holiday colors. Deep red with a cream collar and hem for Christmas, orange and black for Halloween, or pastels for Easter photos. If Halloween is your season, your cat can coordinate with the flip-face witch cat toy — one for wearing, one for batting under the sofa.
- The cozy matching set. Make one for the cat, then make something for yourself in the same yarn: the free leg warmer crochet pattern uses the same ribbing, and the crochet pocket scarf echoes the FPdc/BPdc texture. Matching family photos are not mandatory, but they are strongly encouraged.
Troubleshooting tips
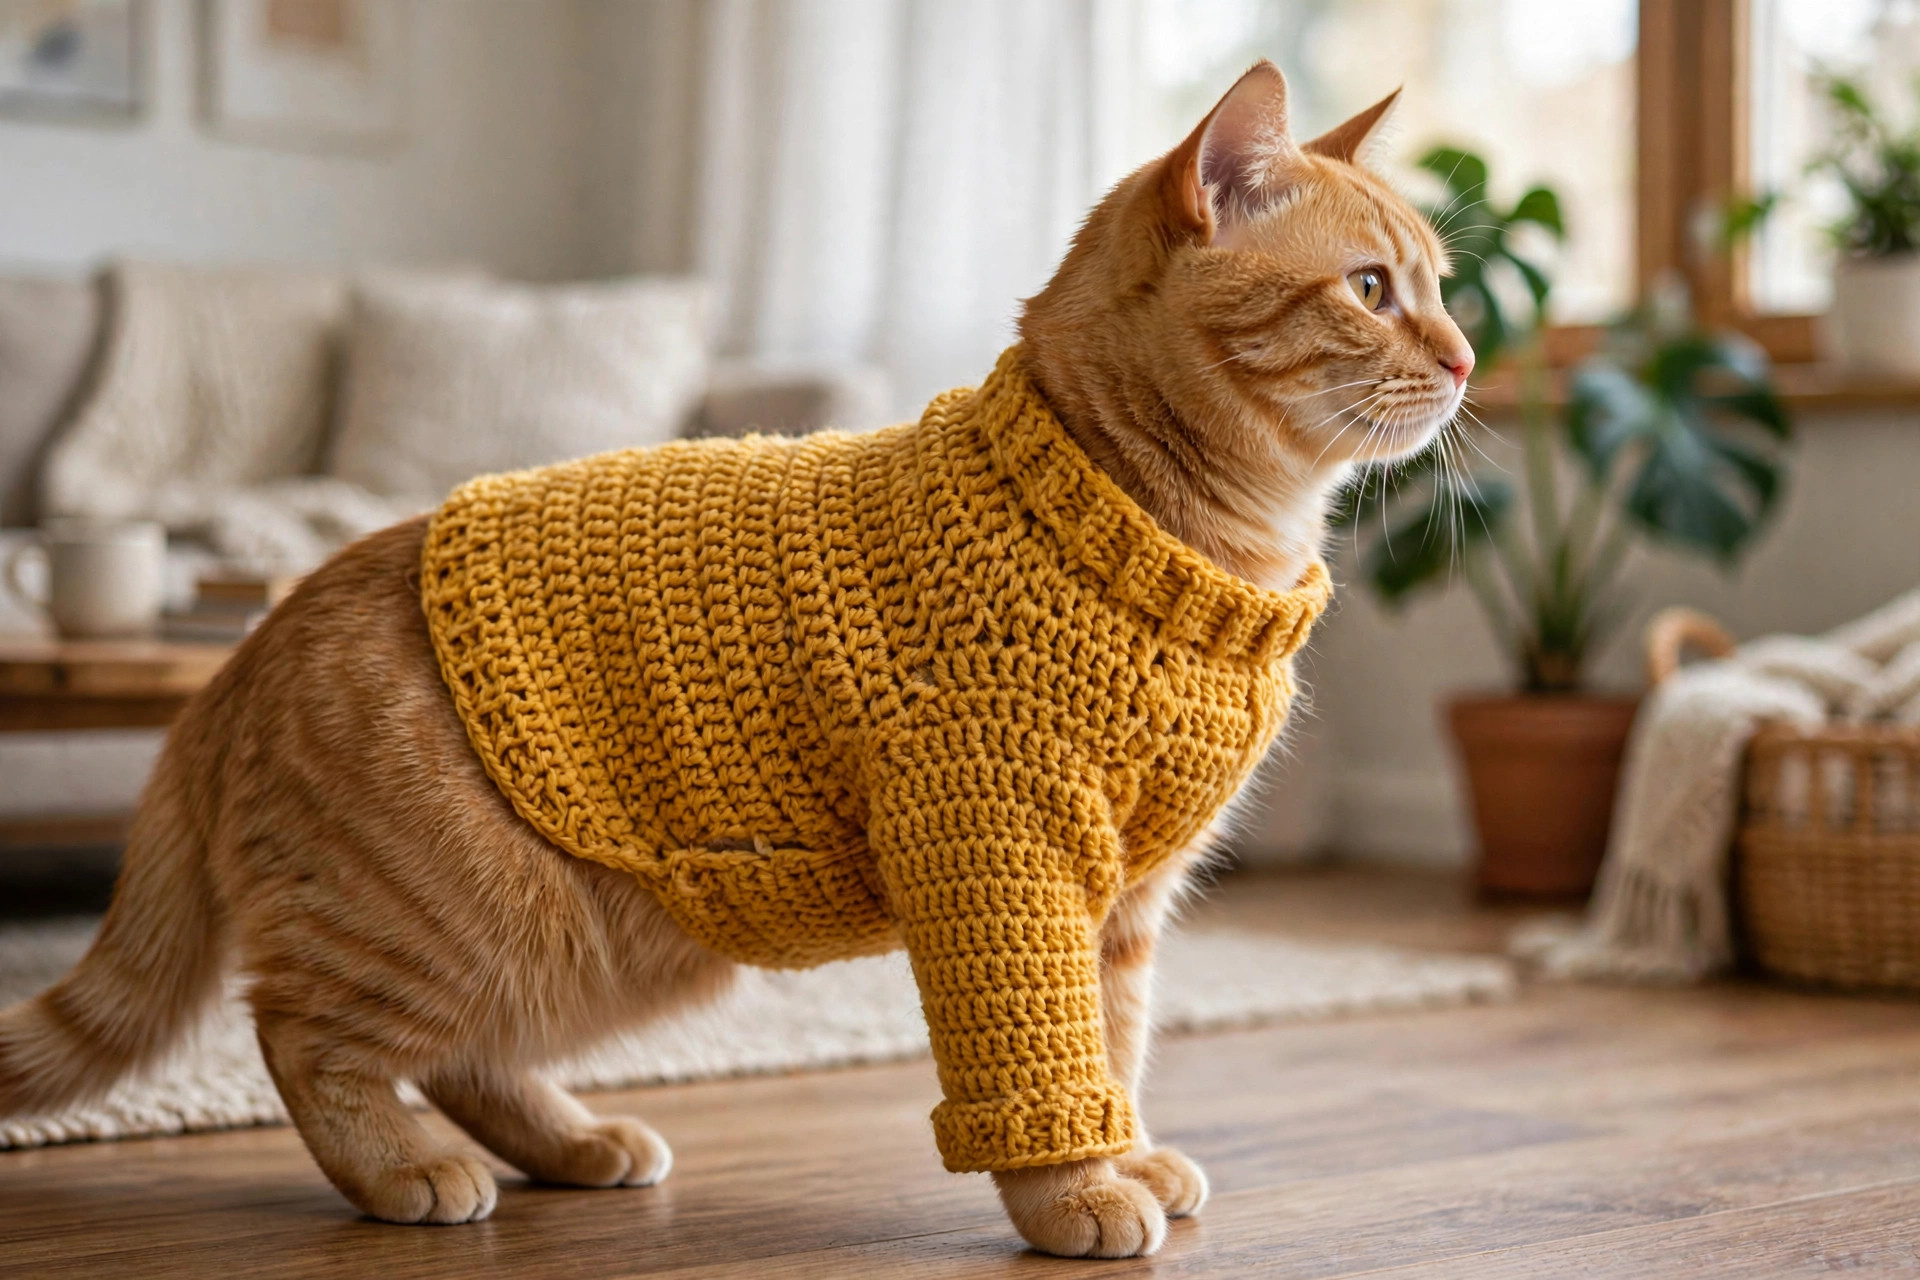
- The leg holes are too tight. Your flat panels ended up with too little difference in length. Next time, add one extra row to the back panel and one fewer to the belly panel to deepen the openings by about 1.25 cm (0.5 in). You can also gently stretch the openings on the finished sweater to ease them open.
- The leg holes are too loose and gaping. Do the opposite: one fewer back row, one extra belly row. A round of single crochet worked evenly around each opening also firms them up beautifully — pick up about one sc per row end and per stitch.
- The sweater twists around the body. Usually a chest size issue: the sweater is a touch too big and rotates to wherever it wants. Check your gauge first; if the fabric is right, add a short belly strap — crochet a small rectangle of dc rows, sew one end under the belly panel and add a large snap or button to the other, so it fastens around the body between the front and back legs.
- My cat walks like the floor is lava. The body is probably too long and touching the tops of the back legs, or the belly panel hangs too low. Shorten by one or two body rounds and make sure the belly clears the ground when they stand. Some cats also just need two or three short practice sessions.
- The collar stretches out and won't spring back. Your FPdc/BPdc tension is loose, or the yarn has little elasticity (100% cotton is the usual culprit). Work the collar with a hook 0.5 mm smaller, or thread a short length of thin elastic through the top round of ribbing and knot it discreetly inside.
- It rides up toward the neck. The body is a little short for your cat's back length. Add extra plain rounds before the hem next time — top-down means this fix costs you nothing but ten minutes.
Frequently asked questions
Is this cat sweater pattern really free?
Yes — the complete pattern, all three sizes, is right here on this page, free, with no signup and nothing to buy. If you'd like to say thank you, saving it on Pinterest or sharing it with a fellow cat person is the nicest way.
How do I know which size to make?
Measure your cat's chest just behind the front legs and match it to the size table: 25 cm (10 in) is S, 33 cm (13 in) is M, 41 cm (16 in) is L. Between sizes, or working with a very fluffy cat? Size up — the ribbed collar and hem keep a slightly roomy sweater sitting nicely, while a too-small one restricts movement.
Is it safe to leave a sweater on my cat all day?
No. Cats should only wear clothing while supervised, for short, comfortable sessions — cozy evenings on the sofa, drafty rooms, post-grooming chills for hairless breeds, and photo opportunities. Take it off if your cat shows stress, and never leave a dressed cat alone or outdoors.
What is the best yarn for a cat sweater?
A soft, smooth, worsted-weight acrylic or acrylic-cotton blend. It should feel gentle enough to hold against your own neck, with no scratchy fibers, metallic threads, or fuzzy novelty textures, and be machine washable — because it will absolutely need washing. Avoid 100% wool: it can itch and felts in the wash.
My cat hates wearing clothes. Can I still make this?
Honestly? The sweater isn't the problem to solve — some cats simply never enjoy garments, and that's fine. Use the pattern for a tolerant cat, a hairless breed who needs the warmth, or as the world's most committed gift for a friend's cat. And keep your own cat happy with a toy instead: the crochet cat amigurumi and the floppy cat crochet pattern deliver the same handmade love with zero dress code.
Can I sell the finished sweaters I make?
Yes! You may sell finished sweaters made from this pattern in small batches (craft fairs, Etsy, local pet boutiques). Please credit Little Loop Finds as the designer with a link back to this page. The pattern text and photos themselves may not be redistributed, republished, or sold.
How long does it take to make?
About 3–5 hours depending on size: roughly an hour for the collar and yoke, an hour for the flat panel section and body, and the rest spread across hemming, weaving in, and the all-important supervised fashion show. Size S is a genuine one-evening project.
More free patterns to try
If your cat is now the best-dressed member of the household, keep the cozy streak going. The sleep mask crochet pattern makes a matching wind-down set for the human of the house — and then you can both nap in coordinated, handmade comfort.
The box below contains an Etsy link. If you buy through it, we may earn a small commission at no extra cost to you. Learn more.
No time to make one?
Short on time? Find handmade crochet cat sweaters from independent makers on Etsy.
Browse on Etsy (opens Etsy in a new tab)