Free leg warmer crochet pattern: cozy ribbed, 3 sizes
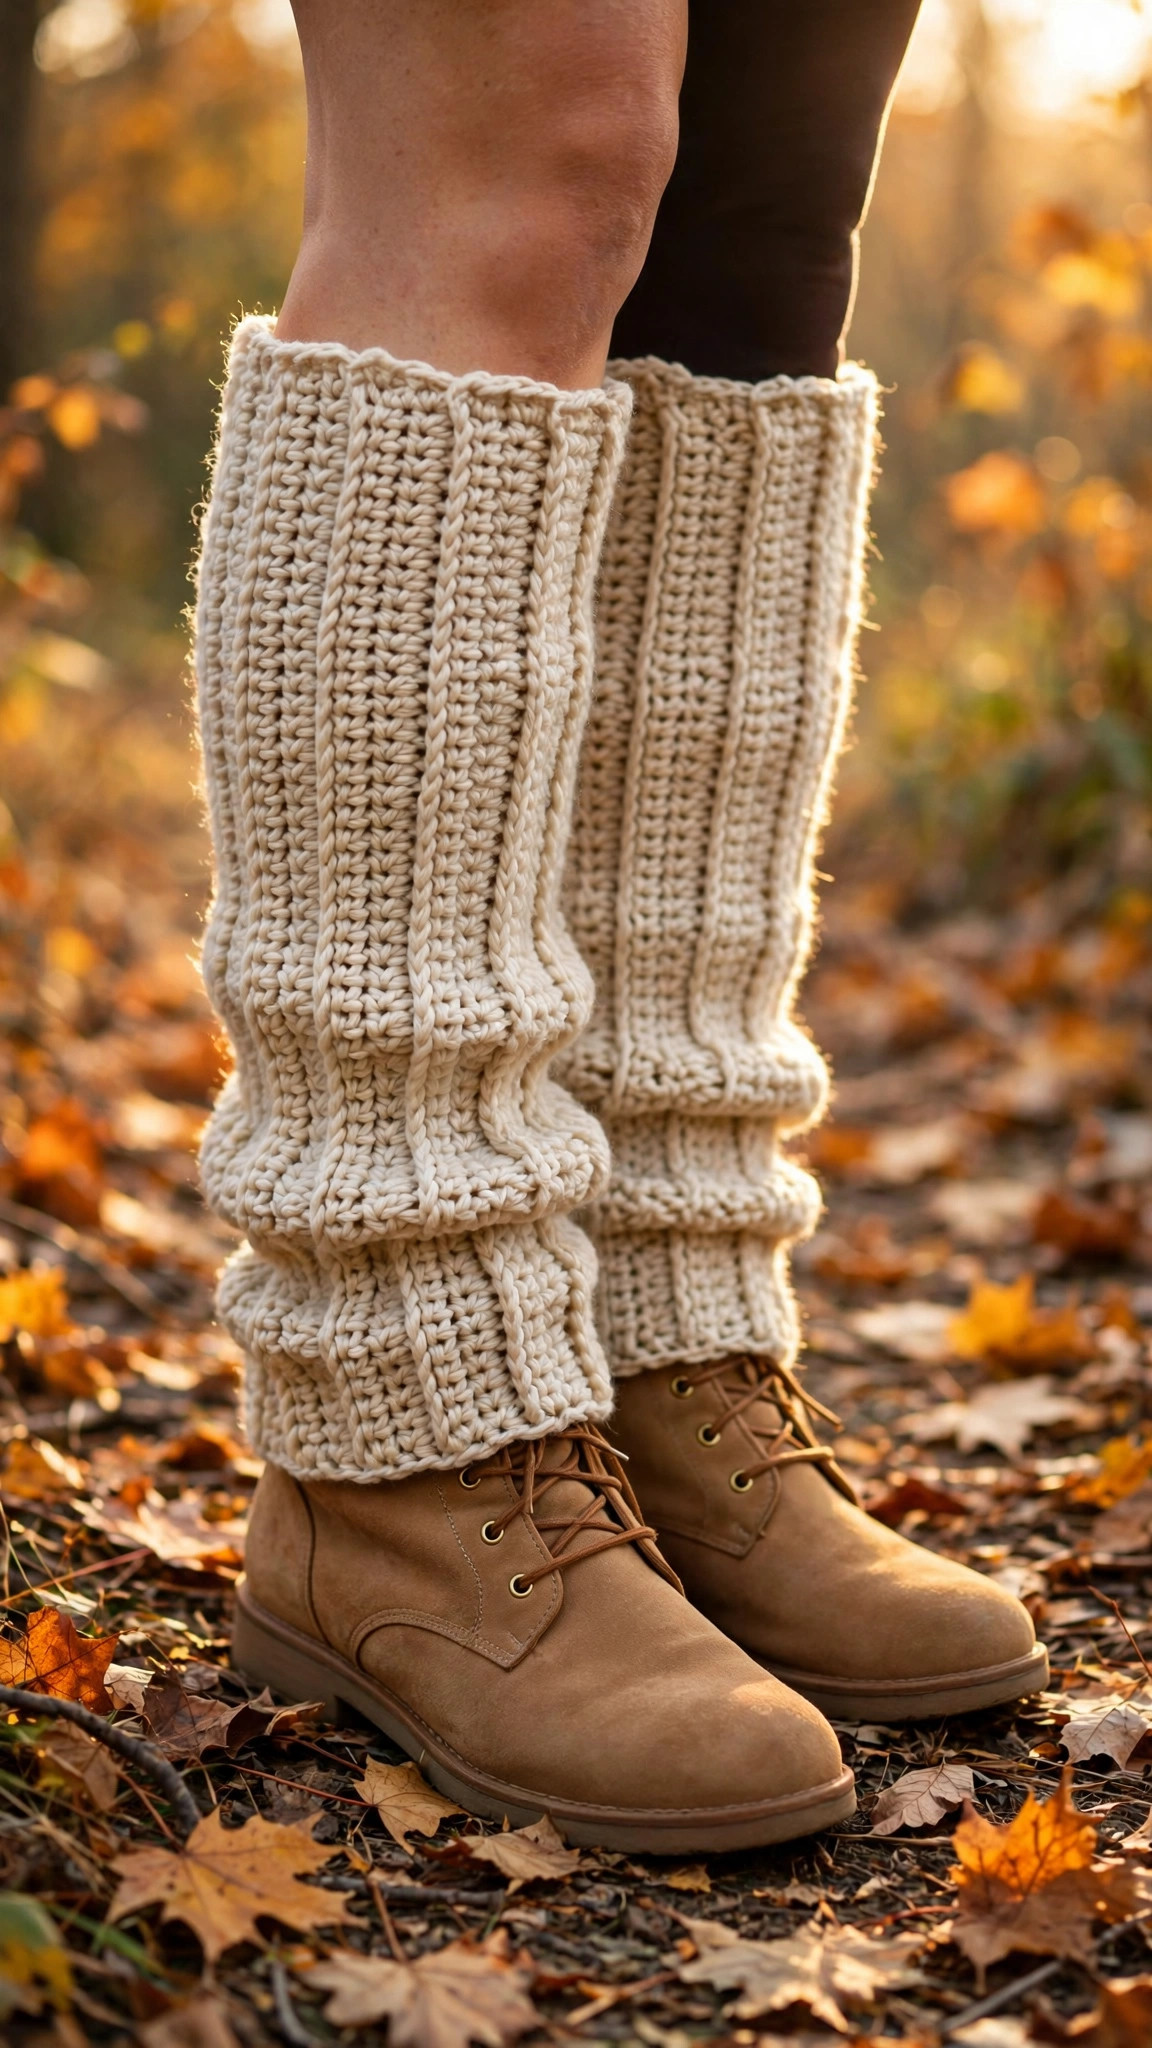
Cozy ribbed leg warmers worked in the round with front-post/back-post ribbing and gentle calf shaping, in three sizes from toddler to adult — with an optional buttoned cuff strap for a boutique finish.

Wearables · Crochet
- Finished size
- 8 / 10 / 13 in long
- Making time
- About 2–3 hours per pair
- Hook
- 5.5 mm, worsted-weight yarn
- Sizes
- Toddler, child, adult
- Skill
- Beginner
In this post
There is a specific kind of cold that only October knows — the kind that sneaks in around your ankles on a morning walk or on the bleachers at a kid's soccer game. This free leg warmer crochet pattern was designed for exactly that: cozy ribbed leg warmers you can make in a single weekend, in three sizes from toddler to adult, with gentle calf shaping so they hug without squeezing. The ribbing is worked in front-post and back-post double crochet, which looks impressively textured but is honestly just a double crochet worked in a different spot — after two rounds, your hands will do it on autopilot.
The pattern is fully original, written in US terms, and every size has been math-checked so the stitch counts land cleanly on multiples of four (rib's best friend). Work them in a soft wool blend for serious warmth, or in acrylic for easy-care kid pairs that survive the washing machine. Add the optional buttoned cuff strap for a boutique look — or skip it and enjoy the cleanest, simplest leg warmers you've ever made.
Why you'll love this free leg warmer crochet pattern
Most free leg warmer patterns are either dead-simple tubes (no shaping, they slide down) or shaped beautifully but written for one size only, leaving you to guess at the math. This pattern does the shaping for you across all three sizes, and the math is honest: the stitch counts are multiples of four everywhere, so the two-by-two rib never breaks its rhythm at the calf increase. A broken rib repeat is the difference between a professional-looking warmer and one that screams "my first increase."
The second thing you'll love is the rhythm. Once the ankle rib is going, this is pure comfort crochet: round after round of the same four-stitch repeat, no charts, no row counting, nothing to memorize beyond "front, front, back, back." It pairs beautifully with a podcast — and since the adult size is only 52 stitches at its widest, you finish a round every few minutes.
Finally, the buttoned cuff variation. A simple strap with a buttonhole, worked in a contrast color and buttoned around the top, takes the whole thing from "nice homemade pair" to "did you buy those?" territory. It also anchors the top edge so the warmer stays put under jeans or over boots. Make one pair with the strap as your showcase gift, and a plain pair for yourself — you will wear both constantly.
If you're new to post stitches, don't let the front-post/back-post ribbing intimidate you. It's the same technique that gives the crochet headband its springy texture, and there's a step-by-step refresher below.
Materials you'll need
| Supply | What to get |
|---|---|
| Main yarn | Worsted-weight (#4), soft wool blend or acrylic — Toddler: ~90 g, Child: ~150 g, Adult: ~220 g |
| Contrast yarn (optional cuff) | Worsted-weight (#4) in a coordinating color, ~25 g |
| Crochet hook | 5.5 mm (I-9) |
| Buttons (optional) | 2 decorative buttons, 2.5–3 cm (1–1.25 in) |
| Notions | Tapestry needle, stitch marker, scissors |
A quick note on yarn: pick something with a little spring in it. Wool blends and good acrylics have natural elasticity that helps the ribbing snap back; very drapey fibers like bamboo will stretch out and stay stretched. For a toddler who will drag these through the playground, machine-washable acrylic is the kind choice — warmth they can actually live in beats warmth that lives in the drawer.
Size, gauge and skill level
Finished measurements:
| Size | Ankle circumference | Calf circumference | Finished length | Yarn needed |
|---|---|---|---|---|
| Toddler (2–4 yrs) | 18 cm / 7 in | 20 cm / 8 in | 20 cm / 8 in | ~90 g |
| Child (5–10 yrs) | 23 cm / 9 in | 25 cm / 10 in | 25 cm / 10 in | ~150 g |
| Adult | 30 cm / 12 in | 33 cm / 13 in | 33 cm / 13 in | ~220 g |
Gauge: 16 stitches (4 repeats of the rib) × 11 rounds = 10 cm (4 in) in the rib pattern, unstretched, with a 5.5 mm hook. Check this over the ribbing specifically, not in plain double crochet — post stitches are shorter and denser than regular dc.
A word about ease: the measurements above are the finished circumference, and ribbing like this comfortably stretches 25–30% beyond it. Aim for a warmer that matches the actual leg or runs about 2.5 cm (1 in) smaller — snug rib that stretches a little is warm rib; rib that fits with zero stretch will slide down by lunchtime. If you're between sizes, size down.
Skill level: confident beginner. You should be comfortable with chains, slip stitches, single and double crochet. The front-post and back-post stitches are the only new trick, explained below — most crocheters get them in under ten minutes. Everything else is plain rounds with counts at the end of every section, so you can check yourself as you go.
If post stitches still sound intimidating, warm up with the easy beginner crochet patterns collection first — the rhythm of working even rounds will feel familiar by the time you start the ribbing.
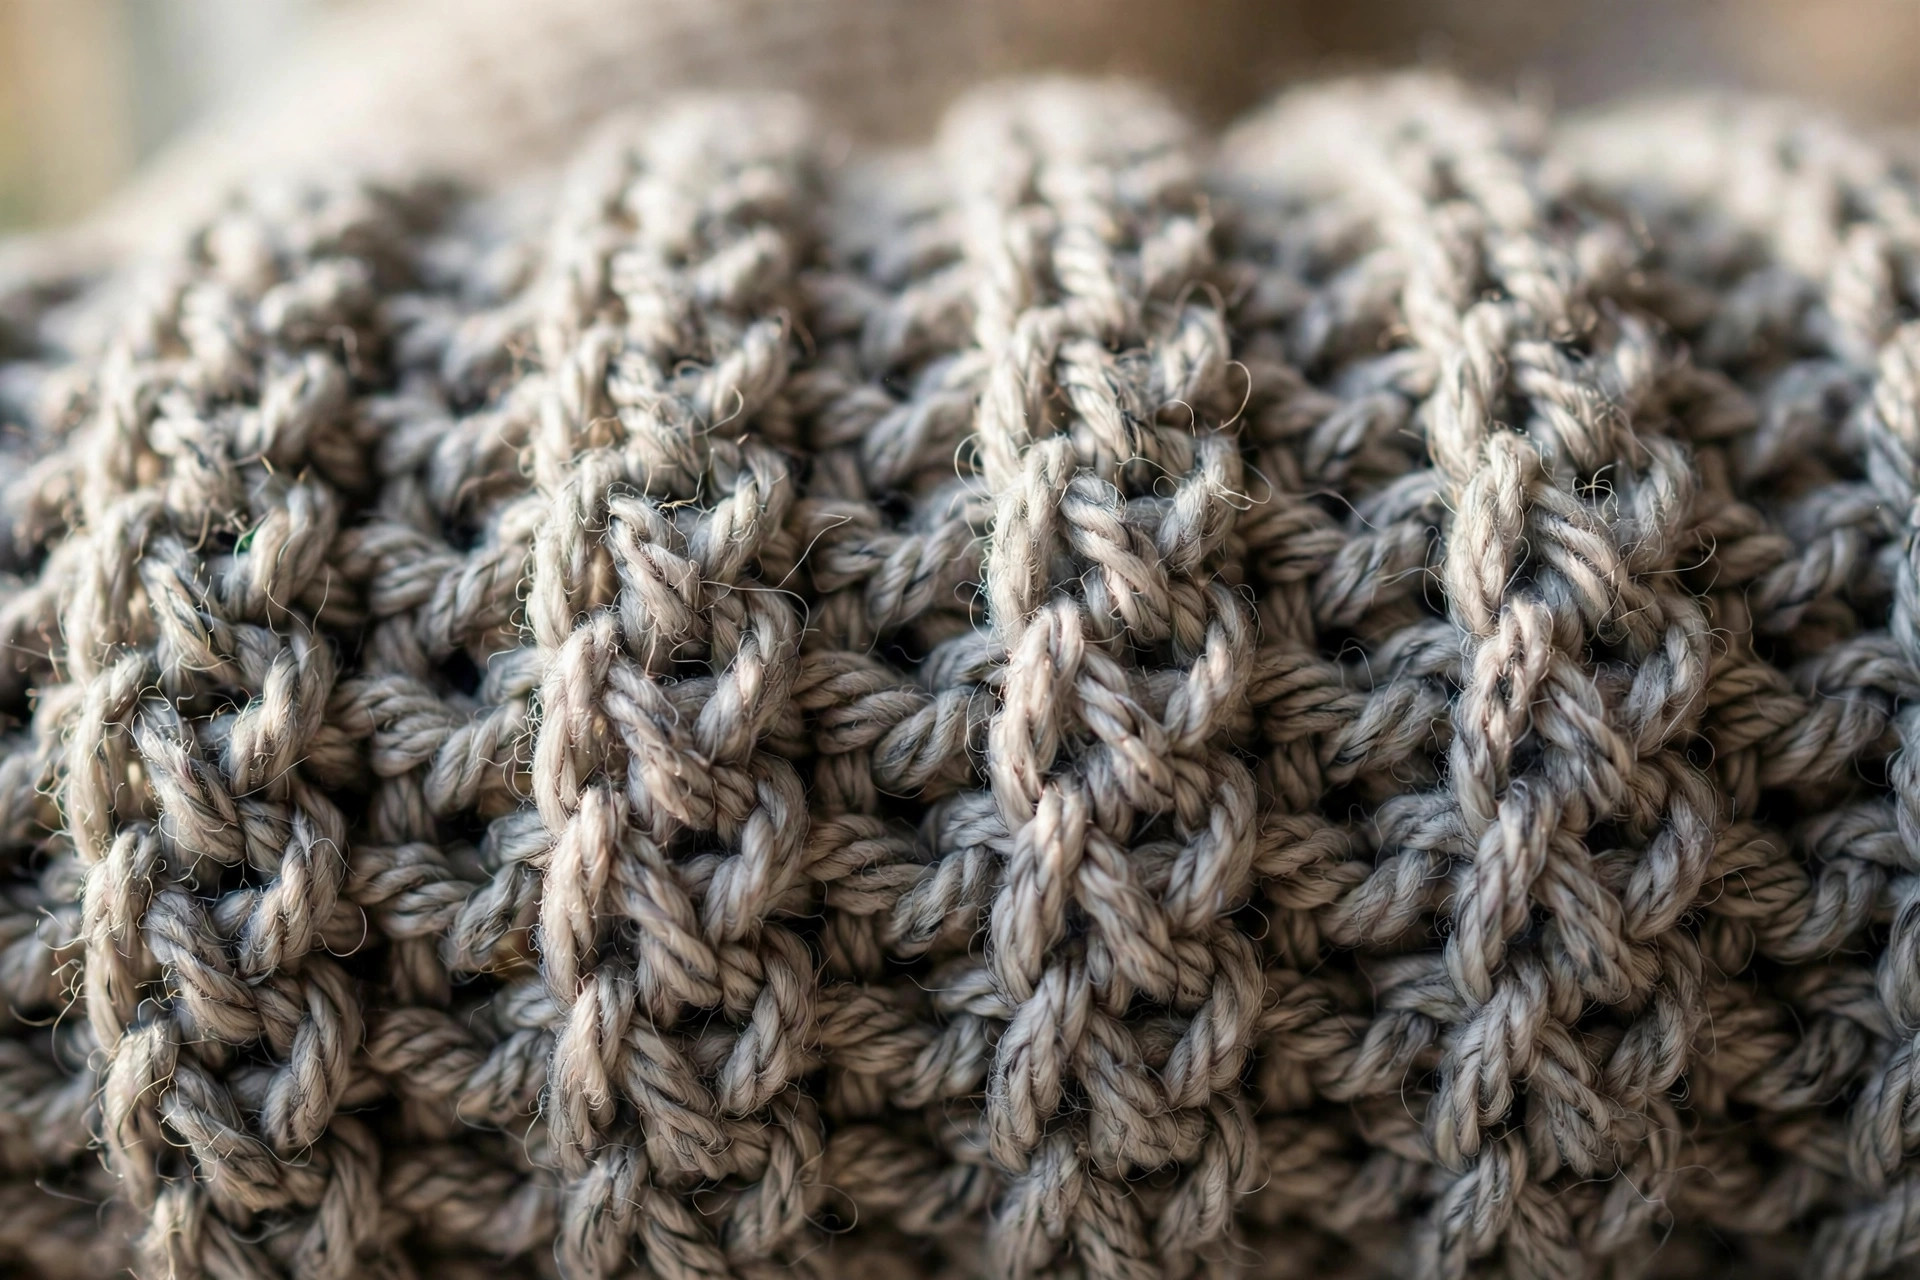
Front-post / back-post refresher: A front-post double crochet (fpdc) is worked around the post of the stitch below instead of into its top. Yarn over, insert your hook from front to back to front around the post, yarn over, pull up a loop, then finish like a normal double crochet. A back-post double crochet (bpdc) is the mirror image: insert the hook from back to front to back around the post. The fpdc ribs pop forward; the bpdc ribs sink back — that alternation creates the classic knit-look ribbing.
Abbreviations — US terms
| Abbreviation | Meaning |
|---|---|
| ch | chain |
| sl st | slip stitch |
| sc | single crochet |
| dc | double crochet |
| fpdc | front-post double crochet |
| bpdc | back-post double crochet |
| st(s) | stitch(es) |
| rnd | round |
| sk | skip |
| FO | fasten off |
Reading the sizes: instructions are written as Toddler (Child, Adult) throughout. Follow your size only.
The pattern (US terms)
Both warmers are worked the same way, from the ankle up to the calf, in joined rounds. Place a stitch marker in the top of the chain-3 at the start of each round if you find it helpful — the join spot is hard to spot once the ribbing gets going.
Ankle ribbing
Foundation: Ch 28 (36, 48). Join with a sl st to the first ch, being careful not to twist the chain. (28 (36, 48))
Rnd 1: Ch 3 (counts as first dc), dc in each ch around, join with sl st to the top of the ch-3. (28 (36, 48) dc)
Rnd 2: Ch 2 (does not count as a stitch), \fpdc around the next 2 sts, bpdc around the next 2 sts\ — repeat from \* to \* around, join with sl st to the first fpdc. (28 (36, 48))
Rnds 3–9 (3–11, 3–13): Repeat Rnd 2. The ankle section is 7 (9, 11) rounds of ribbing, measuring about 6.5 (8, 10) cm / 2.5 (3, 4) in.
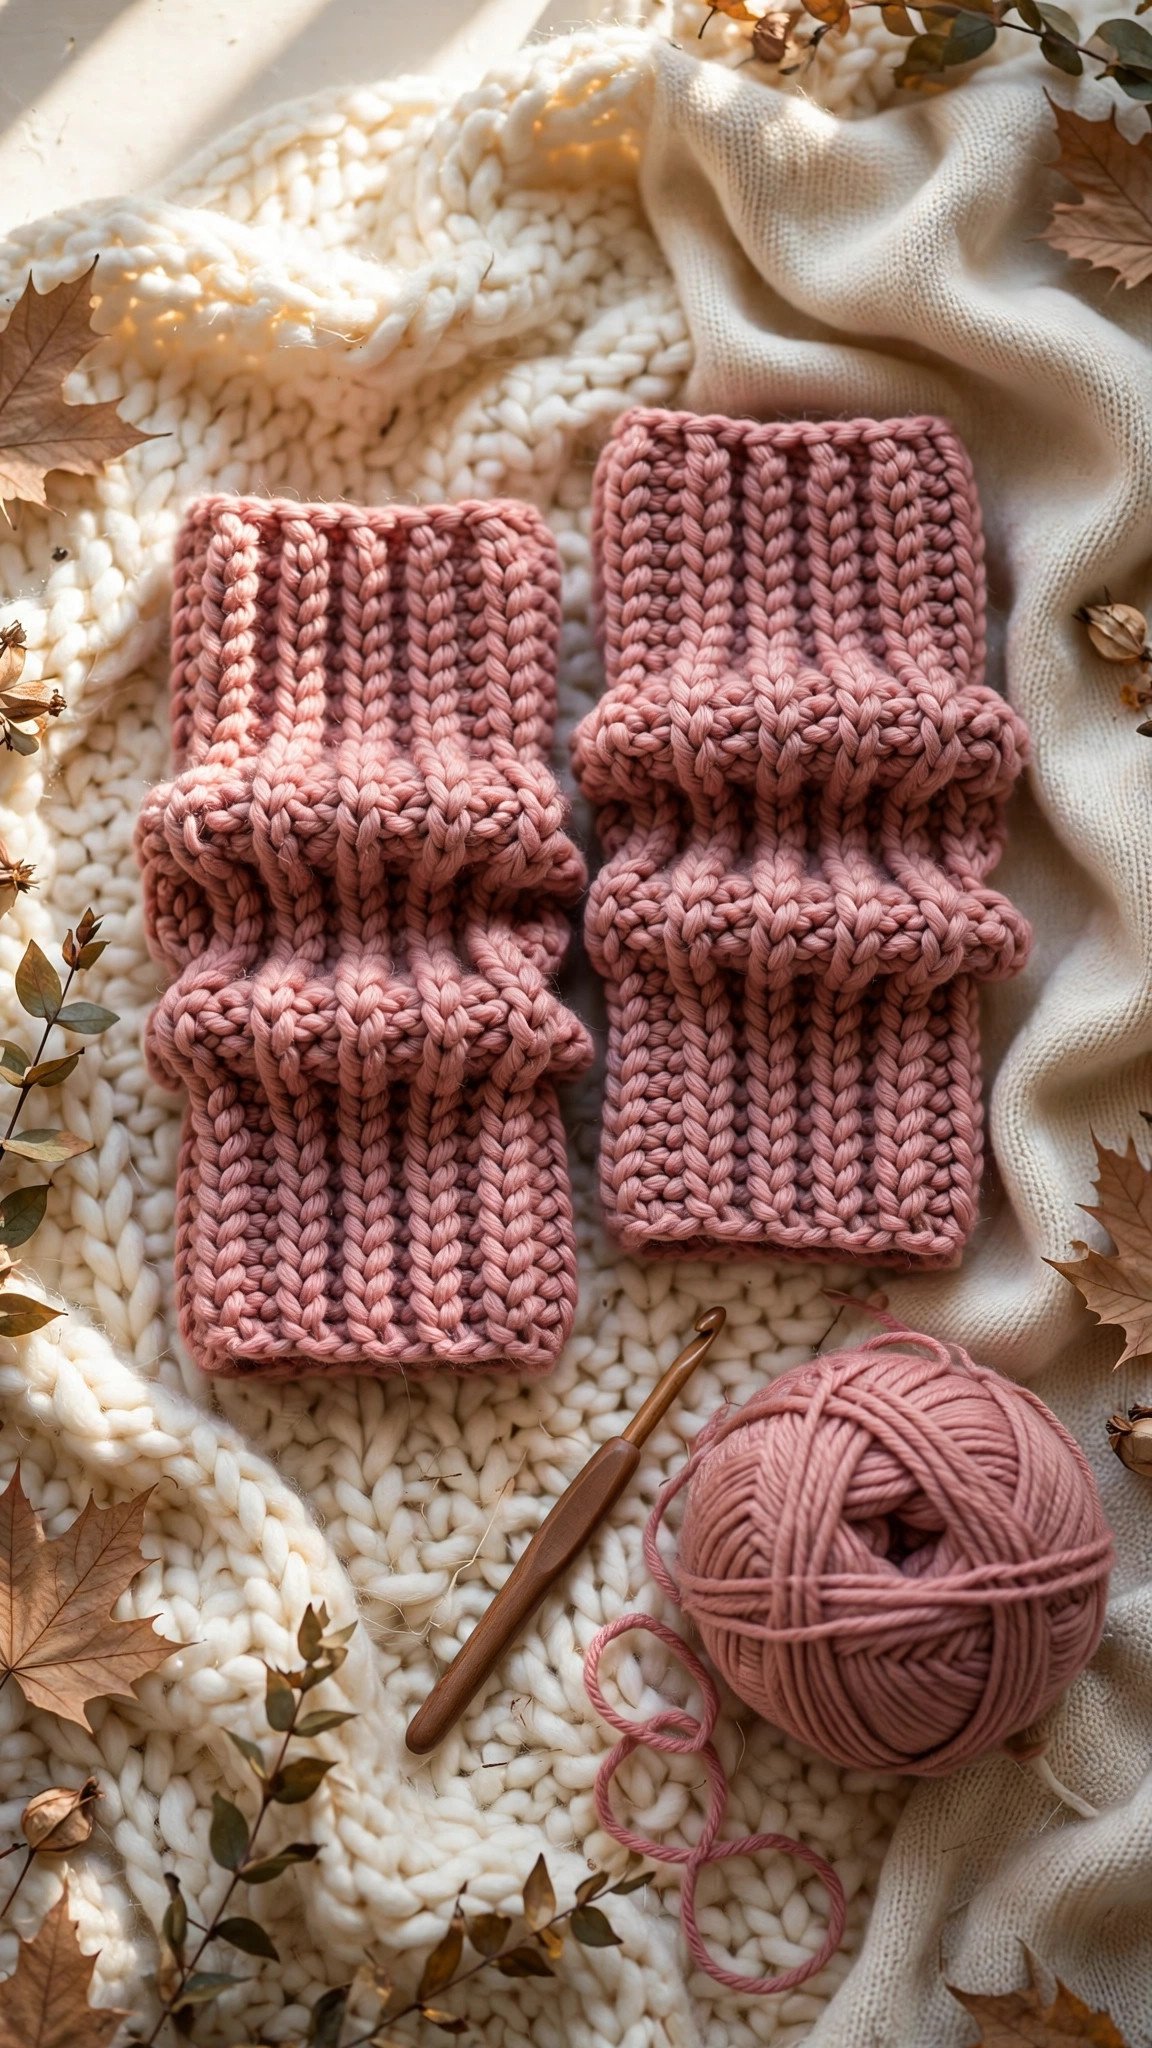
You should see neat two-wide columns popping forward and sinking back — that knit-look texture confirms the fpdc/bpdc alternation is correct. If the columns look muddled, check that you're working around the posts, not into the tops of the stitches.
Calf shaping increase
This is the only increase round in the pattern, and it's designed to preserve the rib rhythm: all three stitch counts stay multiples of four, so the two-by-two repeat flows straight through it.Increase rnd: Ch 2 (does not count as a stitch). Work the rib pattern as established, but on the 7th (9th, 12th), 14th (18th, 24th), 21st (27th, 36th) and 28th (36th, 48th) stitches, work a plain dc into the top of the stitch instead of around its post — this adds 4 stitches evenly spaced around the round. Join with sl st to the first stitch. (32 (40, 52))
Don't overthink the placement: four evenly spaced increases is all the shaping the calf needs, and the ribbing's stretch hides the plain dc stitches completely.
Calf ribbing
Next 10 (12, 15) rnds: Repeat Rnd 2 over 32 (40, 52) sts. The calf section measures about 9 (11, 14) cm / 3.5 (4.25, 5.5) in.
Top edge
Next 2 rnds: Ch 1, sc in each st around, join with sl st to the first sc. (32 (40, 52)) These two single-crochet rounds give the top a clean, non-rolling edge that also anchors the optional buttoned strap. FO and weave in both ends, burying the tails vertically through the posts so they disappear into the ribbing.
Second warmer
Repeat everything above. If your two warmers come out slightly different lengths — it happens, tension shifts between sessions — block the shorter one lightly by wetting it and stretching it to match; ribbing is very forgiving.
Optional buttoned cuff variation
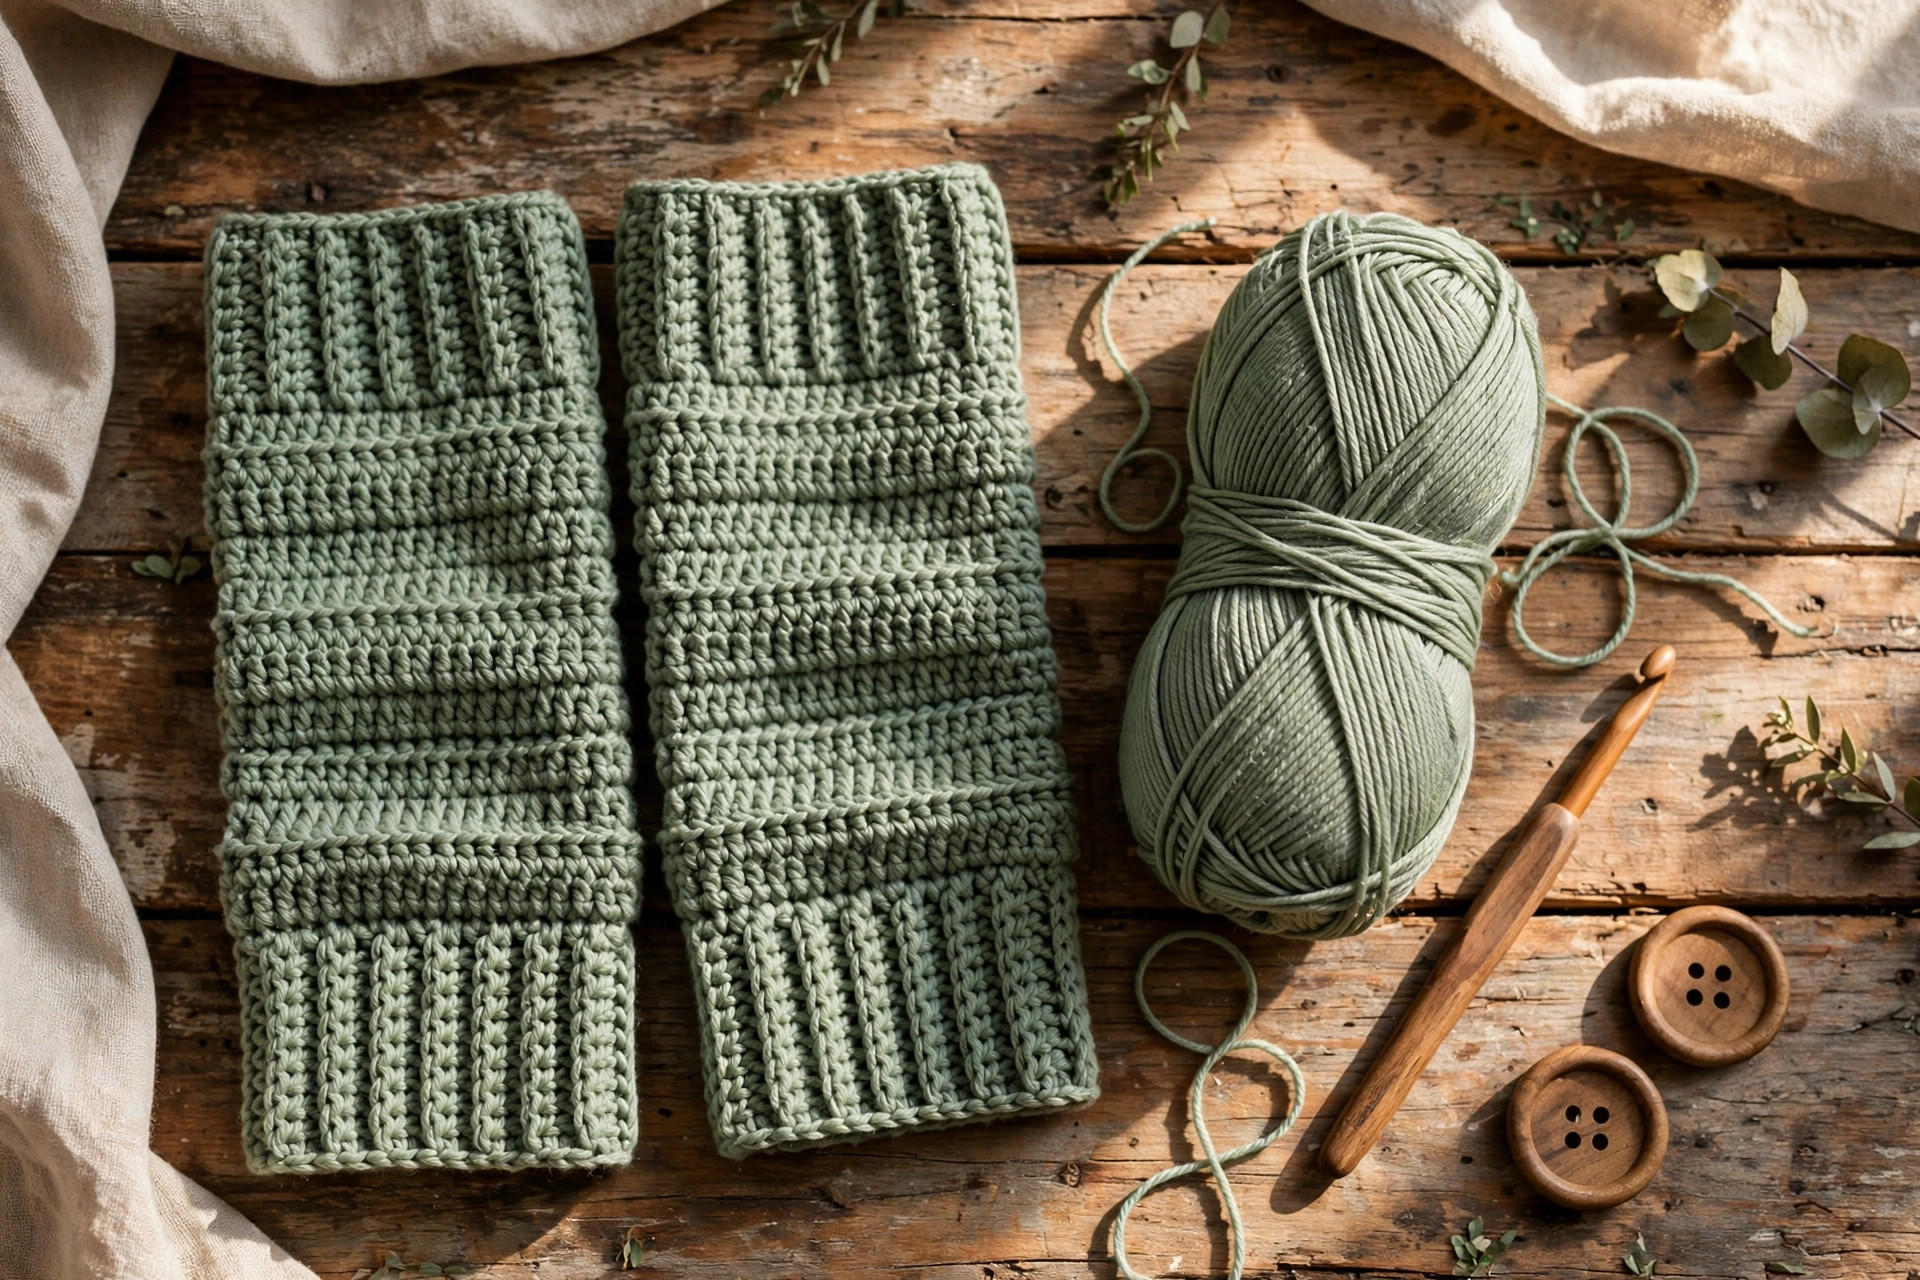
This variation turns the plain pair into a boutique-style gift. Work one strap per warmer in your contrast color.
- Ch 4. Row 1: sc in the 2nd ch from the hook and in each ch across (3 sc). Ch 1, turn.
- Rows 2 onward: sc in each st across (3), ch 1, turn. Keep going until the strap measures 20 (25, 33) cm / 8 (10, 13) in, unstretched — roughly 32 (40, 52) rows. It should wrap around the top of the warmer with a little overlap.
- Buttonhole row: ch 1, turn, sc in the first st, ch 2, sk the next st, sc in the last st. (2 sc + ch-2 space)
- Next row: ch 1, turn, sc in the first st, work 2 sc into the ch-2 space, sc in the last st. (4 sc) FO, leaving a 20 cm (8 in) tail.
- Sew one end of the strap firmly to the top edge with the tail, stitching through both layers twice. Sew a button to the opposite side where the buttonhole lands. Wrap the strap around the cuff and button it closed.
Finishing touches
Ribbed warmers need almost no finishing, but ten unhurried minutes here is the difference between "I made these" and "I made these."
Weave ends into the posts. Don't just skim the tails across the back of the work — thread them vertically through two or three stitch posts with your tapestry needle. The tails lock into the texture and won't pop out, even after machine washing.
Even out the join seam. The spot where each round joins can pull slightly tighter than the rest of the round. Give the seam a gentle tug widthwise to relax it, and weave the tail along the seam to distribute the tension. In ribbing this small, the seam all but vanishes once worn.
Five fun variations to try next
Once the basic ribbed warmer is in your hands, it becomes a canvas:
- Two-tone rugby stripe. Work the ankle ribbing in your main color, then switch to the contrast color for the calf section and top edge. The color change lands exactly at the increase round, which looks intentional and sharp.
- Lace-trimmed top. Replace the two single-crochet top rounds with one round of sc followed by a picot edge: \sc in the next st, ch 3, sl st in the first ch (picot made), sc in the next st\, repeat around. A delicate finish that pairs beautifully with the chunky rib — lovely for the toddler size.
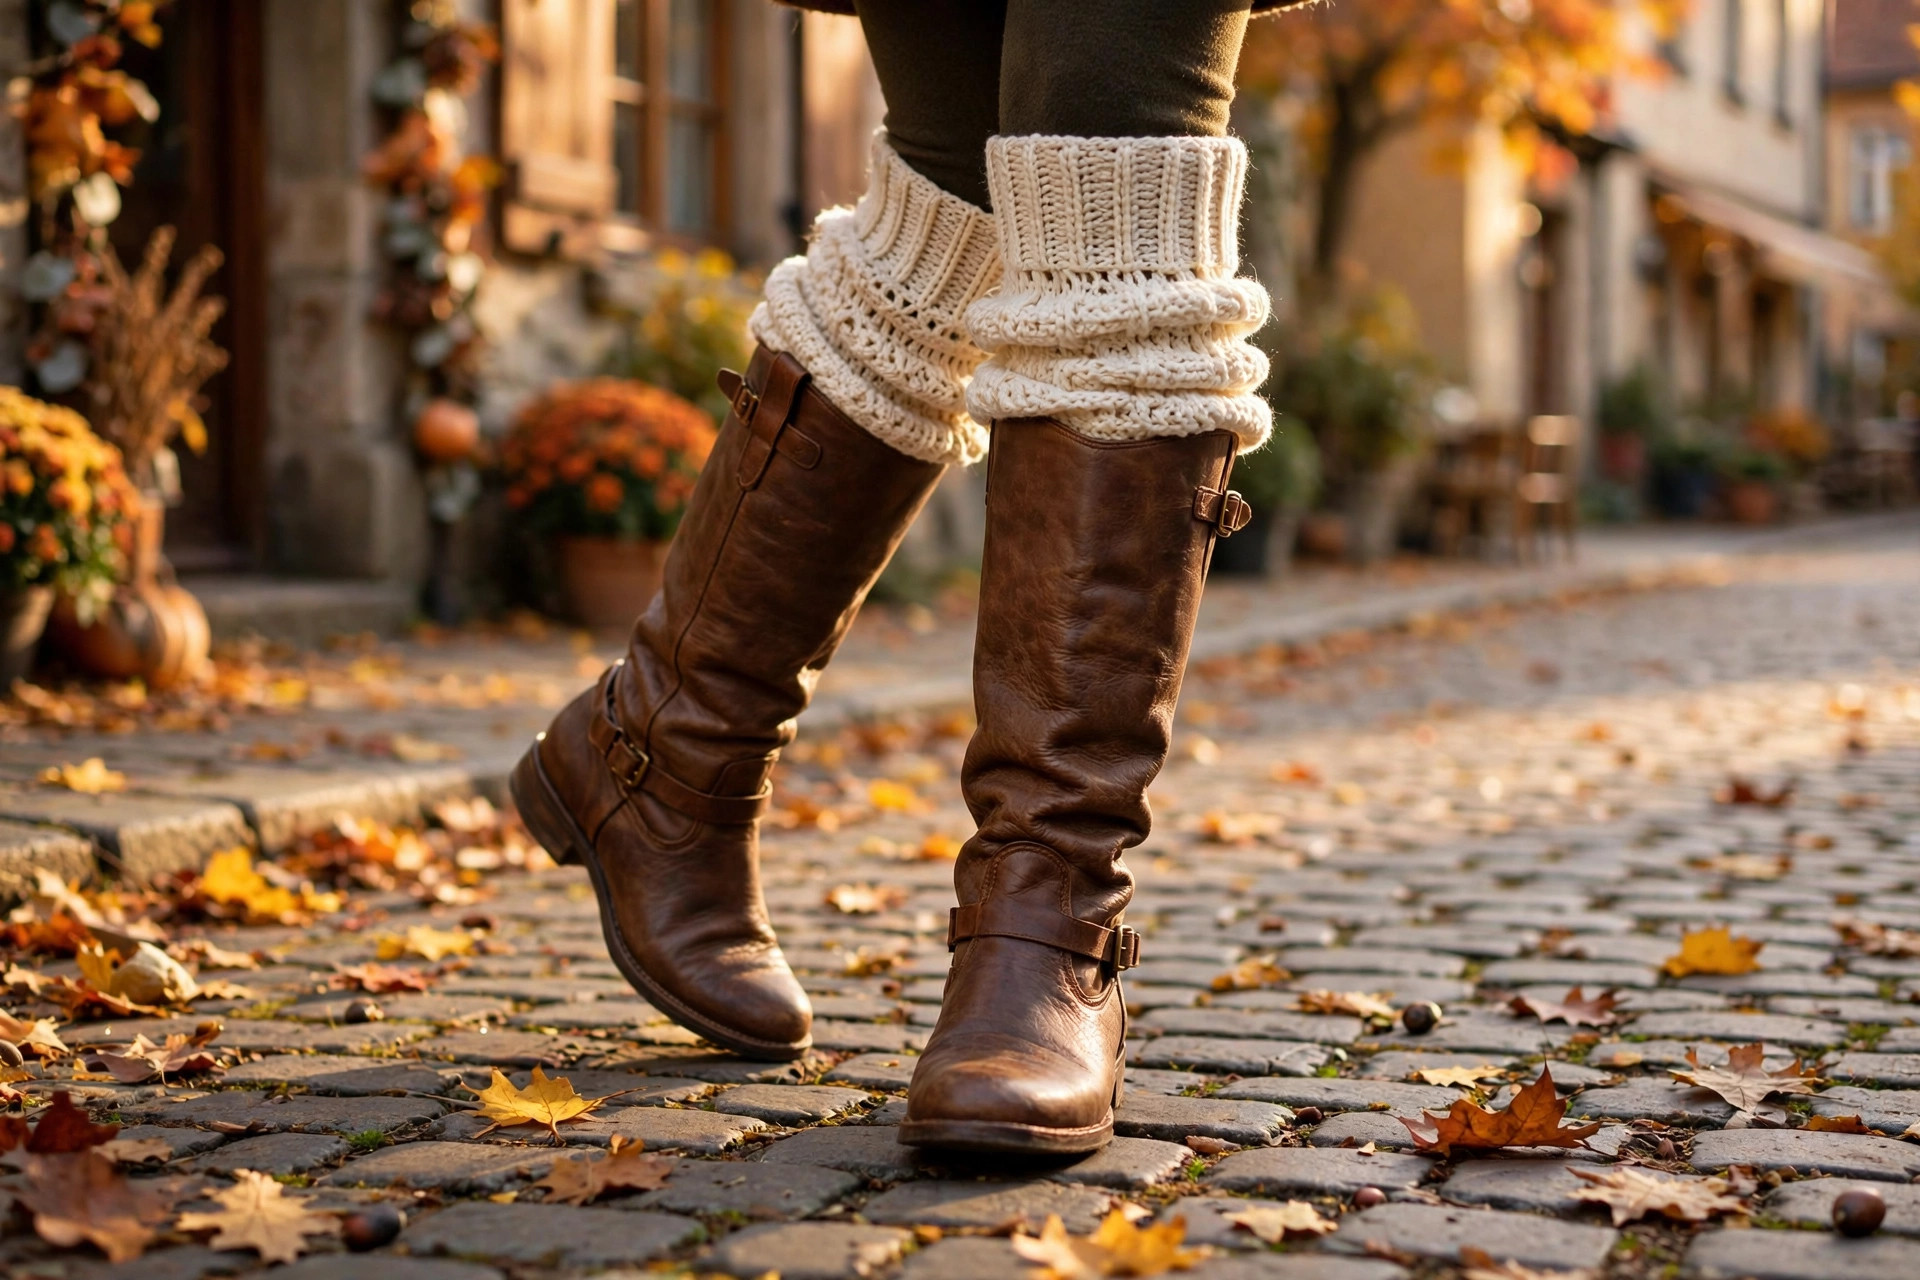
- Extra-slouchy version. For the adult size, add 5 more rounds to the calf section and bunch the extra length at the ankle. Scrunch them down over ankle boots for that effortless 80s-inspired look — the ribbing holds a scrunch like nothing else.
- Fold-over cuff. Instead of the two sc rounds at the top, work 6 more rounds of ribbing, then fold the extra length down over the outside of the warmer. Extra warm at the top edge and a great use for a second color.
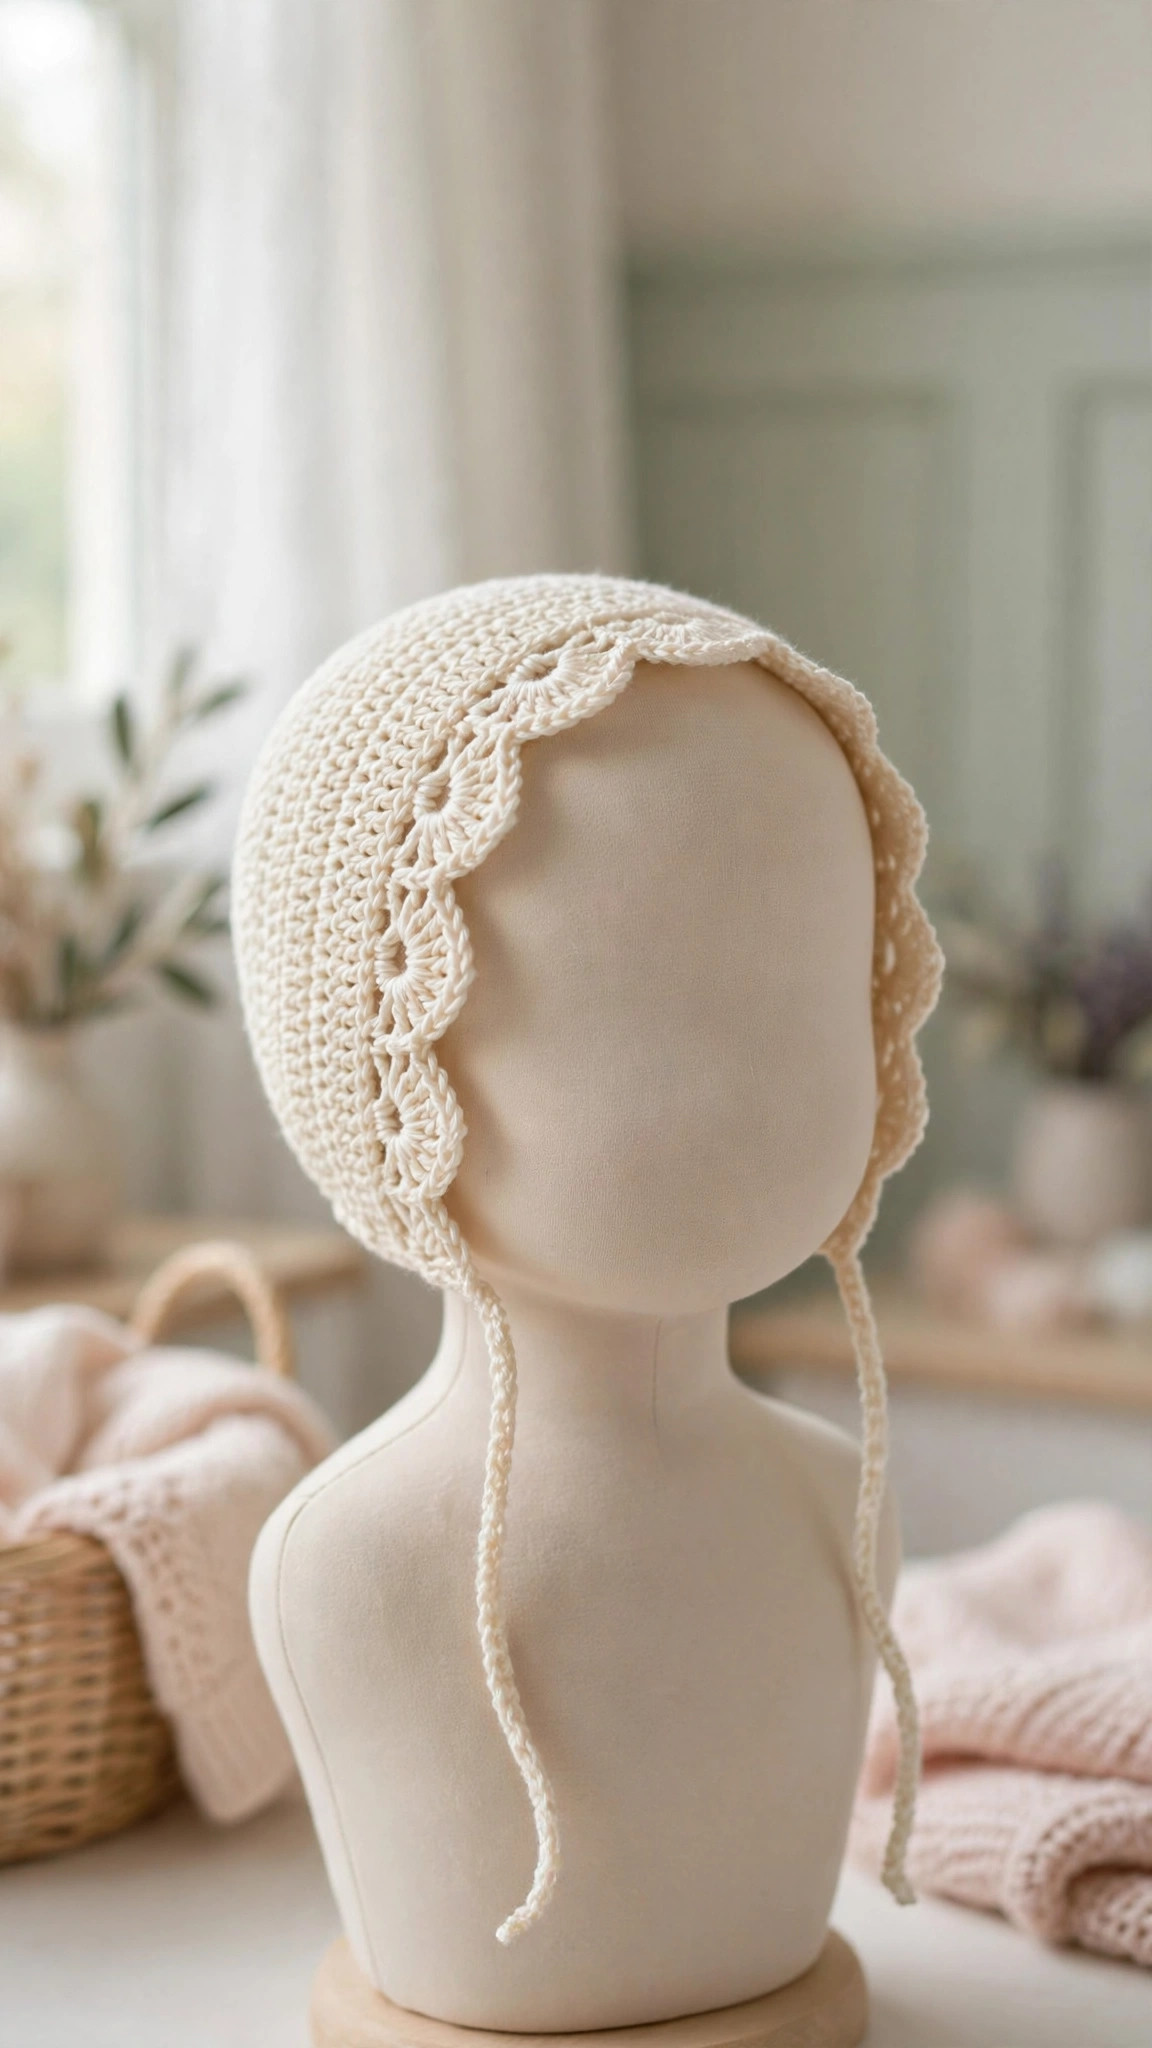
- Baby-bonnet matching set. The toddler size pairs perfectly with the baby bonnet for a coordinated little-one gift set. Match the warmer's contrast color to the bonnet's trim — gift-givers, take note.
Troubleshooting tips
- The ribbing looks muddled instead of columned. You're probably working into the tops of stitches instead of around their posts. For fpdc and bpdc, the hook goes around the post of the stitch below, never into the top loops. Do one slow round watching each insertion and the columns will snap into focus.
- The ankle is too tight to get over the heel. The classic leg-warmer trap — the heel needs more room than the ankle. Go up to a 6.0 mm hook for the foundation chain and Rnd 1 only, then switch back. The looser base slides over the foot; the ribbing above still hugs.
- The warmers slide down during the day. Your ribbing has no stretch left — it's already at full stretch when worn, so nothing grips the leg. Size down next time, or add the buttoned strap to anchor the top edge. Elastic thread woven through the top sc round is the invisible fix.
- The increase round broke the rib rhythm. Count your stitches — you should have exactly 32 (40, 52), a multiple of four. If you're off by one or two, the repeat drifts and the columns wobble. The usual culprit is joining to the ch-2 instead of the first fpdc; the ch-2 doesn't count as a stitch.
- One warmer is longer than the other. Completely normal — tension drifts between sessions, especially with post stitches. Block them together and stretch the shorter to match. For your next pair, make both ankle sections in one sitting.
- The top edge flares out. The two sc rounds should sit flat. If they flare, your sc tension is looser than your rib tension — tighten up, or work them with a 5.0 mm hook. The buttoned strap also hides a slightly wavy edge.
- The strap's buttonhole is too tight. Buttonholes in single crochet barely stretch. Make the ch-2 space a ch-3 on the buttonhole row (working 3 sc into it next row), or use a smaller button. Test the fit before sewing anything down.
Frequently asked questions
Is this leg warmer crochet pattern really free?
Yes — the complete pattern above is free, no email signup and no purchase required. If you'd like to support the site, sharing the post or saving it on Pinterest is the kindest thank-you.
What skill level do I need for these leg warmers?
Confident beginner. If you can chain, double crochet and single crochet, the only new technique is the front-post/back-post stitch, and the refresher above walks through it step by step. The rest is plain rounds with stitch counts at the end of every section — an ideal first post-stitch project.
How long does it take to crochet a pair?
About 2–3 hours per pair in the adult size (less for toddler), plus 20 minutes per warmer for the buttoned strap. The short rounds fly by — it's a genuine weekend project, and many crocheters finish the pair in a single cozy evening.
How do I make the leg warmers stay up?
Three things: size so the ribbing has stretch left when worn (size down if between sizes), add the optional buttoned strap to anchor the top edge, or weave elastic thread through the top single-crochet rounds. The strap is the prettiest fix and doubles as the design feature.
Can I sell finished leg warmers made from this pattern?
Yes! You may sell finished warmers in small batches (craft fairs, Etsy, gifts). Please credit Little Loop Finds as the designer with a link back to this page. The pattern text and photos themselves may not be redistributed or sold.
Can I use a different yarn weight?
You can, with a little math. The rib repeat needs a multiple of four stitches, so measure your gauge in the rib pattern first, then calculate: (leg circumference × your stitches-per-inch), rounded to the nearest multiple of 4. Chunky yarn with a 6.5 mm hook makes gloriously thick boot warmers — just recalculate the foundation chain and increase round the same way.
Will these fit over skinny jeans?
The adult size fits over leggings and tights comfortably, and over slim skinny jeans if your yarn has good stretch. For wearing over jeans regularly, make the adult size with the 6.0 mm hook throughout — you'll gain about an inch of circumference without changing a single stitch count.
More free patterns to try
Keep the cozy momentum going. The crochet headband uses the same front-post/back-post ribbing in a one-evening project — perfect practice before the warmers. The crochet scarf for beginners is the classic cold-weather companion piece, and the pocket scarf takes the same cozy brief up a level with built-in hand warmers. For a bigger winter project, the crochet shawl is a beautiful long-evening make that pairs perfectly with ribbed warmers and boots.
The box below contains an Etsy link. If you buy through it, we may earn a small commission at no extra cost to you. Learn more.
No time to make one?
Short on time? Find handmade crochet leg warmers from independent makers on Etsy.
Browse on Etsy (opens Etsy in a new tab)