Crochet Scarf Patterns for Beginners: 3 Easy Designs
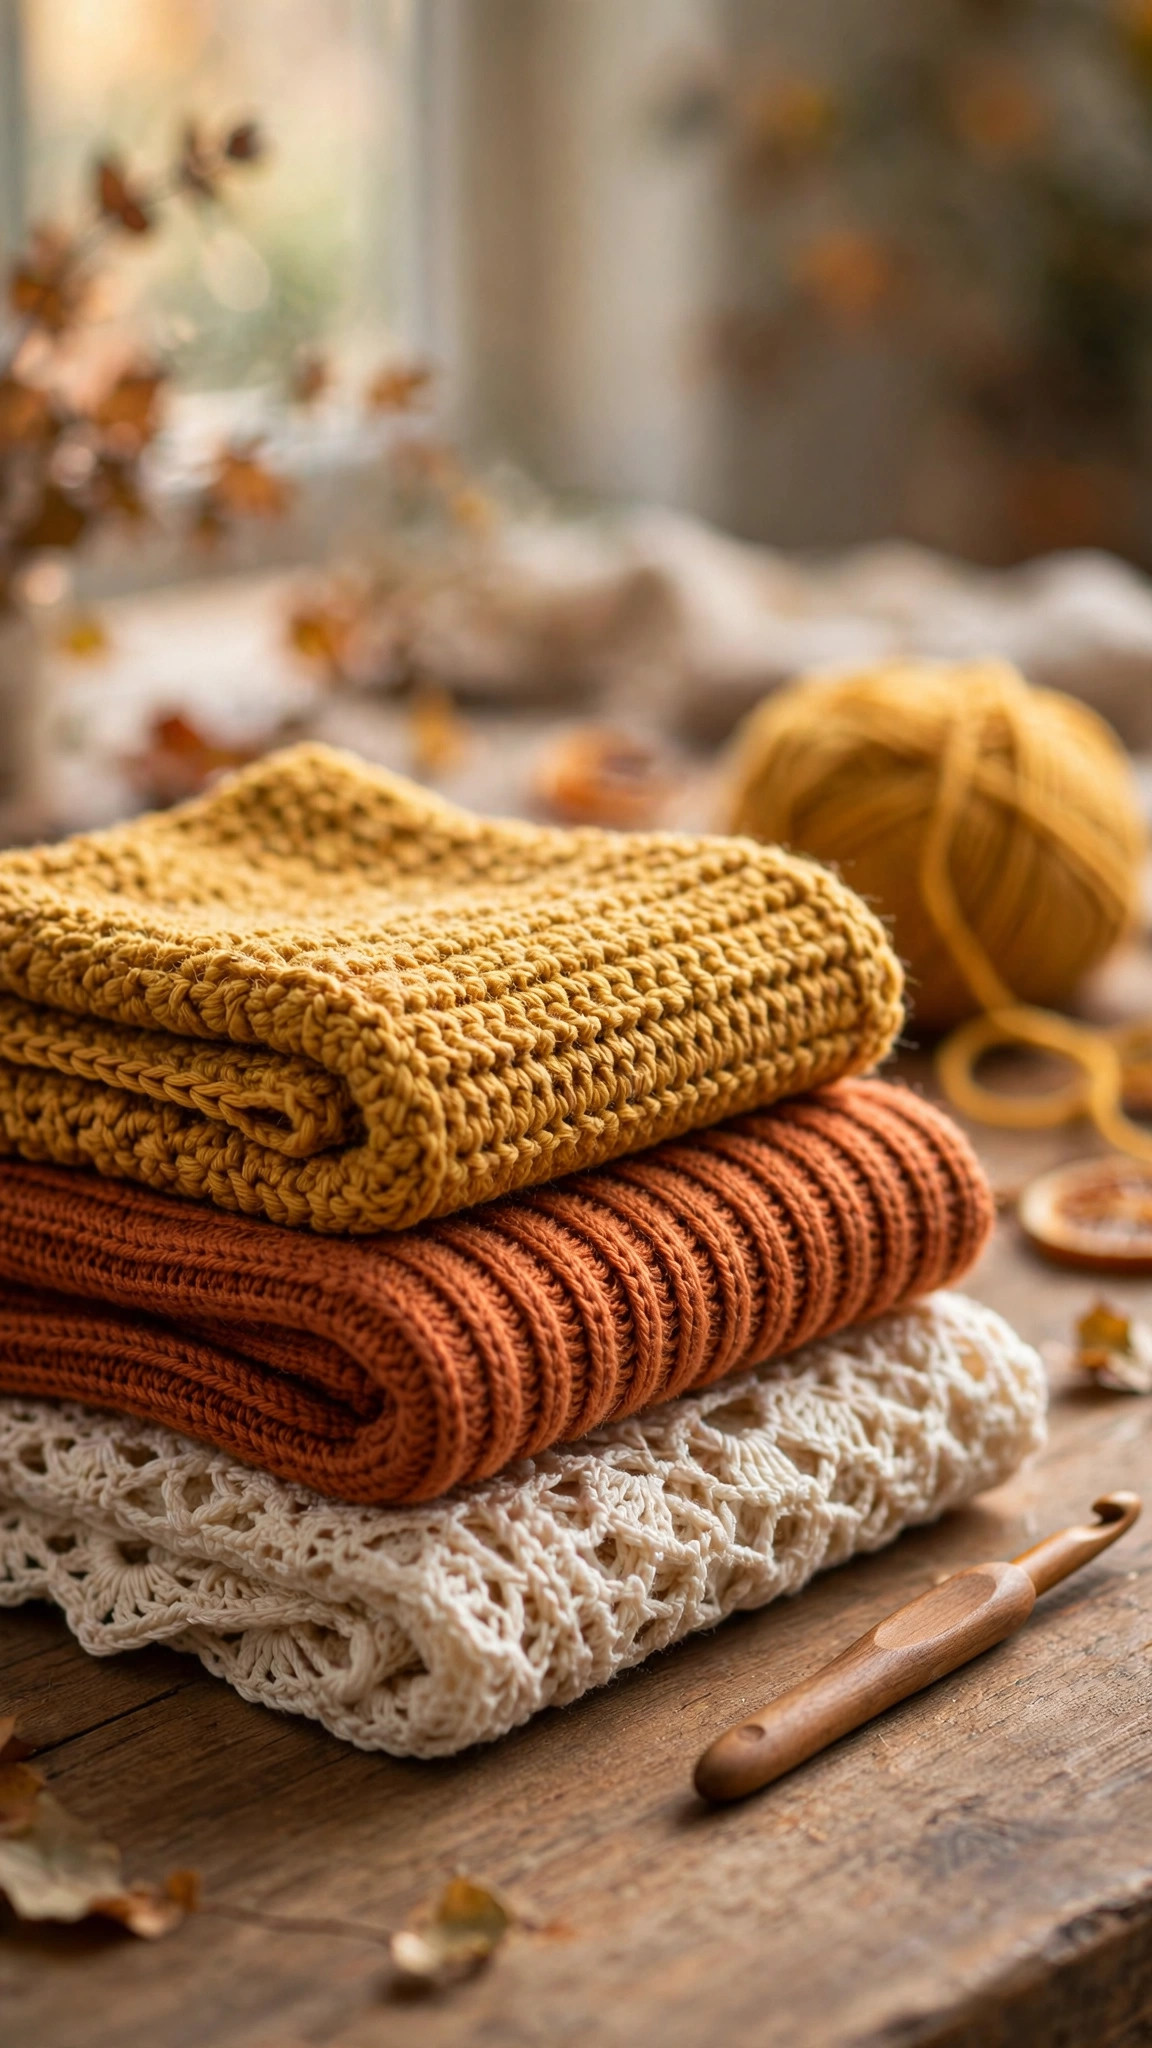
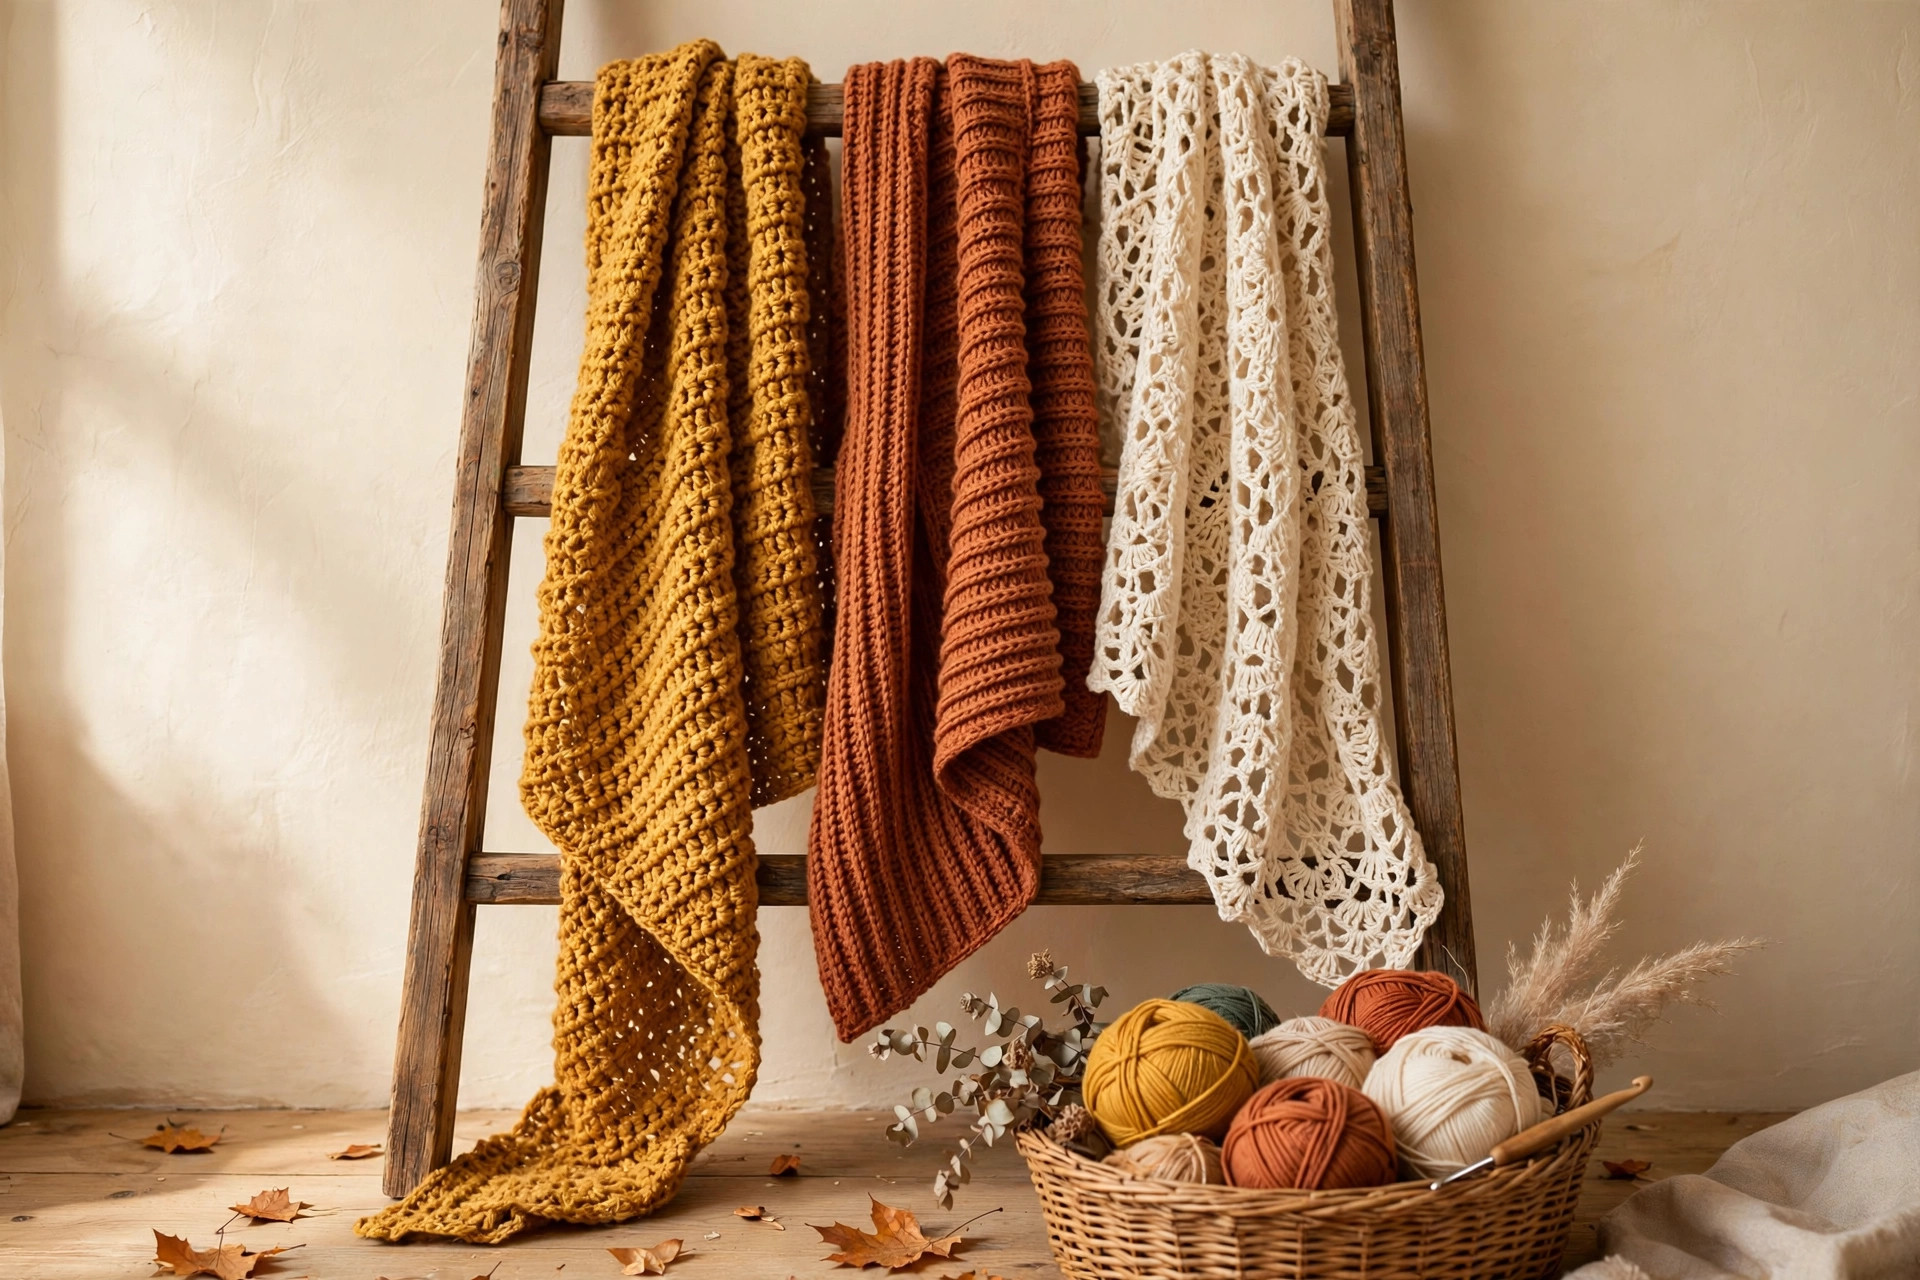
A scarf is the perfect first crochet project — just rows, no shaping, no sewing. These three original beginner designs (a classic double-crochet, a cozy ribbed, and a lacy openwork scarf) each need one or two skeins of worsted yarn and a single hook, with exact stitch counts row by row.
Wearables · Crochet
- Finished size
- 60–70 in long, 6–7 in wide
- Making time
- About 6–10 hours
- Hook
- 5.0–5.5 mm, worsted-weight yarn
- Patterns
- 3 original beginner designs
- Skill
- Beginner
In this post
- Which beginner scarf should you make first?
- Before you start: beginner essentials
- Abbreviations — US terms
- Pattern 1: Sunrise Classic — double-crochet scarf
- Pattern 2: Rust Ridge — ribbed textured scarf
- Pattern 3: Morning Mist — lacy openwork scarf
- Troubleshooting tips
- Frequently asked questions
- More free patterns to try
A scarf is the perfect first real crochet project. It's just rows — no shaping, no sewing pieces together, no magic ring — and you get something you'll actually wear. If you can chain and double crochet, you can finish one of these scarves this weekend. This post gives you three original beginner designs: a classic double-crochet scarf, a cozy ribbed scarf, and a pretty lacy scarf, each with exact stitch counts so you never have to guess.
Which beginner scarf should you make first?
All three are genuine beginner patterns, but they teach slightly different skills. Here's how to choose:
| Scarf | Stitches used | Time | Best for |
|---|---|---|---|
| Sunrise Classic | Chain, double crochet | 6–8 hours | Your very first scarf — nothing but rows of dc |
| Rust Ridge | Chain, half-double crochet in back loop | 7–9 hours | Learning texture; the ribbing looks impressive but is easy |
| Morning Mist | Chain, single + double crochet, chain spaces | 8–10 hours | Your second or third project; teaches you to read spaces |
If you've never finished a project before, start with the Sunrise Classic. If you already made our dishcloths and want a wearable next step, jump straight to whichever look you like best — the skill jump is small.
Before you start: beginner essentials
Yarn. All three patterns use worsted-weight (#4) acrylic or wool-blend yarn — the standard 100 g / 200-yard skeins at any craft store. Beginners should avoid dark colors (you can't see your stitches) and fuzzy or novelty yarns (you can't count your stitches). A light or medium solid color is ideal for your first scarf.
Hook. Match the hook to the pattern (5.0–5.5 mm). If you crochet very tightly, go up half a size; if your stitches are loose and floppy, go down half a size. There's no prize for using the exact hook — there's only fabric you like.
The two habits that matter. Count your stitches at the end of every few rows — catching a missing stitch in row 6 takes seconds; finding it in row 60 takes an hour. And keep your turning chains relaxed: a death-grip turning chain is the #1 cause of wavy scarf edges.
Tension. Your scarf doesn't need perfect gauge. Scarves are forgiving — a slightly narrower or wider scarf is still a scarf. The sizes given are targets, not contracts.
Abbreviations — US terms
| Abbreviation | Meaning |
|---|---|
| ch | chain |
| sc | single crochet |
| hdc | half-double crochet |
| dc | double crochet |
| BLO | back loop only |
| sk | skip |
| sp(s) | space(s) |
| st(s) | stitch(es) |
| rep | repeat |
| FO | fasten off |
A note on BLO: every stitch has two loops at the top forming a V. Working in the "back loop only" means inserting your hook under just the loop farther from you. It's the trick behind the Rust Ridge's ribbed texture, and it takes about three stitches to feel natural.
Pattern 1: Sunrise Classic — double-crochet scarf
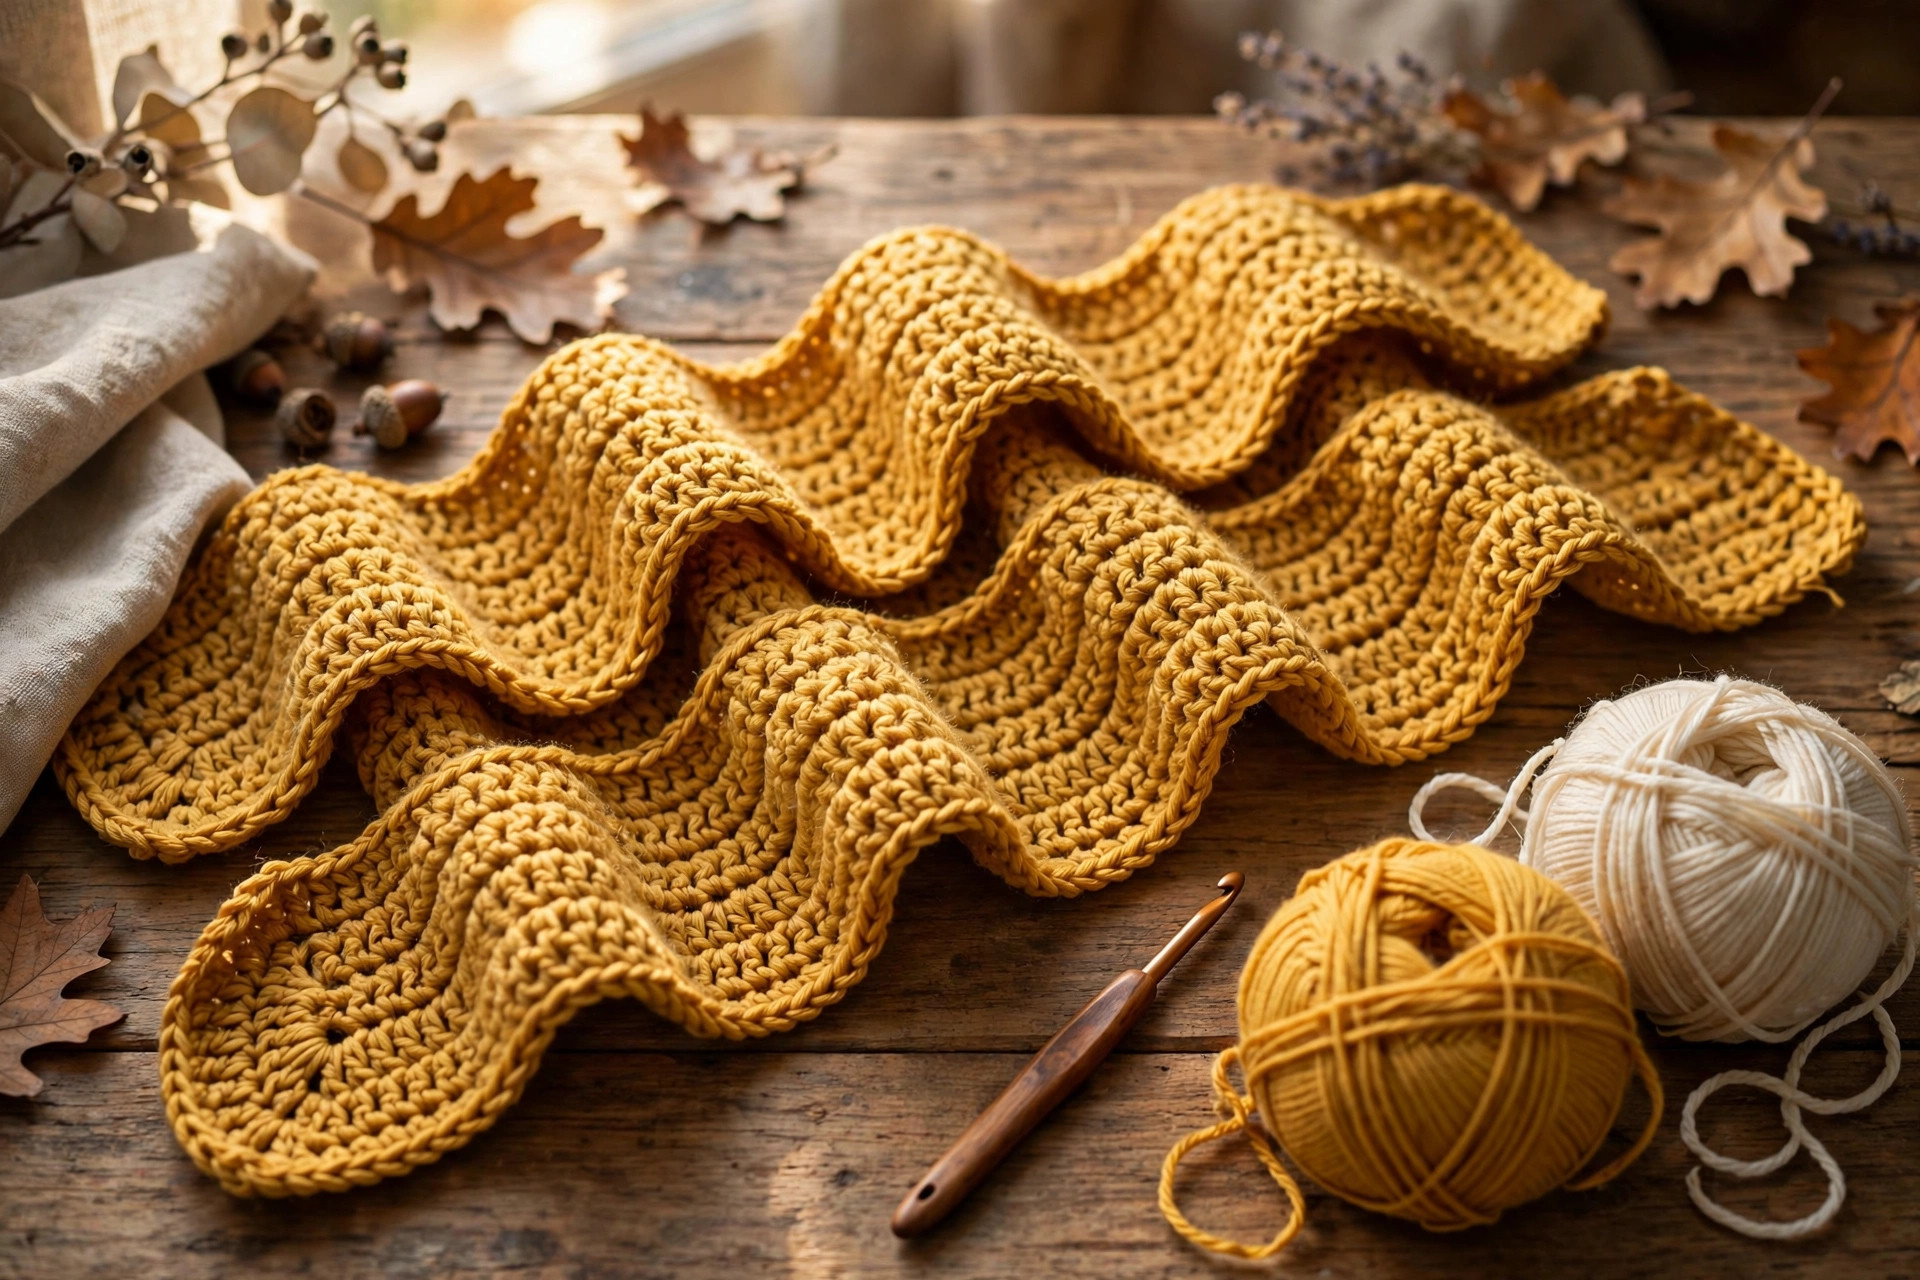
The can't-miss first scarf. Rows of double crochet in a warm mustard yellow, nothing fancy, endlessly wearable. This is the pattern to make if you want to prove to yourself that yes, you can crochet a real thing.
Materials
- Worsted-weight (#4) yarn, about 300–350 yards — roughly two 100 g / 200-yard skeins
- 5.5 mm (I-9) crochet hook
- Tapestry needle and scissors for weaving in ends
- Tape measure
Size & gauge
- Gauge: 13 dc × 8 rows = 4 in (10 cm) in double crochet
- Finished size: about 7 in (18 cm) wide × 70 in (178 cm) long
- Skill level: absolute beginner — you need chain and double crochet only
Pattern
- Row 1: Ch 24. Dc in the 4th ch from the hook (the 3 skipped chains count as your first dc) and in each ch across — 22 dc.
- Row 2: Ch 3 (counts as the first dc), turn. Dc in each st across — 22 dc.
- Repeat Row 2 until the scarf measures about 70 in (178 cm) long — roughly 135–145 rows. End after any row.
- FO, leaving a 15 cm (6 in) tail. Weave in both ends with the tapestry needle.
Tip: your stitch count should be 22 at the end of every row. If you keep getting 21 or 23, you're almost certainly skipping the first stitch after the turning chain or adding an extra one into it — the two most common beginner mistakes, both fixed by counting.
Finishing
Blocking is optional for this scarf but gives it a beautifully even drape: soak it in lukewarm water for 15 minutes, roll it in a towel to press out water, lay it flat to its finished measurements, and let it dry. Optional fringe: cut 44 strands of yarn, each 25 cm (10 in) long. Attach 11 bundles of 4 strands to each short end with lark's-head knots (fold a bundle in half, pull the loop through the edge stitch, pull the ends through the loop, tighten). Trim evenly.
Tips
- Edges pulling in? You're working the turning chain too tightly. Consciously relax on the ch-3, or chain a touch loosely on Row 1.
- Want it wider or narrower? Add or subtract stitches in any number — there's no pattern multiple here. Each 2 stitches ≈ 1.5 cm (about ⅝ in) of width.
- Want it shorter? A 60-inch scarf works fine for kids and petite frames; just stop earlier. A 70-inch length wraps once around the neck with tails to spare.
Pattern 2: Rust Ridge — ribbed textured scarf
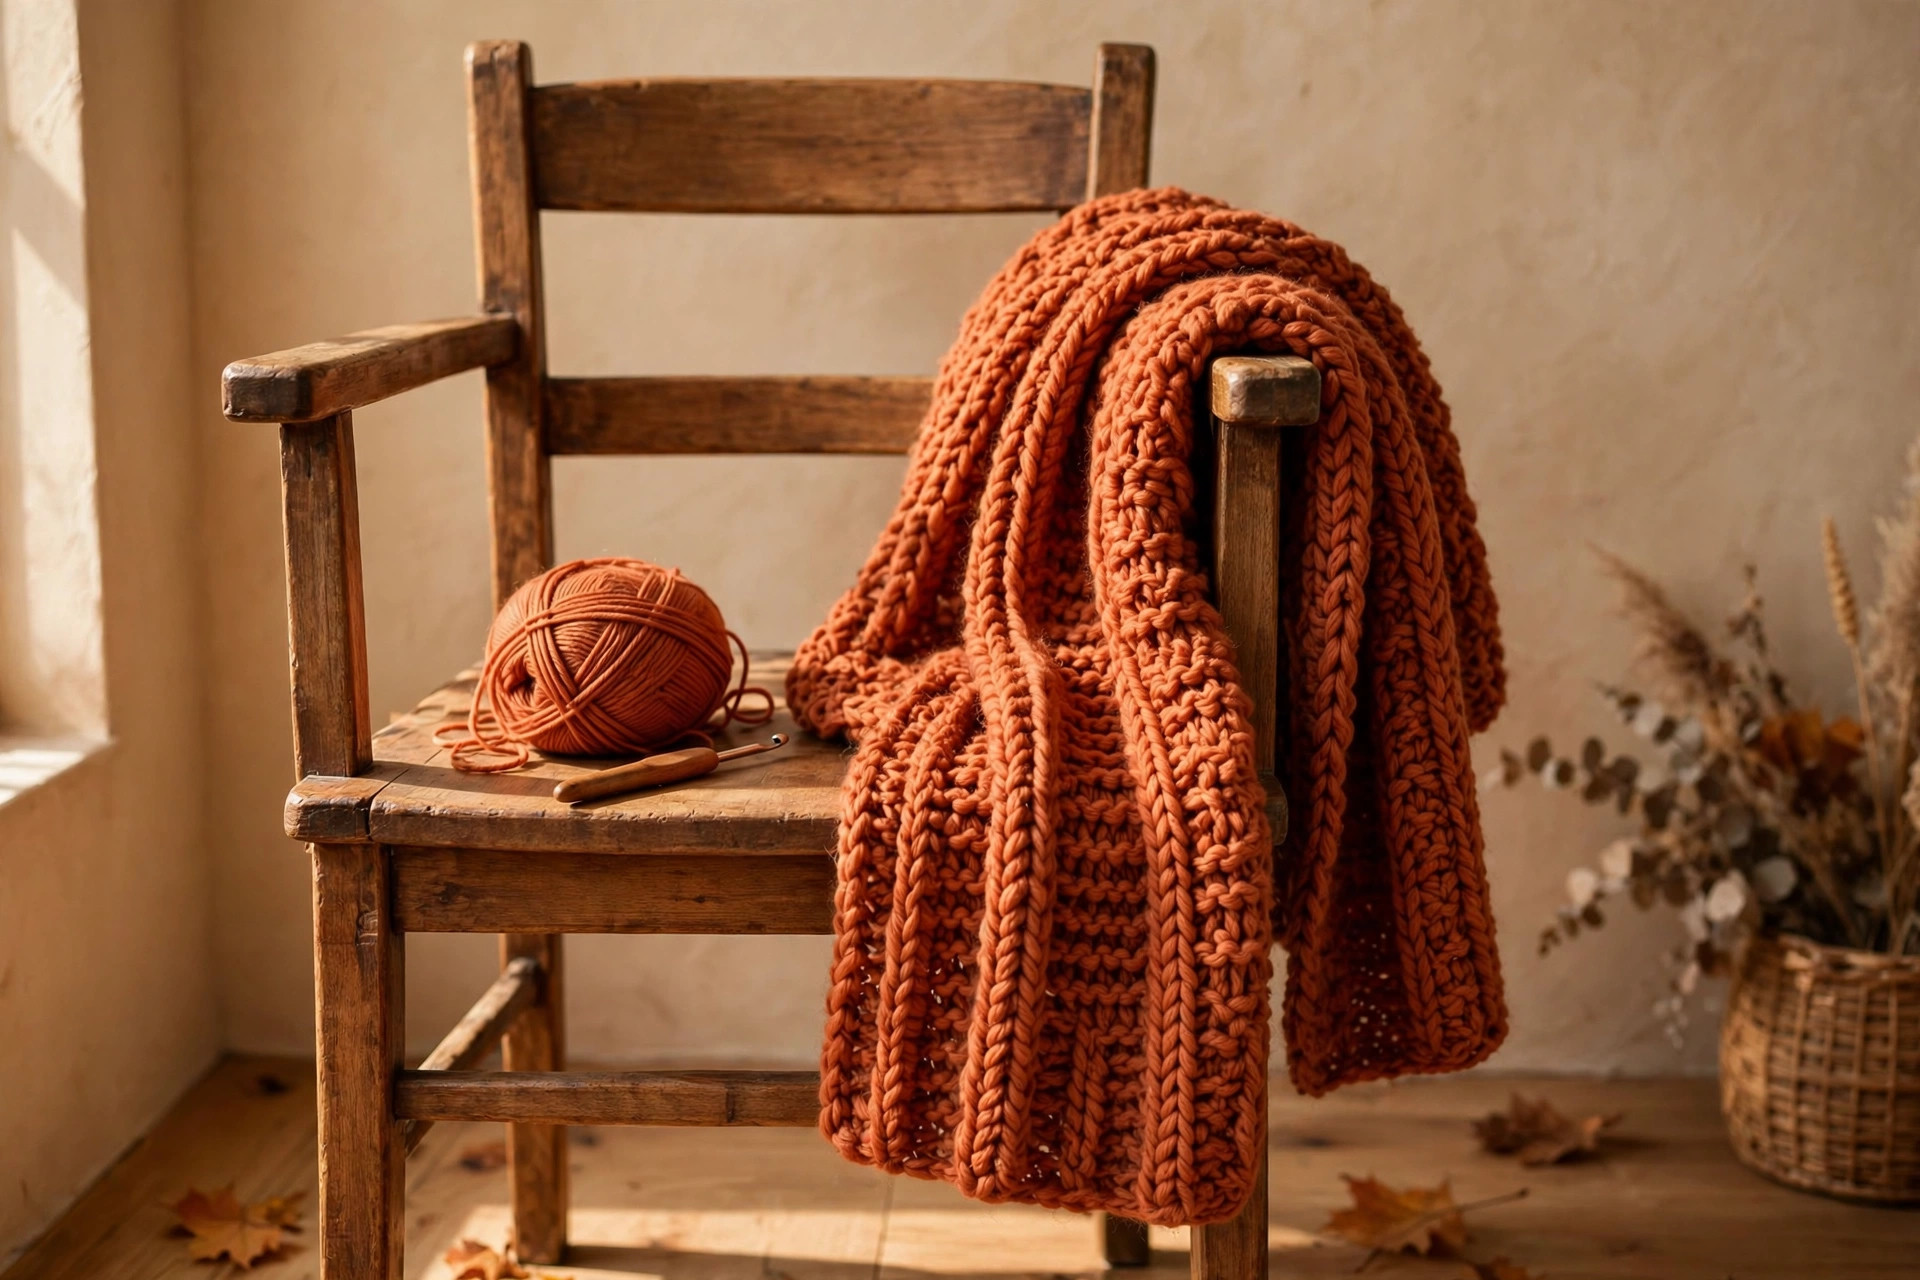
This one looks like it came from a boutique, but it's just half-double crochet worked into the back loop of every stitch. That one tiny change stacks soft horizontal ridges along the whole scarf, giving it a knit-like texture and extra squish. It's still nothing but straight rows.
Materials
- Worsted-weight (#4) yarn, about 250–300 yards — roughly two 100 g / 200-yard skeins
- 5.0 mm (H-8) crochet hook (one size down keeps the ribbing defined)
- Tapestry needle and scissors
- Tape measure
Size & gauge
- Gauge: 14 hdc × 10 rows = 4 in (10 cm), worked in back loop only
- Finished size: about 6 in (15 cm) wide × 64 in (163 cm) long
- Skill level: beginner — you need chain, half-double crochet, and back-loop-only (explained above)
Pattern
- Row 1: Ch 21. Hdc in the 2nd ch from the hook and in each ch across — 20 hdc.
- Row 2: Ch 2 (counts as the first hdc), turn. Hdc in the back loop only of each st across, working the last hdc into the top of the turning chain — 20 hdc.
- Repeat Row 2 until the scarf measures about 64 in (163 cm) — roughly 150–165 rows. End after any row.
- FO, leaving a 15 cm (6 in) tail. Weave in ends.
Tip: if your ribbing looks flat instead of ridged, you're probably working under both loops by habit. Slow down for the first few rows and check each stitch — insert the hook under only the back loop (the one farther from you). After a few rows the rhythm clicks and you'll stop thinking about it.
Finishing
Weave in the ends. This scarf looks wonderful with fringe: cut 40 strands of yarn, each 25 cm (10 in) long. Attach 5 bundles of 4 strands evenly across each short end with lark's-head knots, then trim the fringe straight. A light steam with an iron held 5 cm above the fabric (never touching) relaxes the ridges beautifully — optional.
Tips
- Scarf biasing (slanting) to one side? Uneven tension between the turning chain and the stitches. Make the ch-2 snug but not strangled, and the hdc relaxed.
- Ribbing too tight to see? Your hook is too small for your tension — go up to 5.5 mm. The ridges need a little room to pop.
- Color idea: work 20-row stripes in two colors (terracotta + cream is gorgeous) — no extra technique, just switch yarn at the end of a row and carry on.
Pattern 3: Morning Mist — lacy openwork scarf
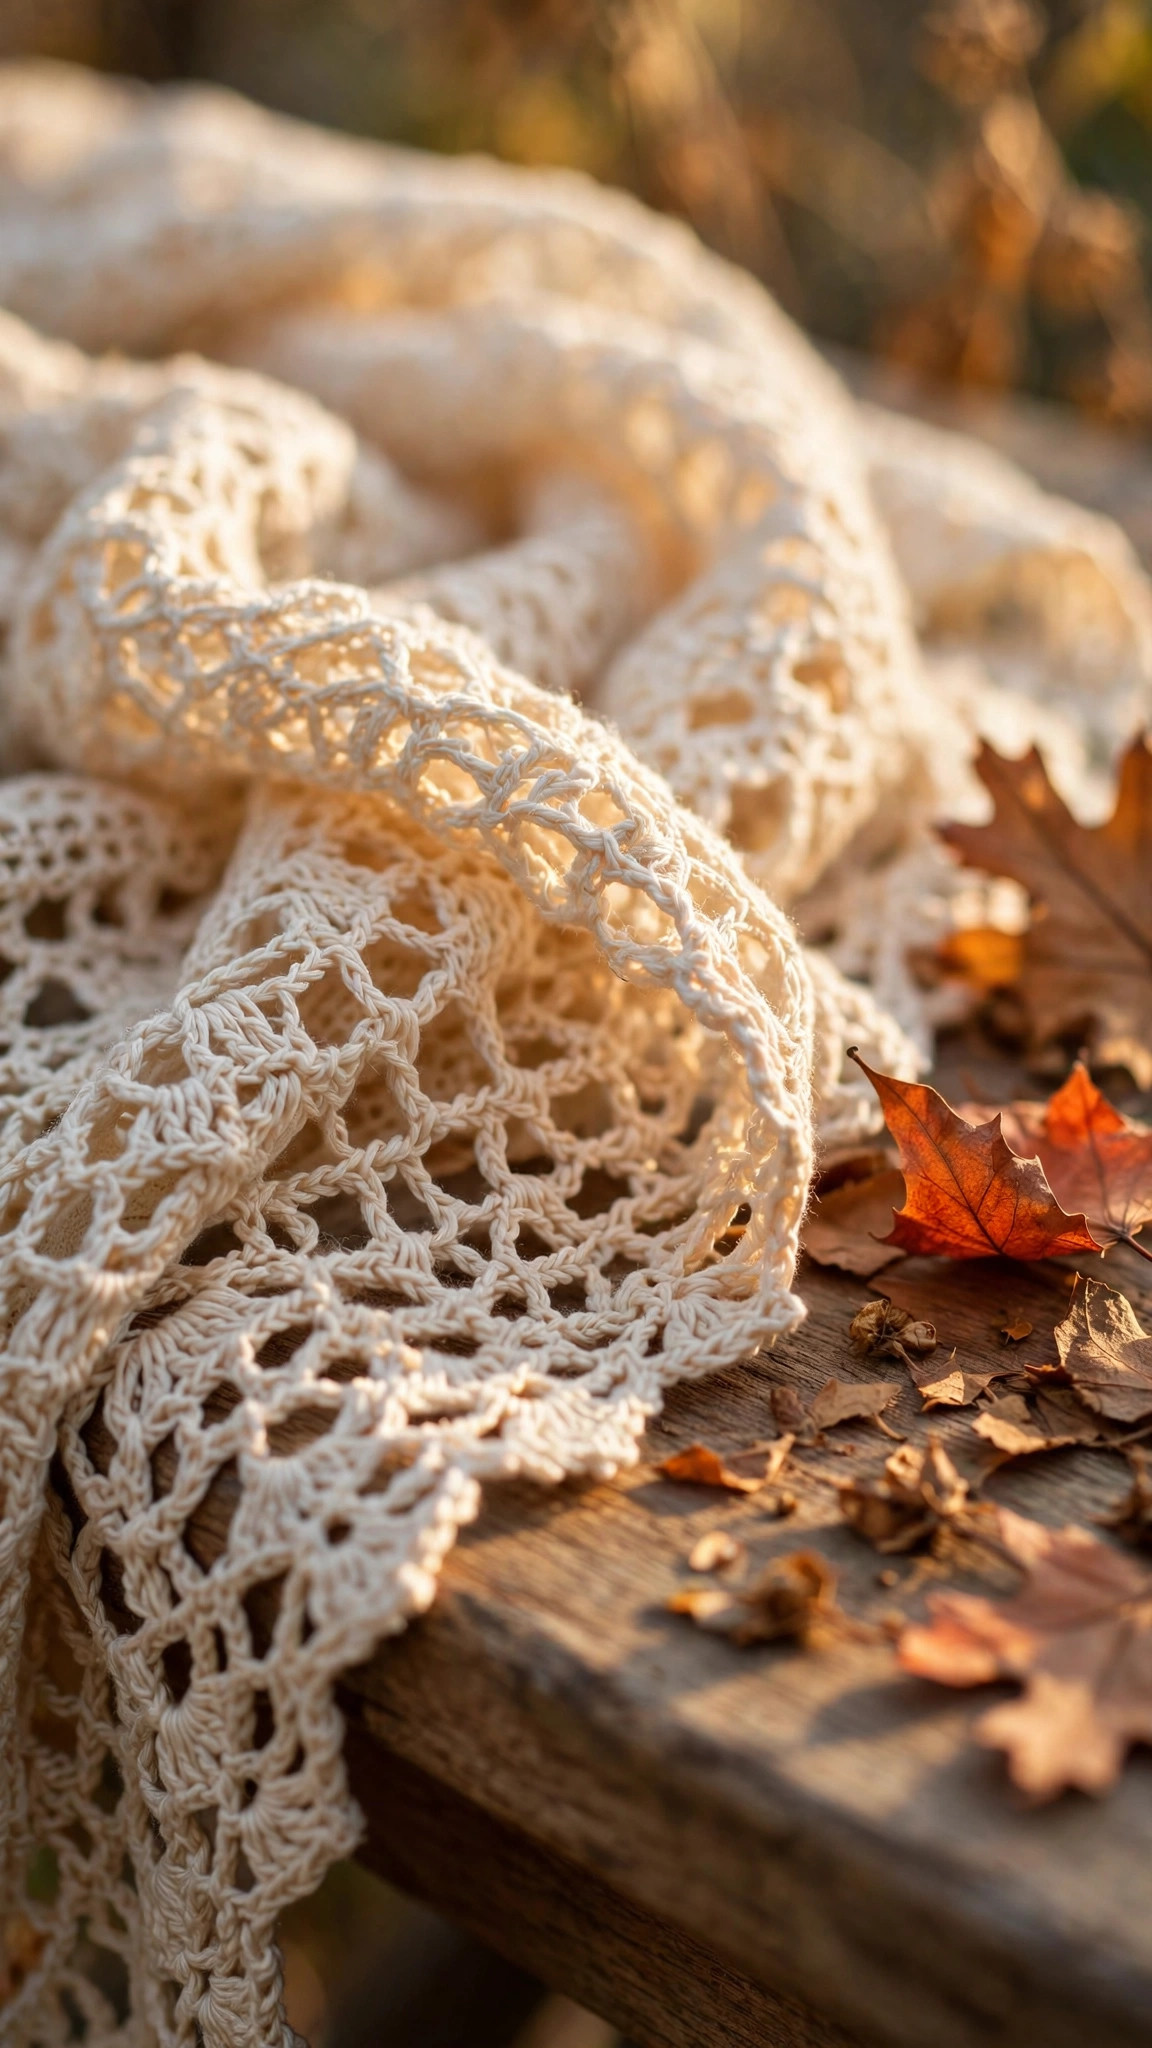
The showpiece. An airy mesh of chain spaces and double crochets that drapes like a boutique wrap and uses barely any yarn. It looks advanced, but the entire pattern is a two-row repeat: one row of single crochet with chain loops, one row of double crochet into those loops. If you can count to three, you can crochet this.
Materials
- Worsted-weight (#4) or DK-weight (#3) yarn, about 200–250 yards — one or two skeins
- 5.5 mm (I-9) crochet hook
- Tapestry needle and scissors
- Tape measure, plus rust-proof pins for blocking
Size & gauge
- Finished size: about 7 in (18 cm) wide × 60 in (152 cm) long, after blocking
- Skill level: advanced beginner — you should be comfortable with chains, sc, and dc; the only new skill is working into chain spaces
Pattern
- Row 1: Ch 35. Sc in the 2nd ch from the hook, *ch 3, sk 2 ch, sc in the next ch; rep from * across — 11 ch-3 spaces, 12 sc. (Count the spaces, not the stitches — the spaces are your roadmap.)
- Row 2: Ch 5 (counts as dc + ch 2), turn. *Dc in the next ch-3 space, ch 2; rep from * across; dc in the last sc — 13 dc, 12 ch-2 spaces.
- Row 3: Ch 1, turn. Sc in the first dc, *ch 3, sc in the next dc; rep from * across — 12 ch-3 spaces.
- Row 4: Repeat Row 2 — ch 5, turn, *dc in next ch-3 sp, ch 2; rep across, dc in last sc.
- Repeat Rows 3–4 until the scarf measures about 60 in (152 cm), ending after a Row 3 so both ends match.
- FO, leaving a 15 cm (6 in) tail. Weave in ends.
Tip: keep your chains loose — tight chain spaces make the mesh pucker and the scarf narrower than planned. If your chain spaces feel stiff, go up to a 6.0 mm hook just for the chain rows. And count spaces every few rows: 12 on Row 3-type rows, 11 ch-3 spaces on Row 1. If the count drifts, you skipped or doubled a space two rows back — frog back to the last correct row rather than fudging it.
Finishing
Blocking transforms this scarf from "nice" to "wow": soak 15 minutes in lukewarm water, roll in a towel, then pin it out to 7 × 60 in on a blocking mat or clean towels, stretching the mesh gently until the diamonds open evenly. Let it dry completely before unpinning. Optional: add a simple fringe as in Pattern 1 — 9 bundles per end suits the lighter fabric.
Tips
- Where exactly is "the space"? It's the big gap under each ch-3 or ch-2 arch — poke your hook straight through the hole, not into a stitch. If you're fighting to find it, your chains are too tight.
- Edges flaring? The ch-5 turning chain at each edge is slightly taller than the mesh; a gentle tug while blocking evens it out.
- Yarn choice matters most here: a smooth yarn with a little sheen (mercerized cotton, soft acrylic) shows the openwork best. Fuzzy yarns fill in the holes and hide the pattern.
Troubleshooting tips
- Your scarf is getting narrower as you go. You're dropping the last stitch of rows. Put a stitch marker in the first and last stitch of the row for the next ten rows until your hands learn where the edges are.
- Edges look like a roller coaster. Classic turning-chain tension issue. Keep the turning chain the same tightness every row — count "one-and-two-and-three" at the same speed as your stitches.
- Running out of yarn before the target length. Weigh your remaining yarn on a kitchen scale halfway through; if you've used more than half your yarn before half the length, switch to a slightly shorter target or add a contrast-color stripe section.
- The ribbed scarf curls at the edges. A little curl is normal for BLO fabric and usually relaxes with wearing. If it bothers you, a light steam (iron hovering, not touching) flattens it.
- The lacy scarf looks scrunchy, not airy. It needs blocking — the mesh only opens up once it's pinned out and dried. This is normal, not a mistake.
- Your hands cramp. Take a break every 30 minutes, stretch your fingers, and check your grip — beginners tend to strangle the hook. A slightly larger hook or an ergonomic handle helps a lot.
Frequently asked questions
Is a scarf really a good first crochet project?
Yes — it's the classic first project for a reason. There is no shaping, no sewing, and no fitting. You practice the same stitches hundreds of times, which is exactly how muscle memory forms. Start with the Sunrise Classic if you've never finished anything.
How long does it take to crochet a scarf?
For a beginner: 6–10 hours of actual crocheting, depending on the design and your speed. Most people finish over a week of cozy evenings. Double crochet (Pattern 1) is the fastest stitch of the three; the lacy mesh (Pattern 3) is the slowest but uses the least yarn.
How much yarn do I need for a beginner scarf?
About 200–350 yards of worsted-weight yarn, depending on the design: roughly 300–350 for the dense double-crochet scarf, 250–300 for the ribbed one, and only 200–250 for the lacy mesh. When in doubt, buy one extra skein — dye lots matter, so get it all at once.
Can I make the scarf longer or wider?
Easily. For Patterns 1 and 2, add or subtract stitches in any number for width (each 2 stitches ≈ ⅝ in) and work more or fewer rows for length. For Pattern 3, change the foundation chain in multiples of 3 (each multiple ≈ 1.5 in of width) and keep everything else the same.
I only know single crochet. Can I still make a scarf?
Absolutely — work Pattern 1's structure in single crochet instead: chain 28, sc in the 2nd chain from the hook and across (27 sc), then ch 1, turn, sc across, repeating. It'll be denser and take longer (single crochet is short), so plan for about 50% more time and yarn.
Can I sell the finished scarves I make?
Yes! You may sell finished scarves made from these patterns in small batches (craft fairs, Etsy, gifts). Please credit Little Loop Finds as the pattern designer with a link back to this page. The pattern text and photos themselves may not be redistributed, republished, or sold.
More free patterns to try
Finished your scarf and hungry for more? The crochet shawl pattern is the natural next wearable — same row-by-row rhythm at a bigger scale. The star blanket pairs beautifully with a scarf as a handmade gift set, and our dishcloths are the perfect place to practice any stitch that gave you trouble here. For stash-busting between big projects, the autumn acorn granny square keeps your tension honest — and if scarves gave you the crochet bug, the ginger tabby cat or the celestial leaf dragon will teach you amigurumi next.
The box below contains an Etsy link. If you buy through it, we may earn a small commission at no extra cost to you. Learn more.
No time to make one?
Short on time? Find handmade crochet scarves from independent makers on Etsy.
Browse on Etsy (opens Etsy in a new tab)