Crochet Bat Pattern Free: Cute Amigurumi Bat
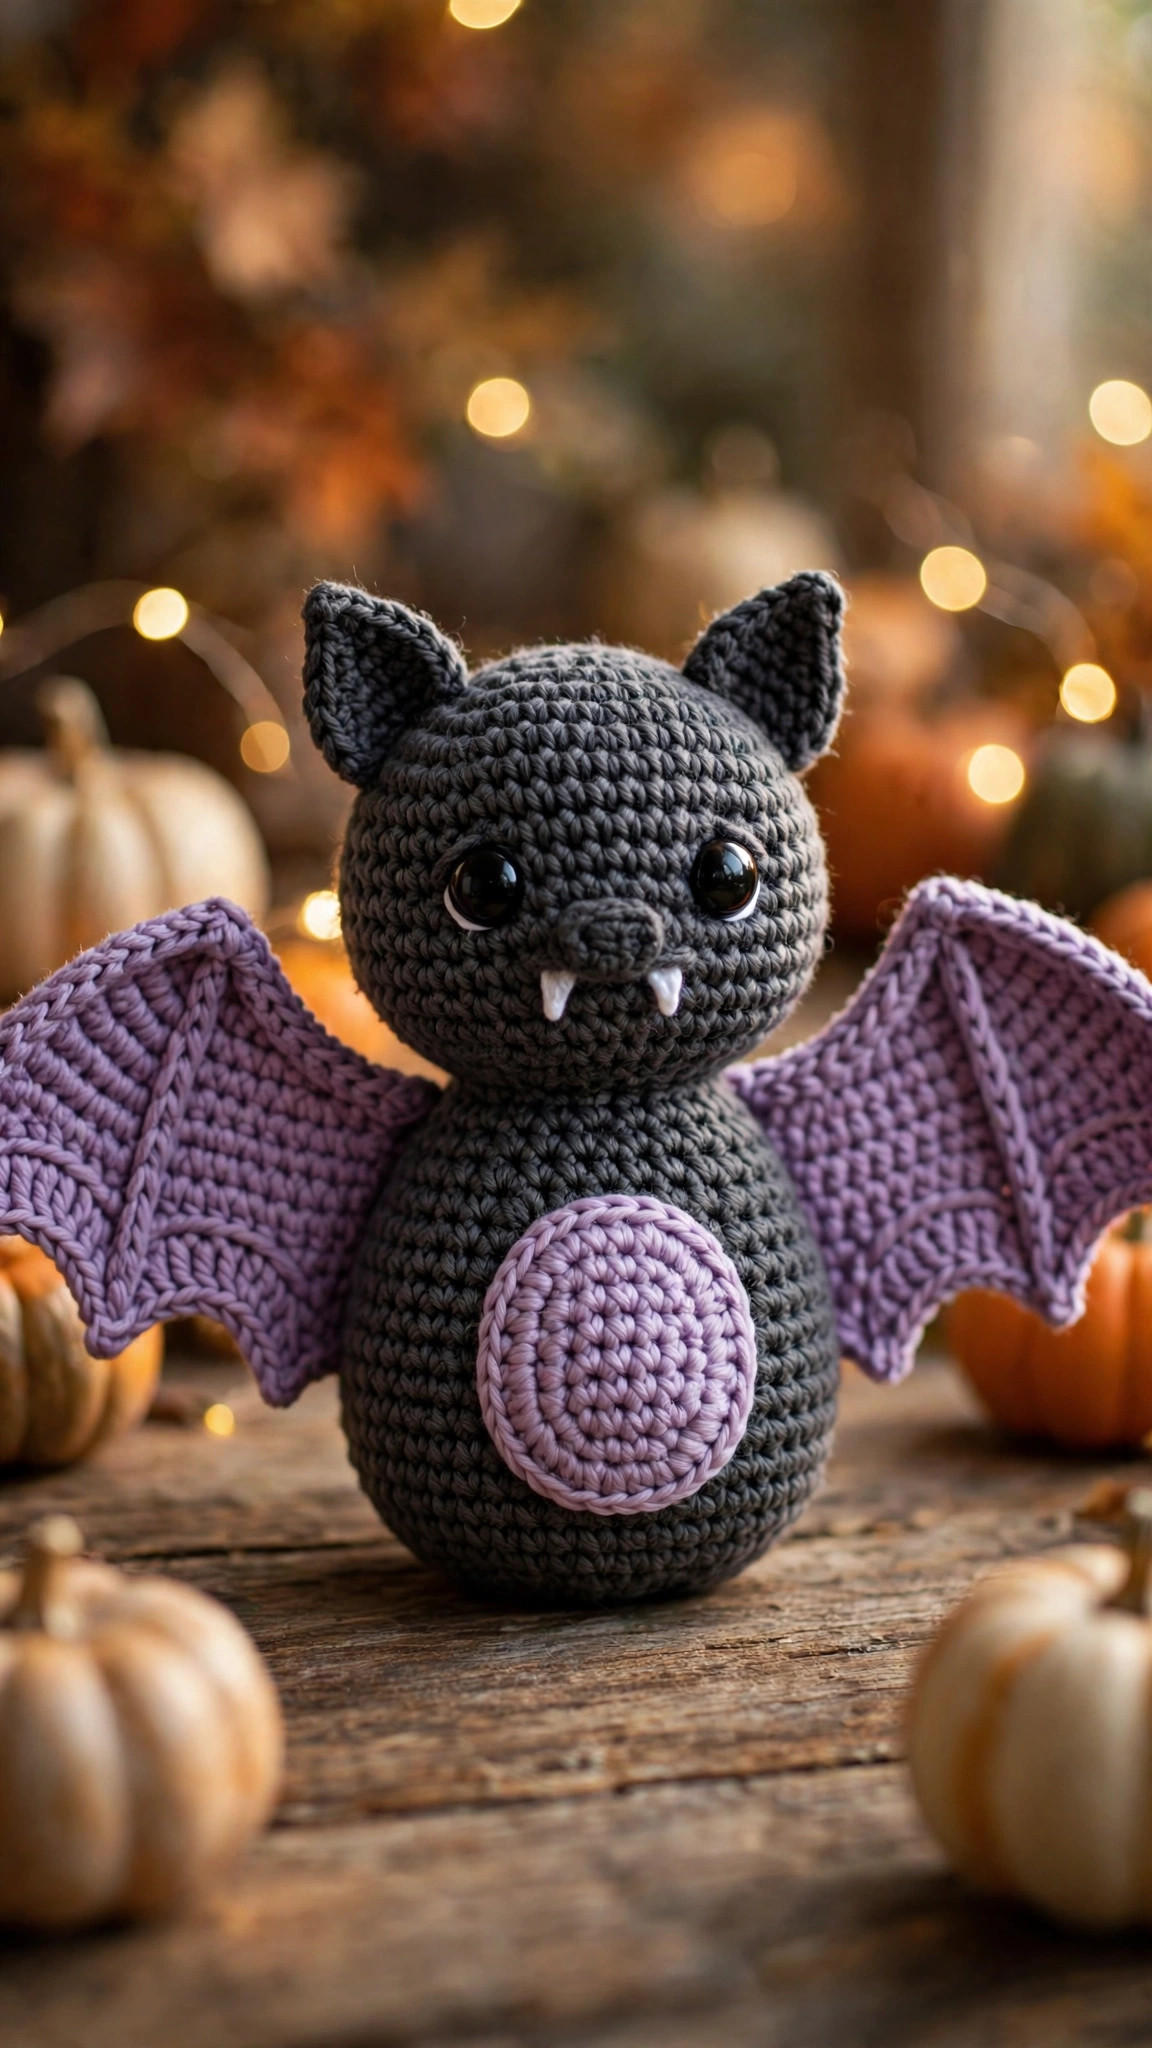
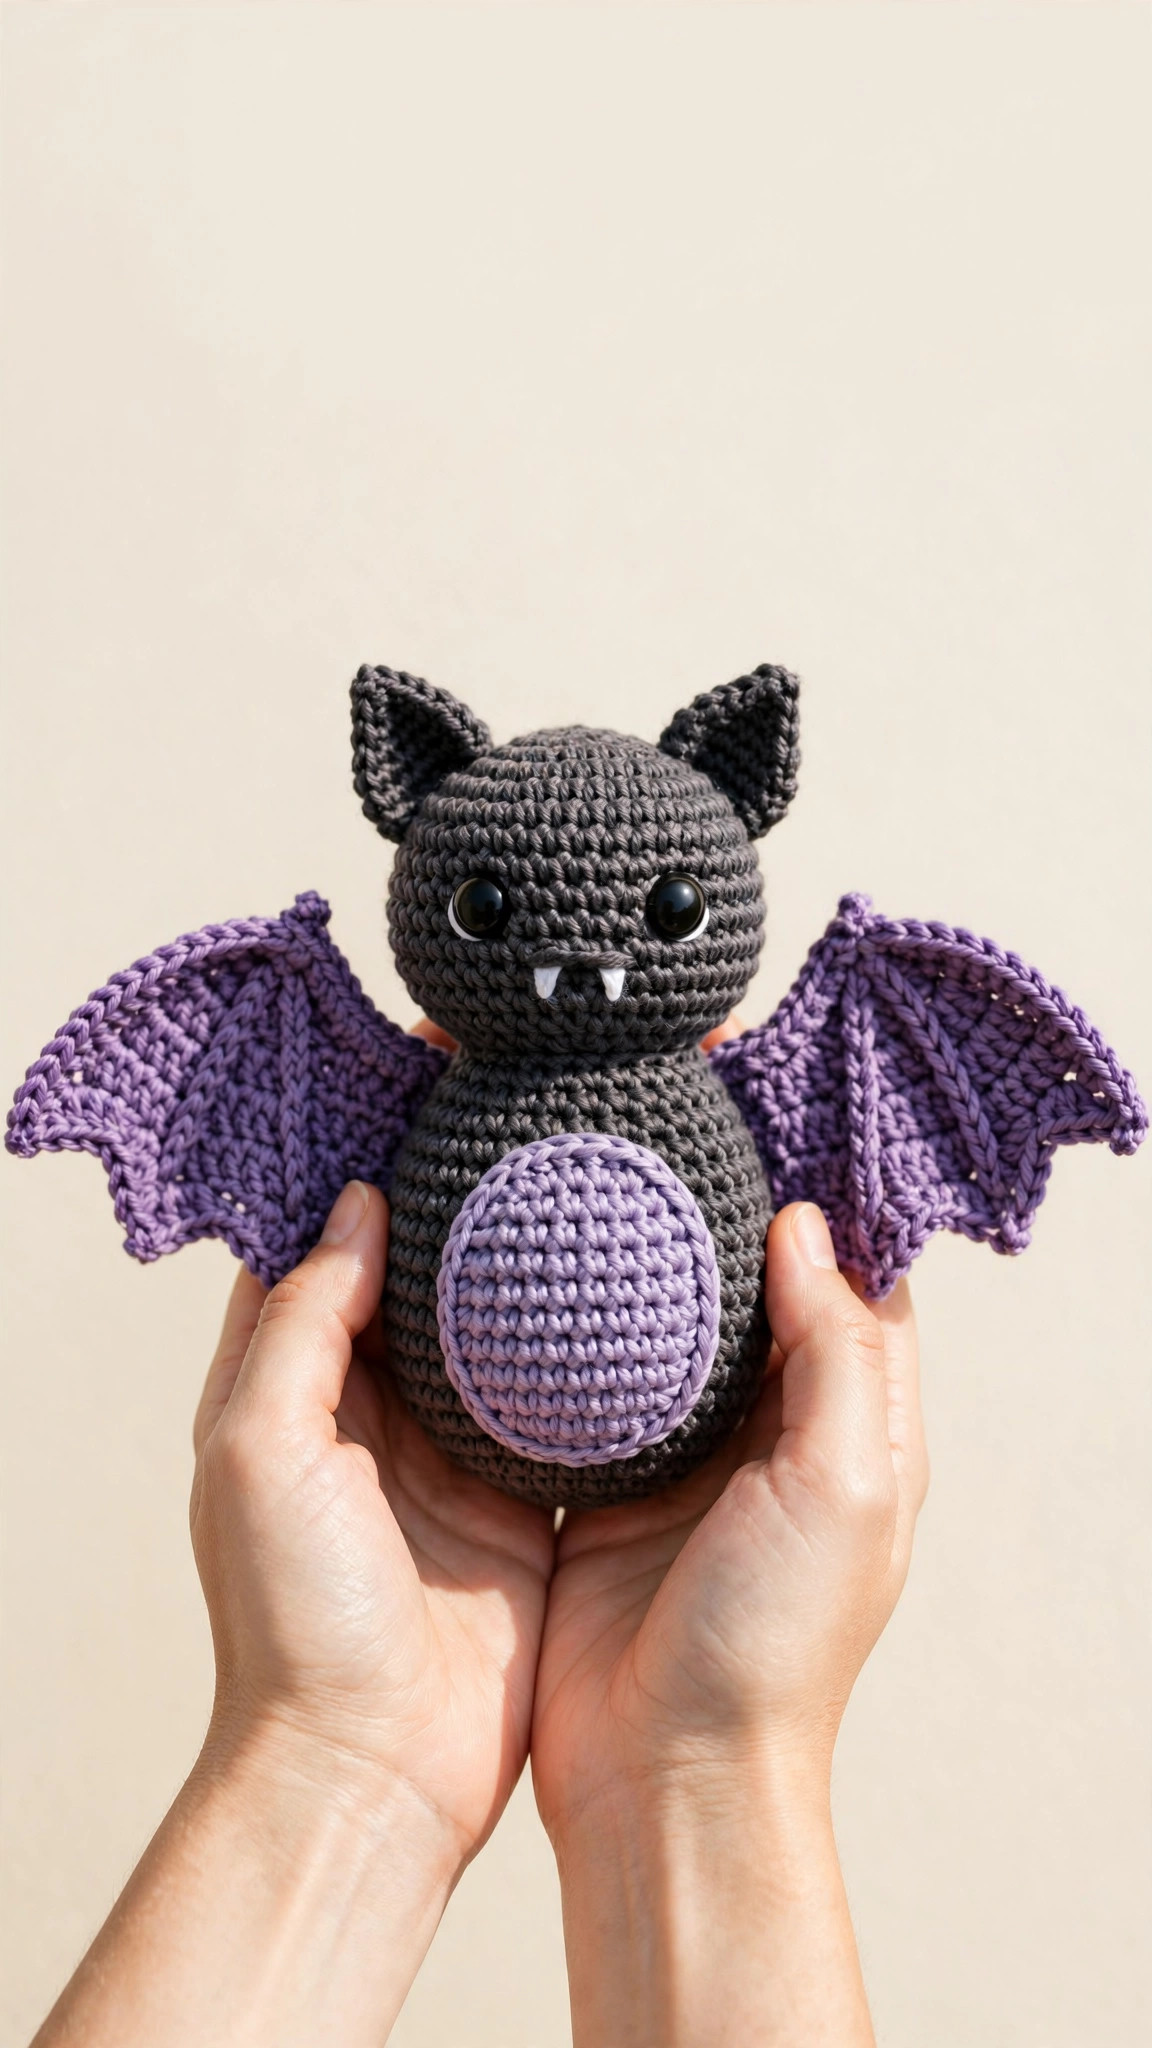
A plump charcoal amigurumi bat with wide purple wings edged in scallops, tiny pointed ears, a soft lilac belly and two cheeky white fangs — the body and head are worked in one piece, so there is barely any sewing.

Amigurumi · Crochet
- Finished size
- About 13 cm / 5 in tall, 20 cm wingspan
- Making time
- About 3–4 hours
- Hook
- 3.5 mm, worsted-weight yarn
- Pieces
- 6 pieces to assemble
- Skill
- Easy
In this post
Some Halloween decorations are spooky, some are gory — and then there is this little bat, who is trying very hard to look fierce and failing completely. Our crochet bat free pattern makes a plump amigurumi bat with wide scalloped wings, tiny pointed ears, a soft lilac belly and two cheeky white fangs that undo any attempt at scariness. He is less "creature of the night" and more "creature of the sofa," and that is exactly the point.
This is an original Little Loop Finds design, built to be kind to beginners. The body and head are worked as one piece in single-crochet spirals, so there is no wobbly head to sew on. The wings are small flat panels with a shell-stitch scalloped edge — the detail that makes the whole bat read as a bat — and the ears take five tiny rounds each. Add a flat oval belly, safety eyes and two felt fangs, and you are done. Make him in charcoal and purple for Halloween, hang a colony from a branch, or stitch a pastel version for a nursery.
Contents
- Why you'll love this crochet bat pattern
- Materials you'll need
- Size, gauge and skill level
- Abbreviations — US terms
- The pattern (US terms)
- Finishing: sewing, stuffing and those tiny fangs
- Tips for the cutest bat on the block
- FAQ
- What to crochet next
Why you'll love this crochet bat pattern
Most bat patterns make you work for the cuteness: separate heads roll while you sew them, and wings come out as plain rectangles that read more "oven mitt" than "bat." This design skips all of that. Because the body and head grow in one continuous spiral — plump at the bottom, a pinch at the neck, then swelling into a round head — the silhouette is baked in before you pick up a needle. Your sewing list is just six pieces, two of them ten-minute ears.
The wings are the other secret. Instead of a straight bottom edge, each wing finishes with a row of four shell scallops — one easy row of double crochet that completely changes the toy. Spread those edges wide and nobody mistakes this for anything but a bat.
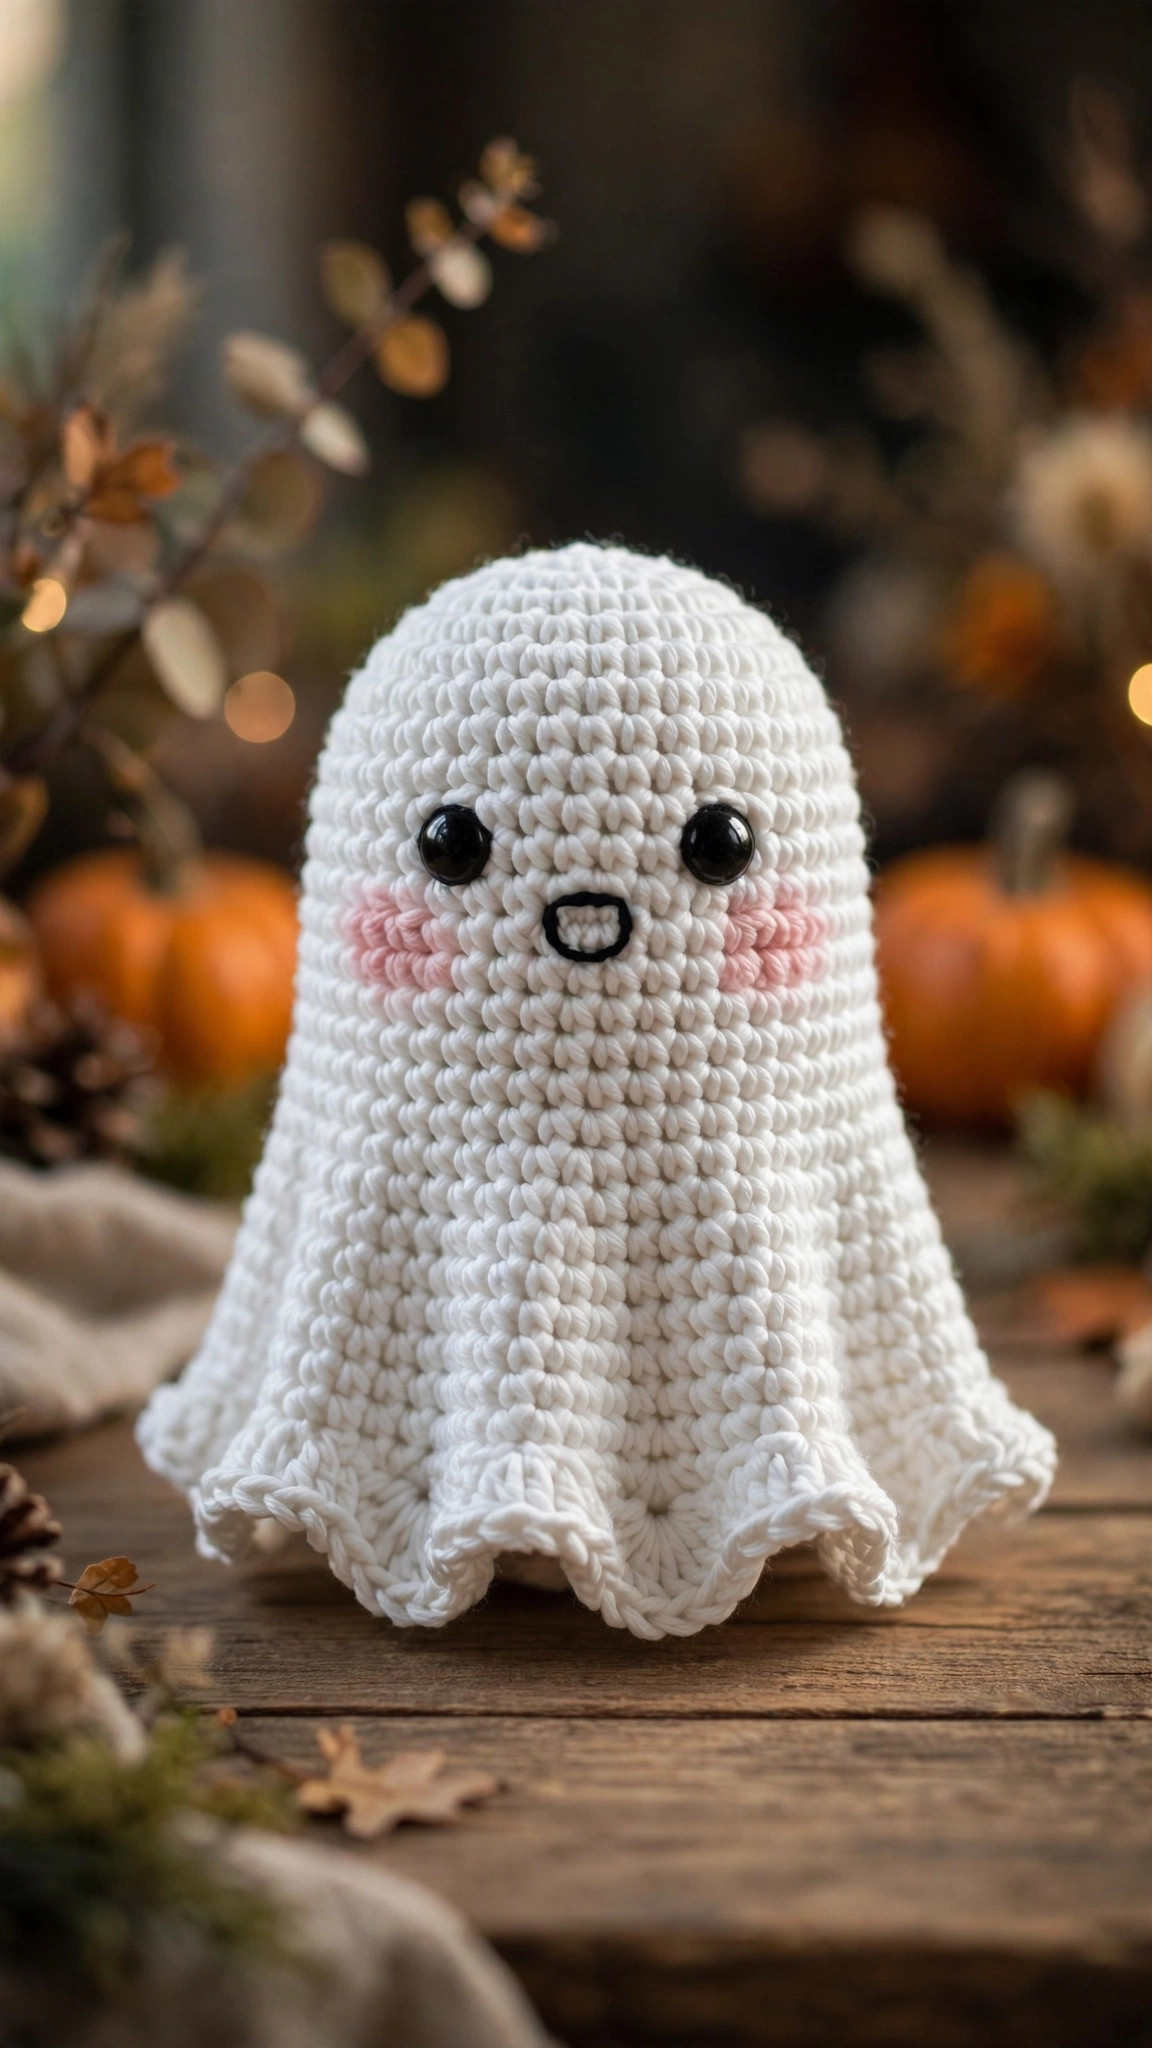
He is versatile, too. In charcoal and purple he is a Halloween hero — pair him with our crochet ghost for an instant mantel scene. In blush pink or mint he becomes a sweet nursery bat, adorable hanging upside down over a cot. He is sturdy enough to be loved by a toddler (embroider the eyes for under-threes — see the FAQ).
Materials you'll need
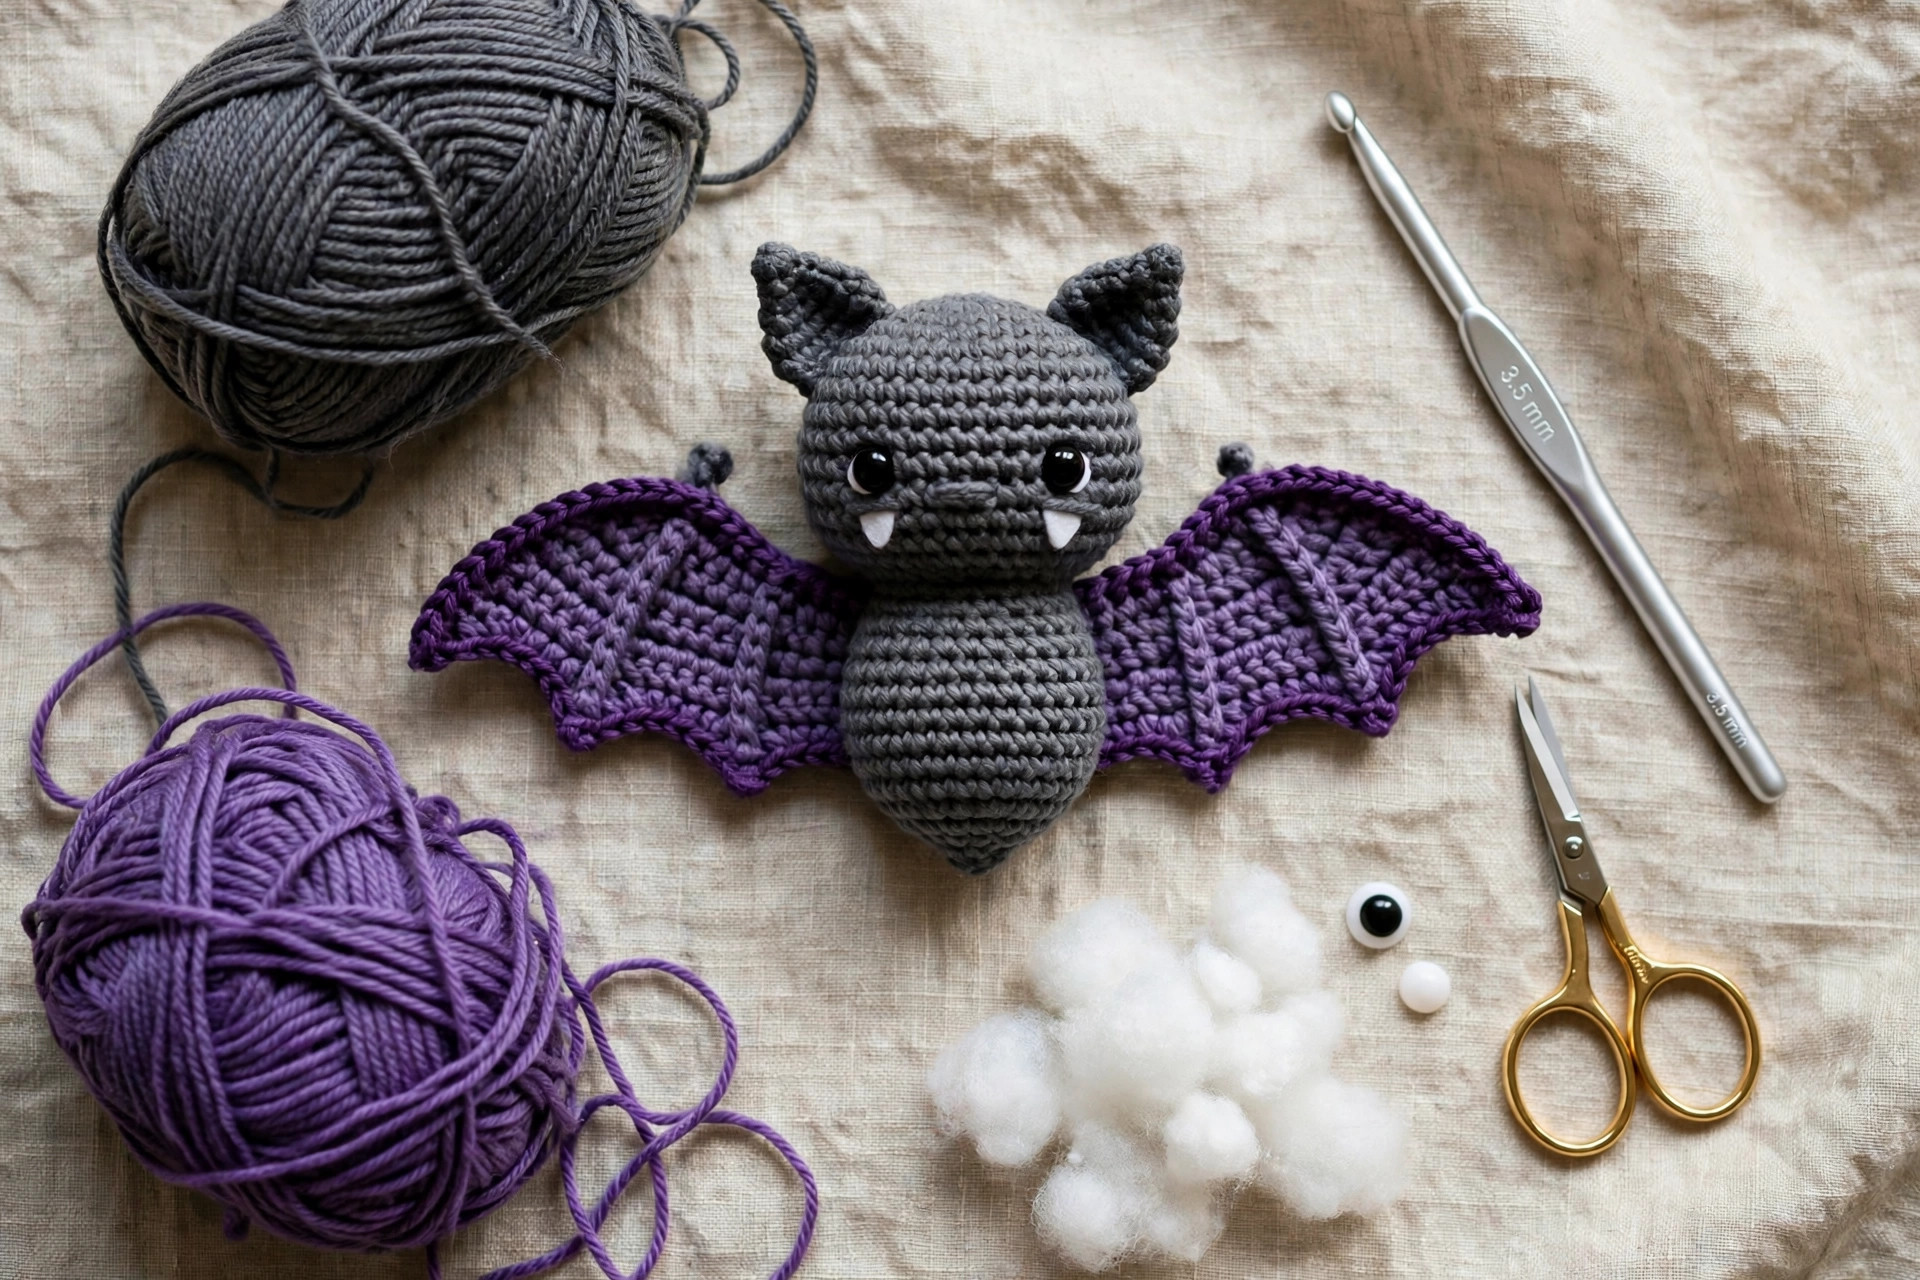
Use a smooth worsted-weight (aran / weight 4) acrylic or acrylic-blend yarn. Smooth yarn keeps stitch definition crisp, which matters here: the scallops, belly patch and face all rely on tidy stitches. Fluffy yarn hides the wing edge and makes counting miserable, so save it for a second, squishier version.
| Supply | What to get |
|---|---|
| Main yarn | Worsted weight, charcoal grey (or dark purple), about 60 g |
| Wing yarn | Worsted weight, purple, about 30 g |
| Belly yarn | Worsted weight, lilac or light grey, about 15 g |
| Crochet hook | 3.5 mm (US E-4) |
| Safety eyes | 10 mm black, one pair with washers |
| Fangs | Scrap of white felt, or white yarn for embroidery |
| Stuffing | Polyester fiberfill, about 40 g (1.5 oz) |
| Notions | Yarn needle, stitch marker, scissors, pins |
| Optional | Fabric glue for fangs, a branch for hanging displays |
A note on colours: charcoal with purple wings and a lilac belly is the classic combo in the photos, but this bat forgives any palette. All-black with deep red wings is wonderfully gothic; chocolate brown with caramel wings looks like a little fruit bat. The wings and belly are perfect leftover-eaters, too.
Size, gauge and skill level
Finished size: About 13 cm (5 in) tall, 7 cm (2.75 in) wide, with a 20 cm (8 in) wingspan. In DK yarn with a 3 mm hook he shrinks to 10 cm (4 in); in chunky yarn with a 5 mm hook and 12 mm eyes, expect a cuddly 19 cm (7.5 in) bat.
Gauge: About 5 sc and 5 rounds = 2.5 cm (1 in). Gauge is not critical — what matters is tight fabric with no gaps where stuffing can peek through. If you see daylight between stitches, drop to a 3 mm hook now; it is easier to fix at round 1 than round 20.
Skill level: Confident beginner. You need the magic ring, single crochet, increase, invisible decrease, and — for one row only — double crochet for the wing scallops. Every round carries its stitch count in brackets.
Making time: About 3–4 hours: roughly 1.5 hours for the body and head, 45 minutes for wings, ears and belly, and 45 minutes of sewing and face details.
New to amigurumi spirals? Our roundup of easy beginner crochet patterns is a friendly place to warm up — the counting habit you build there is the only real skill this bat asks for.
Abbreviations — US terms
This pattern uses US terms throughout. A US single crochet is a UK double crochet, and a US double crochet is a UK treble — UK makers, read with that swap in mind.
| Abbreviation | Meaning |
|---|---|
| MR | Magic ring |
| ch | Chain |
| sc | Single crochet |
| dc | Double crochet |
| inc | Increase — 2 sc in the same stitch |
| dec | Invisible decrease — 2 stitches together, front loops only |
| sl st | Slip stitch |
| st(s) | Stitch(es) |
| R | Round |
| FO | Fasten off |
A note on the invisible decrease: insert your hook into the front loop only of the next two stitches, yarn over and pull through both loops, yarn over and pull through the two loops on your hook. It leaves no bump and no gap. Use it every time this pattern says "dec."
A note on spirals: the body and head are worked in continuous spirals — do not join rounds or turn. Mark the first stitch of each round and move the marker up as you go. The number in brackets is your total stitch count; count at the end of every increase and decrease round. Ten seconds of counting saves ten minutes of frogging.
The pattern (US terms)
Work the pieces in this order: body-and-head first, then wings, ears and belly patch. Leave a 30 cm (12 in) tail on every sewn piece — that tail is your sewing thread.
Body and head — charcoal, one piece
Work from the bottom of the body up and over the top of the head in one continuous spiral.
- R1: MR, 6 sc (6)
- R2: inc in each st around (12)
- R3: [sc, inc] × 6 (18)
- R4: [2 sc, inc] × 6 (24)
- R5: [3 sc, inc] × 6 (30)
- R6: [4 sc, inc] × 6 (36)
- R7–R11: sc in each st around (36) — 5 rounds even, the plump belly of the body
- R12: [4 sc, dec] × 6 (30)
- R13: sc in each st around (30) — this even round is the neck, the pinch between body and head
- R14: [4 sc, inc] × 6 (36)
- R15: [5 sc, inc] × 6 (42)
- R16–R20: sc in each st around (42) — 5 rounds even, in the head
Insert the safety eyes between R18 and R19, about 8 stitches apart, centred on the front of the head — the belly patch and fangs will line up with them later. Push the washers on until they click. For a child under three, skip safety eyes and embroider them instead (see the FAQ).
- R21: [5 sc, dec] × 6 (36)
- R22: [4 sc, dec] × 6 (30)
Start stuffing now, while the opening is still generous. Stuff the body firmly — a plump bat sits better and holds his wings out — and the head a touch softer, so the face stays round. Push fiberfill outward with a fingertip, especially into the R12–R13 neck pinch so the head never flops.
- R23: [3 sc, dec] × 6 (24)
- R24: [2 sc, dec] × 6 (18)
- R25: [sc, dec] × 6 (12)
- R26: dec × 6 (6). FO, thread the tail through the front loops of the last 6 stitches, pull tight to close, and weave the end in.
Wings — purple, make 2
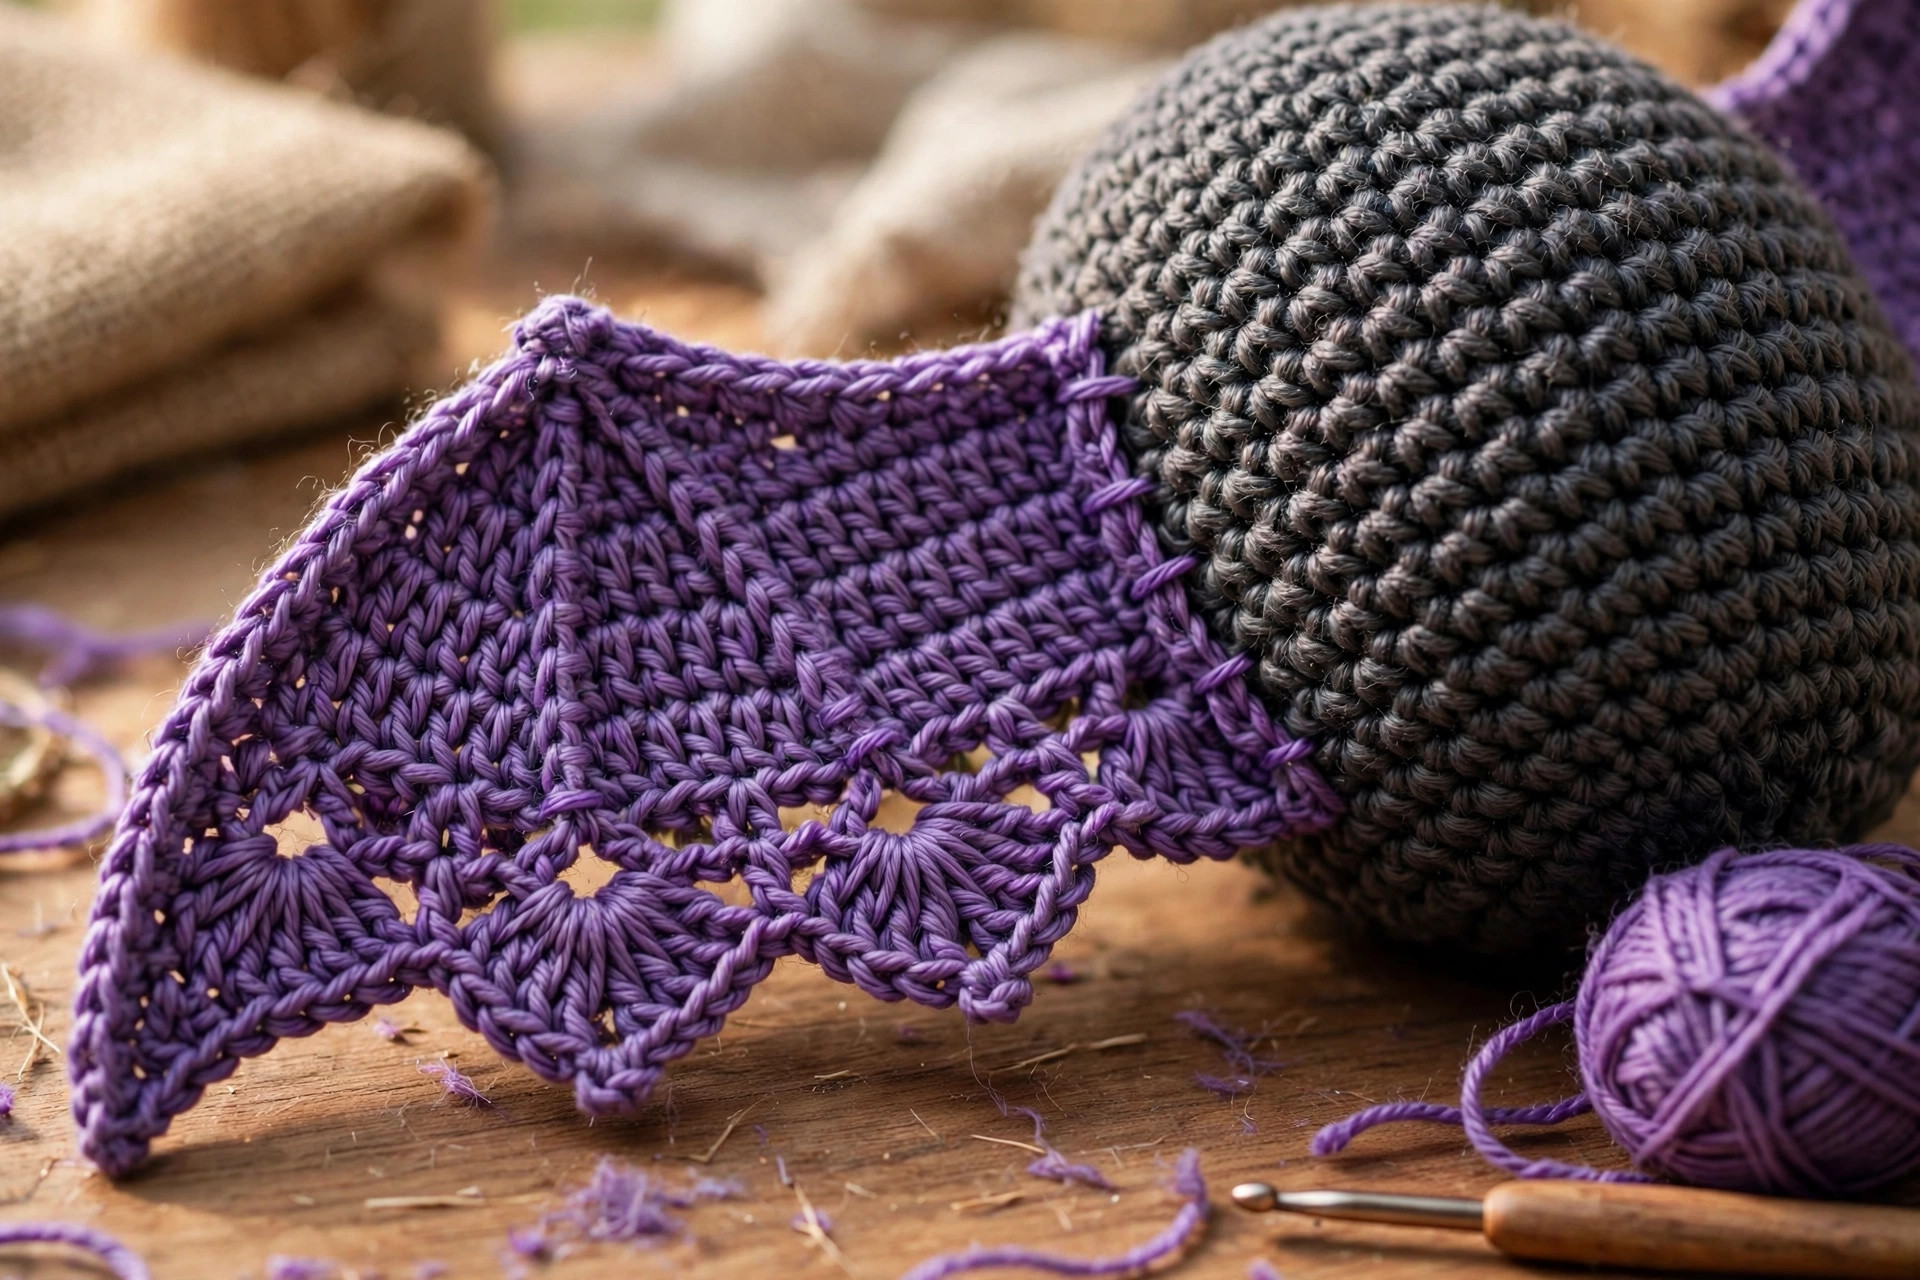
Worked flat in rows, from the top edge down. The last row is the scalloped bottom edge — the prettiest row of the pattern — so take it stitch by stitch the first time.
- Ch 14.
- Row 1: sc in 2nd ch from hook and in each ch across (13)
- Row 2: ch 1, turn, inc, 11 sc, inc (15)
- Row 3: ch 1, turn, sc across (15)
- Row 4: ch 1, turn, inc, 13 sc, inc (17)
- Row 5: ch 1, turn, sc across (17)
- Row 6 (scallops): ch 1, turn, sc in first st, [skip 1 st, 5 dc in next st, skip 1 st, sc in next st] × 4 (17 sts used; 4 scallop shells)
FO, leaving a long tail for sewing. Pinch each scallop gently to help it fan into a neat shell. Make the second wing exactly the same — they are mirror images in use, not construction, because you flip one over when sewing. If they curl, rest them under a book for half an hour.
Ears — charcoal, make 2
Tiny and worked in spirals. The magic-ring end is the pointed tip; the open end is the base you sew down.
- R1: MR, 4 sc (4)
- R2: [sc, inc] × 2 (6)
- R3: sc in each st around (6)
- R4: [2 sc, inc] × 2 (8)
- R5: sc in each st around (8)
FO, leaving a long tail. Do not stuff. Flatten each ear so the tip stays pointy and the base opens into a shallow curve that hugs the round head when you sew.
Belly patch — lilac, make 1
Worked in rounds around a starting chain, then sewn on flat — the soft tummy panel the fangs peek over.
- Ch 7.
- Rnd 1: sc in 2nd ch from hook, 4 sc, 3 sc in last ch; along the other side: 4 sc, inc in last ch (14)
- Rnd 2: inc, 4 sc, inc in next 3 sts, 4 sc, inc in last 2 sts (20)
FO, leaving a long tail. Pin the patch flat before sewing — a stretched-on patch puckers, a relaxed one lies smooth.
Finishing: sewing, stuffing and those tiny fangs
Assembly order matters more than speed. Pin everything before sewing — a pinned bat can be adjusted, a sewn one mostly cannot.
- Belly patch first. Centre the lilac oval on the body front, bottom edge about two rounds above the base, top edge just below the R13 neck pinch, lined up with the eyes. Sew around the edge with small whipstitches, keeping it flat and unstretched.
- Wings. Hold a wing by its short straight end — the 6-row edge — scallops along the bottom. Pin that edge to the side of the body so the top corner sits around R13 (neck height), angled slightly downward. Sew with firm whipstitches, twice around; wings are what little hands pull, so make this your strongest join. Repeat on the other side, flipped, and check both wings sit level.
- Ears. Pin the flattened ears to the top of the head, about 6–7 stitches apart, slightly forward of the centre line so they read from the front. Sew around each base. A tiny inward tilt looks alert; ears leaning outward look surprised. Choose alert.
- Fangs. Cut two small triangles from white felt — about 8 mm tall and 5 mm wide. Tuck each one roughly two rounds below and slightly inside an eye, fixed with a stitch or a dot of glue. No felt? Embroider one straight stitch of white yarn, two stitches tall, per fang. Two fangs, never a full grin — restraint keeps him cute.
- Mouth (optional). One short horizontal stitch in black thread, between and just above the fangs, gives him a tiny serious mouth that makes the fangs funnier.
- Final check. Roll the bat between your palms to even out the stuffing and spread the wings. He should sit upright without leaning. If he tips forward, massage the stuffing backward; if a wing droops, add two stitches at its top corner.
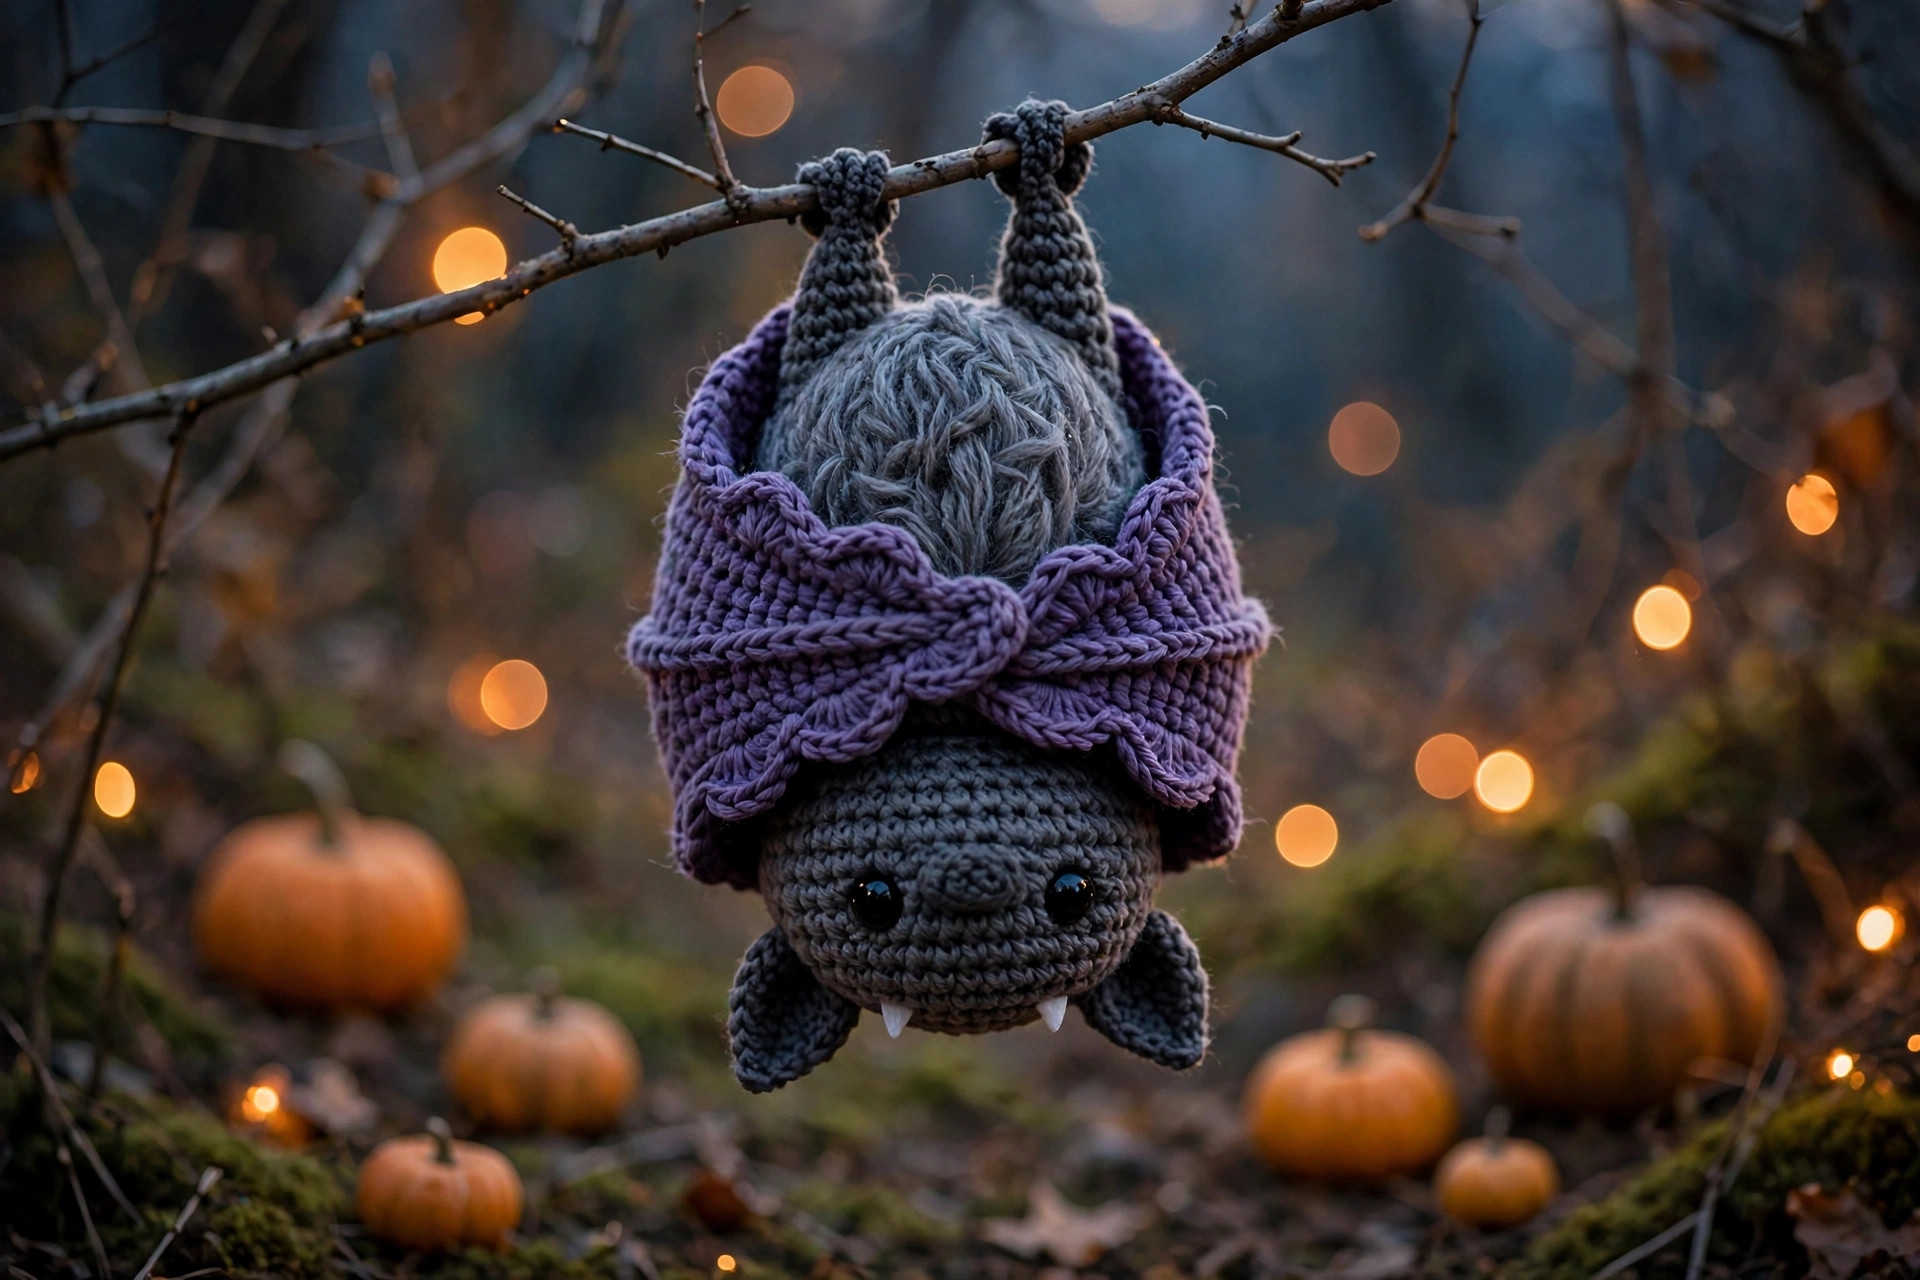
To hang him upside down: bats sleep head-down, and yours can too. Sew a sturdy doubled loop of charcoal yarn through the base between R1 and R2, and hang him from a branch or hook. The wings fold down around the body, and ears pointing "down" are correct bat anatomy — and maximum charm.
Tips for the cutest bat on the block
- Count the neck rounds twice. R12–R15 are where this pattern lives or dies. If your counts are right at R13 (30) and R15 (42), the proportions come out perfectly plump. If the head looks small, you lost an increase round — frog back now.
- Stuff the body firmer than feels polite. Wings sewn to a soft body fold inward and sulk. A firm body holds them spread, keeps the belly patch flat, and stops your bat slumping by November.
- Pin the face before the eyes click. Safety eyes are one-way. Pin markers where the eyes will go first and check from arm's length: eight stitches apart is the sweet spot; wider reads sleepy, narrower cross-eyed.
- Make the second wing immediately. Wing two, made a week later at a different tension, will be half a scallop wider — and you will notice it every time. Crochet both back to back and they will match like twins.
- Embrace the colour swap. The stitch math does not care about colour. A brown bat with caramel wings makes a lovely fruit bat, and a colony in mixed autumn colours makes a stunning mantel garland. Our crochet cat pattern uses the same trick if you want him to have a pet.
- Slow down on the scallop row. Row 6 is the only row where one missed "skip" throws every shell off centre. Count the shells as you finish each one — four fans, evenly spaced.
FAQ
Is this crochet bat pattern really free?
Yes — the complete pattern is written out in full above, with every round and stitch count. No sign-up and nothing to buy. If you make a bat you love, sharing this page with a crafty friend is the nicest way to say thanks.
What skill level do I need for this bat?
Confident beginner. If you can make a magic ring, single crochet in a spiral, increase and decrease, you have 95 percent of this pattern. The only extra stitch is the double crochet, used for one scallop row per wing — a friendly place to practise it.
Can I sell bats made from this pattern?
Yes. Sell finished bats you have made yourself — at markets, fairs and in your own shop — with a credit to Little Loop Finds as designer where you can. Please do not share or resell the written pattern itself; link to this page instead.
Is this bat safe for babies and young children?
With two changes, yes. Embroider the eyes instead of using safety eyes, embroider the fangs rather than gluing felt, and sew wings and ears on with two full passes so nothing can work loose. Checked over, he is a soft, washable, cuddle-safe toy — always use your own judgement for under-threes.
My wings curl up — how do I flatten them?
Curling is normal for small flat pieces. Rest each wing under a heavy book for 30 minutes, or pin it to a towel, spritz with water and let it dry flat. Sewing the short edge firmly along its full length also pulls a gentle curl straight.
Can I make a bigger or smaller bat?
Easily — change the yarn and hook together. DK yarn with a 3 mm hook gives a 10 cm (4 in) bat; chunky yarn with a 5 mm hook gives a 19 cm (7.5 in) one, with safety eyes sized to match (8 mm mini, 12 mm chunky). The stitch counts never change.
What to crochet next
Thank you for crocheting this little bat with us. However yours turns out — charcoal classic, fruit-bat brown, or a whole pastel colony — he was designed to make people smile. Happy hooking, and happy haunting.
The box below contains an Etsy link. If you buy through it, we may earn a small commission at no extra cost to you. Learn more.
No time to make one?
Short on time? Find handmade crochet bats from independent makers on Etsy.
Browse on Etsy (opens Etsy in a new tab)