Easy Mitten Crochet Pattern in Child & Adult Sizes
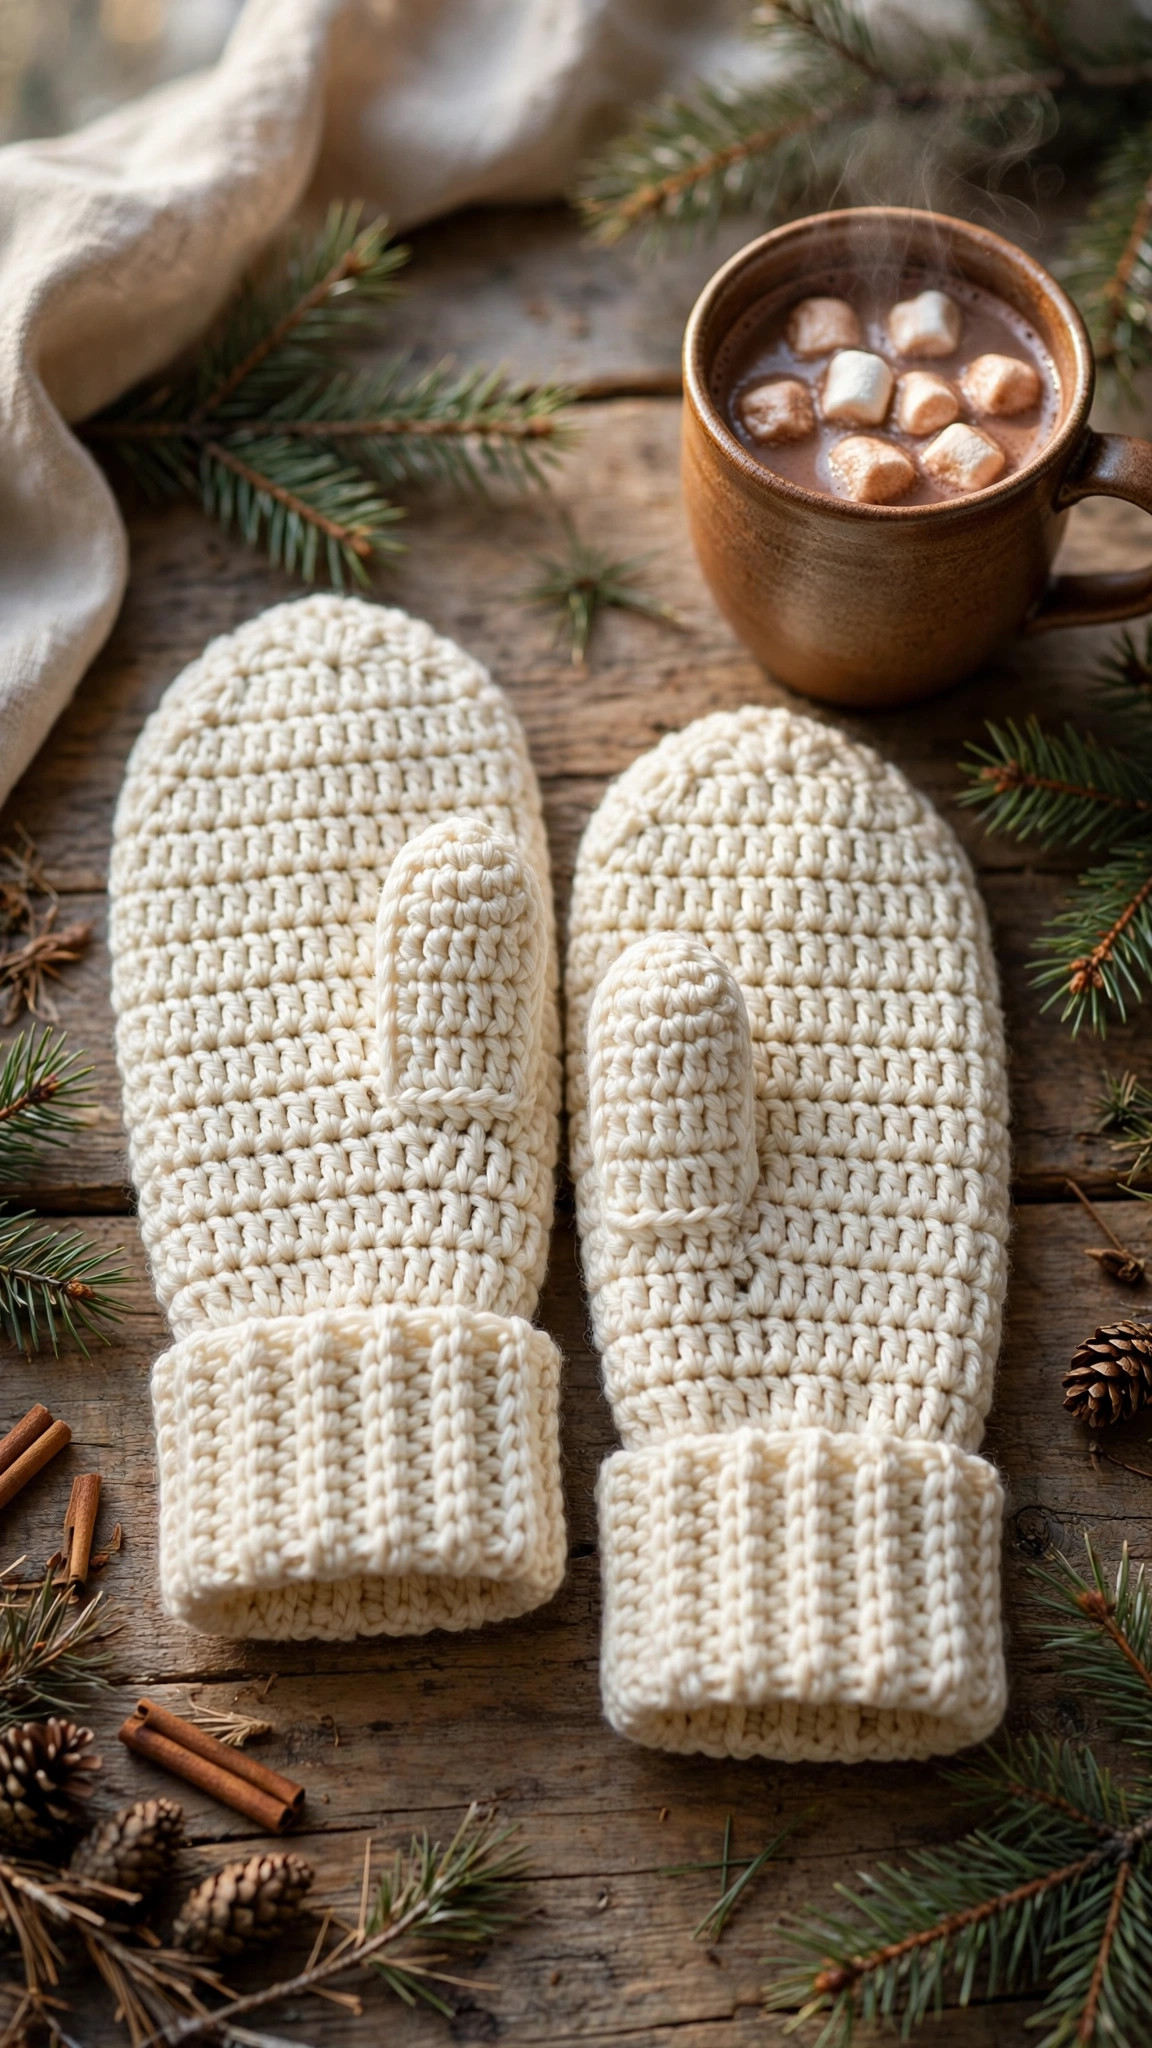
Cold hands, sorted. These cuff-up mittens pair a stretchy ribbed cuff with a smooth half double crochet hand and a simple thumb anyone can master, in child and adult sizes with every stitch count included.

Wearables · Crochet
- Finished size
- 6.4–8.5 in circumference
- Making time
- 2–4 hours per pair
- Hook
- 5.0 mm (US H-8)
- Pieces
- 2 mittens (same pattern)
- Skill
- Beginner
In this post
Cold hands ruin a good winter walk faster than anything. These easy crochet mittens fix that: a stretchy ribbed cuff that actually stays put, a smooth hand in quick half double crochet, and a simple thumb that looks far more complicated than it is. If you can chain, single crochet, and half double crochet, you can finish a pair this weekend.
This is an original Little Loop Finds design, worked cuff-up with a simple thumb opening instead of a fiddly gusset. You crochet the hand in plain, relaxing rounds, leave a neat opening for the thumb, shape the rounded top with easy decreases, then come back and finish the thumb in a few short rounds. No increase rounds to track, and no gap at the base of the thumb to sew up afterwards.
The pattern includes three sizes — child, adult small/medium, and adult large — with every stitch count given for every round. Make the child size first as a fast practice pair, then work an adult pair for yourself.
Contents
- Why you'll love these easy mittens
- Materials you'll need
- Size, gauge and skill level
- Abbreviations — US terms
- The pattern (US terms)
- Finishing your mittens
- Tips for mittens that fit and last
- FAQ
- What to crochet next
Why you'll love these easy mittens
First, the fit. The cuff is worked in back-loop single crochet, which behaves like knitted ribbing: it stretches wide to pull over your hand, then springs back and hugs your wrist, keeping cold air out and the mitten on. That spring also forgives a slightly-off gauge — handy for gifts made from an approximate hand size.
Second, the speed. The hand is plain half double crochet in joined rounds — taller than single crochet, so it grows quickly, but denser and warmer than double crochet. No stitch pattern to memorise: put on a film, and one mitten will be nearly done before the credits roll.
Third, the thumb. Many crocheters stall at the thumb gusset, with its markers and increases. Here you simply chain across a few skipped stitches to leave an opening, keep crocheting the hand, and work the thumb afterwards as a tiny tube. Both mittens are made exactly the same way — no left and right to mix up.
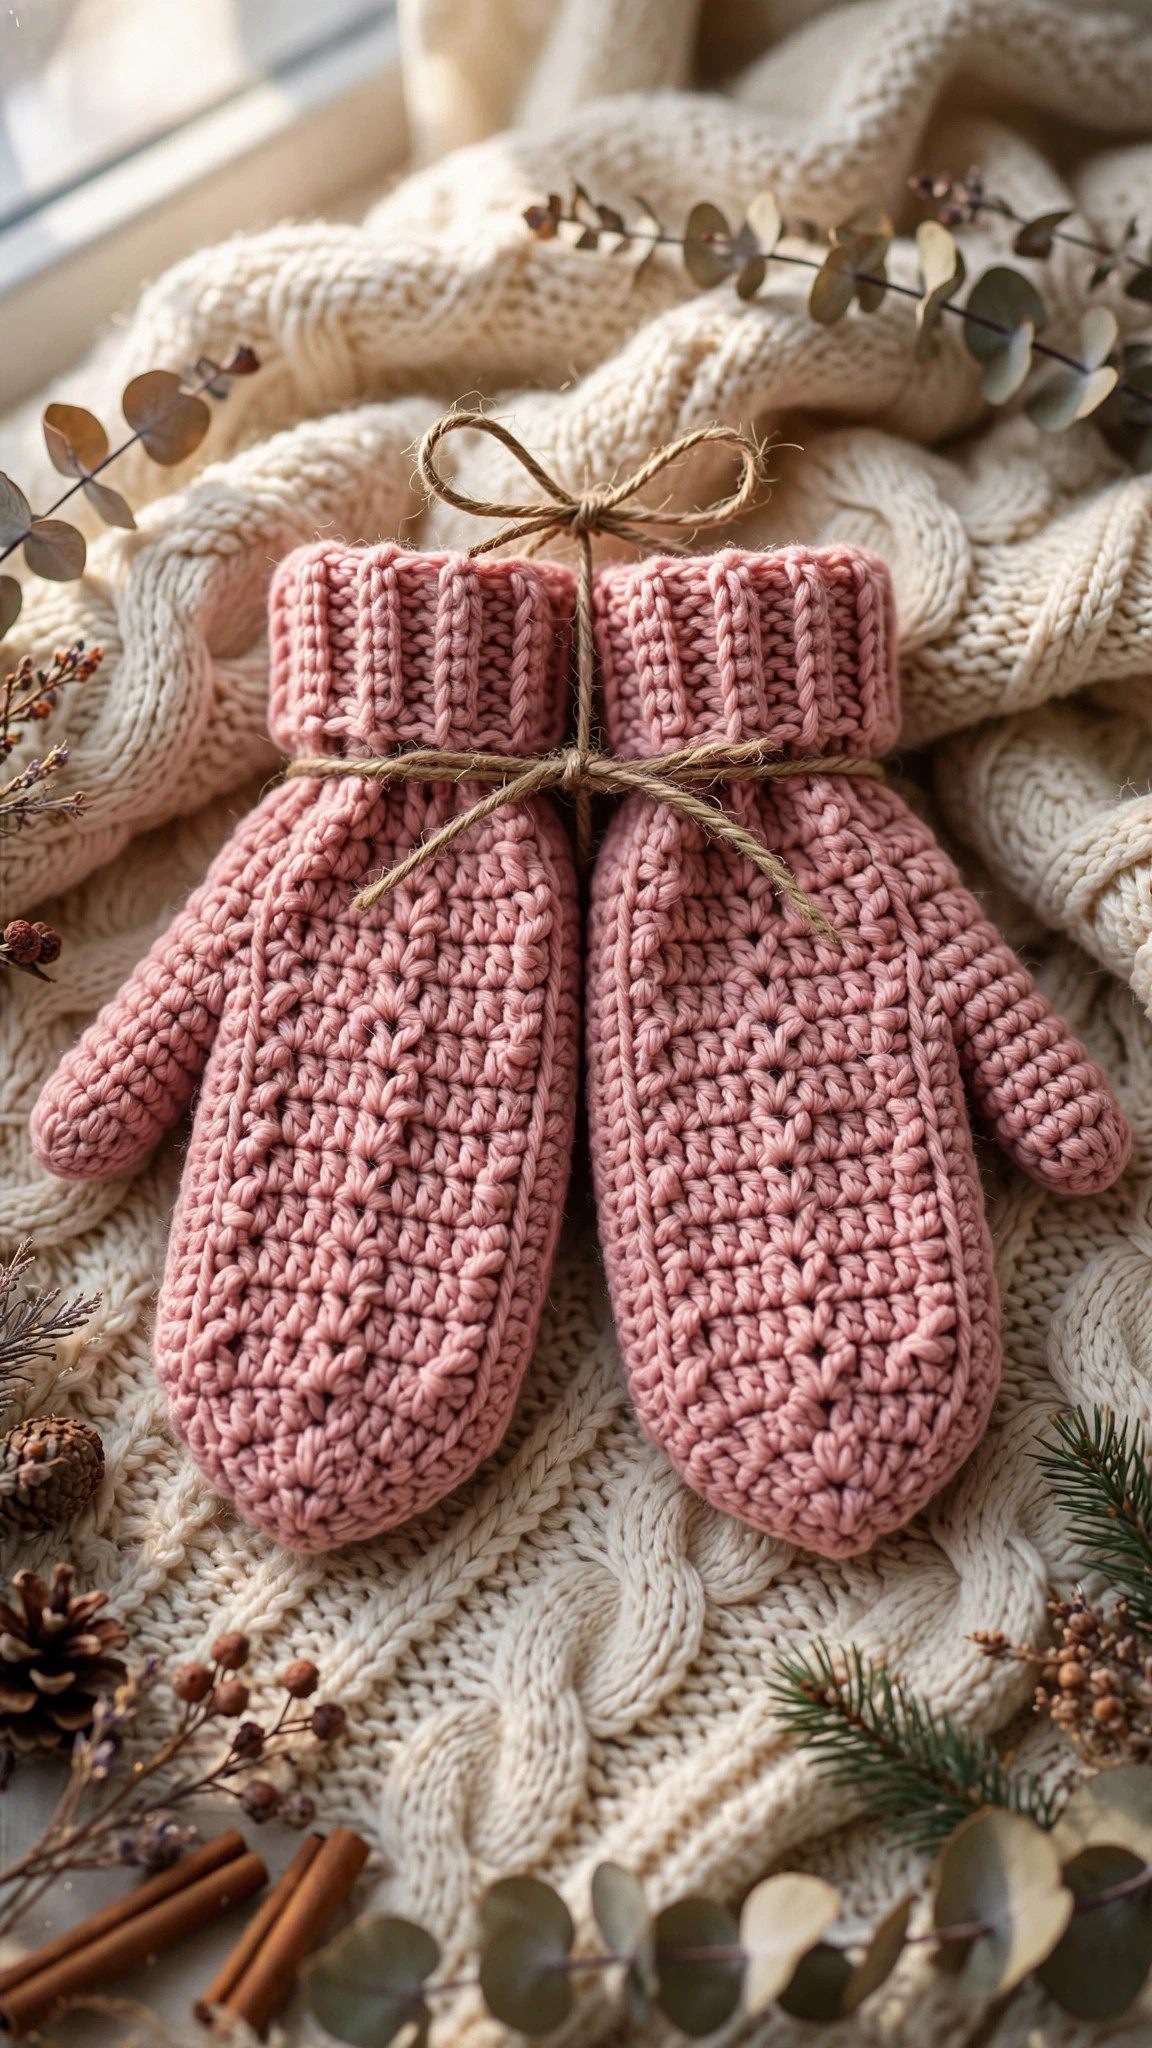
Finally, they are endlessly giftable — a school colour, a team shade, or classic cream like the pair pictured. Add a matching puff stitch crochet hat for a handmade winter set, or pair them with a free crochet hat pattern in the same yarn.
Materials you'll need
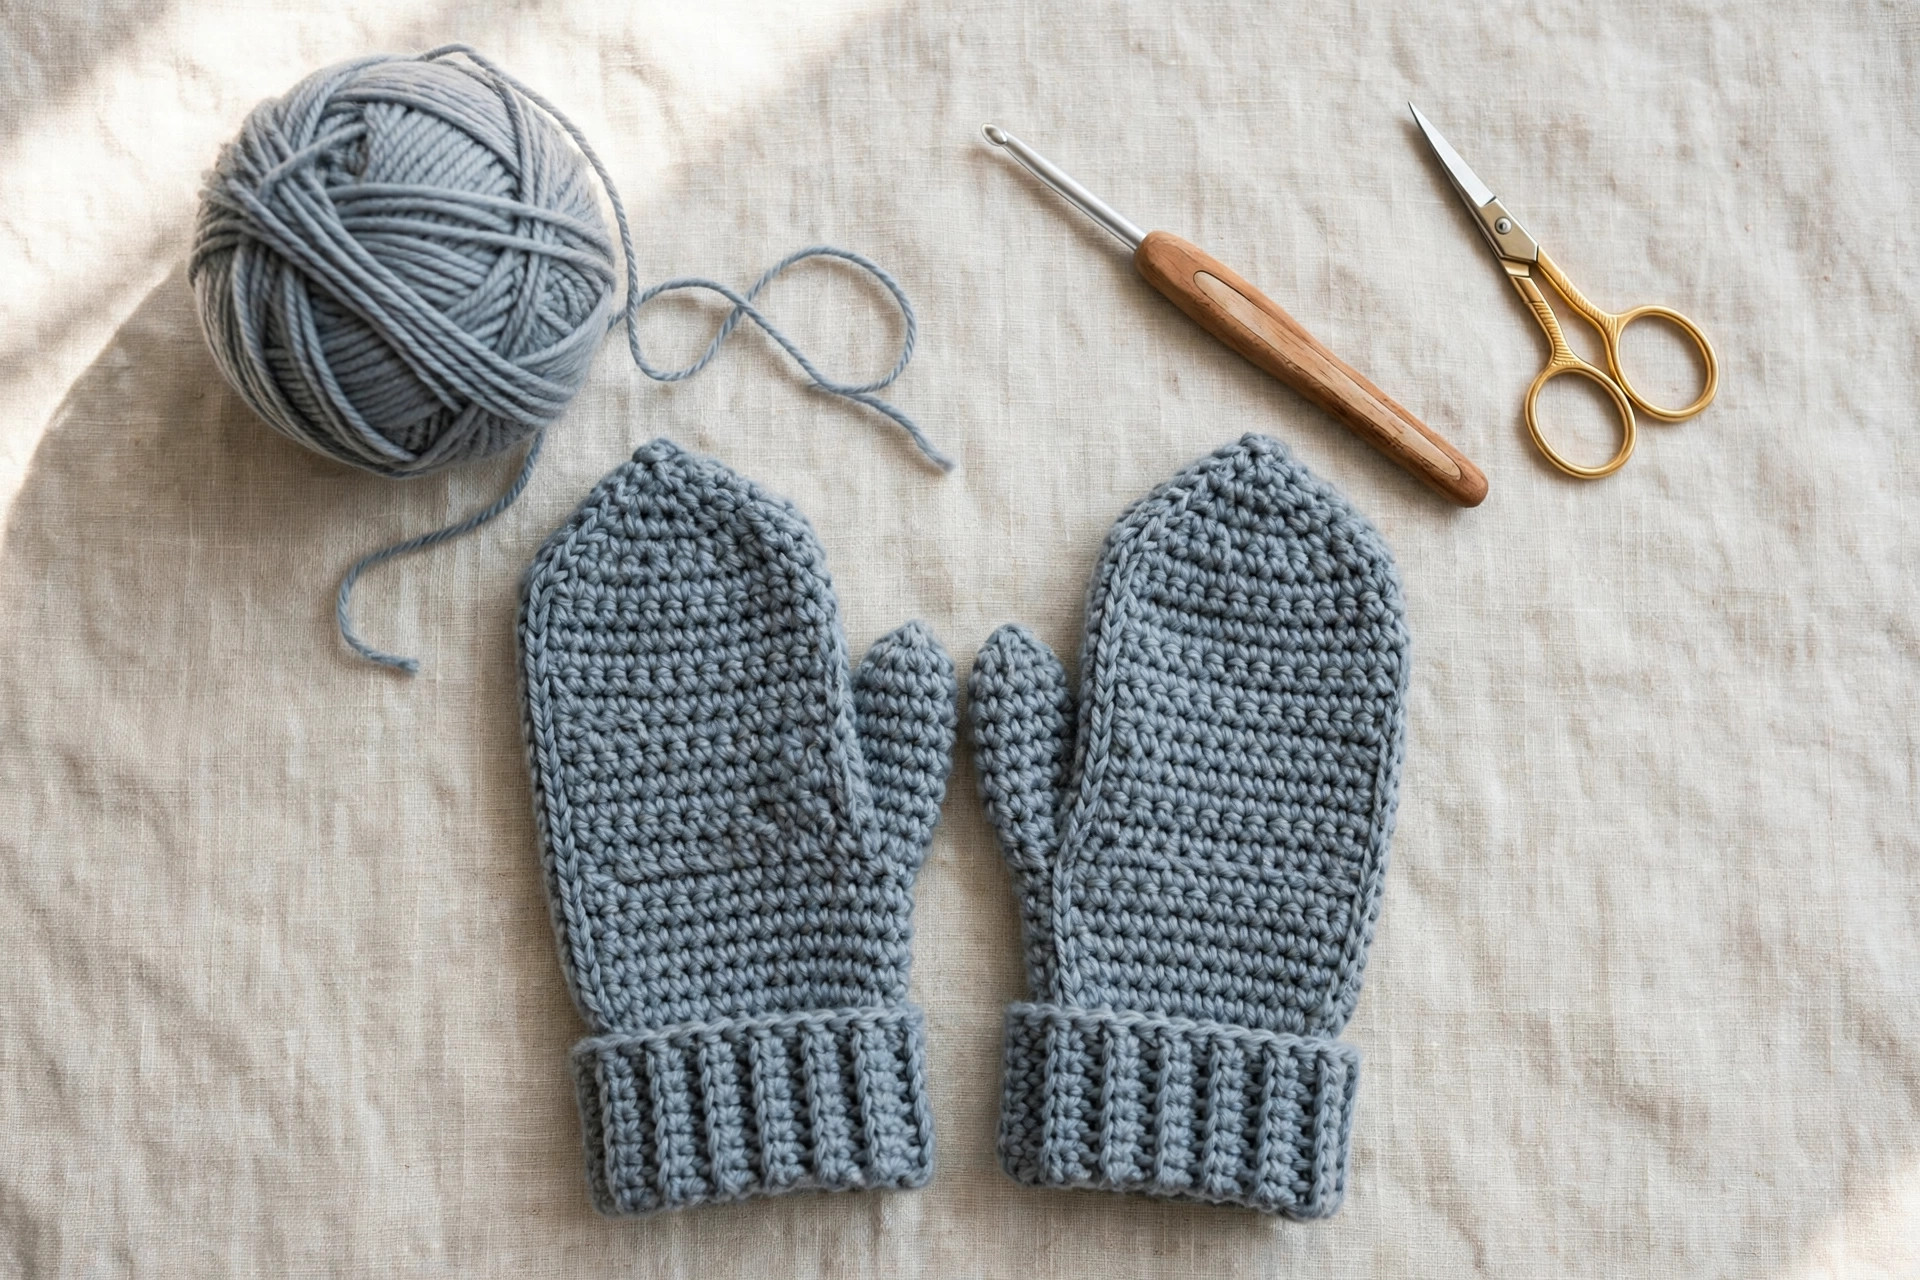
Worsted weight yarn is the sweet spot for mittens: thick enough to be warm and quick, fine enough to keep the thumb comfortable. Choose a soft acrylic or an acrylic-wool blend. Acrylic is washable and hard-wearing — ideal for children's mittens that will meet snow and mud. A wool blend adds warmth and natural spring. Avoid very dark or fuzzy yarn for your first pair, since seeing your stitches clearly makes the thumb opening much easier.
You will need roughly 110 yards (child), 150 yards (adult S/M), and 180 yards (adult L) per pair. One standard 100-gram ball is usually enough for child and S/M; for the large size, check the ball band yardage before you start.
| Supply | What to get |
|---|---|
| Yarn | Worsted weight (category 4) acrylic or acrylic-wool blend, approx. 110–180 yards per pair depending on size |
| Hook | 5.0 mm (US H-8) crochet hook |
| Notions | Yarn needle with a large eye for seaming the cuff and weaving in ends |
| Measuring | Tape measure for hand size and gauge checking |
| Cutting | Sharp scissors |
| Optional | 2 stitch markers; contrast yarn for an optional stripe |
Size, gauge and skill level
Skill level: Beginner to easy. You should know how to chain, single crochet, half double crochet, work into the back loop only, slip stitch to join rounds, and decrease with half double crochet two together (explained below).
Finished sizes:
| Size | To fit hand circumference | Finished circumference | Finished length (cuff edge to tip) | Approx. fit |
|---|---|---|---|---|
| Child | About 6 inches | About 6.4 inches | About 7 inches | Ages 5–8 years |
| Adult S/M | About 7–8 inches | About 7.5 inches | About 9.5 inches | Most women / teens |
| Adult L | About 8–9 inches | About 8.5 inches | About 10.5 inches | Most men / larger hands |
Measure hand circumference around the widest part of the palm, just below the knuckles, not including the thumb. Between sizes? Choose larger for very cold climates, smaller for a snug city mitten. Length is easy to adjust: work more or fewer plain rounds before the thumb opening and before the top shaping, and try the mitten on as you go.
Gauge: 15 half double crochet stitches and 11 rounds = 4 inches, with a 5.0 mm hook, after light blocking. Gauge matters here — one stitch per 4 inches becomes a whole size across the hand. Swatch in the round if you can: too many stitches means your work is too small, so go up a hook size; too few means too big, so go down a size.
Abbreviations — US terms
US terms throughout. (UK note: a US half double crochet is a half treble; a US single crochet is a UK double crochet.)
| Abbreviation | Meaning |
|---|---|
| ch | chain |
| sc | single crochet |
| hdc | half double crochet |
| hdc2tog | half double crochet 2 together (decrease) |
| sl st | slip stitch |
| BLO | back loop only |
| st(s) | stitch(es) |
| rnd(s) | round(s) |
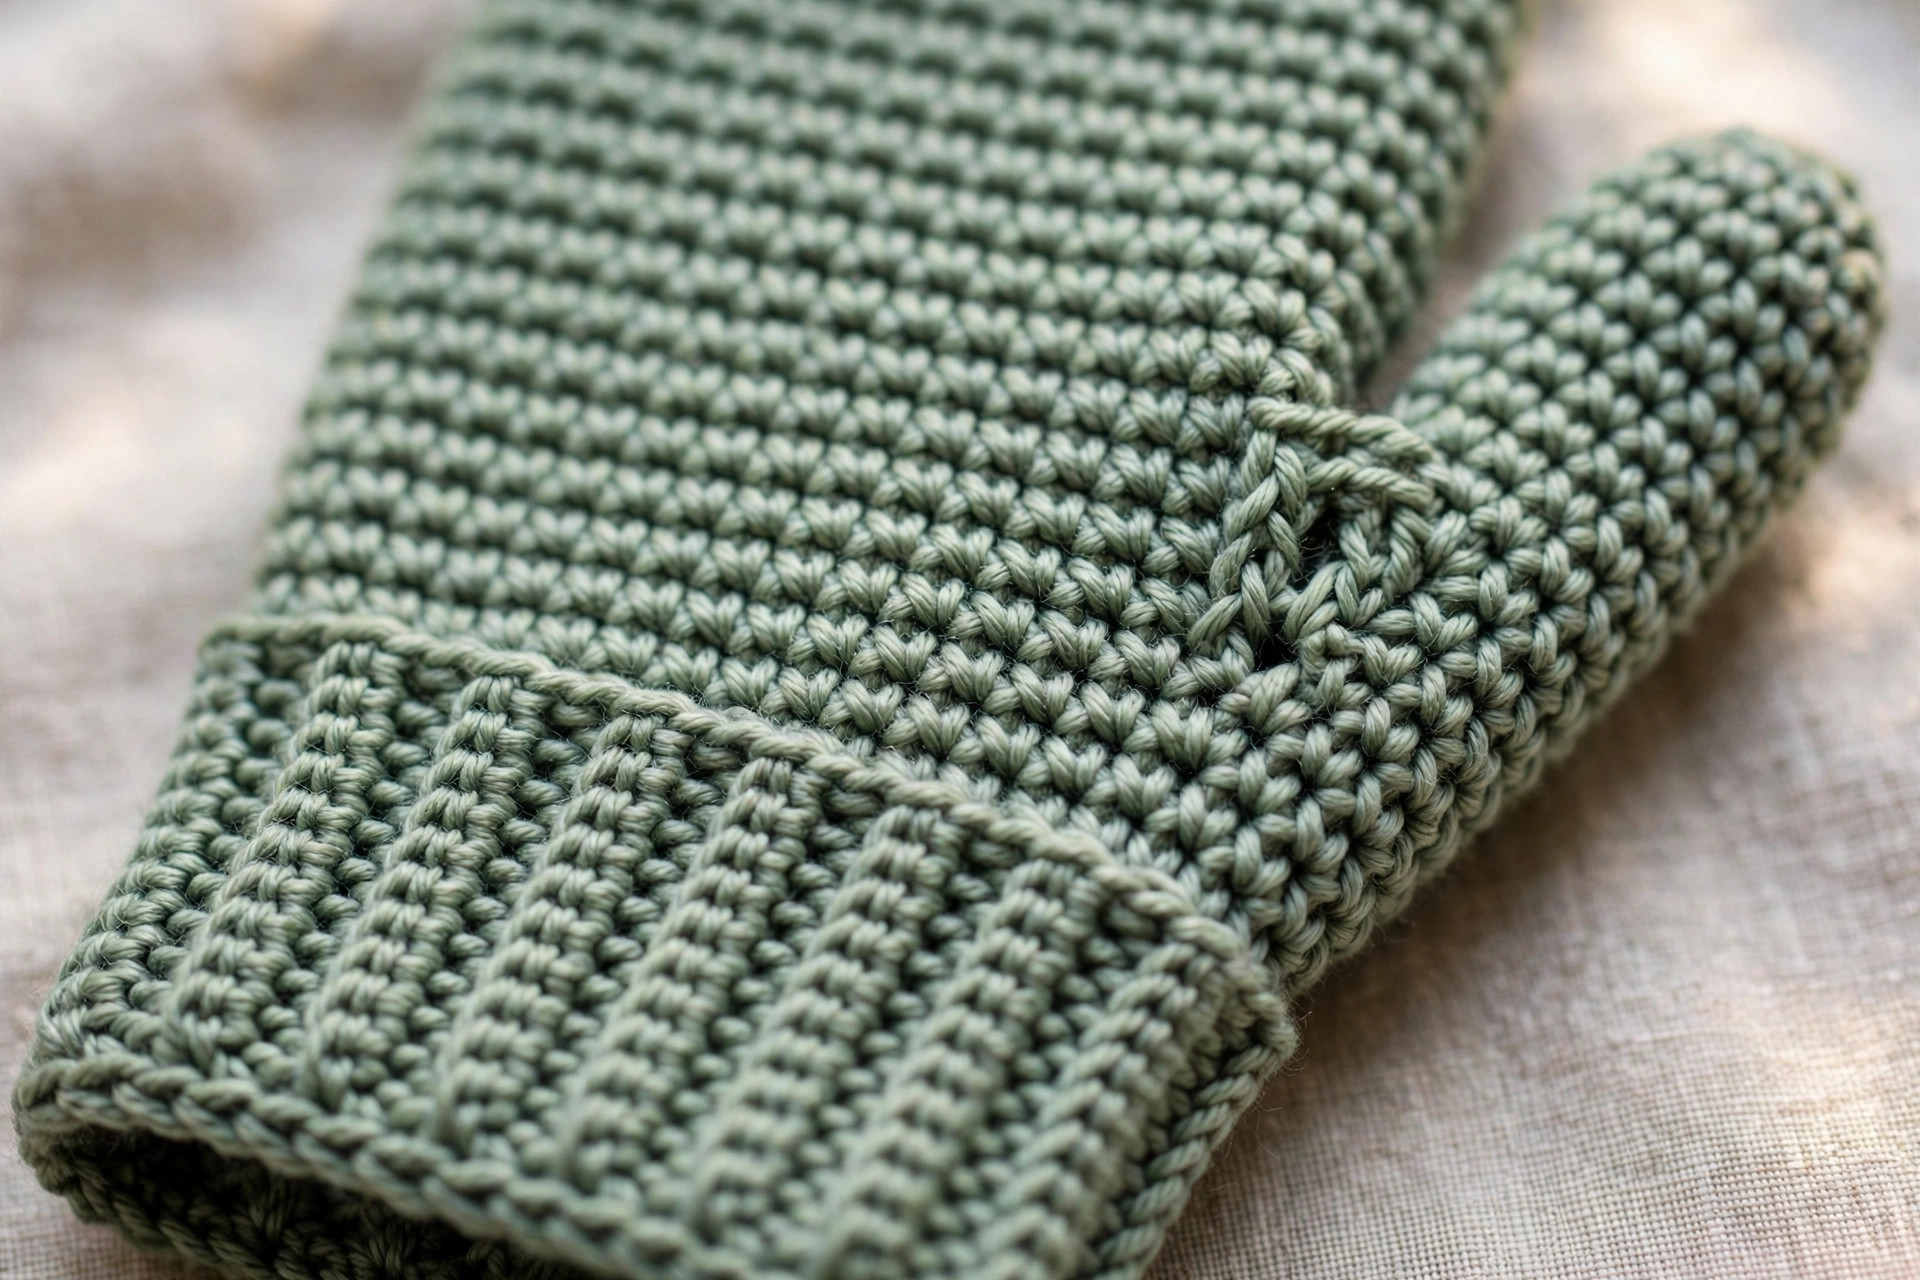
How to work hdc2tog: Yarn over, insert hook into the first stitch, yarn over and pull up a loop (3 loops on hook). Yarn over, insert hook into the next stitch, yarn over and pull up a loop (5 loops on hook). Yarn over and pull through all 5 loops. Two stitches become one.
A note on rounds: The hand is worked in joined rounds. Join each round with a slip stitch into the first half double crochet, then chain 2 to start the next round. That chain 2 does not count as a stitch, and the first half double crochet of each round goes into that same first stitch.
The pattern (US terms)
Instructions are written for Child (Adult S/M, Adult L). Where one number appears, it applies to all sizes. Work the first mitten all the way through, including the thumb, then repeat exactly for the second — the design is identical for left and right hands.
Step 1: The ribbed cuff
The cuff is worked flat in back-loop single crochet, then seamed into a ring.
Foundation: Ch 11. You will work 10 single crochet per row, giving a cuff about 2.5 inches deep. For a longer fold-over cuff, ch 15 and work 14 stitches per row instead — everything else stays the same.
Row 1: Sc in the 2nd ch from the hook and in each ch across, turn. (10 sc)
Row 2: Ch 1 (does not count as a stitch), sc in BLO of each st across, turn. (10 sc)
Repeat Row 2 until you have worked 24 (28, 32) rows in total. Unstretched, the strip should measure roughly 5.5 (6.5, 7.5) inches long.
Seam the cuff: Fold the strip so the first and last rows meet. Slip stitch through both thicknesses to join (or whipstitch for a flatter seam). Turn the ring so the seam sits inside and the row ends face up. Do not fasten off.
Step 2: The hand — plain rounds
Rnd 1: Ch 2 (does not count as a st), work 1 hdc into the end of each row around the top edge of the cuff, join with a sl st to the first hdc. 24 (28, 32) hdc
Count now — this is your hand stitch count until the top shaping. Out by one? Quietly add or skip a stitch here; the cuff hides it.
Rnds 2–5 (2–6, 2–7): Ch 2, hdc in each st around, join with a sl st to the first hdc. 24 (28, 32) hdc
Try the mitten on: the cuff should sit on your wrist and the top edge should reach roughly to the base of your thumb — about 1.5 (2, 2.25) inches above the cuff.
Step 3: The thumb opening
Thumb opening rnd: Ch 2, hdc in each of the first 10 (12, 14) sts, ch 4 (5, 6), skip the next 4 (5, 6) sts, hdc in each st to the end, join with a sl st to the first hdc.
You have worked 20 (23, 26) hdc plus 4 (5, 6) chains, so the total count for the next round is still 24 (28, 32), counting each chain as a stitch position. The opening needs no adjustment for left and right mittens — this simple tube fits either hand.
Step 4: The hand — above the thumb
Next rnd: Ch 2, hdc in each hdc and in each ch of the thumb opening around, join with a sl st to the first hdc. 24 (28, 32) hdc
Following rnds: Ch 2, hdc in each st around, join. Repeat until you have worked 5 (6, 7) rounds in total above the thumb opening round, including the round just worked into the chains.
Try the mitten on again: the top edge should reach about the tip of your little finger, roughly 3 (3.5, 4) inches above the thumb opening. Add or remove a plain round here if needed — and note what you did so the second mitten matches.
Step 5: Top shaping
The rounded top is shaped with decreases at both sides of the hand, four stitches decreased per round. Place one marker in the first stitch and another after 12 (14, 16) stitches — halfway around.
Decrease rnd: Ch 2, hdc2tog over the first 2 sts, hdc in each st to 2 sts before the halfway marker, hdc2tog, hdc2tog again over the first 2 sts after the marker, hdc in each st to the last 2 sts, hdc2tog, join with a sl st to the first hdc. (4 sts decreased — 20 (24, 28) sts after the first decrease round)
Repeat the decrease rnd until 12 sts remain: 3 (4, 5) decrease rounds in total, with counts of 20, 16, 12 for child; 24, 20, 16, 12 for adult S/M; and 28, 24, 20, 16, 12 for adult L.
Final rnd: Ch 2, hdc2tog around, join with a sl st to the first hdc. 6 sts
Fasten off, leaving an 8-inch tail. Thread it onto your yarn needle, run it through the front loop of each remaining stitch, pull to gather the top closed, and secure on the inside.
Step 6: The thumb
Turn the mitten so the thumb opening faces you. You will work into the 4 (5, 6) skipped stitches along the bottom, the 4 (5, 6) chains along the top, and one extra stitch in each corner to prevent holes.
Rnd 1: Join yarn with a sl st in the first skipped stitch at the bottom of the opening. Ch 2 (does not count as a st), hdc in each of the 4 (5, 6) skipped sts, hdc in the corner space, hdc in each of the 4 (5, 6) chs along the top, hdc in the second corner space, join with a sl st to the first hdc. 10 (12, 14) hdc
Rnds 2–5 (2–6, 2–7): Ch 2, hdc in each st around, join with a sl st to the first hdc. 10 (12, 14) hdc
That is 4 (5, 6) plain rounds including Rnd 1. The thumb should reach about the middle of your thumbnail. Add one round for long thumbs — and note it for mitten two.
Thumb decrease rnd: Ch 2, hdc2tog around, join with a sl st to the first hdc. 5 (6, 7) sts
Fasten off, leaving a 6-inch tail, and gather these stitches closed exactly as at the top of the hand. If a tiny gap remains at a thumb corner, use the tail to take one small stitch across it before weaving in.
Make the second mitten: Repeat Steps 1–6 exactly, then lay the pair side by side to confirm the lengths match.
Finishing your mittens
Weave in every end, travelling about an inch in one direction, then back the opposite way, then once more at a slight angle. Mitten ends take a lot of movement, and that three-direction weave stops them creeping out in the wash. Trim only after weaving — never before.
Shape the mittens gently by hand: smooth the cuff ribs, pat the top into a soft dome, and round out the thumb. Blocking is optional — for a wool blend, lay flat, mist lightly, shape to the size table, and leave to dry. Acrylic usually needs nothing more.
Optional extras: work the first round of the hand in a contrast colour for a stripe; add a tiny loop at the cuff and thread both mittens onto a string through coat sleeves for children; or sew a small wooden tag onto the cuff. Keep embellishments off the palm and thumb, where they wear quickly. For a coordinated gift set, try a crochet pocket scarf pattern or free leg warmer crochet patterns.
Tips for mittens that fit and last
Try on as you go. Check after the cuff (snug on the wrist, stretches over the hand), at the thumb opening (sits at the base of your thumb), and before shaping (reaches your little fingertip). Adjust plain rounds, not stitch counts, to fix length.
Keep your joins tidy. Always join into the first half double crochet, not the top of the chain 2, and place the first stitch of the new round in that same stitch. A stitch slowly gained or lost is the most common reason one mitten ends up a different size from its partner.
Make both mittens in the same week. Tension drifts with tiredness and time away from the hook. Working the pair in the same few sittings keeps the size consistent — and the second thumb gets made while the first is still fresh in your mind.
Choose yarn for the job. Mittens rub against door handles, steering wheels, dog leads, and snow. Smooth, tightly plied, acrylic-rich blends survive that friction far better than soft, loosely spun luxury fibres. For warmth, a wool blend at the same weight makes a warmer mitten with no pattern changes.
Mind the thumb corners. Almost every first mitten has one tiny hole at a thumb corner. The extra picked-up stitch in the thumb's first round prevents most of them, and one small stitch with the tail fixes the rest. Check both corners in good light before weaving the thumb tail in.
FAQ
Are these mittens really suitable for a beginner?
Yes, with a little stitch experience. If you can single crochet and half double crochet, you have every skill needed — the only decrease, hdc2tog, is explained above, and the thumb is just an opening plus a tiny tube of plain rounds. Make the child size first as a practice run.
Why is there no separate left and right mitten?
Because the mitten is a straight tube with the thumb opening at the side, it fits either hand — turn it over and the thumb sits correctly on the other hand. Shaped-palm designs need mirrored pairs; this one does not.
How much yarn do I need for a pair?
About 110 yards for child, 150 yards for adult S/M, and 180 yards for adult L. A longer cuff or added length uses a little more. If you are near the end of a ball, weigh the first finished mitten: if it used more than half your yarn, buy a second ball before starting its partner, because dye lots can differ.
Can I use a different yarn weight?
You can, but the sizes will change — a chunkier yarn makes a bigger, thicker mitten from the same counts, a lighter yarn a smaller one. Compare your gauge with the pattern gauge (15 hdc and 11 rounds to 4 inches) and pick the size whose stitch count gives the circumference you need. Make the child size as a test if you are experimenting.
My thumb has a small hole at the base — how do I fix it?
The most common mitten issue, and an easy fix. Before weaving in the thumb tail, use it to take one or two small stitches across the gap from the inside, pulled just snug enough to close the hole without puckering. Next time, make sure you picked up the extra corner stitch at both ends of the thumb's first round, and keep those stitches fairly tight.
How do I wash handmade mittens?
Check the yarn band first. Acrylic and most blends can be machine washed gently and dried flat — perfect for children's mittens. Wool blends are happier hand washed in lukewarm water with mild detergent, rolled in a towel, and dried flat away from heat. Never hang wet mittens by the cuff; the water's weight stretches the ribbing.
What to crochet next
Your hands are warm — now finish the set with these reader favourites in similar stitches and yarn weights:
- Keep ears just as warm with a cosy crochet earflap hat in the same yarn.
- Add pockets and a scarf in one project with this crochet pocket scarf pattern.
- Round out a handmade gift bundle with free crochet boot cuff patterns for winter boots.
Happy crocheting — stay warm all winter!
The box below contains an Etsy link. If you buy through it, we may earn a small commission at no extra cost to you. Learn more.
No time to make one?
Short on time? Find handmade crochet mittens on Etsy.
Browse on Etsy (opens Etsy in a new tab)