Free crochet ruana pattern: easy one-rectangle wrap
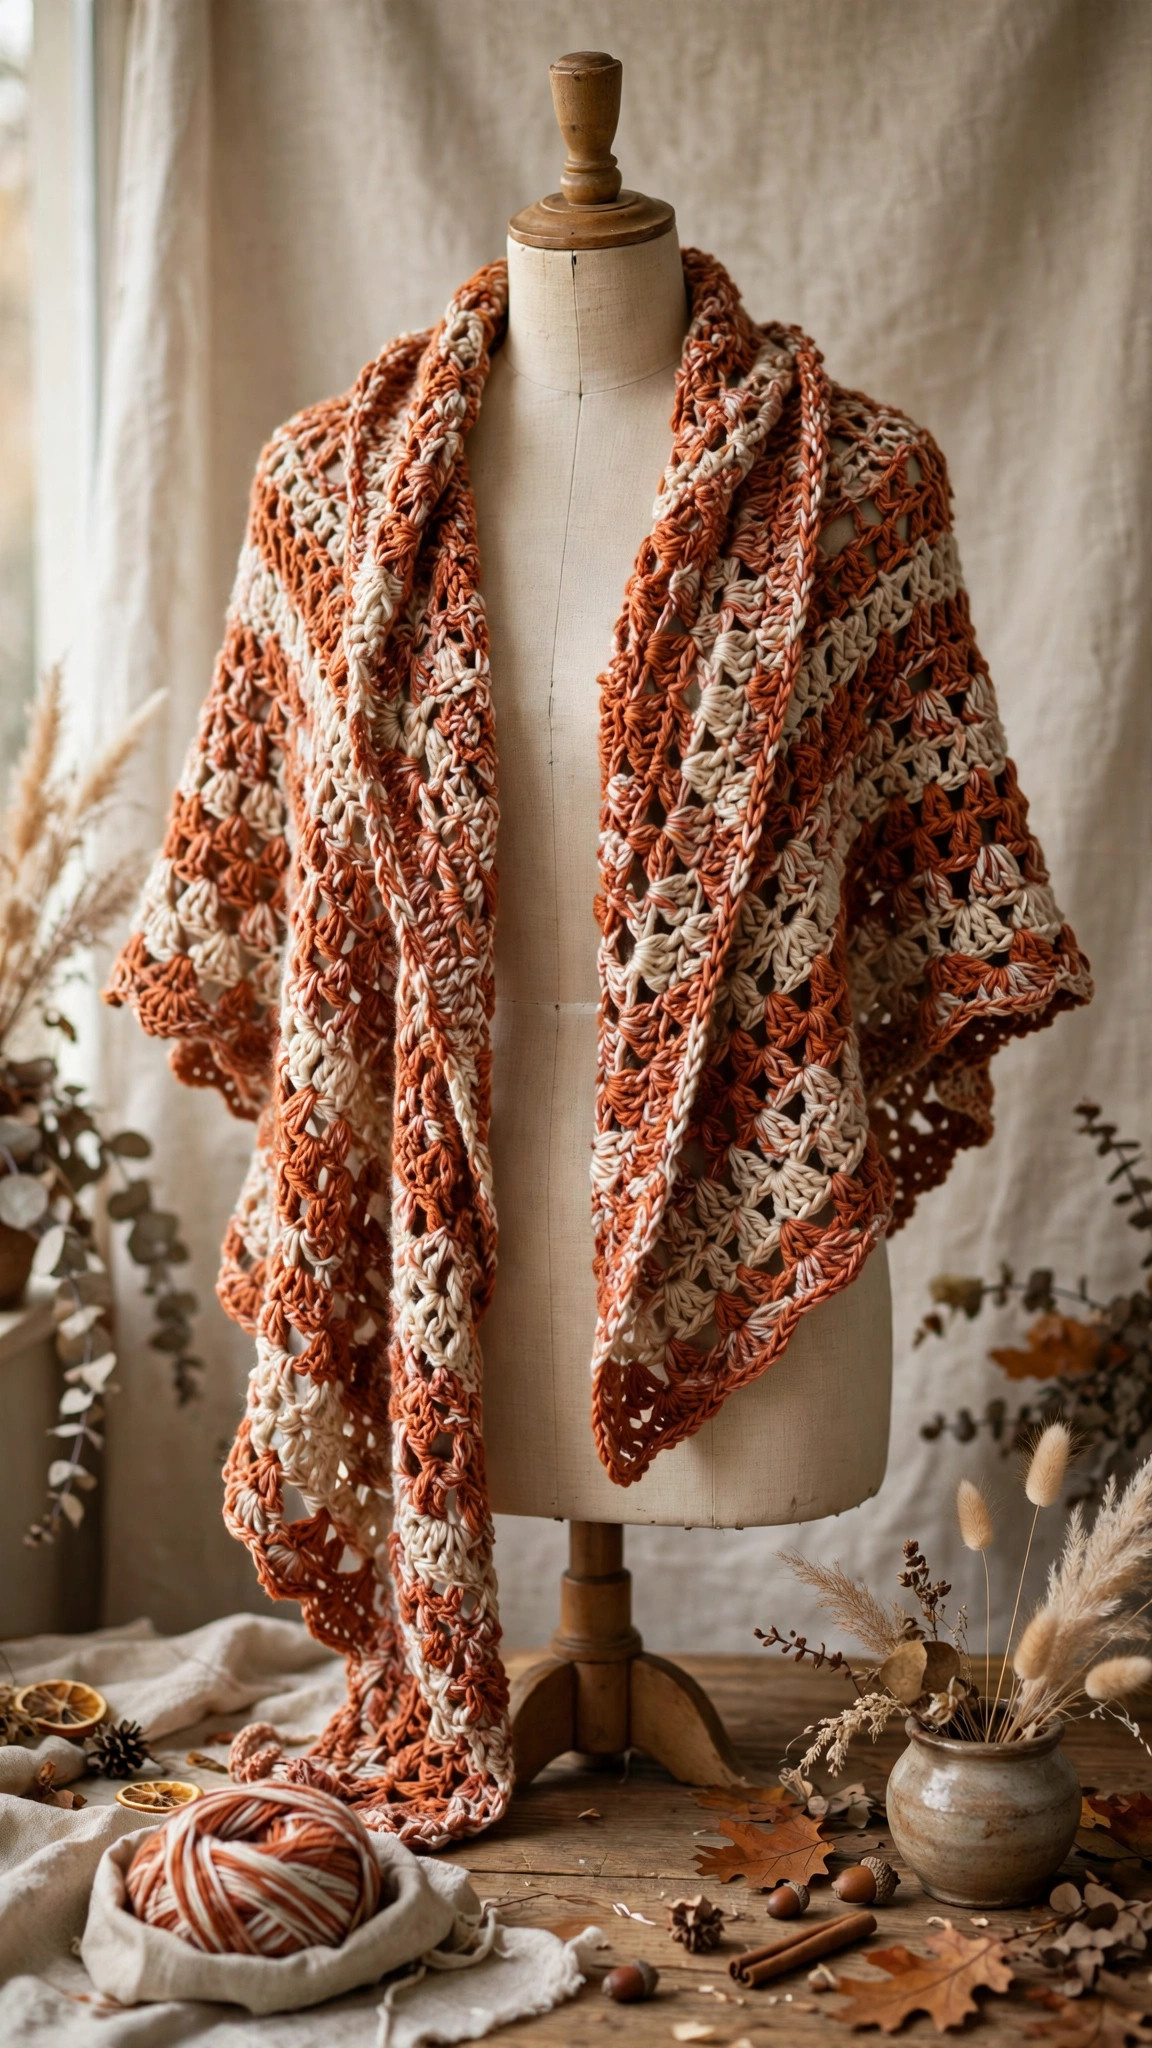
One rectangle, one little neck split, zero shaping: this easy ruana wrap is worked in a relaxing two-row repeat of solid and mesh double crochet, in four sizes with full sizing math so you can make it exactly as wide and long as you love.

Wraps · Crochet
- Finished size
- About 38 × 54 in (M)
- Making time
- About 10–12 hours
- Hook
- 6.0 mm, worsted-weight yarn
- Sizes
- S/M, M, L/XL and 2X
- Skill
- Beginner
In this post
A ruana is the hardest-working layer in a fall wardrobe — part wrap, part blanket, part cardigan — and this free crochet ruana pattern is honestly the easiest version you will ever make. No shaping, no sleeves to set in, no seaming puzzle. You crochet one large rectangle in a relaxing two-row repeat, leave a small gap at the center for the neck, and keep going to make the two front panels. That is the whole construction. Throw it over jeans, belt it over a dress, or wrap up on the couch — one rectangle, endless outfits.
Why you'll love this free crochet ruana pattern
Most garment patterns ask you to become a part-time mathematician: shaping charts, sleeve caps, four pieces that must match gauge or nothing lines up. A ruana asks for none of that. Built from a single rectangle with a front split, the fit is forgiving by design — if your gauge drifts a little, your wrap is simply a touch wider or narrower, and it will still drape beautifully. This is the perfect first "real" garment for crocheters who have mastered scarves and blankets.
The stitch pattern is the other secret. Alternating one solid row of double crochet with one open mesh row gives fabric that is warm but never bulky, with a fluid drape that moves when you walk. Mesh rows grow faster than solid fabric, and the openwork keeps the wrap light enough for spring evenings too. The repeat is just two rows — genuine TV crochet.
And a ruana is a styling chameleon: worn open it makes a plain t-shirt look intentional, belted it is polished enough for dinner, and cross-wrapped with a pin it reads almost like a poncho. One make, three looks.
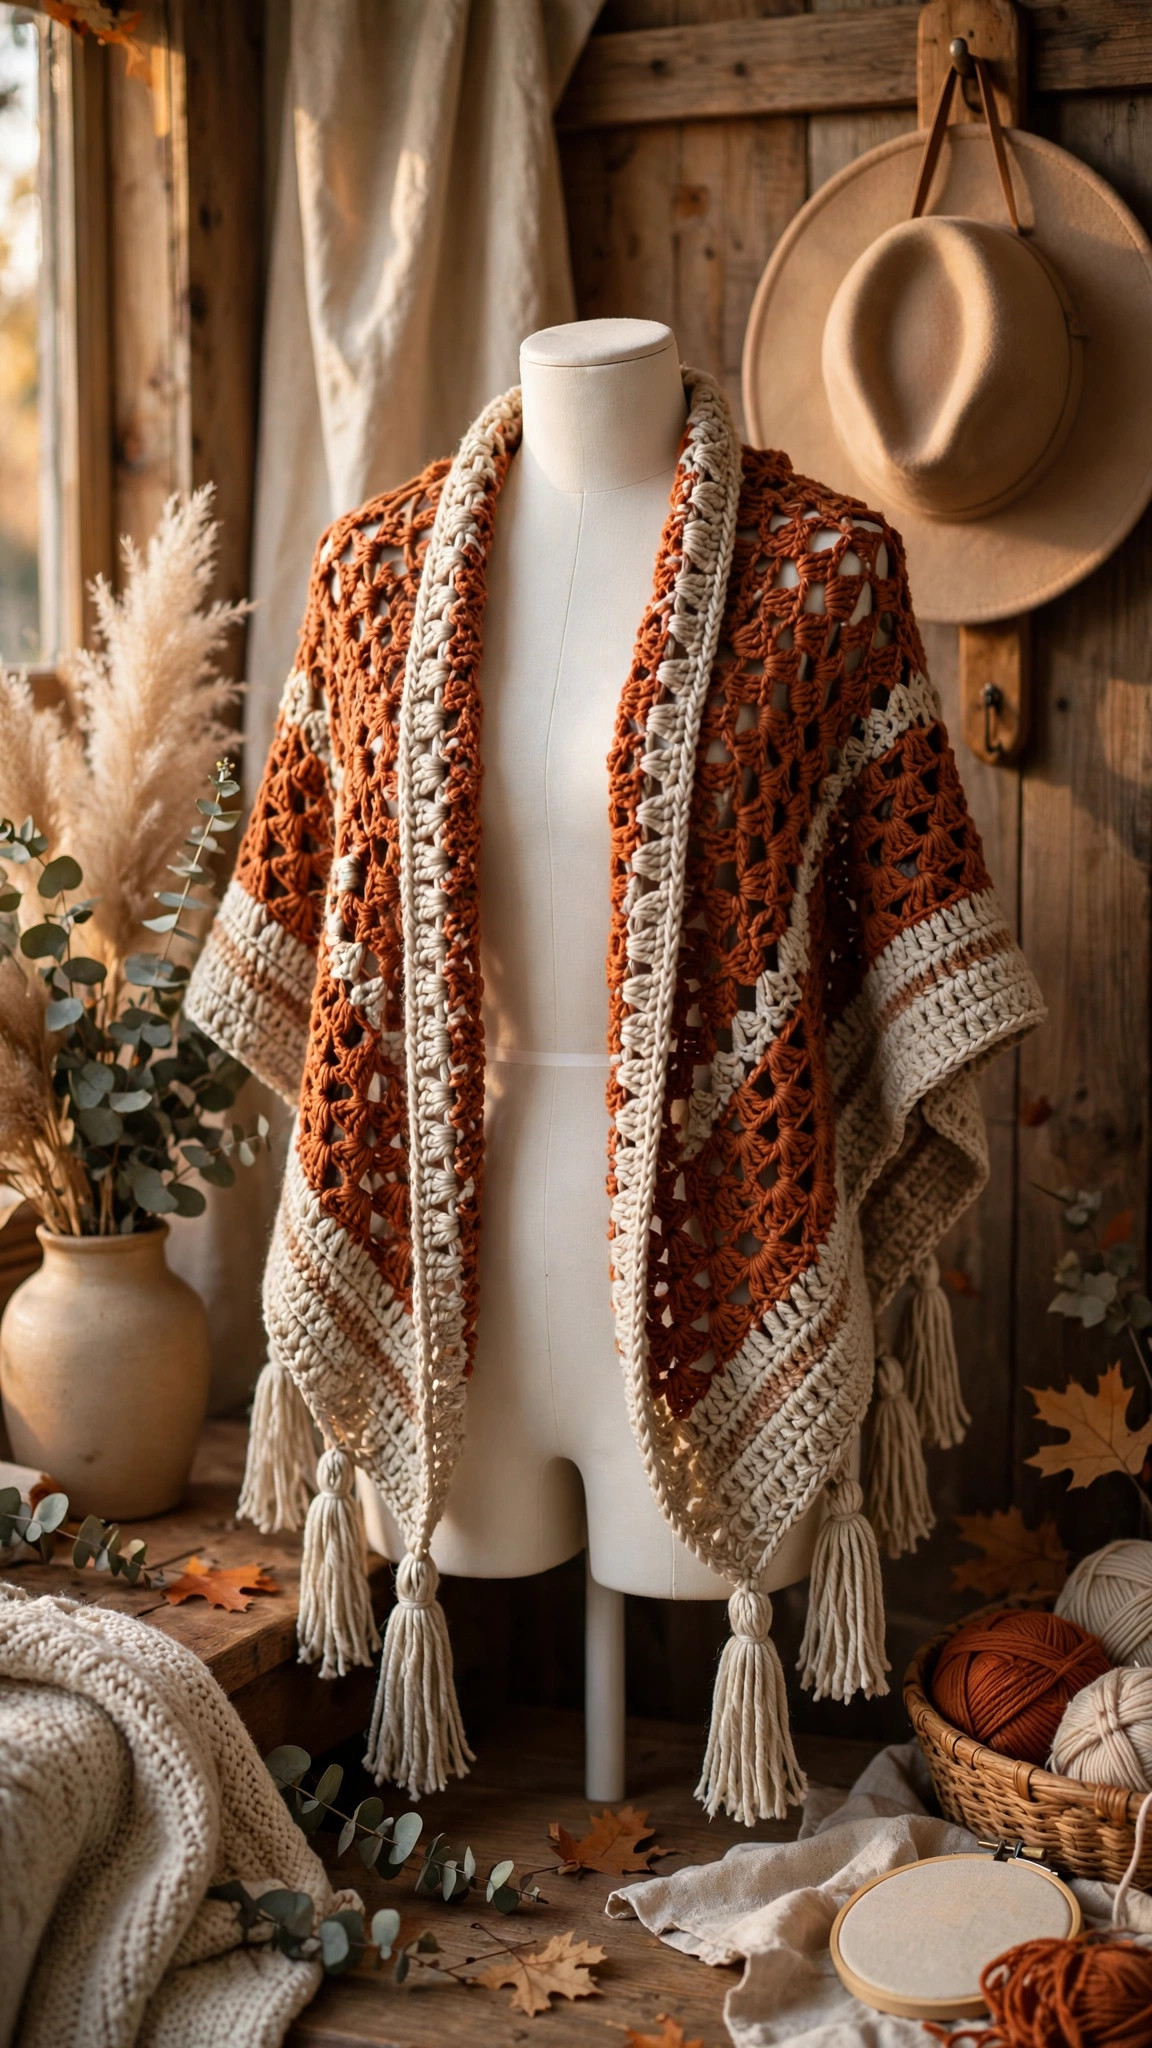
Materials you'll need
| Supply | What to get |
|---|---|
| Main yarn | Worsted-weight (#4) acrylic or wool blend, about 1,200 yd (1,100 m) for size M — roughly 6 balls of 200 yd |
| Crochet hook | 6.0 mm (J-10) |
| Notions | Tapestry needle for weaving in ends |
| Measuring tape | For checking width and lengths as you go |
| Stitch markers | 2, to mark the neck split |
| Scissors | For fringe, if you add it |
| Optional | Thin belt or shawl pin, blocking mats and pins |
A quick note on yarn choice: drape is everything, so pick a yarn with softness and movement. Wool and wool blends are classic and block beautifully; soft acrylic works well and is easier to wash. Avoid stiff, ropey cotton — it stands away from the body instead of flowing. Self-striping yarns look stunning because the long rows show off the color changes, but a solid shows the stitch texture best. Buy all your yarn from the same dye lot: a ruana is one big uninterrupted field of fabric, and a dye shift halfway through will show forever.
If wearable layers are your thing, the crochet shawl is a smaller project in the same spirit, and the crochet cardigan sweater is the natural next step when you are ready for sleeves.
Size, gauge and skill level
- Finished size (size M, as written): about 38 in (97 cm) wide and 54 in (137 cm) total length — back panel 28 in (71 cm), each front 26 in (66 cm), with a 4 in (10 cm) neck opening at the center split.
- Sizes included: S/M, M (as written), L/XL and 2X — see the sizing table below.
- Gauge: 13 stitches and 8 rows = 4 in (10 cm) in pattern (alternating one solid double crochet row and one mesh row), blocked. Swatch at least 20 stitches and 12 rows; a ruana is forgiving, but a very different gauge changes your yarn needs and finished size.
- Skill level: confident beginner. You should know how to chain, double crochet, and count stitches. The mesh row is just double crochet plus chains — if you can make a beginner scarf, you can make this.
How the sizing works
One rectangle, so sizing is simple. Width is set by your starting chain — wider means more shoulder coverage and a cozier wrap. Length is set by the rows before and after the neck split. The neck opening stays the same (12 stitches, about 4 in) for every size, because necks do not grow at the same rate as busts.
| Size | Width | Starting chain | Stitches per row | Each front panel | Approx. yarn |
|---|---|---|---|---|---|
| S/M | 34 in (86 cm) | ch 110 | 108 sts | 48 sts | 1,050 yd |
| M | 38 in (97 cm) | ch 126 | 124 sts | 56 sts | 1,200 yd |
| L/XL | 42 in (107 cm) | ch 142 | 140 sts | 64 sts | 1,400 yd |
| 2X | 46 in (117 cm) | ch 154 | 152 sts | 70 sts | 1,600 yd |
Work the back to 28 in (71 cm) for all sizes — longer if you are tall, shorter for a cropped look. Work each front to 26 in (66 cm), or the back length minus 2 in. Custom math: every 4 in of width is about 13 stitches, and every 2 rows add about 1 in of length. Keep the stitch count even, and the neck gap at 12 center stitches — front panel stitches = (total stitches − 12) ÷ 2.
Choosing your size: measure a favorite oversized cardigan laid flat, shoulder to shoulder, and pick the closest width. When in doubt, size up — a generous ruana feels luxurious; a skimpy one looks like a mistake.
Abbreviations — US terms
| Abbreviation | Meaning |
|---|---|
| ch | chain |
| dc | double crochet |
| sk | skip |
| st(s) | stitch(es) |
| rep | repeat |
| RS | right side |
| WS | wrong side |
The two-row repeat, in plain words: the solid row is one double crochet in every stitch and chain space across. The mesh row is double crochet, chain one, skip one — repeated — stacking little open windows above the solid row below. Two rows, over and over: the entire stitch pattern, and the source of this wrap's swing and drape.
The pattern (US terms)
Written for size M (124 stitches). For other sizes, use the starting chain and panel counts from the sizing table — everything else works the same. Stitch counts are in parentheses. Count at the end of each solid row; solid rows are easiest to verify, and catching a drift early keeps edges straight.
Getting started — the foundation and first rows
- Foundation: ch 126.
- Row 1 (solid, RS): dc in 4th ch from hook (the skipped chains count as the first dc) and in each ch across. (124 dc)
- Row 2 (mesh): ch 3 (counts as dc), turn, dc in next st, [ch 1, sk 1 st, dc in next st] rep across to the last 2 sts, dc in last st, dc in top of turning ch. (124 sts, counting each dc and ch-1 space as one stitch position)
- Row 3 (solid): ch 3, turn, dc in each st and each ch-1 space across, ending with dc in top of turning ch. (124 dc)
- Rows 4 onward: repeat Rows 2 and 3 — mesh row, solid row — keeping the rhythm going.
Edge tip: those paired double crochets at the start and end of the mesh row are deliberate. They give firm, tidy selvedges that will not curl or stretch, and frame the openwork so the wrap looks finished without any border. Do not "simplify" them into the mesh pattern, or your front edges will go wavy.
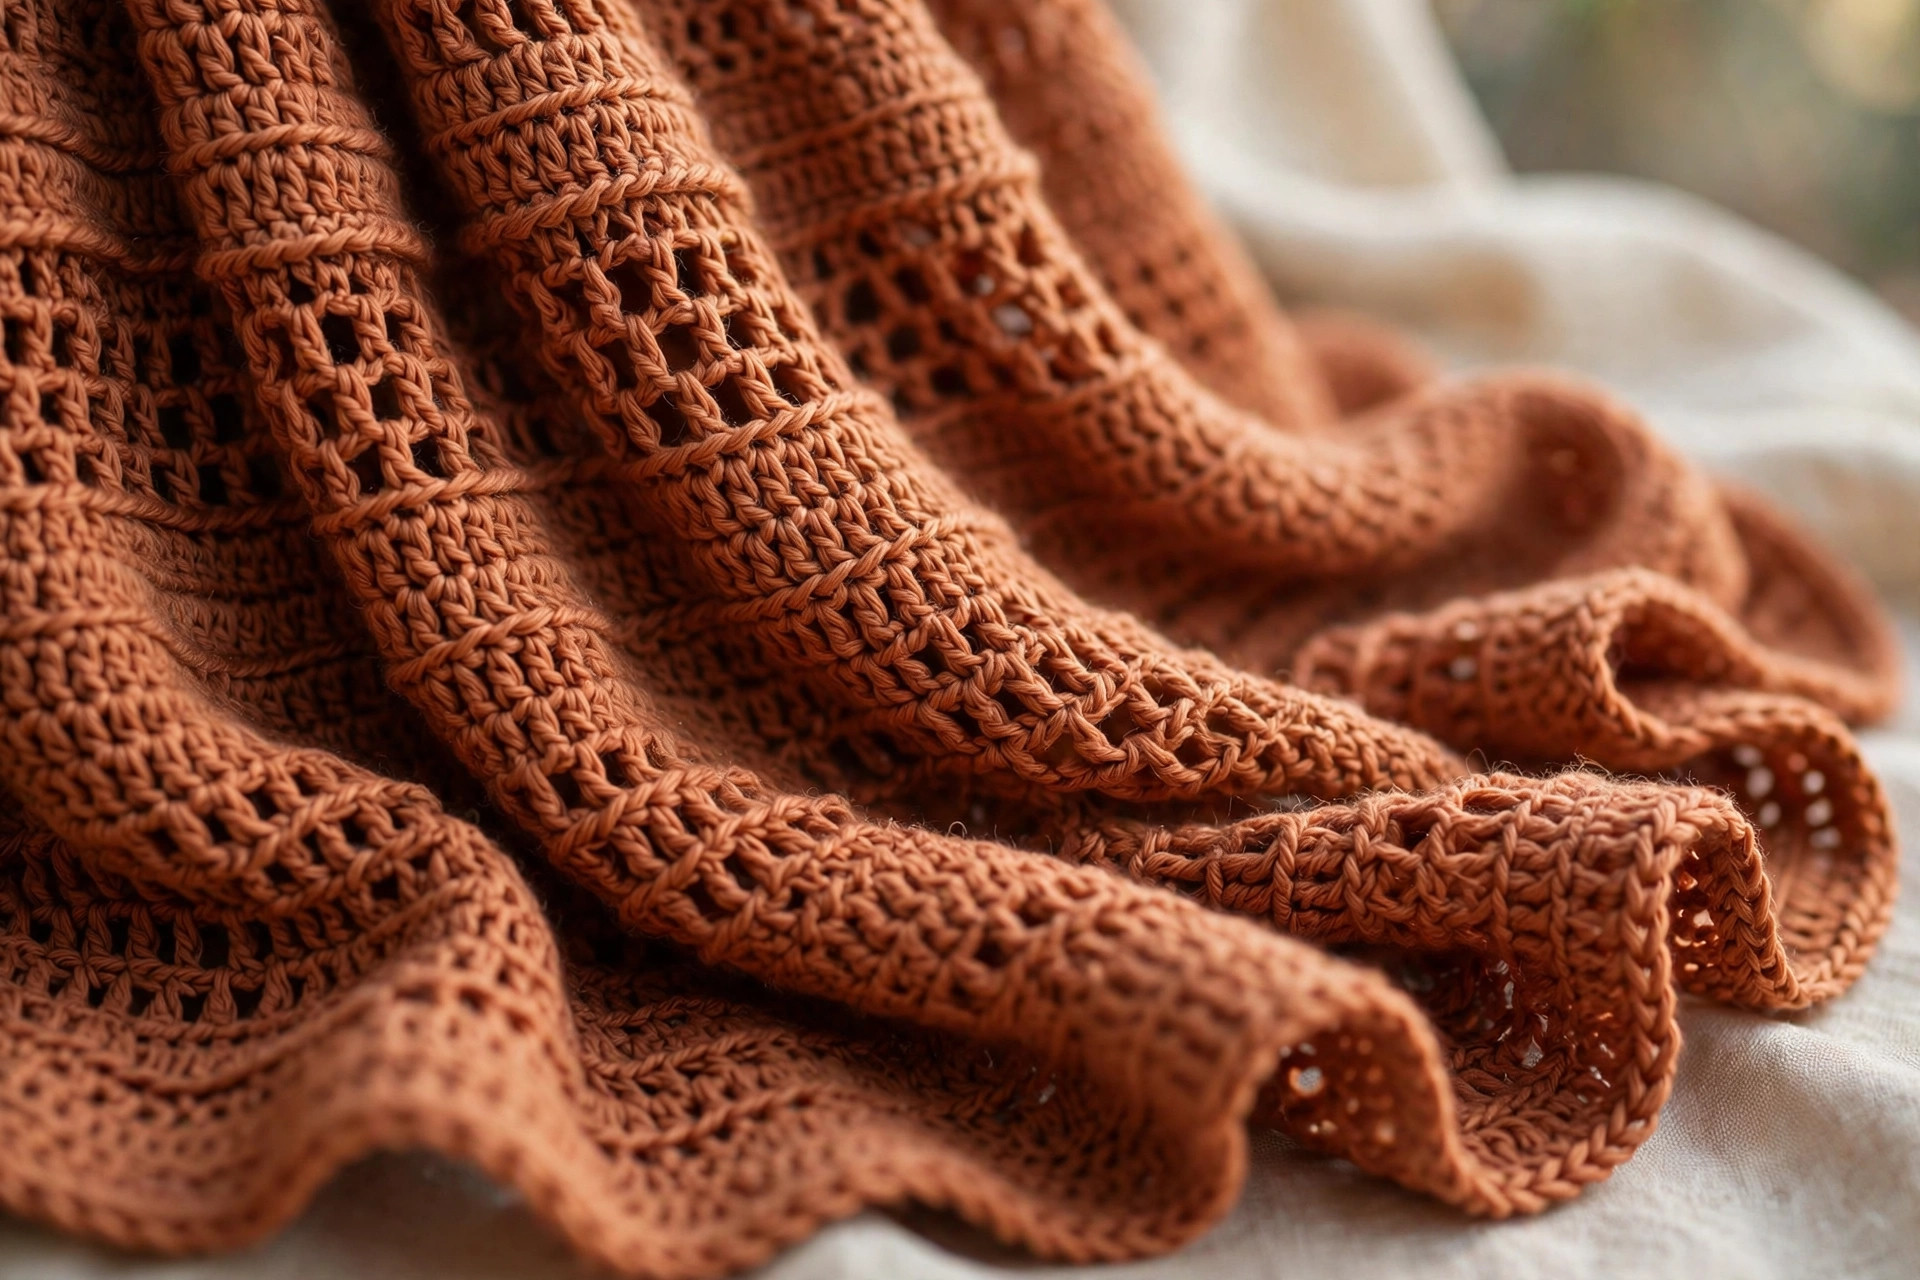
The back section
Continue repeating Rows 2 and 3 until the piece measures 28 in (71 cm) from the foundation edge, ending with a solid row. At gauge that is about 56 rows, but measure rather than count — your hands, yarn and hook are the real gauge. This section becomes the back and shoulder tops, so drape it over your shoulders in a mirror: the bottom edge should land around mid-thigh. Happy? Mark this row — the clever bit happens here.
The neck split — forming the two front panels
The only "technique" moment in the pattern, and it is genuinely simple. Instead of working across the whole row, work the first 56 stitches, stop, and turn — leaving the center 12 stitches and the remaining 56 untouched for now. The gap becomes the neck opening; the part you keep working becomes the first front panel.
- Next row (following the repeat): work in pattern across the first 56 sts only. Place a marker in the 57th stitch so you can find the split point later. Ch 3, turn, leaving the remaining 68 sts unworked.
- Continue in the two-row repeat over these 56 sts only. On mesh rows: ch 3, dc in next st, [ch 1, sk 1, dc in next st] rep to the last 2 sts, dc in last 2 sts. On solid rows, dc in every st and ch-1 space. (56 sts per row)
- Work until this panel measures 26 in (66 cm) from the split row, ending with a solid row. Fasten off and weave in the end.
The second front panel
- Rejoin yarn with a slip stitch in the first unworked stitch on the other side of the neck gap — skip the 12 center stitches (they form the back of the neck and stay open) and attach at stitch 69 of the original row, counting from the same edge where you began the first panel.
- Work in pattern across the remaining 56 sts, matching the row type to the established repeat so mesh and solid rows line up across both panels. (56 sts)
- Work until the second panel also measures 26 in (66 cm) from the split row, ending with a solid row. Fasten off.
Hold the piece up: one long rectangle with a slit from the center to one end. The un-split end is the back, the slit is the front opening, the panels hang either side of the neck gap. If one-piece wearable designs delight you, the circle vest plays a similar trick in a different shape.
Optional edging
The pattern is complete as written, but a simple edging polishes the fronts. With the right side facing, join yarn at one bottom front corner and work one round of single crochet evenly around the whole piece — up one front, around the neck, down the other front, along the hems — placing 2 single crochets in each row-end and 3 in each corner. Skip it if you prefer the soft, raw drape; both look great.
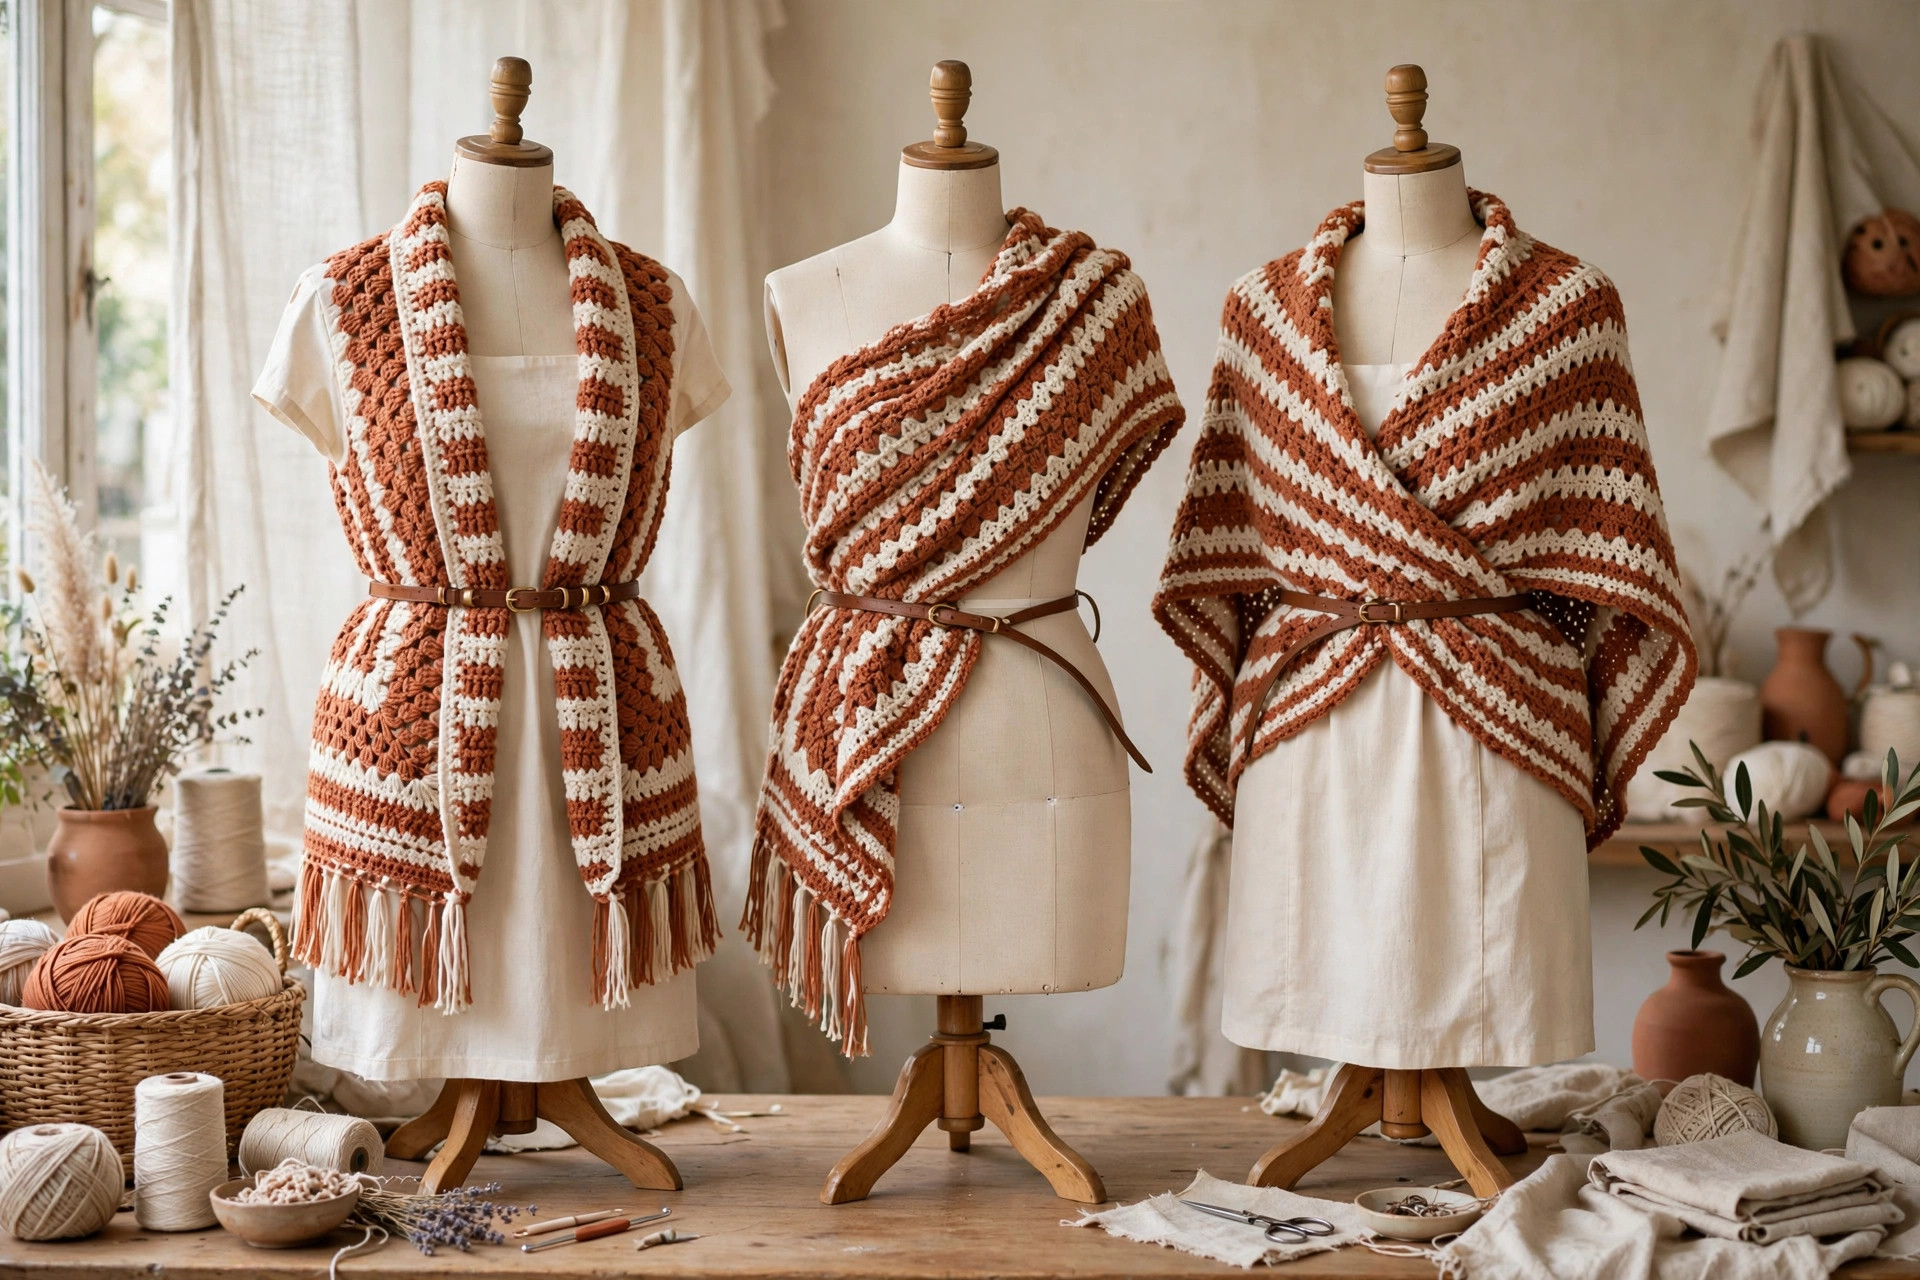
Finishing touches
Weave in your ends properly. There are very few — the start, the split, the panel join, the fasten-offs. Weave each tail in three directions so it cannot work loose; a garment pulled on and off over shoulders finds every loose end eventually.
Block it — yes, really. Blocking turns this from a nice rectangle into a garment with professional drape. Lay the ruana flat in a true rectangle with the neck gap centered, pin the edges straight, and steam it (acrylic) or wet-block it (wool). Let it dry completely. The mesh rows open evenly, the edges stop curling, and the wrap gains that fluid, swinging fall in the photos. Blocking is the picture's secret — do not skip it.
Add fringe, if you like. Fringe along the short ends (back hem and front hems) gives a boho finish. Cut strands about 14 in (36 cm) long, fold three in half, pull the loop through an edge stitch, and pull the tails through to knot. Space a bundle every inch or so, then trim level. Fringe adds about 80–100 yards to your yarn needs, so plan ahead.
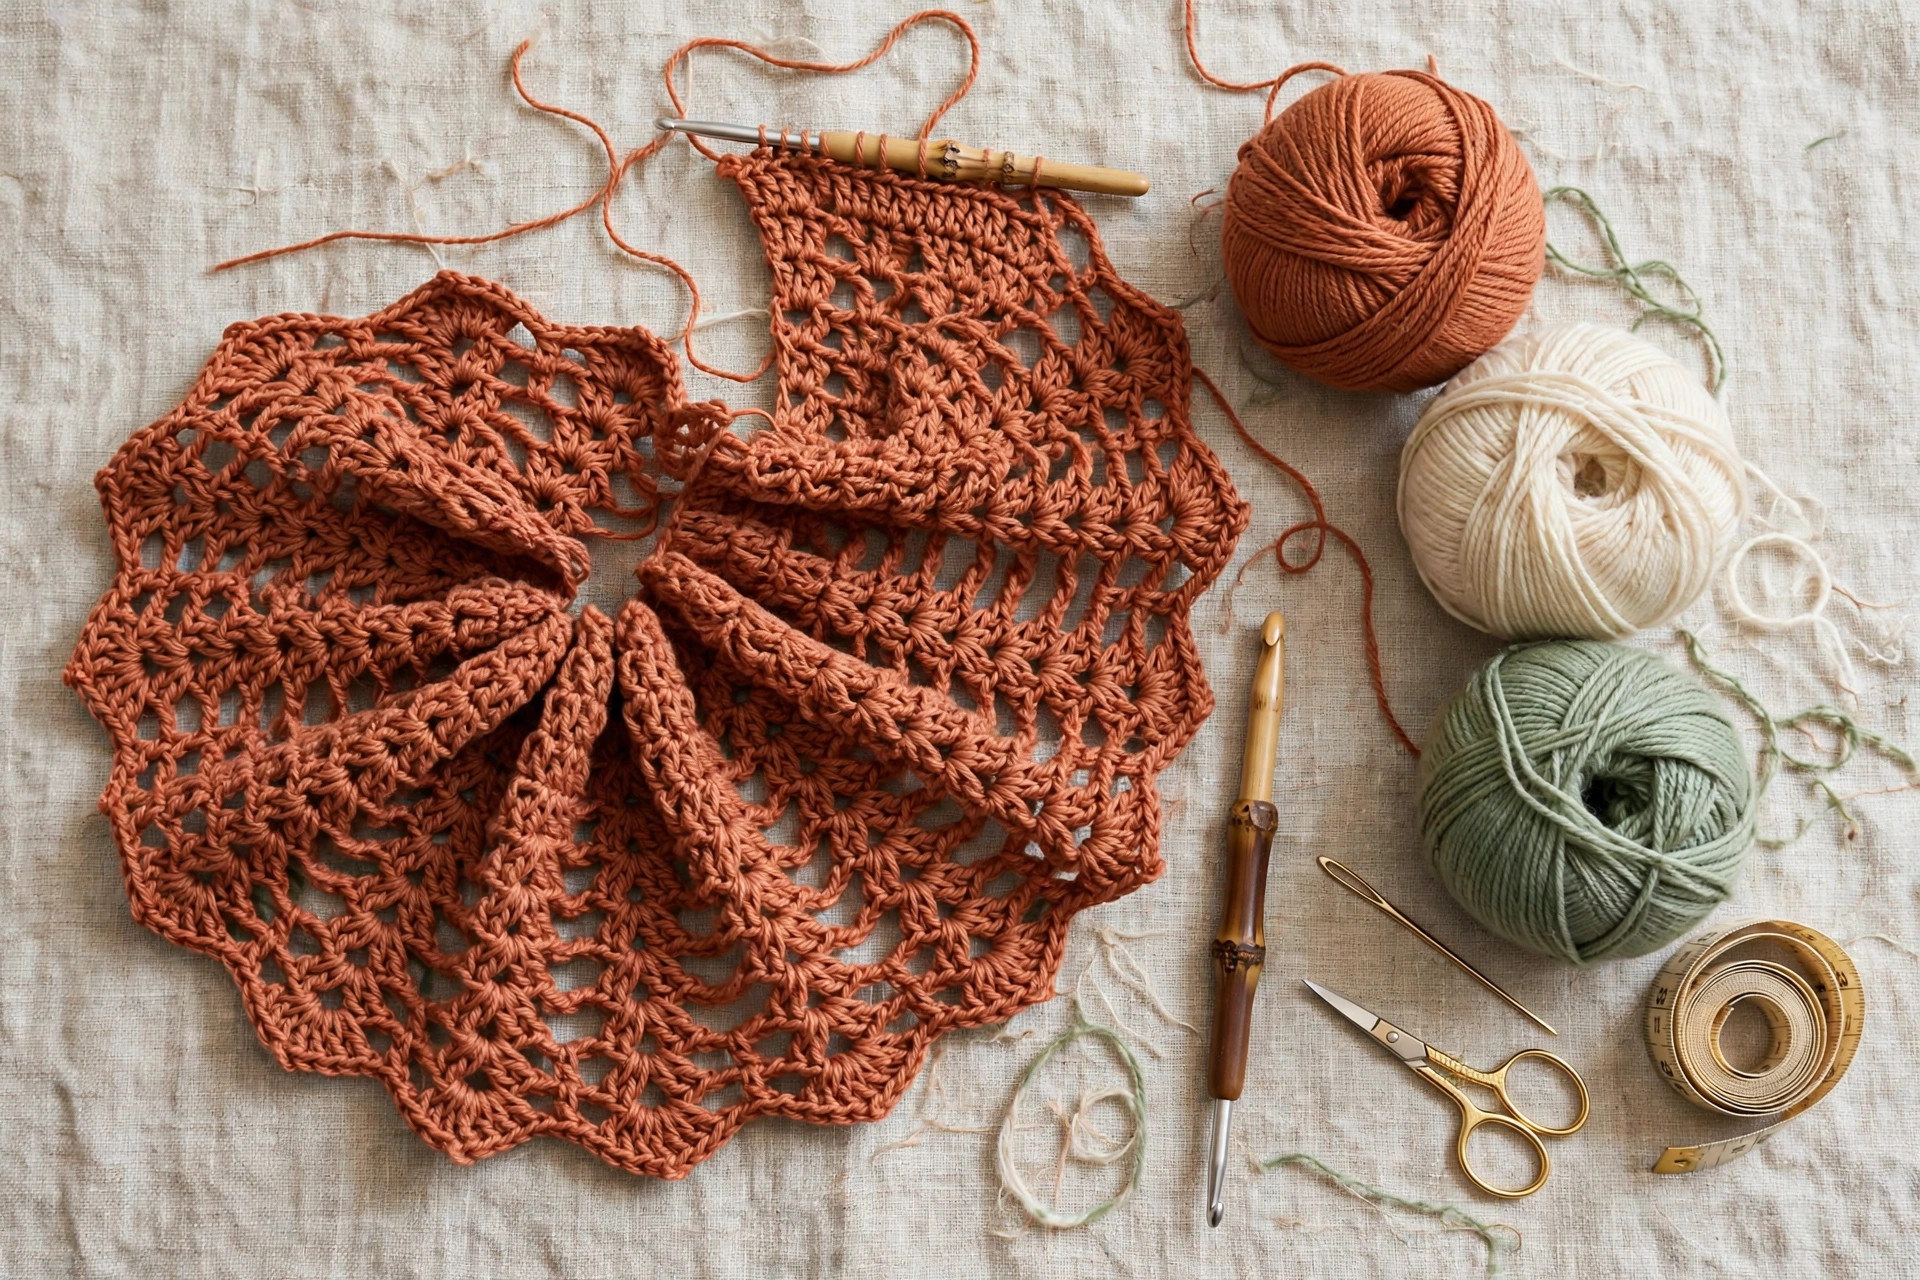
Five ways to style and vary your ruana
- The classic open drape. Loose over a long-sleeved tee and jeans, panels hanging free. The everyday version — cozy, effortless, and the openwork keeps it from swallowing your shape.
- Belted and polished. A thin leather belt at the natural waist, over the front panels but under the back. Instantly structured — the fastest route from couch to dinner. A pocket scarf in matching yarn makes a sweet coordinated gift set.
- The cross-wrap. Cross the right panel to your left shoulder and pin with a shawl pin, then the left. A snug, poncho-like topper that stays put on windy days.
- Color-blocked panels. Work the back in one color, then switch at the split so each front is a second shade. The construction lands the change in exactly the right place — it looks like a deliberate designer detail.
- The long duster. Extend the back to 34 in and the fronts to 32 in for a dramatic, calf-skimming version (add about 250 yards). Worn open over all black, this is the one that gets you asked where you bought it.
Troubleshooting tips
- Your edges are wavy or the rectangle keeps getting wider. You are adding a stitch on solid rows — usually by working into the turning chain space as well as the chain itself. Count at the end of every solid row until the count holds steady: on solid rows you work into stitches and chain-1 spaces, never the turning chain's space.
- The two front panels are different lengths. Count rows, not just measurements — stretched fabric lies. Lay both panels flat, un-stretched, and count mesh rows from the split. If one is short, work or rejoin and add the missing rows.
- The neck opening feels wrong. The 12-stitch gap suits most adults, but necks vary. Cozier: reduce the gap to 8 stitches and add 2 back to each panel. Wider: increase the gap to 16 and subtract 2 from each panel. Decide before you split, not after.
- Your mesh rows look uneven. Mesh is honest fabric — tension differences show, and chain-1 spaces grow when you are tired or watching something exciting. Blocking evens out most of it, so do not frog an evening's work over wobbly windows until you have seen it blocked.
- The wrap keeps sliding off your shoulders. Usually a fiber issue: slippery yarns like bamboo and superwash wool slide on smooth tops. Wear it over textured fabrics, add the belt, or cross-wrap with a pin. A small snap at the chest point of each front edge also works and is invisible worn open.
- You are running low on yarn. Shorten the fronts first — 22 in fronts still look intentional, while a shortened back reads as a mistake. Or finish in a contrasting yarn and call it color-blocking.
Frequently asked questions
Is this crochet ruana pattern really free?
Yes — the complete pattern is written out in full above, with every size, stitch count and finishing step. No signup, no purchase, nothing held back. Saving it on Pinterest or sharing it with your crochet group is the loveliest way to say thanks.
How long does it take to make a ruana?
About 10–12 hours over a week or two of evenings. The back is the long, meditative stretch (roughly 6 hours); each front takes about 2.5–3 hours. The second panel goes faster — your hands learn the two-row rhythm quickly.
What is the best yarn for a crochet ruana?
A worsted-weight yarn with drape: wool, wool blends, or a soft premium acrylic. The key quality is fluidity — hold a few yards loosely in your hand; if it kinks and stands up, it will not drape. You will need about 1,050–1,600 yards depending on size; check the sizing table.
Can a beginner really make this?
Yes — one of the best first garments that exists. No shaping, no increasing or decreasing, no sewing, and the only stitches are chains and double crochets. If you have made a scarf and can count stitches, you have every skill required. The neck split sounds fancy but is literally just "stop halfway across the row and turn."
How do I wash my finished ruana?
Follow your yarn label first. Wash gently and lay flat to dry, reshaping the rectangle — never hang a wet ruana, because the water's weight stretches the openwork. Wool appreciates a wool wash; acrylic can usually take a gentle machine cycle but prefers flat drying.
Can I sell ruanas made from this pattern?
Yes! You may sell finished ruanas in small batches — craft fairs, online shops, gifts that turn into orders. Please credit Little Loop Finds as the designer with a link back to this page. The pattern text and photos may not be copied, redistributed or sold.
My gauge is different — can I still follow the pattern?
Absolutely. Swatch, measure your stitches per 4 inches, and set your chain count to (desired width in inches ÷ 4) × your stitches-per-4-inches, rounded to an even number, plus 2 chains. Keep the neck gap at roughly 4 inches of stitches and split the rest evenly. Row counts simply become "work until it measures."
More free patterns to try
Keep the momentum going: the crochet shawl is this ruana's lighter spring cousin, the crochet cardigan sweater adds sleeves when you are ready, the circle vest is another clever one-piece construction, and a crochet hat in leftover yarn completes the outfit.
The box below contains an Etsy link. If you buy through it, we may earn a small commission at no extra cost to you. Learn more.
No time to make one?
Short on time? Find handmade crochet ruana wraps from independent makers on Etsy.
Browse on Etsy (opens Etsy in a new tab)