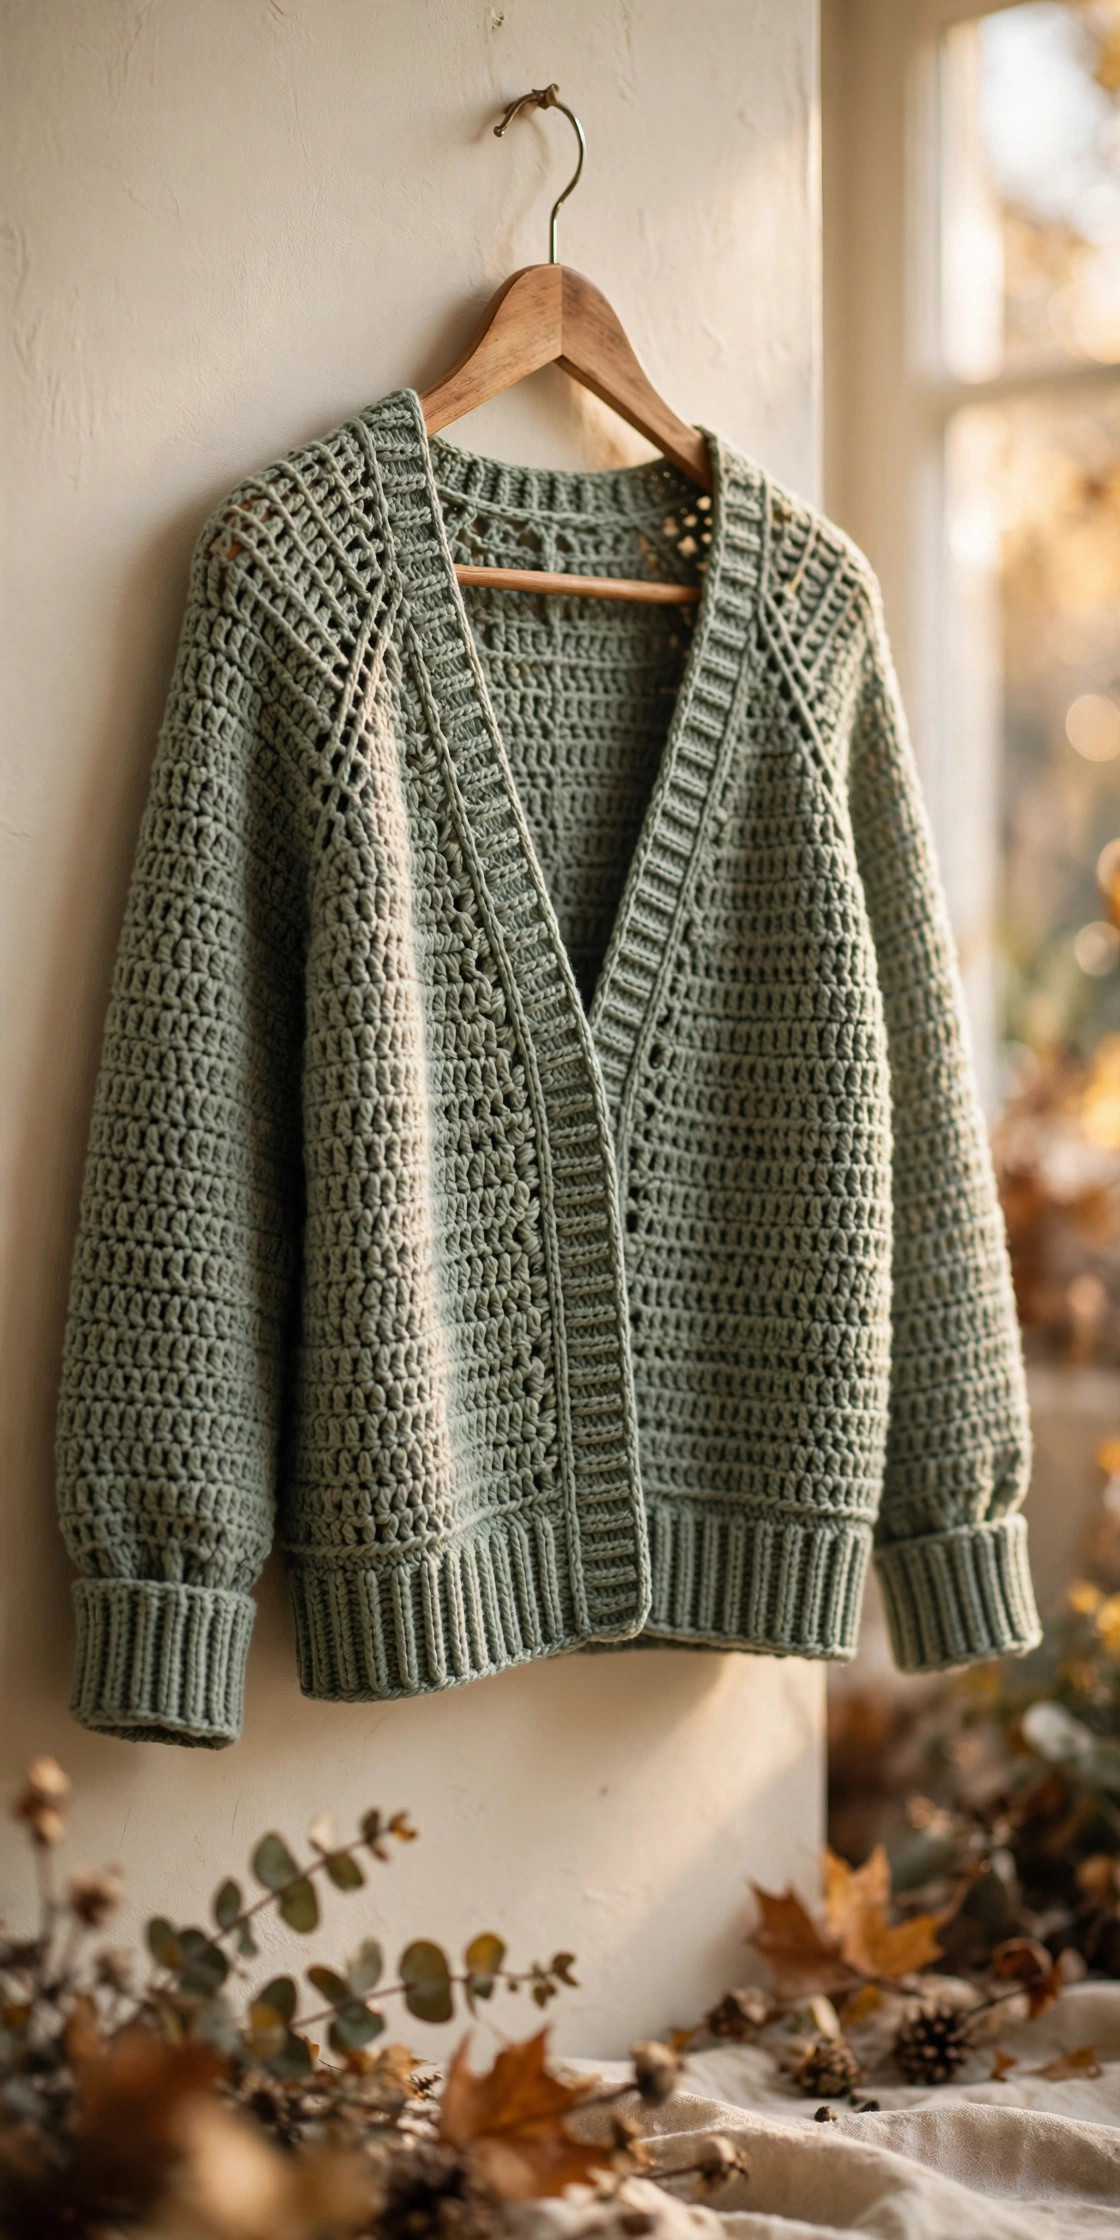
Crochet cardigan sweater pattern: cozy top-down raglan
A cozy top-down raglan cardigan you crochet in one piece from the neckline down — no seaming, ever. Simple half double crochet, verified stitch counts for sizes S through XL, and raglan increase lines that form themselves as you work.

Garments · Crochet
- Finished size
- S–XL, 98–128 cm / 38.5–50.5 in bust
- Making time
- About 12–16 hours
- Hook
- 5.5 mm, worsted-weight yarn
- Construction
- Top-down raglan, zero seaming
- Skill
- Intermediate
In this post
If you've been hunting for a crochet cardigan sweater pattern that's genuinely free, sized for real bodies, and doesn't require sewing a single seam — pull up a chair. This top-down raglan cardigan is worked in one piece from the neckline down, so you try it on as you go and there is zero guesswork about fit. The stitch work is nothing but half double crochet with simple chain-space raglan increases, which means the fabric grows fast and the texture stays soft and drapey, exactly what you want in a sweater you'll actually live in.
Why you'll love this crochet cardigan sweater pattern
Most free cardigan patterns fail in one of two ways: they're sized for one mythical body, or they hand you a vague "work until it looks right" and leave you to do the math. This pattern was built the other way around. Every size has its own foundation count, its own increase-row count, and its own final stitch totals — I worked the arithmetic for all four sizes so you never have to wonder whether you're on track. The stitch count in parentheses at the end of key rows is your built-in checkpoint: count once per milestone and the cardigan practically fits itself.
The top-down raglan construction is the real star here. Because you start at the neck and work down, the raglan "seam" lines — those pretty diagonal increase lines running from neck to underarm — form automatically, and you can try the yoke on after a few rows to confirm the depth before you commit. Body too long? Work more rows. Sleeves too wide? Add an extra decrease round. Garment crochet is forgiving when you build the checkpoints in, and this pattern has them everywhere.
It's also a budget-friendly make: one yarn, one hook, five buttons. Worsted-weight acrylic keeps costs low and care easy — machine wash, machine dry, a cardigan you can actually wear. And once the yoke is done, the body is pure meditative half double crochet: the perfect TV project.
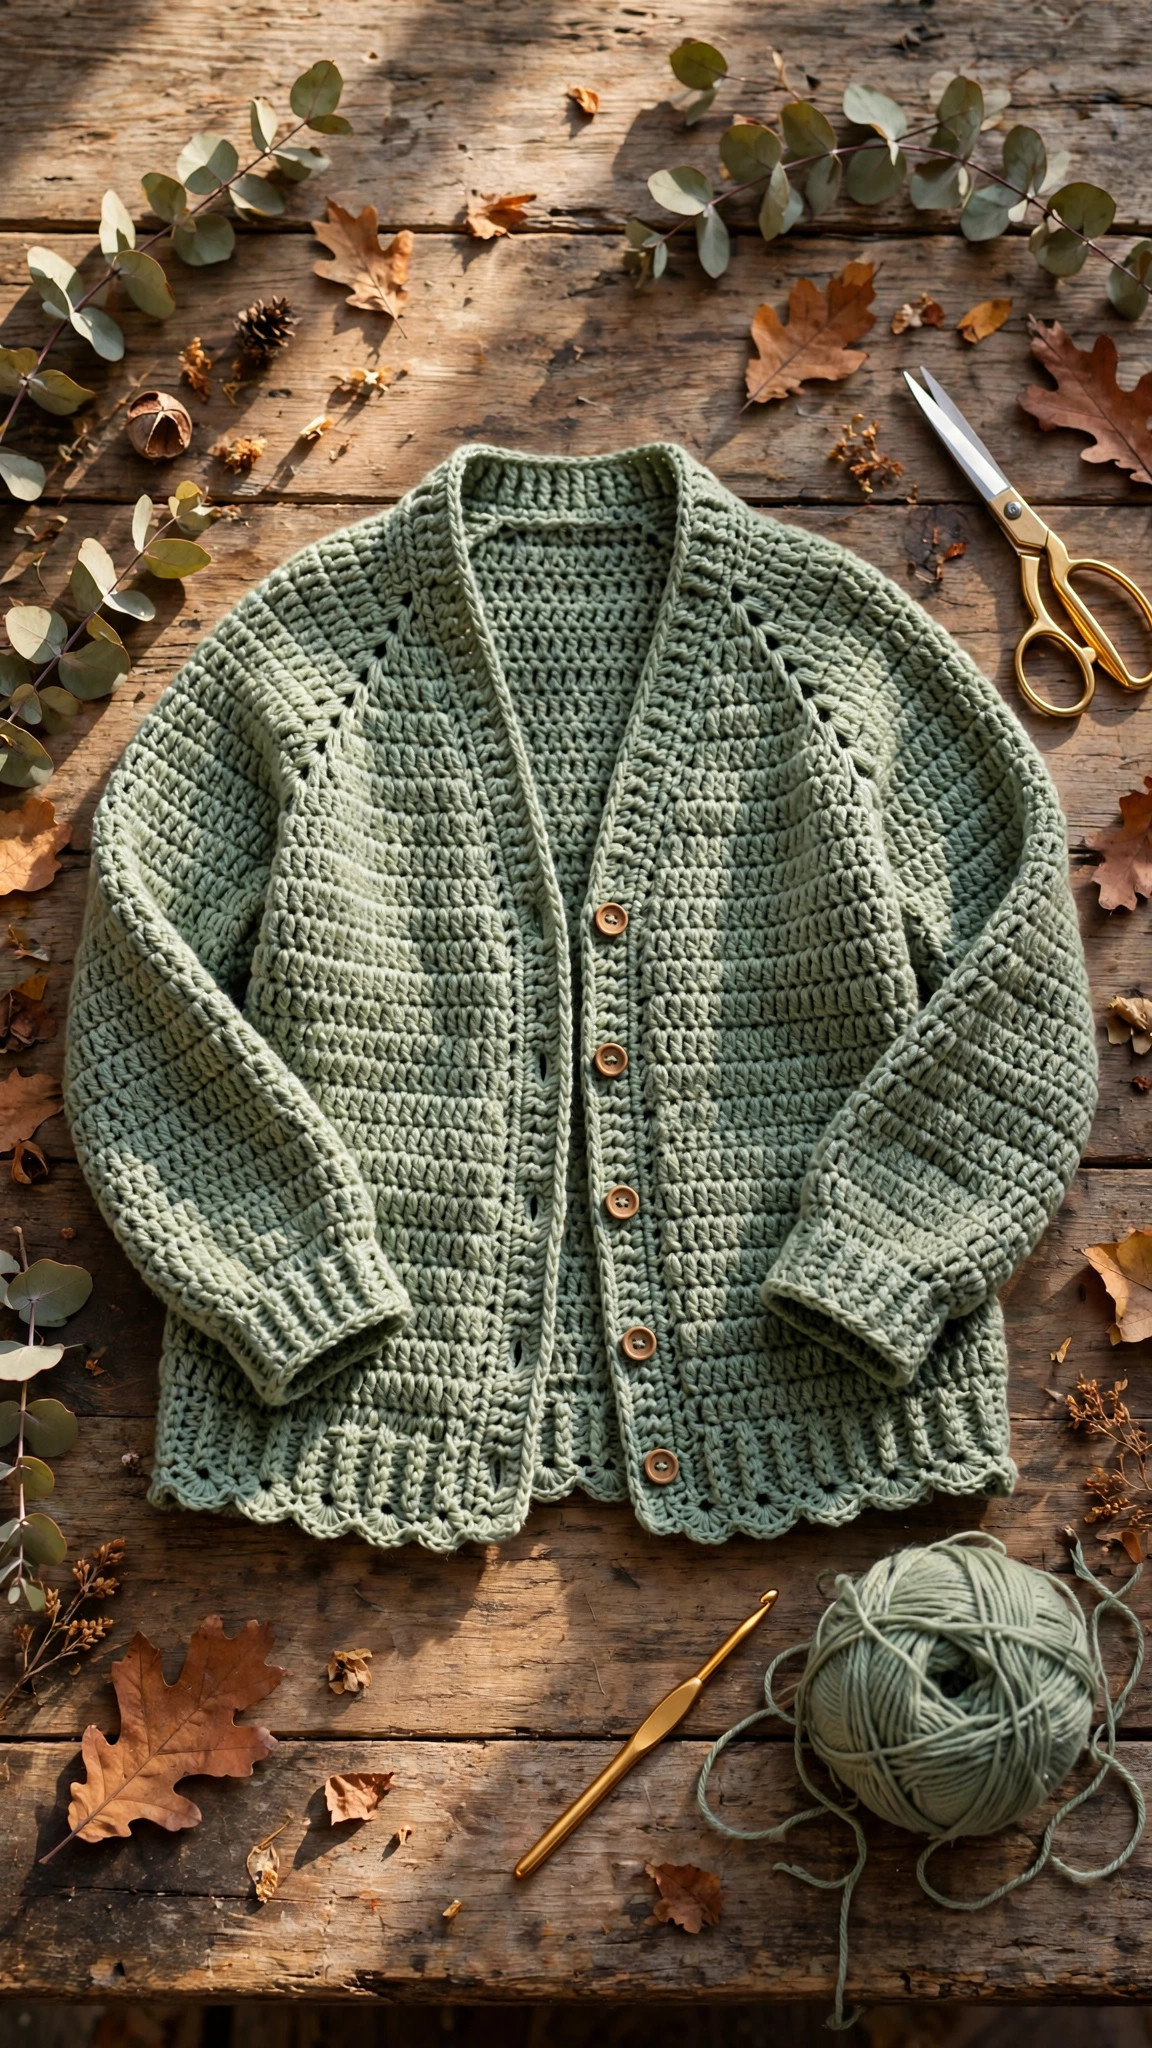
Your pattern card
Everything below is the complete pattern — screenshot it, print it, or follow along right here. Sizes are written as S (M, L, XL) throughout; read only your size's number and ignore the rest.
Materials
| Supply | What to get |
|---|---|
| Yarn | Worsted-weight (#4) acrylic or acrylic-blend, approx. 1,100 (1,250, 1,400, 1,550) yd / 1,005 (1,145, 1,280, 1,415) m — roughly 5 (6, 7, 7) skeins of 220 yd |
| Hook | 5.5 mm (I-9) for the body; 5.0 mm (H-8) optional for cuffs and hem |
| Buttons | 5 × 25 mm (1 in) wooden or coconut buttons |
| Notions | 4 stitch markers, tapestry needle, scissors, tape measure |
A quick note on yarn choice: a smooth worsted acrylic (think the classic big-box workhorse yarns) gives the cleanest stitch definition and the easiest care. Wool blends are warmer and drape beautifully but cost more and usually need hand washing — your call. Avoid fuzzy or novelty yarns for your first cardigan; you need to see your stitches to count the raglan increases.
Size & Gauge
| Size | To fit bust | Finished bust (approx.) | Yoke depth |
|---|---|---|---|
| S | 86–91 cm (34–36 in) | 98 cm (38.5 in) | 19 cm (7.5 in) |
| M | 97–102 cm (38–40 in) | 106 cm (41.75 in) | 20 cm (8 in) |
| L | 107–112 cm (42–44 in) | 117 cm (46 in) | 21 cm (8.25 in) |
| XL | 117–122 cm (46–48 in) | 128 cm (50.5 in) | 22 cm (8.75 in) |
- Gauge: 13 hdc × 11 rows = 10 cm (4 in) with a 5.5 mm hook, unblocked. Take five minutes to swatch — in a garment, half a stitch per 10 cm is the difference between a perfect fit and a cardigan that swims on you. If your swatch has fewer than 13 stitches per 10 cm, go down a hook size; more than 13, go up.
- Skill level: advanced beginner. You should be comfortable with chains, half double crochet, working in rows, and counting stitches. The only "new" technique is the chain-2 raglan corner, and it's explained step by step below. If you've finished a beginner-friendly project or two, you're ready.
Abbreviations — US terms
| Abbreviation | Meaning |
|---|---|
| ch | chain |
| hdc | half double crochet |
| hdc2tog | half double crochet 2 together (decrease) |
| sc | single crochet |
| BLO | back loop only |
| st(s) | stitch(es) |
| pm | place marker |
| RS / WS | right side / wrong side |
Reading the pattern: numbers in parentheses at the end of a row are the stitch count for S (M, L, XL). The ch-2 corner spaces count as stitches when you work into them on the following row — the pattern accounts for this, so trust the counts.
The Pattern
Work in turned rows throughout (turn at the end of every row) — this keeps the front edges straight and gives the fabric a tidy, woven look. The turning chain (ch 1) does not count as a stitch.
The yoke — foundation and raglan increases
- Foundation: ch 73 (77, 81, 85).
- Row 1 (RS): hdc in the 2nd ch from the hook and in each ch across. Now place your four corner markers: work is not needed — count from the beginning and pm in the indicated stitch. Work 12 hdc, pm (corner 1) in the last st worked, work 12 (13, 14, 15) hdc, pm (corner 2), work 24 (26, 28, 30) hdc, pm (corner 3), work 12 (13, 14, 15) hdc, pm (corner 4), work 12 hdc to the end — 72 (76, 80, 84) hdc. Turn.
- Row 2 (WS): ch 1, hdc in each st to the marked st, (hdc, ch 2, hdc) in the marked st, move the marker into the ch-2 space; repeat at each of the 4 corners, hdc to the end. Each corner adds 2 sts, so every increase row adds 8 sts total. Turn.
- Rows 3+: repeat Row 2 until you have worked a total of 19 (21, 24, 27) increase rows (that's Row 2 through Row 20 (22, 25, 28)). Your stitch count should now be 224 (244, 272, 300). Count it. If you're off by a stitch or two, don't frog yet — check that you worked all four corners every row; a skipped corner is the usual culprit.
Tip: after about 10 increase rows, try the yoke on. The raglan seam should run from your neck toward your underarm, and the corners should sit roughly at your shoulder points. If the yoke feels tight across the chest, work 1–2 extra increase rows before splitting (just add 8 sts per extra row to all the counts that follow).
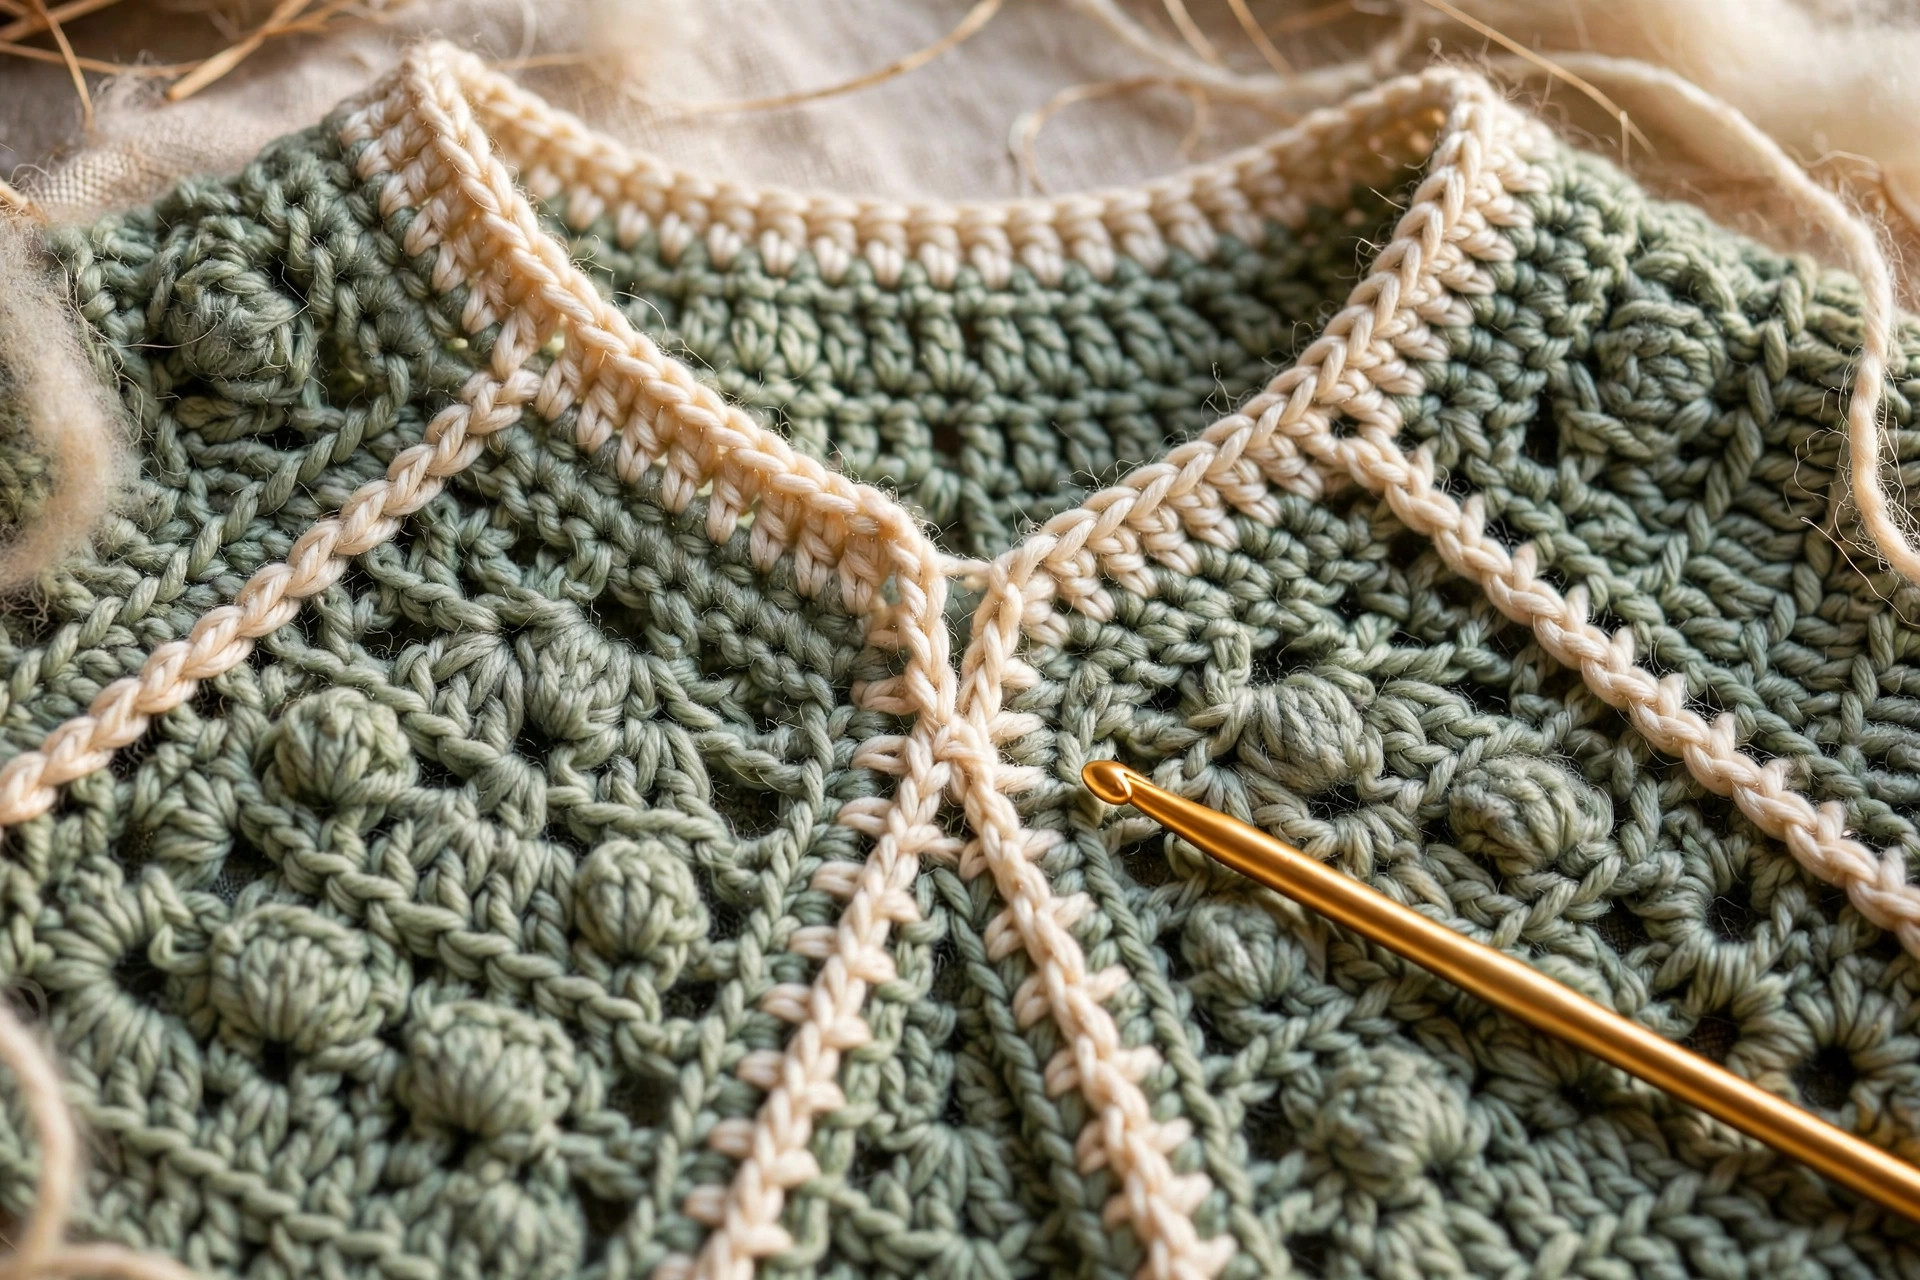
Splitting for the body and sleeves
- Split row (RS): ch 1, hdc across the first front section to corner 1, work 1 hdc in the corner ch-2 space, ch 2 (this bridges the underarm), skip all sleeve sts to corner 2, work 1 hdc in the corner ch-2 space, hdc across the back to corner 3, work 1 hdc in the corner ch-2 space, ch 2, skip the second sleeve's sts to corner 4, work 1 hdc in the corner ch-2 space, hdc across the second front to the end. You now have 128 (138, 152, 166) body sts on the hook. The skipped sleeve stitches are 50 (55, 62, 69) per sleeve — leave them on hold (a spare piece of yarn threaded through them works perfectly as a holder).
The body
- Work even in hdc (ch 1, turn, hdc across) until the body measures 45 cm (17.5 in) from the underarm, or 5 cm (2 in) shorter than your desired finished length. For reference that's roughly 48–50 rows — but measure, don't count, because row gauge varies more than stitch gauge.
- Hem: switch to the 5.0 mm hook if you have one. Work 6 rows of hdc in BLO. This creates a subtle ribbed band that stops the hem from curling and gives the cardigan a finished, store-bought look. Fasten off and weave in the end.
The sleeves (make 2)
- With RS facing, join yarn at the center of the underarm ch-2. Work hdc evenly around: across the held sleeve sts 50 (55, 62, 69), plus 2 hdc in the underarm chain — 52 (57, 64, 71) sts. Join with a slip st to the first hdc and work the rest of the sleeve in joined rounds (ch 1 does not count as a st).
- Rounds 1–7: hdc in each st around.
- Round 8 (decrease round): hdc2tog, hdc around to the last 2 sts, hdc2tog — 50 (55, 62, 69) sts.
- Repeat the 8-round sequence (7 even rounds + 1 decrease round) two more times — 48 (53, 60, 67), then 46 (51, 58, 65) sts. This gentle taper keeps the sleeves from bell-flaring at the wrist.
- Continue even in hdc until the sleeve measures 40 cm (15.75 in) from the underarm, or to your preferred length minus 4 cm (1.5 in).
- Cuff: work 6 rounds of hdc in BLO (switch to the 5.0 mm hook if using). Fasten off, weave in.
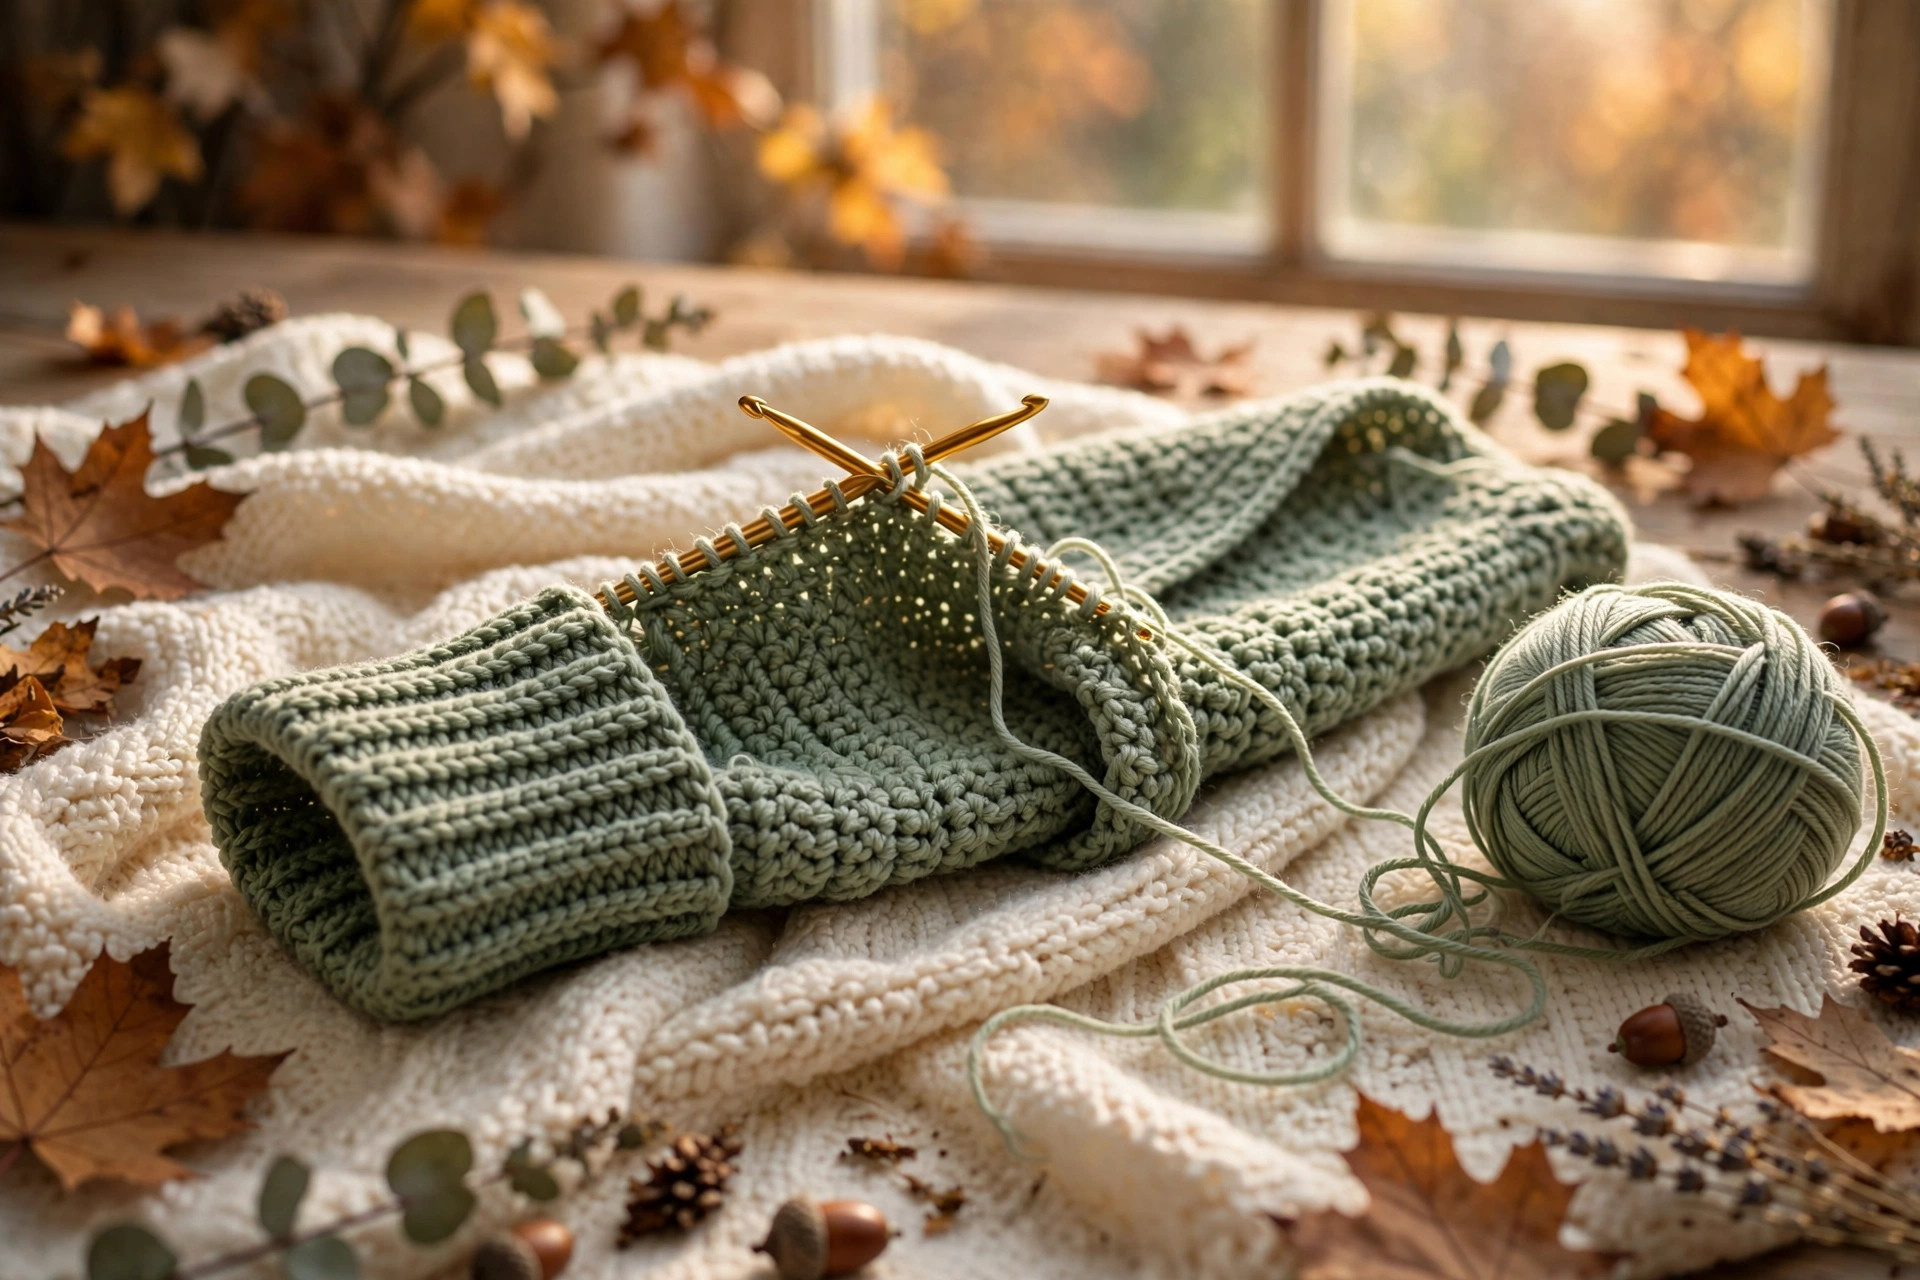
Button bands and neckline
- Left front band (wearer's left): with RS facing and the 5.5 mm hook, join yarn at the bottom of the left front edge. Work 1 row of sc evenly up the front edge (aim for roughly 2 sc per hdc row — about 90–100 sc), then work 2 more rows of sc. Fasten off.
- Right front band (wearer's right, the buttonhole side): join yarn at the top of the right front edge and work 1 row of sc down the edge. Row 2 (buttonhole row): sc in each of the first 6 sts, [ch 2, skip 2 sts, sc in the next 12 sts] 4 times, ch 2, skip 2 sts, sc to the end — 5 buttonholes. Row 3: sc in each st, working 2 sc into each ch-2 space. Fasten off.
- Neckline: with RS facing, join yarn at the right front neck edge and work 1 row of sc evenly around the entire neckline, working 2 sc into each corner where the band meets the neck. Fasten off.
- Sew the buttons opposite the buttonholes, two passes through each hole.
Finishing
Weave in every end with a tapestry needle, working each tail through the backs of stitches for at least 5 cm (2 in) and changing direction once so nothing works loose in the wash. Sew on the five buttons with strong thread or doubled yarn, anchoring each with two passes through each hole. Give the cardigan a gentle steam block: hover a steam iron 3–5 cm above the fabric (never press acrylic directly — it melts flat and shiny) and let it cool completely before moving it. This single step transforms the drape from "homemade stiff" to "soft and fluid."
Tips for a flawless fit
- Swatch honestly. Half an hour of swatching saves thirty hours of a too-big cardigan. Wash and dry your swatch the way you'll treat the finished garment — acrylic can relax a full centimeter per 10 cm after washing.
- Count at every milestone. Foundation (72/76/80/84), after the last increase row (224/244/272/300), and after the split (128/138/152/166). Three counts, zero frogging.
- Try it on. The entire point of top-down construction is fitting as you go. The yoke should skim, not squeeze, across the bust at the split row.
- Between sizes? Size down. The finished measurements include 8–12 cm (3–5 in) of positive ease, so the smaller size will still skim comfortably — and a cardigan with less excess fabric looks sharper.
Three variations to make it yours
The base pattern is deliberately clean so it becomes a canvas. Three directions readers love:
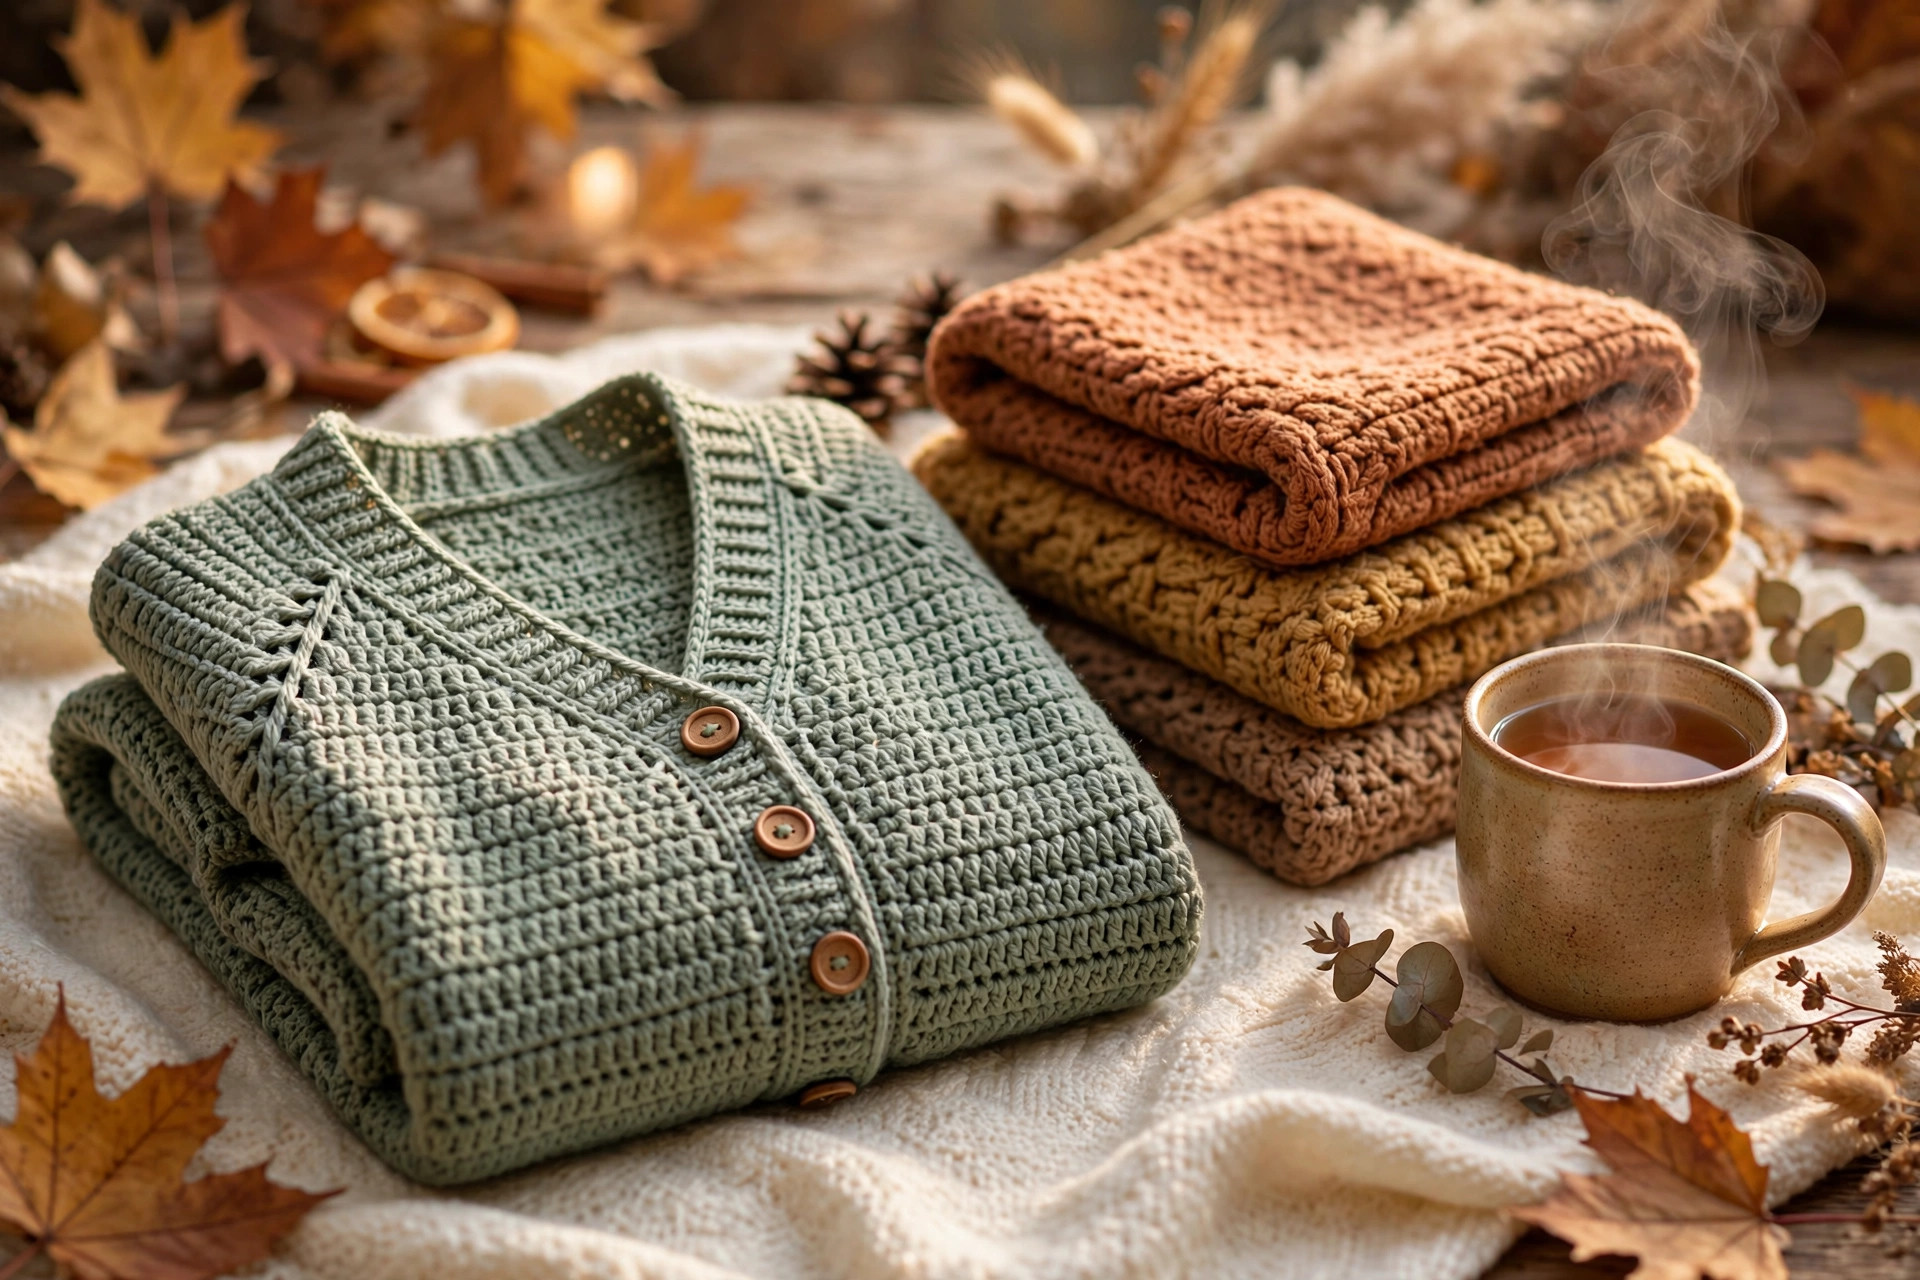
- The cozy gift set. Crochet the cardigan in a warm neutral (oatmeal, rust, or dusty rose), then make the free crochet hat and a beginner scarf in the same yarn. Three pieces, one dye lot — a matching winter set that looks like a boutique bundle.
- The sweetheart cardigan. Skip the buttons entirely and sew three small crochet hearts down the left front as decorative closures (sew one side of each heart down so the other side tucks under like a loop). It's a romantic, feminine twist that takes an hour and photographs beautifully for Valentine's-season posts.
- The long duster. Work the body 15 cm (6 in) longer than written and skip the button band — an open-front duster cardigan in a drapey wool blend. The extra length plus the raglan shaping gives you that effortless layered look, and without buttonholes it's actually the fastest version to finish.
Troubleshooting tips
- Your stitch count is off after an increase row. The usual suspect is a missed corner — all four (hdc, ch 2, hdc) corners must be worked every single row. Count your corners first, stitches second. If you added an extra increase somewhere, it's almost always in the stitch right before or after a marker.
- The yoke is too tight across the bust at the split. Work 1–2 more increase rows before splitting (each adds 8 sts / ~6 cm around the body). This is exactly why the pattern says to try it on — catching it here costs ten minutes; catching it later costs a rework.
- The front edges curl or wave. You're working too many (or too few) sc in the button band rows. Aim for about 2 sc per hdc row-edge along the front. A slightly rippled band also relaxes out with steam blocking.
- The sleeves are too wide at the wrist. Add a fourth decrease round, or work the cuff in BLO with the smaller hook for a snugger finish. Sleeve width is personal — a bracelet-length slim cuff looks modern, a roomier cuff is cozier.
- Buttonholes are too tight (or too loose) for your buttons. The ch-2 buttonhole fits a 25 mm button snugly. If your buttons are chunkier, ch 3 and skip 3 on the buttonhole row instead — just keep the spacing even.
- The neckline gaps or stands away from the neck. You likely worked too many sc around the neckline. Frog that single row and rework it slightly tighter (skip every 4th stitch). One row, five minutes, problem solved.
Frequently asked questions
Is this crochet cardigan sweater pattern really free?
Yes — the complete pattern above is free, no email signup and no PDF purchase required. If it fits well and you'd like to say thanks, sharing the post or pinning it on Pinterest is the kindest support.
How much yarn do I actually need?
For worsted-weight (#4) yarn: about 1,100 yards for S, 1,250 for M, 1,400 for L, and 1,550 for XL — roughly 5, 6, 7, and 7 standard 220-yard skeins. Buy one extra skein beyond your size's estimate so a dye-lot change can't strand you mid-project.
How long does it take to crochet a cardigan?
Expect 12–16 hours total: 3–4 hours for the yoke, 4–5 for the body, 3–4 for both sleeves, and 1–2 for bands, buttons, and finishing. Most crocheters finish in one to two weeks of evening stitching. The body rows are pure meditative half double crochet, so it moves faster than the hour count suggests.
Can I make this cardigan longer, cropped, or with different sleeves?
Absolutely — that's the advantage of top-down construction. For a cropped version, stop the body 10–15 cm shorter; for a duster, add length. For 3/4 sleeves, stop the sleeve about 12 cm above the wrist and work the cuff. Just re-check your yarn estimate if you add significant length.
What does "positive ease" mean in the size table?
It means the finished garment is intentionally larger than your body — here, about 8–12 cm (3–5 in) larger than the bust it fits. Positive ease is what makes a cardigan drape and skim instead of clinging. If you prefer a closer fit, simply make one size down from your usual.
Can I sell finished cardigans made from this pattern?
Yes! You may sell finished cardigans made from this pattern in small batches (craft fairs, Etsy, made-to-order). Please credit Little Loop Finds as the pattern designer with a link back to this page. The pattern text and photos themselves may not be redistributed, republished, or sold.
More free patterns to try
Keep the hook moving after the last button is sewn. The crochet shawl pattern uses the same relaxing stitch rhythm in a one-skein-friendly wrap, the easy blanket patterns are perfect for using up the leftover yarn from your cardigan, the free crochet hat plus a beginner scarf turn this project into a full winter set, and the little crochet hearts make adorable appliqués or gift tags for the finished sweater.
The box below contains an Etsy link. If you buy through it, we may earn a small commission at no extra cost to you. Learn more.
No time to make one?
Short on time? Find handmade crochet cardigans from independent makers on Etsy.
Browse on Etsy (opens Etsy in a new tab)