Free Crochet Clown Pattern: Cute Amigurumi Doll
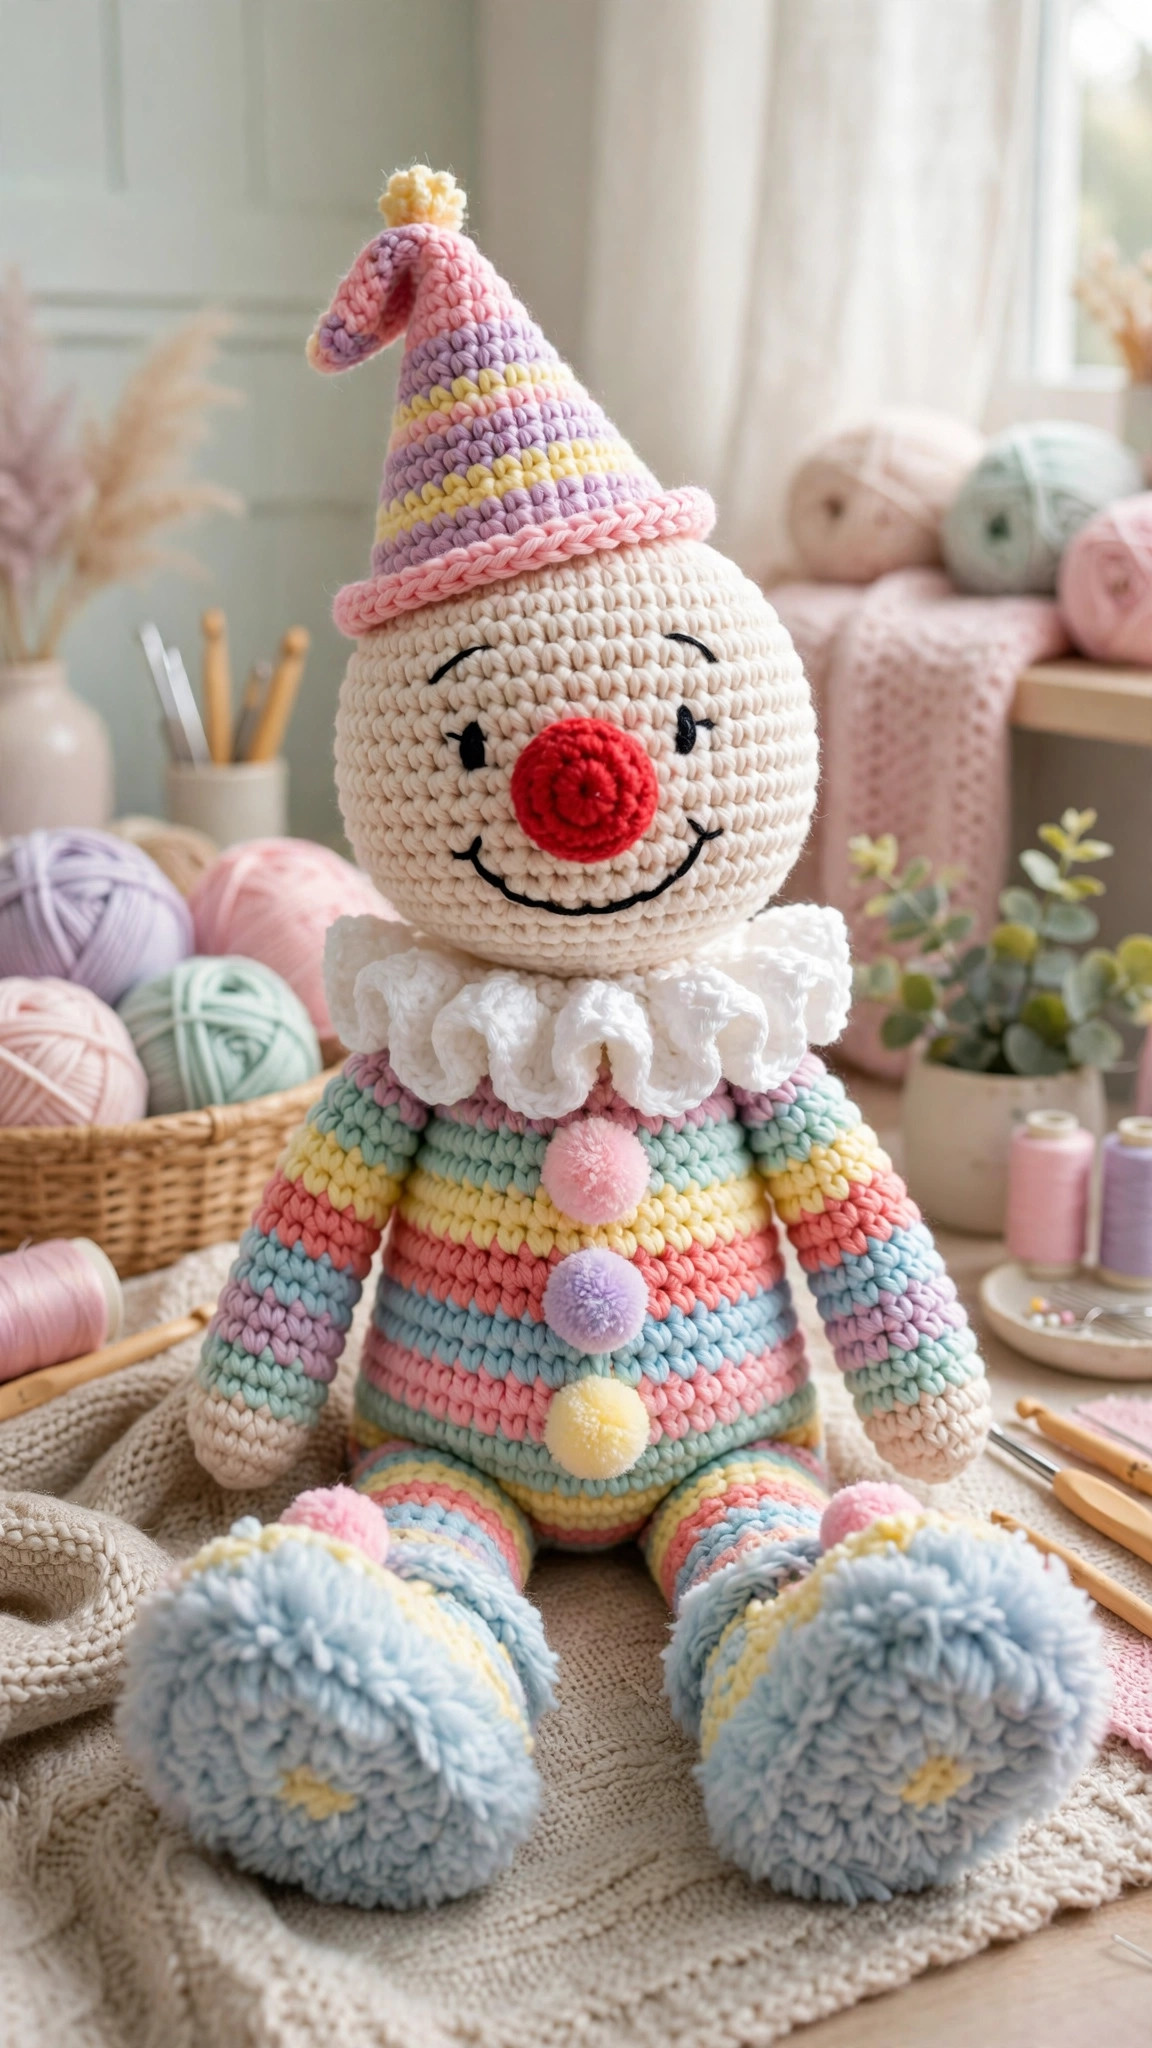
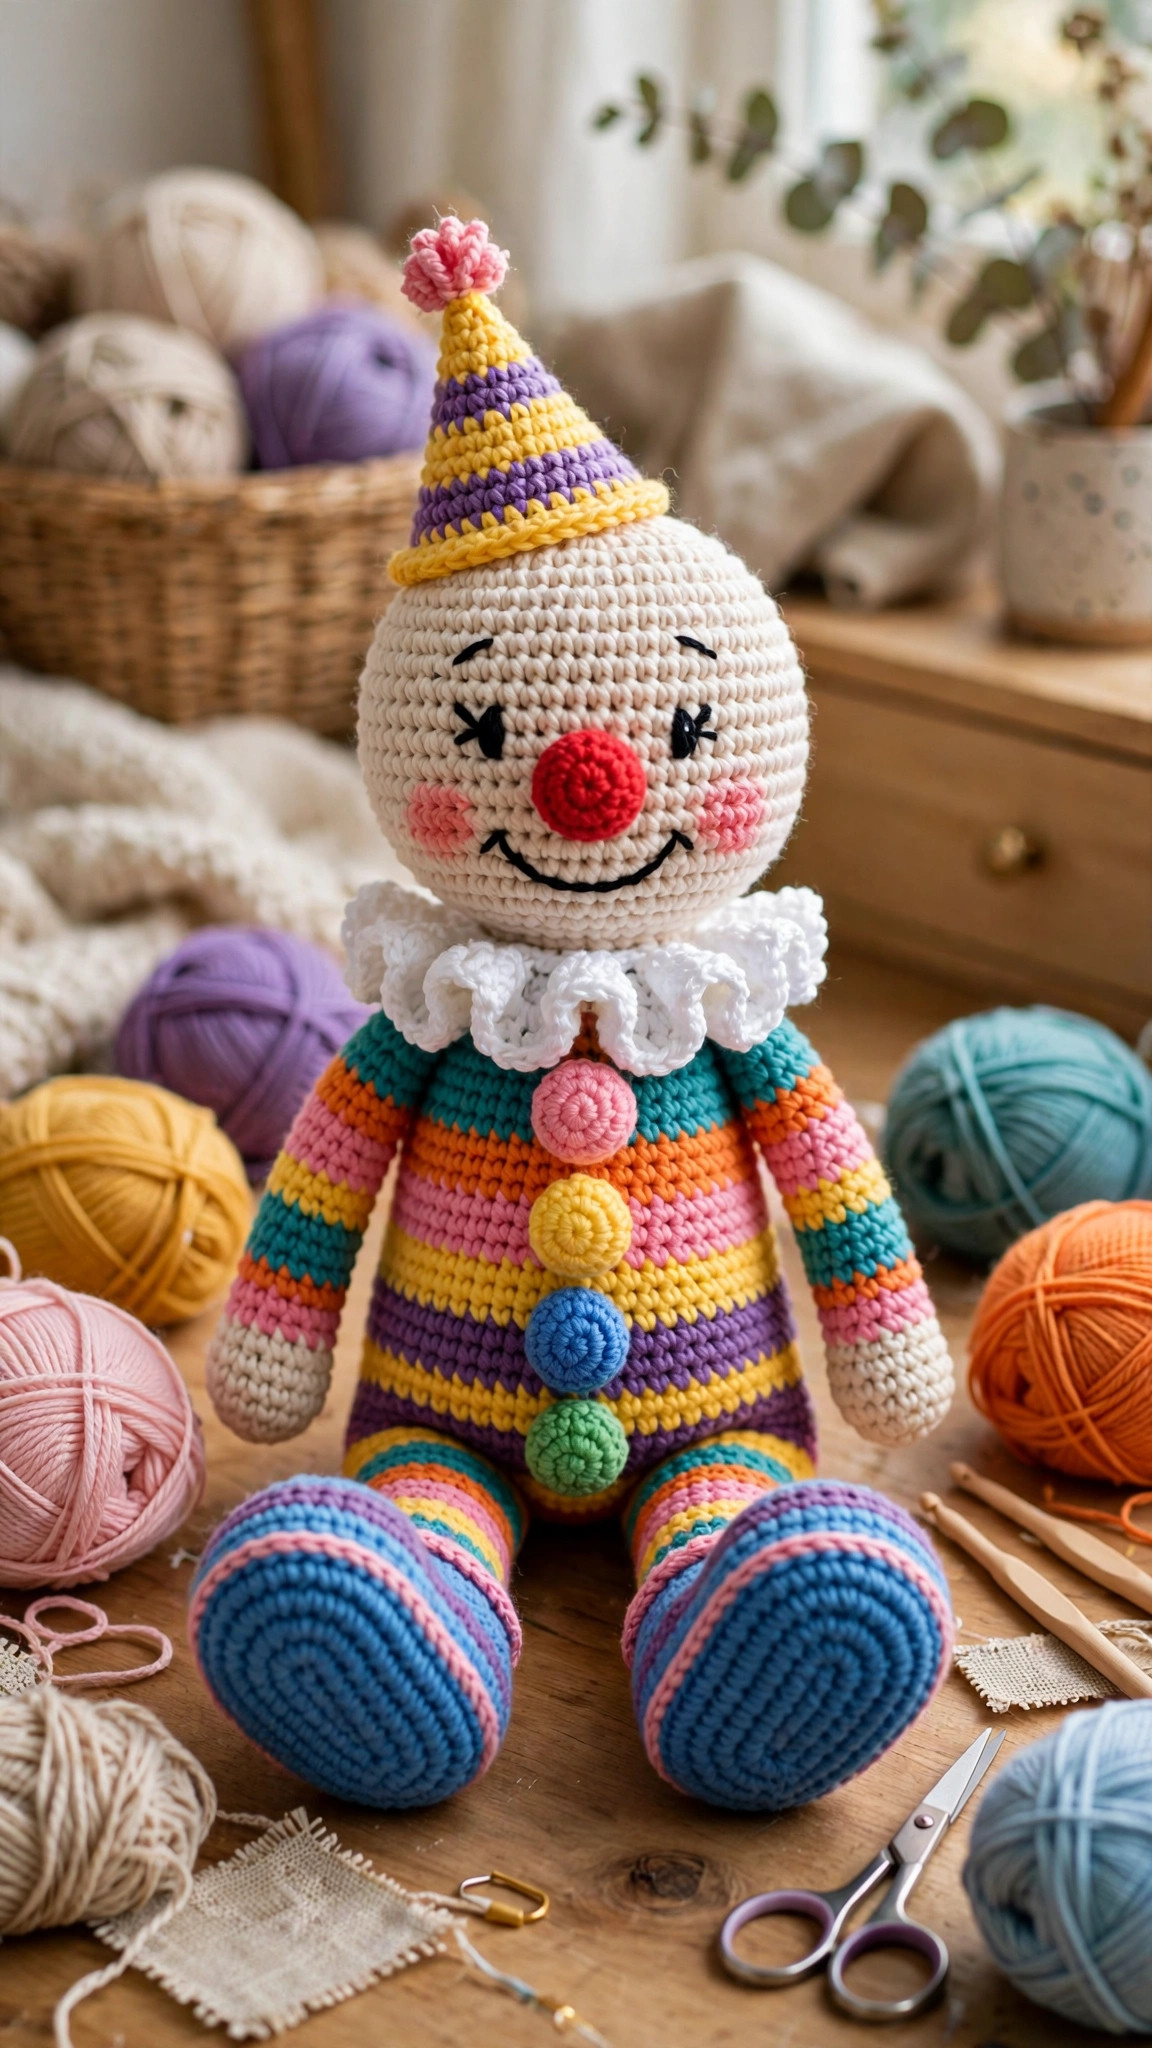
This free crochet clown pattern makes a cheerful, not-scary amigurumi doll with an embroidered smile, a squishy red yarn nose, a ruffled collar and big floppy shoes. Every piece is worked in single crochet spirals with full round-by-round stitch counts, so confident beginners can follow along with ease.

Amigurumi · Crochet
- Finished size
- 11 in (28 cm) tall
- Making time
- 6–9 hours
- Hook
- 3.5 mm (US E-4)
- Pieces
- 13 pieces to sew
- Skill
- Confident beginner
In this post
If you have been looking for a free crochet clown pattern that is sweet instead of spooky, you are in the right place. This cheerful performer has a round, friendly face, a big embroidered smile, a squishy red yarn nose, and not a single scary detail in sight.
Make it for a child's birthday, a circus-themed shower, or a nursery shelf. Every piece is worked in simple single crochet spirals, then sewn together. If you can make a magic ring and count stitches, you can make this clown.
Contents
- Why you'll love this clown
- Materials you'll need
- Size, gauge and skill level
- Abbreviations — US terms
- The pattern (US terms)
- Finishing
- Tips for a cuter clown
- FAQ
- What to crochet next
Why you'll love this clown
First, the personality. Many clown dolls lean into exaggerated features small children find unsettling. This design does the opposite: soft round shapes, a gentle smile, tiny rosy cheeks — a friendly party pal, and a far better gift.
Second, the construction is forgiving. Spirals hide uneven stitches, stripes disguise colour changes, and the ruffled collar covers the neck join. Slightly off-centre sewing? The collar and hat hide the evidence.
Third, it is a brilliant stash buster. The body uses small amounts of four bright colours, and the hat, shoes, and buttons use leftovers too small for anything else. A slightly mismatched rainbow is exactly the look we want.
Finally, it is endlessly customisable. Swap stripes for school colours or pastels, change the hat colour, or stitch initials onto the tummy — every clown can be a one-of-a-kind character.
Love character dolls? Try our free elf crochet pattern and the popular one piece crochet teddy bear pattern next.
Materials you'll need
Use a smooth DK or light worsted yarn so stitches stay neat. Cotton or cotton-blend gives crisp definition, while acrylic is softer and easier to wash. Keep all colours in the same yarn line so the weight matches from stripe to stripe.
| Supply | What to get |
|---|---|
| Main yarn (skin tone) | About 50 g peach, cream, or warm tan DK yarn for the head and hands |
| Stripe yarns | About 25 g each of red, teal, yellow, and purple DK yarn |
| Accent yarn | About 20 g white for the collar, plus small amounts of red for the nose and shoes |
| Hook | 3.5 mm (US E-4) crochet hook |
| Eyes | Two 9 mm safety eyes, or black yarn for fully embroidered eyes |
| Stuffing | Polyester toy stuffing, about 100 g |
| Notions | Yarn needle, stitch marker, scissors, pins |
| Embroidery thread | Black or dark brown for the smile and eyebrows, pink for the cheeks |
| Optional | A small bell or rattle insert for the tummy, cardboard circle for the shoe soles |
Safety note: for a child under three, skip safety eyes and sew-on buttons. Embroider the eyes, and crochet buttons flat, stitched down around the entire edge.
Size, gauge and skill level
Finished size: About 11 inches (28 cm) tall from shoe soles to hat tip, about 9 inches (23 cm) seated, with a head roughly 3.5 inches (9 cm) across. Chunkier yarn scales everything up evenly.
Gauge: Not critical for a toy, but aim for about 22 sc and 24 rounds to 4 inches (10 cm) with a 3.5 mm hook. Tight, even fabric matters most — if you see gaps, drop a hook size.
Skill level: Confident beginner to intermediate. You should know the magic ring, continuous spirals, increasing, invisible decreases, colour changes, and simple sewing. Several pieces make it a satisfying step up from a one-piece toy.
Abbreviations — US terms
| Abbreviation | Meaning |
|---|---|
| MR | Magic ring |
| ch | Chain |
| sc | Single crochet |
| inc | Increase — work 2 sc in the same stitch |
| dec | Invisible decrease — sc 2 stitches together |
| hdc | Half double crochet |
| dc | Double crochet |
| sl st | Slip stitch |
| st(s) | Stitch(es) |
| rnd | Round |
| FLO | Front loop only |
| BLO | Back loop only |
| FO | Fasten off |
Work the head, body, arms, legs, nose, and buttons in continuous spirals. Do not join rounds; mark the first stitch of each round and move the marker up as you go. Counts are in parentheses.
The pattern (US terms)
Before you begin
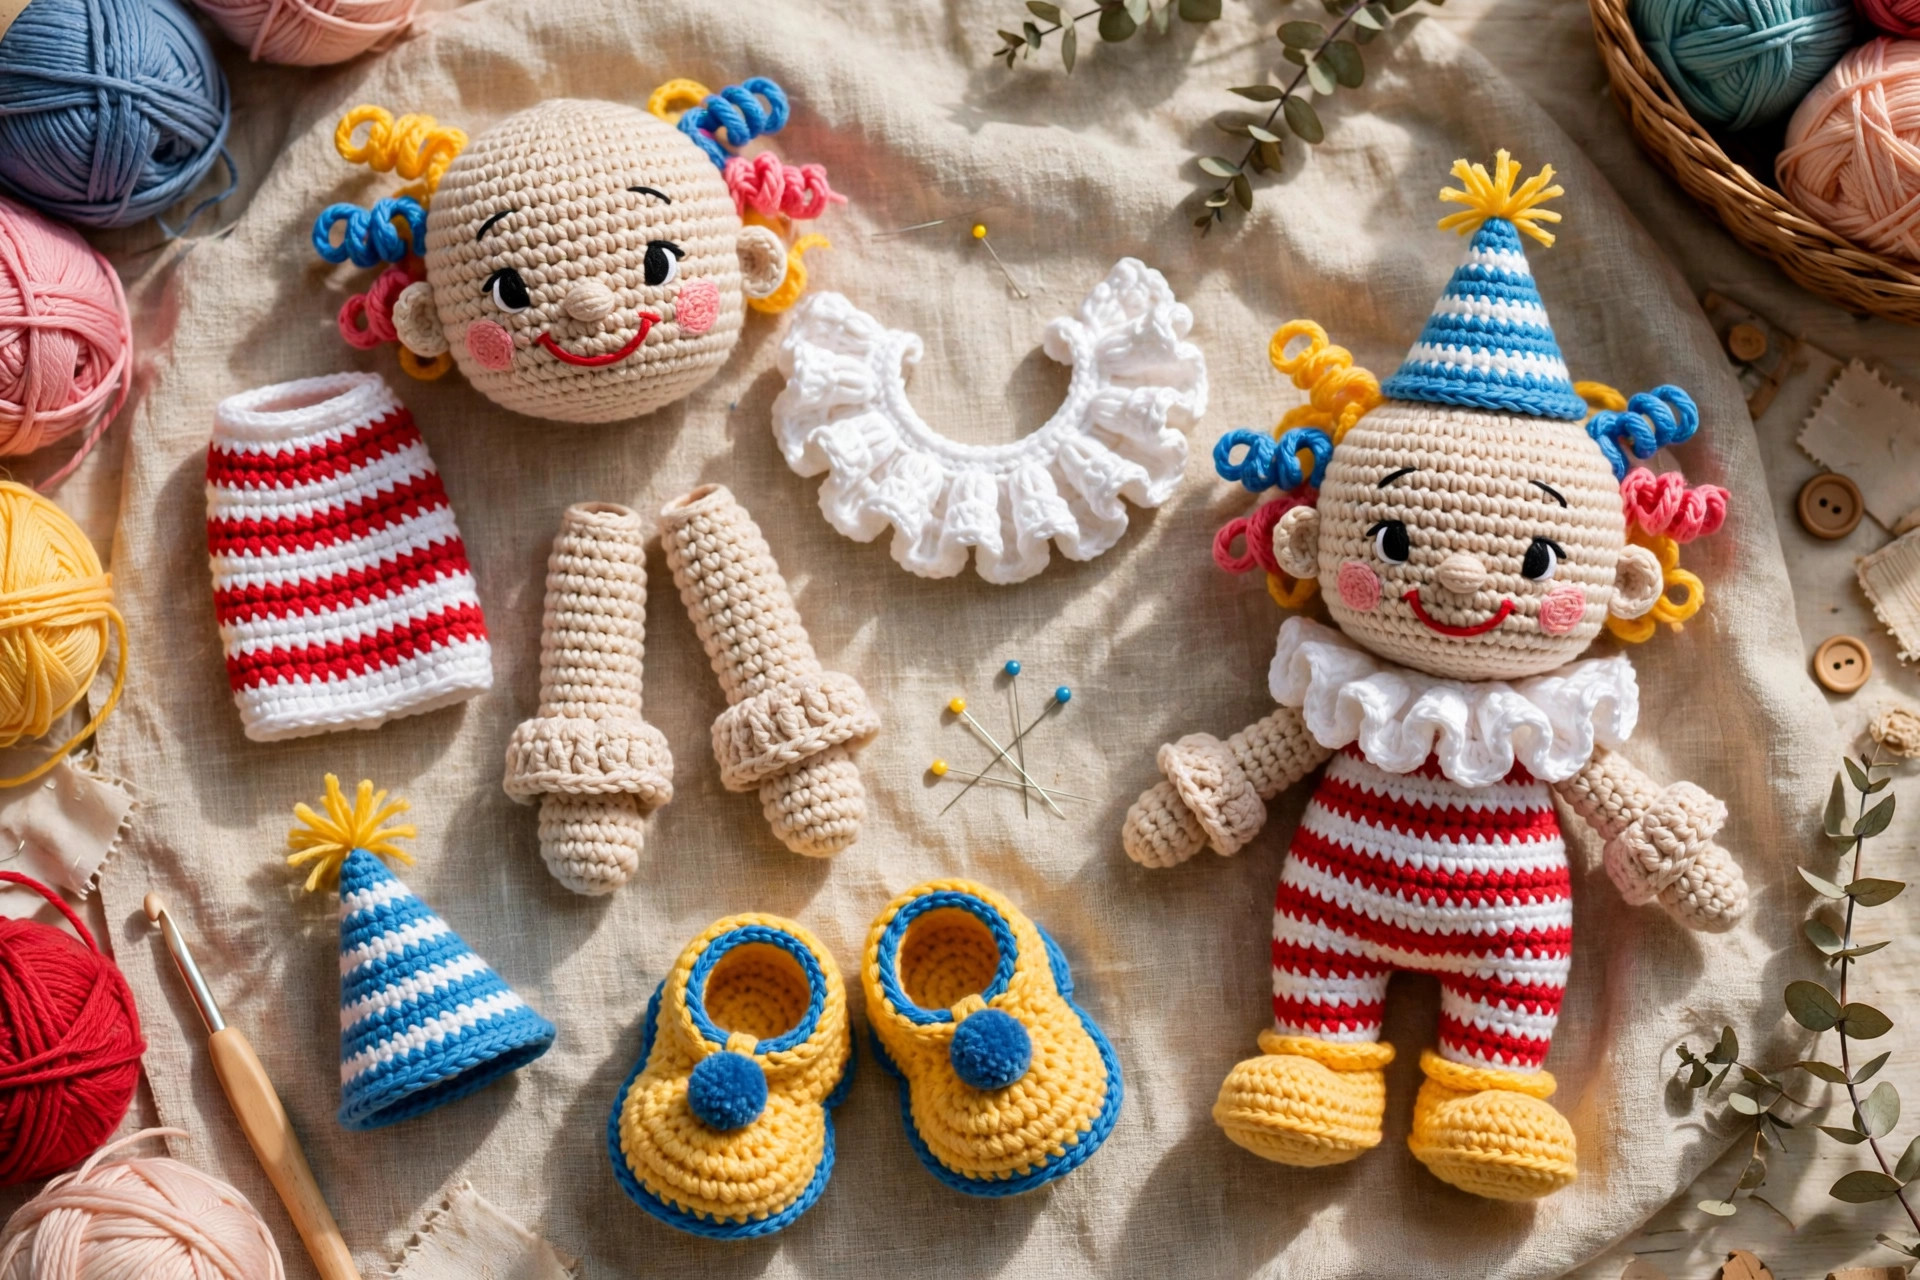
Read the pattern through once before starting. Order of work: head, nose, hair tufts, body, arms, legs with shoes, collar, hat, and buttons. Stuff firmly — under-stuffed pieces wrinkle at the seams and flop at the neck.
Head
Use skin tone yarn.
- Rnd 1: 6 sc in MR (6)
- Rnd 2: Inc in each st around (12)
- Rnd 3: (Sc, inc) repeat 6 times (18)
- Rnd 4: (2 sc, inc) repeat 6 times (24)
- Rnd 5: (3 sc, inc) repeat 6 times (30)
- Rnd 6: (4 sc, inc) repeat 6 times (36)
- Rnd 7: (5 sc, inc) repeat 6 times (42)
- Rnd 8: (6 sc, inc) repeat 6 times (48)
- Rnds 9–16: Sc in each st around (48) — 8 rounds
Insert safety eyes now, between rnds 12 and 13, about 8 stitches apart. Check they sit level before clicking the backs on — this step is hard to undo.
- Rnd 17: (6 sc, dec) repeat 6 times (42)
- Rnd 18: (5 sc, dec) repeat 6 times (36)
- Rnd 19: (4 sc, dec) repeat 6 times (30)
- Rnd 20: (3 sc, dec) repeat 6 times (24)
Stuff firmly, adding extra into the cheeks so the face stays round.
- Rnd 21: (2 sc, dec) repeat 6 times (18)
- Rnd 22: (Sc, dec) repeat 6 times (12)
- Rnd 23: Dec 6 times (6)
FO, thread the tail through the front loops of the last 6 stitches, pull tight to close, and weave in the end.
Nose
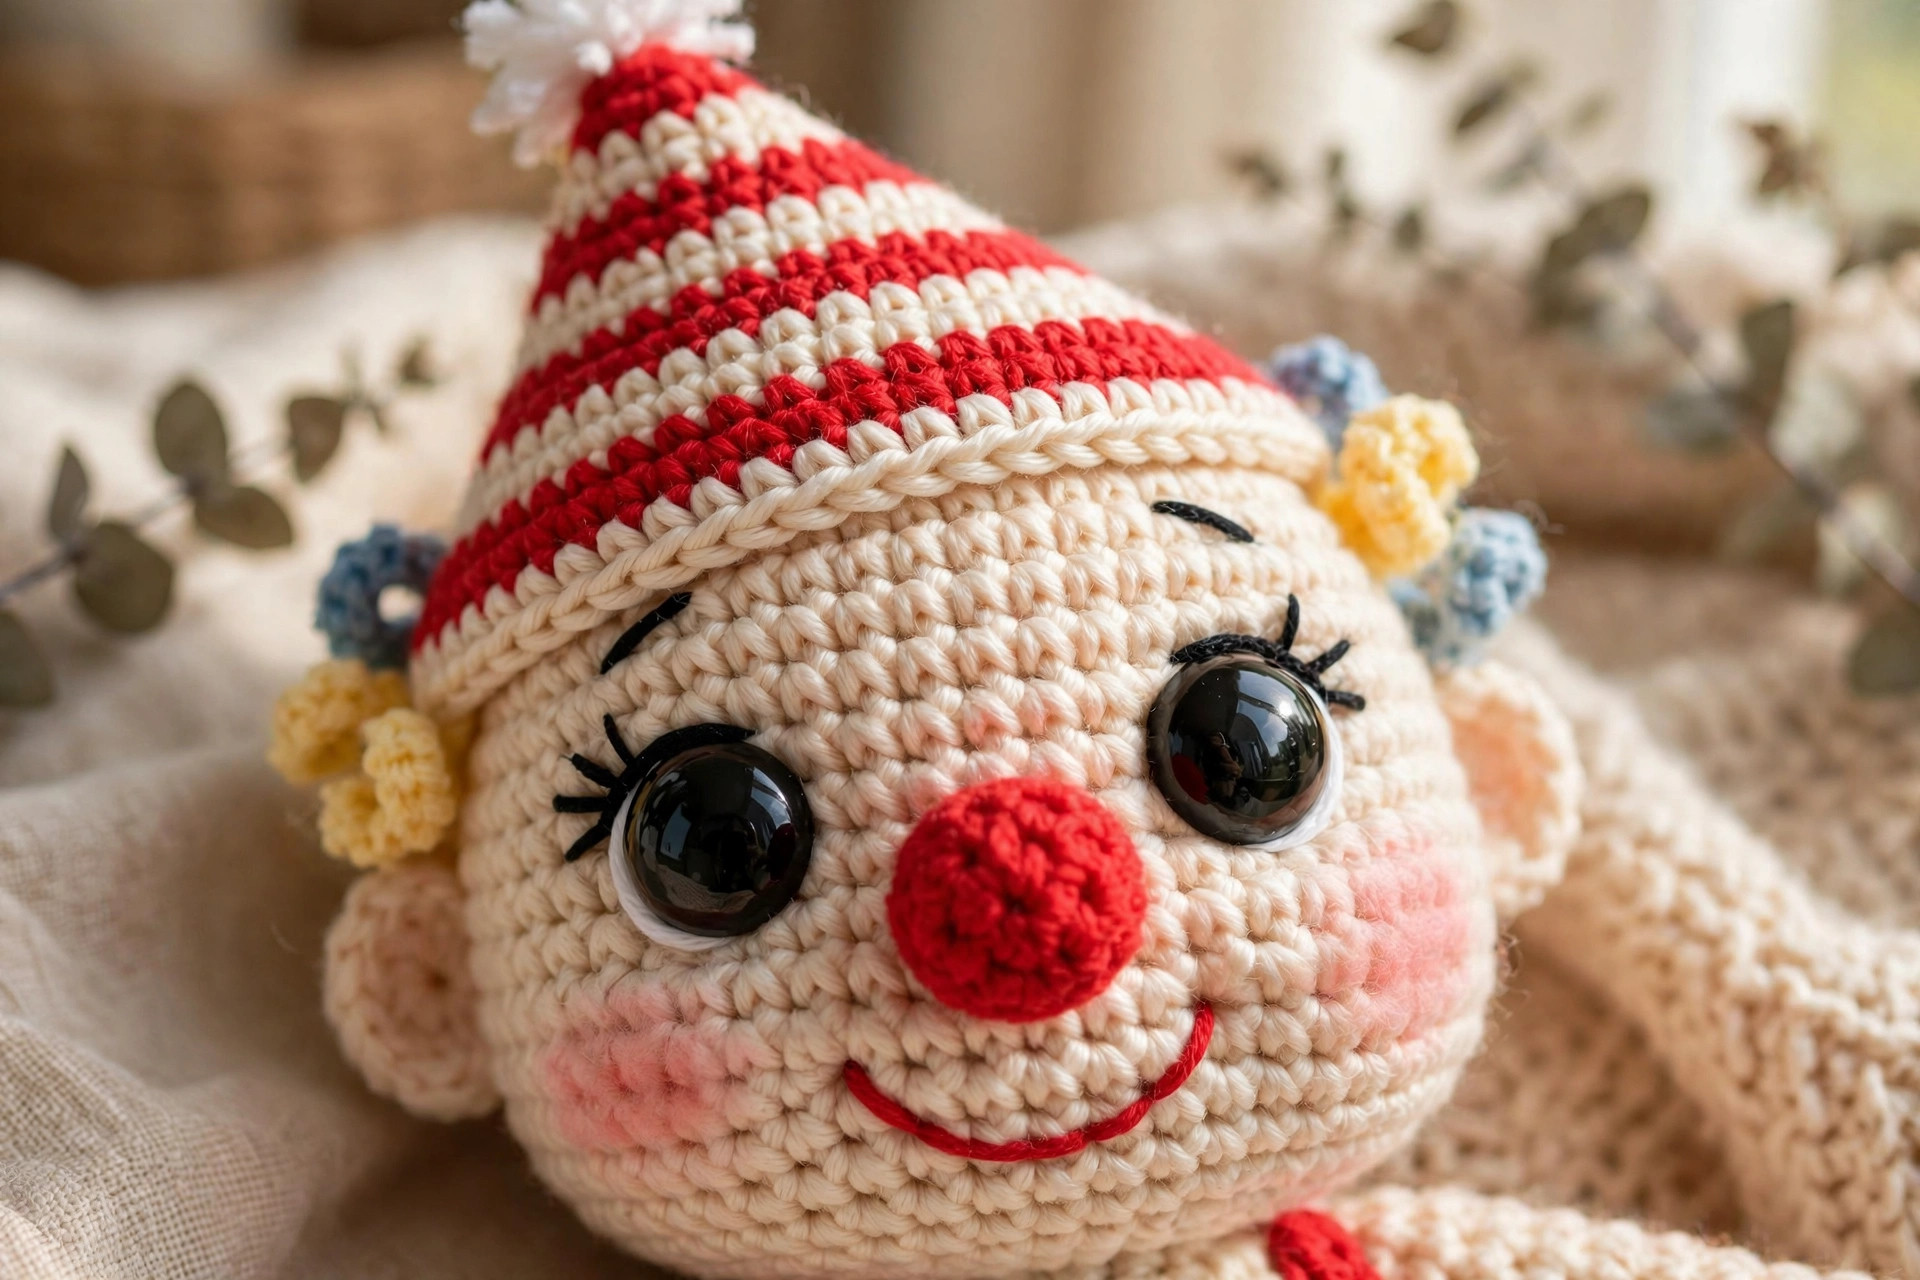
Use red yarn. A simple plump ball, sewn over the face centre.
- Rnd 1: 6 sc in MR (6)
- Rnd 2: Inc in each st around (12)
- Rnd 3: (Sc, inc) repeat 6 times (18)
- Rnds 4–5: Sc in each st around (18)
- Rnd 6: (Sc, dec) repeat 6 times (12)
Stuff lightly — plump but still squishy.
- Rnd 7: Dec 6 times (6)
FO, close the hole as for the head, and leave a long tail for sewing.
Hair tufts (make 2)
Use any bright colour — orange and teal are classic. Each tuft is a shallow puff sitting above the ears.
- Rnd 1: 6 sc in MR (6)
- Rnd 2: Inc in each st around (12)
- Rnd 3: (Sc, inc) repeat 6 times (18)
- Rnds 4–6: Sc in each st around (18)
- Rnd 7: (Sc, dec) repeat 6 times (12)
Stuff very lightly, just enough for a gentle dome. FO, leave a long tail, and do not close the opening.
Body
Worked from the bottom up in stripes. Change colour every two rounds: red, yellow, teal, purple, then repeat. Complete the last stitch of a round with the new colour for a neater change; the collar hides any slight jog.
Start with red.
- Rnd 1: 6 sc in MR (6)
- Rnd 2: Inc in each st around (12)
- Rnd 3: (Sc, inc) repeat 6 times (18)
- Rnd 4: (2 sc, inc) repeat 6 times (24)
- Rnd 5: (3 sc, inc) repeat 6 times (30)
- Rnd 6: (4 sc, inc) repeat 6 times (36)
- Rnds 7–14: Sc in each st around (36), changing colour every 2 rounds — 8 stripe rounds
Adding a rattle or bell? Push it into the centre now and surround with stuffing.
- Rnd 15: (4 sc, dec) repeat 6 times (30)
- Rnd 16: Sc in each st around (30)
- Rnd 17: (3 sc, dec) repeat 6 times (24)
- Rnd 18: Sc in each st around (24)
- Rnd 19: (2 sc, dec) repeat 6 times (18)
Stuff firmly, keeping the bottom flat so your clown sits unaided. FO, leaving a long tail for sewing on the head.
Arms (make 2)
Start with skin tone for the hand, then switch to a sleeve colour. Mismatched sleeves look playful.
- Rnd 1: 6 sc in MR (6)
- Rnd 2: (Sc, inc) repeat 3 times (9)
- Rnds 3–4: Sc in each st around (9)
- Rnd 5: Change to sleeve colour, sc in each st around (9)
- Rnds 6–11: Sc in each st around (9) — 6 rounds
Stuff only the hand and lower arm; an over-stuffed arm sticks straight out. Flatten the opening, FO, leave a long tail.
Legs and floppy shoes (make 2)
The shoes are the comedy stars, so we make them first and work the short leg from the sole. Use red for one shoe and purple for the other, or keep the pair matching.
Shoe:
- Rnd 1: Ch 7. Starting in the second ch from hook: 5 sc, 3 sc in last ch, working down the other side: 4 sc, inc in last st (14)
- Rnd 2: Inc, 4 sc, inc 3 times, 4 sc, inc 2 times (20)
- Rnd 3: Sc, inc, 4 sc, (sc, inc) 3 times, 4 sc, (sc, inc) 2 times (26)
- Rnd 4: BLO sc in each st around (26)
- Rnds 5–6: Sc in each st around (26)
- Rnd 7: 8 sc, dec 5 times, 8 sc (21)
- Rnd 8: 8 sc, dec 2 times, sc, dec, 6 sc (18)
Stuff the toe firmly now — the long front creates that floppy silhouette. Slip a cardboard sole oval in before stuffing if using one.
Leg: Change to white for a sock round, then a stripe colour.
- Rnd 9: Sc in each st around (18) in white
- Rnd 10: (Sc, dec) repeat 6 times (12)
- Rnds 11–14: Sc in each st around (12) in stripe colour
Stuff the leg lightly. FO, leaving a long tail.
Ruffled collar
Use white yarn. The dramatic flare is what makes the doll read as "clown" at a glance.
- Rnd 1: Ch 24, join with a sl st to form a ring without twisting. Sc in each ch around (24)
- Rnd 2: 2 hdc in each st around (48)
- Rnd 3: (Hdc, 2 hdc in next st) repeat 24 times (72)
- Rnd 4: (Dc, ch 1, dc) in each st around for a frilly shell edge — or 2 hdc in each st around (144)
FO and weave in ends. It looks wavy and oversized off the doll — exactly right; it settles into soft folds around the neck.
Pointy party hat
A gentle cone: tall enough to be silly, short enough to stay upright.
- Rnd 1: 4 sc in MR (4)
- Rnd 2: (Sc, inc) repeat 2 times (6)
- Rnd 3: Sc in each st around (6)
- Rnd 4: (2 sc, inc) repeat 2 times (8)
- Rnd 5: Sc in each st around (8)
- Rnd 6: (3 sc, inc) repeat 2 times (10)
- Rnd 7: Sc in each st around (10)
- Rnd 8: (4 sc, inc) repeat 2 times (12)
- Rnd 9: Sc in each st around (12)
- Rnd 10: (5 sc, inc) repeat 2 times (14)
- Rnd 11: (6 sc, inc) repeat 2 times (16)
- Rnd 12: (7 sc, inc) repeat 2 times (18)
- Rnd 13: (8 sc, inc) repeat 2 times (20)
- Rnd 14: (9 sc, inc) repeat 2 times (22)
- Rnd 15: (10 sc, inc) repeat 2 times (24)
- Rnd 16: (11 sc, inc) repeat 2 times (26)
- Rnd 17: (12 sc, inc) repeat 2 times (28)
- Rnd 18: (13 sc, inc) repeat 2 times (30)
- Rnd 19: Change to white, FLO (sc, inc) repeat 15 times for a floppy brim (45), or sc in each st around (30) for a neat band
FO, leaving a long tail. Add a pinch of stuffing in the tip only if the cone wants to collapse.
Hat pom-pom: Work rnds 1–3 of the nose pattern in a contrast colour (18 sts), stuff lightly, decrease to close, and sew to the hat tip.
Pom-pom buttons (make 3)
Use yellow, teal, and purple — one of each looks fantastic down the front.
- Rnd 1: 6 sc in MR (6)
- Rnd 2: Inc in each st around (12)
- Rnd 3: Sc in each st around (12)
- Rnd 4: Dec 6 times (6)
Add a pea-sized pinch of stuffing before the last round, FO, close the hole, and leave a tail for sewing.
Finishing
Assembly gives your clown its character, so work in good light and pin everything before sewing. Check placement from the front, side, and above.
Step 1 — Face. Sew the nose to the centre of the head, over rnds 13–16, between and slightly below the eyes. With dark thread, embroider a wide smile: come up about 3 stitches left of the nose at rnd 14 level, curve under the nose, and anchor level on the right. Add a tiny vertical stitch at each corner, plus two short eyebrows. Stitch cheeks with pink thread — three horizontal satin stitches each side. For embroidered eyes, use sleepy arcs or French knots at the safety-eye positions.
Step 2 — Hair. Pin one tuft to each side of the head, around rnds 10–13, flat edge against the head. Whip stitch around the edge, checking both sit at the same height.
Step 3 — Head to body. Pin the head centred over the body's final 18 stitches. Sew with the body's tail, through a body stitch then a head stitch, all the way around. Halfway, pack extra stuffing into the neck — a firm neck makes a proud clown, not a droopy one.
Step 4 — Collar. Slip the collar over the head or place it around the neck seam. Arrange ruffles evenly and tack through the first round into the neck.
Step 5 — Arms. Sew to the sides of the body just below the collar, around rnds 15–16, angled slightly forward.
Step 6 — Legs and shoes. Sew to the base of the body, about 6 stitches apart, shoes pointing forwards and slightly outwards. Pin while seated so you can check it balances.
Step 7 — Hat and buttons. Pin the hat at a jaunty tilt and sew around the brim. Sew the three pom-pom buttons in a vertical line down the centre front, spaced evenly over the stripes.
Squeeze gently all over to redistribute stuffing, and finger-shape the collar ruffles.
Tips for a cuter clown
Keep the face friendly. Restraint is the secret: a small smile beats a huge grin, low wide cheeks look sweet, and eyebrows raised in the middle give a gentle expression. Avoid heavy outlines or a smile stretching close to the eyes.
Use invisible decreases everywhere. Front-loop decreases leave no bumps or holes, which matters most on the smooth round head.
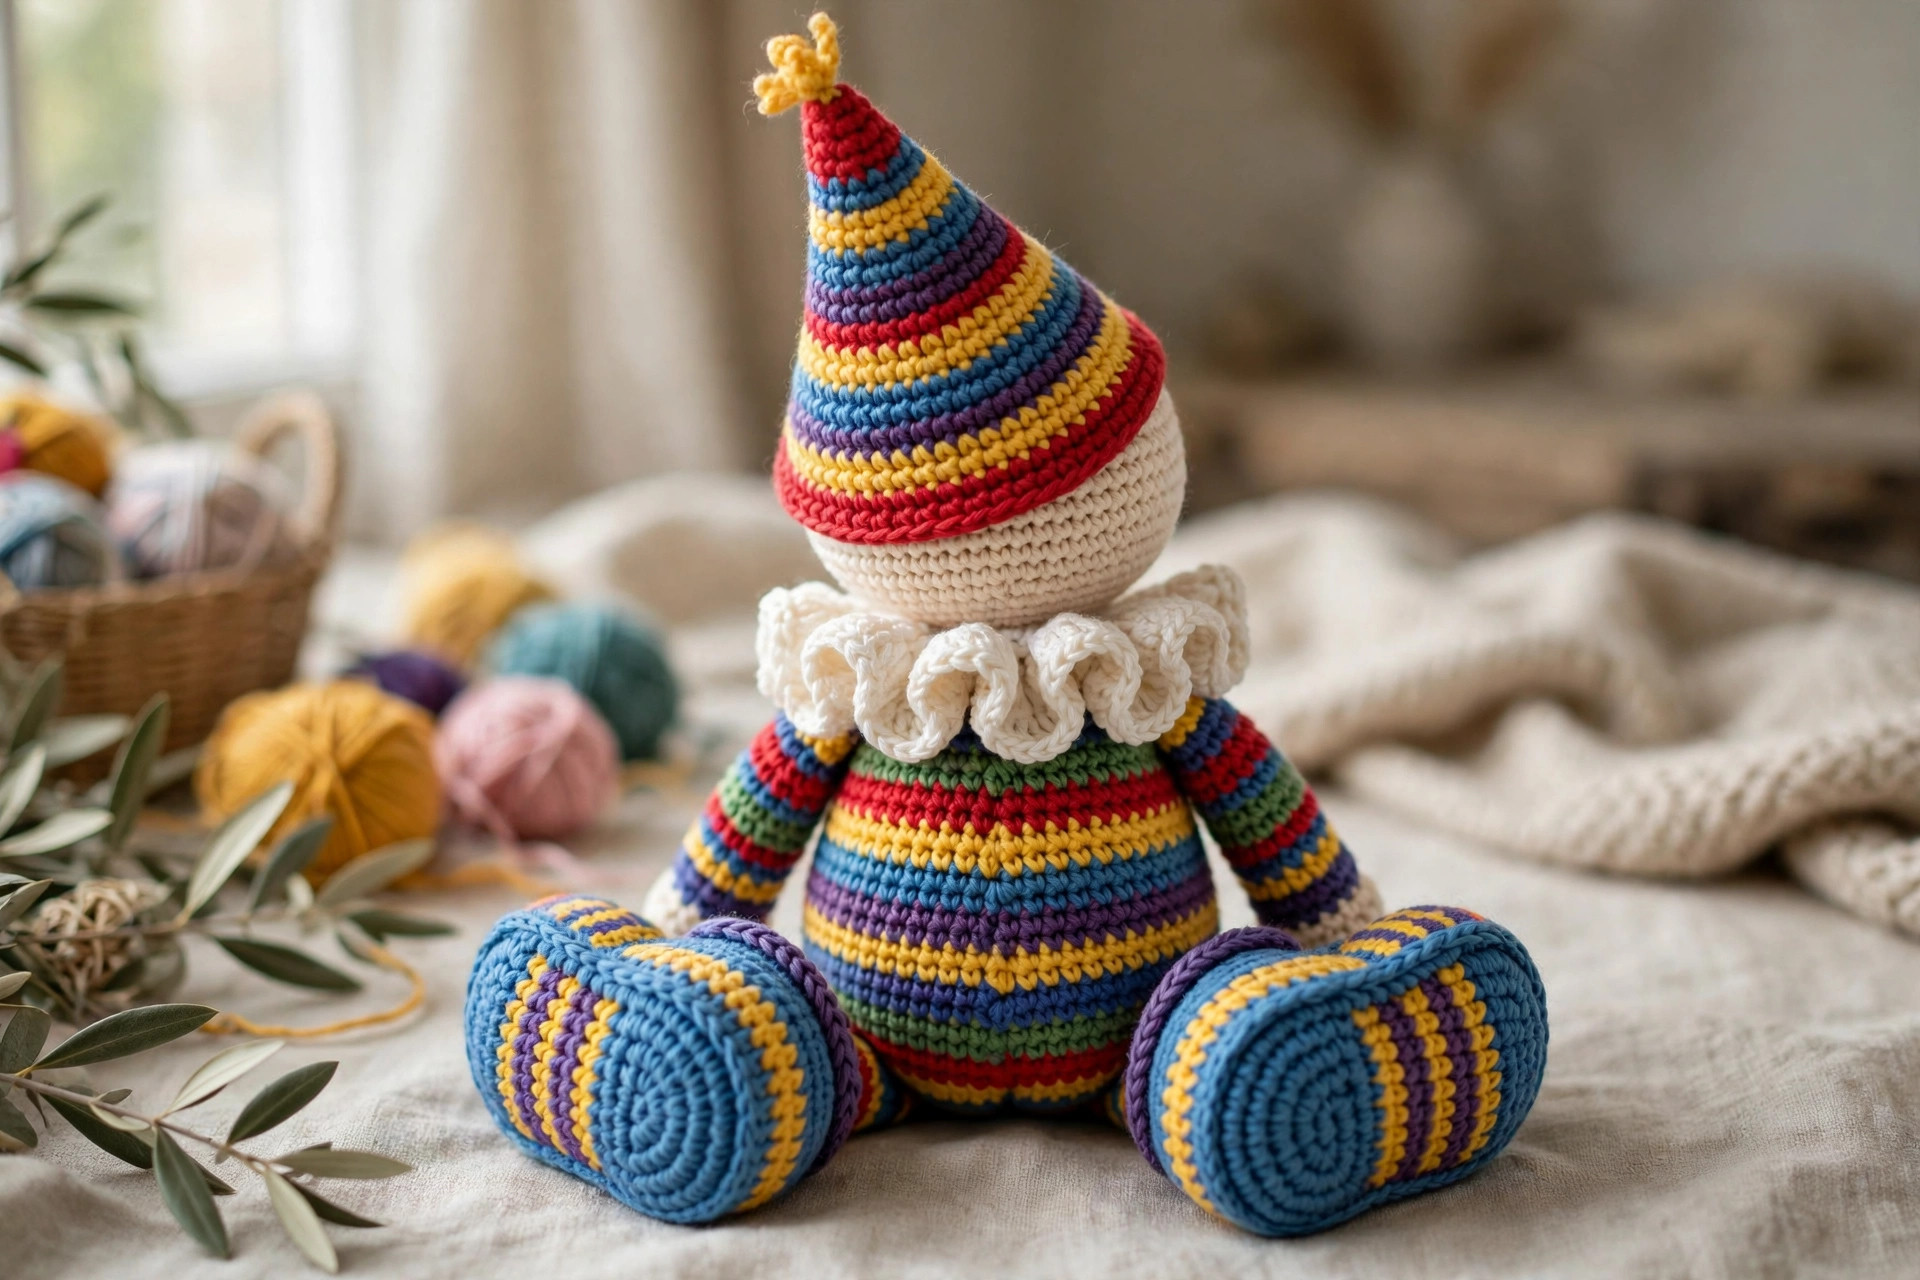
Mind your stripe joins. Colour changes in a spiral leave a small step. Start your colour sequence at the back of the body, and let the arms, collar, and buttons distract the eye.
Stuff in small handfuls. Tear stuffing into wisps rather than jamming in one lump — small pieces fill curves evenly and prevent lumpy cheeks. A chopstick reaches shoe toes and the hat tip perfectly.
Make it a set. A clown loves company — pair this doll with the free crochet jester hat pattern as a dress-up gift, or build a circus shelf with the free crochet pattern hippo.
FAQ
Is this clown pattern really beginner friendly? It suits a confident beginner who has made a simple amigurumi ball or one small toy. Every stitch is basic, shaping is gradual, and each piece is small enough to remake quickly.
How long does the clown take to make? Most makers finish in 6 to 9 hours over a weekend. The head and body take longest; the nose, buttons, and tufts are quick evening pieces. Give assembly an unhurried hour — rushing the face is the one shortcut you will regret.
Can I sell clowns made from this pattern? Yes — you may sell finished dolls made by hand, at markets or in your own shop, with a credit line naming Little Loop Finds as the designer. Please do not share, resell, or republish the written pattern itself.
What yarn works best for amigurumi clowns? A smooth DK cotton or cotton-acrylic blend holds spiral stitches crisply and keeps colours clean. Pure acrylic is softer and more washable. Either way, use a hook about two sizes smaller than the ball band suggests for dense fabric.
How do I make a bigger clown? Use worsted or chunky yarn with a matching hook and follow the pattern exactly — every piece scales together. A chunky version finishes around 16 to 18 inches tall. Use larger eyes, about 12 to 14 mm, to keep the face balanced.
Can I wash the finished doll? Yes. Hand wash in cool water with mild soap, press water out in a towel without wringing, reshape, and dry flat away from direct heat.
How do I stop the head from wobbling? Stuff the neck join extra firmly, sew two passes around the head-body seam, and let the collar sit snugly over the join for hidden support.
The box below contains an Etsy link. If you buy through it, we may earn a small commission at no extra cost to you. Learn more.
No time to make one?
Love clowns? Shop handmade amigurumi clown dolls on Etsy
Browse on Etsy (opens Etsy in a new tab)