One piece crochet teddy bear pattern: free & easy
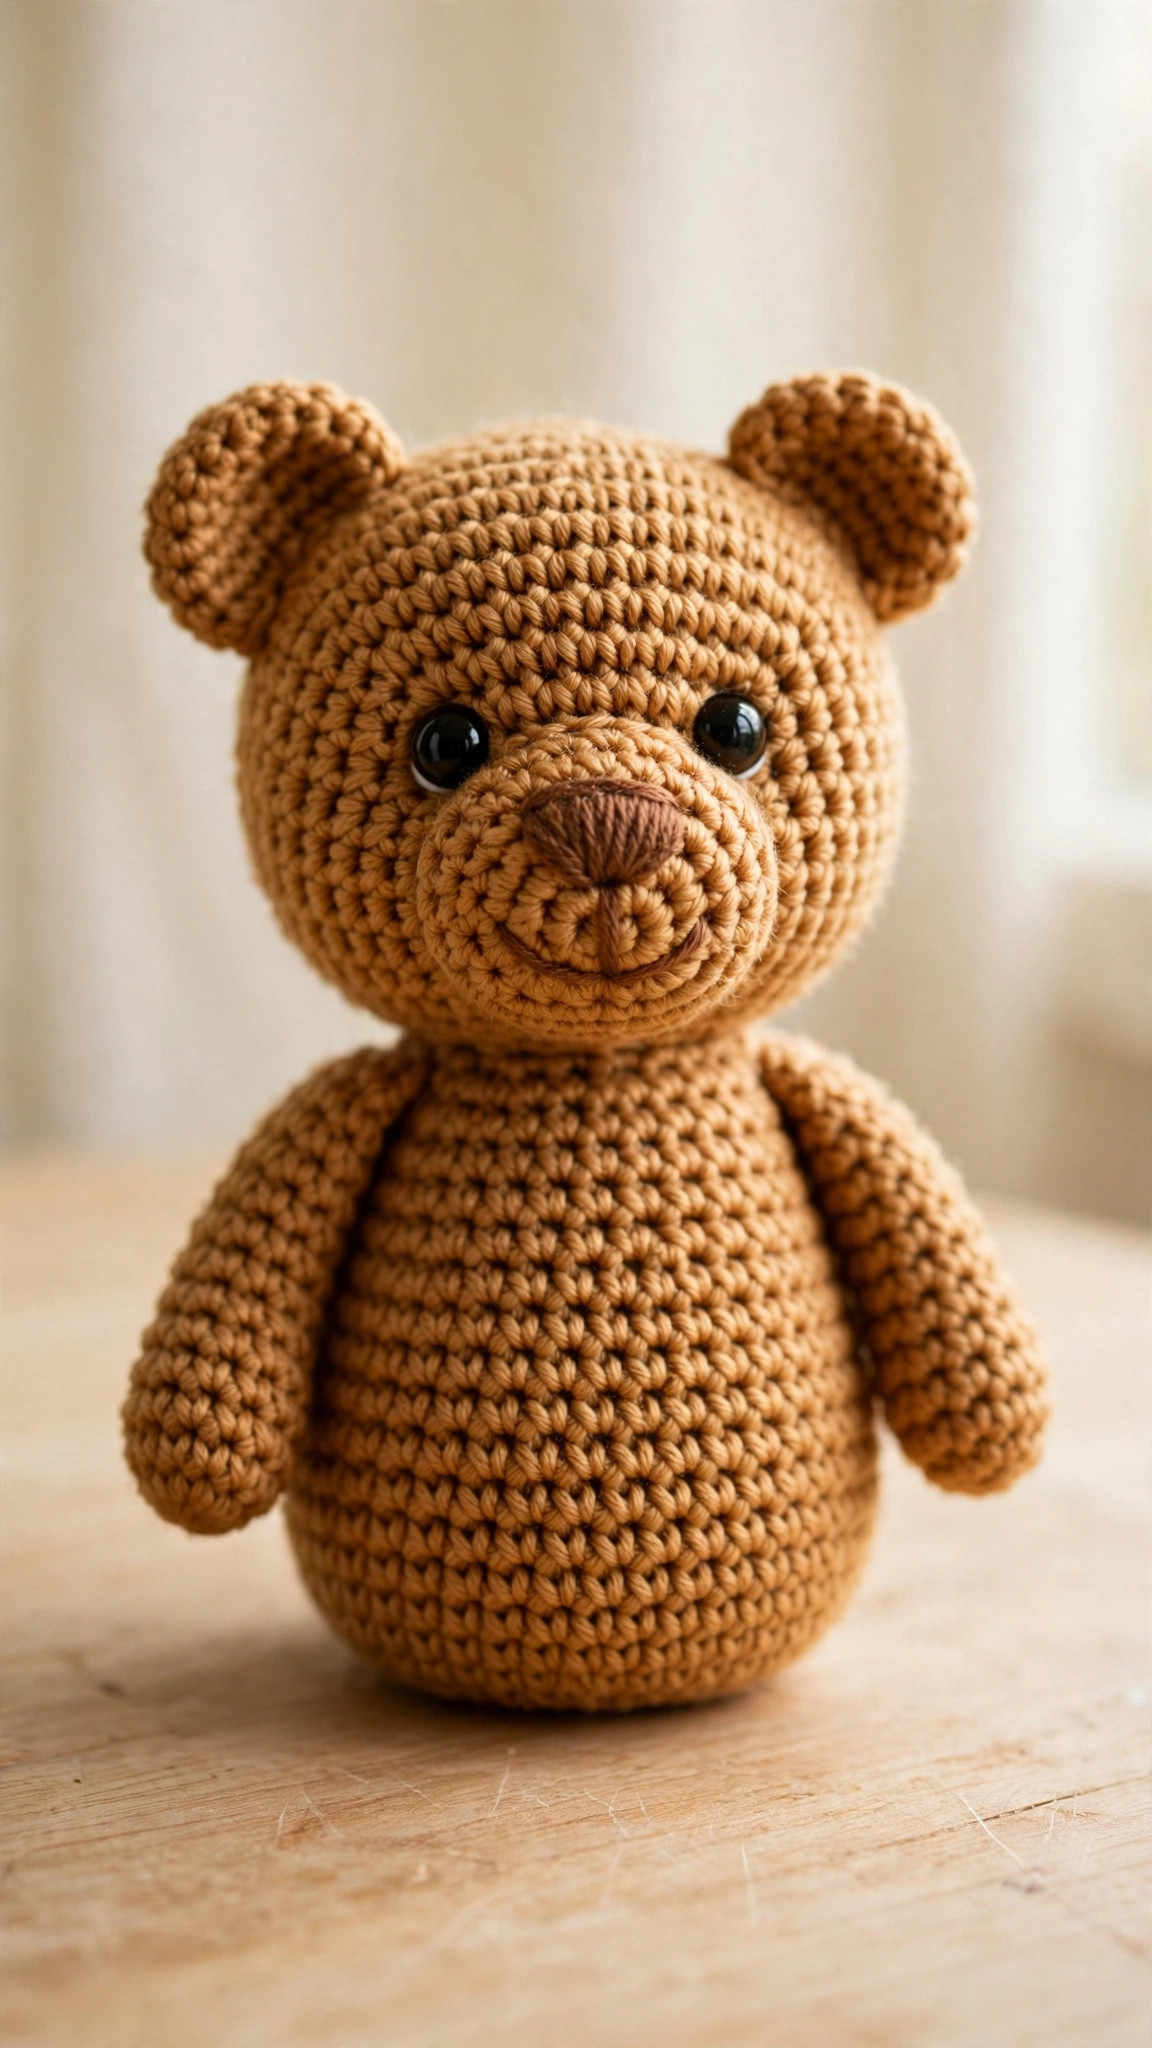
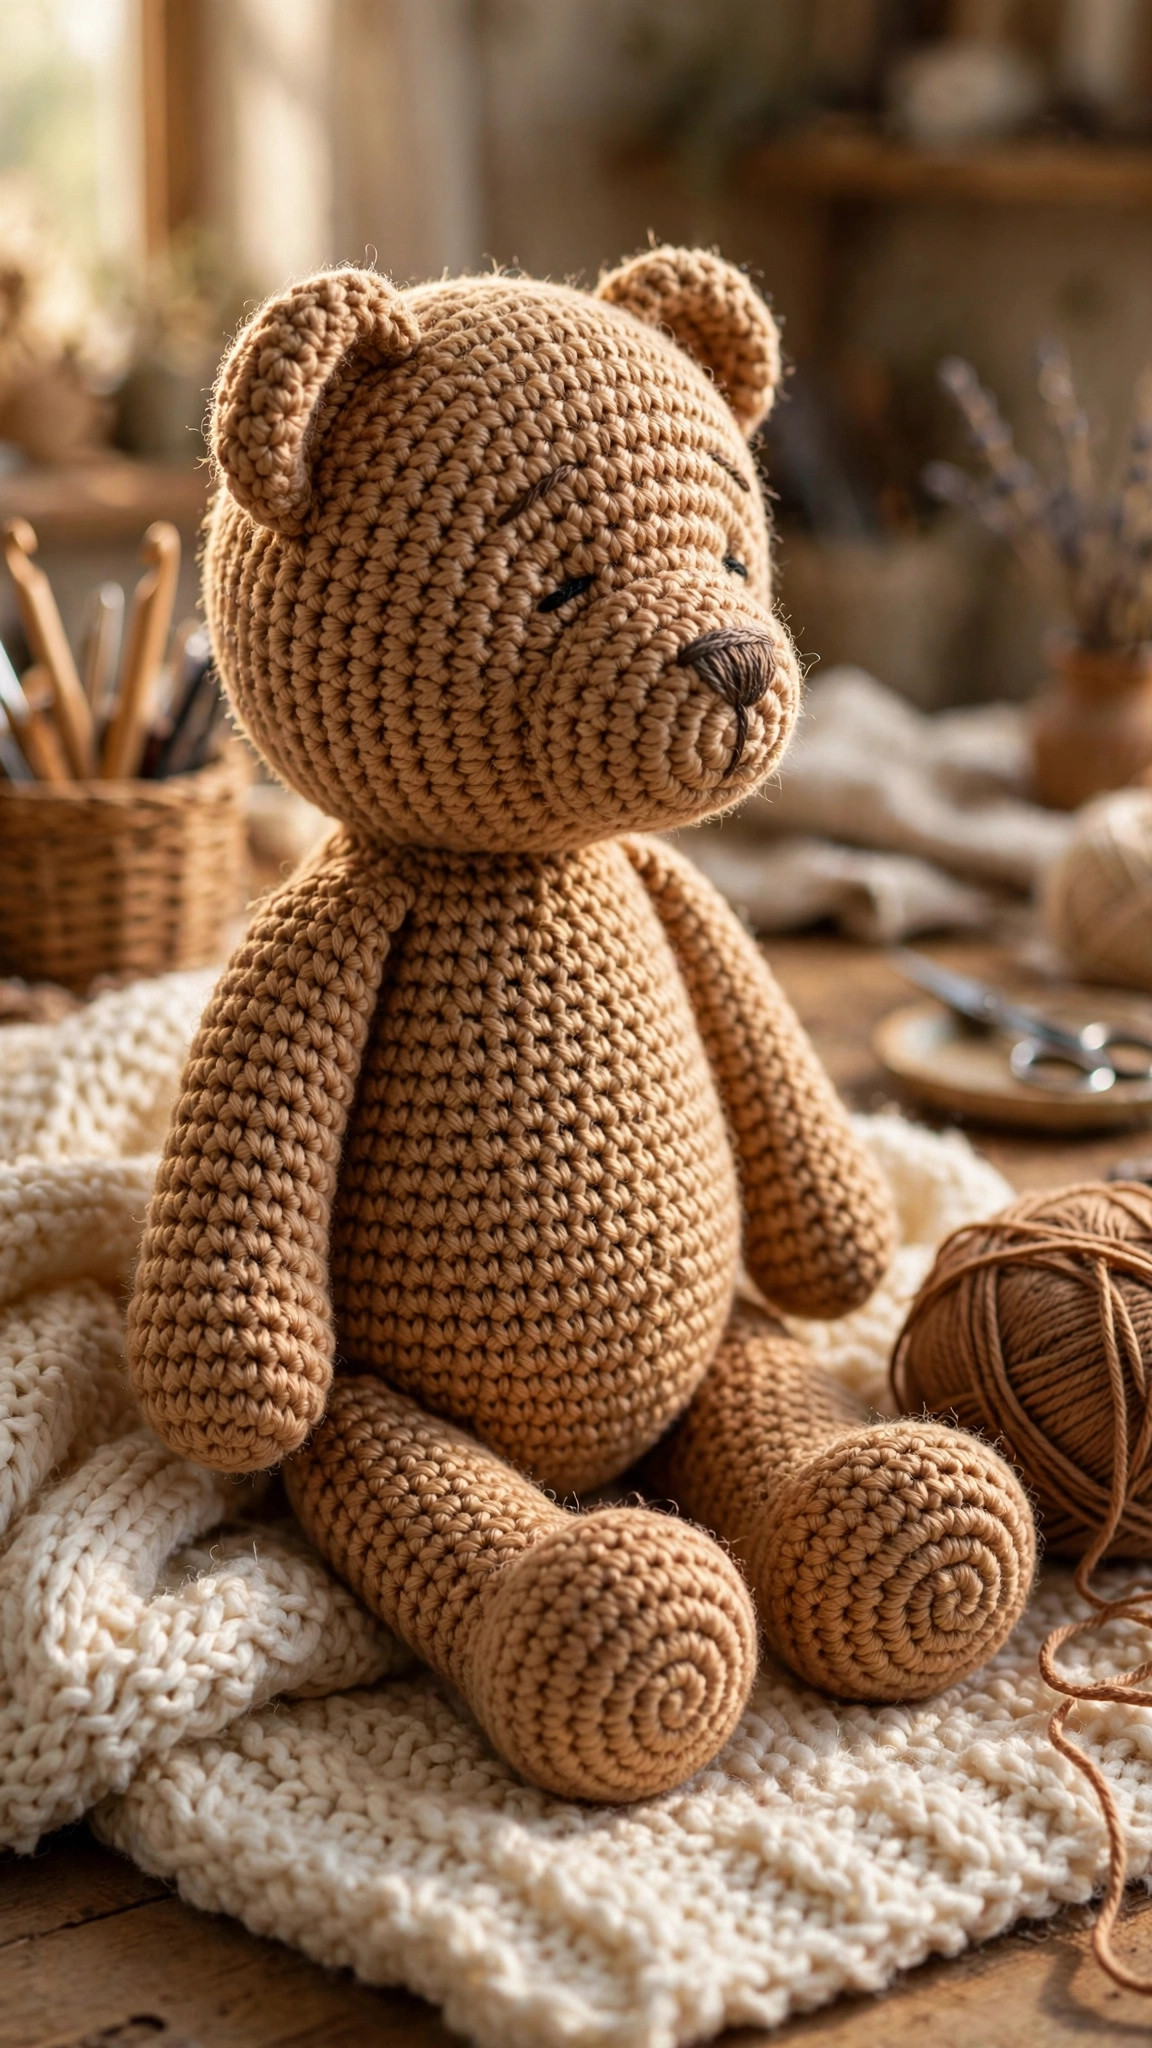
A classic teddy bear crocheted the clever way: start at the feet, join the legs, and keep going up through the tummy and straight into the head — one continuous piece, no sewing the body together, with just the arms and ears to stitch on at the end.

Amigurumi · Crochet
- Finished size
- About 20 cm / 8 in tall
- Making time
- About 3–4 hours
- Hook
- 3.5 mm, worsted-weight yarn
- Pieces
- One piece body + arms & ears
- Skill
- Beginner
In this post
Every amigurumi maker knows the moment. The crocheting is done, the pieces are adorable — and then comes the sewing. A head that wobbles, a leg sewn on at a jaunty angle, a body seam that never quite lines up. This one piece crochet teddy bear pattern was designed to skip almost all of that. You start at the feet, crochet two little legs, join them without breaking your yarn, and simply keep going — up through a round tummy, a gentle neck pinch, and straight into the head. Legs, body and head come off your hook as one single continuous piece. The only sewing left is two small arms and two ears, plus a few embroidery stitches for the face.
Why you'll love this one piece teddy bear pattern
Most teddy patterns hand you a pile of separate parts — two legs, a body, a head — and a hopeful diagram for putting them together. This one is honest about its construction from the first round: the body really is one piece. Because the head grows directly out of the body, it can never wobble, tilt or work loose the way a sewn-on head can. The join between the legs is crocheted, not stitched, so there is no weak seam at the crotch and no gap to stuff shut later. Your bear sits and stands with a sturdiness that sewn-together bears rarely manage.
It is also a wonderfully fast make. You crochet one growing piece, stuffing as you go, and watch a bear emerge in real time — feet first, then tummy, then that big round head. Beginners love it because the shaping is all standard increase and decrease math. Experienced makers love it because it is the perfect last-minute gift bear: start after lunch, embroider the smile before bed. If you enjoyed the sturdiness of our highland cow crochet pattern, you will feel right at home with the spiral techniques here.
Materials you'll need
| Supply | What to get |
|---|---|
| Main yarn | Worsted-weight (#4) acrylic or cotton in honey brown, caramel or your favourite bear colour, about 100 g |
| Muzzle yarn | Worsted-weight cream or light tan, about 15 g (optional muzzle patch) |
| Embroidery yarn | Small amount of dark brown or black for the nose and mouth |
| Crochet hook | 3.5 mm (E-4) |
| Safety eyes | 10 mm black, one pair (or embroidery thread for the baby-safe option) |
| Stuffing | Polyester fiberfill, a generous handful |
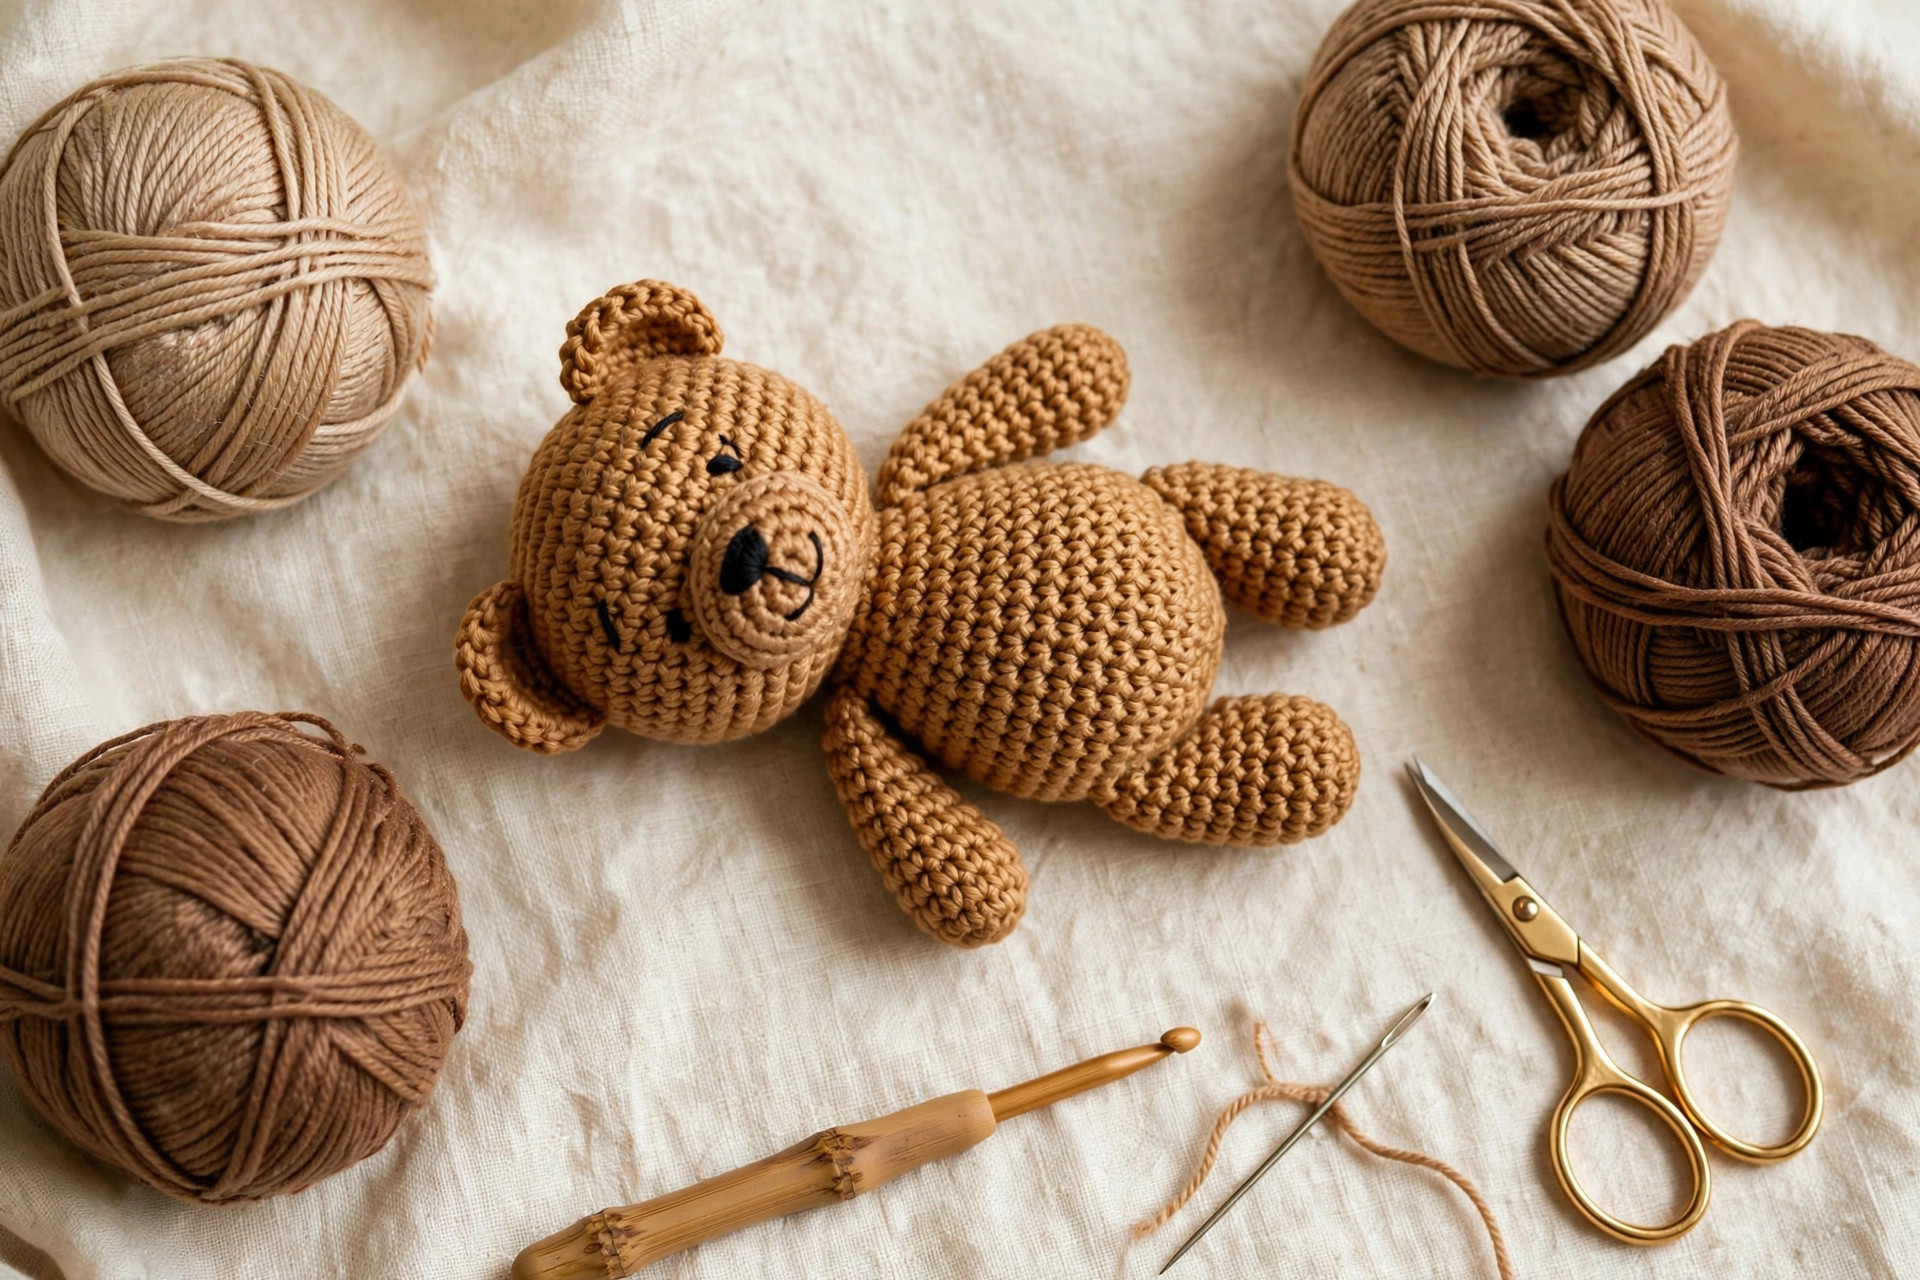
| Notions | Tapestry needle, stitch markers, scissors |
A quick note on yarn choice: smooth worsted acrylic is the friendliest option — it slides easily, shows your stitches clearly while you count, and survives years of hugs and washing. Cotton gives a firmer bear with beautiful stitch definition. Avoid chenille and fluffy novelty yarns for your first one piece bear; they hide the joins between the legs, and this is the one pattern where you really want to see what your hook is doing on the joining round.
Size, gauge and skill level
- Finished size: about 20 cm (8 in) tall from feet to the top of the head, about 11 cm (4.5 in) wide across the tummy.
- Gauge: not critical for amigurumi — what matters is tight, even fabric so no stuffing peeks through. As a rough guide, 4 single crochets should measure about 2.5 cm (1 in). If you can see daylight between stitches, drop down a hook size.
- Skill level: confident beginner. You should know the magic ring, single crochet, increase and decrease. The leg join sounds advanced but is honestly just "crochet around one leg, then crochet around the other" — the pattern walks you through it stitch by stitch.
Stuffing as you go — the one rule of one piece bears: because the body is continuous, you cannot stuff everything at the end through one big opening. Stuff each leg lightly before the join, stuff the body firmly before the neck pinch round, and stuff the head before the final decrease rounds close it. Little and often beats one heroic shove with a chopstick.
Abbreviations — US terms
| Abbreviation | Meaning |
|---|---|
| MR | magic ring |
| sc | single crochet |
| inc | increase (2 sc in the same stitch) |
| dec | decrease (sc 2 together — invisible decrease recommended) |
| st(s) | stitch(es) |
| ch | chain |
| R | round |
| FO | fasten off |
A note on decreases: the invisible decrease — insert your hook into the front loop only of the next two stitches, yarn over, pull through both loops, yarn over, pull through two loops — keeps the fabric smooth with no gaps or bumps. Use it everywhere this pattern says "dec", especially on the head, and your bear will look professionally finished.
The pattern (US terms)
Work in continuous spirals unless noted. Mark the first stitch of each round and move the marker up as you go. Stitch counts are in parentheses at the end of every round — count as you work, because in a one piece design an early miscount travels all the way up to the head. Do not fasten off between the legs, body and head: it is one unbroken piece of crocheting from R1 to R38.
First leg — main colour
- R1: MR, 6 sc (6)
- R2: inc in each st (12)
- R3–R6: sc in each st around (12) — 4 rounds even
- FO, weave in the tail. Stuff the leg lightly — just enough to hold its shape. Set it aside; you will crochet it back in very soon.
Second leg and the join — main colour
Crochet the second leg exactly as the first, but this time do not fasten off:
- R1: MR, 6 sc (6)
- R2: inc in each st (12)
- R3–R6: sc in each st around (12) — 4 rounds even
- Stuff this leg lightly to match the first.
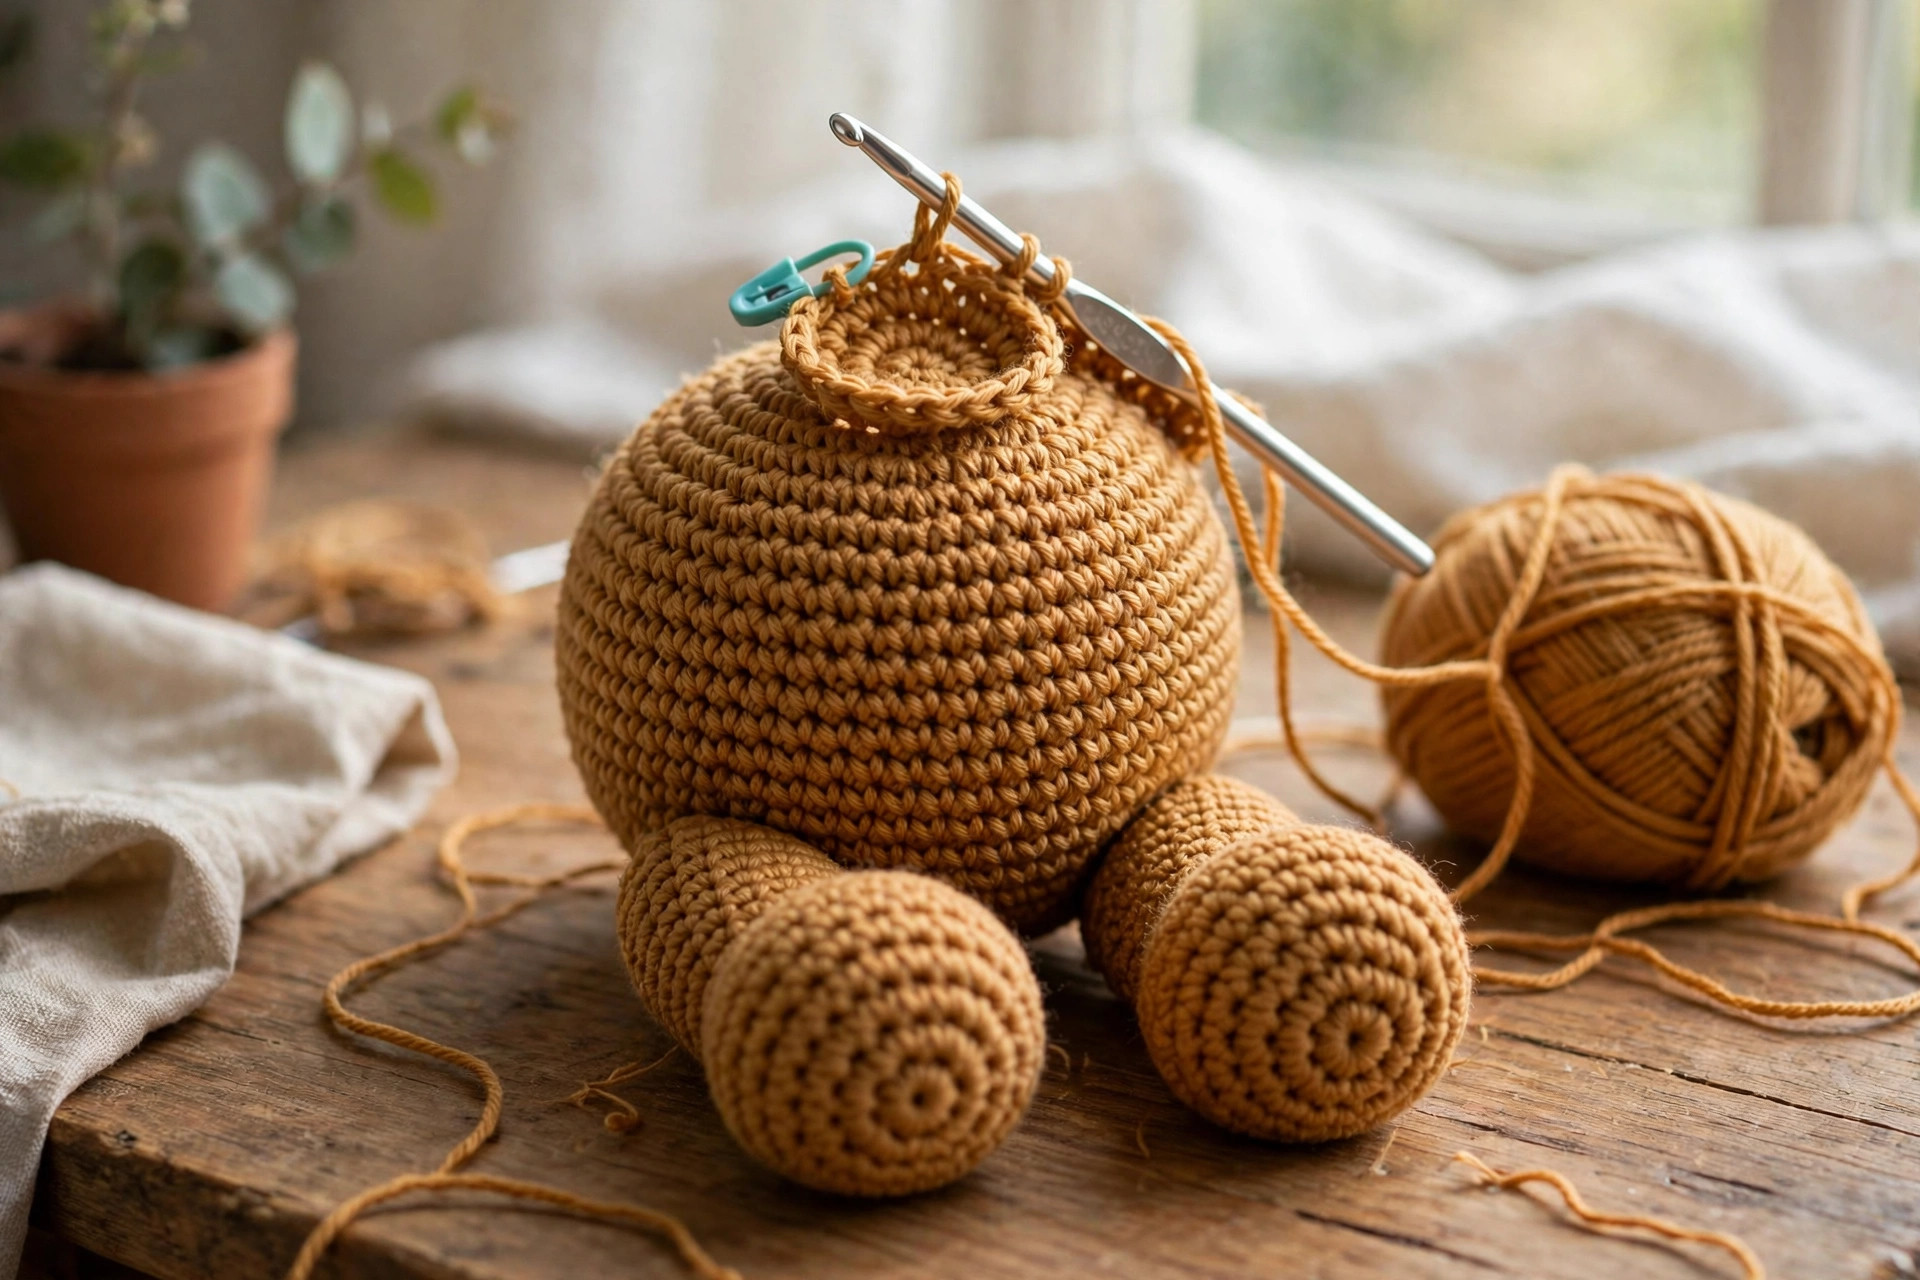
- R7 (join round): sc in each st of the second leg (12), then — without breaking the yarn — insert your hook into the first stitch of the first leg and sc in each st of the first leg (12). You have just crocheted one big round around both legs (24). Place your marker here: this is the top of the body section, and both legs are now one piece.
Take a breath and admire it. That odd-looking double tube is right. From here it is an ordinary spiral again, just a wider one.
Body — continue without breaking yarn
- R8: [2 sc, inc] × 8 (32)
- R9: [3 sc, inc] × 8 (40)
- R10–R15: sc in each st around (40) — 6 rounds even. This is the round tummy section; it is also where a colour change looks adorable if you fancy a two-tone bear (see Variations).
- R16: [3 sc, dec] × 8 (32)
- R17: sc in each st around (32)
- R18: [2 sc, dec] × 8 (24)
- R19: sc in each st around (24)
- Stuff the body firmly now, paying attention to the tummy — pack it evenly so the bear sits flat on both feet without leaning. Top up the legs if they feel hollow.
Neck and head — still the same piece
- R20 (neck pinch): [sc, dec] × 8 (16). This narrower round is the neck. It is what gives the bear its classic silhouette — and because it is crocheted rather than sewn, the head will never wobble.
- R21: [sc, inc] × 8 (24). The head begins here.
- R22: [2 sc, inc] × 8 (32)
- R23: [3 sc, inc] × 8 (40)
- R24: [4 sc, inc] × 8 (48)
- R25–R32: sc in each st around (48) — 8 rounds even
- Insert the safety eyes between R29 and R30, about 8 stitches apart, centred on the face — check from the front that they sit level with each other and above where the muzzle will go before you click the washers on.
- R33: [4 sc, dec] × 8 (40)
- R34: [3 sc, dec] × 8 (32)
- Stuff the head firmly and evenly, shaping it round with your palms as you go.
- R35: [2 sc, dec] × 8 (24)
- R36: [sc, dec] × 8 (16)
- R37: dec × 8 (8)
- R38: FO, leaving a short tail. Thread the tail through the front loops of the remaining 8 stitches, pull tight to close, and weave in. Your bear's entire body — feet to crown — is finished, and you have not sewn a single seam.
Arms — main colour, make 2
- R1: MR, 6 sc (6)
- R2: [sc, inc] × 3 (9)
- R3–R7: sc in each st around (9) — 5 rounds even
- R8: [sc, dec] × 3 (6)
- FO, leaving a long tail (about 30 cm / 12 in) for sewing. Stuff only the lower half of each arm, very lightly — a firm arm sticks straight out instead of lying against the body. Flatten the open top edge.
Ears — main colour, make 2
- R1: MR, 6 sc (6)
- R2: inc in each st (12)
- R3: [sc, inc] × 6 (18)
- R4: sc in each st around (18)
- R5: [sc, dec] × 6 (12)
- FO, leaving a long tail for sewing. Do not stuff. Flatten each ear into a shallow cup shape — that gentle curve is what makes it read as a teddy ear.
Muzzle patch — cream, optional
- R1: MR, 6 sc (6)
- R2: inc in each st (12)
- R3: [sc, inc] × 6 (18)
- R4: sc in each st around (18)
- FO, leaving a long tail for sewing. Do not stuff, or add the tiniest pinch behind it as you sew for a softly raised muzzle.
Assembly — the only sewing there is
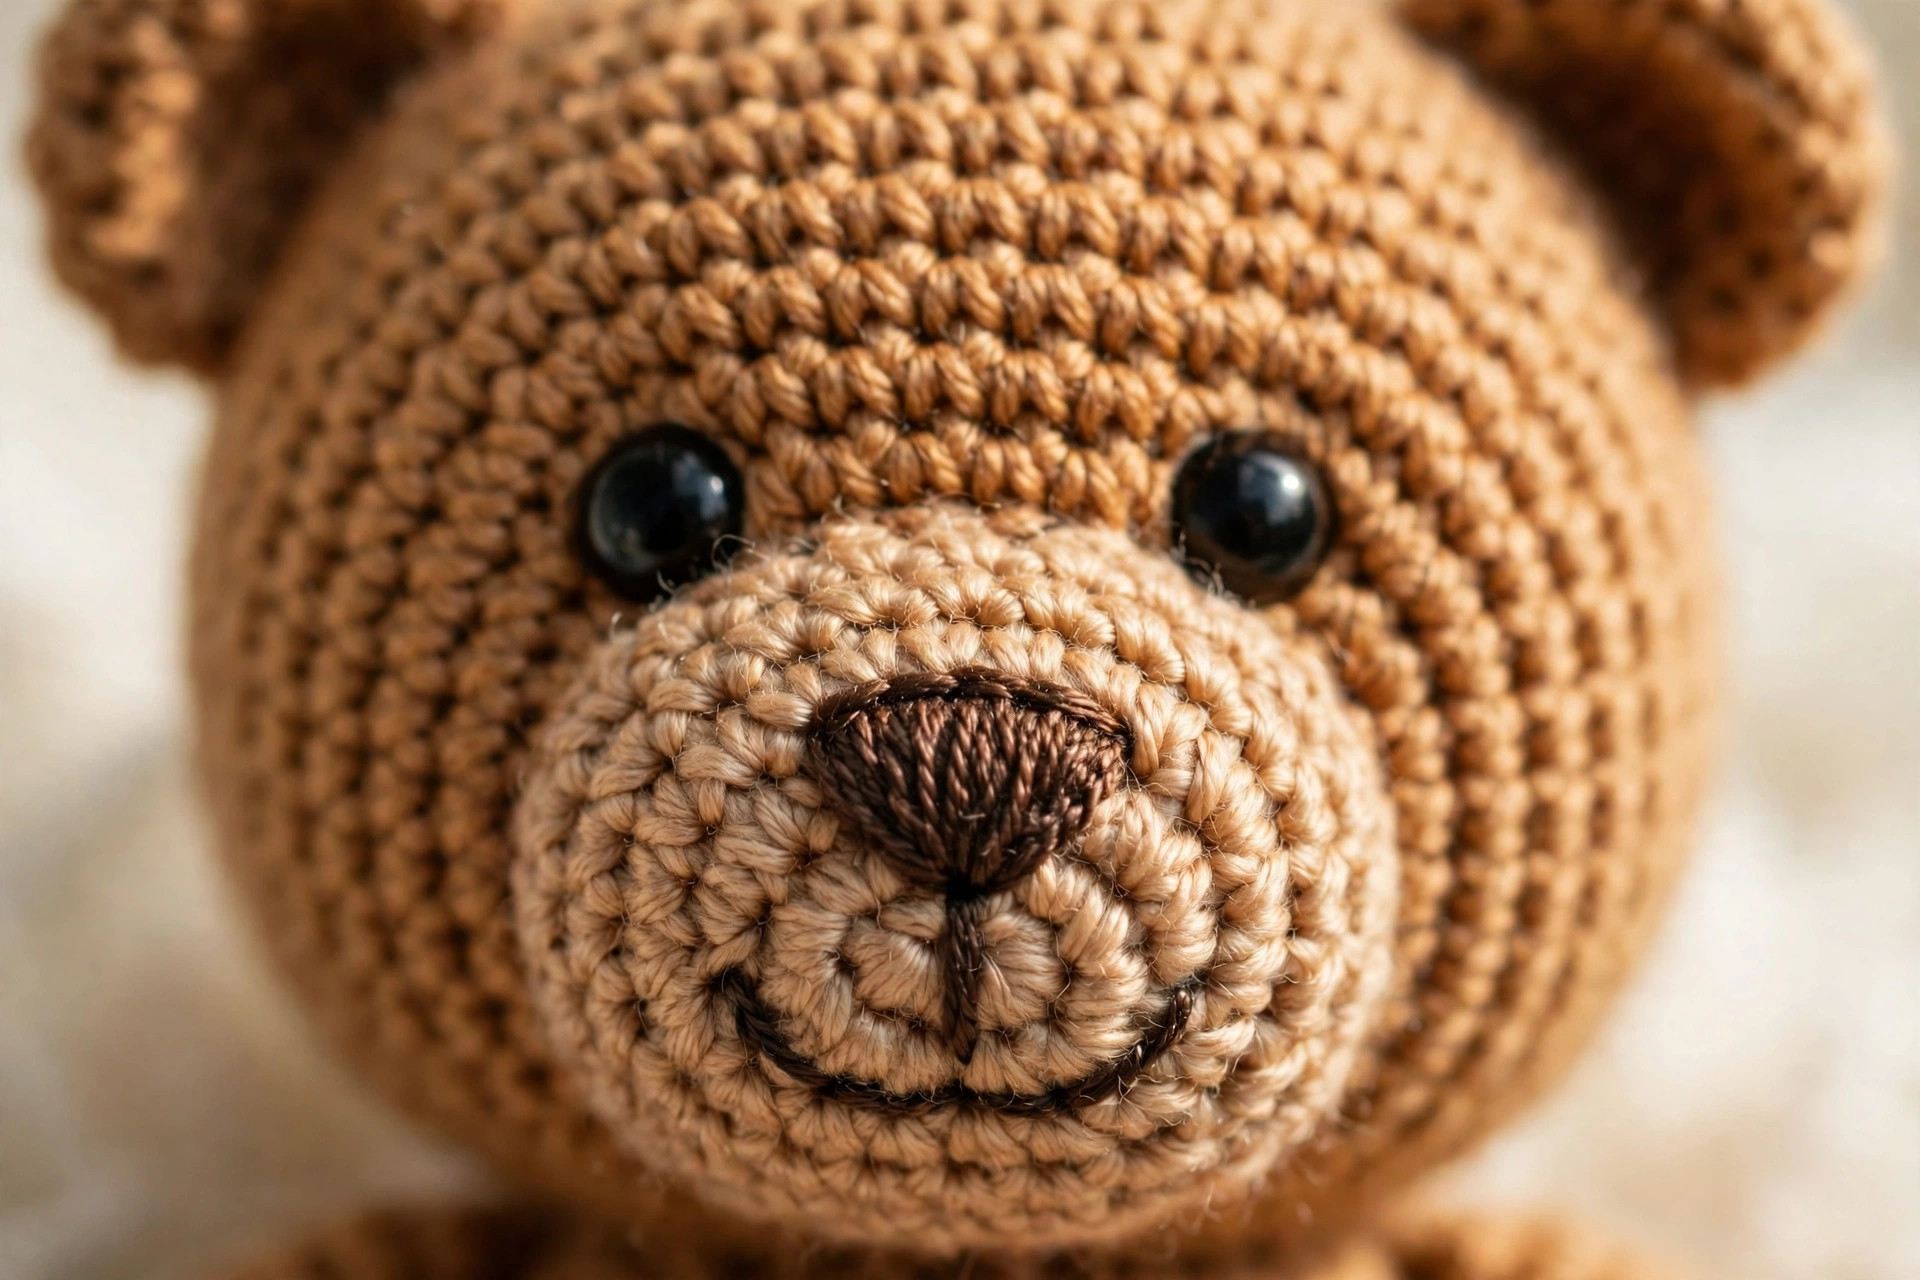
- Muzzle first. Pin the muzzle patch to the lower front of the head, centred between and below the eyes, its top edge just under the eye line. Sew around the edge with small whipstitches using the long tail.
- Nose and mouth. With dark brown yarn, embroider the nose as a horizontal oval of satin stitches in the centre of the muzzle, about 3 stitches wide. From the bottom centre of the nose, stitch one short vertical line down, then two small diagonal lines out and up for the classic teddy mouth. Embroidery unpicks cleanly, so a redo is no disaster.
- Ears. Pin each ear to the top of the head, roughly above the outer edge of each eye, cupped side facing forward. Sew around the base with the long tail, going around twice — ears get grabbed, pulled and chewed, so make this join strong.
- Arms. Pin the arms to the sides of the body just below the neck pinch (around R19–R20 of the body), angled very slightly forward. Check from the front that they sit at the same height, then sew each flattened top edge to the body with the long tail, again going around twice.
That is genuinely all the sewing — four small pieces, fifteen minutes, no structural seams anywhere.
Finishing touches
Check the sit. Set your bear down on a flat surface. A well-stuffed one piece bear sits upright on its feet and bottom edge without toppling. If yours leans, the body stuffing is uneven — massage the fiberfill through the fabric with your fingers toward the lighter side. Nine times out of ten, redistribution fixes it.
Baby-safe eyes option. For a bear going to a baby or toddler, skip the safety eyes entirely and embroider the eyes instead: two small vertical ovals of satin stitch in black yarn, or two sleepy closed-eye curves for a newborn gift. Embroidered eyes cannot come loose, wash beautifully, and give the bear a sweet handmade look. Embroider the face before sewing on the ears, while you can still judge the proportions clearly.
Three sweet variations to try next
- Two-tone tummy bear. Switch to cream for the tummy rounds (R10–R15), then back to the main colour. Because the body is one piece, the colour change lands in a perfect clean band — it looks like a designed belly panel and costs you nothing but two yarn changes.
- Tiny bear. Drop to DK or sport-weight yarn with a 2.75 mm hook and follow the pattern exactly as written. You simply get a pocket-sized bear of about 13 cm — perfect as a keyring charm, a nursery mobile bear, or a whole litter of party favours.
- Big cuddle bear. Chunky chenille yarn and a 5.5 mm hook produce a gloriously squishy bear of around 30 cm. Chenille hides stitch definition, so count by feel and lean on your stitch markers — and embroider the eyes rather than using safety eyes, which can sink into plush yarn.
For a gift set, pair your bear with the matching bonnet from our baby bonnet crochet pattern — a bear in a bonnet is almost unfairly cute at a baby shower. And the crochet panda bear pattern uses similar spiral shaping with bold black-and-white colourwork for a completely different personality.
Troubleshooting tips
- There is a gap or hole between the legs at the join. Work the first stitch of the first leg snugly on R7 and keep your tension firm across the join. If a small hole remains after stuffing, close it with two discreet stitches — it hides completely in the fold between the legs.
- The two legs point in different directions. The feet twisted while you worked the join. Prevent it by lining the legs up side by side, both "toes" facing the same way, before starting R7 — the first stitch of each leg should sit at the back.
- The head tips forward or back. Almost always a stuffing issue at the neck, not a pattern issue. The neck pinch (R20) needs firm stuffing directly below and above it — massage more fiberfill into the lower head through the fabric.
- You can see stuffing through the stitches. Your tension loosened as the rounds grew — very common on the body section. Conscious tightening helps; if it keeps happening, drop to a 3.25 mm hook for the body and head.
- Your stitch counts drift on the even rounds. Count at the end of every increase and decrease round at minimum, and trust your marker: if the round does not end exactly at the marker, something drifted in that round only — frog back just that far.
Frequently asked questions
Is this one piece teddy bear pattern really free?
Yes — the complete pattern above is free, no email signup and no purchase required. If you would like to support the site, sharing the post or saving it on Pinterest is the kindest thank-you.
Is the bear really made in one piece?
The legs, body and head are — one continuous spiral of crocheting from the first foot to the top of the head, with no seams and no sewing on the body at all. The arms and ears are small separate pieces sewn on at the end, and the nose and mouth are embroidered. "One piece body, minimal sewing" is the fair description.
What skill level do I need?
Confident beginner. If you can work a magic ring and single crochet in the round, and you have tried increasing and decreasing at least once, you can make this bear. The leg join is the only unfamiliar moment, and it is genuinely just crocheting around two legs in one round.
How long does it take to make?
About 3–4 hours total: roughly 2.5–3 hours of crocheting the one piece body, 20 minutes for the arms and ears, and 15 minutes of sewing and embroidery. Many makers finish this bear in a single sitting.
Can I sell the finished bears I make?
Yes! You may sell finished bears made from this pattern in small batches — craft fairs, markets, online shops, gifts. Please credit Little Loop Finds as the designer with a link back to this page. The pattern text and photos themselves may not be redistributed or sold.
Is this bear safe for babies?
With embroidered eyes instead of safety eyes, yes — see the baby-safe option in Finishing touches. Sew the arms and ears on with two full rounds of stitching, and check the bear over before gifting. Embroidered features cannot come loose, which is exactly what you want for under-threes.
Can I use a different yarn weight?
Absolutely — the stitch math does not change at all. Finer yarn with a smaller hook gives a smaller bear; chunky yarn gives a bigger one. Both variations above use this exact pattern with different yarn. Just keep your fabric tight enough that stuffing stays invisible.
More free patterns to try
If this bear has you hooked on amigurumi animals, the little lamb baby snuggle gift set pairs a small plush with a lovey and hat for the ultimate handmade baby gift. The woodland nursery mobile shows you how to turn small crocheted animals — including a tiny version of this bear — into hanging nursery decor. And the free crochet parrot pattern brings bright colourwork and a very cheeky personality to your amigurumi shelf.
The box below contains an Etsy link. If you buy through it, we may earn a small commission at no extra cost to you. Learn more.
No time to make one?
Short on time? Find handmade crochet teddy bears from independent makers on Etsy.
Browse on Etsy (opens Etsy in a new tab)