Sleep mask crochet pattern: contoured & comfy
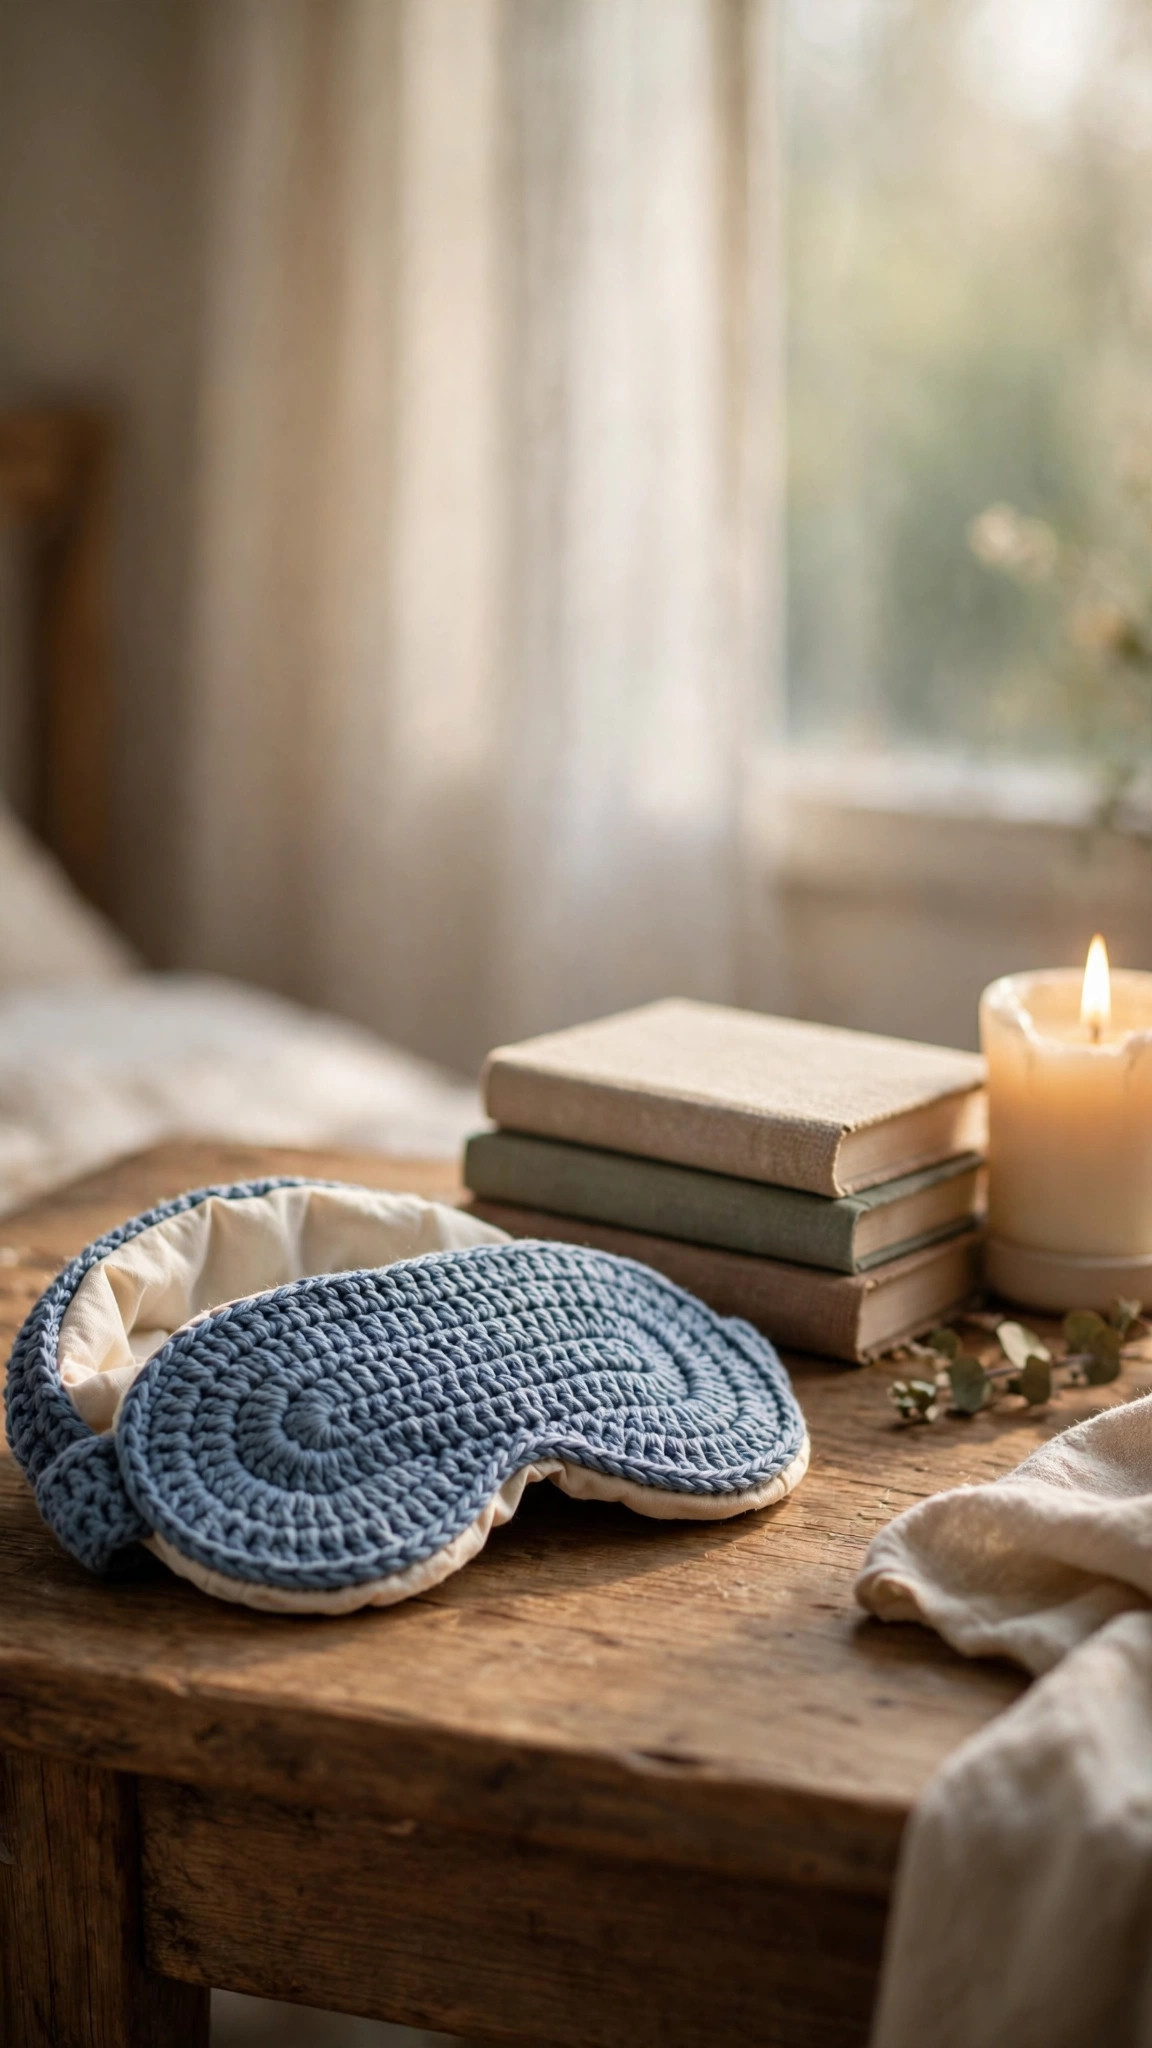
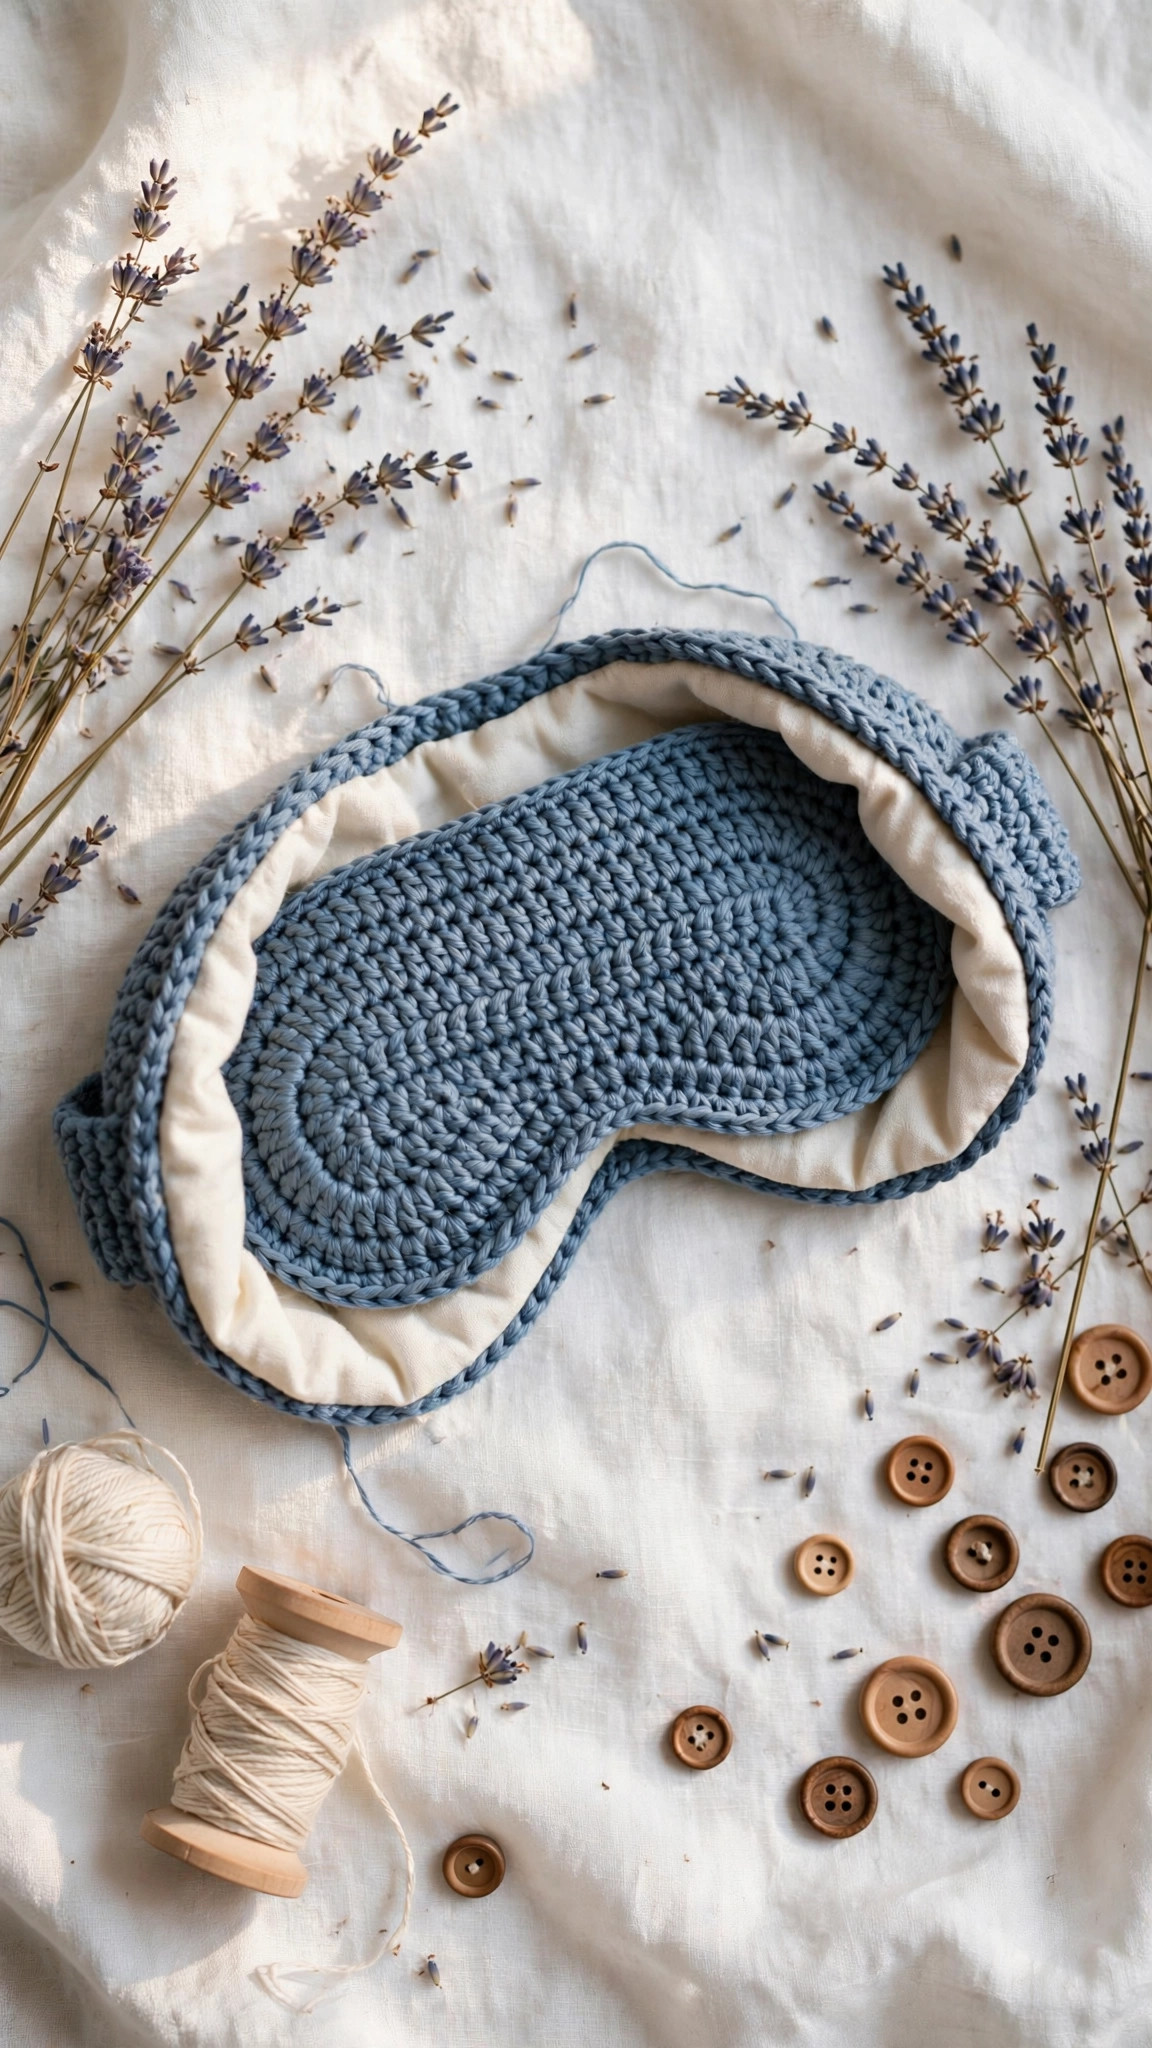
A contoured sleep mask with two domed cups that arch over your eyes instead of pressing on them — worked in dense single crochet with a soft cotton lining, your choice of elastic-casing or tie straps, and a little inside pocket for a lavender sachet.

Self-Care · Crochet
- Finished size
- About 19–20 cm / 7.5–8 in wide
- Making time
- About 2–3 hours
- Hook
- 3.5 mm, worsted-weight cotton
- Extras
- Lining + optional sachet pocket
- Skill
- Easy
In this post
There's a special kind of tired that only a bad sleep mask understands. The drugstore kind slides up your forehead by 2 a.m., or worse, presses flat against your eyelids so every blink feels like a tiny argument. This original sleep mask crochet pattern fixes both problems at once: it's contoured, with two gently domed cups that arch over your eyes instead of squashing them, so your eyelids move freely and total darkness actually stays total. A soft cotton lining sits against your skin, the strap comes in two styles (stretchy elastic hidden in a crocheted casing, or simple tie-on ribbons), and there's an optional little pocket inside that holds a lavender sachet — because falling asleep should smell like a garden, not a hotel pillow.
Dense single crochet plus the lining blocks light far better than any lacy design could. It's a genuinely useful make, a lovely gift, and it crochets up in an evening or two.
Table of contents
- Why you'll love this sleep mask crochet pattern
- Materials you'll need
- Size, gauge and skill level
- Abbreviations — US terms
- The pattern (US terms)
- Finishing touches
- Four pretty variations to try next
- Troubleshooting tips
- Key takeaways
- Frequently asked questions
- More free patterns to try
Why you'll love this sleep mask crochet pattern
Most crochet sleep mask patterns are flat rectangles — and flat is exactly the problem. A flat mask rests directly on your eyelashes, lets light leak in around the nose, and rides up the moment you turn over. This design is built differently: two domed cups, each worked in the round with real shaping math, create a contoured pocket of air over each eye. Your lids can flutter in REM sleep without touching fabric, and the curved shape hugs the bridge of your nose so the morning sun stays outside where it belongs.
The second win is the lining: a single layer of soft cotton sewn inside closes the tiny pinpricks of light between stitches and feels cool and smooth against your skin. And the lavender pocket turns a useful object into a ritual — tuck in a tablespoon of dried buds and the last thing you smell before sleep is a Provençal garden.
It's also wonderfully stash-friendly: less than 50 grams of yarn, a scrap of cotton, and either a bit of elastic or nothing at all with the tie straps. Make one for yourself, then three more — these vanish into gift bags.
Materials you'll need
| Supply | What to get |
|---|---|
| Main yarn | Worsted-weight (#4) cotton in dusty blue (or your color), about 50 g |
| Crochet hook | 3.5 mm (E-4) |
| Lining fabric | Soft cotton (an old pillowcase is perfect), a 22 × 10 cm scrap |
| Pocket fabric | Cotton, a 7 × 6 cm scrap (optional, for the sachet pocket) |
| Muslin pouch | Small 5 × 4 cm drawstring pouch or a scrap of muslin (optional) |
| Dried lavender buds | About 1 tablespoon (optional) |
| Elastic | 1 cm-wide soft elastic, about 50 cm (strap option A only) |
| Notions | Tapestry needle, stitch markers, scissors, safety pin, sewing needle and matching thread |
Cotton is the right fiber here: breathable, washable, and nearly stretch-free — a stretchy mask loosens and lets light in. It's the same reason cotton stars in our crochet dishcloths — it behaves beautifully in hardworking, washable projects.
Light-blocking check: hold the finished cups up to a lamp. More than faint pinpricks of light means your tension is too loose — drop to a 3.25 mm hook. The lining covers small gaps, but dense stitches do the heavy lifting.
Size, gauge and skill level
- Finished size: about 19–20 cm (7.5–8 in) wide and 8.5 cm (3.3 in) tall; each contoured cup is about 5 cm (2 in) across and domes outward roughly 2 cm.
- Gauge: about 20 single crochets and 24 rows = 10 cm (4 in) with a 3.5 mm hook. Gauge isn't critical for fit — the strap adjusts that — but denser fabric blocks more light, so err on the tight side.
- Skill level: easy. You should know the magic ring, single crochet, increase, and working in the round. The lining is sewn with a simple whipstitch — if you can sew a button, you can do this.
If working in the round is new to you, our easy beginner crochet patterns collection has gentler warm-ups that teach the same spiral techniques before you start.
Abbreviations — US terms
| Abbreviation | Meaning |
|---|---|
| MR | magic ring |
| sc | single crochet |
| inc | increase (2 sc in the same stitch) |
| st(s) | stitch(es) |
| ch | chain |
| sl st | slip stitch |
| R | round |
| FO | fasten off |
The pattern (US terms)
Work the cups in continuous spirals — mark the first stitch of each round and move the marker up as you go. The stitch count at the end of every cup round is in parentheses. The cups are the only part where counting matters; everything after that is worked evenly around, so relax.
The contoured cups — make 2
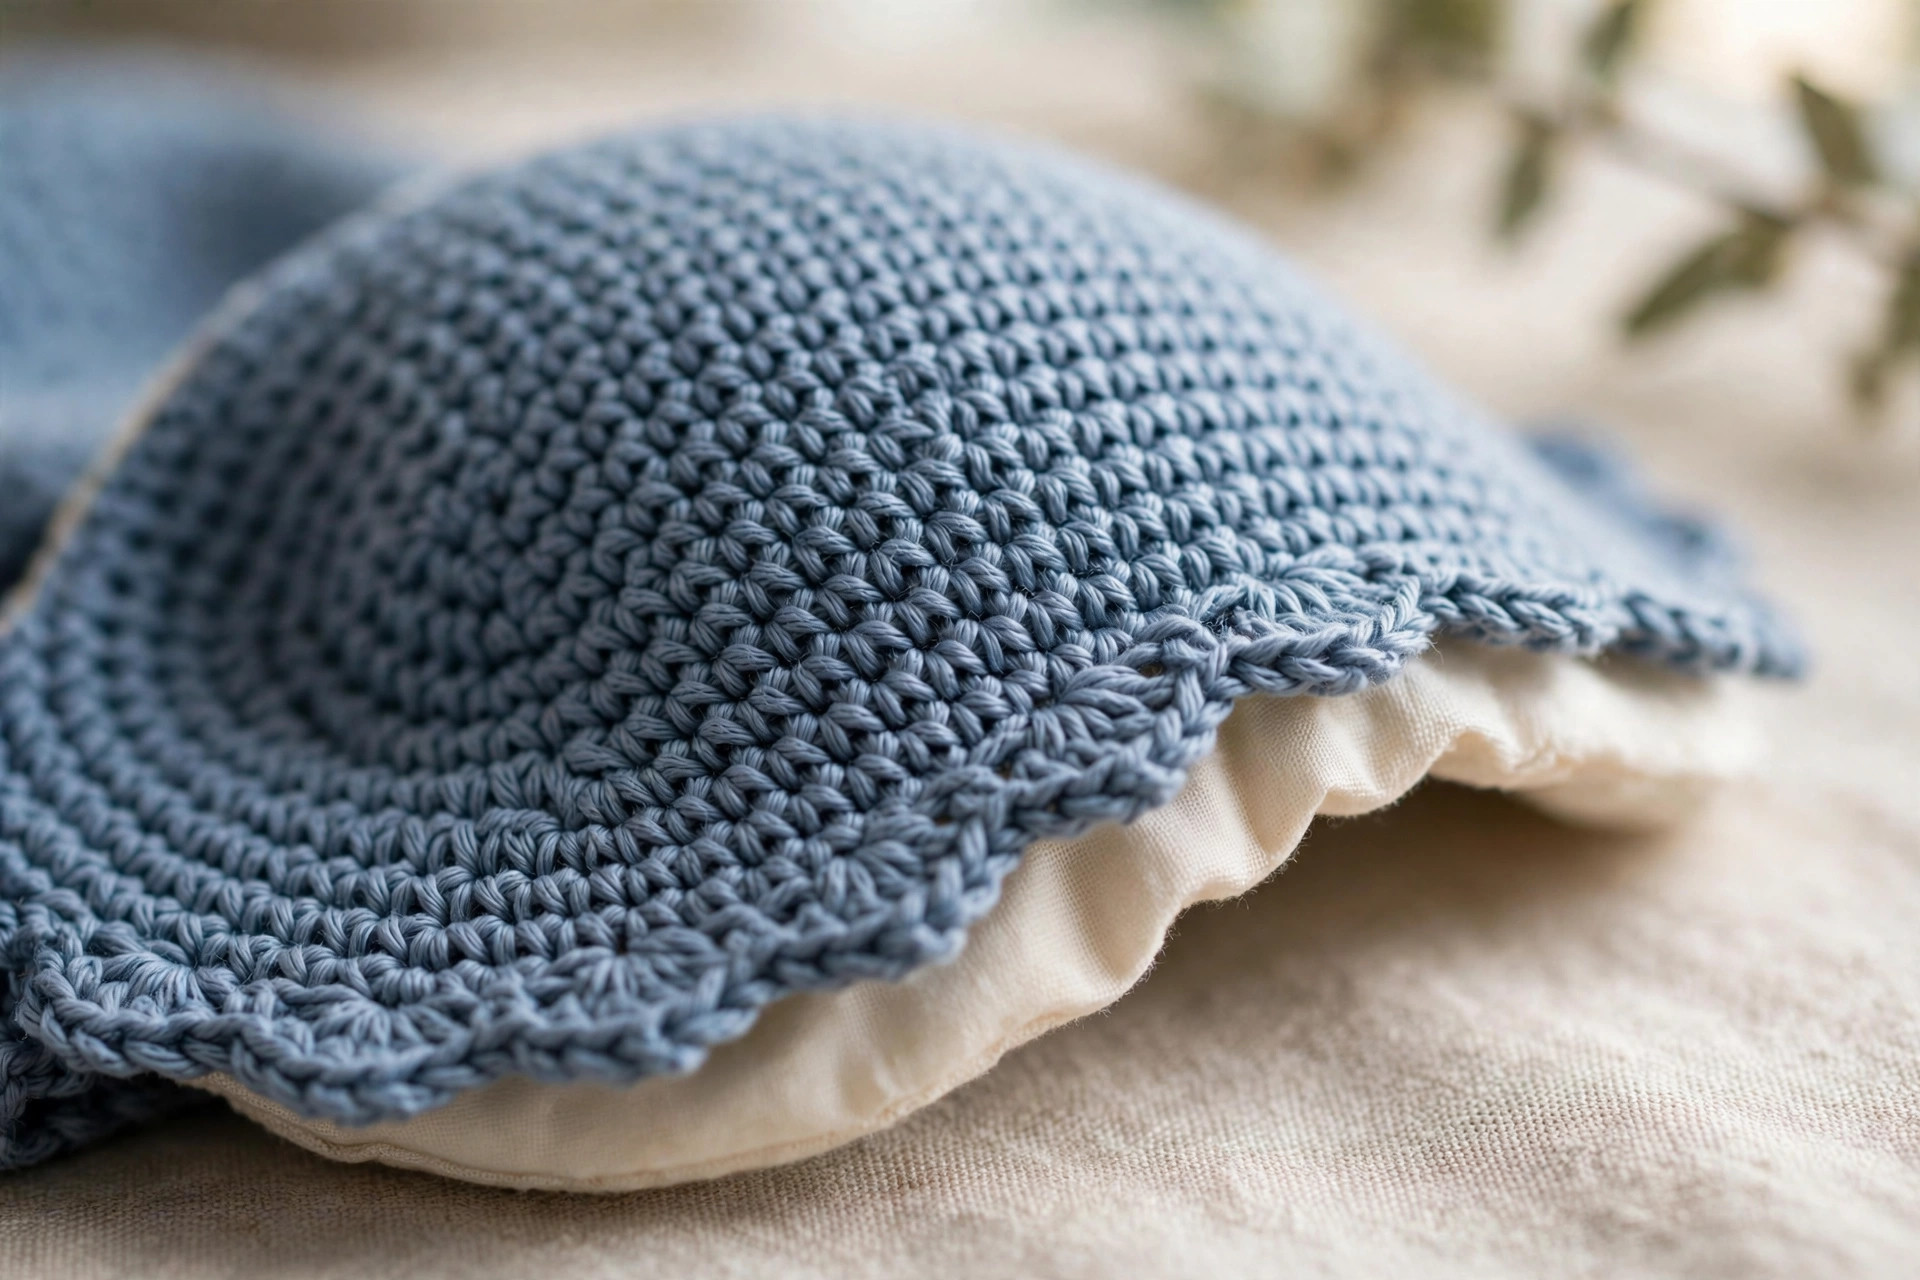
Each cup is a shallow dome: five rounds of classic increase math, then two rounds worked even to give the dome its depth. The two domes are what keep fabric off your eyelids.
- R1: MR, 6 sc (6)
- R2: inc in each st (12)
- R3: [sc, inc] × 6 (18)
- R4: [2 sc, inc] × 6 (24)
- R5: [3 sc, inc] × 6 (30)
- R6–R7: sc in each st around (30) — 2 rounds even
- FO. Weave in the starting tail now; leave the cups as they are (the R7 opening faces the face — the dome bulges outward).
Check your pair: both cups should dome the same direction and measure about 5 cm across. If one is visibly bigger, your tension drifted — it's worth reworking, because mismatched cups make a lopsided mask.
Joining the cups
Hold the two cups side by side, domes bulging toward you, R7 edges touching at the inner sides. With a 30 cm length of yarn, whipstitch the inner edges together across 6 stitches (about 2 cm). Knot and weave in.
The joined pair has a shallow V dip at top and bottom center. The bottom dip is a feature: it sits over the bridge of your nose and stops light leaking in.
The border
The border turns the joined cups into one finished mask shape and gives you a clean edge to sew the lining to.
- R1: Join yarn with a sl st at the top of the bridge dip between the cups. Working around the entire outer edge: sc evenly in each stitch (about 1 sc per stitch across the tops and bottoms of both cups' R7 rounds), and work 2 sc in each stitch at the four outer corners (the temple curves at each side) so the edge doesn't pull in. You'll land somewhere around 64–68 stitches — the exact number doesn't matter, just keep your stitches even and ease the border gently into the two center dips rather than stretching across them.
- R2: sc in each st around.
- R3 (picot edge): *sc in next 3 sts, ch 2, sl st in the 2nd ch from hook (picot made), sc in next st; repeat from * around. If your stitch count doesn't divide evenly, add or skip a plain sc here and there — the edge should lie flat, not ripple. FO and weave in.
The lining
Cut a 19 × 8 cm oval of cotton. Pin it to the wrong side of the mask, trim to sit 5 mm inside the border all the way around, and whipstitch just inside the border round — small stitches, 5 mm apart. This seam shows from the side, so keep it neat.
Light test: hold the lined mask to a bright lamp. You should see essentially no light through the cups. Leaks are almost always at the border — run a second row of whipstitches there and test again.
The lavender sachet pocket (optional)
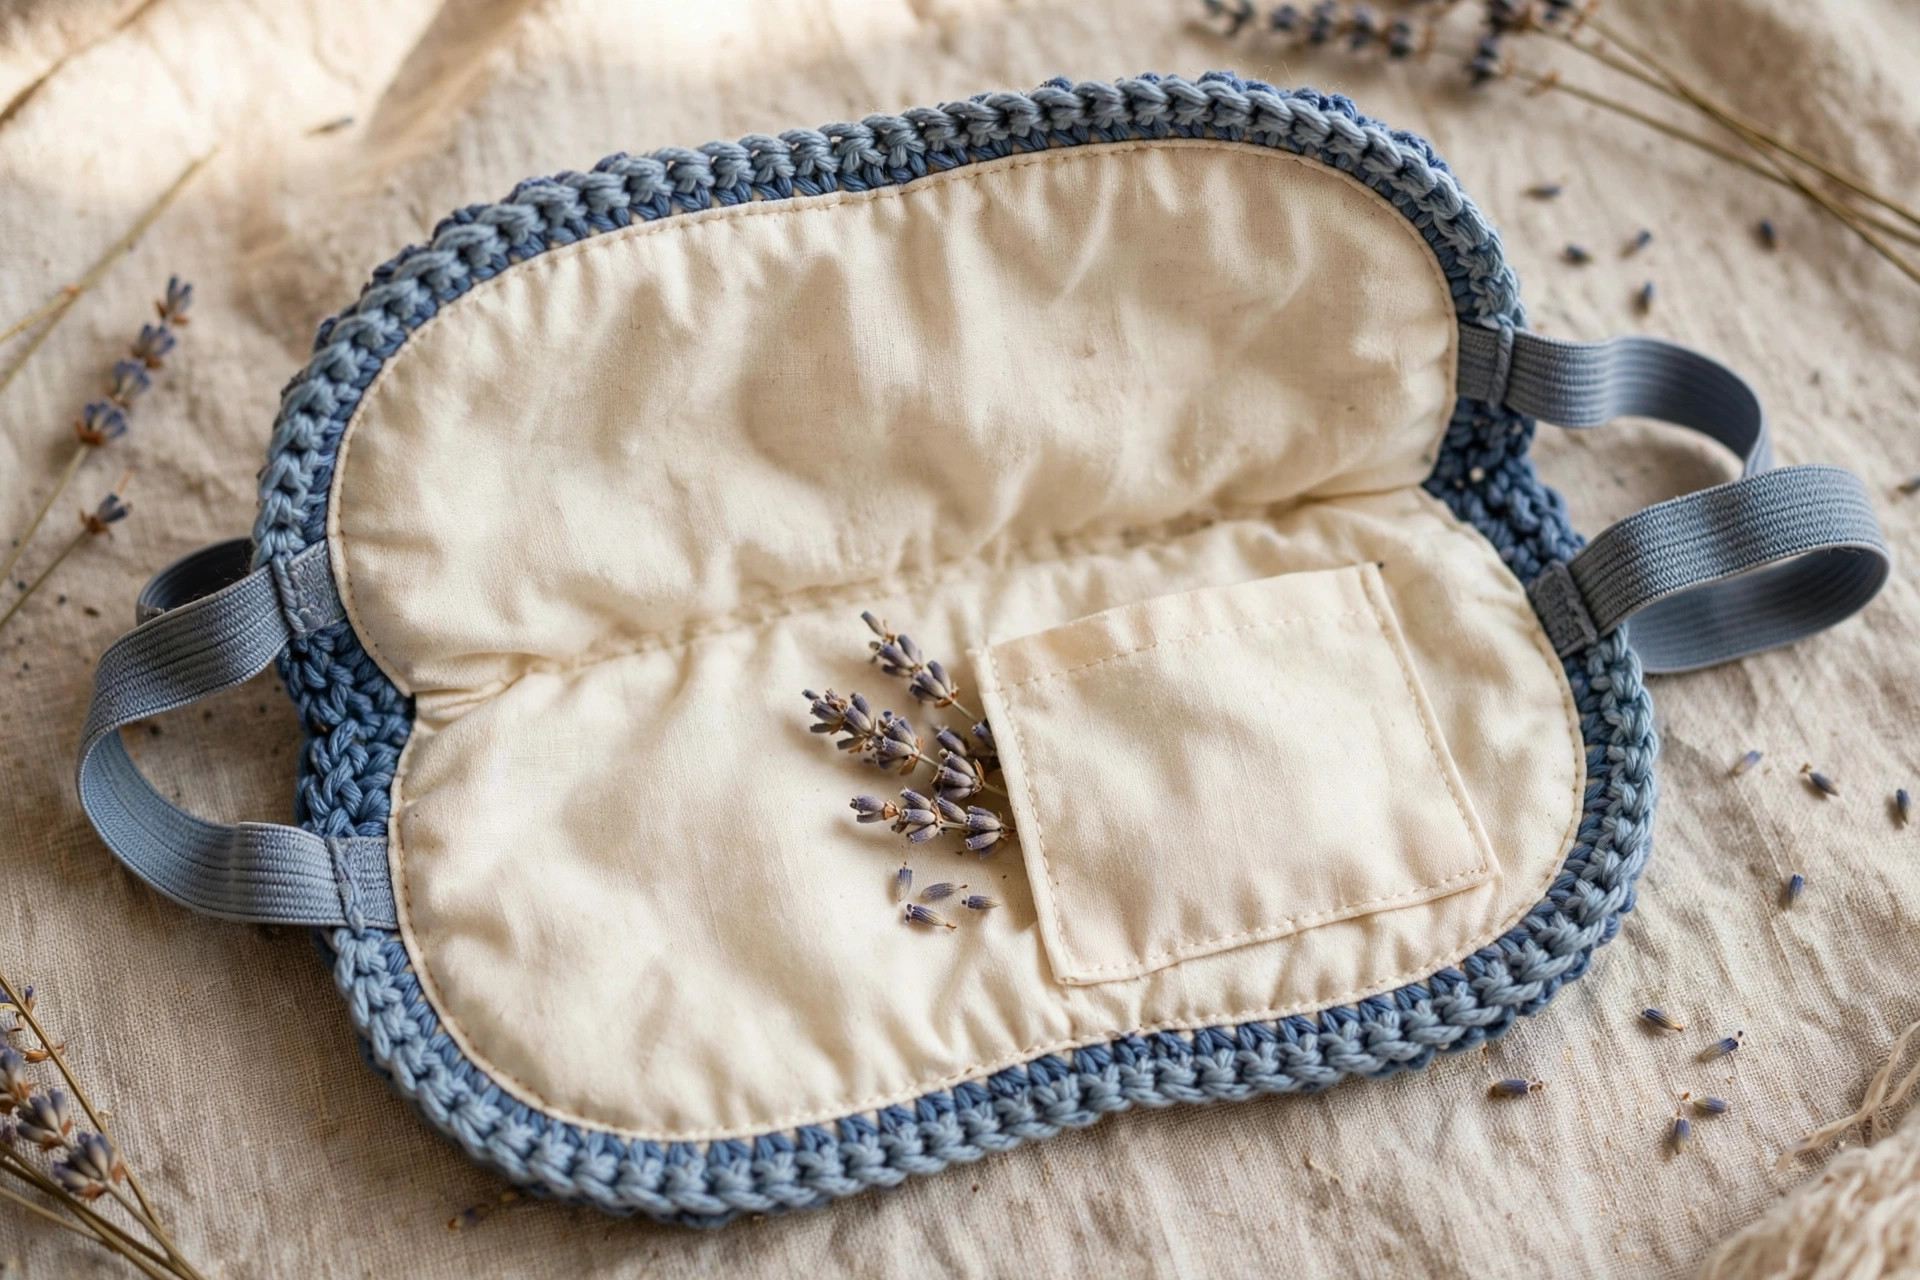
Cut a 7 × 6 cm cotton rectangle. Fold the top edge down 1 cm and hem it — this is the pocket opening. Pin it to the center of the lining's inner face, hemmed edge up, and whipstitch the sides and bottom closed. Fill your muslin pouch with a tablespoon of dried lavender buds and slip it in.
Keep the pouch removable (take it out before washing), and if you're scent-sensitive, use half the lavender or plain rice — pleasant weight, no fragrance.
Strap option A — elastic in a crocheted casing
This is the sleep-through-anything option: gentle, even tension all night, no knots to lie on.
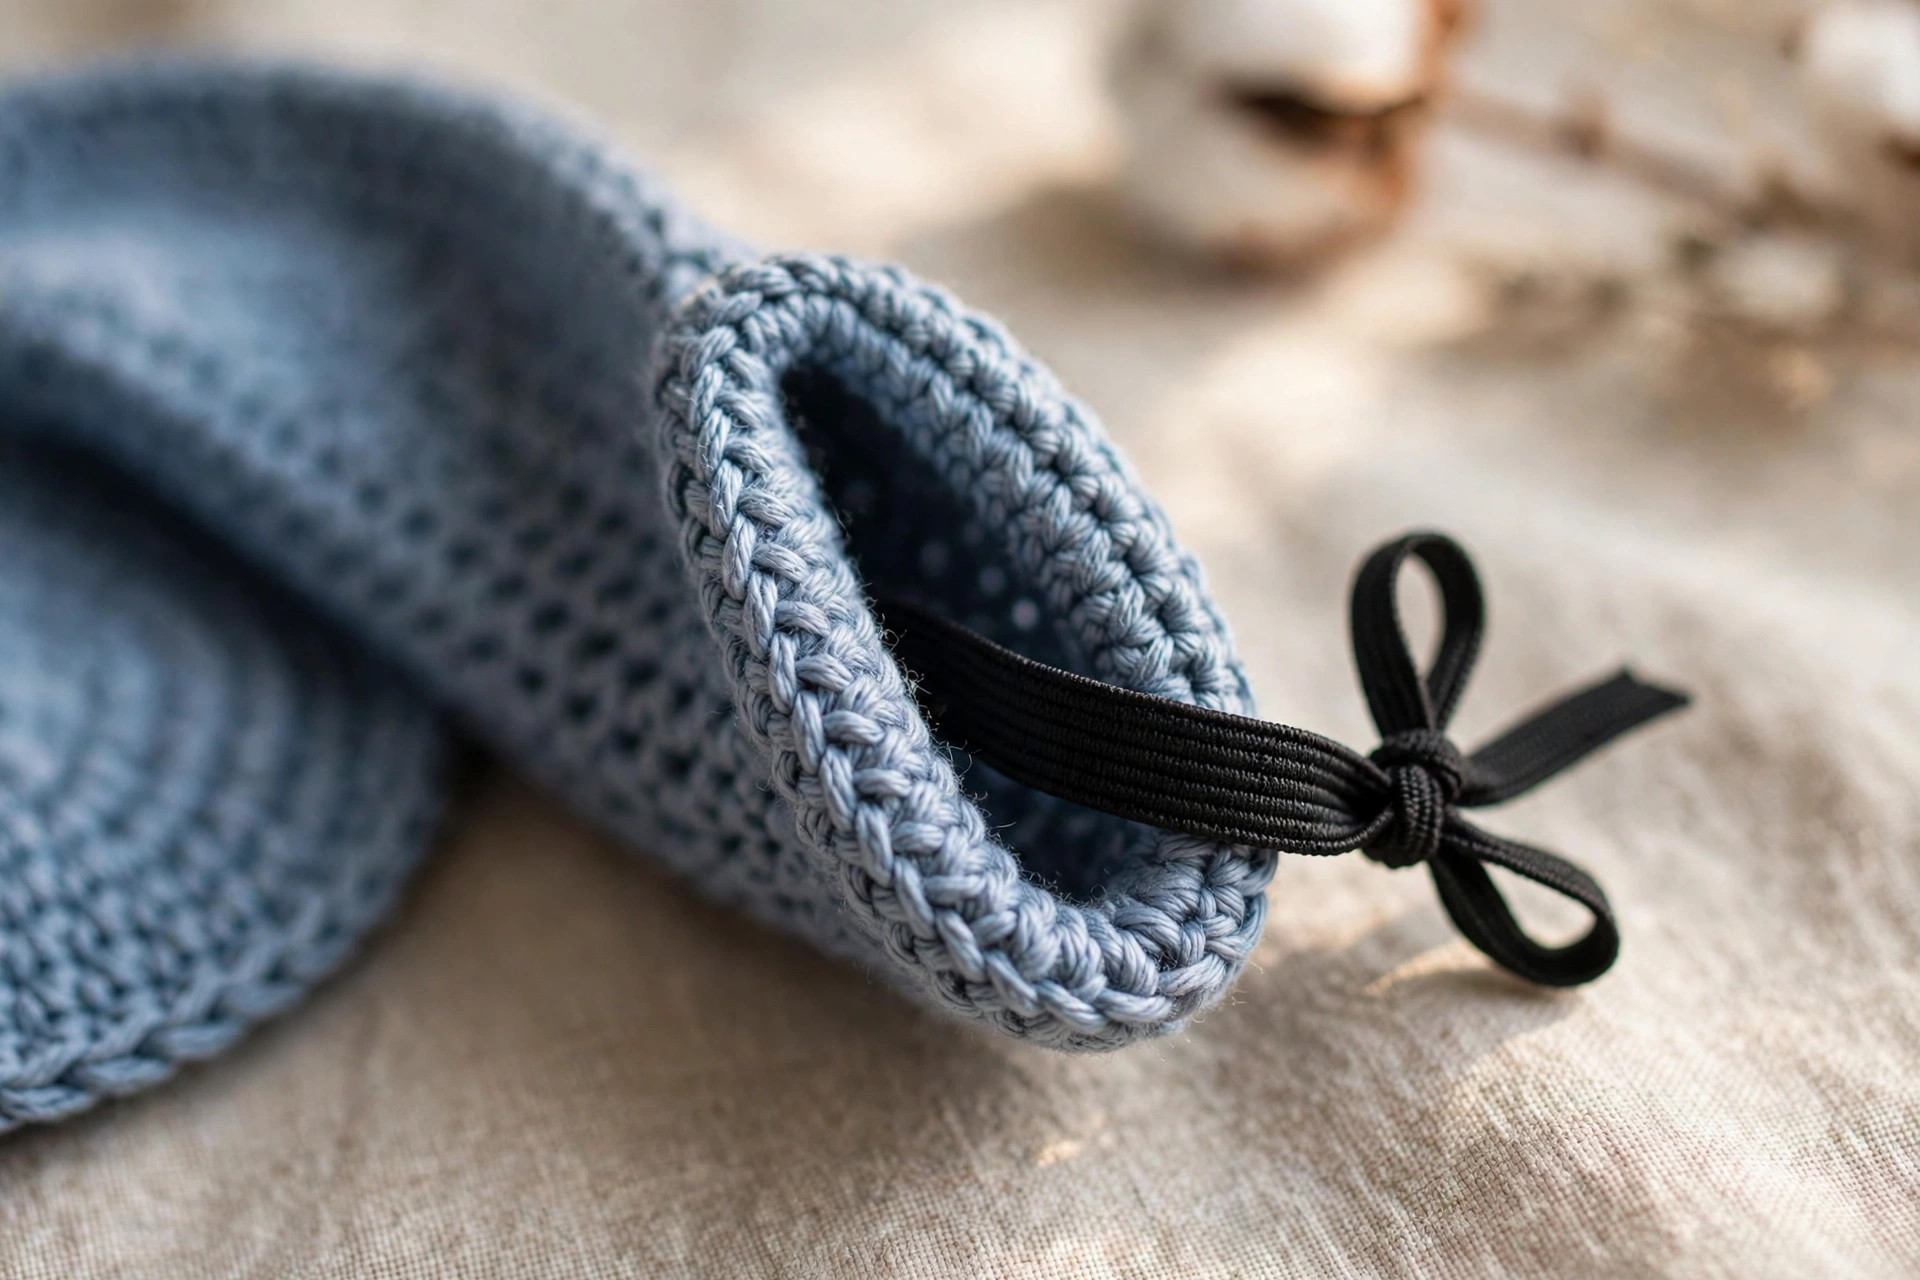
- Casing: ch 6, join with a sl st to form a ring. R1: sc in each ch around (6). Continue in a spiral for about 60 rounds (roughly 25 cm — measure temple-to-temple around the back of your head). FO.
- Pin a safety pin to one end of 1 cm-wide soft elastic (head circumference minus 5 cm, typically 45–50 cm) and work it through the tube. Overlap the elastic ends 2 cm, sew firmly, and slide the join inside the tube.
- Sew one tube end to each side edge of the mask with tight whipstitches through casing and border twice. Tug-test it — this join takes all the nightly strain.
Strap option B — simple crocheted ties
Prefer no elastic, or making this for someone whose head size you don't know? Ties are adjustable, soft to lie on, and honestly a little romantic.
- Tie — make 2: ch 46. Row 1: sc in 2nd ch from hook and in each ch across (45). Row 2: ch 1, turn, sc in each st across (45). FO, leaving a 15 cm tail.
- Sew one tie to each side edge of the mask with the long tail, whipstitching securely. To wear, cross the ties at the back of your head and knot in a bow.
Finishing touches
Steam the cups into shape. Hold a steam iron a few centimeters above each dome (don't press) and let the steam relax the stitches, then coax each cup into a smooth dome with your fingers. This one step separates "two lumpy circles" from a professional-looking mask.
Check the nose dip. Put the mask on: the bottom-center dip should sit on the bridge of your nose with no gap. If light sneaks in, take one small stitch pulling the dip's sides a touch closer — a 3 mm tuck usually does it.
Trim every tail twice. Weave tails through stitch backs for at least 5 cm, trim, tug the fabric, trim again. The strap join here is a close cousin of the band in our crochet headband — same sturdy-join principle for daily wear.
Refresh the lavender. Buds fade after a few months — squeeze the pouch, and replace them when the scent fades. Thirty seconds, and the mask feels new again.
Four pretty variations to try next
One mask is never enough — these all use the same cup math, so you're only ever changing the styling.
- Midnight blackout. Work the mask in black or deep navy with a second layer of dark lining. Maximum light-blocking — ideal for shift workers and streetlamp-facing bedrooms.
- Rose garden. Blush pink, a ruffled edge (2 sc in every 3rd stitch of R2), and a tiny crochet heart on one cup. Pair with a candle — instant boutique gift.
- Little dreamer (kids' size). Stop each cup at R4 (24 sts), work one even round instead of two, and size the elastic to the child's head minus 5 cm. A fun "grown-up" gift for kids.
- Cooling spa mask. Size the pocket to 8 × 7 cm to hold a small gel eye mask instead of lavender. Chill the pack, slip it in at bedtime — the contoured cups hold it gently, with no pressure. Wonderful for allergy season and headaches.
Troubleshooting tips
- Light leaks around the nose. The bottom-center dip needs to sit exactly on the bridge of your nose. Add one small tucking stitch to narrow the dip, as described in Finishing touches. If the gap is large, your cups may be too far apart — re-sew the bridge seam across 8 stitches instead of 6.
- The mask presses on your eyelashes. Your cups are too shallow — tight tension pulls the increase rounds flat. Steam-block aggressively, pushing the domes outward from the inside. Next time, work R6–R7 looser or add a third even round.
- The elastic strap is too tight (or too loose). For option A, unpick one casing end, adjust the elastic overlap, and re-sew. Formula: head circumference minus 5 cm. When in doubt cut long — you can't add elastic back.
- The border ripples or cups. Too many stitches in R1 causes ripples; too few causes cupping. Fix in R2: if rippling, work [sc in next 6 sts, skip 1 st] spaced evenly; if cupping inward, add a few extra increases.
- The lining bunches inside. You cut it too big. Unpick, trim 3 mm all around, and re-sew — pin at four compass points first, then ease between. Lining must lie flat; wrinkles press on closed eyes.
- You can see pinpricks of light through the cups. Loose tension. Before frogging, try the light test with the lining in — the double layer fixes most cases. If it's still leaky, rework the cups with a 3.25 mm hook.
- The lavender scent is overwhelming. Use half a tablespoon of buds, or unscented rice. Scent intensifies in a dark, warm mask — there's no prize for the strongest sachet.
Key takeaways
Frequently asked questions
Is this sleep mask crochet pattern really free?
Yes — the complete pattern above is free, no email signup and no purchase required. If it helps you sleep better, saving the post on Pinterest or sharing it with a friend is the loveliest thank-you.
Will a crochet sleep mask actually block light?
Yes — dense single-crochet cups, a sewn cotton lining that closes pinprick gaps, and a contoured shape with a nose dip. Do the lamp test in the lining section: if no light gets through there, dawn won't either.
How do I wash the mask?
Remove the lavender pouch first, then hand-wash in cool water with mild soap. Press (don't wring) in a towel, reshape the cups while damp by pushing the domes out from the inside, and air-dry flat. Machine washing ruins the shaping — hand-wash only.
What if I'm allergic to lavender or sensitive to scent?
Skip the buds entirely — the pocket is optional. A pouch of plain uncooked rice gives the pocket a pleasant weight with zero fragrance, or just leave the pocket empty; the mask works exactly the same. Never use essential oils directly on the lining: they can irritate the skin around your eyes.
How do I get the strap size right?
Measure around your head where the strap will sit (over the ears, around the back), then cut the elastic 5 cm shorter than that measurement — the stretch makes up the difference and provides the gentle tension that keeps the mask in place. For ties, the pattern length fits most adults; add or remove 10 chains per tie for larger or smaller heads.
Can I sell the finished masks I make?
Yes! You may sell finished masks made from this pattern in small batches (craft fairs, Etsy, gifts). Please credit Little Loop Finds as the pattern designer with a link back to this page. The pattern text and photos themselves may not be redistributed, republished, or sold.
Is this a good first project for a beginner?
It's a very good second project. If you've made one flat thing (a dishcloth, a scarf) and one round thing (a coaster, a hat), you have every skill this needs. The cups are just increases in the round, the lining is basic hand-sewing, and the only new idea is the shaping — which the pattern walks through round by round.
More free patterns to try
If you enjoyed the quick, useful rhythm of this make, keep going. The flower coaster is another one-evening cotton project that pairs beautifully with the mask as a bedside set — stitch both and you have a ready-made gift.
The box below contains an Etsy link. If you buy through it, we may earn a small commission at no extra cost to you. Learn more.
No time to make one?
Short on time? Find handmade crochet sleep masks from independent makers on Etsy.
Browse on Etsy (opens Etsy in a new tab)