Crochet cowboy hat pattern free: shape it like a pro
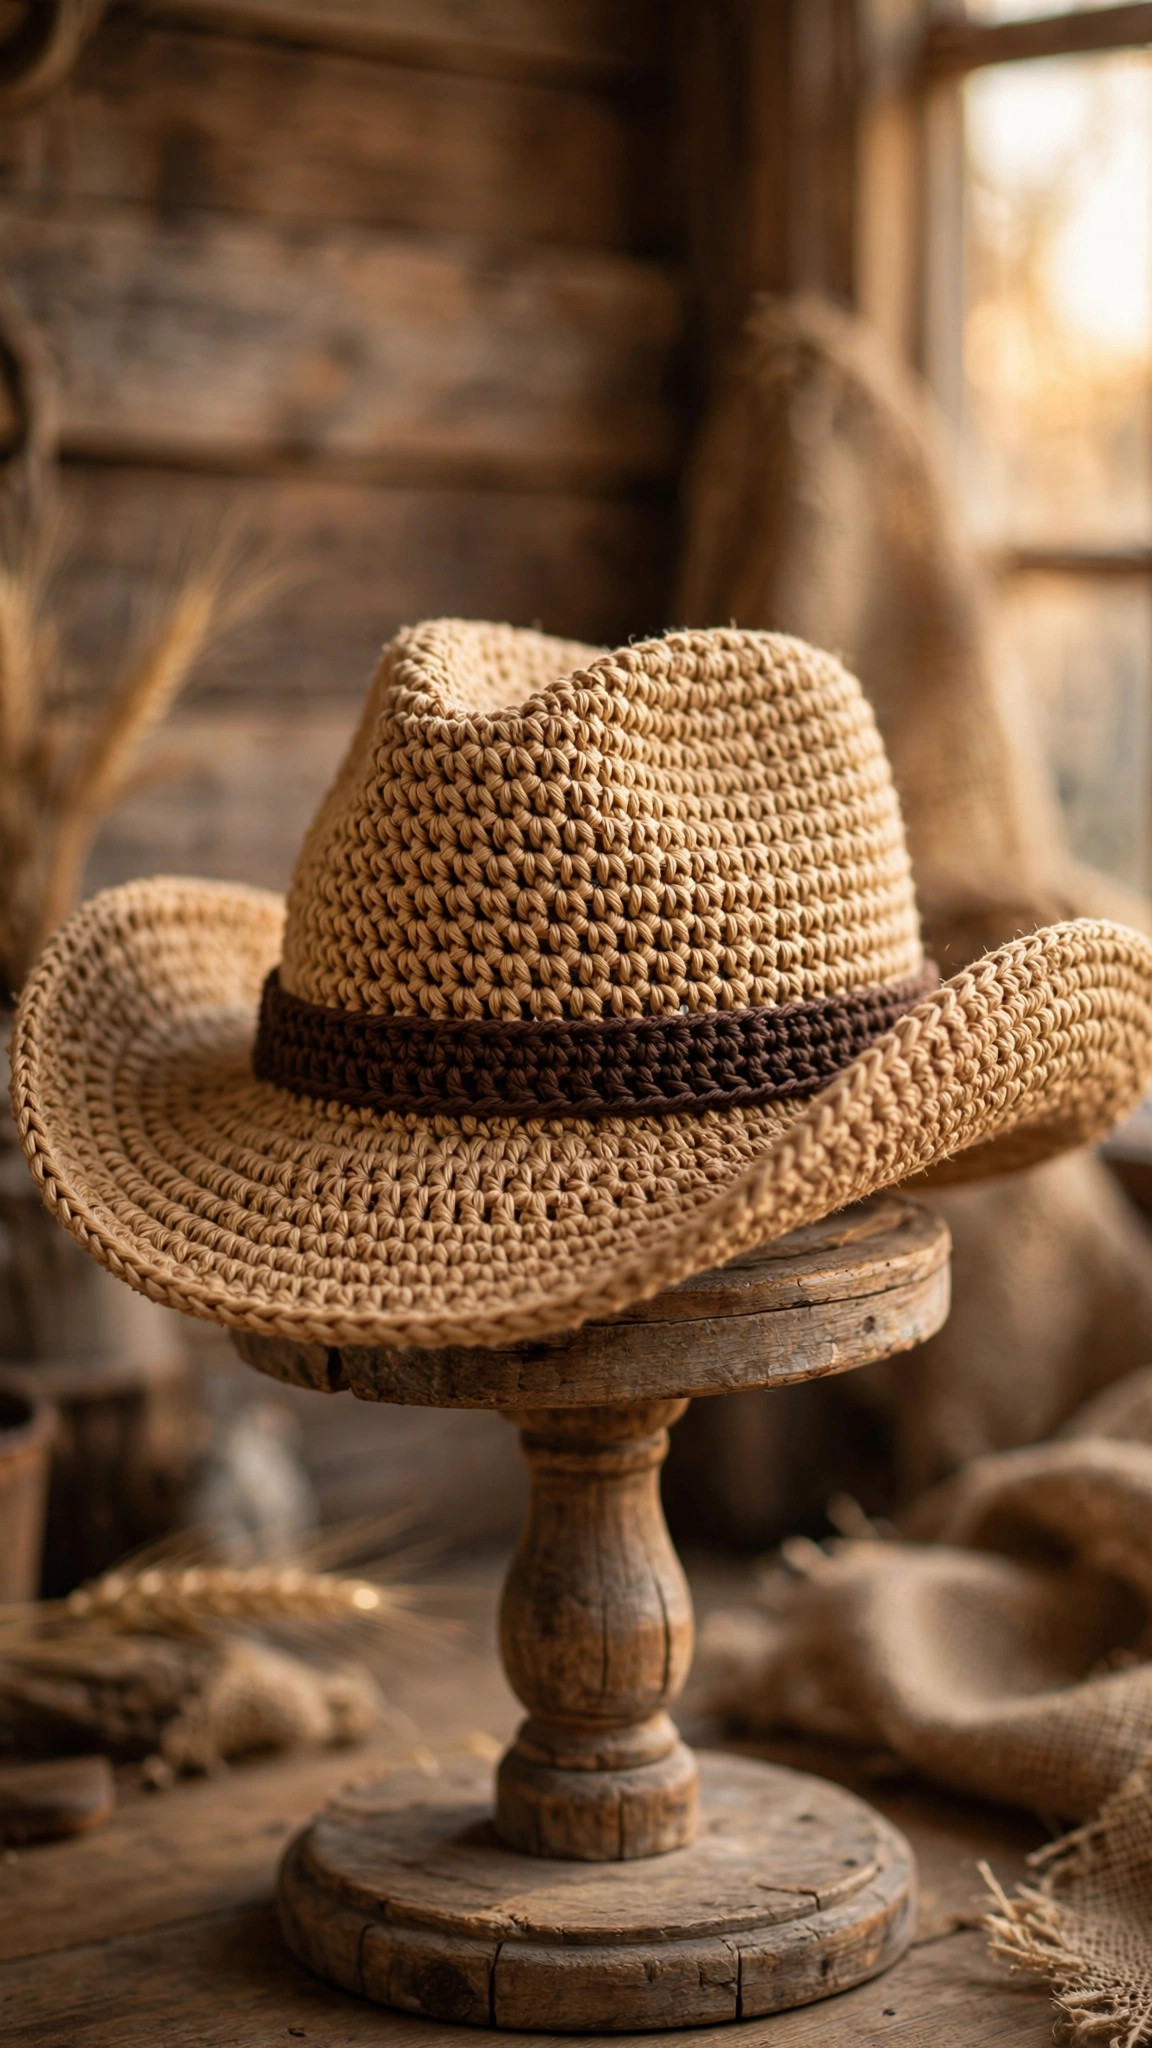
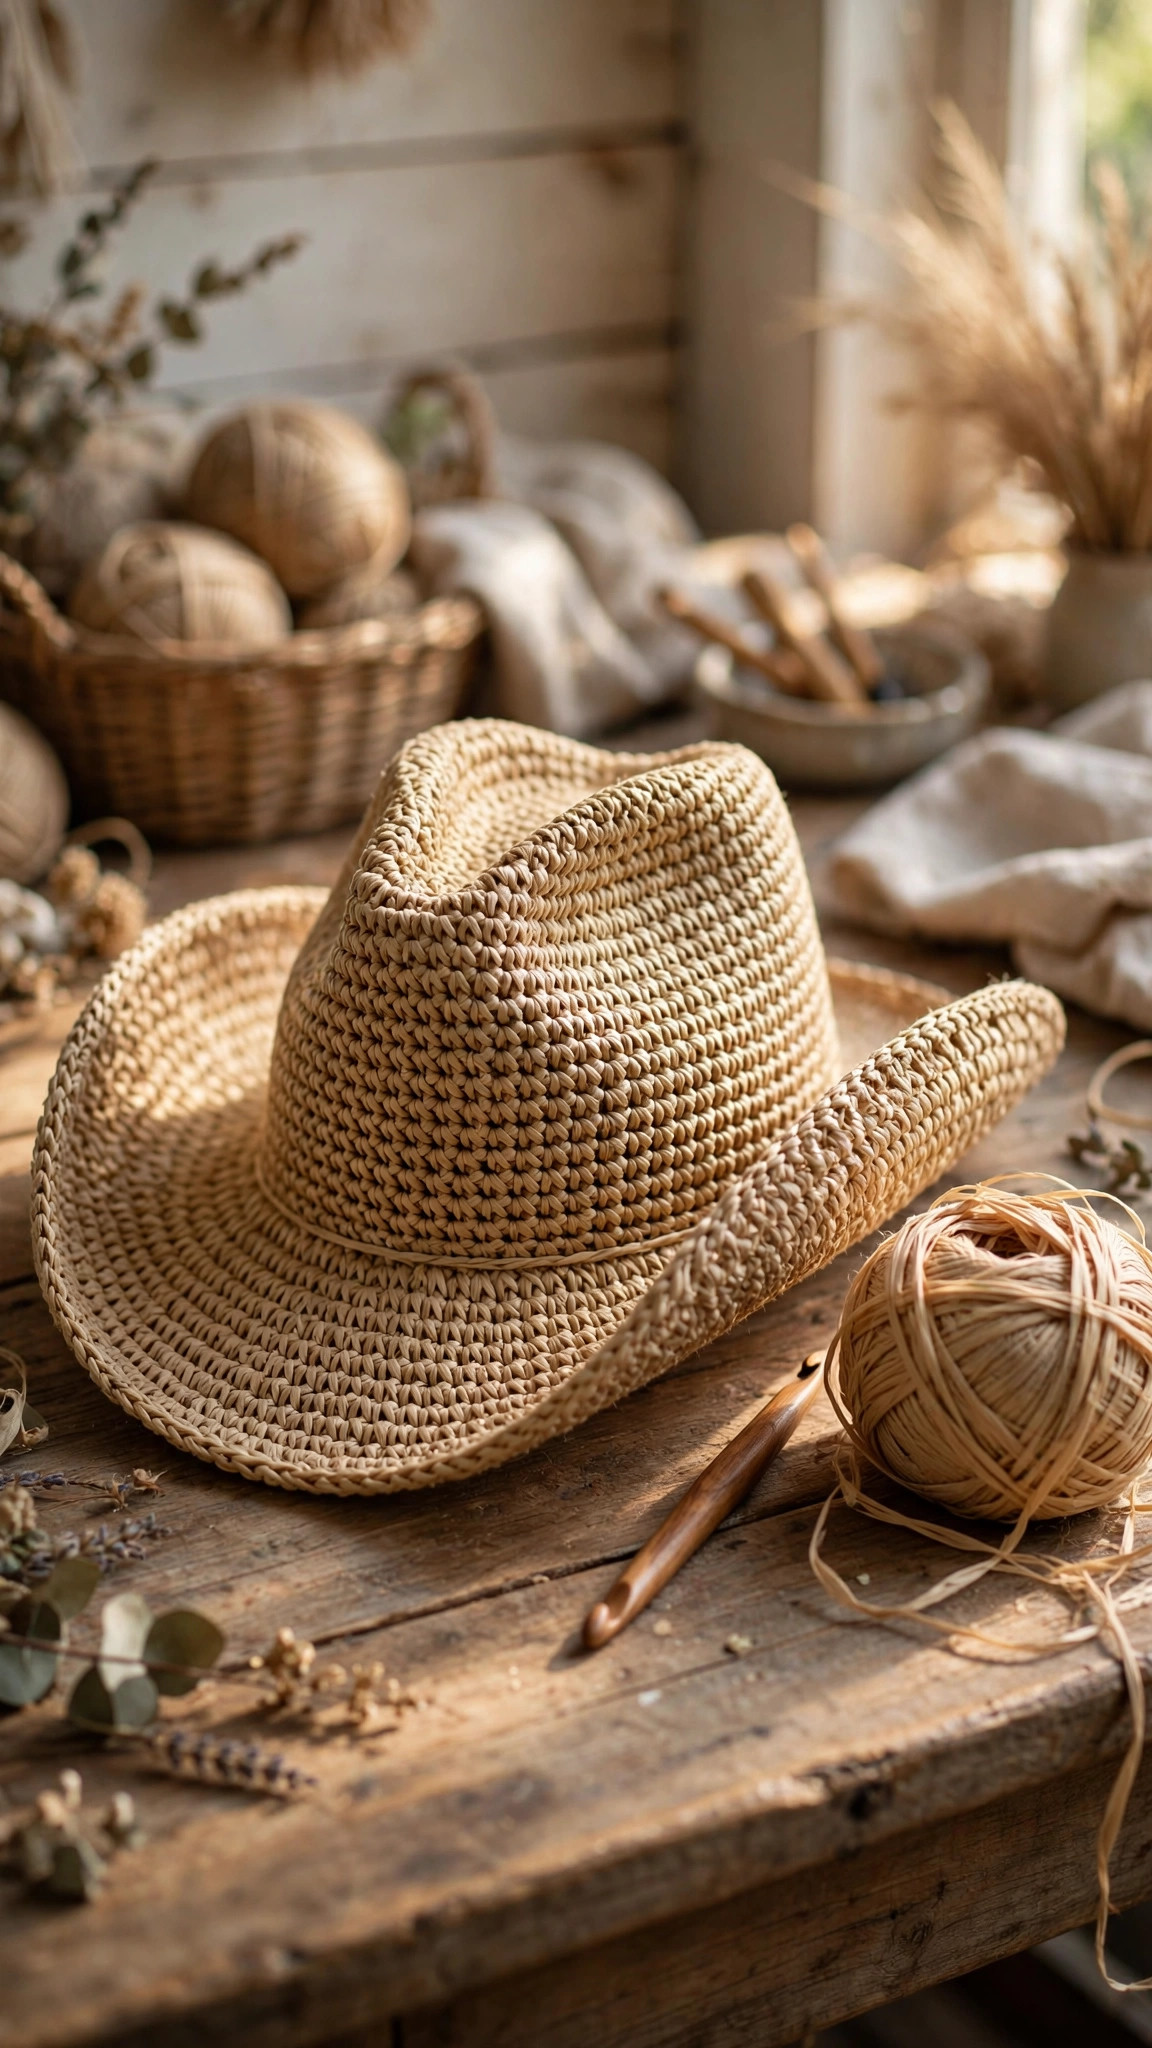
A real-deal crochet cowboy hat: a firm top-down crown shaped by hand with steam (center crease plus front pinch), a wide brim finished with an optional hidden wire so it holds its line in the wind, a two-tone crocheted hat band — and sizes S, M and L so it actually fits.

Wearables · Crochet
- Finished size
- Adult S / M / L (21–23 in)
- Making time
- About 4–6 hours
- Hook
- 4.0 mm, stiff worsted cotton
- Extras
- Optional wire brim edge
- Skill
- Beginner
In this post
A crochet cowboy hat only looks expensive. Underneath that confident wide brim and sculpted crown, this is really just a big friendly beanie with a disk for a brim — plus steam, a little hand-shaping, and a wire trick that keeps the edge crisp all summer.
Why you'll love this crochet cowboy hat pattern
Most crochet hat patterns stop at "floppy sun hat," and that's fine — but a cowboy hat is a different animal. It needs a tall, proud crown that doesn't slump, a brim that holds a line instead of waving in the breeze, and that unmistakable dent down the middle. This design gets all three without any fussy shaping rounds built into the crochet itself.
Here's the trick: the crown is worked as a smooth top-down bowl, then you shape the crease and the front pinch after crocheting, using steam and your hands. That might sound like cheating, but it's actually how real felt hats are made — milliners block and steam them into shape. Working this way means the crochet stays dead simple, the fit is easy to adjust, and a crease that softens after a season in the closet re-steams in minutes.
It's all one yarn, one hook, and stitches you already know — a fantastic first structured project if you've only made soft things so far. If you've made our free crochet hat pattern, you already have every skill this hat needs — this one just adds the shaping finish.
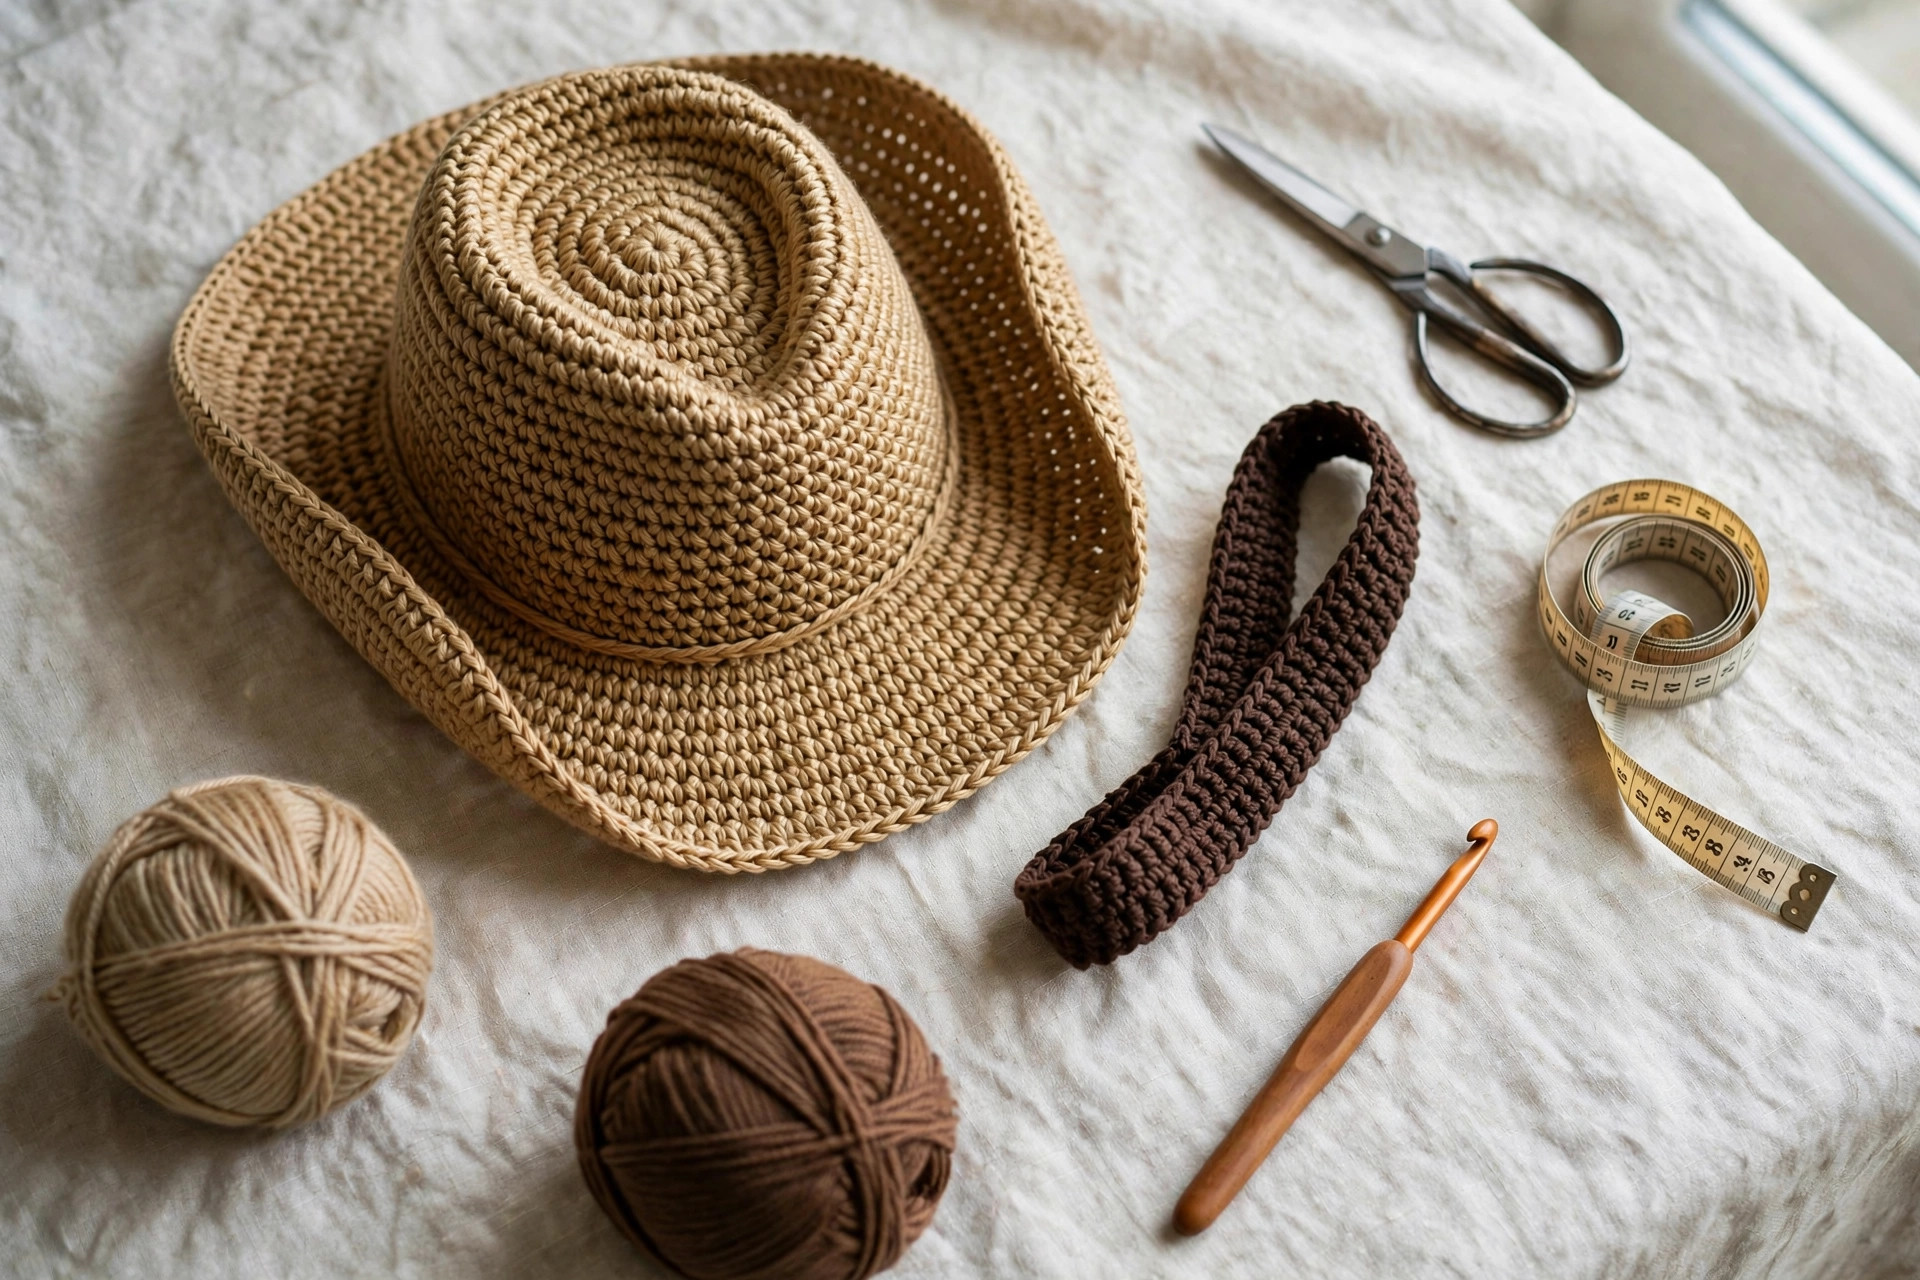
Materials you'll need
| Supply | What to get |
|---|---|
| Main yarn | Worsted-weight (#4) stiff yarn — firm cotton (like a dishcloth cotton, but nicer) or a raffia-style paper yarn; about 250 g / 460 yd (420 m). Avoid soft acrylic — it won't hold the shape. |
| Band yarn | Small amount of worsted-weight yarn in a contrast color (dark brown, black, or a bandana red), about 25 g |
| Crochet hook | 4.0 mm (G-6) — go down to 3.75 mm if your fabric feels loose |
| Optional edge wire | 1 length of 18- or 19-gauge craft wire or millinery wire, about 1.5 yd (1.4 m), plus small pliers |
| Notions | Stitch markers, tapestry needle, scissors, measuring tape |
| For shaping | Kettle or garment steamer, a hat stand, bowl, or your own head; a few clothespins or clips |
A quick note on yarn choice: structure is everything in this pattern, so pick a yarn with body. Sturdy cotton and raffia-style yarns are the stars here — they crochet up firm, steam beautifully, and keep a crease. Soft, drapey yarns (most acrylics, bamboo blends) will give you a lovely floppy hat, but not a cowboy hat. If in doubt, crochet a swatch and pinch it: if it springs back and holds a fold for a few seconds, your yarn will work.
Size, gauge and skill level
- Finished sizes: Adult S, M, and L. Measure around your head at forehead level, just above the ears — that's your size. The hat is worked slightly smaller than the measurement for a snug, stay-put fit.
- Gauge: 16 sc × 18 rounds = 4 in (10 cm) in single crochet, worked firmly. Gauge genuinely matters here — a loose gauge means a floppy hat and a too-big fit.
- Skill level: confident beginner. You should know the magic ring, single crochet, and increase. Everything else — including the shaping — is walked through step by step.
| Size | Head circumference | Crown rounds even | Finished brim width |
|---|---|---|---|
| S | 21 in (53 cm) | work to R12 | about 3.25 in (8 cm) |
| M | 22 in (56 cm) | work to R12 | about 3.5 in (9 cm) |
| L | 23 in (58 cm) | work to R12 | about 3.75 in (9.5 cm) |
The sizes differ in the crown's stitch count (see the pattern below), not in the number of crown rounds — all three sizes share the same crown depth, and the brim simply gets one extra increase round for each size up.
Abbreviations — US terms
| Abbreviation | Meaning |
|---|---|
| MR | magic ring |
| sc | single crochet |
| inc | increase (2 sc in the same stitch) |
| st(s) | stitch(es) |
| ch | chain |
| R | round |
| sl st | slip stitch |
| FO | fasten off |
A note on tension: work this hat tighter than feels natural. Your fabric should feel firm and almost cardboard-like off the hook — that's what lets steam and shaping do their magic later. If you can easily push a finger through your stitches, drop a hook size.
The pattern (US terms)
Work in continuous spirals unless noted. Mark the first stitch of each round and move the marker up as you go. Stitch counts are given for S (M, L). Count at the end of every increase round — ten seconds of counting now saves a lopsided crown later.
Crown — main yarn, worked top-down
- R1: MR, 6 sc — 6 (6, 6)
- R2: inc in each st — 12 (12, 12)
- R3: [sc, inc] × 6 — 18 (18, 18)
- R4: [2 sc, inc] × 6 — 24 (24, 24)
- R5: [3 sc, inc] × 6 — 30 (30, 30)
- R6: [4 sc, inc] × 6 — 36 (36, 36)
- R7: [5 sc, inc] × 6 — 42 (42, 42)
- R8: [6 sc, inc] × 6 — 48 (48, 48)
- R9: [7 sc, inc] × 6 — 54 (54, 54)
- R10 (size M only): [8 sc, inc] × 6 — (–, 60, –)
- R10 (size L only): [8 sc, inc] × 6 — (–, –, 60)
- R11 (size L only): [9 sc, inc] × 6 — (–, –, 66)
- R11/R12 — crown sides: sc in each st around, even — 54 (60, 66). Work 6 rounds even total for crown depth (about 4.5 in / 11.5 cm from the top of the crown to the brim join). Try the crown on: it should sit like a deep beanie, reaching to about mid-ear. Add or remove one even round if you like a taller or shallower crown.
Oval tip: a cowboy crown reads slightly oval from above, and you'll set that in at the steaming stage — no special rounds needed now. Just crochet a clean, even bowl and let the finishing do the sculpting.
Brim — same yarn, worked outward from the crown base
The brim flares from the last crown round. Increases are spaced wider than the crown's, which is what makes the brim lie (mostly) flat instead of cupping.
- B1: [8 sc, inc] × 6 — 60 (66, 72)
- B2: sc in each st around — 60 (66, 72)
- B3: [9 sc, inc] × 6 — 66 (72, 78)
- B4: sc in each st around — 66 (72, 78)
- B5: [10 sc, inc] × 6 — 72 (78, 84)
- B6: sc in each st around — 72 (78, 84)
- B7: [11 sc, inc] × 6 — 78 (84, 90)
- B8: sc in each st around — 78 (84, 90)
- B9 (sizes M and L only): [12 sc, inc] × 6 — (–, 90, 96)
- B10 (size L only): sc in each st around — (–, –, 96)
- Final round (all sizes) — plain edge: sc in each st around, sl st to first st, FO and weave in. This is your finished brim without wire.
Optional wired edge (recommended!)
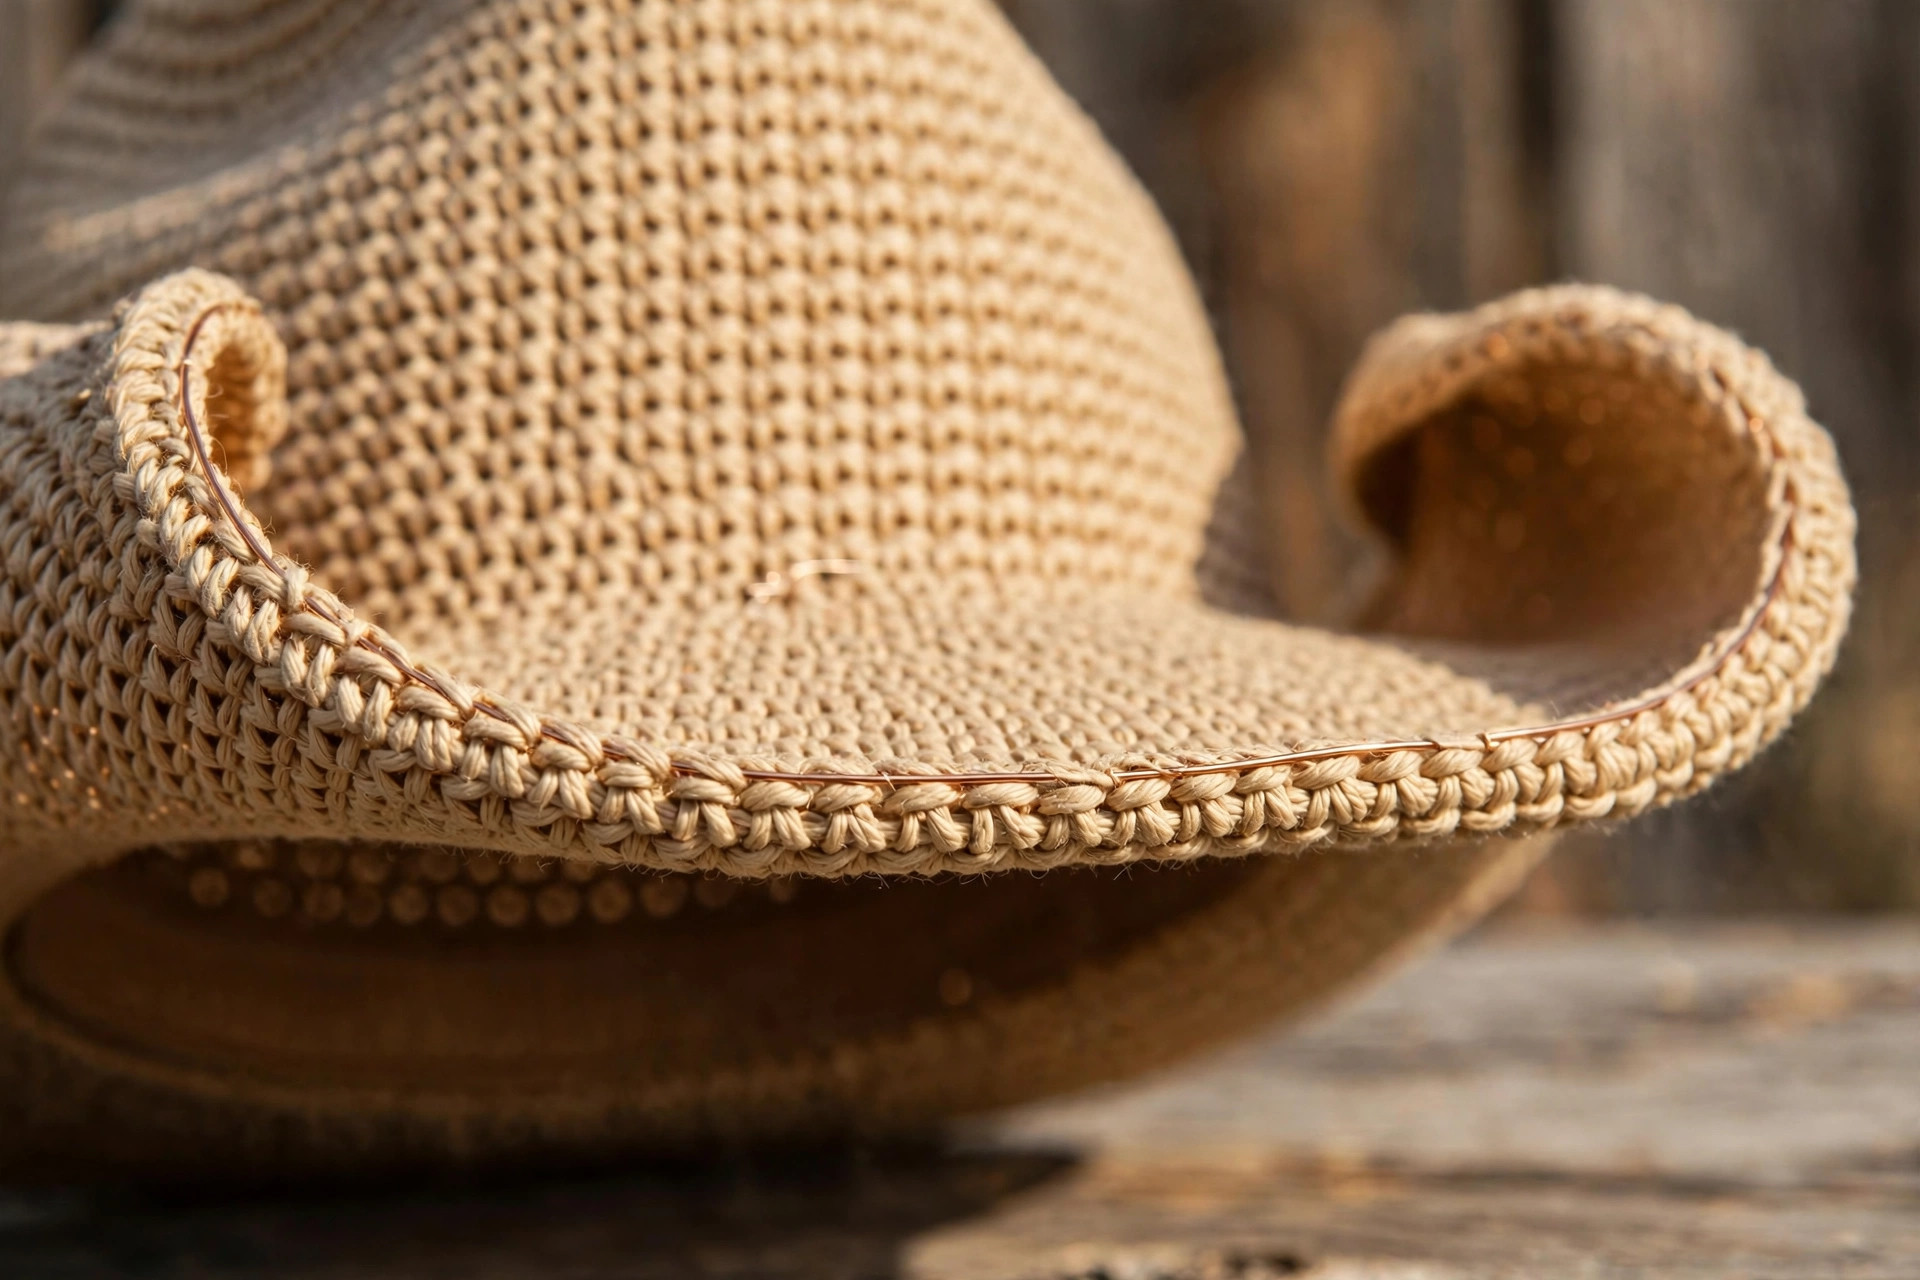
Instead of the plain final round above, work the last round around a length of craft or millinery wire:
- Cut a piece of wire about 2 in (5 cm) longer than your brim's outer circumference (measure with a tape laid along the edge). Form it into a circle and overlap the ends by about 1 in (2.5 cm); twist or bind the overlap tightly with a scrap of yarn or floral tape.
- Lay the wire ring along the top of your last completed round, holding it against the stitches.
- Work single crochet around the ring, crocheting over the wire as you go — insert your hook into the next stitch as usual, and the wire simply sits inside the stitch as you complete it. Keep gentle tension so the wire stays hidden but the edge stays smooth.
- When you reach the overlap, just keep crocheting over both strands. Sl st to the first st, FO, and weave in the tail over the wire join to disguise it completely.
The wired edge is what gives you that crisp cowboy silhouette — and you can bend the brim's sides up slightly for the classic curved look, then flatten it again for storage. If you're making the hat for a dress-up box rather than real wear, our crochet dinosaur hat pattern is a sillier use of an afternoon — this cowboy hat is the one that earns its keep all summer.
Hat band — contrast yarn
Worked flat in rows, then joined around the crown base.
- Ch 6.
- Row 1: sc in 2nd ch from hook and in each ch across — 5 sc.
- Rows 2 onward: ch 1, turn, sc in each st across — 5 sc. Repeat until the band measures 20 (21, 22) in / 51 (53, 56) cm, ending with an even number of rows so the seam sits neatly.
- Wrap the band around the base of the crown to check the fit — it should meet with a tiny bit of stretch. Seam the short ends together with sl st or whipstitch, slip the band over the crown, and tack it in place with 4–6 small stitches of matching yarn (front, back, and both sides) so it can't ride up.
Finishing touches
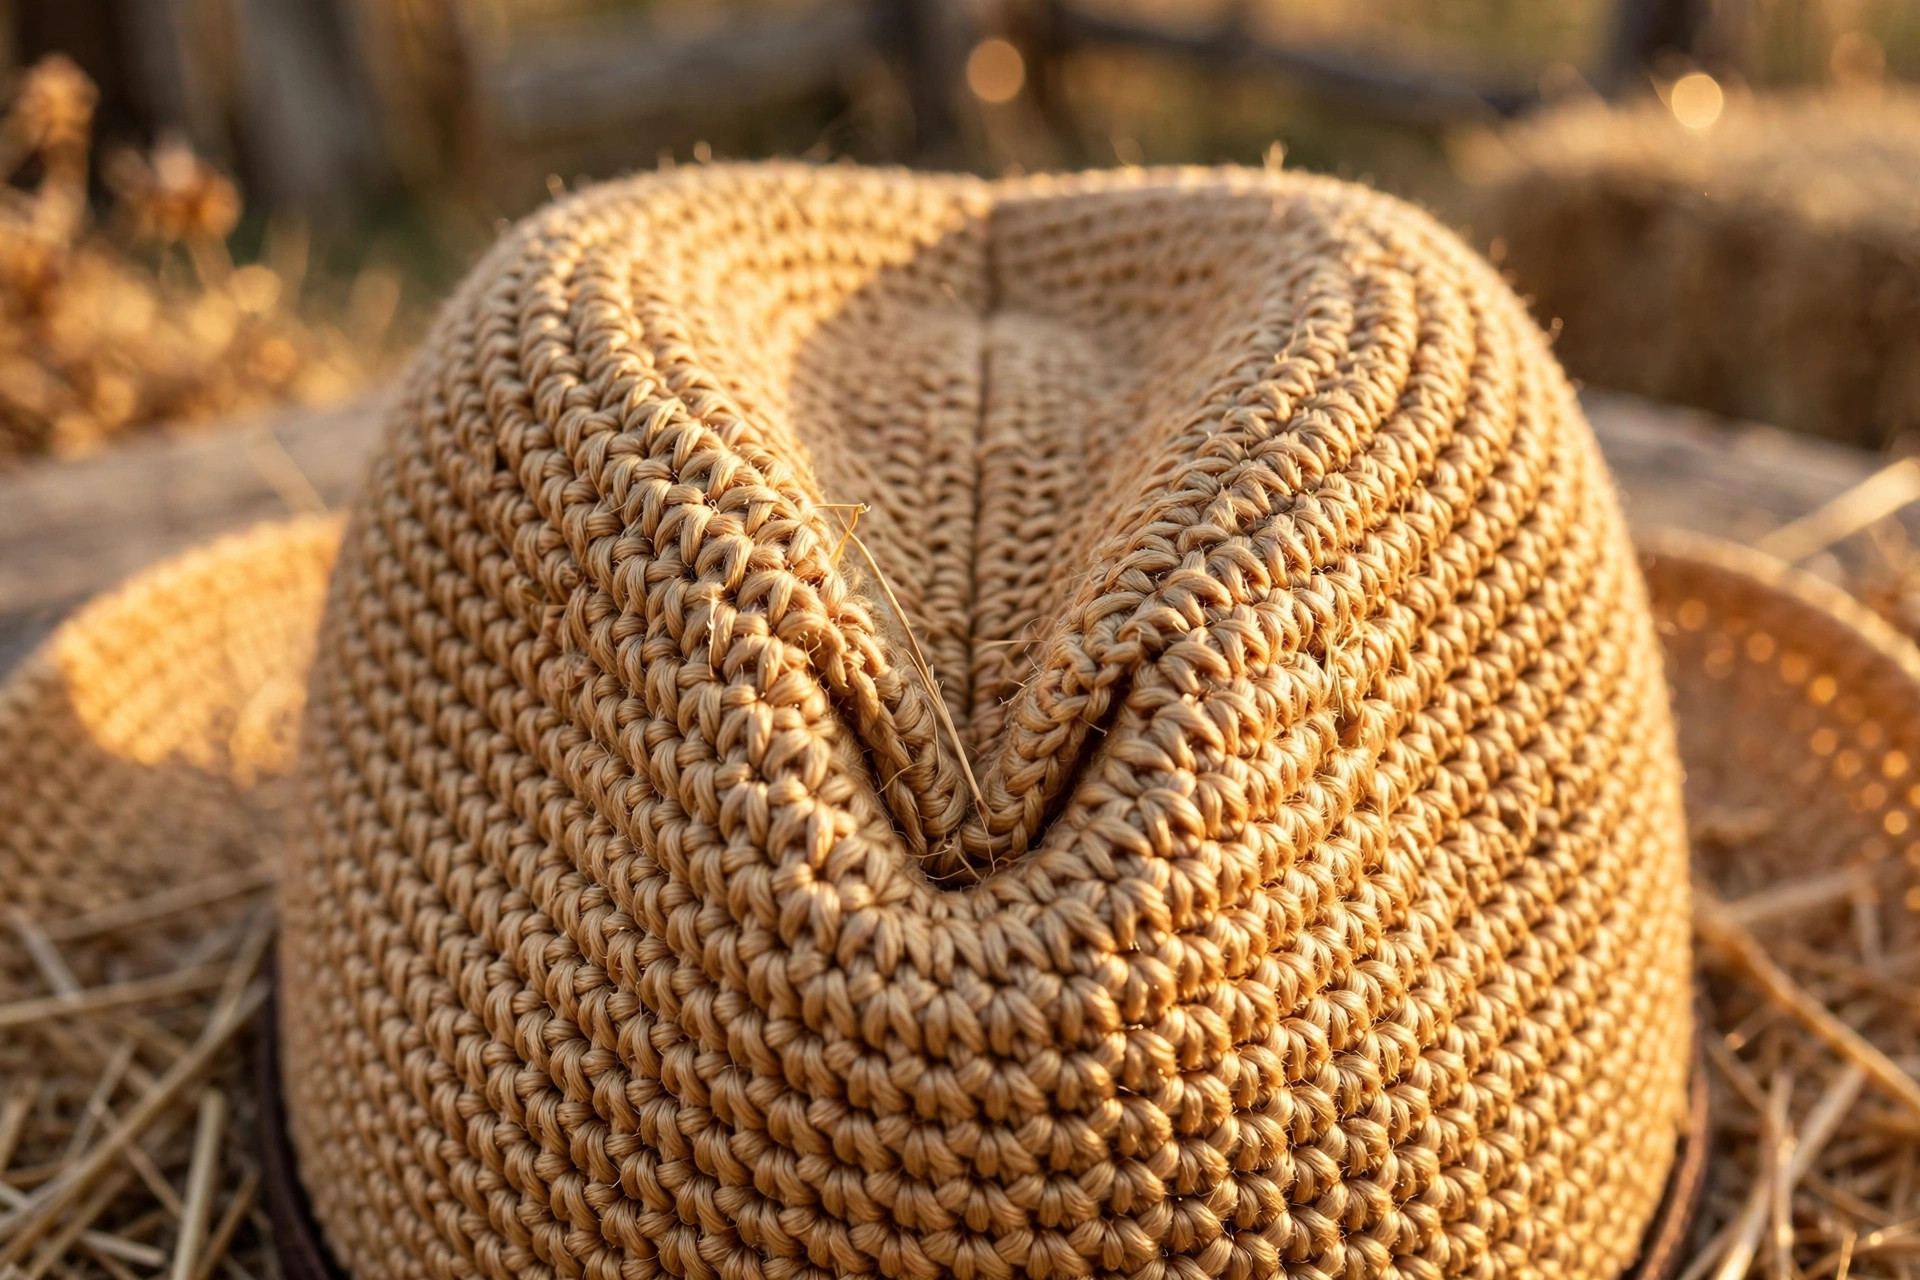
This is where a crocheted bowl becomes a cowboy hat. Budget 20 unhurried minutes and don't skip the steam — it's the difference between "cute handmade hat" and "wait, you MADE that?"
Steam and block. Steam the crown all over until the yarn relaxes and feels pliable, then immediately set the hat on a stand, an upturned bowl, or your own head while it's warm.
Shape the center crease. With the crown still warm and soft, press a valley straight down the middle of the crown top, front to back, using the side of your hand. A cowboy crease is a single confident dent, about ½ in (1.25 cm) deep — press, hold for ten seconds, and check from the front. It should read as one clean line, not a wobble.
Add the front pinch. While the crease sets, use your thumbs to press two small dents into the front of the crown, one on either side of the center line, about an inch apart. These pinches are what make the hat read "cowboy" from across the room. Hold each pinch for ten seconds.
Set the brim. Steam the brim, then shape it: front and back dipping very slightly down, sides rolling gently up. If you worked the wired edge, bend the sides up with your hands and they'll stay. Use clothespins clipped to a hat stand (or the rim of a bowl) to hold the shape while it cools completely — at least 15 minutes. Cool yarn is set yarn.
Fit the band. Slide the finished band down over the shaped crown until it sits at the crown–brim join, then tack it in place as described in the pattern. The band hides the join, adds the classic two-tone western look, and gives the hat its finished polish.
Three variations to try next
- Classic straw-look sun hat. Work the pattern as written in natural raffia-style yarn, skip the pinch, and keep only a soft center crease. With the wired edge bent nearly flat, it's a garden-and-market hat that happens to have pedigree.
- Rodeo black. Work the whole hat in black cotton with a red band. The dark yarn makes the crease shadow read dramatically, and it's the version that gets stopped and asked about. Pair it with our crochet bandana pattern worn at the neck for the full look.
- Kids' cowboy (or cowgirl) hat. Work size S with a 3.5 mm hook and stop the brim after round B6 for a narrower, kid-proportioned brim. Add star appliqués or a sheriff-badge button to the band for the full sheriff look.
Troubleshooting tips
- The brim waves like a potato chip. Too many increases for your tension. Frog back one increase round and replace it with an even round — brims forgive fast because the rounds are big.
- The brim cups upward like a bowl. The opposite problem: too few increases. Add one extra increase round (repeat the last increase pattern) before your final round.
- The crown flops and slumps. Your yarn is too soft or your gauge too loose. Next time, drop a hook size. For this hat, a light spray starch after shaping helps, and storing it on a stand (not crushed in a drawer) keeps the crease.
- The crease won't stay. You shaped it cold. Steam again, shape while genuinely warm, hold each dent a full ten seconds, then let the hat cool completely undisturbed before moving it.
- The hat is too big. Steam it and try it on first — but if it still gaps, tack a slightly thicker hat band inside the crown base, which quietly eats up to half an inch of room.
- The wire pokes out at the join. The ends weren't overlapped enough. Unpick the last two stitches, overlap the wire by a full inch, re-crochet those stitches, and weave the tail back and forth over the join twice.
- The hat looks round, not oval, from above. Steam the crown and gently squeeze it front-to-back while it cools so it sets in a slight oval — real heads are oval, and the hat will both look and fit better.
Frequently asked questions
Is this cowboy hat crochet pattern really free?
Yes — the complete pattern, all three sizes, the wired-edge instructions, and the hat band are right here on the page, free, no signup needed. If it made your day, saving it on Pinterest or sharing it with your crochet group is the nicest thank-you.
What yarn makes a crochet cowboy hat hold its shape?
Stiff yarn is the whole secret. Firm worsted cotton and raffia-style paper yarns hold a crease and keep a brim line; soft acrylics and drapey blends will slump no matter how well you shape them. When in doubt, crochet a swatch and pinch it — if it holds the fold, it'll hold the hat.
Do I really need the wire in the brim?
No — the plain edge works fine, and the hat will still read as a cowboy hat. The wire is the upgrade that keeps the brim crisp through wind, travel, and a whole season of wear, and it lets you re-bend the classic side curl whenever you like. For occasional dress-up, skip it; for real wear, it's worth the extra ten minutes.
How do I make sure I pick the right size?
Measure your head at forehead level, just above your ears, and match it to the size table — don't guess. The pattern works the crown a touch smaller than the measurement so the hat grips gently. Between sizes? Size up and pad the band; a tight cowboy hat is a headache with a brim.
Can I wash a crochet cowboy hat?
Spot-clean if you can. If it truly needs a wash, hand-wash cold, roll it in a towel, then re-steam and re-shape it on a stand while damp — treat the wash as a fresh round of finishing. Never machine-dry it, and if your brim is wired, keep the edge out of soaking water for long to protect the wire.
Can I sell cowboy hats made from this pattern?
Yes! You may sell finished hats made from this pattern in small batches (markets, Etsy, gifts for very lucky friends). Please credit Little Loop Finds as the designer with a link back to this page. The pattern text and photos themselves may not be redistributed, republished, or sold.
How long does this hat take to make?
About 4–6 hours for most crocheters: roughly 3–4 hours for the crown and brim, 30 minutes for the band, and 20–30 unhurried minutes of steaming and shaping. The shaping feels slow the first time — by your second hat it's the most satisfying part.
More free patterns to try
If this hat hooked you on wearables, keep going. The realistic crochet horse pattern is the perfect stablemate project for your shelf, the crochet basket pattern uses the same firm single-crochet fabric to hold yarn instead of a head, and the free crochet cat sweater pattern will make your cat the second-best-dressed cowboy in the house. Hats, horses, and one extremely reluctant cat — that's a weekend well spent.
The box below contains an Etsy link. If you buy through it, we may earn a small commission at no extra cost to you. Learn more.
No time to make one?
Short on time? Find handmade crochet cowboy hats from independent makers on Etsy.
Browse on Etsy (opens Etsy in a new tab)