Crochet Cross Bookmark Pattern Free: Easy Faith Gift
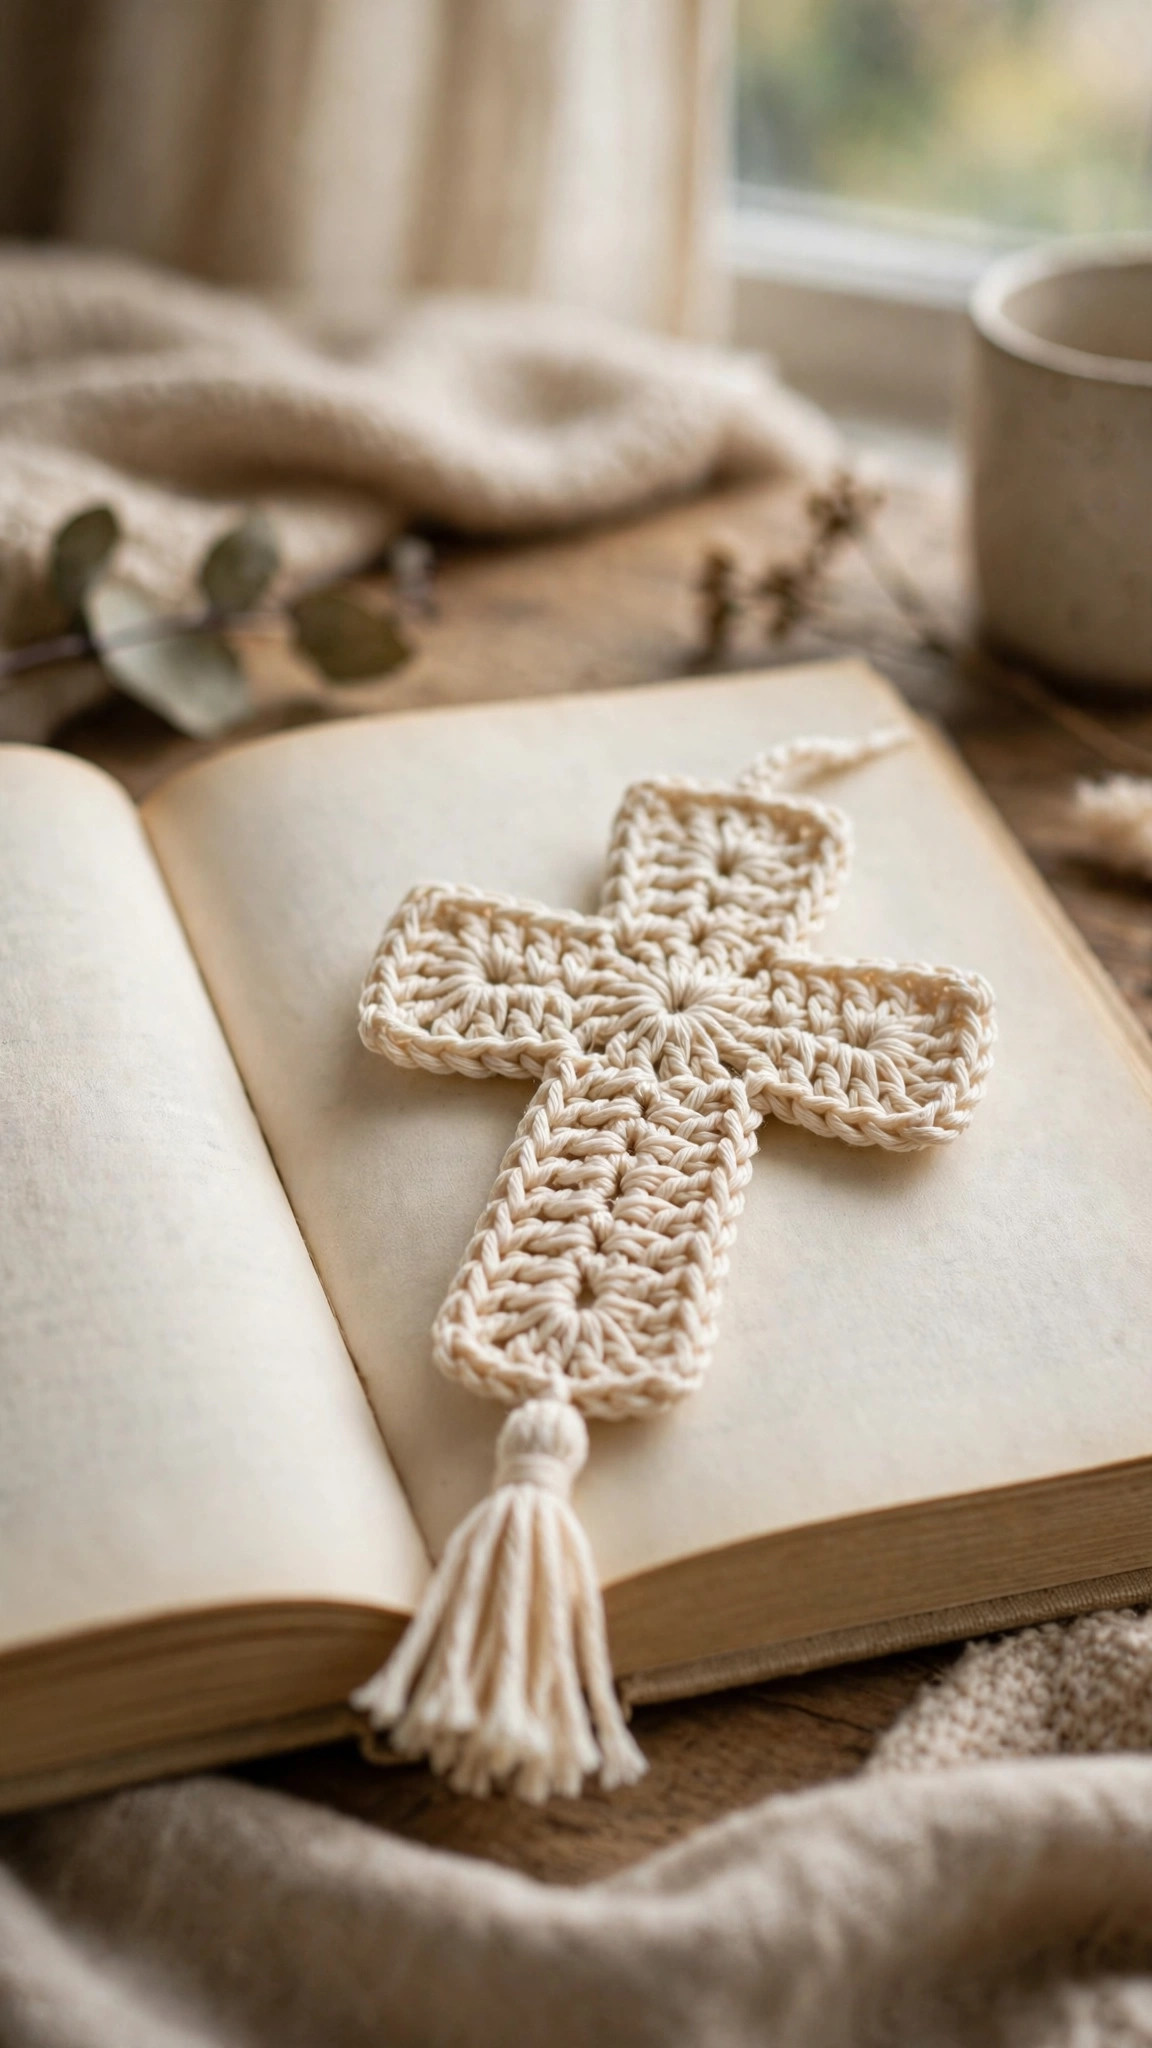
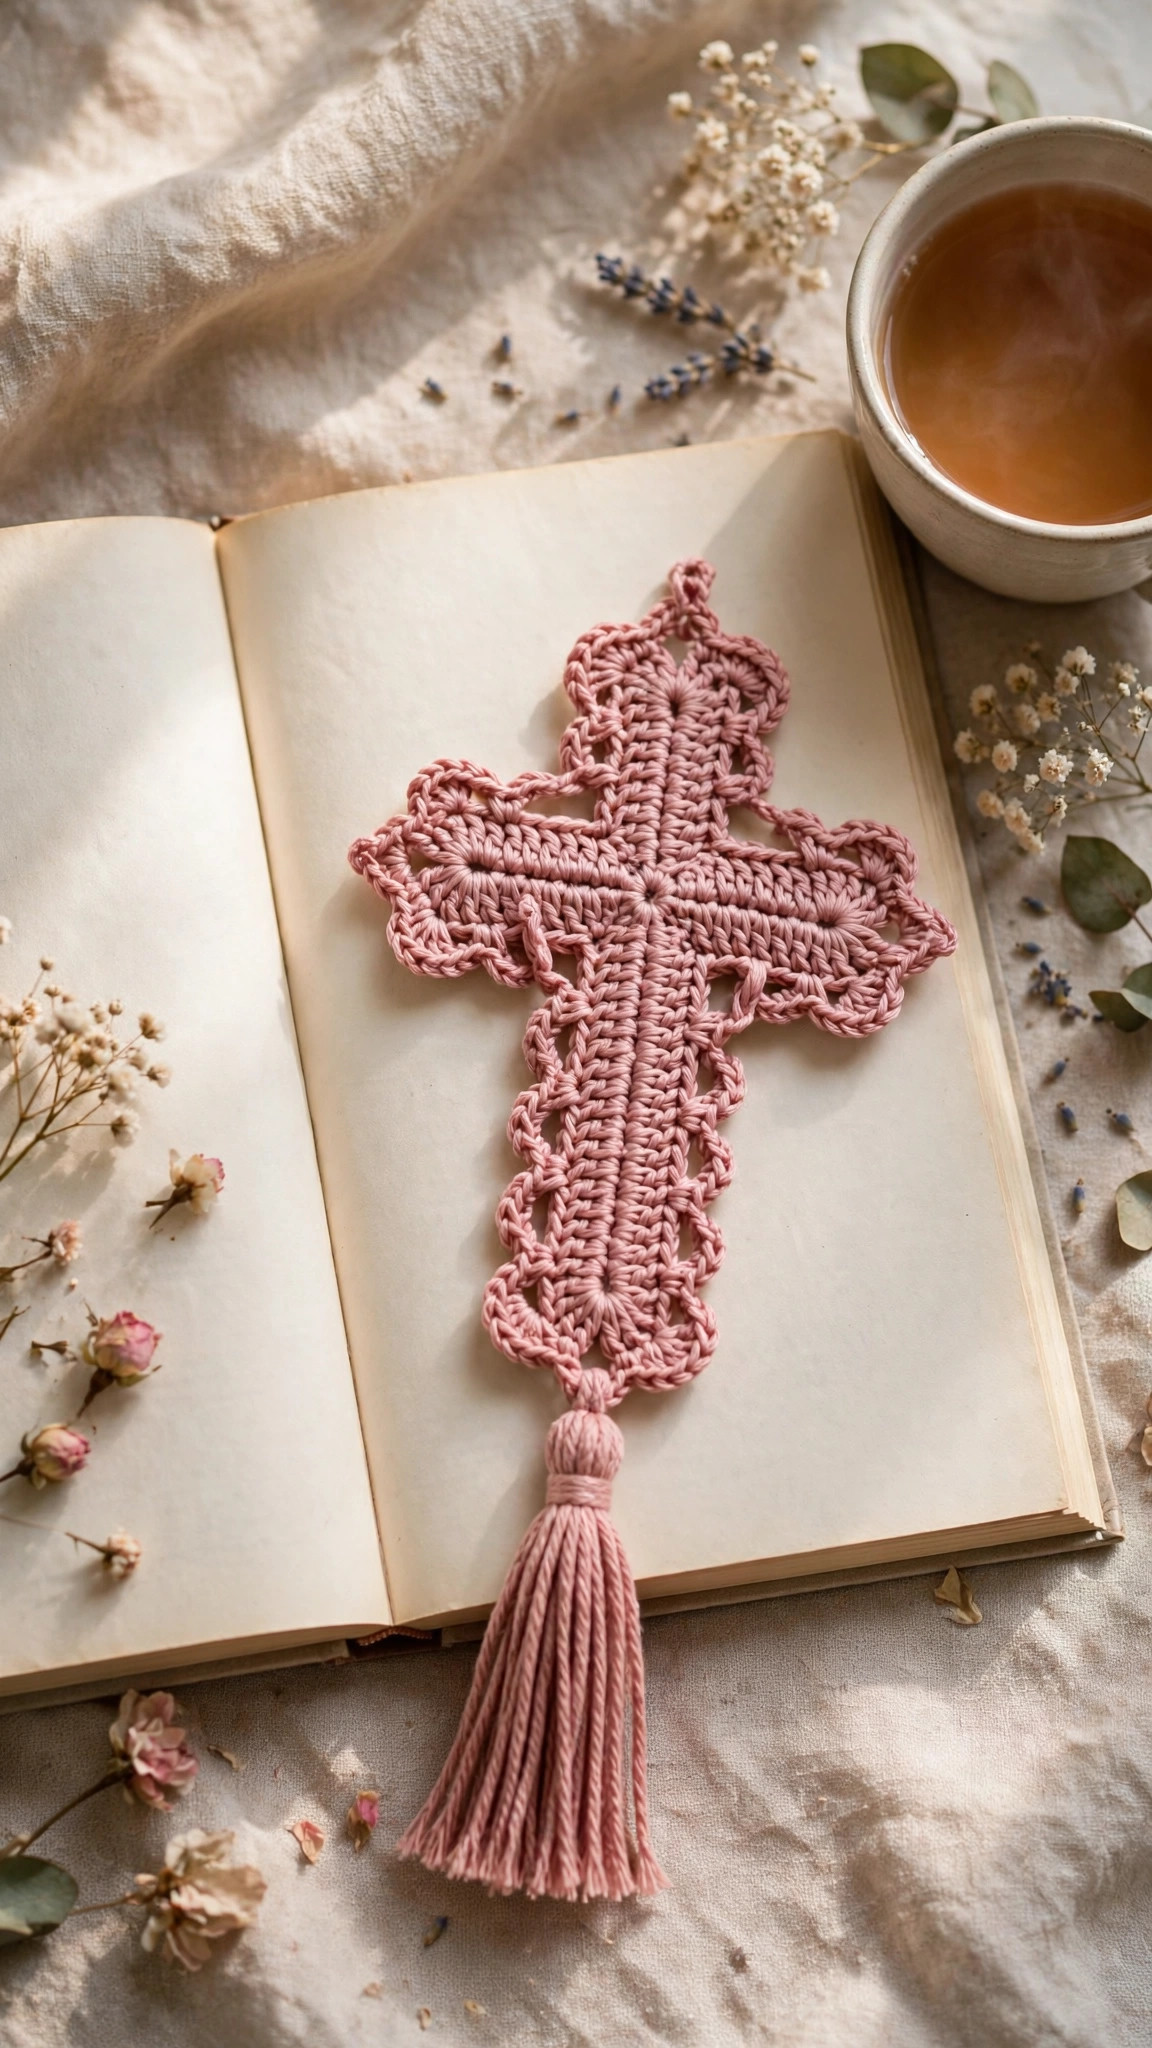
A flat, single-layer cross bookmark in plain single crochet — crossbar first, then the top and bottom stems from its center — finished with a neat edging round and an optional tassel.

Bookmarks · Crochet
- Finished size
- About 2 × 6.5 in / 5 × 16.5 cm
- Making time
- About 45–60 minutes
- Hook
- 3.5 mm, DK cotton yarn
- Pieces
- 1 bookmark (+ optional tassel)
- Skill
- Beginner
In this post
Some bookmarks are purely practical, and some carry extra meaning every time you open your book. This crochet cross bookmark pattern free design is firmly in the second camp. It sits flat between pages, survives daily use in a Bible, journal or novel, and is simple enough to finish in one quiet evening. The cross is worked in plain single crochet, so the silhouette does all the talking — no chart, no color changes, and no sewing pieces together.
One ball of cotton makes a whole stack, perfect for church groups, confirmation and baptism gifts, Easter baskets, sympathy cards, and craft fair tables. Choose cream or white for a timeless look, pastels for spring, or burgundy or navy for a traditional feel. Add the optional tassel for a gift-ready finish, or leave it off for an extra-flat marker that posts easily inside a card.
Contents
- Why you'll love this crochet cross bookmark
- Materials you'll need
- Size, gauge and skill level
- Abbreviations — US terms
- The pattern (US terms)
- Finishing: blocking and the optional tassel
- Tips for a neat, flat bookmark
- FAQ
- What to crochet next
Why you'll love this crochet cross bookmark pattern
First, the construction is clever without being complicated. Instead of increasing and decreasing in one confusing piece, you start with a simple horizontal rectangle for the crossbar, work the short top stem up from its middle, flip your work, and work the long bottom stem down from the other side. Every section is just rows of single crochet. If you can count to twenty, you can make this — and after the first one, you will barely need the pattern.
Second, it is flat where it counts. Many crocheted bookmarks are too thick for a real book, especially designs with textured stitches or layered appliqués. This one is a single layer of single crochet in DK cotton: flexible, smooth, and kind to pages. Blocking makes it lie completely flat, so it will not leave a ridge in a treasured book.
Third, it is endlessly personal. Change the color, add a contrasting edging, swap the tassel for a small bead, or work the edging in metallic thread. A set of three tied with ribbon and a handwritten note makes a thoughtful gift that never looks cheap. If you enjoy small, meaningful makes, our free crochet heart pattern uses the same one-evening logic in a different shape.
Finally, it is a wonderful scrap project — leftovers from a dishcloth, doily or garment will almost certainly be enough.
Materials you'll need
Cotton is strongly recommended: it lies flat, holds a blocked edge, feels smooth against paper, and keeps the shape crisp. Mercerized DK cotton gives the sharpest definition, but any smooth DK or light worsted cotton works.
| Supply | What to get |
|---|---|
| Yarn | DK-weight (#3) cotton, about 15 g / 35–40 yd (32–37 m) per bookmark, in cream, white or your chosen color |
| Optional contrast yarn | A few yards of DK cotton in a second color for the edging round, if desired |
| Crochet hook | 3.5 mm (US E-4) |
| Notions | Tapestry needle with a large eye, scissors, stitch markers (2) |
| For the tassel (optional) | A 3-inch (7.5 cm) piece of cardboard, plus extra yarn in the main or a contrast color |
| Blocking | Rustproof pins and a foam mat, ironing board or clean towel; a spray bottle of water |
You can use fingering cotton with a 2.5 mm hook for a smaller bookmark, or worsted cotton with a 4.5 mm hook for a larger one — the stitch counts stay the same. Avoid fluffy yarns at first; they blur the corners and make counting harder.
Size, gauge and skill level
- Finished size: about 2 inches wide at the crossbar × 6.5 inches tall (5 × 16.5 cm), not including the tassel. The tassel adds about 2 inches (5 cm).
- Crossbar: 20 stitches wide × 8 rows tall.
- Top stem: 8 stitches wide × 10 rows tall, centered on the crossbar.
- Bottom stem: 8 stitches wide × 26 rows tall, centered on the crossbar.
- Gauge: 24 single crochet × 28 rows = 4 × 4 inches (10 × 10 cm) with a 3.5 mm hook and DK cotton, after light blocking.
- Skill level: Beginner. You should know how to make a chain, work a single crochet, turn your work, and fasten off. Everything else, including picking up stitches along the crossbar and working the edging around the inner corners, is explained step by step below.
Gauge is not critical as it is for a garment, but it affects proportion. Make the crossbar first and measure it: about 2 inches (5 cm) wide. If it is more than a quarter inch (0.6 cm) off, change hook size and redo that small rectangle.
Sizing ideas: For a child's book, stop the bottom stem at 22 rows. For a large-print Bible, extend it to 30 rows. Keep the crossbar and top stem as written so proportions stay balanced.
Abbreviations — US terms
| Abbreviation | Meaning |
|---|---|
| ch | chain |
| sc | single crochet |
| sl st | slip stitch |
| st(s) | stitch(es) |
| RS | right side |
| WS | wrong side |
| FO | fasten off |
A note on counting: The crossbar has 20 stitches, and the stems use the center 8 — you skip the first 6 and last 6 stitches each time you start a stem. Place markers in the 7th and 14th stitches before you begin each stem.
The pattern (US terms)
Work the bookmark in this order: crossbar, top stem, bottom stem, then edging. Do not fasten off between the crossbar and the top stem. Read through the whole pattern once before you pick up your hook, especially the edging notes about inner corners.
Part 1 — The crossbar
The crossbar is a plain horizontal rectangle. At the end of every row in this pattern, chain 1 and turn. That chain 1 does not count as a stitch.
- Foundation: Ch 21.
- Row 1 (RS): Sc in the 2nd ch from the hook and in each ch across, ch 1, turn. (20 sc)
- Row 2: Sc in each st across, ch 1, turn. (20 sc)
- Rows 3–8: Repeat Row 2 six more times. (20 sc per row)
You should now have a neat rectangle, 20 stitches wide and 8 rows tall, measuring about 2 × 1.25 inches (5 × 3.2 cm). Count one more time before you continue: 20 stitches across the top edge, 8 rows in total. Do not fasten off.
Part 2 — The top stem
The top stem is worked from the center of the crossbar's last row. With the RS facing you, count across Row 8 and place a marker in the 7th stitch and another in the 14th stitch. You will work only between those markers — 8 stitches in total. The 6 stitches on either side become the ends of the crossbar.
- Row 1: Sc in each st from the first marked st to the second marked st, ch 1, turn. (8 sc) Leave the remaining 6 sts of the crossbar unworked.
- Row 2: Sc in each st across, ch 1, turn. (8 sc)
- Rows 3–10: Repeat Row 2 eight more times. (8 sc per row)
You now have a short stem of 10 rows in the middle of the crossbar. FO. Turn the whole piece over — the bottom stem is worked from the foundation edge of the crossbar, on the opposite side.
Part 3 — The bottom stem
Turn the crossbar so the foundation chain edge is at the top and the RS is still facing you. You will work into the free loops of the foundation chain, using exactly the same center 8 stitches as before. Count 6 loops in from either end and place markers in the 7th and 14th loops if it helps — the stems must line up, or your cross will look lopsided.
Join your yarn with a slip stitch in the 7th foundation loop, counting from the right-hand edge.
- Row 1 (RS): Ch 1 (does not count as a st), sc in the same loop and in each of the next 7 foundation loops, ch 1, turn. (8 sc) Leave the remaining 6 loops unworked.
- Row 2: Sc in each st across, ch 1, turn. (8 sc)
- Rows 3–26: Repeat Row 2 twenty-four more times. (8 sc per row)
At the end of Row 26, do not fasten off if your edging is the same color — you go straight into it from here. For a contrast edging, fasten off and join the new color at the same corner.
Your piece should now read clearly as a cross, with both stems forming one straight vertical line. If a stem sits one stitch off-center, undo it now rather than disguising it later — reworking single crochet rows is quick.
Part 4 — The edging round
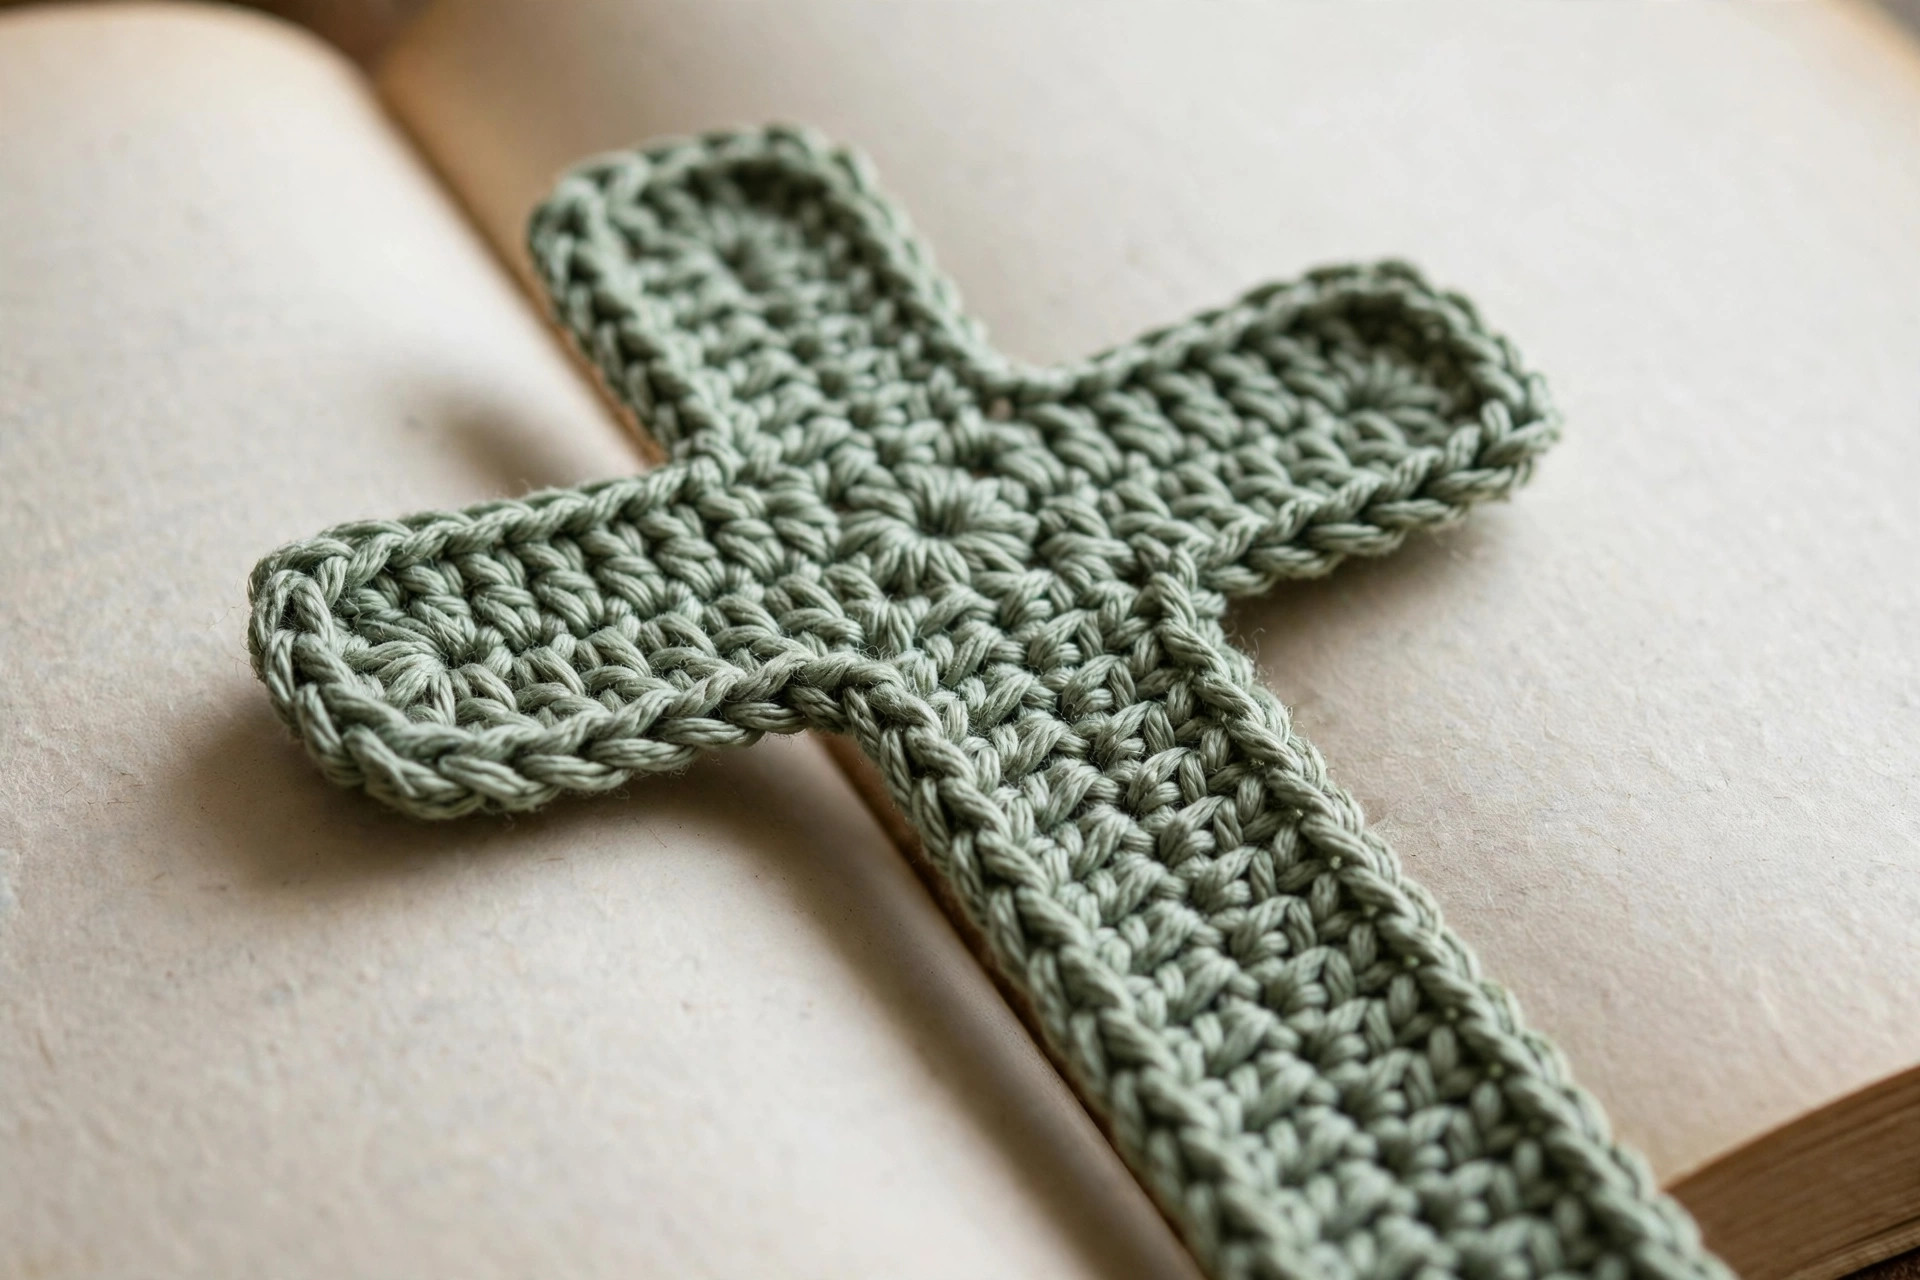
The edging hides the row-end edges, sharpens all twelve corners, and gives a finished neatness. Work it slowly at first, especially at the four inner corners.
Continue from the end of the bottom stem, or join your edging color at the bottom right-hand corner. Chain 1. Work single crochet evenly around the entire outside edge, following these rules:
- Work 1 sc in each stitch across the bottom edge and across the top edge.
- Work 1 sc into the end of each row along every side edge. If an edge ripples, you are adding too many stitches — aim for exactly one per row end.
- At each outer (convex) corner, work 3 sc into the corner, so the edging turns without pulling. There are 8 outer corners: 2 at the bottom, 4 at the crossbar ends, and 2 at the top.
- At each inner (concave) corner, work 1 sc only. Extra stitches make inner corners flare. There are 4 inner corners.
Slip stitch into the first single crochet to close. FO, leaving a 6-inch (15 cm) tail.
Optional picot touch: For a decorative gift finish, replace the top-stem edging only with: sc in the next 2 sts, ch 3, sl st into the first of those 3 chains repeated across. Keep the rest plain so the bookmark still lies flat.
Yarn and color variations
Solid cream is the classic, but try soft gold for Easter, deep red for Christmas, or dusty blue for a baptism gift. For a subtle two-tone effect, work the edging in a slightly darker shade of the same family. Avoid bold self-striping yarn — the stripes fight with the silhouette. For more small-scale color play, see our crochet doily patterns free collection.
Finishing: blocking and the optional tassel
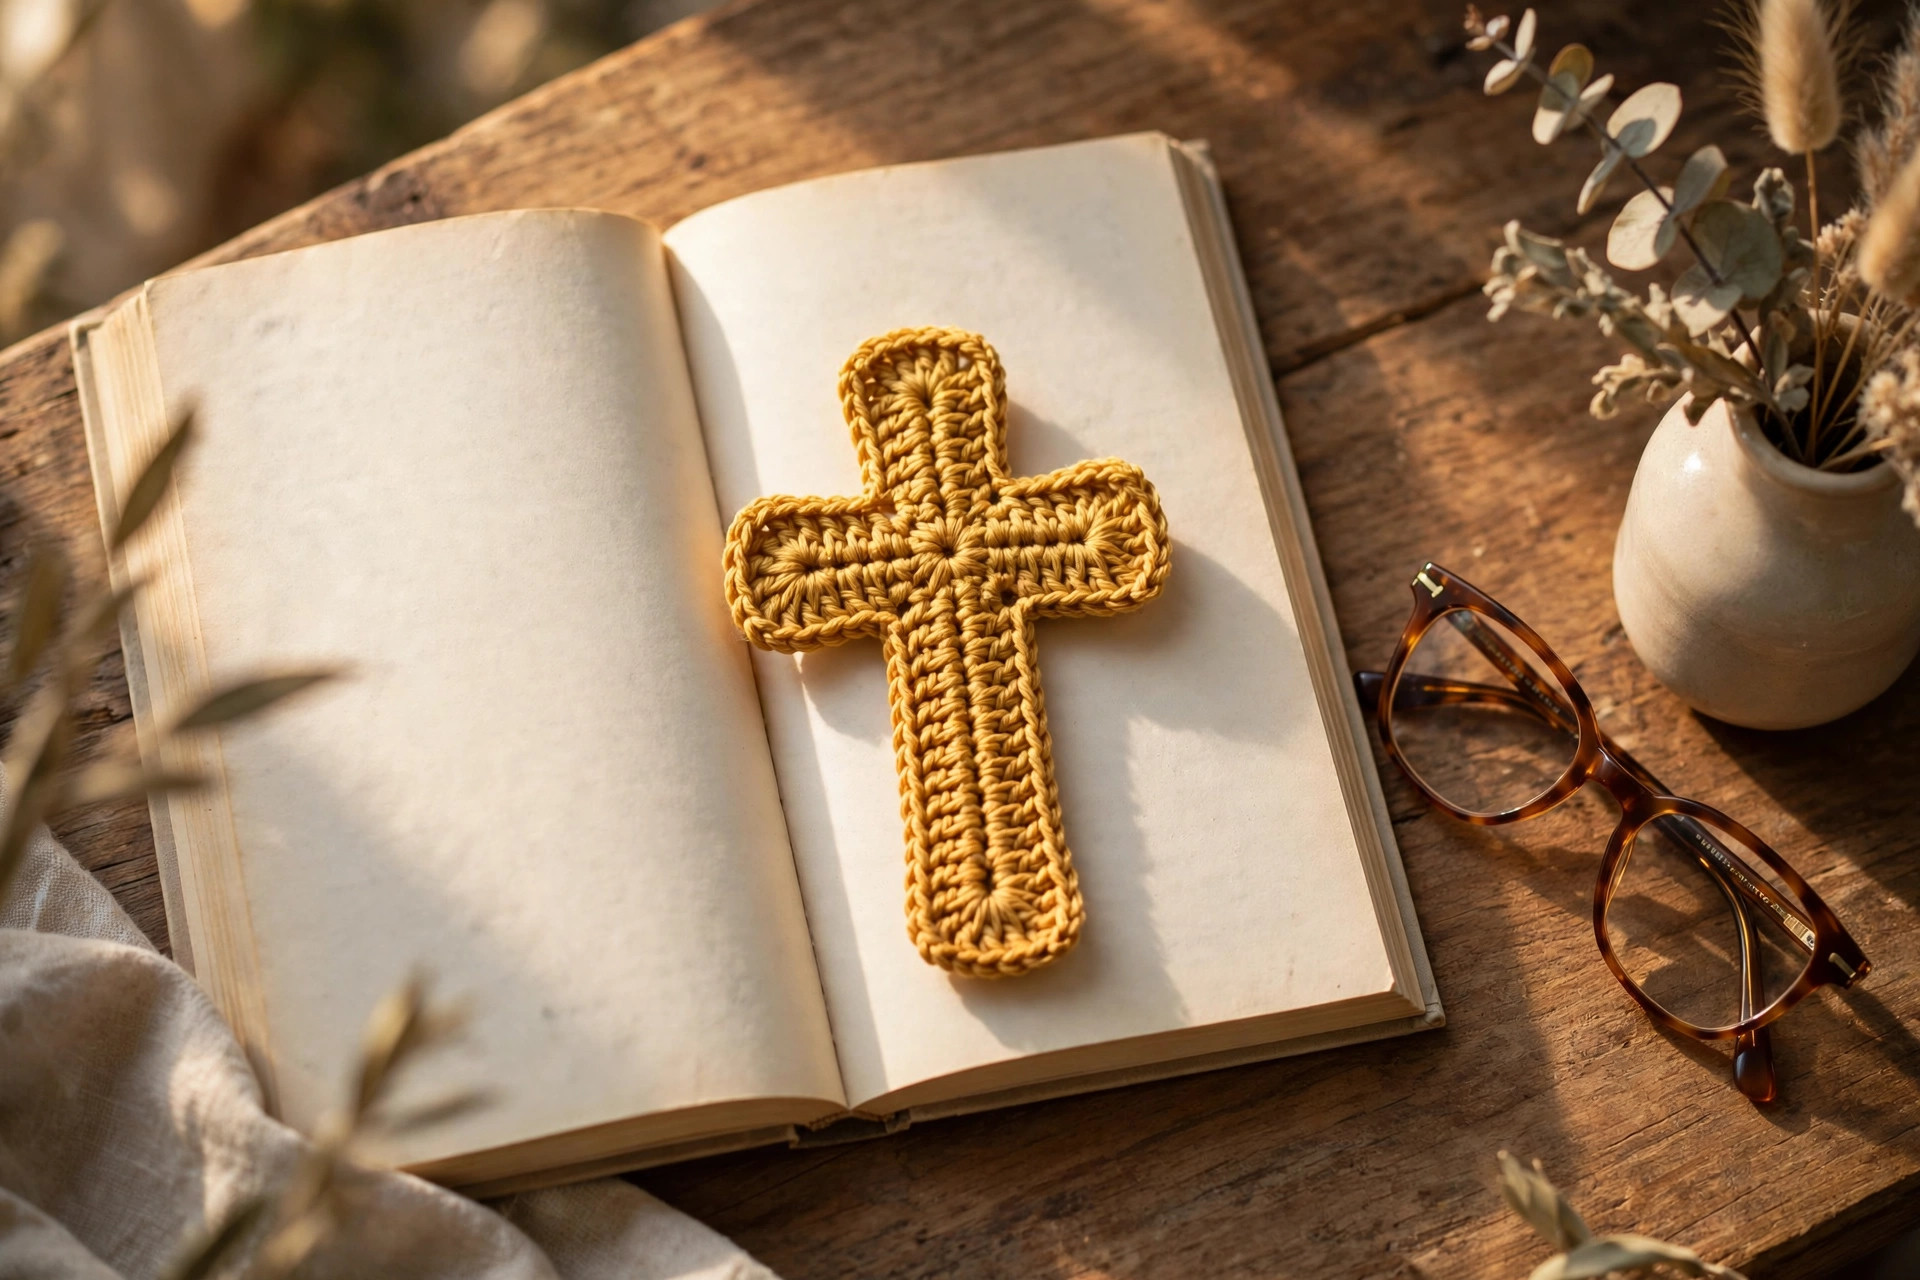
Weave in all ends, taking each tail back and forth on the wrong side at least three times in different directions. A bookmark is tugged in and out of books a lot, and ends woven only once creep out. Trim tails close once secure.
Blocking: Lay the cross flat, right side up. Ease it into shape: straighten the stems, level the crossbar ends, and square the corners. Mist lightly until just damp, then pin at the top, bottom, both crossbar ends, and each inner corner. Leave to dry completely — a few hours, or overnight. Without pins, place the damp bookmark under a heavy book instead.
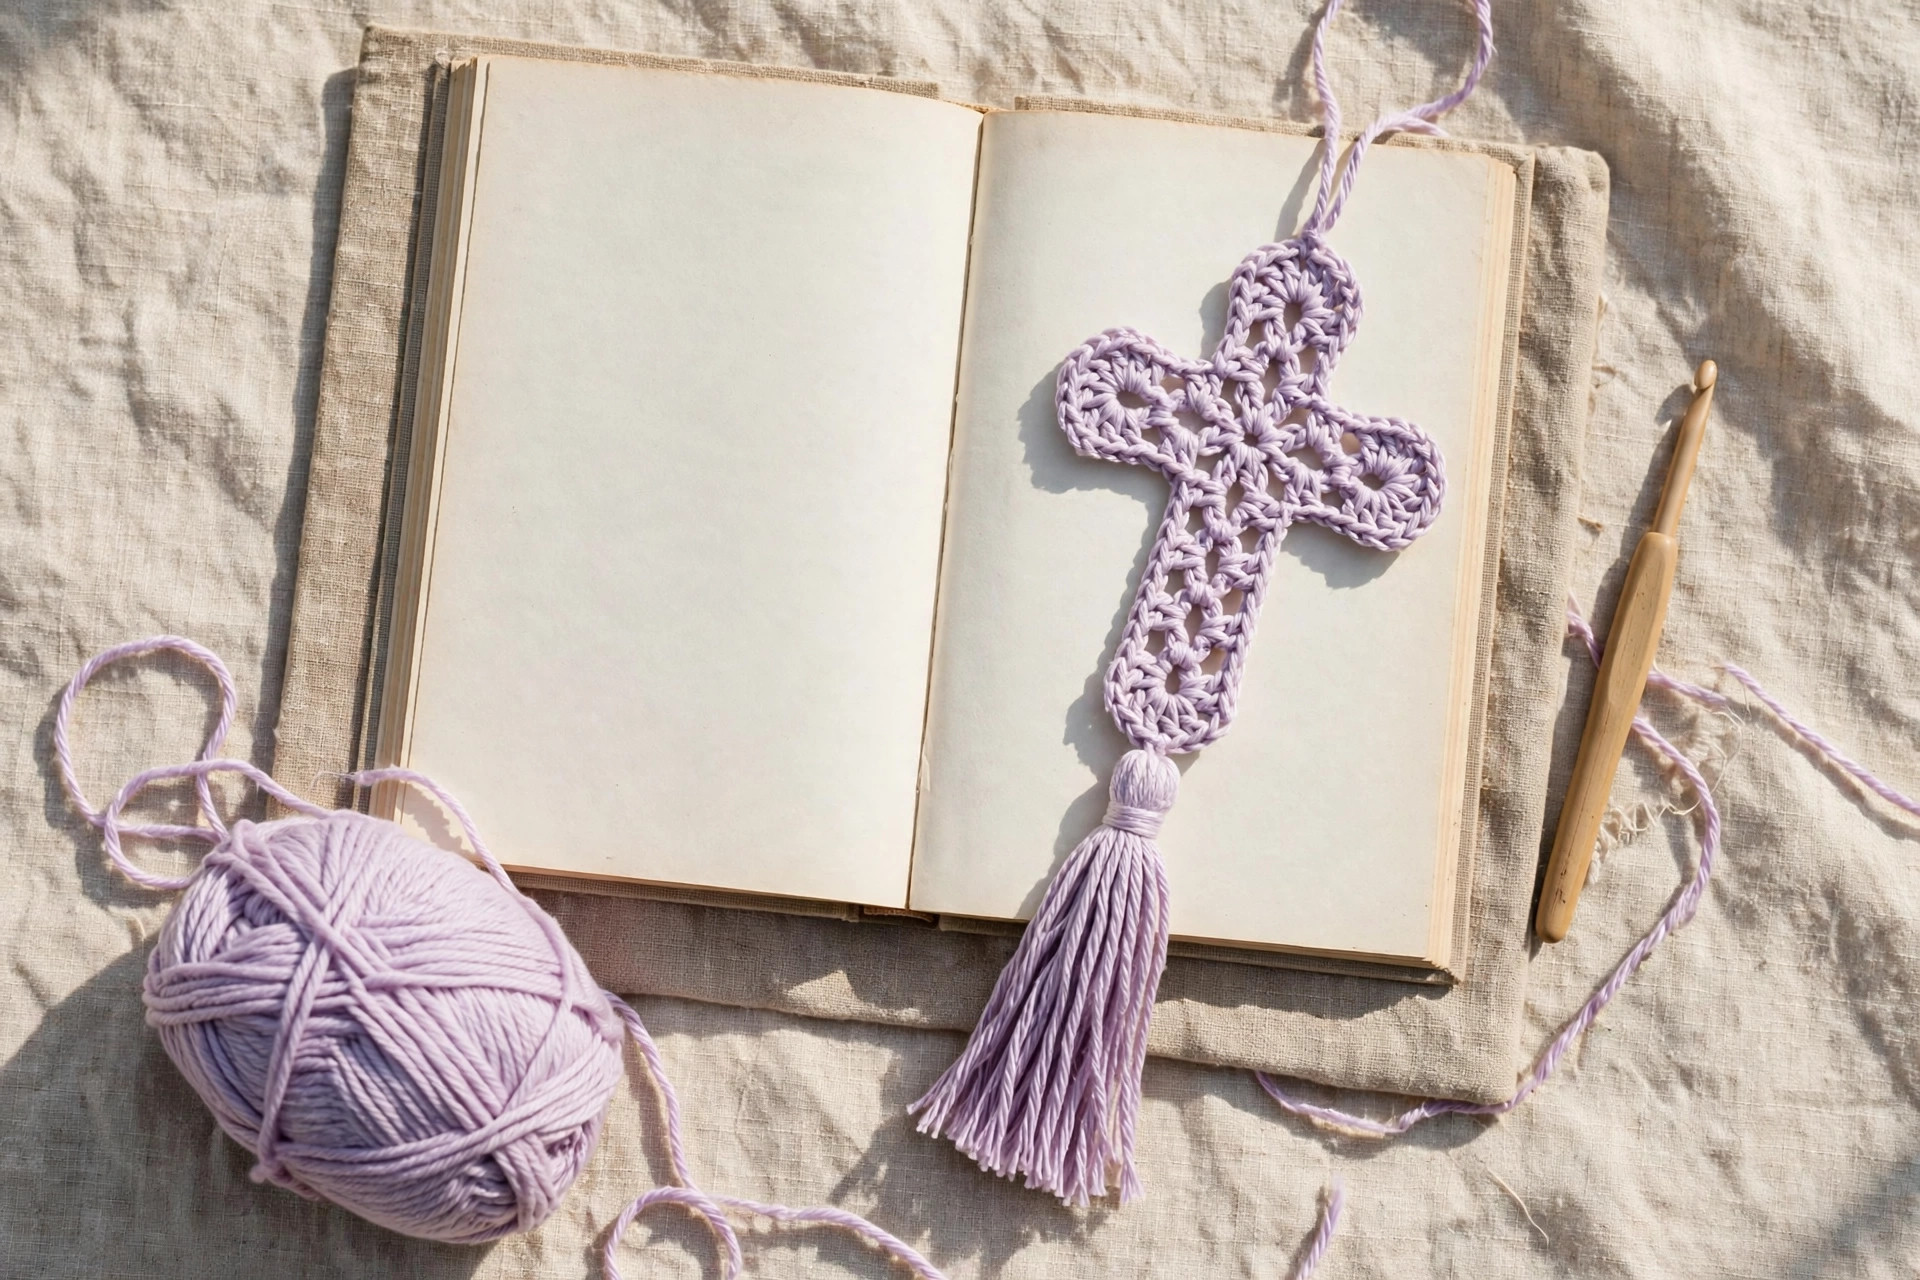
The optional tassel: Wrap yarn around a 3-inch (7.5 cm) piece of cardboard 12 times for a slim tassel or 18 times for a fuller one. Slide an 8-inch (20 cm) length of yarn under the wraps at the top, tie tightly, and leave its ends free — they attach the tassel. Slide the wraps off, wrap another length around the bundle about half an inch (1.3 cm) below the fold 4 or 5 times, and knot securely. Cut the bottom loops and trim level. To attach, thread the tying ends on your needle, pass them through the center 2 stitches of the bottom edge, and tie a firm knot on the wrong side.
Prefer no tassel? Thread a thin ribbon through the bottom edge instead, or leave it plain — many Bible readers prefer it completely flat.
Tips for a neat, flat bookmark
Count the crossbar twice. Almost every wonky cross traces back to a crossbar of 19 or 21 stitches instead of 20 — the stems only center because 6 + 8 + 6 equals 20. Count after Row 1 and again after Row 8.
Mark the center stitches every time. One stitch off is visible in a shape this simple, and markers cost five seconds.
Keep row-end tension even. Tight turning chains narrow the stem in the middle; loose ones make it bow. Aim for a relaxed, consistent chain 1, and let the edging tidy any tiny irregularities.
Choose smooth yarn and a firm gauge. A 3.5 mm hook with DK cotton gives fabric with no visible holes. If you see gaps held up to the light, go down half a hook size.
Block every single one. Two minutes of pinning is the difference between homemade-looking and handmade-looking. For more small, flat projects, see our crochet lace edgings free patterns — a narrow lace trim can also work as a delicate bookmark.
Make a batch efficiently. Work all the crossbars first, then all the top stems, then all the bottom stems. Your rhythm and tension stay consistent, and edging and blocking happen in one final session.
FAQ
How long does it take to crochet a cross bookmark?
Most crocheters finish one in about 45 to 60 minutes, including the edging. Your first may take a little longer while you get used to centering the stems, but the second and third go much faster. Blocking adds only a few minutes of active work, plus drying time. It is a genuine one-evening project, even at a relaxed pace.
What is the best yarn for a crochet cross bookmark?
A smooth DK-weight cotton is best. Cotton lies flat, holds its blocked shape, does not shed fibers onto pages, and gives crisp stitch definition so the cross reads clearly. Mercerized cotton looks especially neat. Avoid fluffy acrylic, mohair blends and textured yarns, which blur the corners and add unwanted thickness inside a book.
Can a beginner make this cross bookmark pattern?
Yes. The entire bookmark uses only chain and single crochet, worked back and forth in rows, plus one edging round. The only skills that might be new are counting carefully to find the center 8 stitches of the crossbar, and joining yarn to work into the foundation chain for the bottom stem. Both are explained in full, and stitch markers make the counting almost foolproof.
How do I keep my bookmark flat inside a book?
Use cotton yarn, work at a firm gauge so the fabric is thin and dense, skip bulky embellishments, and always block the finished bookmark. If your bookmark curls at the edges after blocking, your edging round is probably a little tight — rework it with one extra stitch at each outer corner, or go up half a hook size just for the edging.
Can I make the cross bookmark bigger or smaller?
Yes, and the easiest way is to change your yarn and hook rather than the stitch counts. Fingering-weight cotton with a 2.5 mm hook makes a smaller, finer bookmark for a paperback or diary; worsted-weight cotton with a 4.5 mm hook makes a larger one for a big hardback. You can also lengthen or shorten just the bottom stem — try 22 rows for a small book or 30 rows for a large-print Bible — while keeping the crossbar and top stem unchanged.
Is this a good bookmark to sell or give as a gift?
Yes — materials cost is very low, making time is under an hour, and it presents beautifully tucked into a card or tied to a wrapped book. Popular occasions include baptisms, confirmations, first communions, Easter, Mother's Day, and sympathy gifts. At craft fairs, offer several colors in tassel and no-tassel versions, displayed inside open books so buyers understand the scale. To personalize one, add initials in surface embroidery on the bottom stem after blocking.
What to crochet next
The box below contains an Etsy link. If you buy through it, we may earn a small commission at no extra cost to you. Learn more.
No time to make one?
Short on time? Find handmade crochet cross bookmarks on Etsy.
Browse on Etsy (opens Etsy in a new tab)