Crochet Flower Hat Pattern Free: Easy Bucket Hat
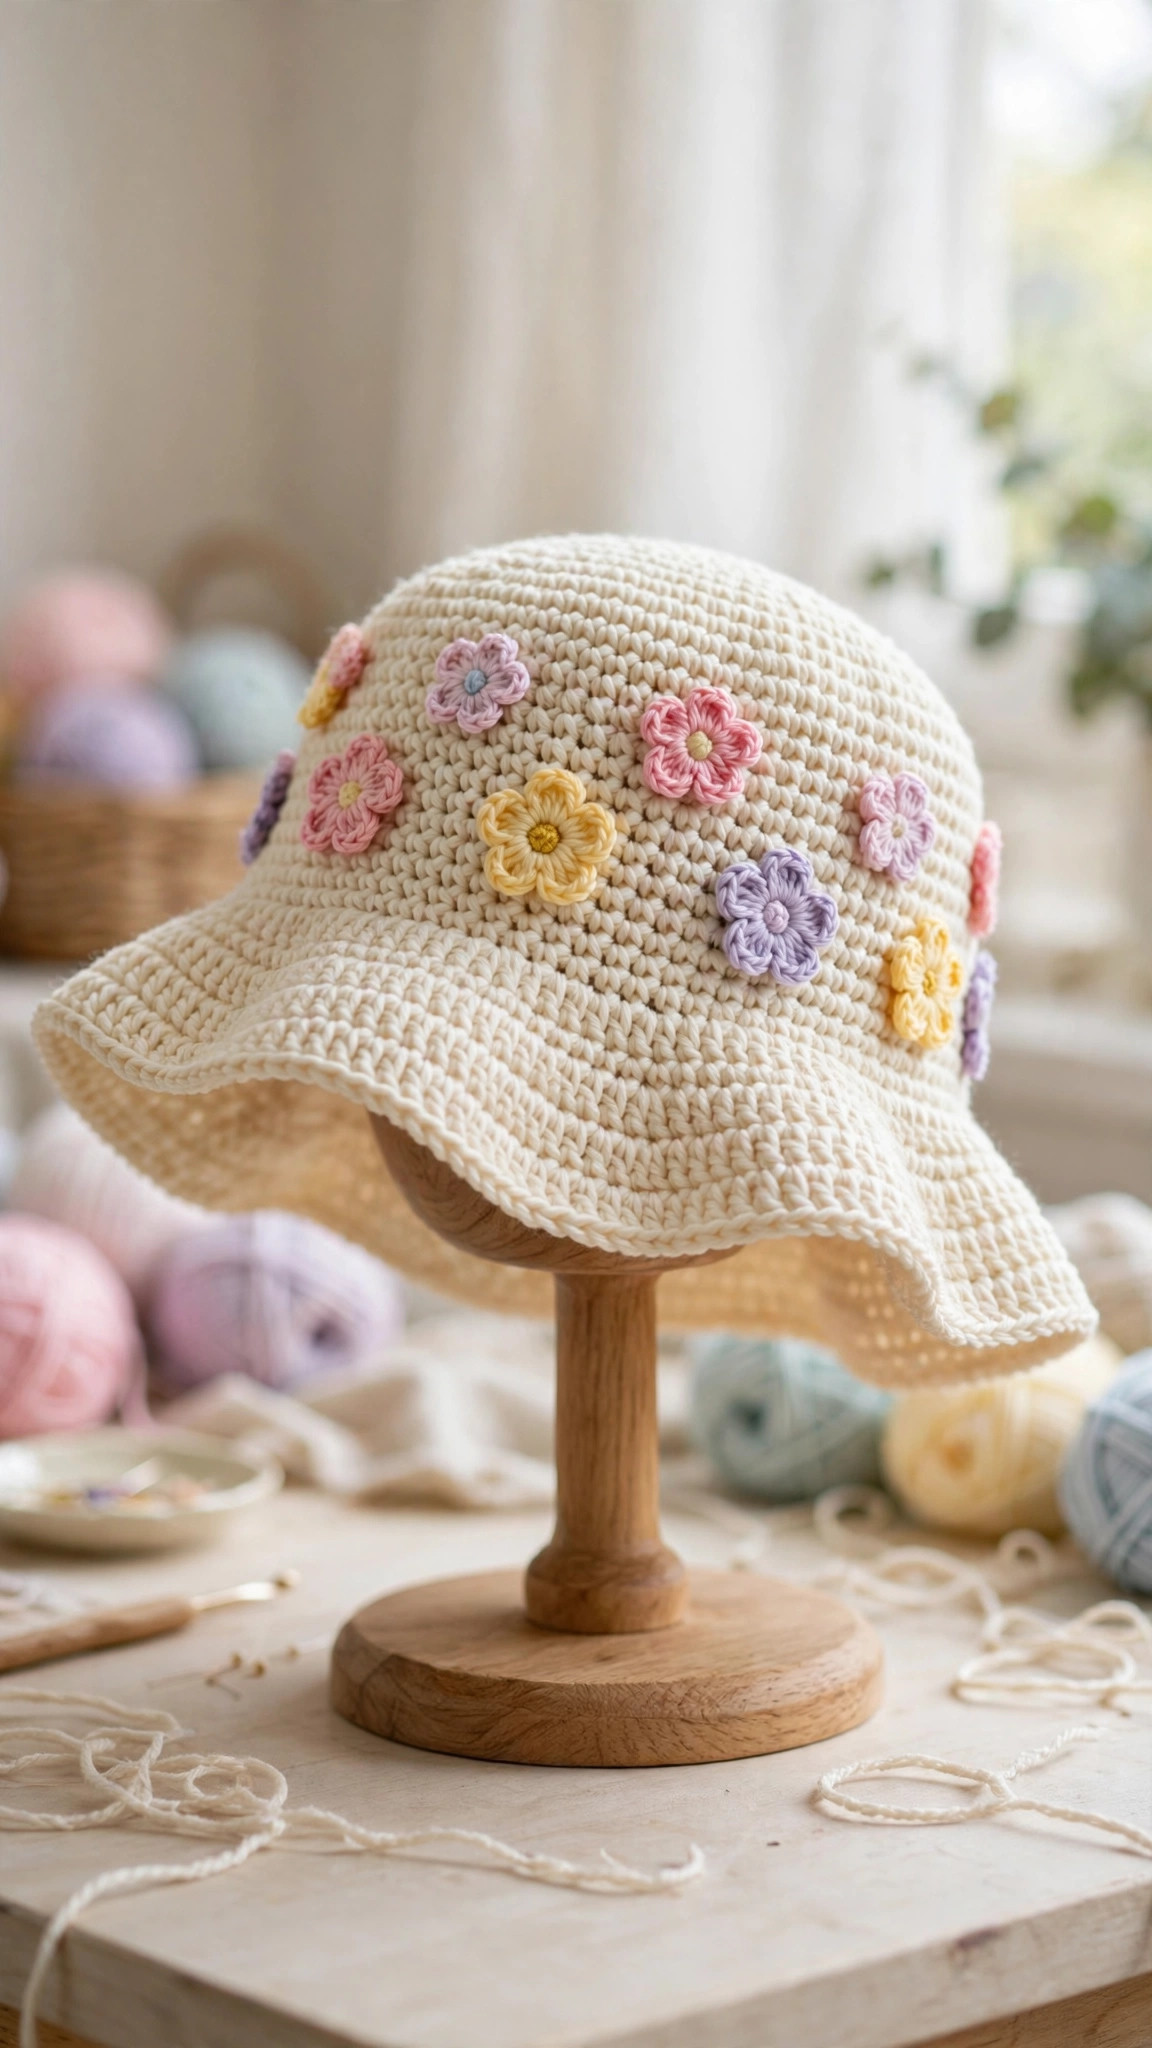
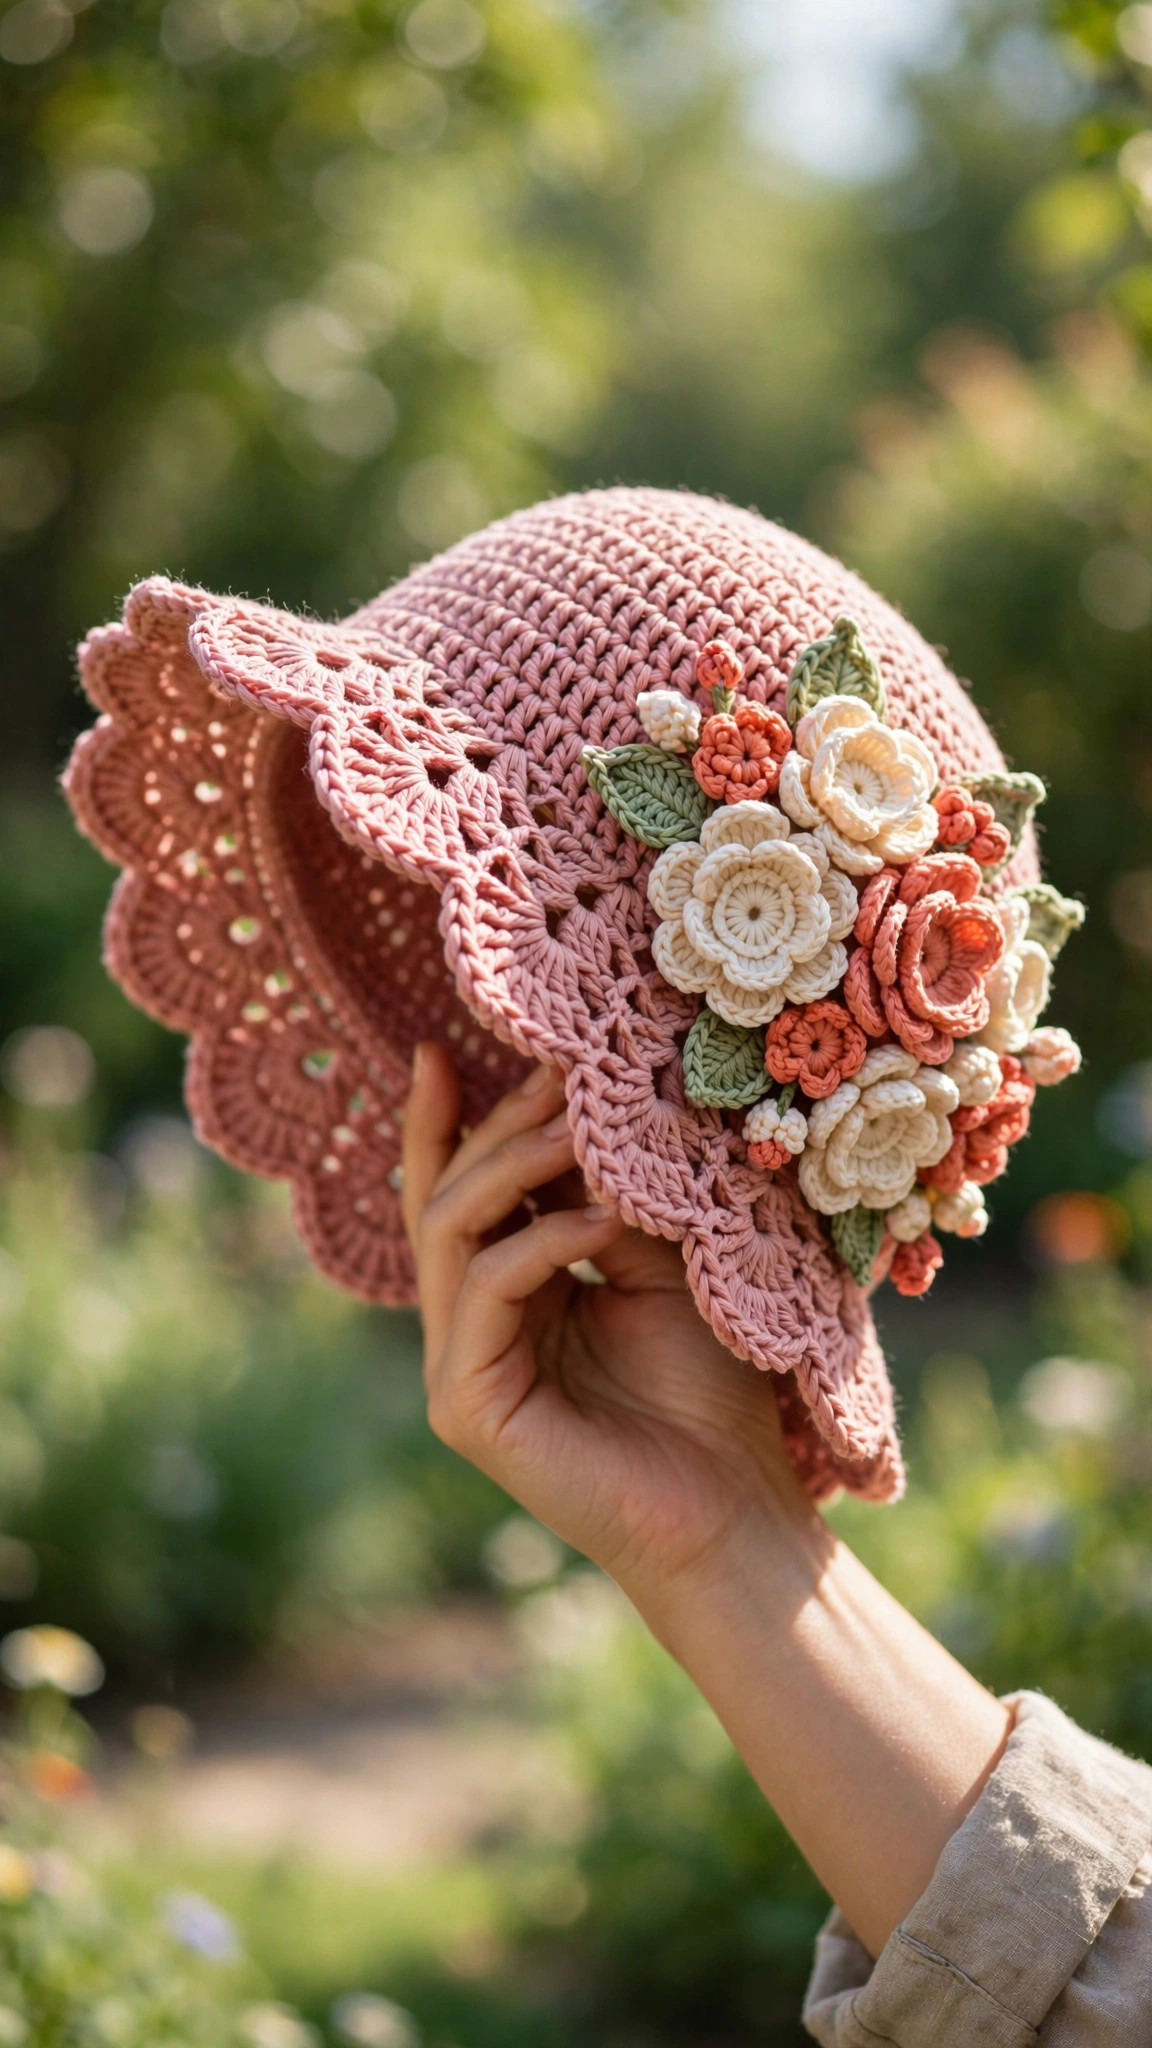
A soft top-down bucket hat with a gently wavy brim and seven tiny five-petal flowers sewn around the crown — worked in simple double crochet with every stitch count given, in child, adult and large sizes.

Wearables · Crochet
- Finished size
- Fits 21–22 in / 53–56 cm head
- Making time
- About 4–5 hours
- Hook
- 5.0 mm, worsted-weight cotton
- Pieces
- Hat in 1 piece + 7 flowers
- Skill
- Easy
In this post
There is a specific kind of hat that makes people stop you in the park and at the market to ask where you bought it. It is soft, a little bit floppy, covered in tiny flowers, and it looks like something from a boutique window — right up until you smile and say you made it in a weekend. This is that hat, and the full pattern is free, right here, with every stitch count worked out for you.
I designed this hat to be genuinely wearable, not a costume piece. The crown is smooth and close-fitting so it stays put on a breezy day. The brim shades your eyes but stays soft enough to fold into a beach bag. And the flowers are small, flat, five-petal blooms that sit neatly around the base of the crown — pretty from every angle and quick enough that you will want extras in every color you own.
If you can make a double crochet and work in the round, you can make this hat. No tricky stitches, no seaming on the hat itself, and the whole body is worked in one piece from the top down. Pick your main color, grab a few scraps for the flowers, and let's get started.
Contents
- Why you'll love this crochet flower hat
- Materials you'll need
- Size, gauge and skill level
- Abbreviations — US terms
- The pattern (US terms)
- Finishing and adding the flowers
- Tips for a perfect flower hat
- FAQ
- What to crochet next
Why you'll love this crochet flower hat
First, the fit. Many free hat patterns are written for one head only, and if your gauge runs slightly loose, you end up with a hat that slides over your eyes. This pattern gives you a sizing check partway through the crown — measure the flat circle, compare it to the guide below, and adjust early. That check is the difference between a hat you wear all summer and one that lives in a drawer.
Second, the construction is wonderfully calm. The crown uses classic double crochet increase math, so the rhythm is predictable enough to crochet on autopilot. The sides are plain even rounds — perfect podcast crocheting — and the brim grows with gentle increase rounds that create that soft, wavy bucket-hat drape without wiring or fuss.
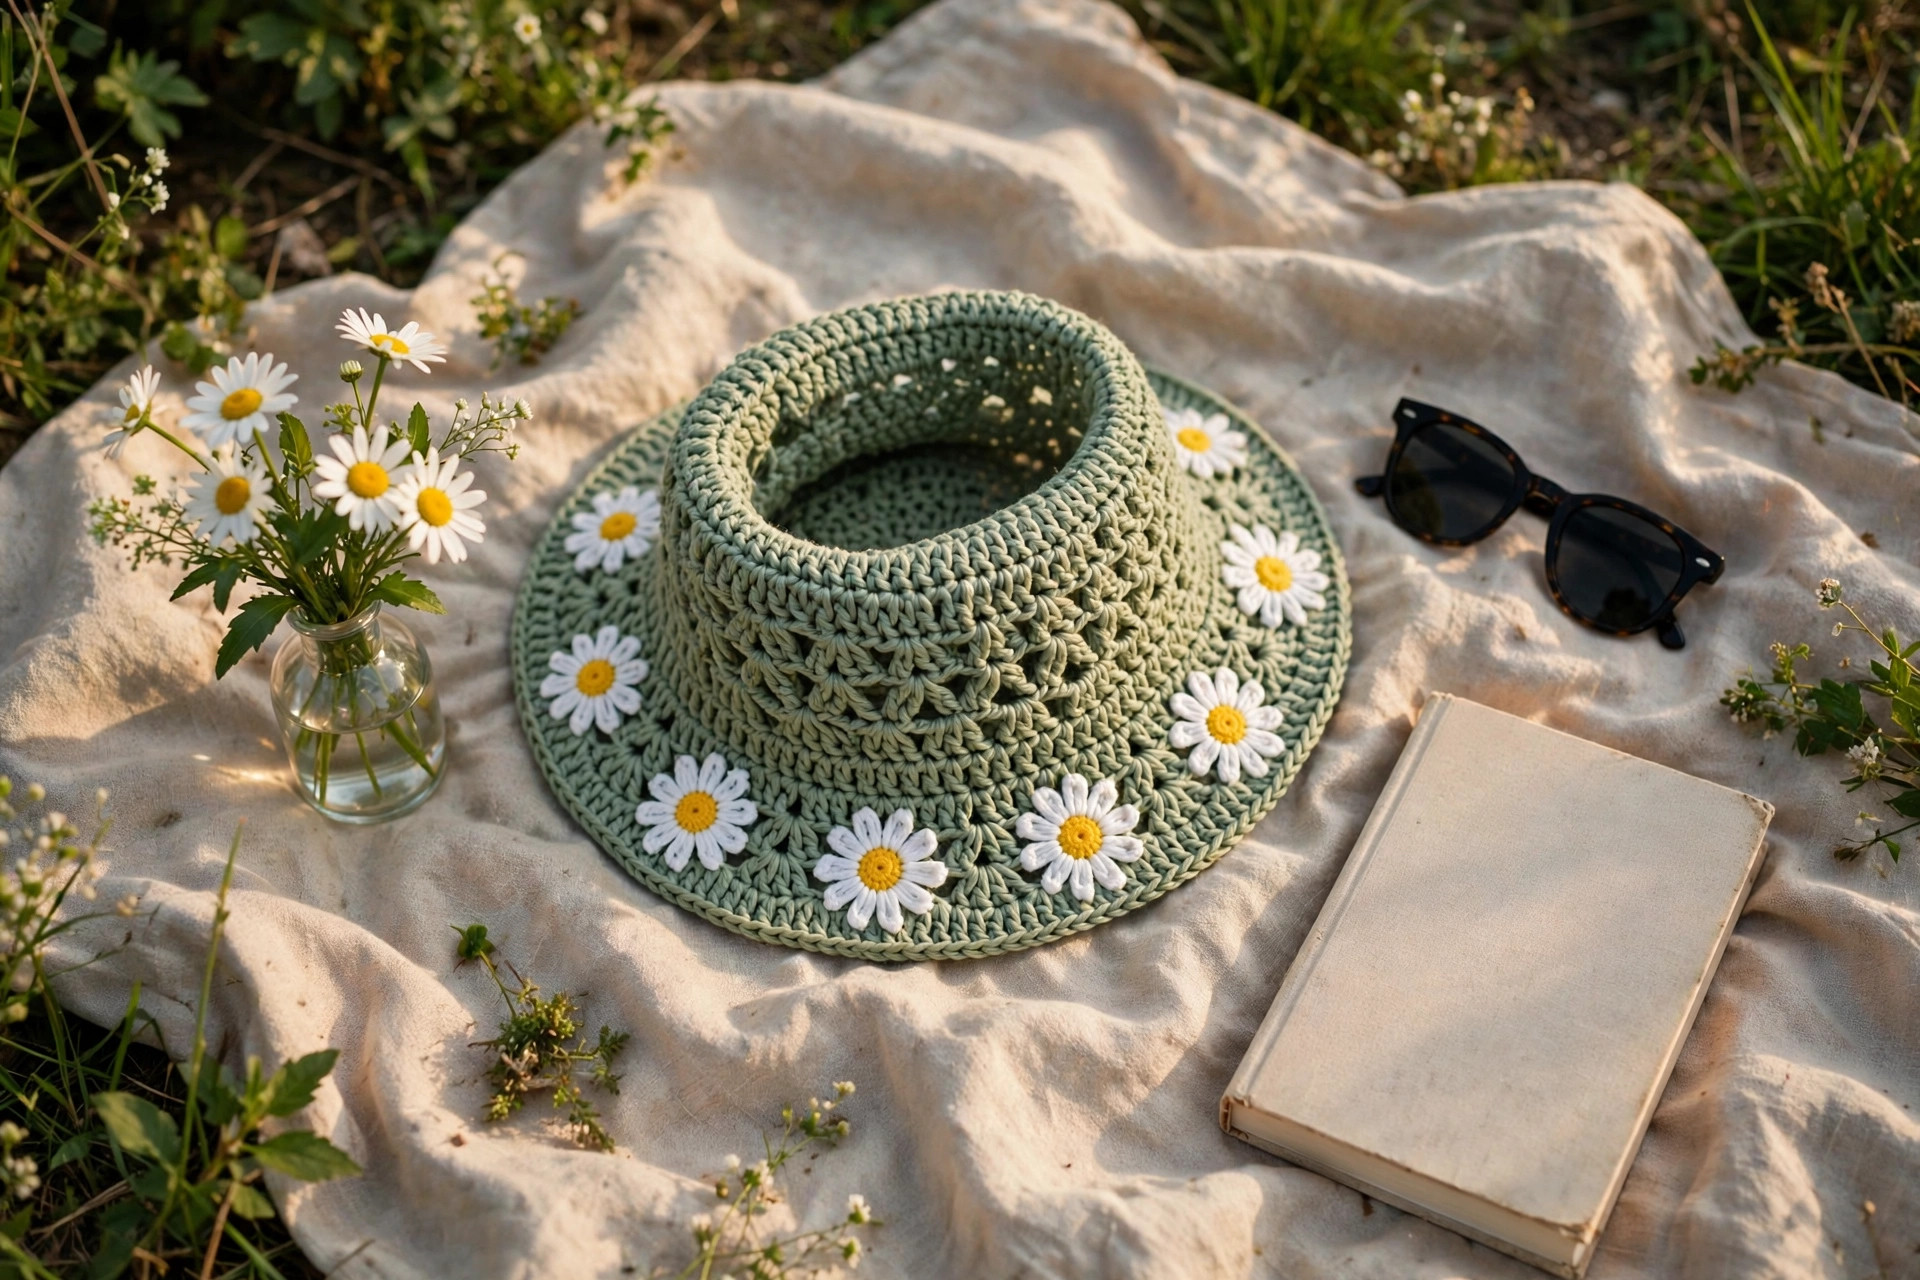
Third, the flowers do all the decorating for you. A plain cream bucket hat is nice; a cream bucket hat ringed with pink, yellow, and lavender blooms is a compliment magnet. Because the flowers are sewn on at the end, you can rearrange them or change them with the seasons — white daisies for spring, sunflowers for late summer, tiny red blooms for a holiday market hat. The base hat never changes.
Finally, this is a brilliant stash project. The hat uses about 180 yards of worsted yarn, and each flower uses barely two yards. Those little leftover balls too small for a project and too pretty to throw away? This is their moment.
Materials you'll need
| Supply | What to get |
|---|---|
| Main yarn | Worsted-weight (#4) cotton or cotton-blend yarn, about 180 yd / 165 m (roughly 100 g) in cream or your chosen hat color |
| Flower yarn | Small scraps of worsted-weight yarn in 2–3 petal colors (pink, yellow, lavender) — about 15 yd total |
| Center yarn | Small scrap of contrasting yarn for flower centers, about 5 yd |
| Crochet hook | 5.0 mm (H-8) |
| Notions | Tapestry needle with a large eye, stitch marker, scissors |
| Optional | A few straight pins for positioning flowers before sewing |
A note on yarn choice, because it matters for hats: cotton and cotton blends are the best pick here. Cotton holds the brim shape, does not stretch out over a day of wearing, breathes in warm weather, and gives crisp stitch definition. A soft acrylic works too, for a floppier, cozier hat — but avoid slippery or fuzzy yarns for your first version, because they hide your stitches and make counting harder.
Save your leftover scraps after this project — the same five-petal flower starts dozens of embellishments in our free crochet flower pattern collection.
Size, gauge and skill level
- Finished size (adult medium): fits head circumference 21–22 in (53–56 cm). Crown height about 7.5 in (19 cm) before the brim, brim width about 2.5 in (6.5 cm).
- Child size (about 4–8 years, 19–20 in / 48–51 cm head): work the crown through Round 5 only (60 stitches), then follow the sides and brim as written, working the brim increase rounds as [4 dc, inc] and [5 dc, inc].
- Large adult size (23–24 in / 58–61 cm head): add one more crown round after Round 6 — [5 dc, inc] × 12 (84 stitches) — then work the sides even on 84 stitches and the brim as written from 84 stitches.
- Gauge: 14 dc × 8 rows = 4 in (10 cm) with a 5.0 mm hook. The easiest check is built into the pattern: after Round 4, your crown circle should measure about 4.75 in (12 cm) across; after Round 6, about 6.75 in (17 cm). If it is more than half an inch bigger, go down a hook size; if smaller, go up.
- Skill level: Easy / confident beginner. You should know the magic ring (a chain-4 ring works too), double crochet, increasing, and joining rounds. The flowers are fully explained stitch by stitch.
One more fit tip: if you are making this hat as a gift and cannot measure the wearer, the adult medium as written fits most adults comfortably, and the soft brim is forgiving even if the fit is a touch generous.
Abbreviations — US terms
| Abbreviation | Meaning |
|---|---|
| ch | chain |
| sl st | slip stitch |
| sc | single crochet |
| dc | double crochet |
| inc | increase — work 2 dc in the same stitch |
| st(s) | stitch(es) |
| rnd | round |
| BLO | back loop only |
| rep | repeat |
| FO | fasten off |
Written entirely in US terms. If you usually work from UK patterns, a US double crochet is a UK treble — that is the only conversion you need here.
The pattern (US terms)
Work the hat top-down in joined rounds. Join each round with a slip stitch to the top of the beginning chain-3, then chain 3 to start the next round. The chain-3 counts as your first double crochet throughout. Stitch counts are given in parentheses at the end of every round; count the crown rounds especially, because every later round builds on them.
The crown
- Rnd 1: Into a magic ring, ch 3 (counts as first dc), work 11 dc into the ring. Join with sl st to top of ch-3. (12 dc) Pull the ring snugly closed.
- Rnd 2: Ch 3, dc in the same st, 2 dc in each st around. Join. (24 dc)
- Rnd 3: Ch 3, 2 dc in next st, [dc in next st, 2 dc in next st] rep around. Join. (36 dc)
- Rnd 4: Ch 3, dc in next st, 2 dc in next st, [2 dc, 2 dc in next st] rep around. Join. (48 dc) — Check: circle should measure about 4.75 in (12 cm) across.
- Rnd 5: Ch 3, dc in next 2 sts, 2 dc in next st, [3 dc, 2 dc in next st] rep around. Join. (60 dc)
- Rnd 6: Ch 3, dc in next 3 sts, 2 dc in next st, [4 dc, 2 dc in next st] rep around. Join. (72 dc) — Check: circle should measure about 6.75 in (17 cm) across. Lay it flat; if the edges are ruffling, your stitches are too loose — restart with a smaller hook now rather than later.
The sides
- Rnd 7: Ch 3, dc in BLO of each st around. Join. (72 dc) This back-loop round creates the crisp turn where the crown becomes the side — it is what gives the hat its structured bucket shape.
- Rnds 8–13: Ch 3, dc in each st around. Join. (72 dc) — six even rounds. Try the hat on after Round 11: the sides should reach about the middle of your ears. For a deeper hat, add one more even round; for a shallower fit, stop after Round 12.
The brim
- Rnd 14: Ch 3, dc in next 4 sts, 2 dc in next st, [5 dc, 2 dc in next st] rep around. Join. (84 dc)
- Rnd 15: Ch 3, dc in next 5 sts, 2 dc in next st, [6 dc, 2 dc in next st] rep around. Join. (96 dc)
- Rnd 16: Ch 3, dc in each st around. Join. (96 dc)
- Rnd 17: Ch 3, dc in next 6 sts, 2 dc in next st, [7 dc, 2 dc in next st] rep around. Join. (108 dc)
- Rnd 18: Ch 1, sc in each st around. Join with sl st to first sc. (108 sc) This single crochet edging firms up the brim edge and stops it from curling. FO and weave in the end.
Give the brim a gentle hand-shape: it should ripple softly, not stand out stiffly. If it waves wildly like a lettuce leaf, you have likely added extra increases — recount Rounds 14 and 15. A soft wave is pretty; a frill means the math drifted.
If a soft, relaxed brim is your favorite silhouette, you will also enjoy our classic free crochet hat pattern — it uses the same top-down crown math with a snug ribbed brim instead.
The flowers — make 7
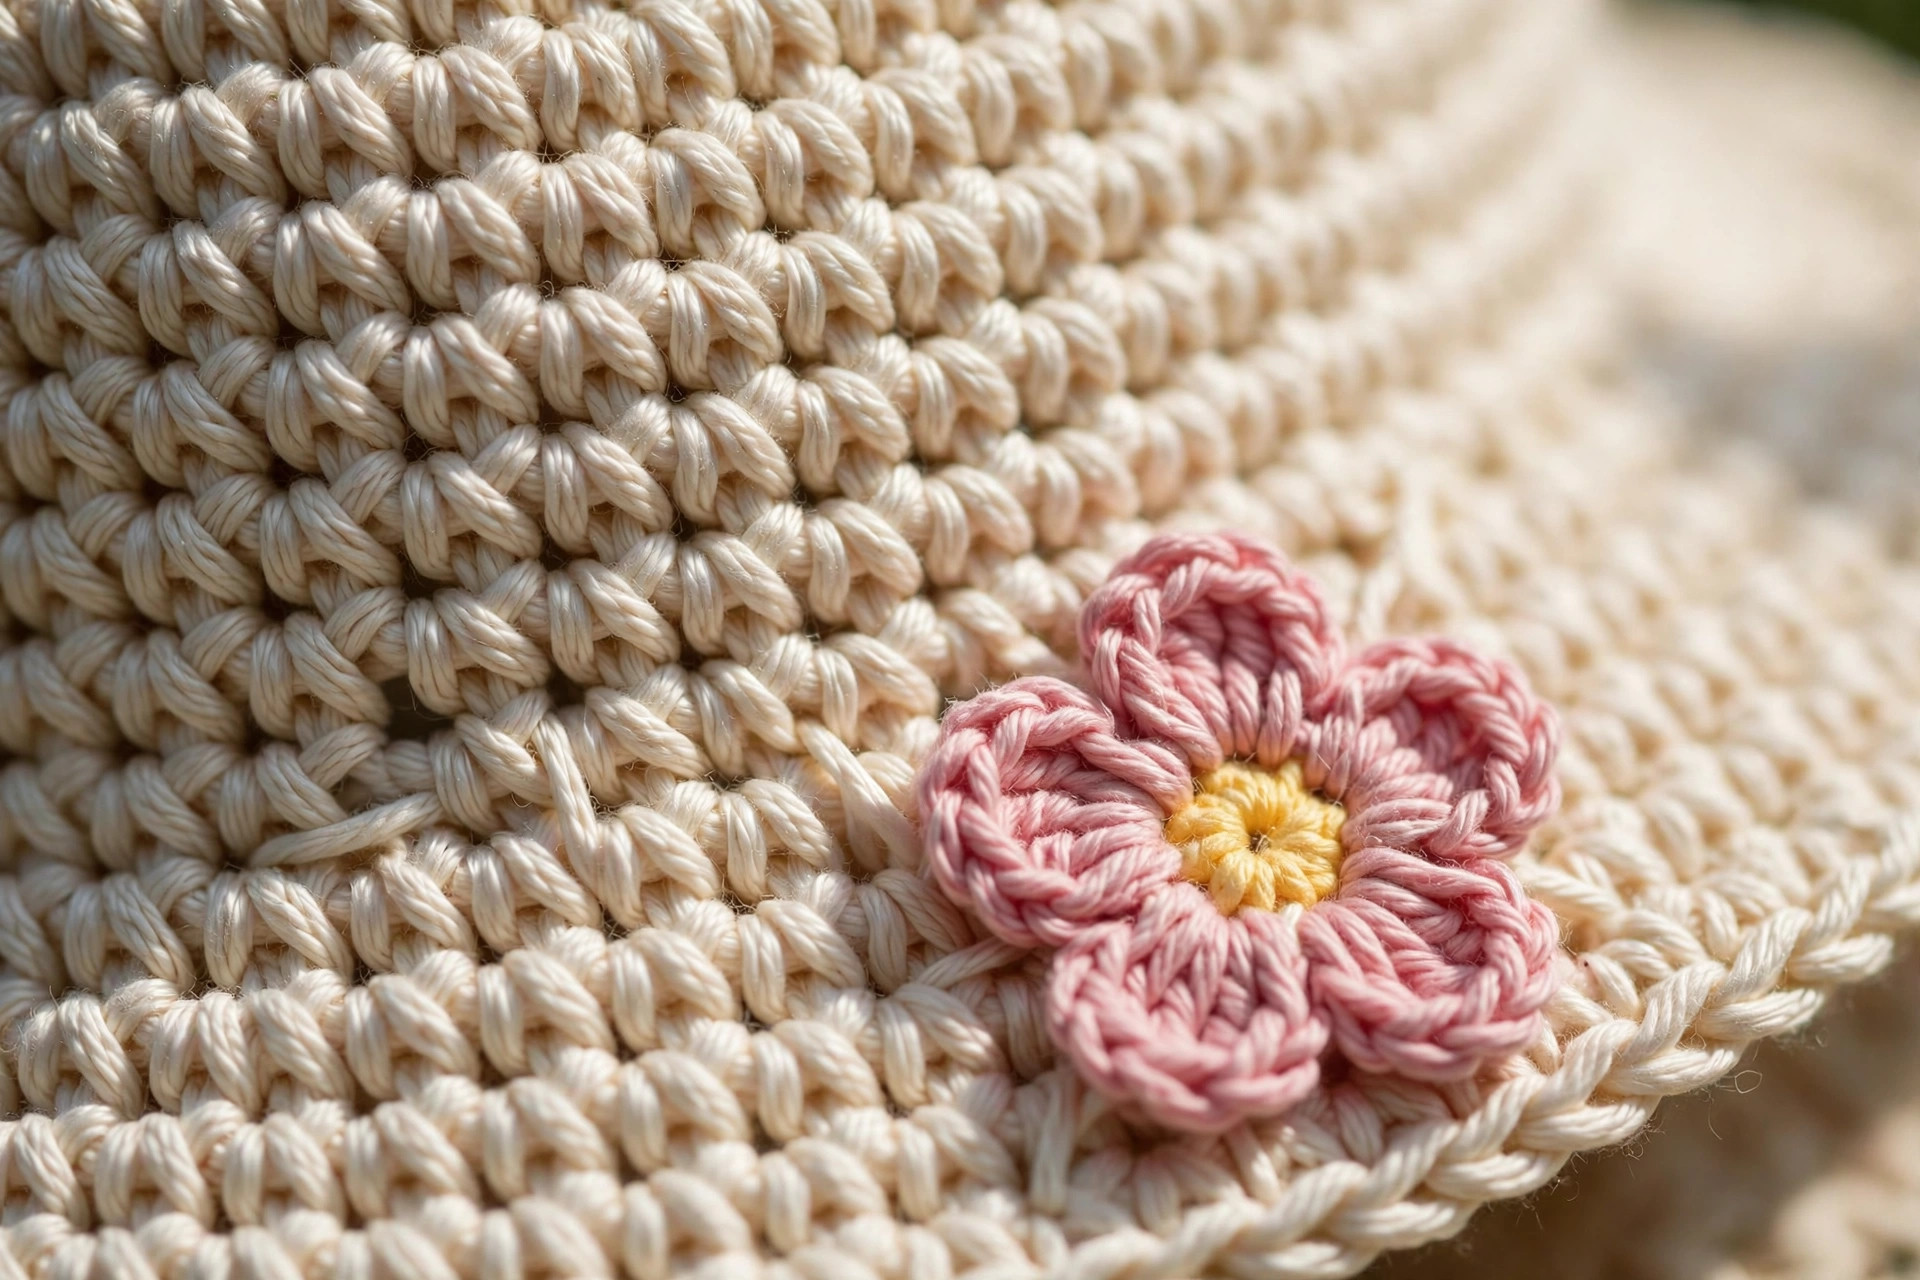
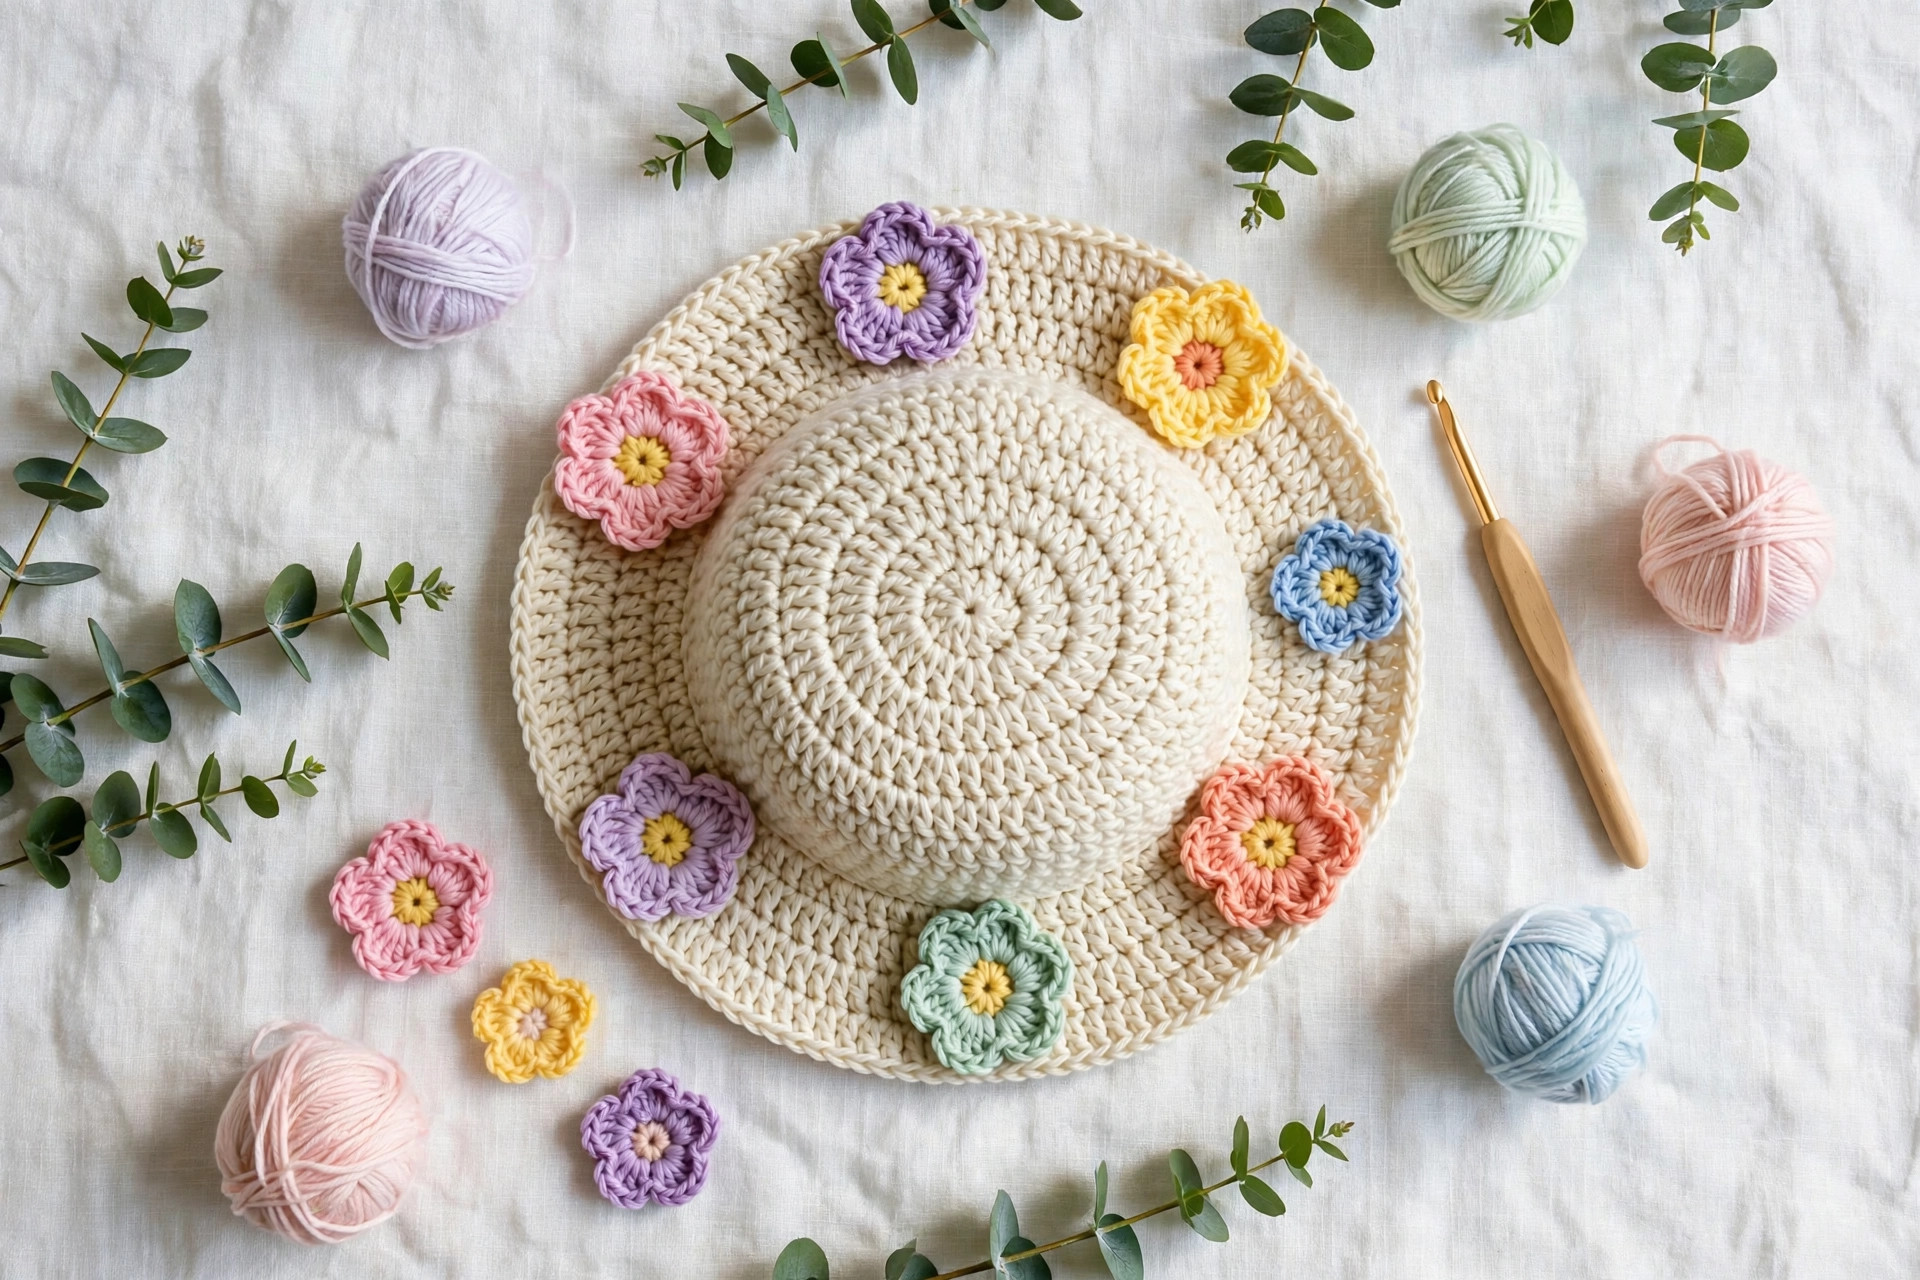
Make seven flowers in any mix of petal colors you like. The hats in the photos use three pink, two yellow, and two lavender. Each flower takes about five minutes once you have made the first. Use your 5.0 mm hook, or drop to 4.0 mm for smaller, tighter blooms.
With the center color:
- Rnd 1: Ch 4, join with sl st to first ch to form a ring. Ch 1, work 10 sc into the ring. Join with sl st to first sc. FO the center color. (10 sc)
Join the petal color in any stitch:
- Rnd 2 (petals): [Ch 2, 2 dc in the same st, ch 2, sl st in the next st, sl st in the next st] — that completes one petal over two stitches. Repeat the bracket four more times, working each petal over the next two stitches, until you have 5 petals. Join with a final sl st to the base of the first petal. FO, leaving an 8 in (20 cm) tail on each flower for sewing. (5 petals)
If the flowers curl, pin each one flat on a towel for a few minutes with the petals smoothed out. They usually relax once sewn down, so do not stress over a little curl — the sewing will tame it.
Optional leaves — make 3 or 4
A few small leaves tucked between the flowers add a lovely garden touch.
- Ch 6. Working into the chain: sl st in 2nd ch from hook, sc in next ch, dc in next ch, sc in next ch, sl st in last ch. FO, leaving a tail for sewing. Pinch the leaf gently along its length to encourage the fold.
Finishing and adding the flowers
Weave in the starting tail at the crown center first, and pull the magic ring closed one final time so there is no hole at the top. Now for the fun part: arranging your flowers.
Put the hat on in front of a mirror, or lay it flat. Position the seven flowers in a ring around the base of the crown, just above the brim turn, spaced roughly evenly — about 10 stitches apart works well at 72 stitches. Alternate colors so no two neighbors match, and tuck a leaf between every second or third flower if you made leaves. Pin everything before you sew a single stitch, so you can live with an arrangement for a minute before committing.
Sew each flower on with its long tail: bring the needle up through the hat and the flower center, then down at the edge of the flower, working four or five small stitches around the center so the flower is anchored but the petals stay free. Fasten off inside the hat and weave the tail through a few crown stitches so nothing shows. Repeat for the leaves, stitching along the center line of each leaf.
Finally, give the hat a light hand-block: mist it, shape the brim with your hands, and let it dry flat. Your flower hat is ready to wear.
Love a cozy, textured crown instead? Our puff stitch crochet hat pattern turns the same garden idea into a warm winter hat.
Tips for a perfect flower hat
Count the crown, relax about the rest. Most flower hat problems are crown problems. If your count is right at Round 6 (72 stitches) and your circle lies flat, the rest almost cannot go wrong. If the circle cups like a bowl, you missed increases; if it ruffles, you added extras. Both are quick to fix at Round 3 and miserable at Round 13.
Keep your joining stitch consistent. Always join to the top of the chain-3, exactly as written. Drifting joins create a visible seam spiral and can quietly eat or add a stitch per round — the classic mystery behind hats that slowly change size.
Choose cotton for structure, acrylic for softness. Cotton holds the brim out in that pretty shade-giving line. With acrylic, expect a softer drape, and consider working the final brim round with a hook one size smaller to firm up the edge.
Make the flowers assembly-line style. Crochet all seven centers first, then all seven petal rounds, then sew in one session. Batching turns the fiddliest part of the project into the fastest, and you will finish with a tidy matching set instead of running out of enthusiasm at flower number four.
Wash gently, dry flat. Hand-wash or machine-wash cold in a mesh bag, reshape the brim while damp, and dry flat. Never hang a wet crochet hat by its brim — gravity will stretch the crown while it dries.
And if this project gives you the wearable-crochet bug, try our crochet earflap hat free pattern next — same easy skill level, maximum coziness.
FAQ
How long does it take to crochet this flower hat?
Most crocheters finish the hat body in about 3 hours and the flowers plus sewing in another 1–2 hours — roughly 4–5 hours total. It breaks neatly into two evenings: the hat on night one, the flowers on night two.
What is the best yarn for a crochet flower hat?
A worsted-weight cotton or cotton-blend yarn is the best all-round choice. It holds the brim shape, breathes in warm weather, does not stretch out during the day, and shows off the stitches beautifully. About 180 yards covers the adult medium, so one standard 100 g ball is usually enough.
Can I make this hat for a child?
Yes — the size section gives a child version for roughly ages 4–8 (19–20 in head): stop the crown increases one round early, at 60 stitches, and adjust the brim increases as noted. For a toddler, stop at Round 4 (48 stitches) and work fewer side rounds. Never add chin ties or cords to hats for very young children.
Why is my hat brim so wavy?
A softly wavy brim is normal and pretty — that gentle ripple is the bucket-hat look. If your brim is extremely frilly, you almost certainly added extra increases in Rounds 14, 15, or 17; the single crochet edging in Round 18 firms mild waviness up nicely. If your brim sticks straight down instead, check you really did increase as written, then hand-shape it after a light misting.
Can I use a different flower on this hat?
Absolutely — that is the joy of sewing the flowers on last. Daisies, tiny spiral roses, or simple layered blooms all look wonderful on this base. Keep them small (about 1.5–2 in across) and fairly flat so they sit comfortably around the crown. A headband uses the same trick — see the crochet headband pattern for matching accessories.
How do I stop the hat from stretching out of shape?
Start with the right yarn (cotton stretches far less than most acrylics), keep your gauge snug, and store the hat flat rather than hanging it on a hook. If a well-loved hat relaxes over time, a gentle wash and flat re-blocking will bring back most of its original fit.
Is this pattern really free, and can I sell hats I make from it?
Yes — every round and every stitch count is right here on this page, no missing steps. You are welcome to sell finished hats you make from it; a small credit to Little Loop Finds is appreciated but not required. Please do not redistribute the pattern text itself.
What to crochet next
The box below contains an Etsy link. If you buy through it, we may earn a small commission at no extra cost to you. Learn more.
No time to make one?
Short on time? Find handmade crochet flower hats from independent makers on Etsy.
Browse on Etsy (opens Etsy in a new tab)