Crochet Top Pattern (Classic Summer Pullover, Free)
Stitch a classic summer pullover top with lacy shell stitch, short sleeves, and an easy relaxed fit.

Wearables · Crochet
- Finished size
- Bust 36 to 48 in
- Making time
- 10 to 12 hours
- Hook
- US G-6 (4.0 mm)
- Set
- Front, back, 2 sleeves
- Skill
- Easy
In this post
- Key Takeaways
- Table of Contents
- Why You Will Love This Crochet Top
- Finished Size, Skill Level, and Time
- Materials You Need
- Abbreviations (US Terms)
- Gauge and Sizing Notes
- Part 1: The Body Panels
- Part 2: Sleeves and Neckline
- Part 3: Assembly and Finishing
- Variations: Colors, Lengths, and Sleeve Options
- Troubleshooting Fit Problems
- Care Instructions
- Frequently Asked Questions
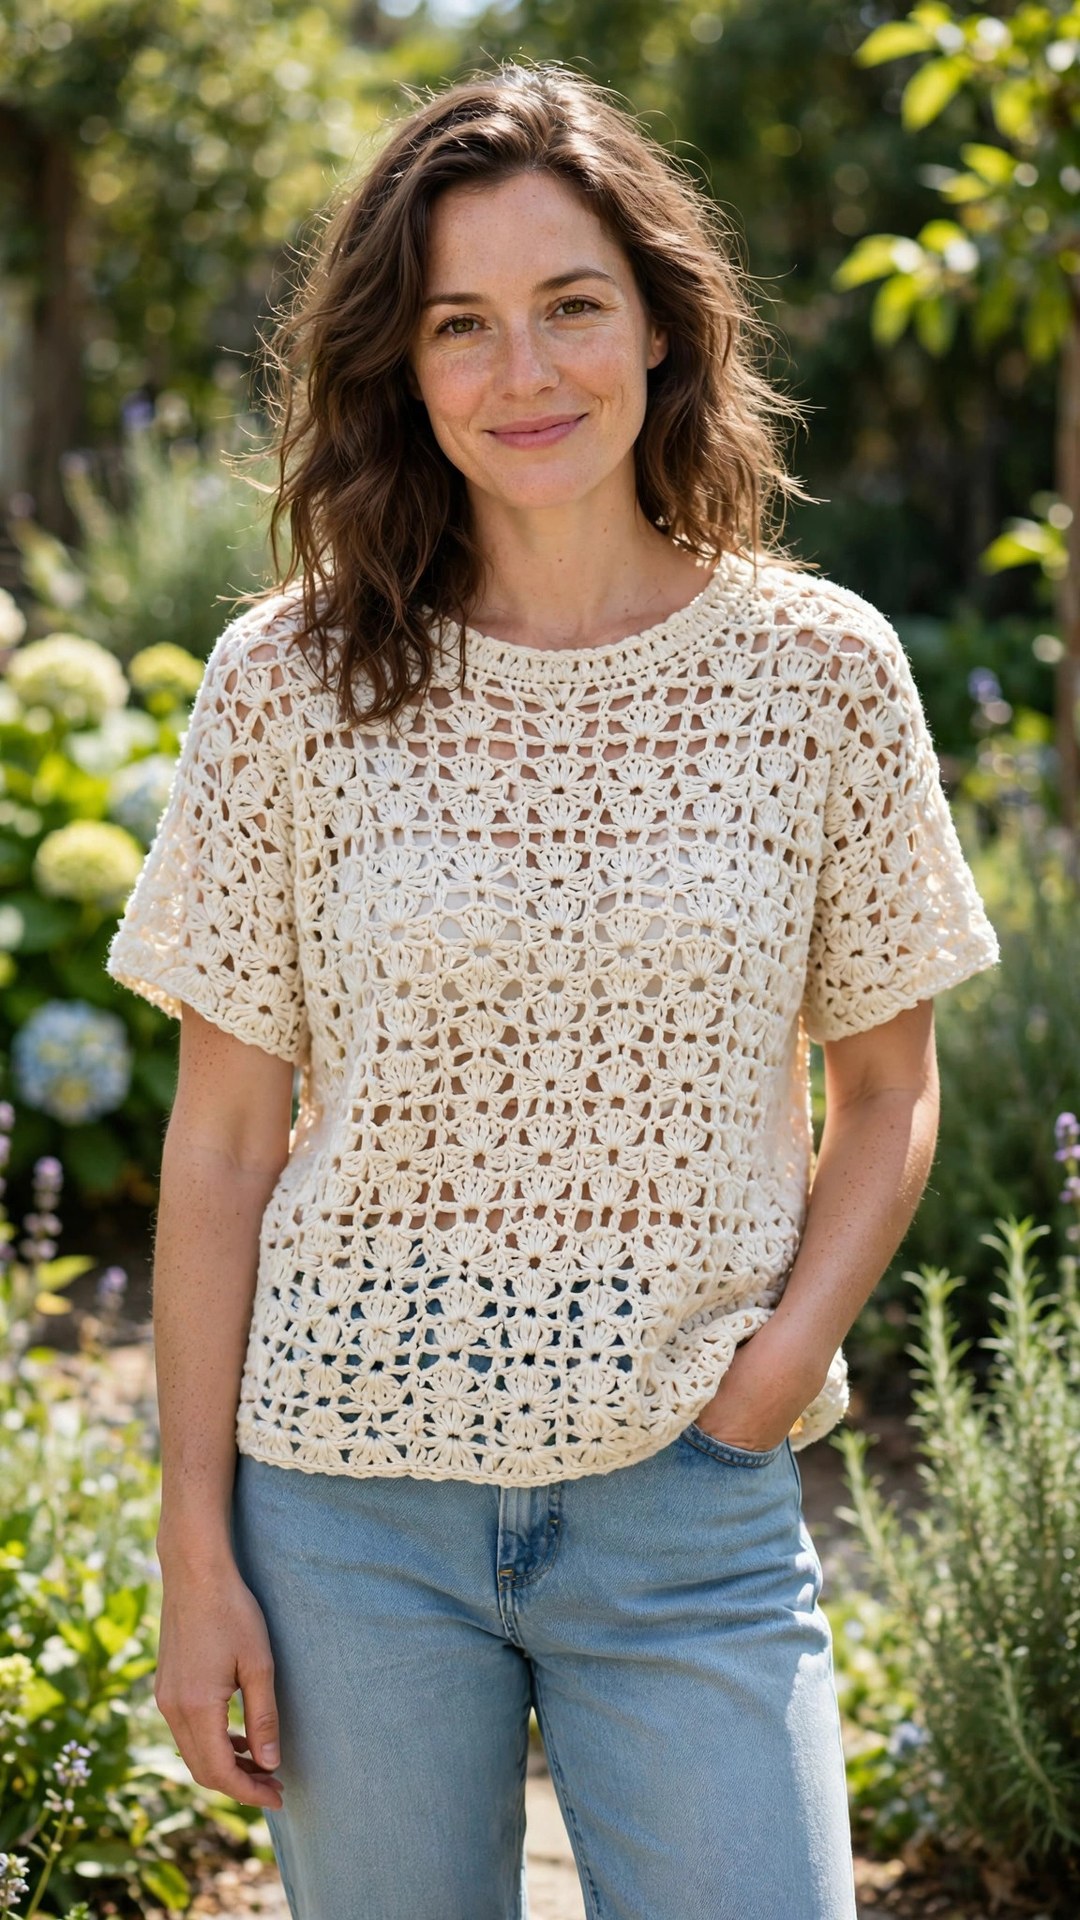
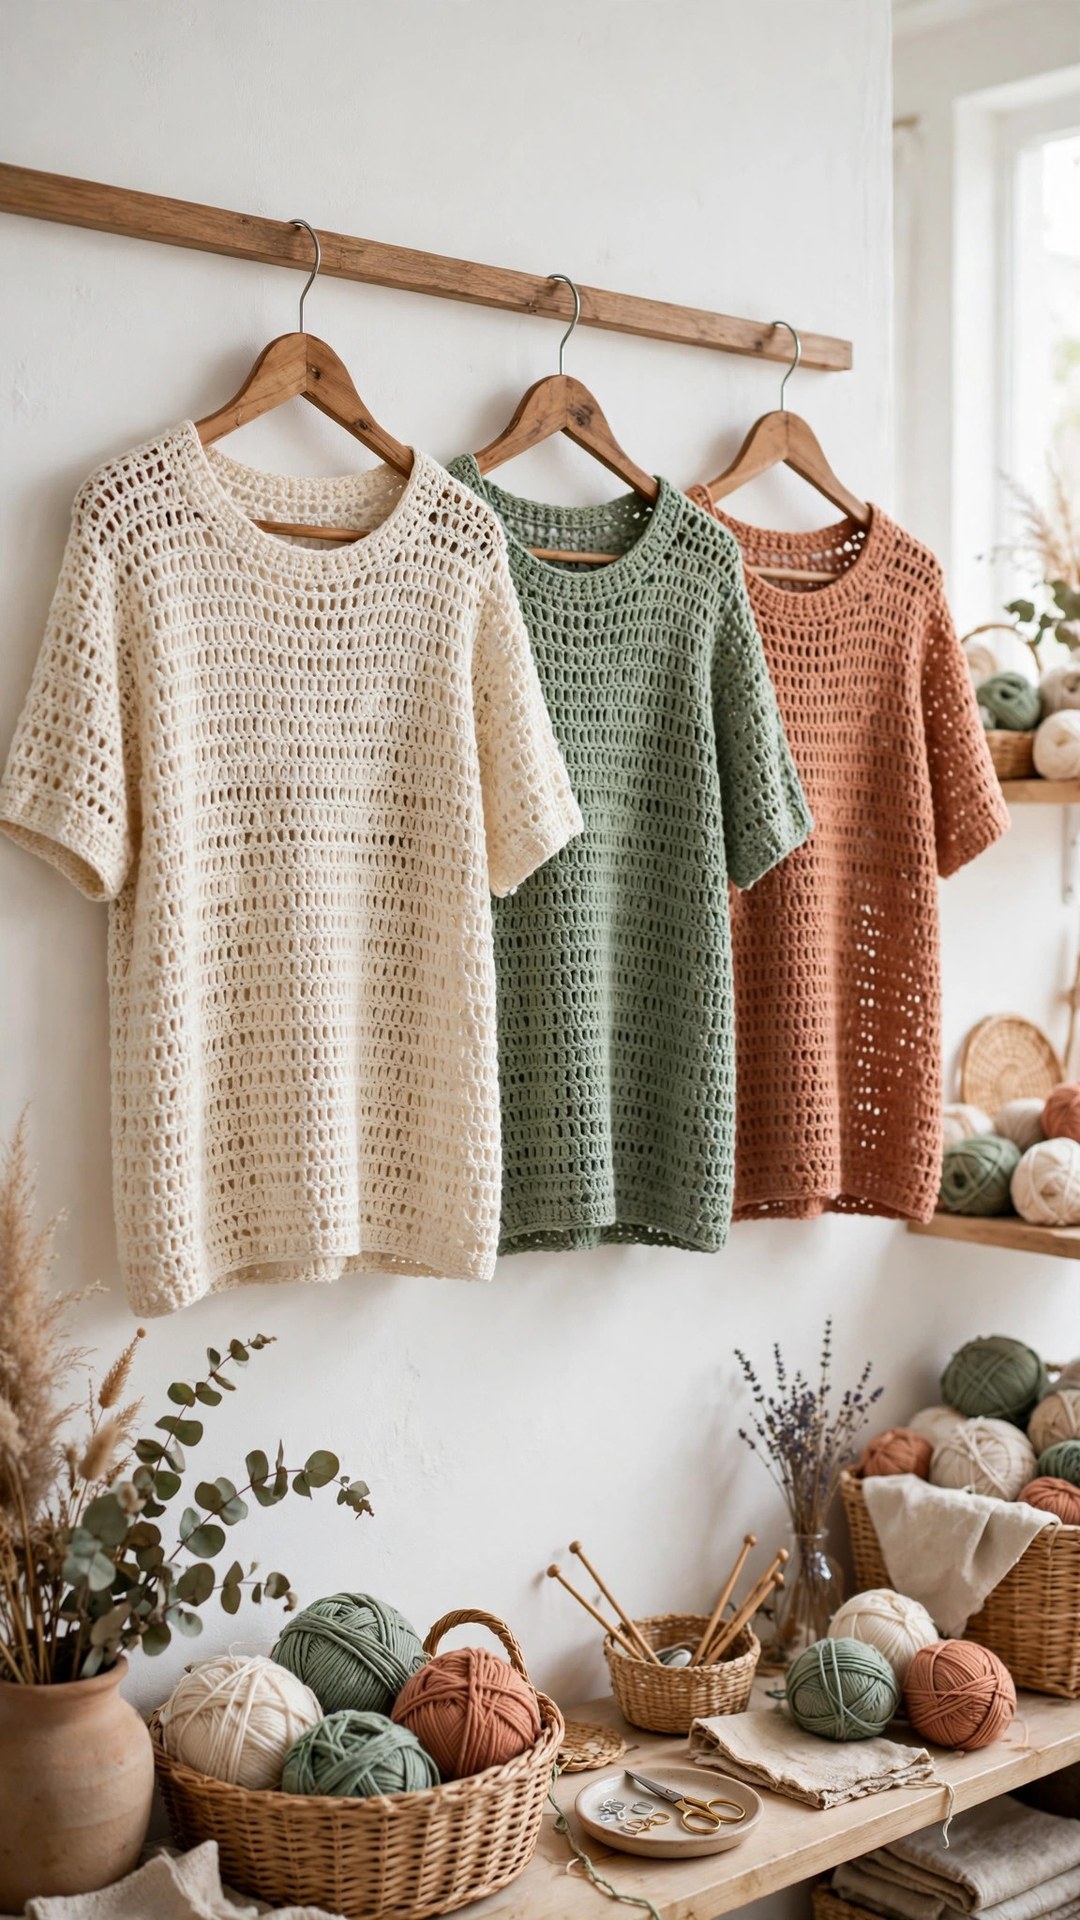
There is a special kind of satisfaction in wearing a top you made yourself, especially when it is the one you reach for on the first warm morning of the year. This free crochet top pattern gives you a classic beginner pullover summer top with a lacy shell stitch body, short sleeves, and a relaxed fit that skims rather than clings. It works with jeans, linen shorts, a swishy skirt, or layered over a camisole on cooler evenings.
This is an original Little Loop Finds design, written in US terms and completely free. The top is worked in two flat panels, front and back, in a simple two row shell stitch repeat, so once you learn the repeat you can work it while watching a show. The sleeves are worked straight from the armhole, the neckline is a gentle crew shape, and the hem has a neat ribbed edge that keeps the top from curling.
Make this top in cream cotton for a fresh everyday look, in sage for a soft garden feel, or in a bright coral that pops against denim.
Key Takeaways
- Free original pattern: this crochet top pattern is a Little Loop Finds original design, written in US terms, and completely free.
- Classic pullover shape: a relaxed summer top with short sleeves, a crew neckline, and a ribbed hem, not a halter or crop top.
- Beginner friendly stitch: a two row shell stitch repeat that looks lacy and impressive but is easy to memorize.
- Four sizes included: S, M, L, and XL, with a bust from 36 to 48 inches and clear stitch counts for every size.
- Weekend plus project: about 10 to 12 hours from first chain to last weave in, perfect for a relaxed week of evenings.
Table of Contents
- Why You Will Love This Crochet Top
- Finished Size, Skill Level, and Time
- Materials You Need
- Abbreviations (US Terms)
- Gauge and Sizing Notes
- Part 1: The Body Panels
- Part 2: Sleeves and Neckline
- Part 3: Assembly and Finishing
- Variations: Colors, Lengths, and Sleeve Options
- Troubleshooting Fit Problems
- Care Instructions
- Frequently Asked Questions
Why You Will Love This Crochet Top
A handmade summer top earns its place in your closet because it fits the way you want it to fit. Store bought tops are often too tight across the bust, too short in the body, or made from fabric that sticks to you in the heat. This top solves all three. The shell stitch is open and breathable, the relaxed fit gives you room to move, and you choose the length, so it lands exactly where you like it.
This design is also a wonderful first garment project. Garments can feel intimidating, but this one is just two rectangles with a little shaping at the shoulders and neck. There is no waist shaping to calculate, no button band, and no zipper. The shell stitch repeat is the same on every row, so your hands learn it quickly and your eyes can relax.
Cotton yarn is the hero here: it drapes nicely, breathes on hot days, and washes well, so pick a yarn you love touching, because this top will spend a lot of time against your skin.
Finished Size, Skill Level, and Time
- Finished size: bust 36 (40, 44, 48) inches, with 2 to 4 inches of positive ease built in. Body length 21 (21.5, 22, 22.5) inches from shoulder to hem. Short sleeves about 6 inches long.
- Skill level: Easy. You need chains, single crochet, half double crochet, double crochet, and front post and back post double crochet for the hem ribbing.
- Time: about 10 to 12 hours total: roughly 3 hours per body panel, 1 hour per sleeve, and 1 hour for the neckline, assembly, and finishing.
Materials You Need
| Item | What to get |
|---|---|
| Yarn, main color | DK weight (light 3) cotton or cotton blend, about 700 (800, 900, 1,000) yards for sizes S (M, L, XL) |
| Yarn, optional accent | A small amount of a contrast color for the neckline edging, about 30 yards |
| Hook | US G-6 (4.0 mm), or the size that meets gauge with your yarn |
| Notions | Tapestry needle, scissors, stitch markers, measuring tape |
| Optional | Blocking mat and pins, for shaping the finished panels |
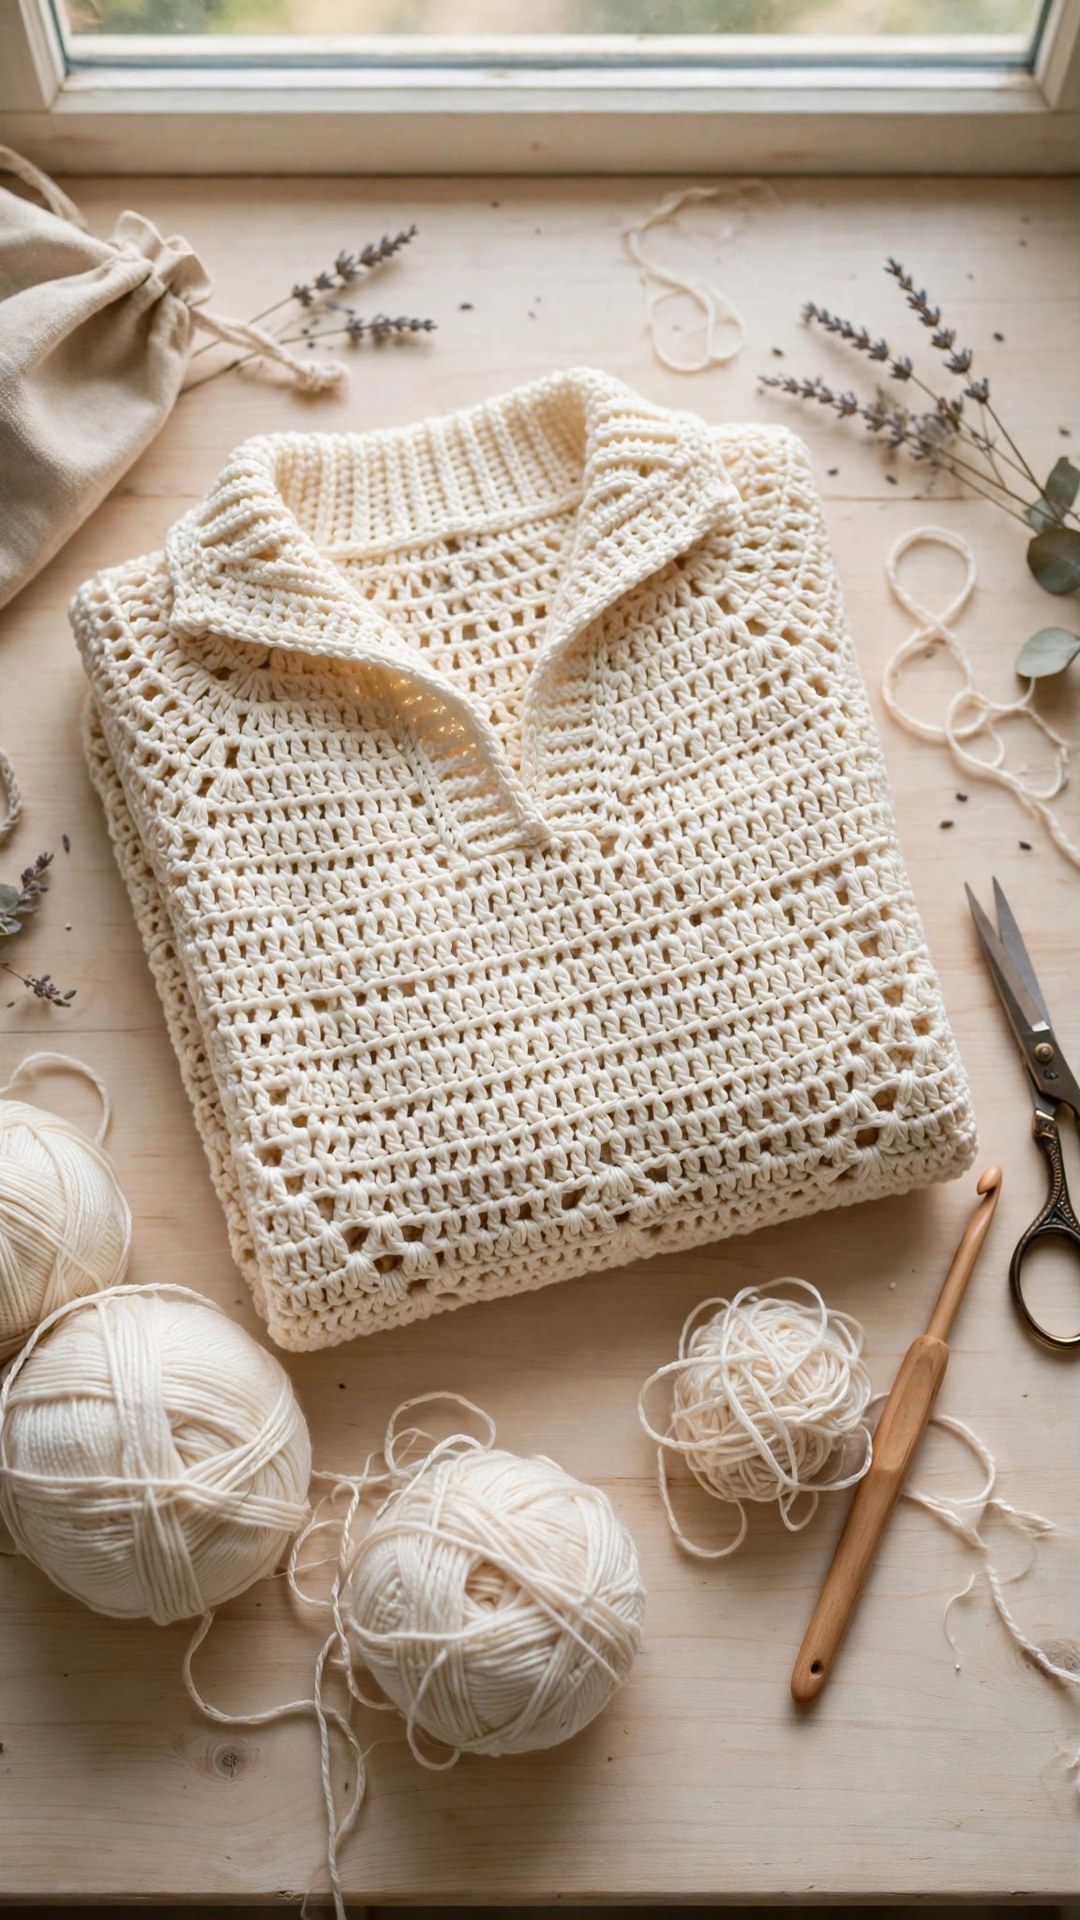
Cotton yarn is the best choice for a summer top because it stays cool and holds the open shell stitch beautifully. A cotton acrylic blend is a good second choice if you want a little more softness. Buy all of it from the same dye lot so the two panels match perfectly.
Abbreviations (US Terms)
- ch = chain
- sl st = slip stitch
- sc = single crochet
- hdc = half double crochet
- dc = double crochet
- fpdc = front post double crochet
- bpdc = back post double crochet
- shell = (2 dc, ch 1, 2 dc) all in the same stitch
- st(s) = stitch(es)
- sp = space
- RS = right side
- WS = wrong side
- rep = repeat
Gauge and Sizing Notes
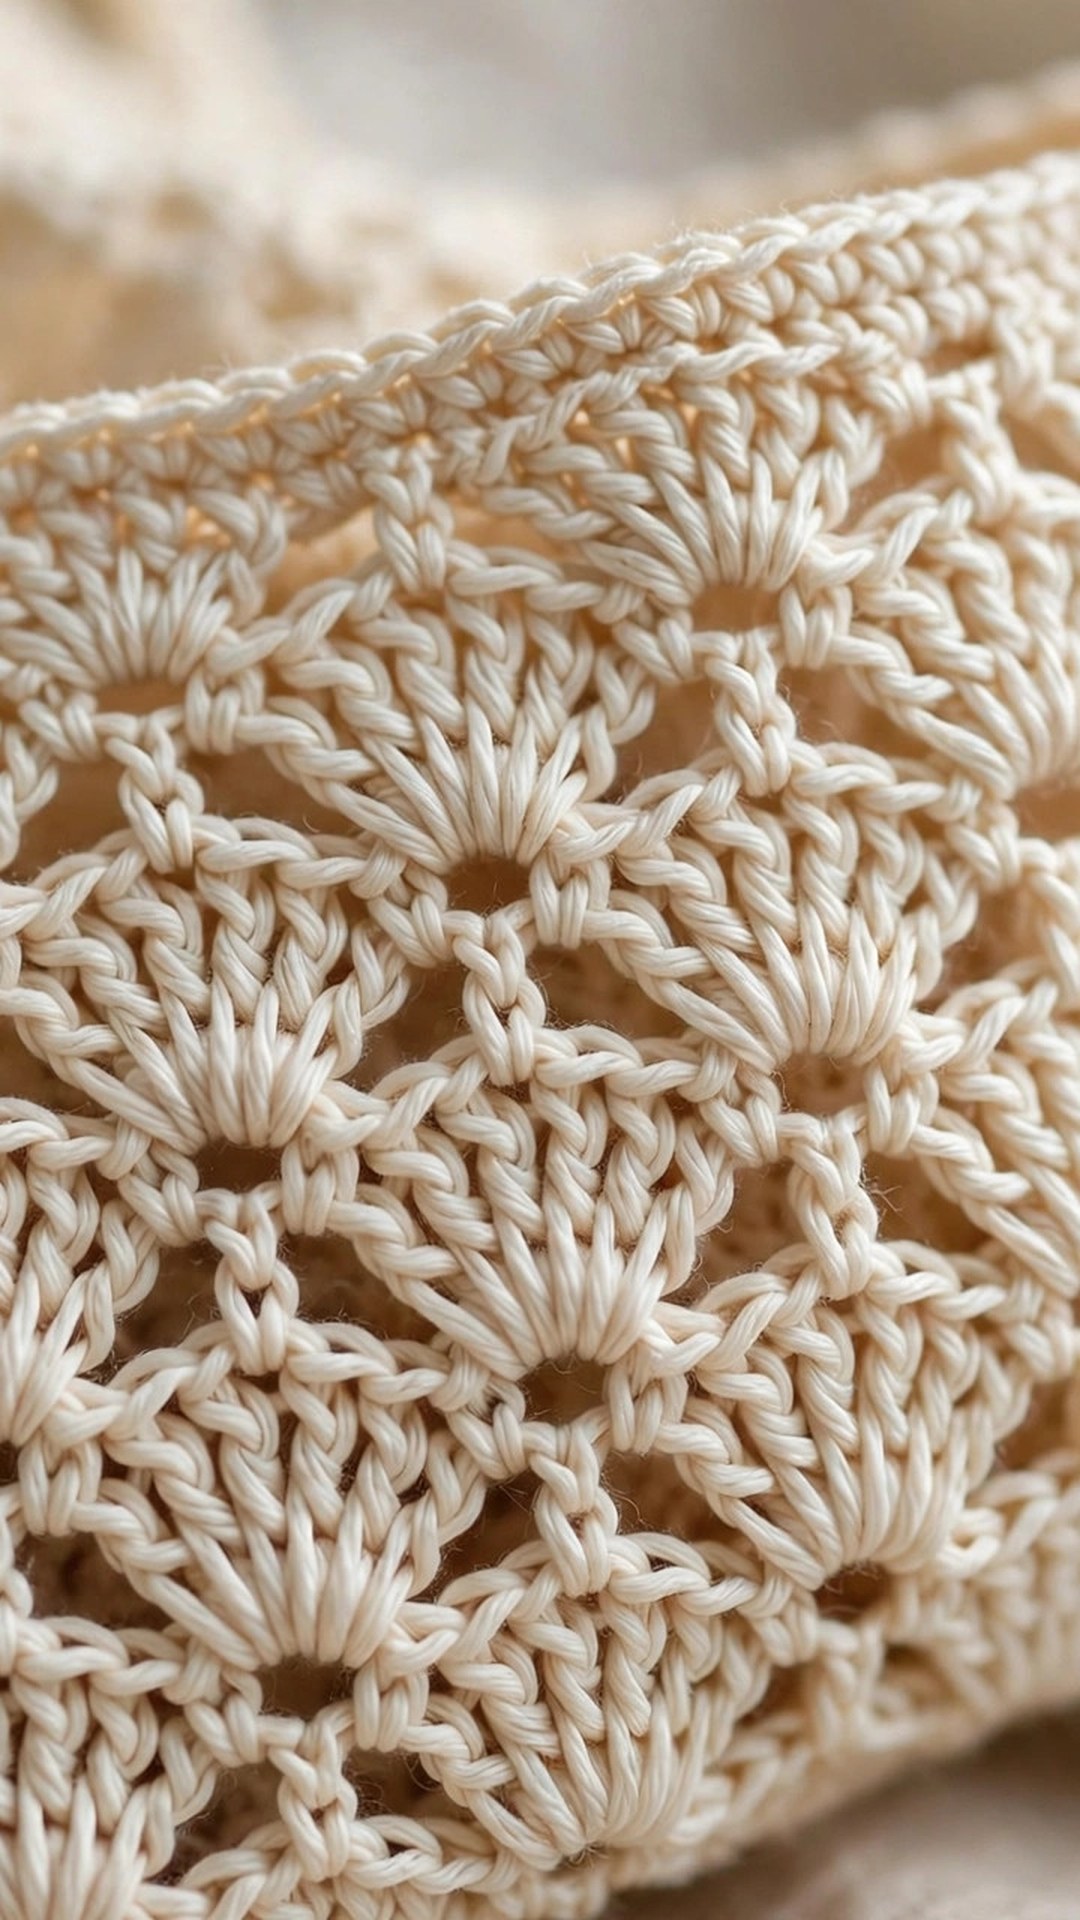
Gauge for a garment matters more than it does for a blanket, so take ten minutes to swatch before you start. Work a swatch of the shell stitch pattern (Rows 2 and 3 below) at least 6 inches wide and 4 inches tall, then measure across the middle: 3 shells should measure about 4.5 inches wide, and 4 pattern repeats (8 rows) should measure about 4 inches tall. If your swatch is wider than that, go down a hook size. If it is narrower, go up a hook size.
This top is designed with 2 to 4 inches of positive ease, which means the finished bust is a little larger than your actual bust, so the top skims instead of hugging. Measure your bust at its fullest point, then pick the size whose finished bust is 2 to 4 inches larger. If you are between sizes, size down for a neater fit or size up for a looser, breezier top.
Part 1: The Body Panels
The front and back panels are worked identically until the neckline shaping, so you can make both panels first and then shape the neck. Work the panels flat, turning at the end of every row. The shell stitch pattern is a two row repeat: a shell row, then a single crochet row that fills in the gaps.
Back Panel
Ch 122 (134, 146, 158).
- Row 1 (WS): sc in 2nd ch from hook and in each ch across. 121 (133, 145, 157) sc.
- Row 2 (RS): ch 3 (counts as dc), skip 2 sts, shell in next st, *skip 2 sts, shell in next st; rep from * to last 3 sts, skip 2 sts, dc in last st. 39 (43, 47, 51) shells.
- Row 3: ch 1, turn, sc in first st, sc in each dc and each ch-1 sp across, sc in turning ch. 121 (133, 145, 157) sc.
- Rows 4 to 55 (57, 59, 61): rep Rows 2 and 3, ending with a Row 3. The panel should measure about 14 (14.5, 15, 15.5) inches from the starting chain.
Back Shoulder Shaping
Now shape the two shoulders, leaving the center stitches unworked for the back of the neck.
- Row 56 (58, 60, 62) (RS): ch 3, work 12 (13, 14, 15) shells as in Row 2, dc in next st, turn. You have worked the first shoulder.
- Row 57 (59, 61, 63): ch 1, sc across the shoulder stitches, turn.
- Row 58 (60, 62, 64): ch 3, work shells across the shoulder, dc in last st. Fasten off.
- Skip the center 15 (17, 17, 19) shells for the back neck. Join yarn with a sl st in the next st after the skipped shells, ch 3, and work the second shoulder exactly as the first, for 3 rows. Fasten off.
Front Panel
Work exactly as for the back panel through Row 51 (53, 55, 57), ending with a Row 3. The front panel is a little shorter than the back at this point, because the front neckline starts lower.
Front Neckline Shaping
- Row 52 (54, 56, 58) (RS): ch 3, work 13 (14, 15, 16) shells as in Row 2, dc in next st, turn. This is the first front shoulder.
- Rows 53 to 58 (55 to 60, 57 to 62, 59 to 64): rep Rows 3 and 2, working shells across the shoulder only, ending with a Row 3 on the final row. Fasten off.
- Skip the center 13 (15, 15, 17) shells for the front neck. Join yarn with a sl st in the next st after the skipped shells, ch 3, and work the second front shoulder exactly as the first, for the same number of rows. Fasten off.
The front neckline dips about 2.5 inches lower than the back neckline, which gives the classic crew shape and keeps the top comfortable to wear.
Part 2: Sleeves and Neckline
Sleeves (make 2)
The sleeves are worked in the round, directly from the armhole, so there is no separate sleeve seam to sew. Fold a body panel in half at the shoulder seam and mark the armhole: measure down 7 (7.5, 8, 8.5) inches from the shoulder on each side and place a stitch marker at each point. The sleeve is worked between these two markers.
- Rnd 1: with RS facing, join yarn with a sl st at the underarm marker. Ch 3 (counts as dc), work shells evenly around the armhole opening, spacing them about 1 shell per 3 stitches of the edge, ending with a sl st in the top of the ch-3. You should have about 13 (14, 15, 16) shells around the opening. Count them and adjust on the next sleeve so both sleeves match.
- Rnd 2: ch 1, sc in each dc and each ch-1 sp around, sl st to join.
- Rnds 3 to 10: rep Rnds 1 and 2, working shells into the sc round below. On Rnd 7, decrease 1 shell evenly spaced on each side of the sleeve (skip one shell space and work the next shell in the following stitch) so the sleeve tapers gently toward the cuff. You should have 11 (12, 13, 14) shells after the decrease round.
- Rnd 11: ch 1, sc around, sl st to join.
- Rnd 12: ch 2, work 1 rnd of fpdc and bpdc ribbing, alternating 1 fpdc and 1 bpdc around, sl st to join. Fasten off and weave in the end.
Neckline Edging
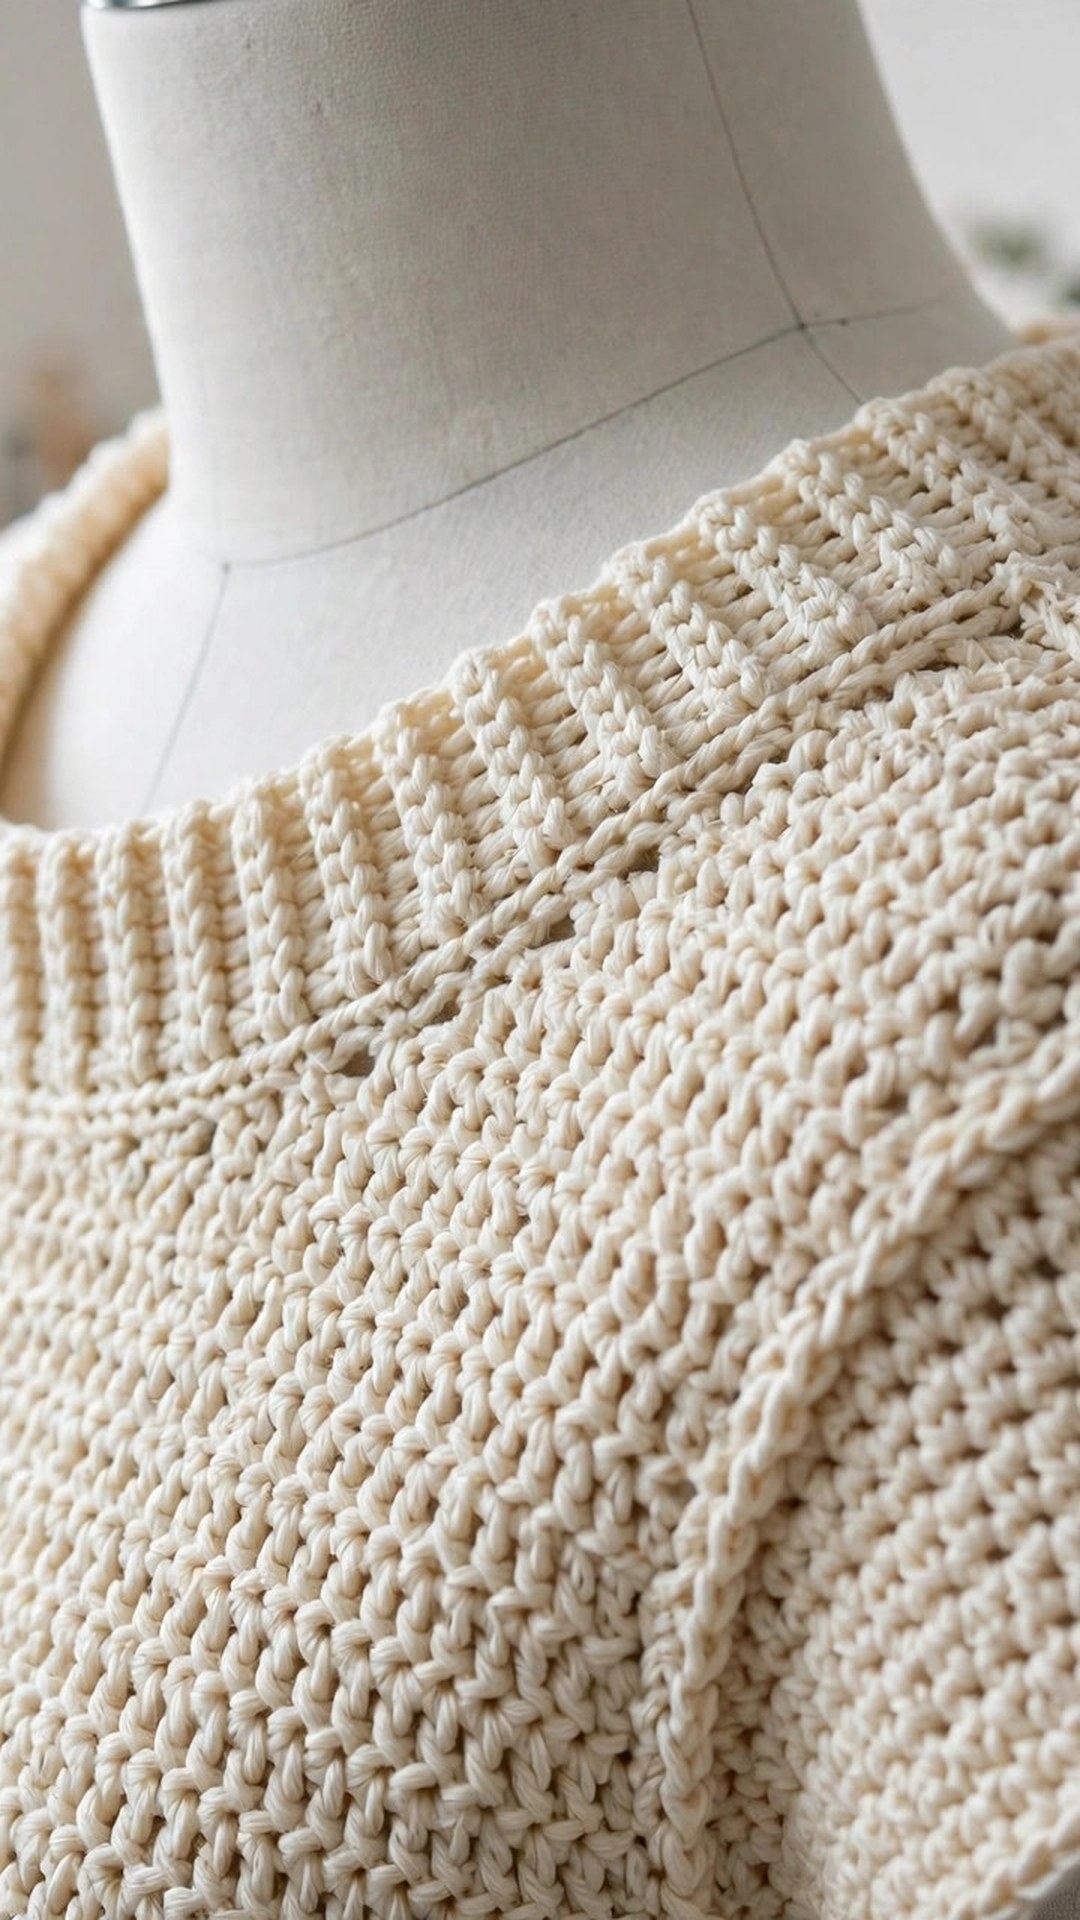
With RS facing, join yarn with a sl st at the center back of the neck. Ch 1, work sc evenly around the entire neck opening, working about 2 sc per shell edge and 1 sc per sc row edge, then sl st to join. Work 1 more rnd of sc around, sl st to join, and fasten off. For a pretty accent, work this edging in a contrast color, or add a third round of (sc, ch 2, skip 1 st) for a tiny picot edge.
Ribbed Hem
With RS facing, join yarn with a sl st at a side seam at the bottom edge. Ch 2, work 1 row of hdc in each st across the bottom edge of the front panel, then continue across the bottom edge of the back panel, sl st to join. Work 3 more rnds of fpdc and bpdc ribbing, alternating 1 fpdc and 1 bpdc, to make a neat 1 inch ribbed hem that stops the shell stitch from curling. Fasten off and weave in the end.
Part 3: Assembly and Finishing
Assembly is quick because the top is mostly rectangles, but take your time with the seams so the shell pattern lines up nicely.
- Lay the front and back panels flat with RS together. Sew the shoulder seams with a tapestry needle and matching yarn, using a whip stitch through both layers, from the neck edge to the shoulder tip. Check that the shell rows line up before you sew.
- Sew the side seams from the hem up to the underarm markers, leaving the armhole openings free. Use a whip stitch and keep your stitches even so the seam lies flat.
- Turn the top RS out and check the fit. The shoulder seams should sit on top of your shoulders, and the armholes should feel roomy, not tight.
- Work the sleeves as described above, one at a time, directly from each armhole.
- Work the neckline edging and the ribbed hem, then weave in all ends with a tapestry needle, working the tails along the back of the stitches so they disappear.
- Block the finished top: soak it in cool water with a drop of mild soap for 15 minutes, gently press out the water in a towel (never wring it), lay it flat on a blocking mat, and pin it to the finished measurements. Let it dry completely before wearing. Blocking opens up the lace, evens out the shells, and gives the top its final drape, so do not skip this step.
Variations: Colors, Lengths, and Sleeve Options
- Striped summer top: change colors every 6 rows for soft stripes, carrying the unused yarn up the side edge so you have fewer ends to weave in.
- Three quarter sleeves: work the sleeve rounds until the sleeve reaches your elbow, then add the ribbed cuff. This version is perfect for spring and cool summer evenings.
- Solid color with a contrast neckline: work the whole top in one color, then work the neckline edging in a bright contrast like coral or mustard.
- A matching set: pair this top with a crochet bucket hat pattern in the same yarn for a coordinated summer outfit, or with a crochet circle vest pattern layered over it on cooler days.
If you enjoy making garments, a crochet cardigan sweater pattern is a natural next project, and a hexagon sweater crochet pattern uses the same shell stitch family in a completely different shape. For a quicker garment, try a simple crochet sweater pattern, or a crochet poncho free pattern for an easy layering piece. A crochet vest pattern is another great layer for this top.
Troubleshooting Fit Problems
- The top is too wide across the bust. Check your gauge first. If your shells are wider than 4.5 inches per 3 shells, your hook is too big, and the whole top will grow. Go down a hook size and remake the first panel.
- The neckline gapes open. You probably worked too many shells across the front neck, or your edging is too loose. Unpick the edging and rework it with a hook one size smaller, working 1 sc per stitch instead of 2 per shell edge.
- The sleeves are too tight. The armhole depth matters more than the sleeve stitch count. Measure down from the shoulder: if your markers are closer than 7 inches apart, move them lower and rework the sleeve with one extra shell in the first round.
- The hem curls up. Shell stitch has a natural curl, which is why the pattern includes a ribbed hem. If it still curls, work one more round of fpdc and bpdc ribbing, and block the hem flat with pins while it dries.
Care Instructions
Hand wash your top in cool water with a mild soap, gently squeezing the suds through the fabric. Never wring a crochet top, because twisting stretches the shells out of shape. Roll it in a clean towel to press out the water, then lay it flat to dry, reshaping the neckline and hem with your hands. Do not hang a wet crochet top, because the weight of the water will pull the body longer.
Frequently Asked Questions
Is this crochet top pattern good for beginners?
Yes, it is one of the best first garment projects. The body is two rectangles in a two row repeat, the shaping is minimal, and the sleeves are worked straight from the armhole so there is no sleeve cap to set in. If you can chain, single crochet, and double crochet, and you are willing to make a gauge swatch, you can make this top.
How much yarn do I need for a crochet top?
You need about 700 yards for size S, 800 for M, 900 for L, and 1,000 for XL, in DK weight cotton or a cotton blend. These amounts include a little extra for the sleeves and the ribbed hem. If you make the tunic length version, add about 150 yards.
What yarn is best for a crochet summer top?
DK weight cotton is the best choice, because it breathes, drapes well, and shows off the shell stitch. A cotton acrylic blend is a good second choice if you want a softer hand and a lighter top. Avoid wool and chunky yarn for this design: wool is too warm for summer, and chunky yarn makes the shells heavy and stiff instead of lacy.
Can I make this top longer or shorter?
Yes, the length is the easiest part to change. Work more or fewer shell repeats on the body panels before you start the shoulder shaping, and try the panel against yourself as you go. Add 6 repeats for a tunic length, or stop 4 repeats early for a shorter top that sits at your waistband.
Will this top fit if I am between sizes?
Yes, and the fix is simple. If you are between sizes, choose the smaller size for a neater fit or the larger size for a looser, breezier fit. The 2 to 4 inches of positive ease means the top is forgiving, and you can also adjust the fit by going up or down a hook size.
Can I sell tops made from this pattern?
Yes, you may sell finished tops made from this free pattern, with credit to Little Loop Finds. Please do not sell, share, or republish the pattern text itself, and do not claim this original design as your own.
Happy stitching, and may your new favorite top be the one you made yourself.


