Crochet Vest Pattern (Open Front, Free)
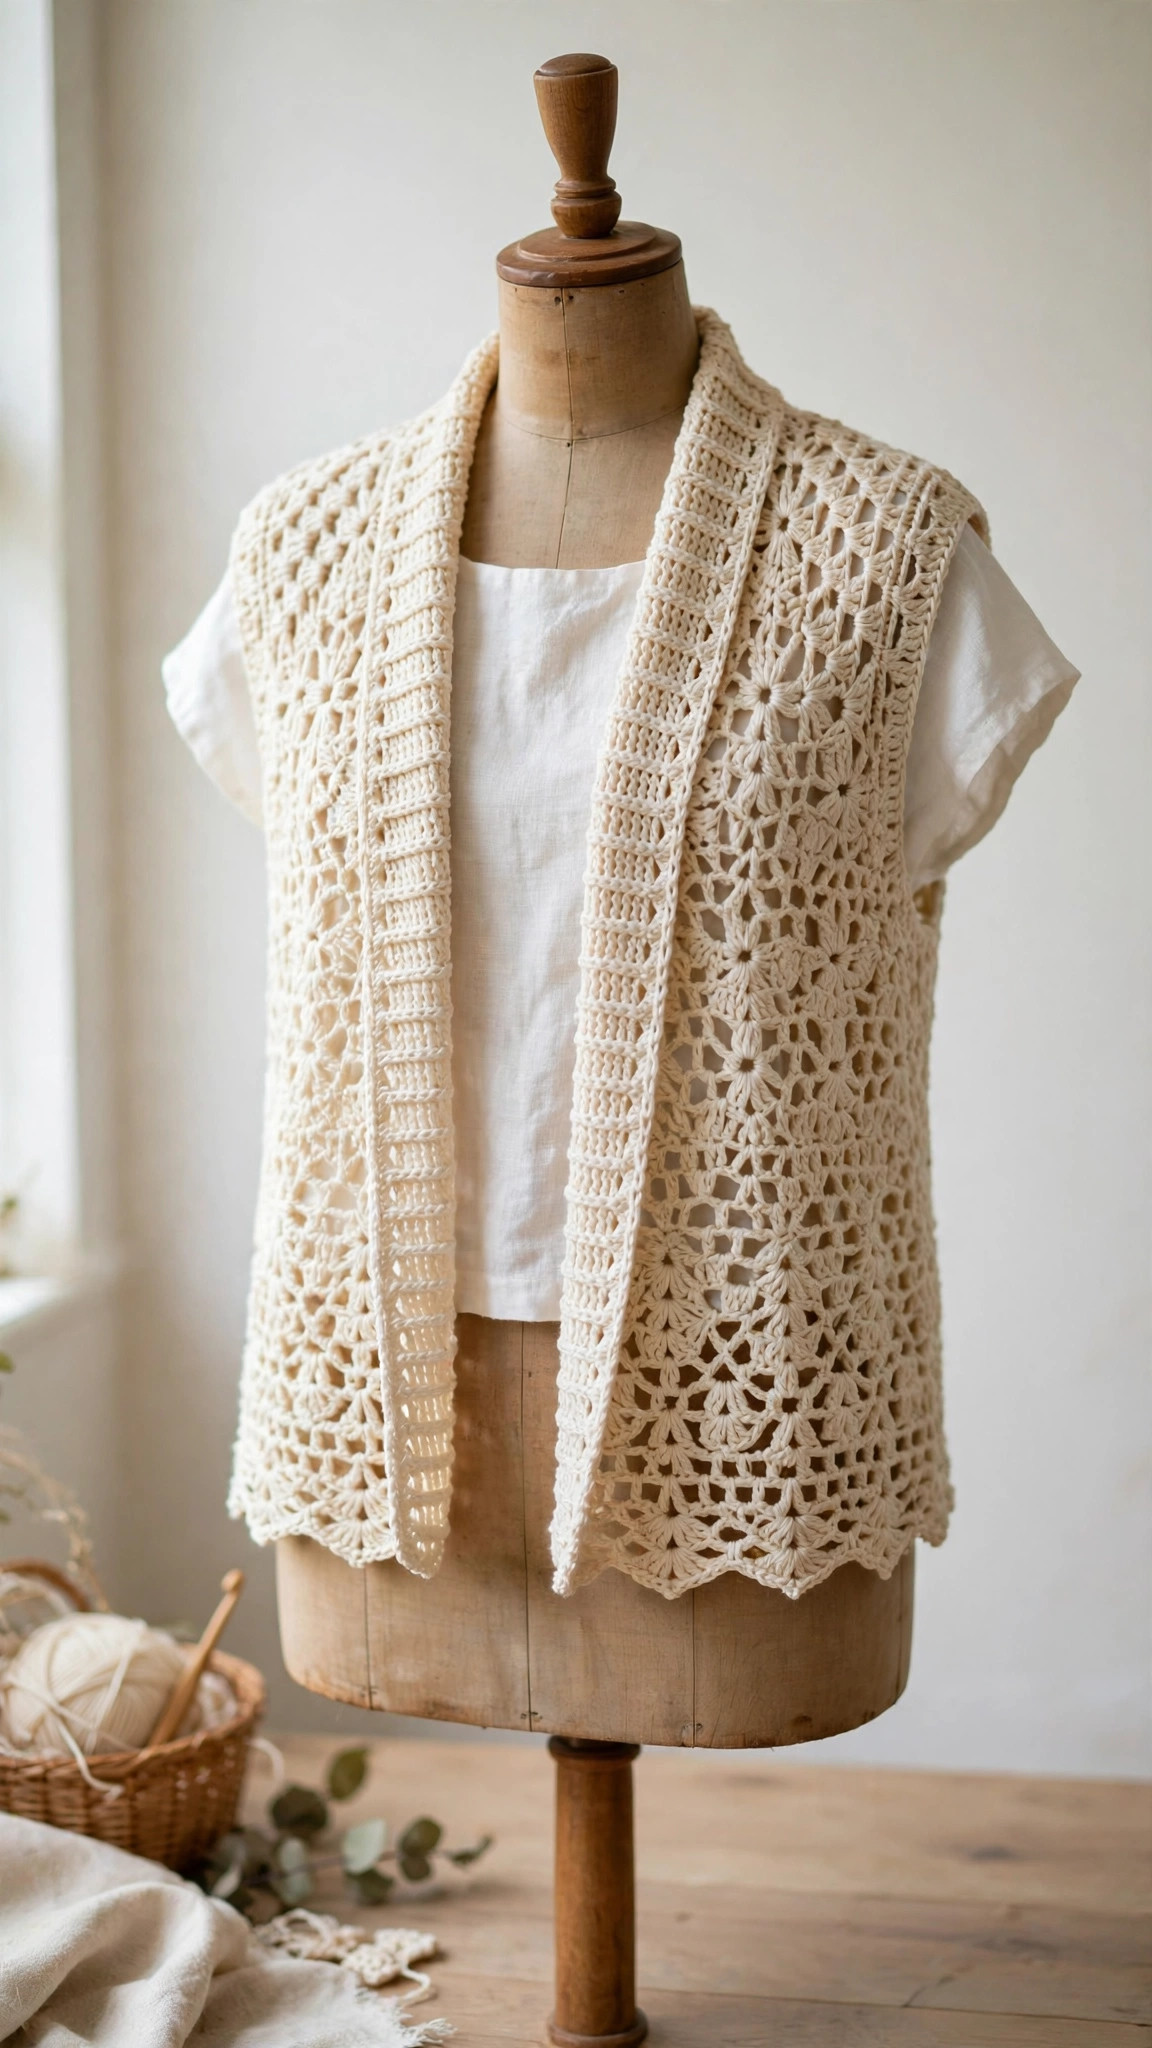
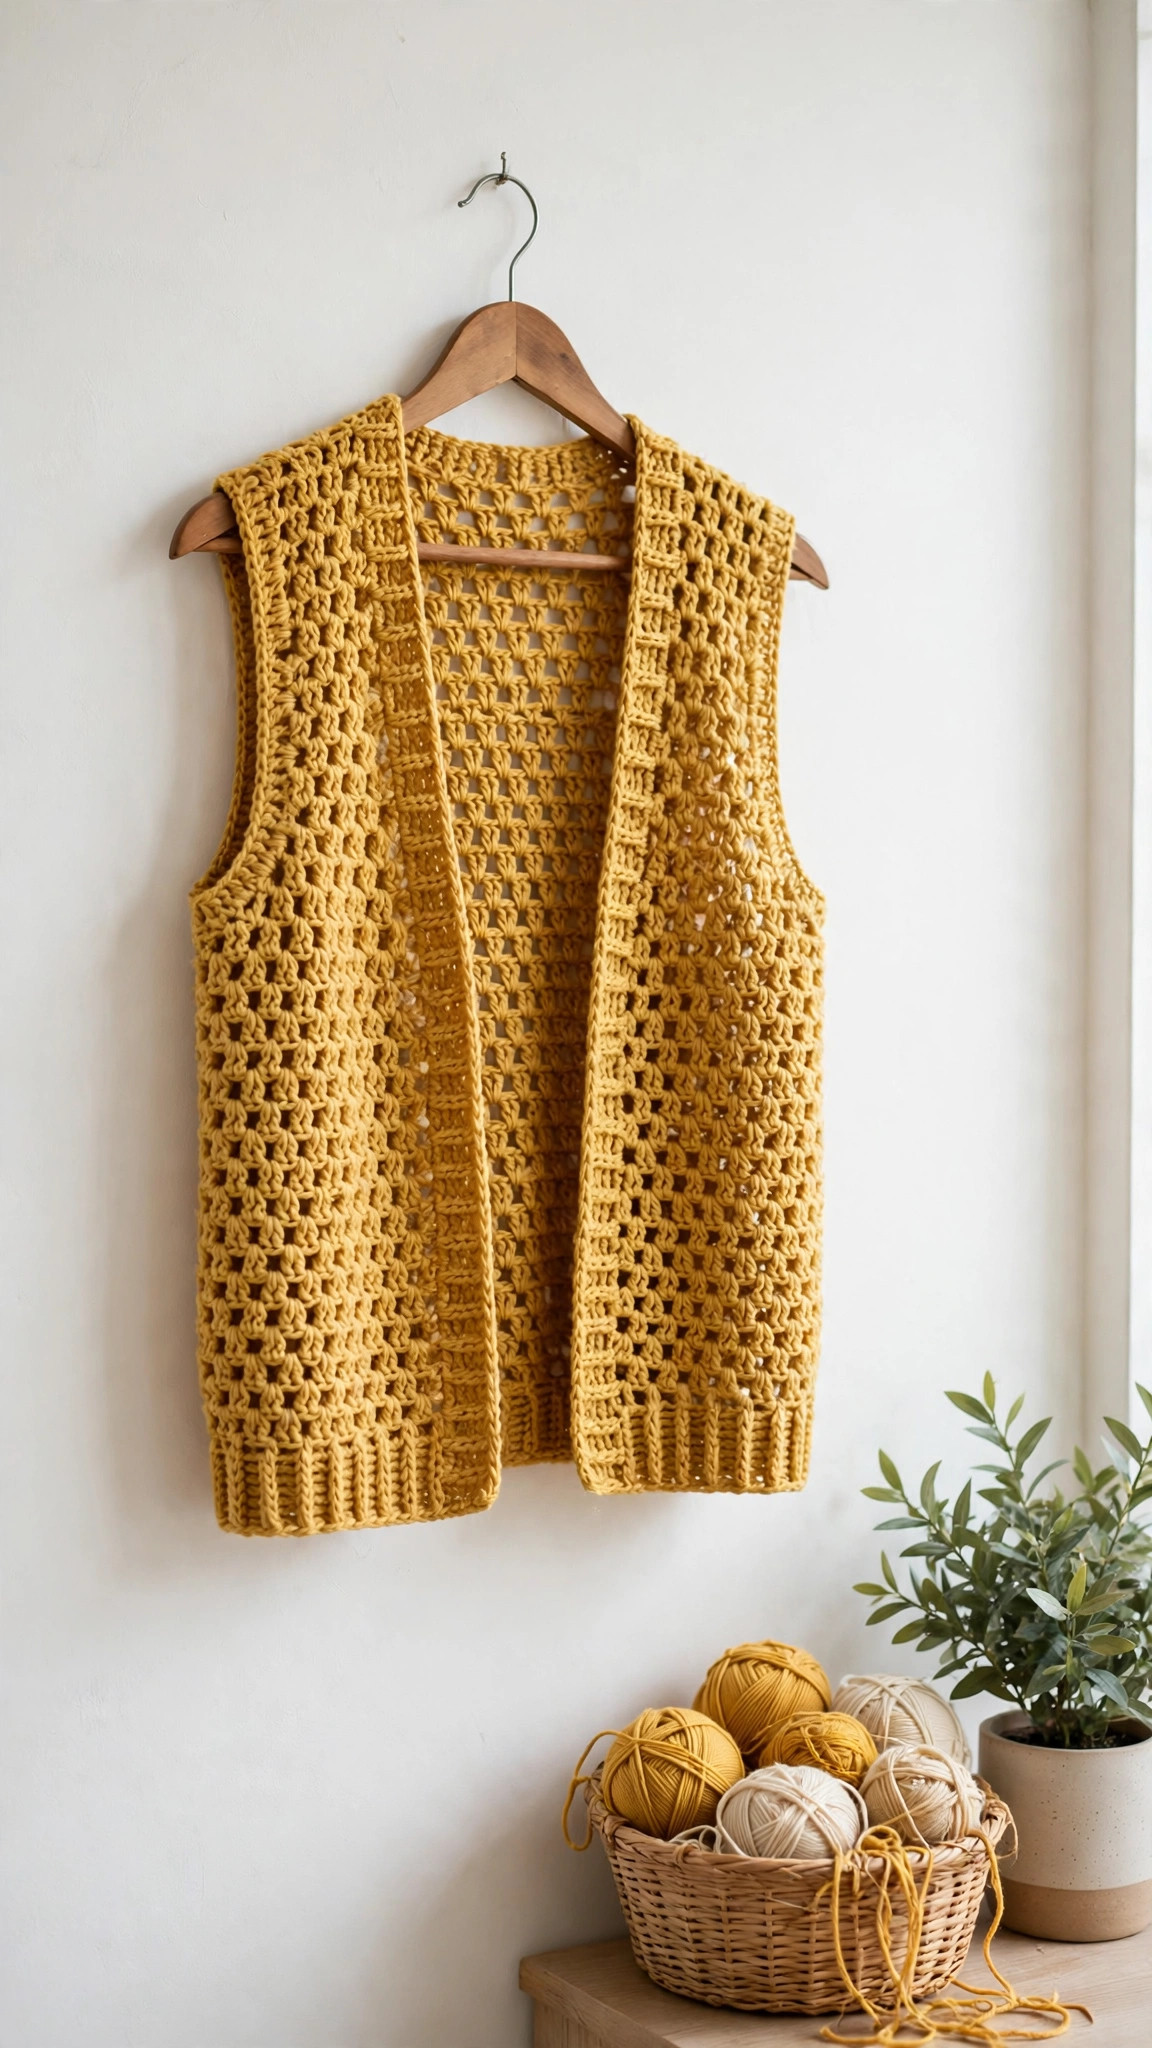
Stitch a classic open-front crochet vest in three simple panels, with sizes XS to 3XL and a light open stitch.

Wearables · Crochet
- Finished size
- 22 to 28 in long
- Making time
- 8 to 10 hours
- Hook
- US H-8 (5.0 mm)
- Set
- 3 panels, seamed
- Skill
- Easy
In this post
- Key Takeaways
- Table of Contents
- Why You Will Love This Crochet Vest
- Finished Size, Skill Level, and Time
- Materials You Need
- Abbreviations (US Terms)
- Gauge and Sizing Notes
- Part 1: The Back Panel
- Part 2: The Two Front Panels
- Part 3: Seaming and Edging
- Styling Your Crochet Vest
- Variations: Length, Color, and Texture
- Troubleshooting Vest Fit Problems
- Care Instructions
- Frequently Asked Questions
There is a reason the crochet vest never really goes out of style. It is the layer that finishes an outfit without hiding it, the piece that turns a plain t-shirt and jeans into something that looks intentional, and the project that feels generous to make because it works up fast and fits almost everyone.
This is an original Little Loop Finds design, written in US terms and completely free. The vest is built from three simple rectangles, a back panel and two front panels, with gentle shaping at the armholes and neckline, so there is no complicated tailoring and no sleeves to set in. If you can work a chain, double crochet, and a simple mesh row, you can make this vest.
A quick note on scope: this post is about a classic open-front vest, worked flat in panels and seamed, not a circle vest and not a poncho. If you want a round vest style, we have a separate pattern for that, and you will find a link to it below.
Key Takeaways
- Free original pattern: this crochet vest pattern is a Little Loop Finds original design, written in US terms, and completely free.
- Classic open-front shape: three simple rectangles, a back panel and two front panels, with gentle armhole and neckline shaping.
- Beginner friendly construction: no sleeves, no complicated tailoring, just double crochet and an easy mesh row.
- Sizes XS to 3XL: full stitch counts for seven sizes, so the vest fits the way you want it to.
- Weekend project: about 8 to 10 hours from first stitch to finished edging, and easy to wear all year.
Table of Contents
- Why You Will Love This Crochet Vest
- Finished Size, Skill Level, and Time
- Materials You Need
- Abbreviations (US Terms)
- Gauge and Sizing Notes
- Part 1: The Back Panel
- Part 2: The Two Front Panels
- Part 3: Seaming and Edging
- Styling Your Crochet Vest
- Variations: Length, Color, and Texture
- Troubleshooting Vest Fit Problems
- Care Instructions
- Frequently Asked Questions
Why You Will Love This Crochet Vest
A vest is the most forgiving garment you can crochet. There are no sleeves to fit, no sleeve caps to shape, and the open front means the fit is relaxed by design, so being between sizes is not a problem. It layers over a t-shirt in spring and a sweater in winter.
This design is also a wonderful stash project with a purpose. One to two skeins of worsted weight yarn make the whole vest in most sizes, and the open stitch means the yarn goes further than a solid fabric would. That makes it ideal for gifts, because you can work the back panel in an evening, the front panels the next day, and seam and edge it on the weekend.
Finished Size, Skill Level, and Time
- Finished size: back panel width 16 (18, 20, 22, 24, 26, 28) inches for sizes XS (S, M, L, XL, 2XL, 3XL). Finished length 22 (23, 24, 25, 26, 27, 28) inches. The front is open, so the vest is worn with a gap of 2 to 4 inches at the center front.
- Skill level: Easy. You need a chain, slip stitch, single crochet, half double crochet, and double crochet, plus simple decreases.
- Time: about 8 to 10 hours total: roughly 3 hours for the back panel, 2 hours per front panel, and 1 to 2 hours for seaming and edging.
Materials You Need
| Item | What to get |
|---|---|
| Yarn, main color | Worsted weight (medium 4) acrylic or cotton blend, about 550 (650, 750, 850, 950, 1050, 1150) yards |
| Yarn, edging (optional) | A small amount of a contrast color for the edging, about 80 yards |
| Hook | US H-8 (5.0 mm), or the size that meets gauge with your yarn |
| Notions | Tapestry needle, scissors, stitch markers, measuring tape |
| Optional | 2 large buttons or a shawl pin if you want a closure |
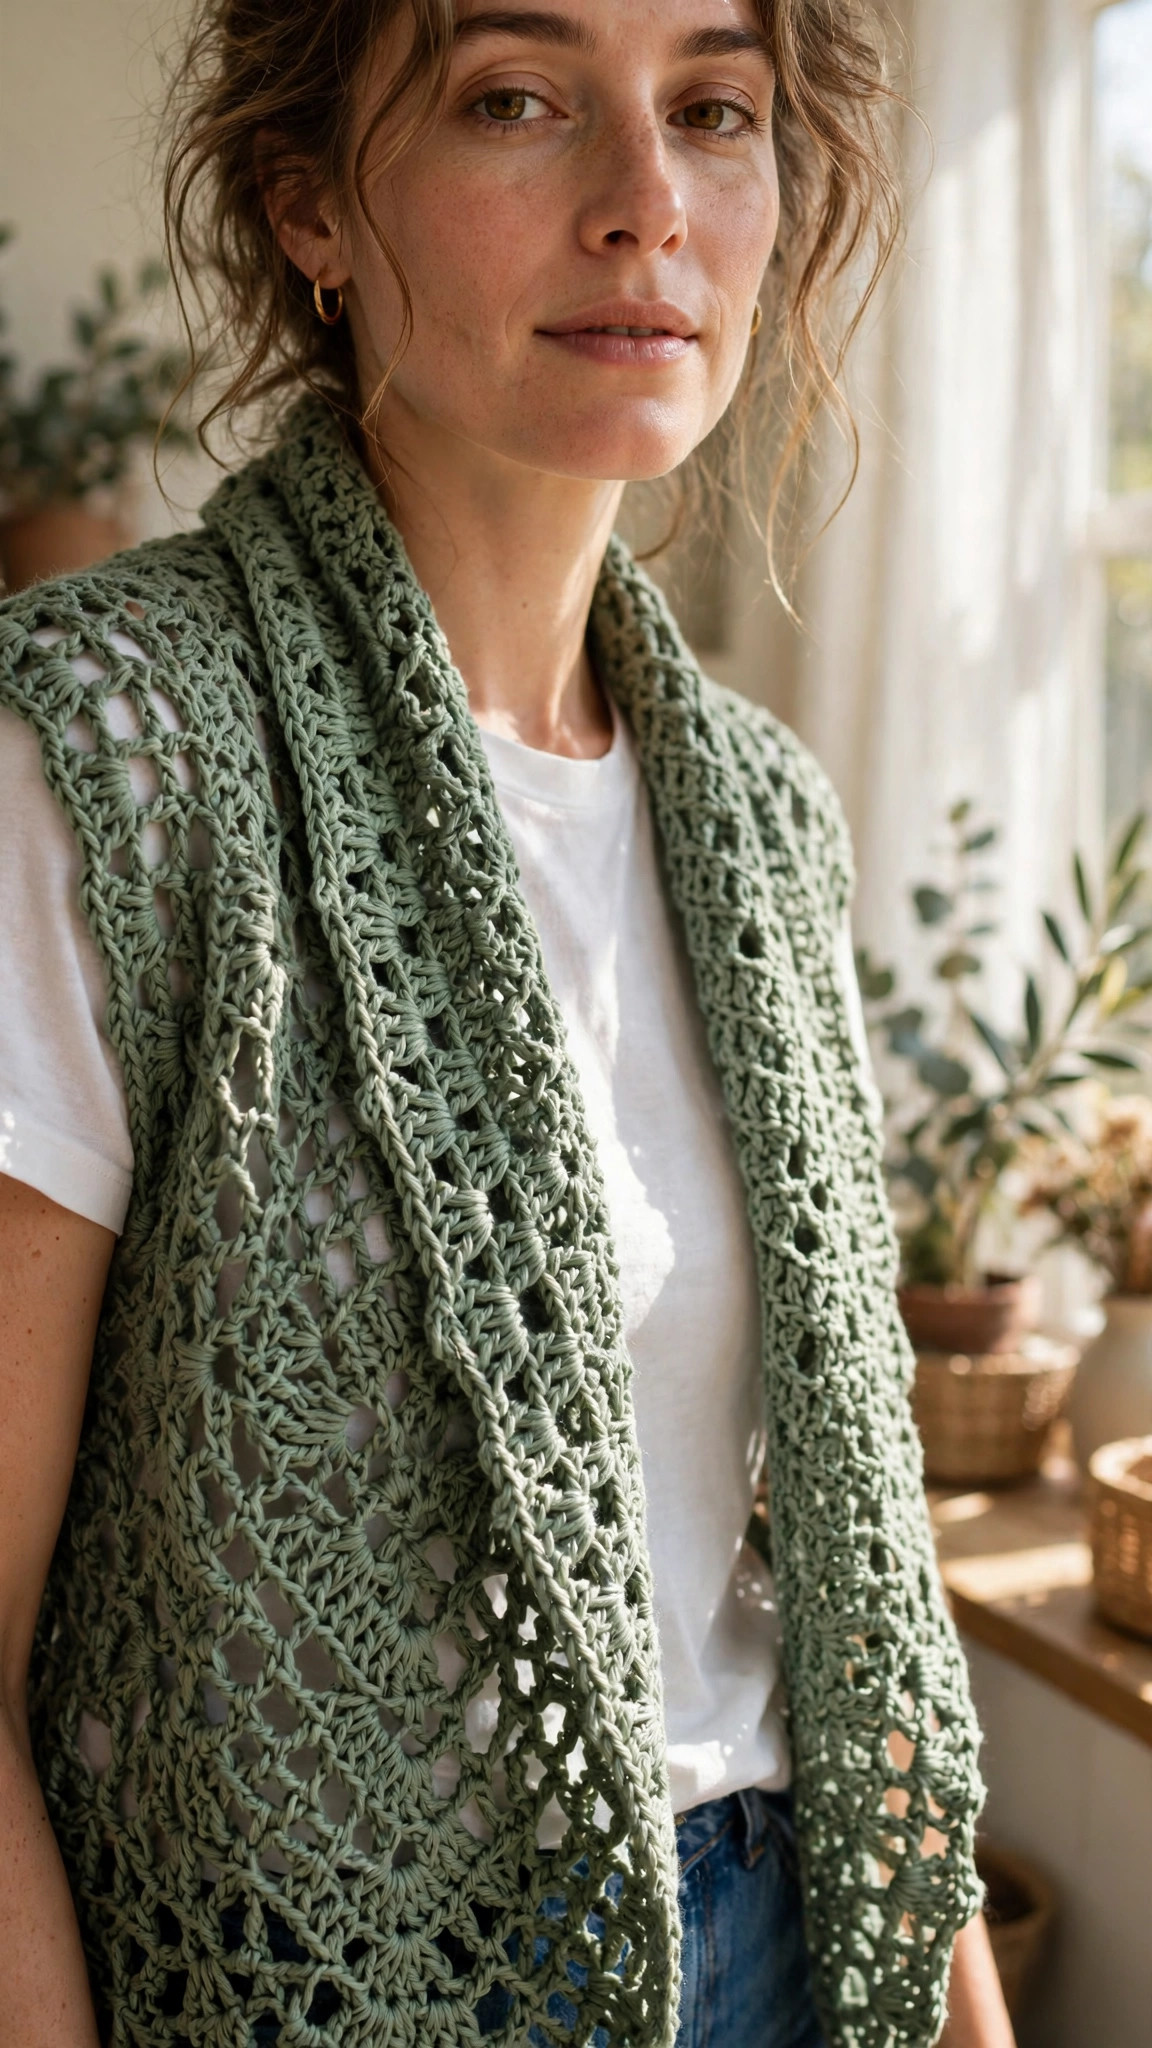
Acrylic yarn is a great choice here because it drapes well, survives regular washing, and comes in every color you can imagine. A cotton blend gives crisper stitch definition and a slightly heavier, more structured vest, which is nice if you like a tailored look.
Abbreviations (US Terms)
- ch = chain
- sl st = slip stitch
- sc = single crochet
- hdc = half double crochet
- dc = double crochet
- dc2tog = double crochet 2 together (decrease)
- sk = skip
- st(s) = stitch(es)
- rep = repeat
- RS = right side
- WS = wrong side
Gauge and Sizing Notes
Gauge for this vest is 14 dc and 8 rows = 4 inches, worked in the open stitch pattern with a 5.0 mm hook. Take the time to swatch, because a vest that is two inches too wide at the back will feel like a different garment.
Choose your size by your bust measurement, then pick the vest size with a back panel width closest to half your bust plus 1 to 2 inches of ease. The open front means the vest never has to close, so if you are between sizes, size down for a neater fit or size up for a looser, longer layer.
| Size | Back width | Length | Yarn (approx) |
|---|---|---|---|
| XS | 16 in | 22 in | 550 yards |
| S | 18 in | 23 in | 650 yards |
| M | 20 in | 24 in | 750 yards |
| L | 22 in | 25 in | 850 yards |
| XL | 24 in | 26 in | 950 yards |
| 2XL | 26 in | 27 in | 1050 yards |
| 3XL | 28 in | 28 in | 1150 yards |
Part 1: The Back Panel
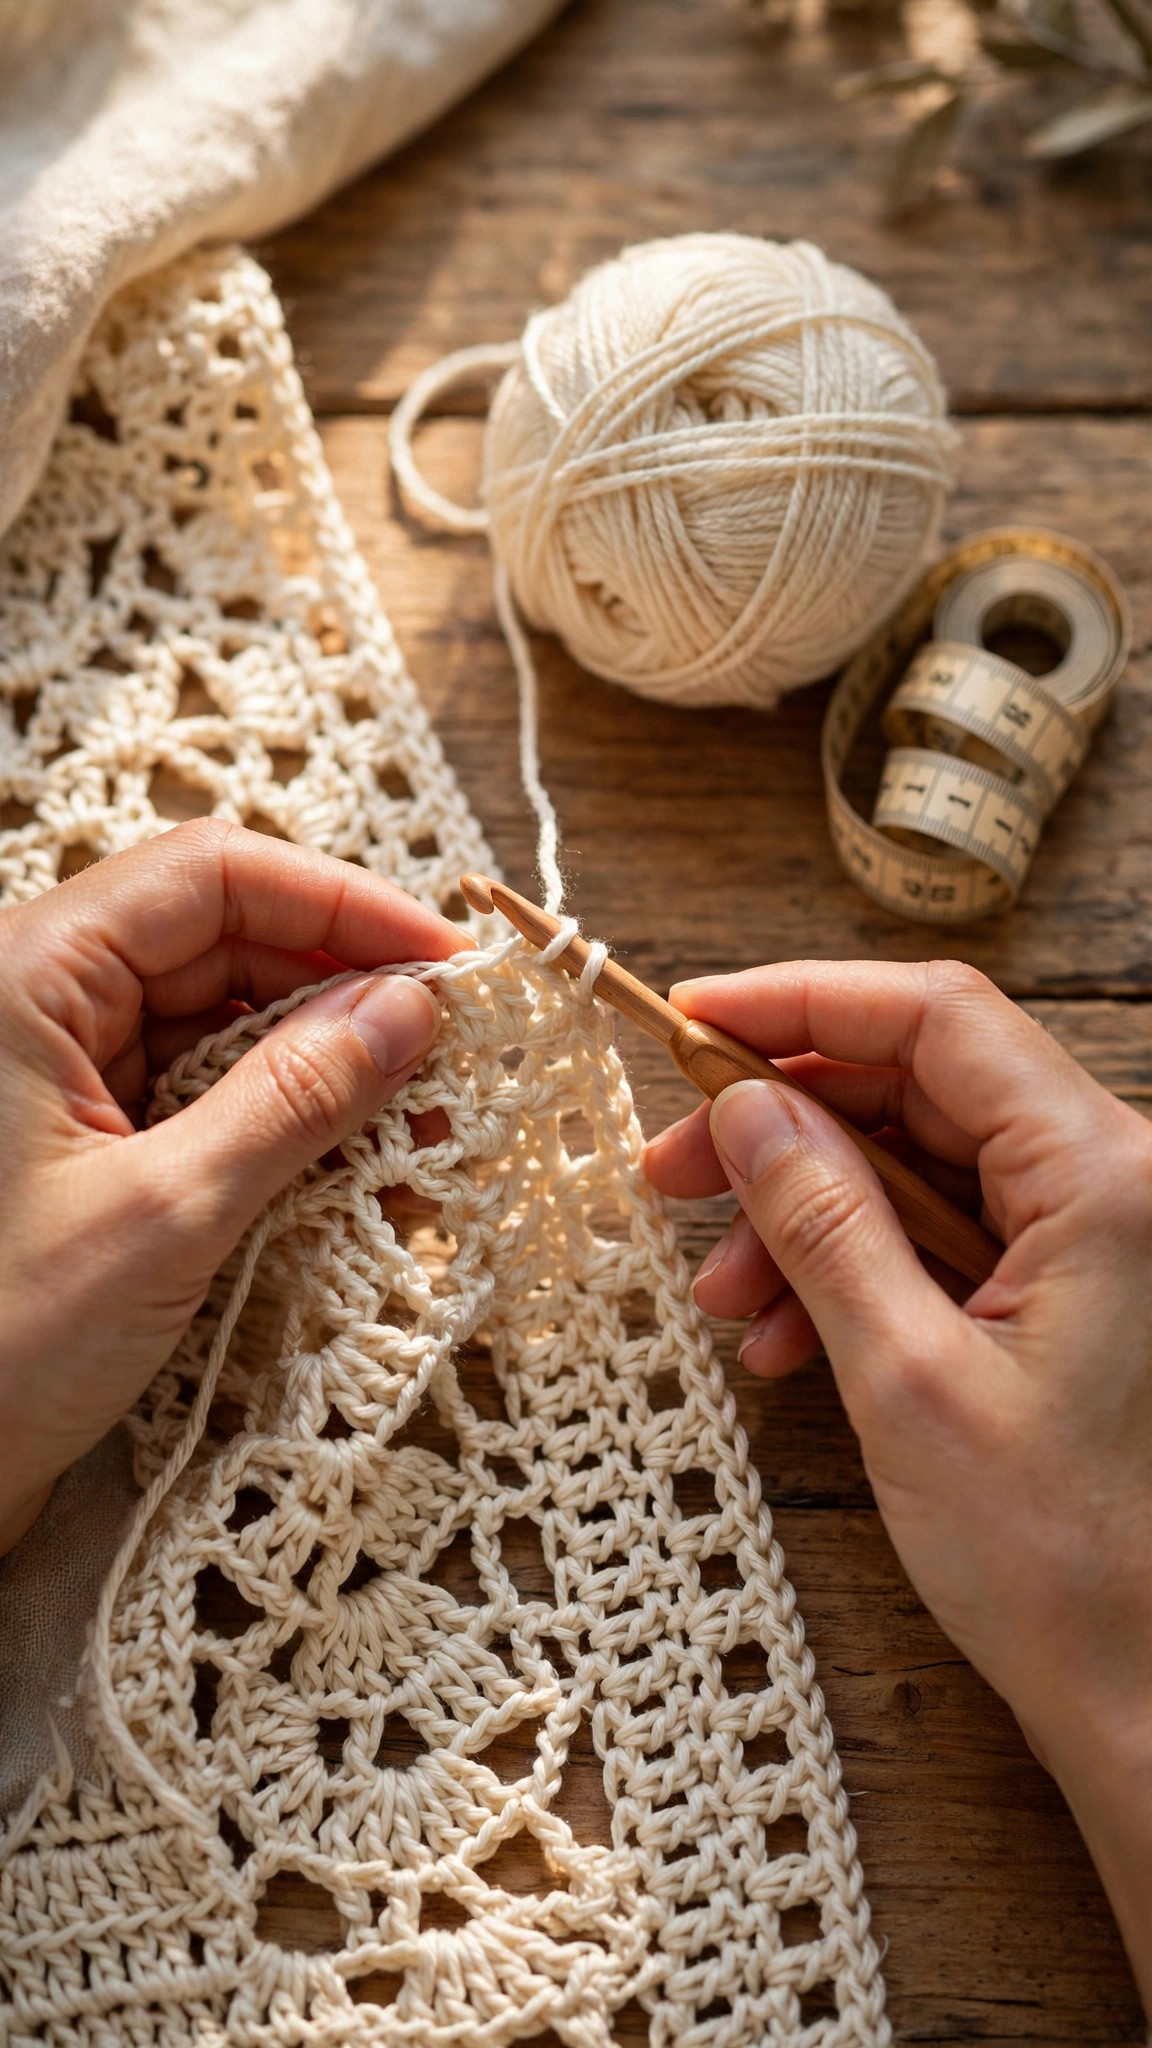
The back panel is a simple rectangle worked from the hem up, with a solid band at the bottom and the open stitch pattern for the body. Work in rows, turning at the end of each row, and keep a stitch marker at the first stitch of each row so your edges stay straight.
Hem band
Ch 58 (64, 72, 80, 86, 94, 100).
- Row 1: dc in 4th ch from hook and in each ch across. 55 (61, 69, 77, 83, 91, 97) dc. Turn.
- Rows 2 to 4: ch 3 (counts as dc), dc in each st across. Turn.
This solid band gives the hem weight and keeps the open stitch from flaring at the bottom edge.
Body in open stitch
- Row 5 (RS): ch 3 (counts as dc), dc in next st, (ch 1, sk 1 st, dc in next 2 sts) rep across to the last 2 sts, dc in last 2 sts. Turn.
- Row 6 (WS): ch 3 (counts as dc), dc in each st and each ch-1 space across. Turn.
- Rows 7 to 8: repeat Rows 5 and 6 once more.
- Row 9: repeat Row 5.
Continue repeating Rows 6 and 5 in order, working a solid dc row followed by a mesh row, until the panel measures 14 (14.5, 15, 15.5, 16, 16.5, 17) inches from the hem, ending with a solid dc row.
Armhole shaping
At the start of the next row, sl st across the first 6 sts, ch 3, then work in pattern across until 6 sts remain, turn, leaving those 6 sts unworked. You have now shaped both armholes at once, and the stitch count is reduced by 12. Continue in the open stitch pattern, working even, until the panel measures 22 (23, 24, 25, 26, 27, 28) inches from the hem, ending with a solid dc row. Fasten off.
Shoulder sections
The top edge of the back panel is divided into three parts: a left shoulder, a neck opening, and a right shoulder. Join yarn at the right side of the top edge (RS facing). Work across the first 13 (14, 16, 17, 18, 20, 21) sts in pattern for 2 rows, then fasten off. Skip the center 17 (19, 21, 23, 25, 27, 29) sts for the neck, join yarn in the next st, and work the remaining 13 (14, 16, 17, 18, 20, 21) sts for 2 rows. Fasten off. The shoulders are now ready to seam to the front panels.
Part 2: The Two Front Panels
The front panels are mirror images of each other. Make the first one as written, then make the second one with the neckline shaping reversed, so the two panels slope toward the center front in the same way.
Right front panel
Ch 31 (34, 38, 42, 45, 49, 53).
- Row 1: dc in 4th ch from hook and in each ch across. 28 (31, 35, 39, 42, 46, 50) dc. Turn.
- Rows 2 to 4: ch 3 (counts as dc), dc in each st across. Turn.
- Row 5 (RS): begin the open stitch pattern exactly as for the back panel: ch 3, dc in next st, (ch 1, sk 1 st, dc in next 2 sts) rep across to the last 2 sts, dc in last 2 sts. Turn.
- Row 6 (WS): ch 3, dc in each st and each ch-1 space across. Turn.
Continue in the open stitch pattern until the panel measures the same length as the back panel at the start of armhole shaping, 14 (14.5, 15, 15.5, 16, 16.5, 17) inches from the hem, ending with a solid dc row.
Armhole and neckline shaping
Shape the armhole at the outer edge (the same side as on the back panel) by slip stitching across the first 6 sts at the start of the next row, then working in pattern across. At the same time, begin shaping the neckline at the inner edge: work a dc2tog at the neck edge every other row, 6 times total, so the front edge slopes gently from the chest up to the shoulder. Continue until the panel measures the full finished length, 22 (23, 24, 25, 26, 27, 28) inches. The shoulder should now have 13 (14, 16, 17, 18, 20, 21) sts, matching the back shoulder. Fasten off.
Left front panel
Work exactly as for the right front panel, but reverse the shaping: shape the armhole at the opposite outer edge, and work the neckline decreases at the opposite inner edge. When you lay the two panels side by side with the right sides facing up, the neckline slopes should mirror each other, forming a gentle V at the center front.
Part 3: Seaming and Edging
Seaming is where three flat rectangles become a vest, so take your time and pin everything before you sew.
- Lay the back panel right side up. Place the front panels on top, right sides together, aligning the shoulder edges. Sew the shoulder seams with a tapestry needle and matching yarn, using a whip stitch through both layers.
- Fold the vest so the front panels meet the back panel at the sides. Sew the side seams from the hem up to the armhole shaping, leaving the armhole open. Check that both side seams are the same length before you knot off.
- Try the vest on, or lay it flat and measure, to check that the armholes sit comfortably and the front panels hang evenly. If one side is longer, adjust the seam before moving on.
- Work the edging around the entire front opening and hem: join yarn at the bottom corner of the right front panel, work 1 round of sc evenly around the opening, up one side, around the neck, and down the other side, then continue around the hem. Work 2 more rounds of sc in the same path, working 3 sc in each corner stitch so the corners lie flat.
- For a ribbed look, work the edging in hdc through the back loop only on the second and third rounds.
- Weave in all ends, then block the finished vest: soak it in cool water with a little wool wash, roll it in a towel to remove water, and lay it flat to dry, shaping the panels so the edges are straight.
A crochet circle vest pattern is the perfect next project if you love this shape but want a round, flowing silhouette instead of a structured open front, and a crochet cardigan sweater pattern gives you the same cozy layer with full sleeves for colder days.
Styling Your Crochet Vest
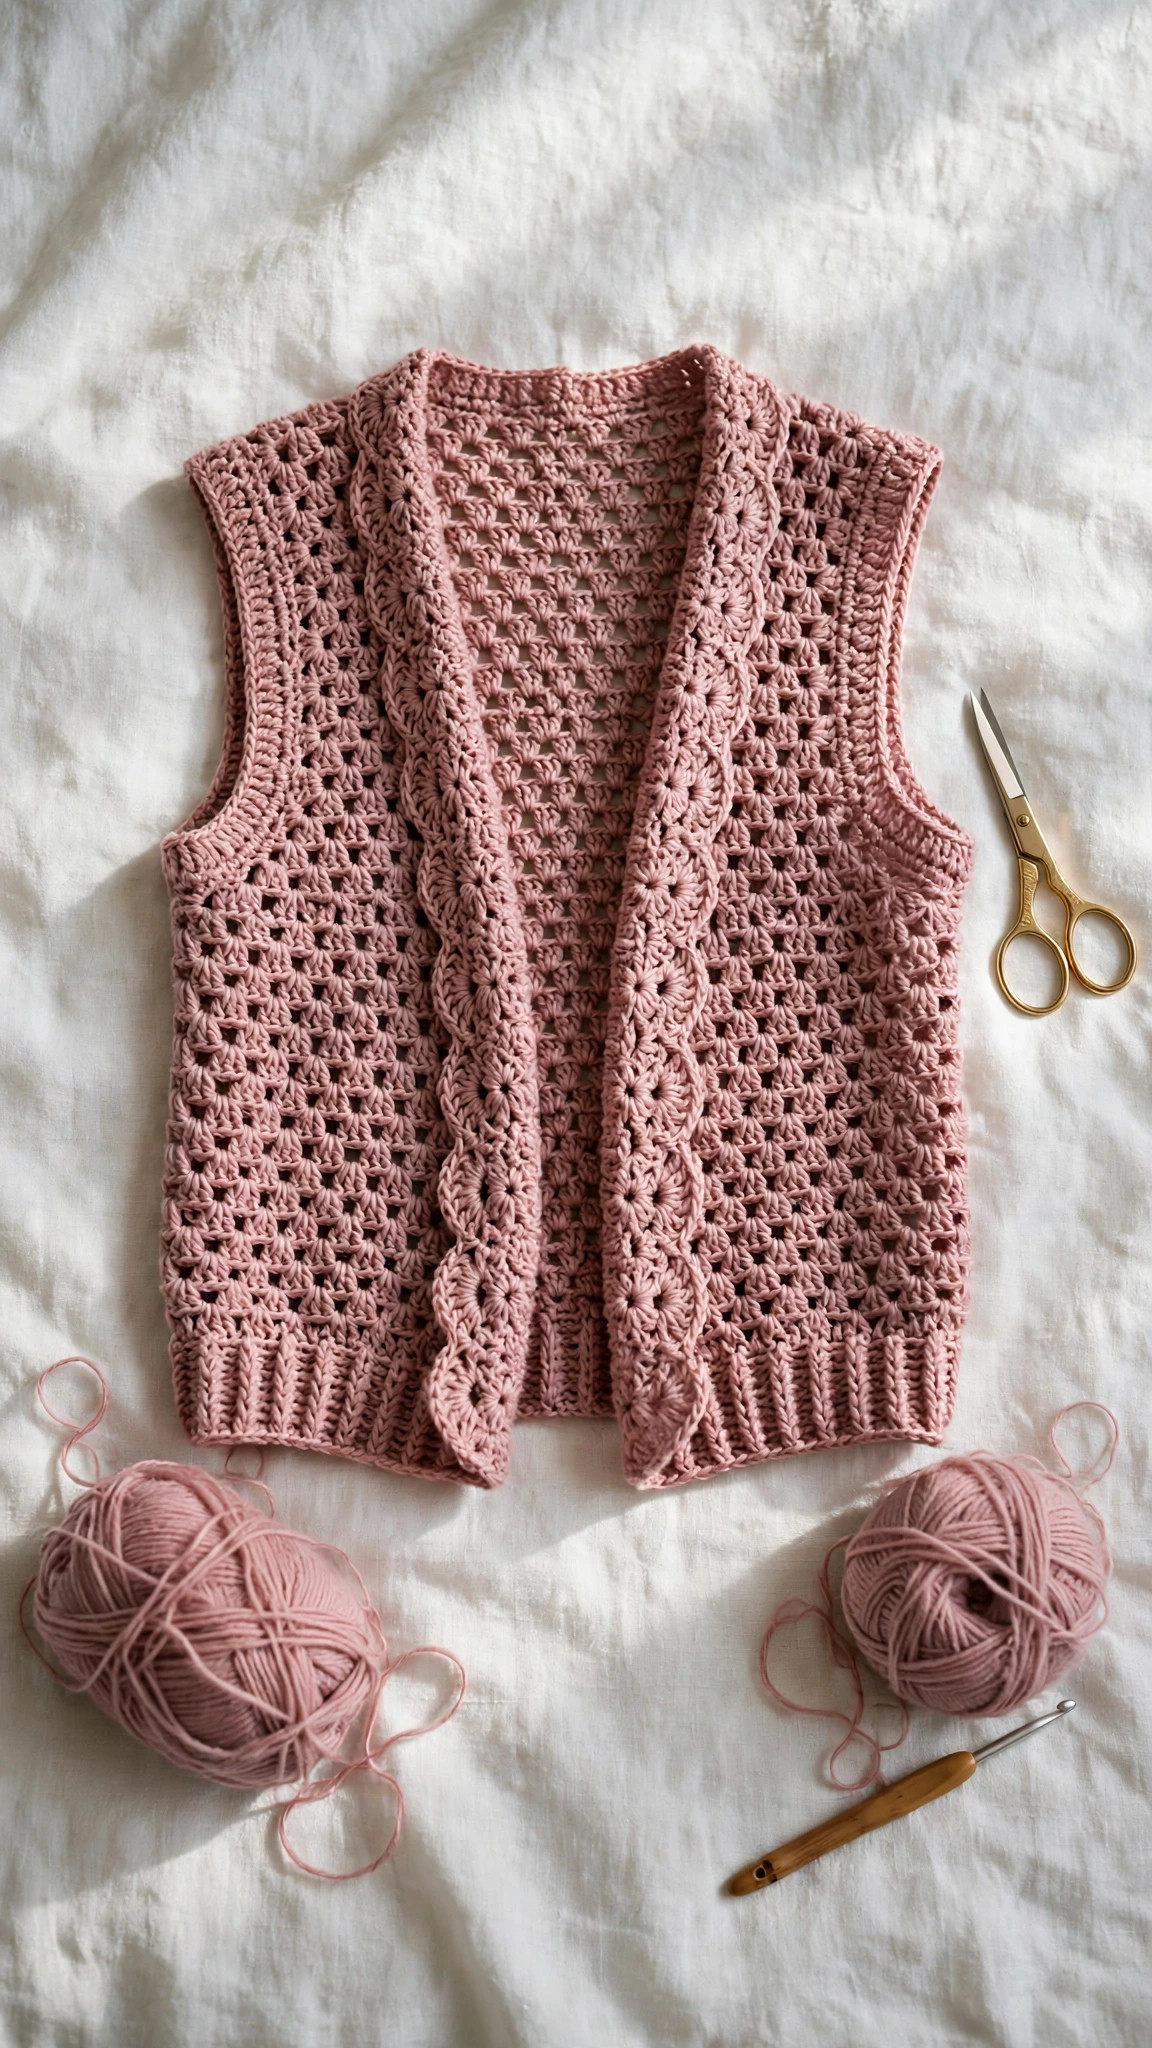
The beauty of an open-front vest is that it goes with almost everything you already own. Over a white t-shirt and jeans it looks relaxed and handmade in the best way. Over a black dress it turns a simple outfit into something with texture and intention.
For a neater look, add a closure. Two large wooden buttons sewn to one front panel with a loop of chain on the other will hold the vest closed at the chest without changing the drape. A shawl pin or a simple brooch does the same job and lets you change the look whenever you like.
Variations: Length, Color, and Texture
- Long duster vest: add 8 to 10 inches to all three panels before the armhole shaping, and add one extra skein of yarn.
- Cropped vest: stop the panels 5 inches shorter than written, work the hem edging right away, and wear it over dresses and high waisted skirts.
- Granny stripe vest: work the body in stripes of three rows per color, carrying the yarn up the side edge, for a cheerful retro look.
- Textured vest: replace the mesh rows with rows of (dc, fpdc) ribbing for a thicker, warmer vest with a woven look.
- Lace vest: use a lighter DK yarn and a 5.5 mm hook, and add one extra chain space to each mesh repeat, for an airy summer layer.
If you enjoy layering pieces, a hexagon sweater crochet pattern is a fun next project that uses the same panel logic in a completely different shape, and a free crochet shrug pattern is a quicker layer for evenings when you want just a little warmth over your shoulders.
Troubleshooting Vest Fit Problems
- My vest is too wide. This is almost always a gauge problem. Check your swatch against the pattern gauge of 14 dc per 4 inches. If your stitches are wider, go down a hook size for the next panel.
- The front panels curl. The open stitch pattern can curl at the edges, especially in acrylic yarn. The edging rounds fix most curling, so do not judge the panels until the edging is on.
- The armholes are too tight. The armhole is shaped by the 6 skipped stitches on each side. If it feels tight when you try the vest on, unpick the side seam by 1 inch on each side and re-sew.
- The shoulders do not line up. Check that the front shoulder stitch counts match the back shoulder counts, 13 (14, 16, 17, 18, 20, 21) sts on each side. If they are off by a stitch or two, ease the seam gently rather than forcing it.
- The neckline gaps open. This usually means the neckline decreases were worked too slowly, so the front edge is too long. Next time, work the decreases every row instead of every other row for the last three decreases.
- My vest looks like a poncho. The difference between a vest and a poncho is the side seams. If your side seams are too short, the vest hangs like a poncho. Sew the side seams up to the armhole shaping, and the vest shape will appear.
A crochet bucket hat pattern makes a lovely matching accessory for a summer vest outfit, and a crochet top pattern in the same yarn gives you a handmade set that looks planned rather than pieced together.
Care Instructions
Wash your vest in cool water on a gentle cycle, or by hand, with a mild detergent. Do not use hot water, because acrylic can relax and grow, and cotton can shrink if it is agitated. Roll the vest in a clean towel to remove water, then lay it flat to dry, shaping the panels so the edges stay straight. Do not hang a wet vest, because the weight of the water will stretch the shoulders out of shape.
Frequently Asked Questions
Is this crochet vest pattern good for beginners?
Yes, with one caveat: it is best as a second or third garment, not your very first project. You should be comfortable with double crochet and turning rows. If those feel familiar, the panel construction is just rectangles with simple shaping, and the seaming is straightforward sewing.
Can I make this vest longer or shorter?
Yes, easily. To make a longer vest, work extra rows on all three panels before the armhole shaping, keeping the same open stitch repeat. To make a cropped vest, stop the panels 4 to 5 inches shorter than written and work the hem edging right away.
Does the vest have a closure?
No, it is designed to be worn open, with a gap of 2 to 4 inches at the center front. If you want a closure, sew two large buttons to one front panel and work a small chain loop on the other, or use a shawl pin at the chest.
What is the difference between this vest and a circle vest?
A circle vest is worked in the round from a central circle, so it has a round, flowing shape with no seams. This vest is worked flat in three panels and seamed, so it has a structured, tailored shape with defined shoulders and side seams.
Can I sell vests made from this pattern?
Yes, you may sell finished vests made from this free pattern, with credit to Little Loop Finds. Please do not sell, share, or republish the pattern text itself, and do not claim this original design as your own.
Happy stitching, and may your new vest become the layer you reach for every single day.


