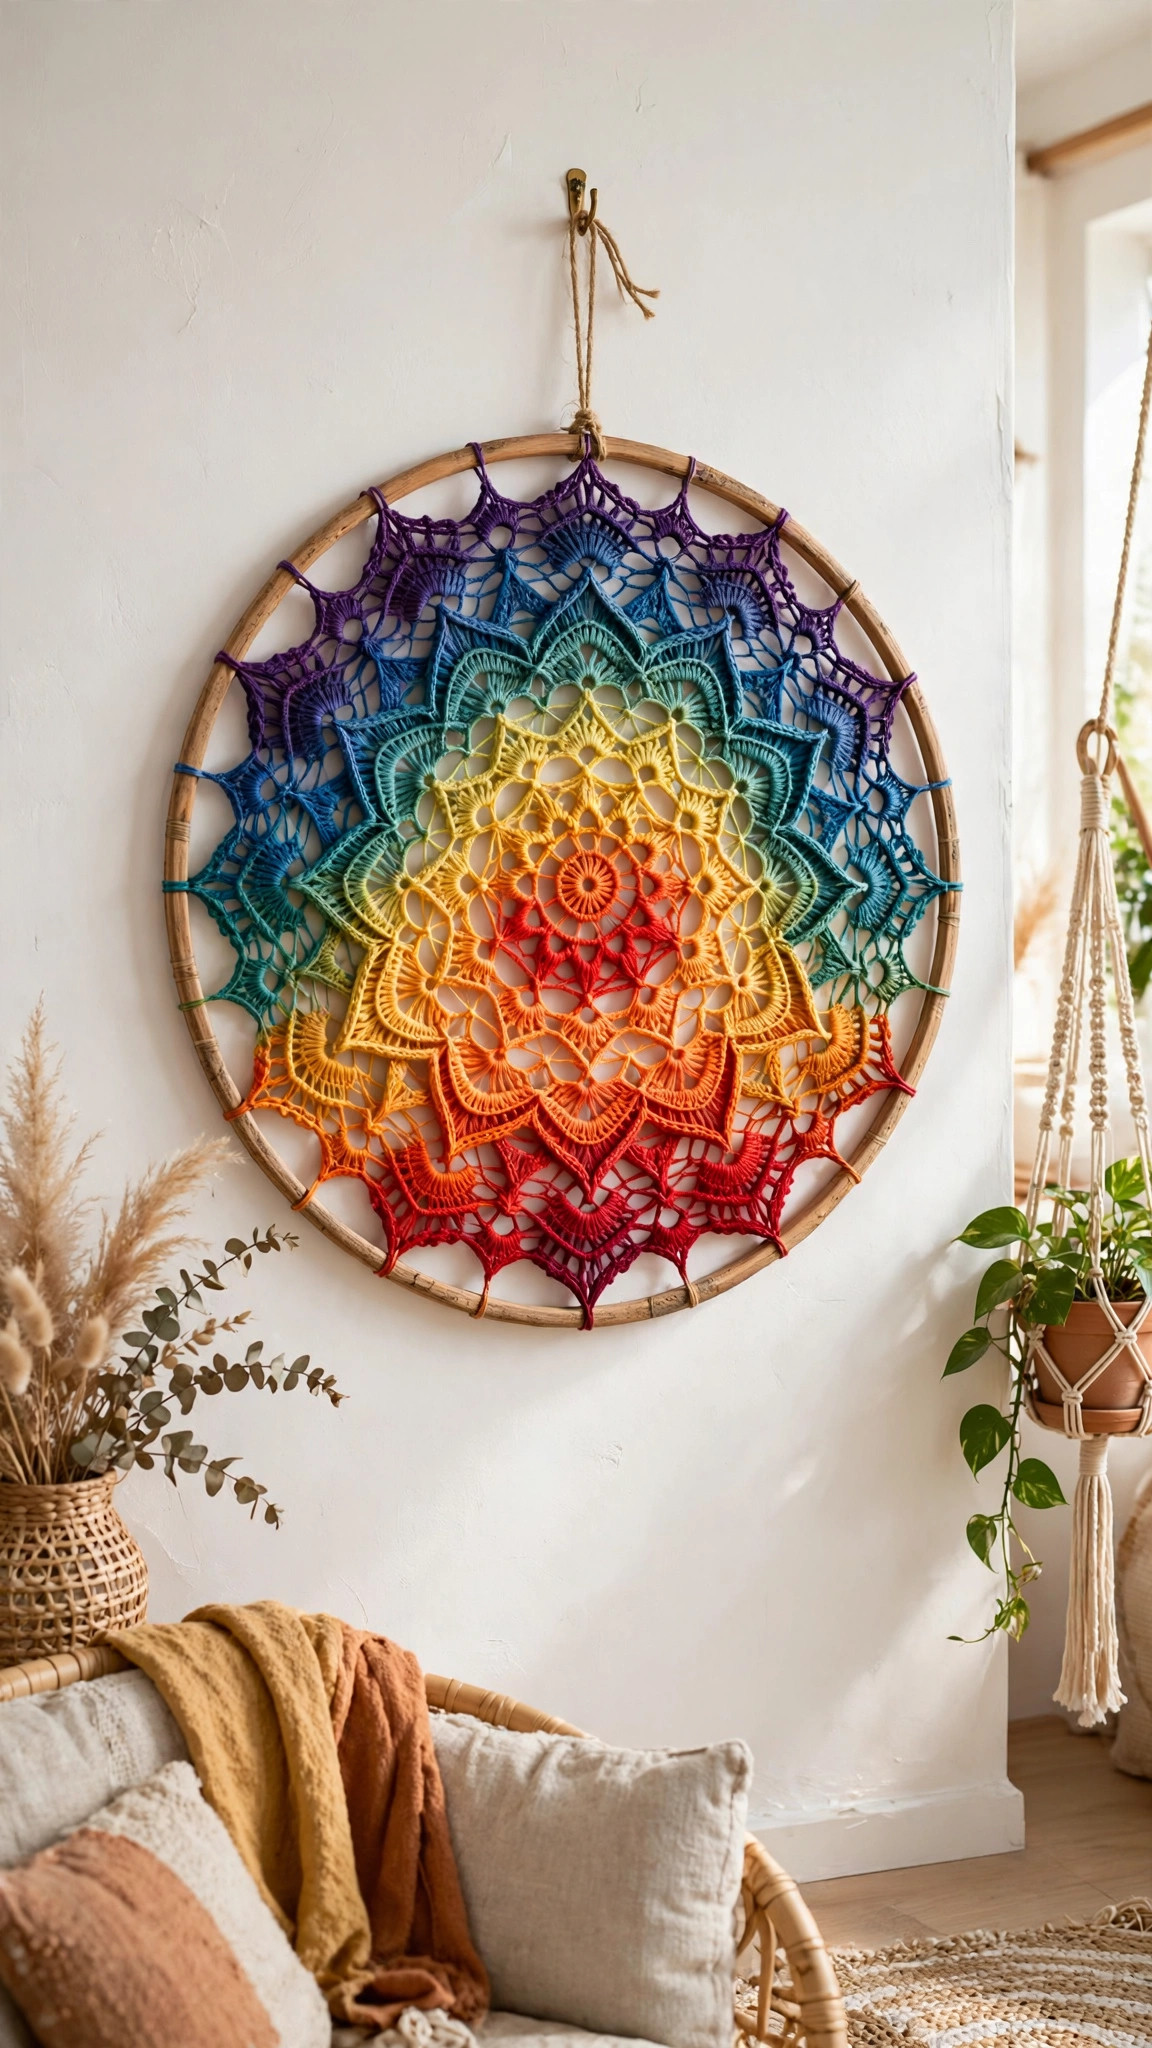
Crochet Granny Square Bag Pattern (Free Tote)
Stitch 13 classic granny squares into a sturdy, colorful tote with strong handles and a flat base.


Patterns · Crochet
- Finished size
- 14 in wide, 13 in tall
- Making time
- 6 to 8 hours
- Hook
- US H-8 (5.0 mm)
- Set
- 13 squares, top edge and handles
- Skill
- Easy
In this post
- Key Takeaways
- Table of Contents
- Why You Will Love This Granny Square Bag
- Finished Size, Skill Level, and Time
- Materials You Need
- Abbreviations (US Terms)
- Gauge and Sizing Notes
- Part 1: The Classic Granny Square (Make 13)
- Part 2: Joining the Squares into a Tote
- Part 3: Top Edge, Handles, and Finishing
- Variations: Colors, Sizes, and Linings
- Troubleshooting Bags That Sag or Gape
- Care Instructions
- Frequently Asked Questions
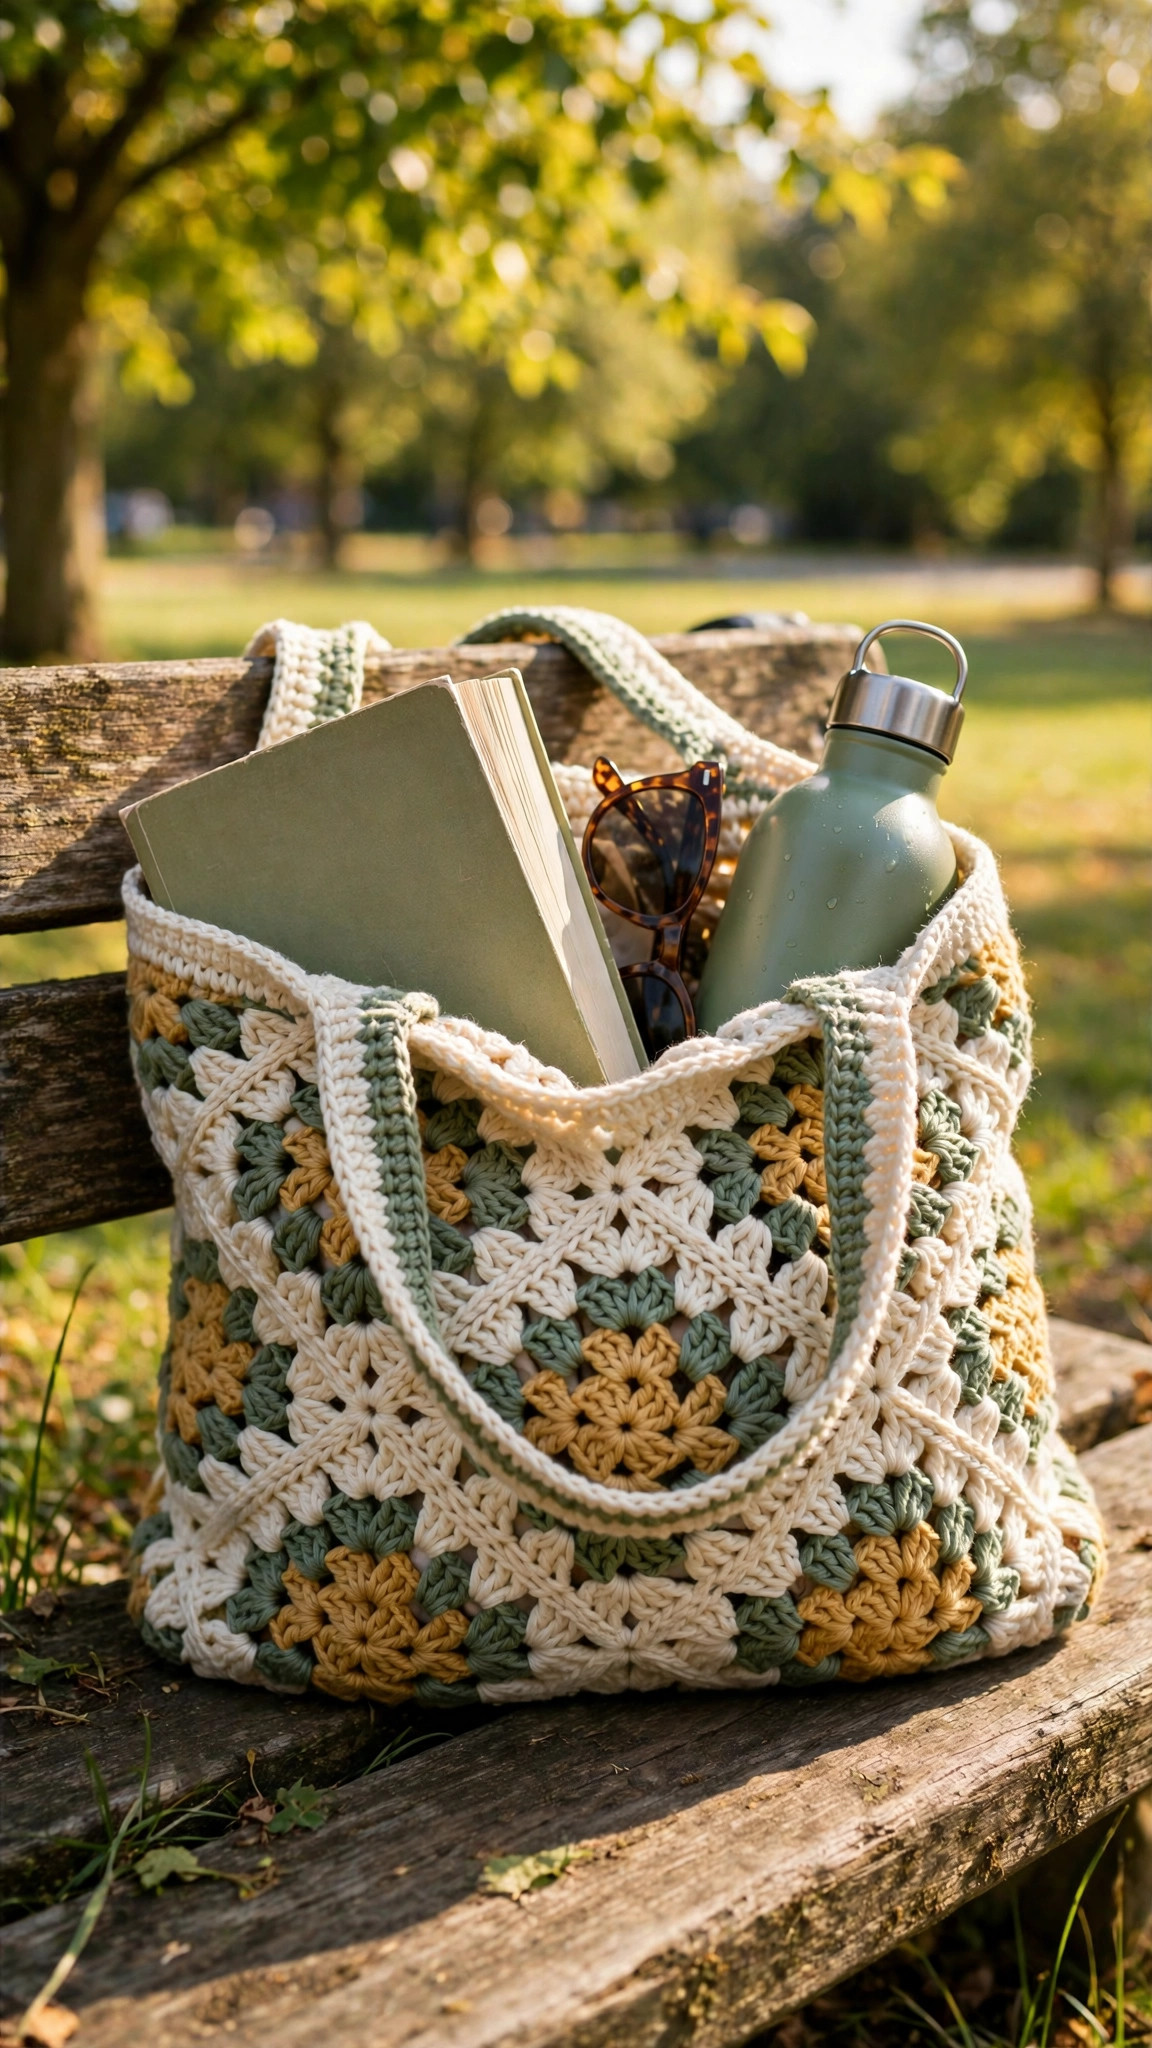
A granny square tote is the happiest kind of bag: colorful, sturdy, endlessly customizable, and made from the same little squares you probably learned on first. This free crochet granny square bag pattern turns 13 classic granny squares into a roomy everyday tote with strong handles, a flat base, and a shape that holds its own whether it is carrying a book, a ball of yarn, or a farmers market haul. It is a true stash buster too, because every square can be a different color and still look like it belongs.
This is an original Little Loop Finds design, written in US terms and completely free. The bag is built from one simple square motif repeated 13 times, so once you have made your first square, the rest feel like a relaxing rhythm. The squares are joined with a flat, nearly invisible seam, and the handles are worked right into the top edge so they can never pull loose. If you can chain, double crochet, and work a cluster, you can make this bag.
Key Takeaways
- Free original pattern: this crochet granny square bag pattern is a Little Loop Finds original design, written in US terms, and completely free.
- 13 classic squares: one simple motif repeated 13 times makes the front, back, sides, and base of the tote.
- Beginner friendly: chains, double crochet clusters, and a flat join, with no complicated shaping.
- Weekend project: about 6 to 8 hours from first square to finished handles, including joining and finishing.
- Wonderfully giftable: perfect for birthdays, market shoppers, book lovers, and anyone who loves handmade color.
Table of Contents
- Why You Will Love This Granny Square Bag
- Finished Size, Skill Level, and Time
- Materials You Need
- Abbreviations (US Terms)
- Gauge and Sizing Notes
- Part 1: The Classic Granny Square (Make 13)
- Part 2: Joining the Squares into a Tote
- Part 3: Top Edge, Handles, and Finishing
- Variations: Colors, Sizes, and Linings
- Troubleshooting Bags That Sag or Gape
- Care Instructions
- Frequently Asked Questions
Why You Will Love This Granny Square Bag
Granny squares are the most beloved motif in crochet for a good reason. Each square is small, portable, and finished in minutes, which makes the whole bag feel like a string of tiny victories instead of one long slog. You can stitch a square on the sofa, another on a train, and another while dinner cooks, and before you know it you have a pile of color ready to become a bag.
Finished Size, Skill Level, and Time
- Finished size: about 14 inches wide, 13 inches tall, and 4 inches deep, with handles that rise about 9 inches above the top edge.
- Skill level: Easy. You need chains, slip stitches, single crochet, half double crochet, and double crochet, plus a simple 3 double crochet cluster.
- Time: about 6 to 8 hours total: roughly 3 hours for the 13 squares, 2 hours for joining, and 1 to 2 hours for the top edge and handles.
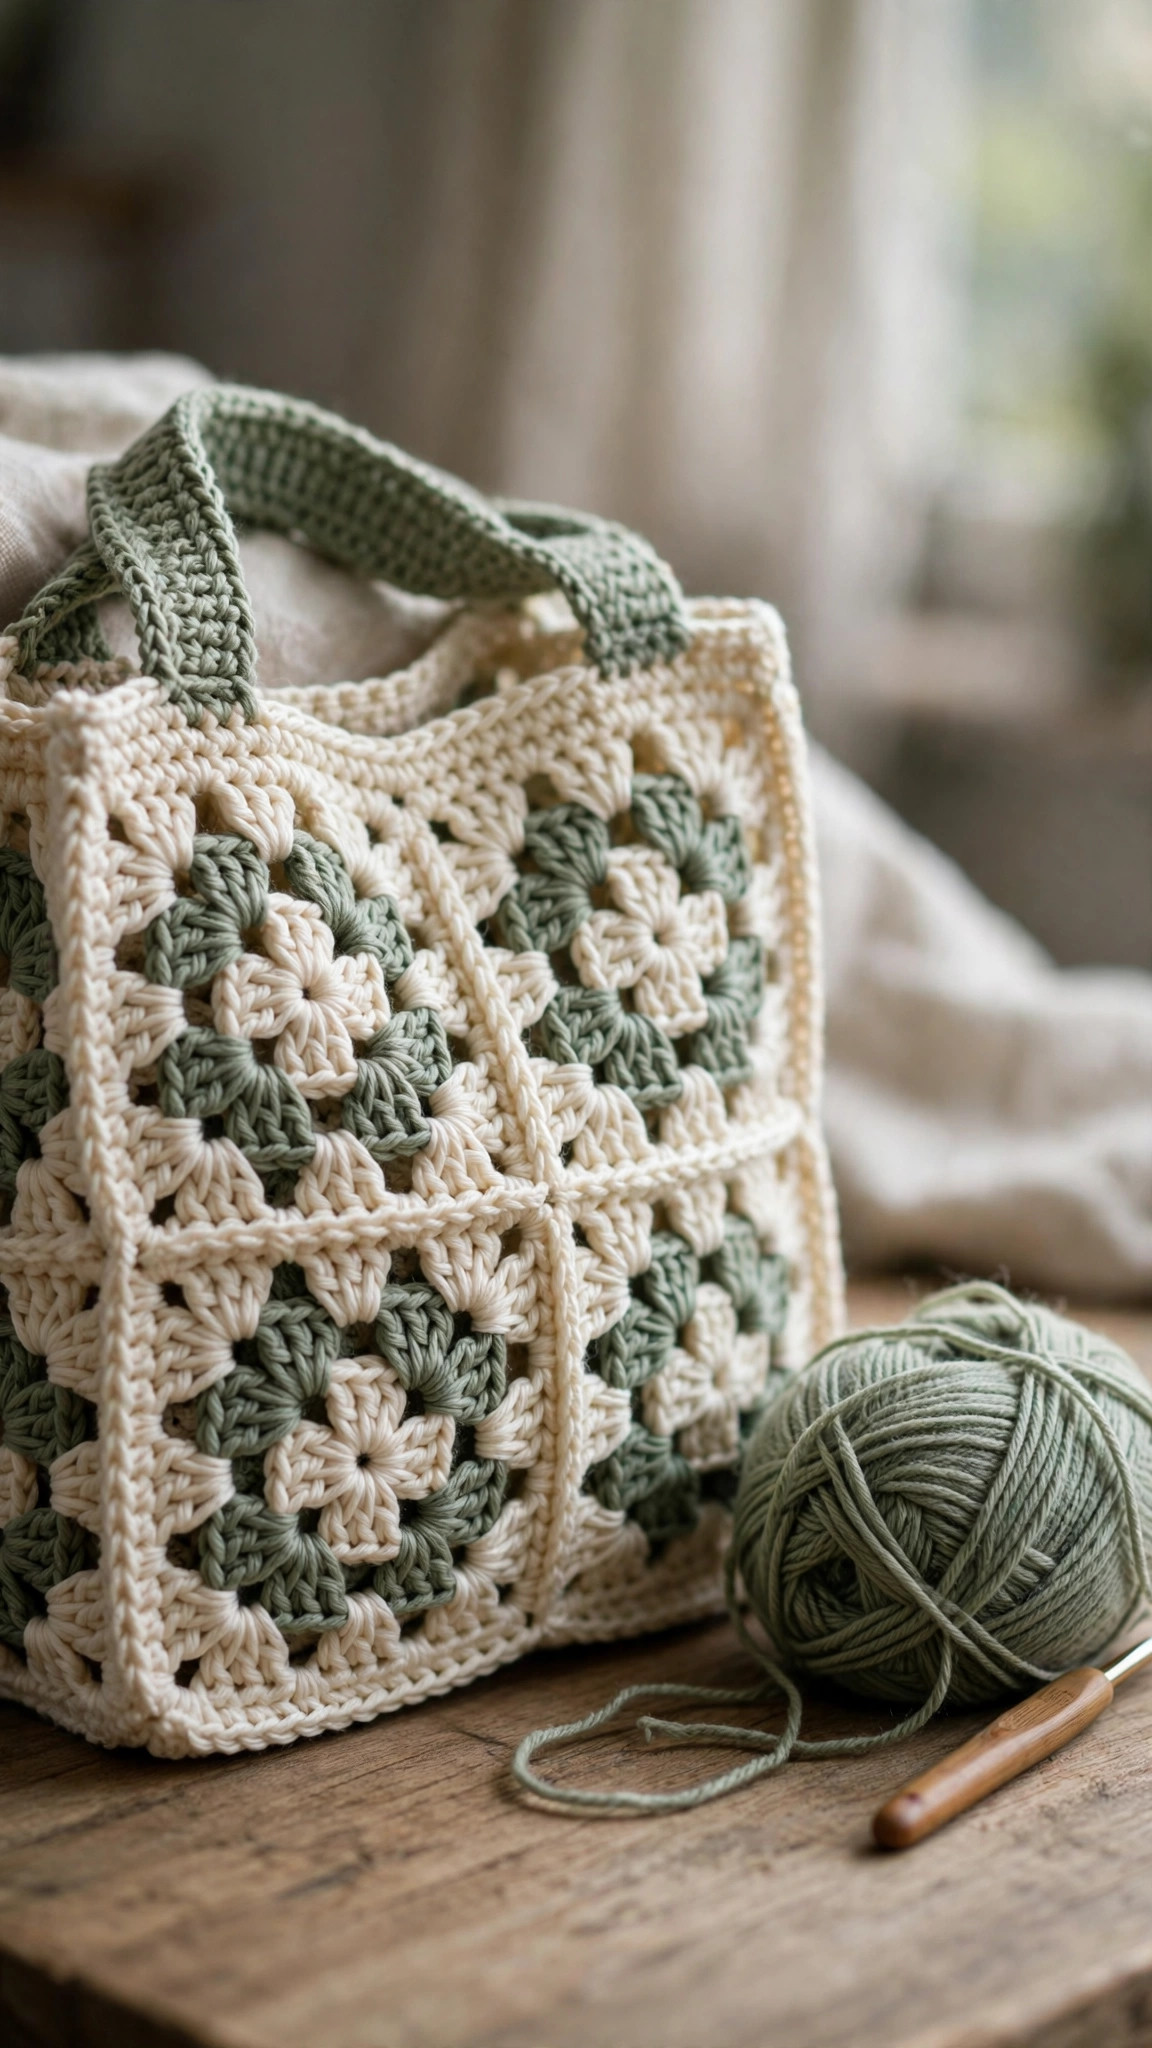
Materials You Need
| Item | What to get |
|---|---|
| Yarn, main color | Worsted weight (medium 4) cotton or acrylic in cream, about 200 yards |
| Yarn, accent colors | Worsted weight in sage green, mustard yellow, and terracotta, about 60 to 70 yards each |
| Hook | US H-8 (5.0 mm), or the size that gives you a firm fabric with your yarn |
| Notions | Tapestry needle, scissors, stitch markers, pins for joining |
| Optional lining | Half a yard of cotton fabric and a sewing needle, if you want a lined bag |
Cotton yarn is the best choice for this bag because it is strong and holds its shape under a heavy load. Acrylic works well too, especially for a lighter everyday bag, and it comes in the widest range of cheerful colors. Work with a hook one size smaller than you would for a blanket, because a firm fabric keeps the bag sturdy and the squares crisp.
Abbreviations (US Terms)
- ch = chain
- sl st = slip stitch
- sc = single crochet
- hdc = half double crochet
- dc = double crochet
- cl = cluster (3 dc in the same space)
- sp = space
- st(s) = stitch(es)
- rnd(s) = round(s)
- rep = repeat
- MR = magic ring
Gauge and Sizing Notes
Each finished granny square should measure about 4.5 inches across after a light blocking. If your squares come out smaller, go up a hook size; if they come out larger, go down a hook size. The exact size matters less than consistency: all 13 squares need to be the same size, or the bag will pull and pucker at the joins. Measure your first two squares against each other before you make the rest.
To make a smaller bag, work each square to 4 rounds instead of 5 for squares about 3.5 inches across, and join the same layout for a bag about 11 inches wide. For a larger market tote, work each square to 6 rounds for squares about 5.5 inches across, and use the same layout for a bag about 17 inches wide.
Part 1: The Classic Granny Square (Make 13)
Every square in this bag uses the same 5 round motif, so learn it once and repeat it 13 times. Change colors as you like: a classic look is a cream center, a colored middle, and a cream outer round, but a scrappy look with a different color in every round is just as lovely. Keep a little notebook of your color order if you want matching pairs, or let every square be a surprise.
The Square
With your center color, MR or ch 4 and join with a sl st to form a ring.
- Rnd 1: ch 3 (counts as dc), 2 dc in ring, ch 2, (3 dc in ring, ch 2) 3 times, join with a sl st to the top of the beginning ch 3. (4 groups of 3 dc, 4 corner ch 2 spaces)
- Rnd 2: sl st to the next ch 2 corner space, ch 3 (counts as dc), (2 dc, ch 2, 3 dc) in the same corner space, ch 1, (3 dc, ch 2, 3 dc) in the next corner space, ch 1, rep around, join with a sl st to the top of the beginning ch 3.
- Rnd 3: sl st to the next ch 2 corner space, ch 3 (counts as dc), (2 dc, ch 2, 3 dc) in the same corner space, ch 1, 3 dc in the next ch 1 space, ch 1, (3 dc, ch 2, 3 dc) in the next corner space, ch 1, rep around, join with a sl st to the top of the beginning ch 3.
- Rnd 4: sl st to the next ch 2 corner space, ch 3 (counts as dc), (2 dc, ch 2, 3 dc) in the same corner space, (ch 1, 3 dc in the next ch 1 space) twice, ch 1, (3 dc, ch 2, 3 dc) in the next corner space, rep around, join with a sl st to the top of the beginning ch 3.
- Rnd 5: sl st to the next ch 2 corner space, ch 3 (counts as dc), (2 dc, ch 2, 3 dc) in the same corner space, (ch 1, 3 dc in the next ch 1 space) 3 times, ch 1, (3 dc, ch 2, 3 dc) in the next corner space, rep around, join with a sl st to the top of the beginning ch 3. Fasten off and weave in the ends.
Change colors on any round by fastening off at the end of a round and joining the new color with a slip stitch in a corner space. Your finished square should have 4 corner groups and 3 side groups on each side. If a corner curls or cups, your tension is a little tight: work the corner chains a touch looser on the next square.
Make 13 squares in total. Lay them out in a grid as you finish them so you can see the color balance, and set aside the most even, prettiest squares for the front and back of the bag. Lightly block each square by pinning it to size on a towel, misting it with water, and letting it dry flat. Blocking makes joining far easier, because flat squares with straight edges sew together without fighting you.
Part 2: Joining the Squares into a Tote
The bag uses a simple layout: 3 squares wide by 2 squares tall for the front, the same for the back, and 1 square for the base. That is 6 plus 6 plus 1, which equals 13 squares. Lay the squares out on a table first, front panel on the left and back panel on the right, with the base square between them at the bottom. Shuffle the colors until the front and back look balanced, and try to avoid putting two squares of the same dominant color side by side.
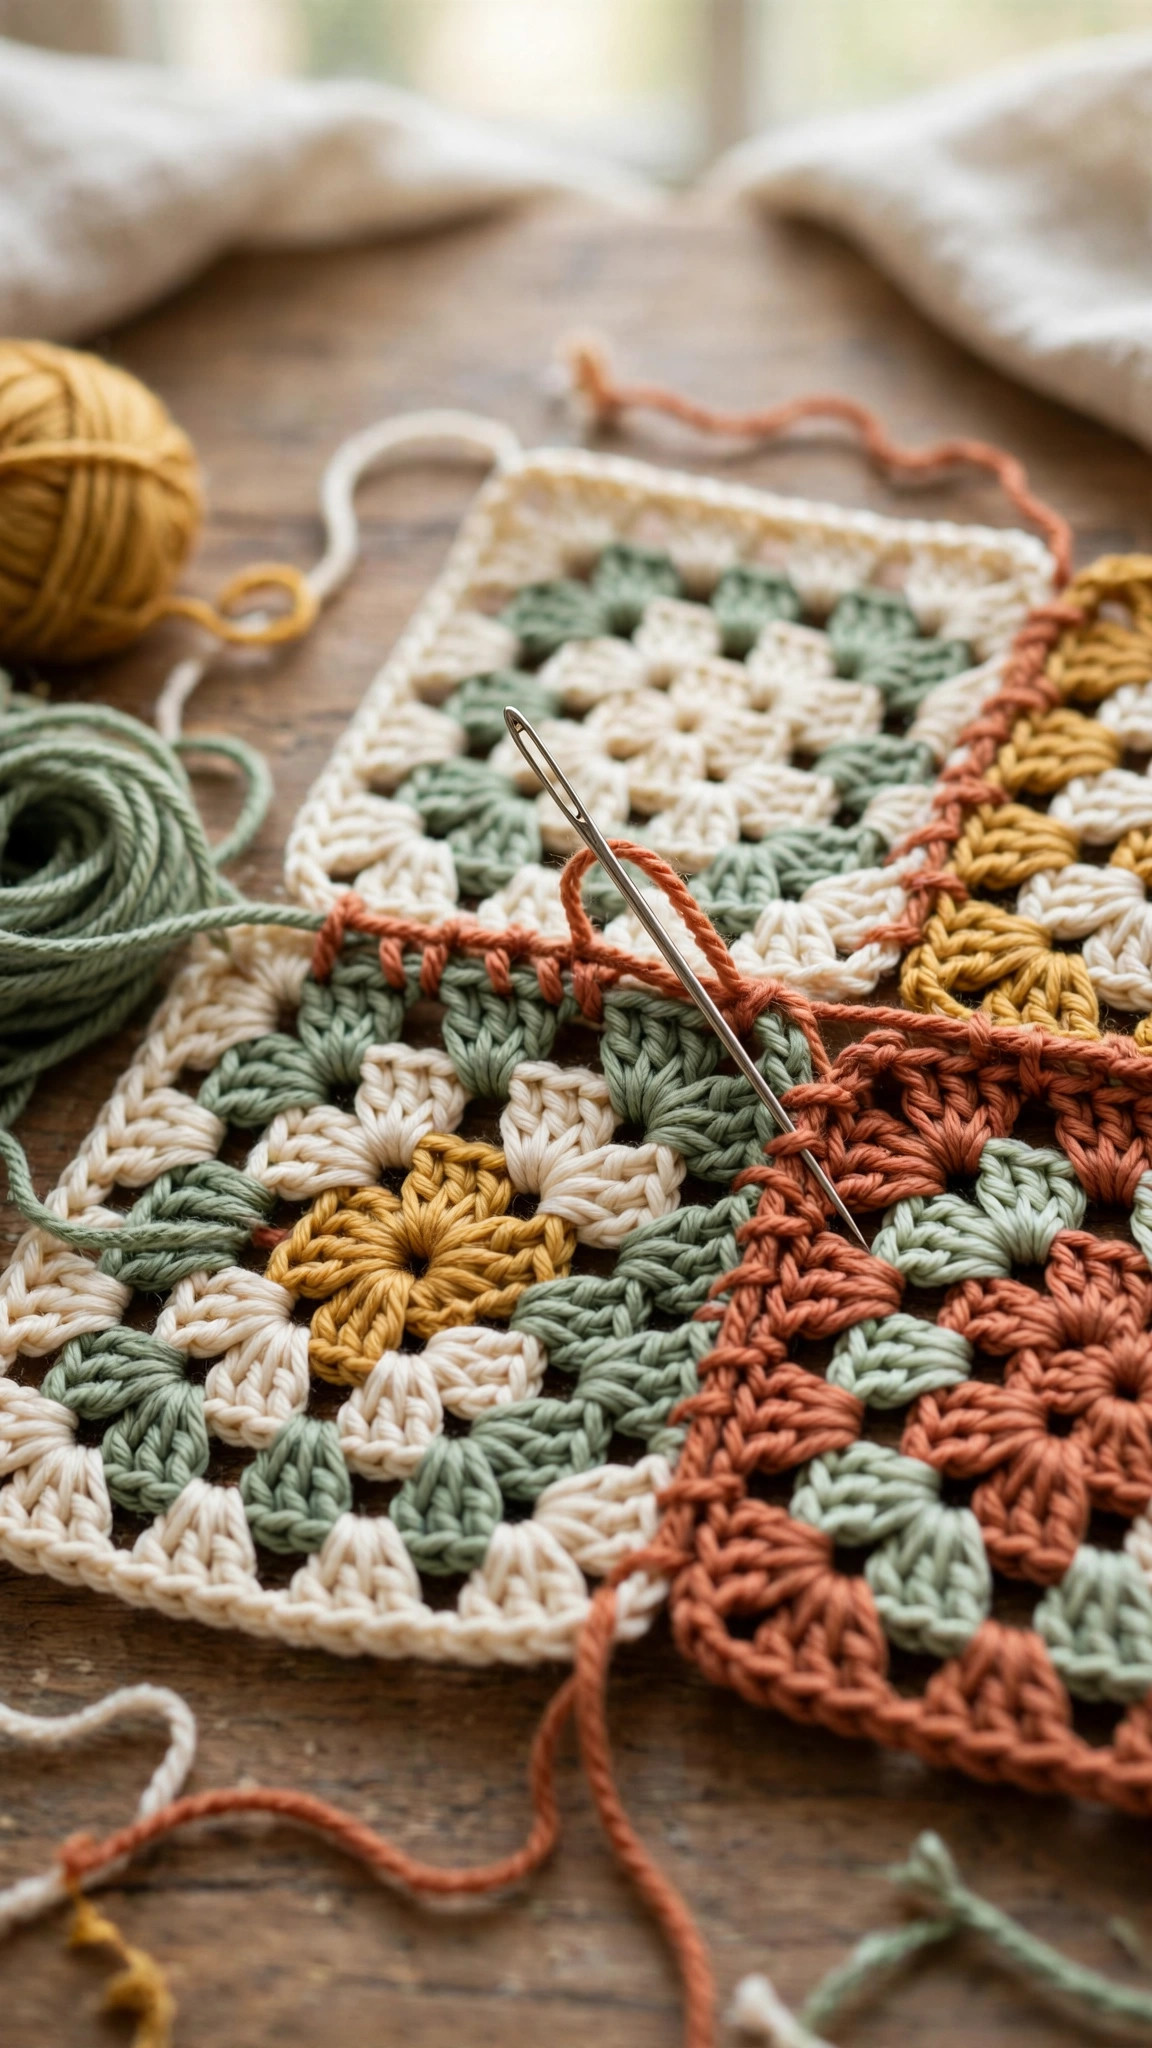
Join with a flat slip stitch seam, worked from the right side, which gives a neat, almost invisible join and a pretty ridged line on the inside. Hold two squares with right sides together, join your yarn with a slip stitch through both corner stitches, and work a slip stitch through the back loops of each pair of stitches across the edge. Work loosely, because a tight seam puckers the squares. Join the front panel squares into rows first, then join the rows together, then do the same for the back panel.
Next, join the base square to the bottom edge of the front panel, then to the bottom edge of the back panel. Fold the two panels together with right sides facing out, and join the side edges from the base up to the top edge on each side. Turn the bag right side out and check the shape: it should stand on its flat base with straight sides. If a side leans, your seam on that side is probably tighter than the other; unpick a few stitches and redo them more loosely.
If you prefer a softer look, you can join with a whip stitch instead, working under the back loops only. It takes a little longer, but the seam lies very flat. Weave in every end on the inside of the bag before you move on, because ends are much harder to hide once the top edge is finished.
Part 3: Top Edge, Handles, and Finishing
The top edge gives the bag its finished look and its strength, so do not rush it. With the bag right side out and the top edge facing you, join your main color with a slip stitch at a side seam.
- Rnd 1: ch 1, sc in each stitch and each chain space around the entire top edge, working 2 sc into each corner where the side seam meets the top. Join with a sl st to the first sc. Count your stitches and write the number down.
- Rnd 2: ch 1, sc in each st around, join with a sl st to the first sc.
- Rnd 3: ch 1, hdc in each st around, join with a sl st to the first hdc. This slightly taller round firms up the rim.
Now place the handles. Lay the bag flat and mark the top edge with stitch markers: each handle spans the middle third of the front or back panel, with the markers about 5 inches apart on a standard sized bag. The handles sit on the front and back panels only, never on the side seams, which keeps the bag balanced when it is carried.
- Handle row: ch 1, sc in each st to the first marker, ch 28 (this chain forms the handle), skip the stitches between the two markers, sc in each st to the next marker, ch 28, skip the stitches between the markers on the back panel, sc in each st around to the start, join with a sl st.
- Next rnd: ch 1, sc in each st and in each chain of both handles around, join with a sl st.
- Next rnd: ch 1, hdc in each st around, including the handle stitches, join with a sl st. Fasten off and weave in the end.
Try the bag on your shoulder before you call it done. If the handles feel too long, shorten them on a future bag by chaining 24 instead of 28; if they dig in, work one more round of single crochet around the handles to thicken them. For a lined bag, cut two rectangles of cotton fabric to the size of the front and back panels, sew them into a simple pouch, and hand stitch the top of the lining to the inside of the top edge.
Variations: Colors, Sizes, and Linings
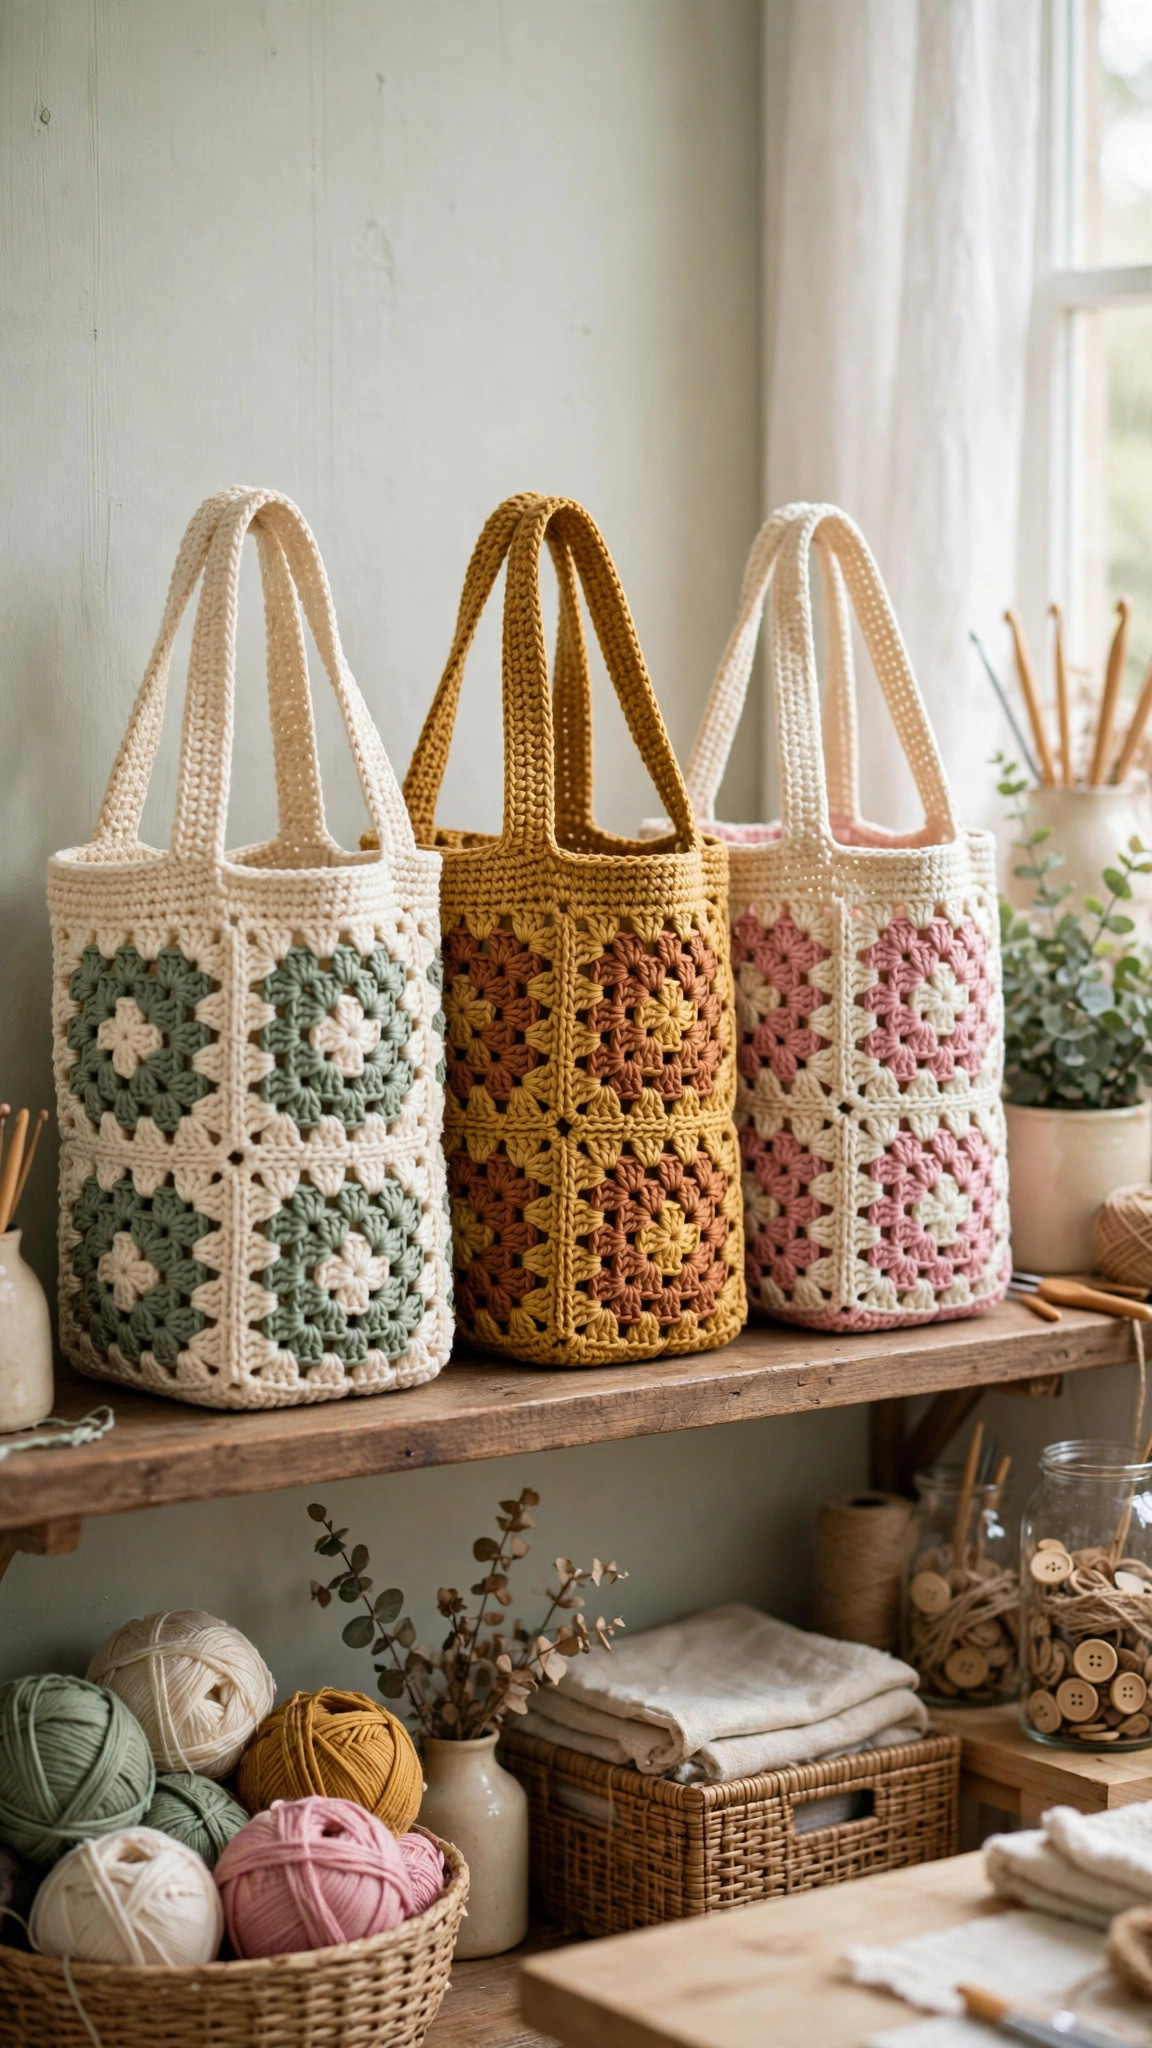
- Rainbow market bag: make every square a different color with a cream final round, so the bag reads as a joyful rainbow with a calm frame.
- Two tone classic: work all 13 squares in cream with a single accent color in round 3, for a calm, shop ready look that goes with everything.
- Sunflower squares: work the center rounds in mustard and brown and the outer rounds in cream, so each square looks like a little sunflower. Our crochet sunflower blanket pattern uses the same cheerful flower idea on a bigger scale.
- Heart squares: swap the center of each square for a heart motif in a contrast color, which turns the tote into a sweet gift bag. The heart granny square crochet pattern shows how the heart motif works.
If you want a plain, quick bag for everyday errands, the free crochet bag patterns collection has simpler shapes in the same style. For a slouchier shoulder bag, the crochet hobo bag pattern free is a lovely next project. And if you are still learning the motif itself, start with our easy granny square pattern and practice a few squares before you commit to a whole bag.
Troubleshooting Bags That Sag or Gape
- My bag stretches out of shape when full. Cotton yarn and a smaller hook are the fix, because acrylic stretches under weight. For a bag you already made, add a lining, which carries the load instead of the stitches.
- The top edge gapes open. Work one more round of single crochet around the rim, and make the handle chains a little shorter next time, because a shorter handle pulls the top edge inward.
- My squares are different sizes. Block every square to the same measurement before joining, and recheck your hook and tension. One square made while tired often comes out tighter, so measure it against a good one.
- The joins show on the outside. You may be joining through both loops instead of the back loops only. Join through the back loops for a flat seam, and keep the seam yarn the same color as the outer round.
- The handles twist. Work the handle rounds without turning the bag, and count the handle stitches on both handles to make sure they match. A twisted handle usually means one handle has an extra stitch.
Care Instructions
Shake the bag out after each use to remove crumbs and lint. If it gets grubby, hand wash it gently in cool water with a tiny amount of mild soap, squeeze it gently without wringing, and lay it flat to dry, reshaping the base and handles while it is damp. Do not machine wash or tumble dry a cotton tote, because the agitation can felt the stitches and shrink the bag. Store it stuffed lightly with tissue paper so it keeps its shape, and keep it out of direct sunlight so the colors stay bright.
Frequently Asked Questions
How many granny squares do I need for a tote bag?
This pattern uses 13 squares: 6 for the front, 6 for the back, and 1 for the base. Each square measures about 4.5 inches across, which gives a finished bag about 14 inches wide, 13 inches tall, and 4 inches deep.
What is the best yarn for a crochet granny square bag?
Cotton is the best choice because it is strong, holds its shape under weight, and does not stretch the way acrylic can. Worsted weight cotton with a 5.0 mm hook gives a firm, sturdy fabric. Acrylic works well for a lighter bag that will not carry heavy items.
Is a granny square bag good for beginners?
Yes, it is one of the best beginner bag projects. The square itself uses only chains and double crochet clusters, and the joining is a simple slip stitch seam. If you can make one square, you can make 13, and the bag is very forgiving of small color and tension differences.
How do I stop things falling through the gaps in a granny square bag?
Add a simple cotton lining. Cut two rectangles to the size of the panels, sew them into a pouch, and hand stitch the top of the lining to the inside of the top edge.
Can I make the bag bigger or smaller?
Yes, just change the size of the squares. Work each square to 4 rounds for a smaller bag about 11 inches wide, or to 6 rounds for a larger market tote about 17 inches wide. The layout of 13 squares never changes, only the size of each square.
How long does a granny square tote take to make?
About 6 to 8 hours in total. The 13 squares take about 3 hours, joining takes about 2 hours, and the top edge and handles take 1 to 2 hours. Because the squares are portable, it is an ideal project to work on a little at a time.
Can I sell bags made from this pattern?
Yes, you may sell finished bags made from this free pattern, with credit to Little Loop Finds. Please do not sell or republish the pattern text itself.
Happy stitching, and may your new tote carry color everywhere it goes.