Waffle Stitch Crochet Pattern (Free Tutorial)
Learn the waffle stitch step by step, then stitch a thick, thirsty washcloth with a raised grid you can feel.

Patterns · Crochet
- Finished size
- 8 in square washcloth
- Making time
- 90 minutes per washcloth
- Hook
- US I-9 (5.5 mm)
- Set
- Foundation, waffle rows, border
- Skill
- Easy
In this post
- Key Takeaways
- Table of Contents
- Why You Will Love the Waffle Stitch
- Finished Size, Skill Level, and Time
- Materials You Need
- Abbreviations (US Terms)
- Gauge and Sizing Notes
- Part 1: The Foundation Row
- Part 2: The Waffle Stitch Rows
- Part 3: The Washcloth Project and Border
- Variations: Colors, Sizes, and Uses
- Troubleshooting Waffles That Lean or Lose Their Grid
- Care Instructions
- Frequently Asked Questions
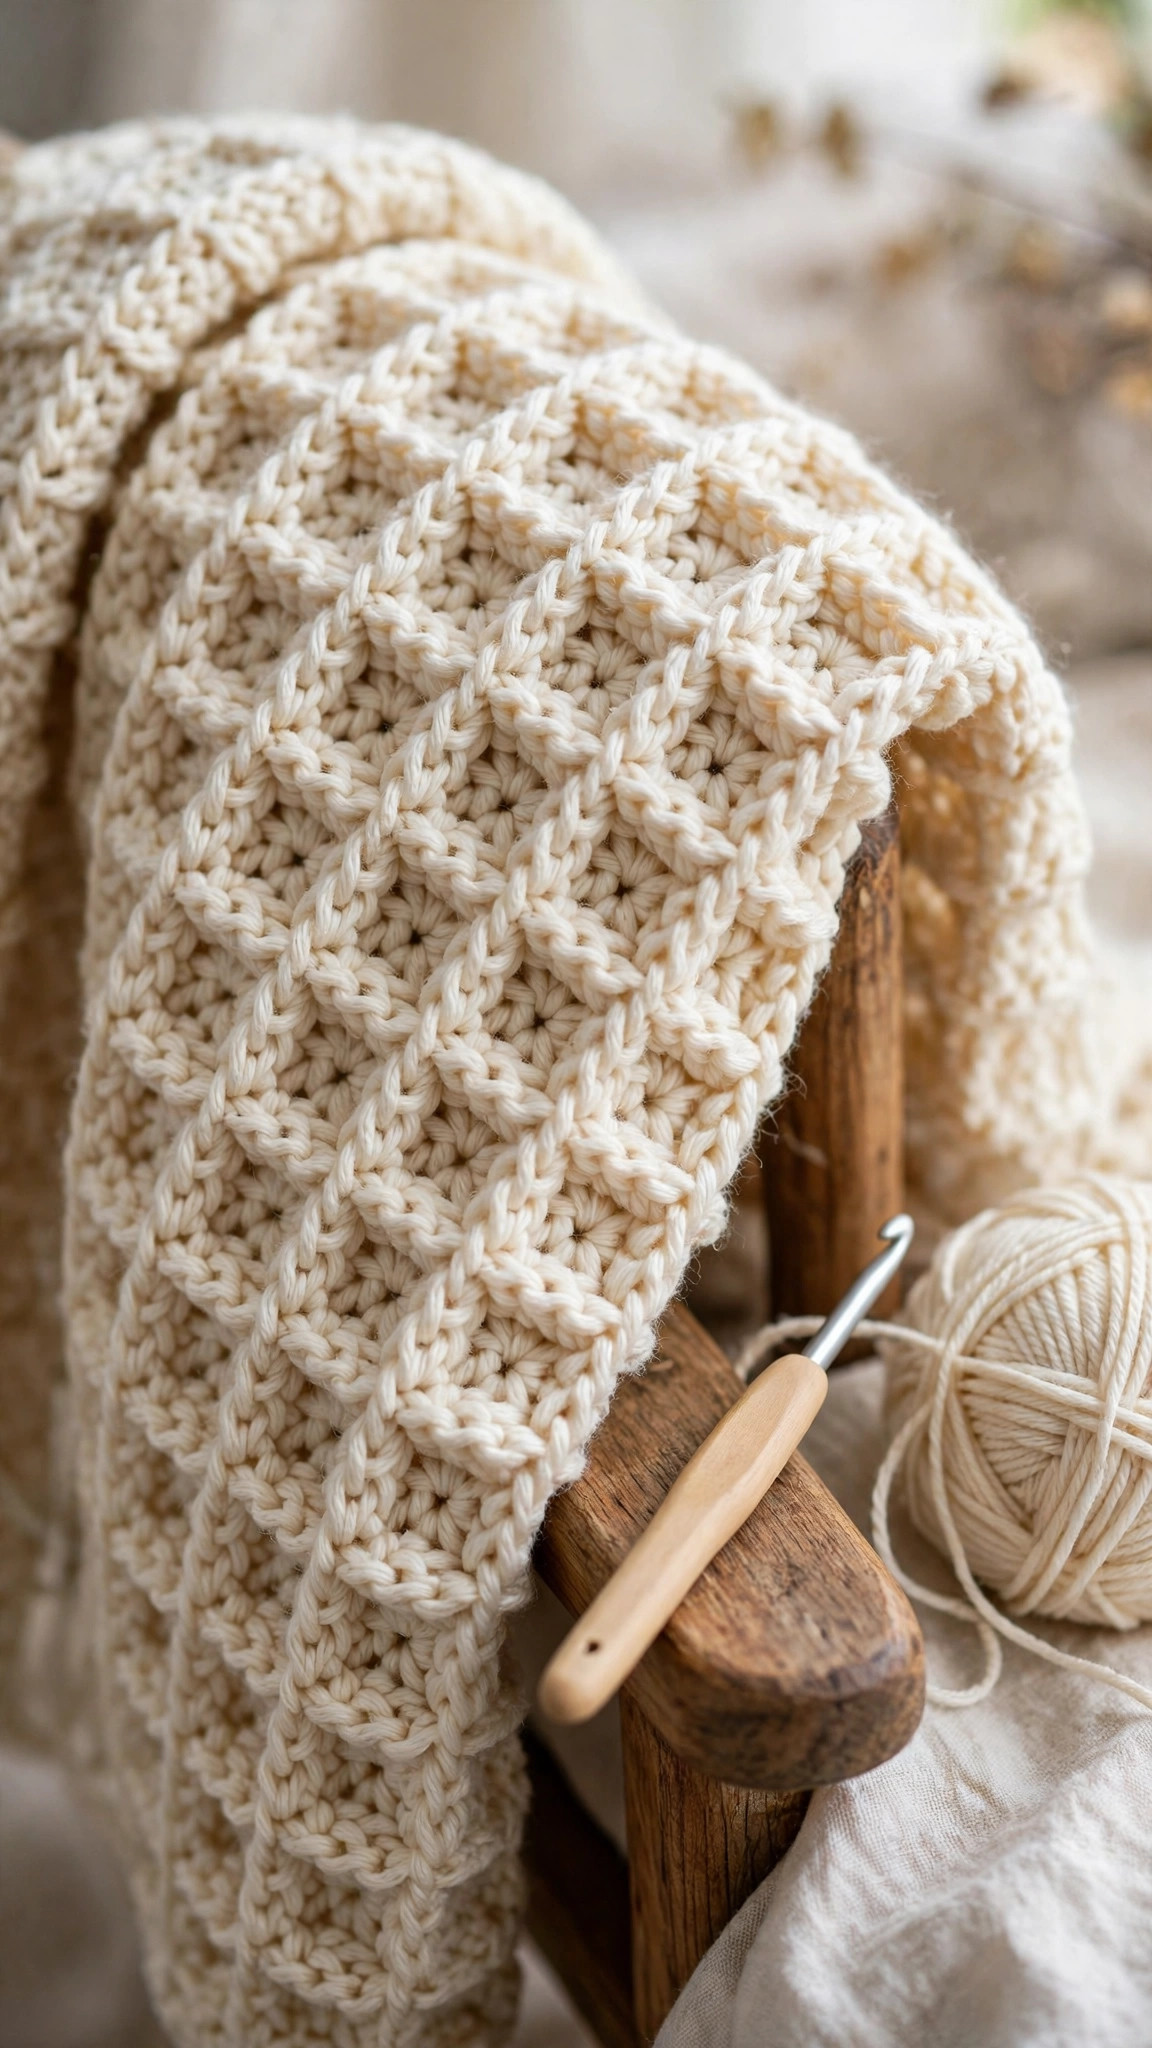
The waffle stitch is one of the most satisfying textures in crochet. Rows of raised front post stitches stack into a grid of little squares that looks exactly like a breakfast waffle, soft on one side and deeply textured on the other. This free waffle stitch crochet pattern teaches you the stitch from scratch, then puts it straight to work in a washcloth project you can finish in one sitting, so you learn the rhythm and end up with something useful at the same time.
This is an original Little Loop Finds tutorial, written in US terms and completely free. The stitch uses only double crochet and front post double crochet, worked in a simple two row repeat, with a stitch count at the end of every row. Once you see how the posts line up, the waffle grid appears on its own. If you can double crochet, you can crochet the waffle stitch.
A quick note on scope: this post is about one specific textured stitch, the waffle stitch, and a washcloth project worked in it. If you want a different textured stripe first, our chevron crochet pattern teaches a zigzag fabric in the same easy double crochet rhythm.
Key Takeaways
- Free original tutorial: this waffle stitch crochet pattern is a Little Loop Finds original, written in US terms, and completely free.
- Two stitches, one grid: double crochet and front post double crochet in a two row repeat that builds the waffle texture by itself.
- Beginner friendly texture: the front post stitch is explained step by step, with a stitch count at the end of every row.
- A project in one sitting: the washcloth takes about 90 minutes, and the same stitch scales up to scarves and blanket squares.
- Thick, thirsty, and cozy: the waffle stitch makes a dense fabric that is perfect for washcloths, potholders, scarves, and baby blankets.
Table of Contents
- Why You Will Love the Waffle Stitch
- Finished Size, Skill Level, and Time
- Materials You Need
- Abbreviations (US Terms)
- Gauge and Sizing Notes
- Part 1: The Foundation Row
- Part 2: The Waffle Stitch Rows
- Part 3: The Washcloth Project and Border
- Variations: Colors, Sizes, and Uses
- Troubleshooting Waffles That Lean or Lose Their Grid
- Care Instructions
- Frequently Asked Questions
Why You Will Love the Waffle Stitch
There is something deeply satisfying about watching a waffle grid appear under your hook. The first row looks like plain double crochet, the second row pops the posts forward, and by the fourth row the little squares are unmistakable, rising and falling in a neat grid that feels wonderful in your hands. It is the kind of stitch you learn once and then reach for again and again, because it turns the simplest yarn into something that looks far more complicated than it is.
The waffle stitch is also one of the most useful textures you can learn. The raised grid traps air, which makes it warm, and the dense fabric soaks up water, which makes it perfect for washcloths and dishcloths. The same stitch that makes a soft baby blanket also makes a sturdy potholder. Learn it once, and you have a stitch for every room in the house.
If you are new to textured stitches, the waffle stitch is a lovely first front post stitch to learn. It teaches you to work around the post of a stitch instead of into the top of it, a skill that opens the door to cables, basketweave, and dozens of other raised textures.
Finished Size, Skill Level, and Time
- Finished size: the washcloth is about 8 inches square after the border, in worsted weight cotton yarn. The pattern also gives notes for a 12 inch blanket square and a scarf.
- Skill level: Easy. You need chains, double crochet, and front post double crochet. The front post stitch is just a double crochet worked around the post, and the pattern explains it step by step.
- Time: about 90 minutes for one washcloth: roughly 10 minutes for the foundation row, about 60 minutes for the waffle rows, and 20 minutes for the border and weaving in ends. A scarf takes about 4 hours, and a 12 inch blanket square takes about 2 hours.
Materials You Need
| Item | What to get |
|---|---|
| Yarn | Worsted weight (size 4) cotton yarn in sage green, about 90 yards for one washcloth |
| Hook | US I-9 (5.5 mm), or the size that gives you a firm fabric with a clear waffle grid |
| Notions | Tapestry needle, scissors, stitch markers |
Worsted weight cotton yarn is the best choice for a waffle stitch washcloth because it is absorbent, it holds the raised grid, and it survives the washing machine. Acrylic yarn works too, and it makes a softer, lighter fabric that suits scarves and baby blankets better than washcloths. Choose smooth yarns in solid colors, because busy multicolor yarn hides the waffle grid.
For a set of four washcloths, you need about 360 yards of cotton yarn, which is usually two balls, so plan your set colors before you start.
Abbreviations (US Terms)
- ch = chain
- sl st = slip stitch
- sc = single crochet
- dc = double crochet
- fpdc = front post double crochet
- st(s) = stitch(es)
- rep = repeat
- sk = skip
- RS = right side
- WS = wrong side
Gauge and Sizing Notes
Gauge for the waffle stitch is about keeping the grid square and the fabric firm, not about hitting an exact number. Work the first 6 rows and measure the width. With worsted weight cotton and a 5.5 mm hook, 31 stitches should measure about 8 inches across, and 22 rows should measure about 8 inches tall. If your washcloth is wider than 8 inches, go down a hook size. If it is narrower, go up a hook size.
The waffle stitch uses a multiple of 3 stitches plus 1, so you can resize any project by changing the foundation chain in steps of 3. For a 12 inch blanket square, chain 46 instead of 34, which gives 43 double crochets. For a scarf, chain 22, which gives 19 double crochets, then work the waffle rows until the scarf is as long as you like.
Part 1: The Foundation Row
Every waffle stitch project starts with a plain row of double crochet, and this row matters more than it looks. The front post stitches of the next row wrap around these double crochets, so the foundation row needs to be even, with a straight edge and no twisted chain.
Foundation Row
Ch 34.
- Row 1 (RS): dc in the 4th ch from the hook and in each ch across. Turn. (31 dc)
The chain 3 at the start counts as your first double crochet, so you should have 31 double crochets in total when you finish the row. Lay the row flat and check the edge: it should be straight, with no curling and no missed chains. If the row curls, your chain is too tight, so chain the next washcloth with a hook one size larger.
Count the stitches now, before the texture starts, because a wrong count in the foundation row throws off every waffle row that follows. The number 31 is a multiple of 3 plus 1, which is what the waffle repeat needs.
Part 2: The Waffle Stitch Rows
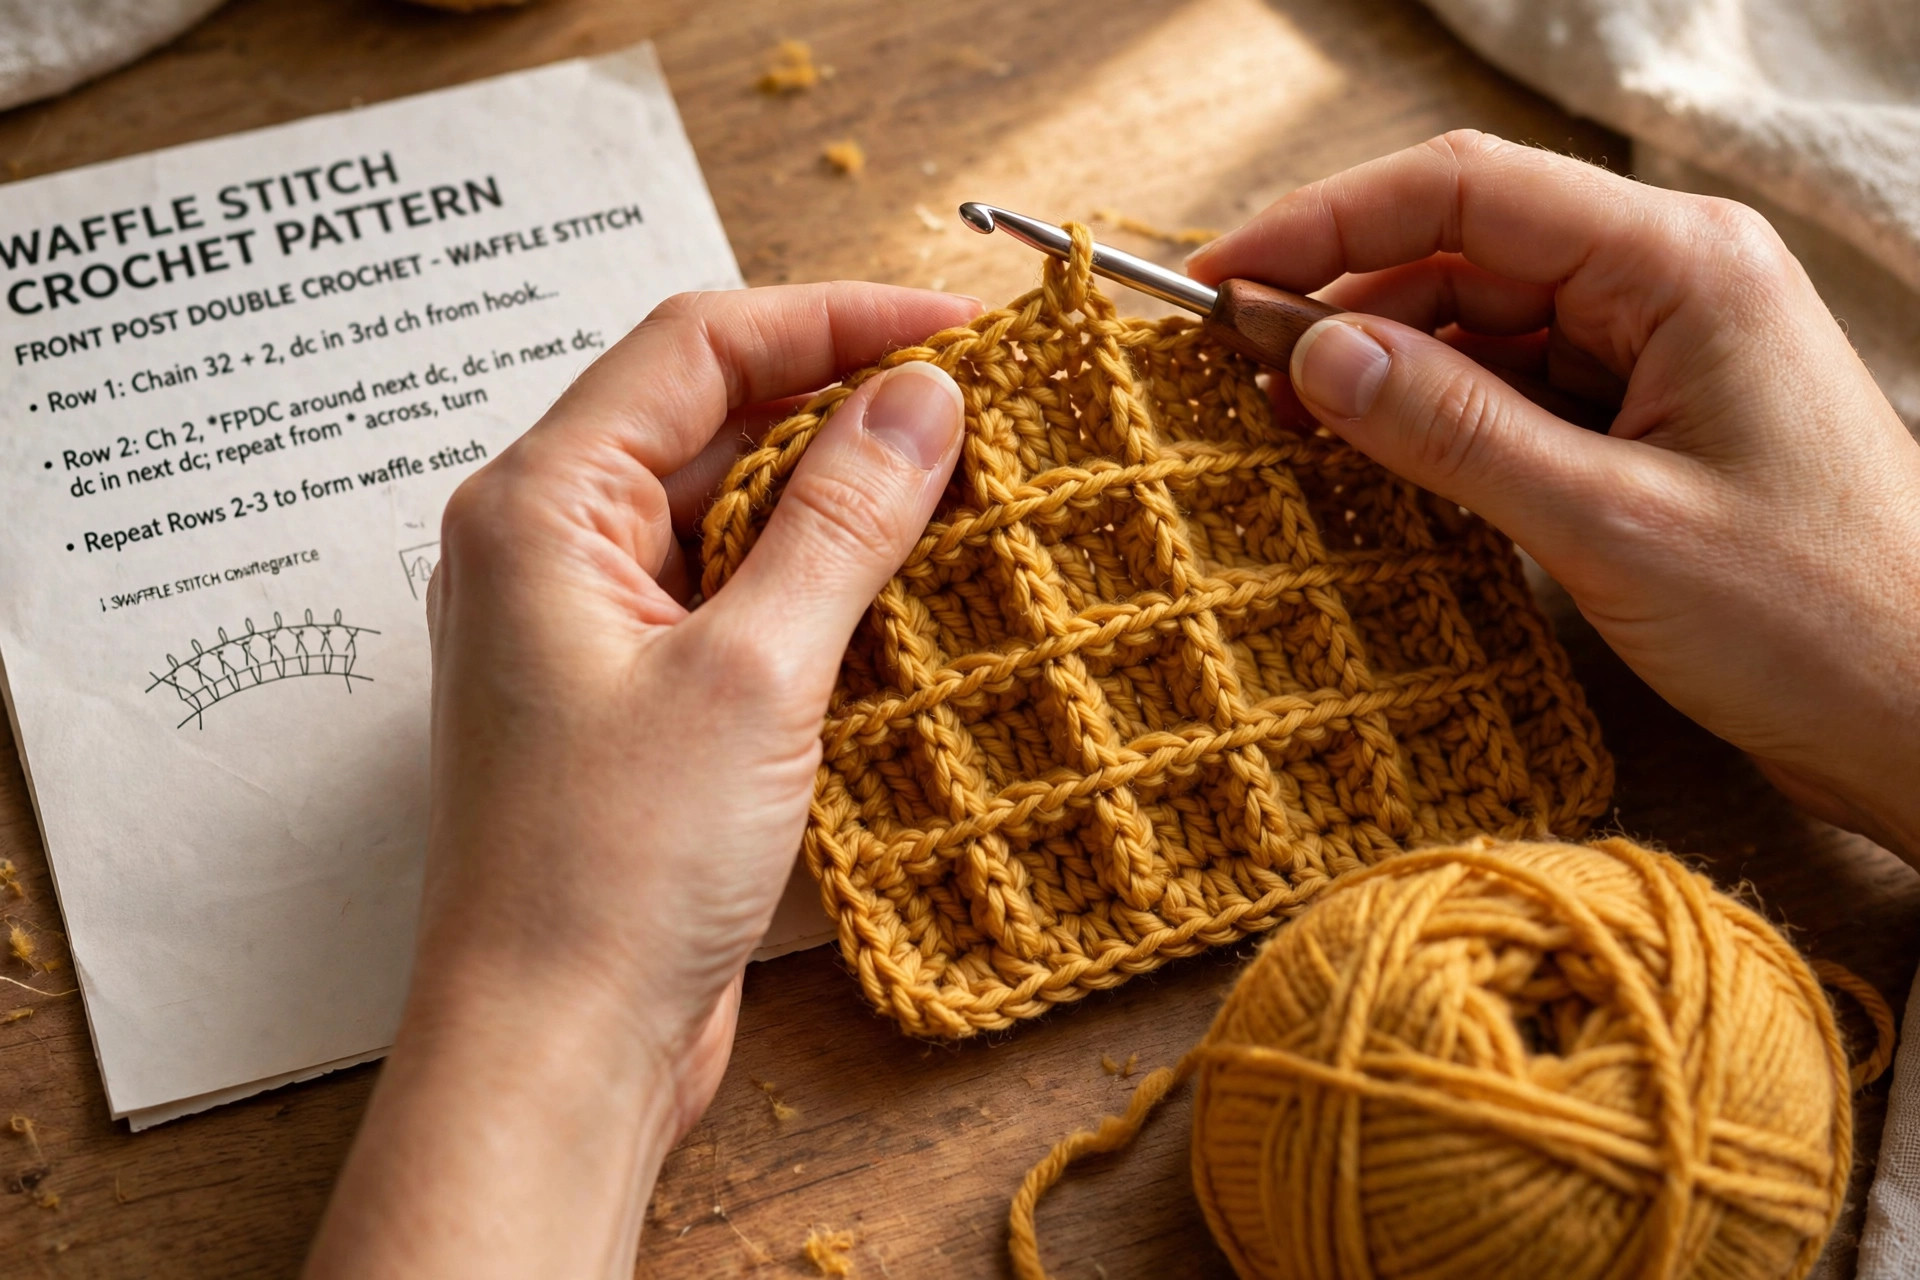
This is where the waffle appears. The stitch works in a two row repeat: one row places the front posts in one set of columns, and the next row shifts them by one stitch, so the raised squares checkerboard across the fabric. Work both rows slowly the first time, and say the rhythm out loud if it helps: post, post, plain, post, post, plain.
How to Work a Front Post Double Crochet
A front post double crochet is a double crochet worked around the post of the stitch below, instead of into the top of it. Yarn over, insert your hook from front to back to front around the post of the stitch in the row below, yarn over and pull up a loop, then finish the double crochet as normal. The stitch should pop forward from the fabric.
If your front post stitch feels tight, pull the first loop up a little taller than usual, so the stitch has room to wrap around the post. After a few repeats, the motion becomes automatic, and your hands will find the posts without looking.
Waffle Rows
- Row 2 (WS): ch 3 (counts as dc), (fpdc in next 2 sts, dc in next st) rep 10 times. Turn. (31 sts)
- Row 3 (RS): ch 3 (counts as dc), (dc in next st, fpdc in next 2 sts) rep 10 times. Turn. (31 sts)
Read the rows carefully, because they look similar and the difference is only the order: Row 2 starts with two front posts and then a plain stitch, while Row 3 starts with a plain stitch and then two front posts. That one stitch shift is what makes the raised squares alternate, so the grid looks like a waffle instead of straight ribs. If your fabric looks like ribs, you repeated the same row twice.
Repeat Rows 2 and 3 until you have 22 rows in total, ending with a Row 3. Your washcloth should now measure about 8 inches tall, with a clear waffle grid on both sides. The washcloth is fully reversible, with no wrong side to hide.
Part 3: The Washcloth Project and Border
The border is what turns a piece of waffle fabric into a finished washcloth. A single crochet border evens out the side edges, firms up the corners, and gives the washcloth a tidy edge that survives the washing machine. Work it in the same color, or in a contrast color for a bright frame around the grid.
Border
Do not fasten off after Row 22. Turn the work so the right side faces you.
- Border Rnd: ch 1, sc evenly around all four sides of the washcloth, working 1 sc in each row end along the sides and 1 sc in each stitch along the top and bottom, and 3 sc in each corner. Join with a sl st to the first sc. Fasten off and weave in all ends.
Count the side stitches as you go: there should be about 22 single crochets down each side, one for each row, plus 3 in each corner. If a side ripples, you worked too many stitches along it, so skip every sixth row end. If a side pulls in, you worked too few, so add an extra single crochet in a few row ends.
Weave in the starting tail and the finishing tail with a tapestry needle, working the yarn back through the stitches on the wrong side for about an inch, then trim the excess. Your washcloth is finished: thick, thirsty, and covered in a perfect waffle grid.
Blocking
To block the washcloth, soak it in cool water for a few minutes, gently squeeze out the water without wringing, and lay it flat on a clean towel. Pat it into a square, and leave it to dry completely. Blocking is quick, and it is what turns a slightly wavy washcloth into a crisp, even square.
Variations: Colors, Sizes, and Uses
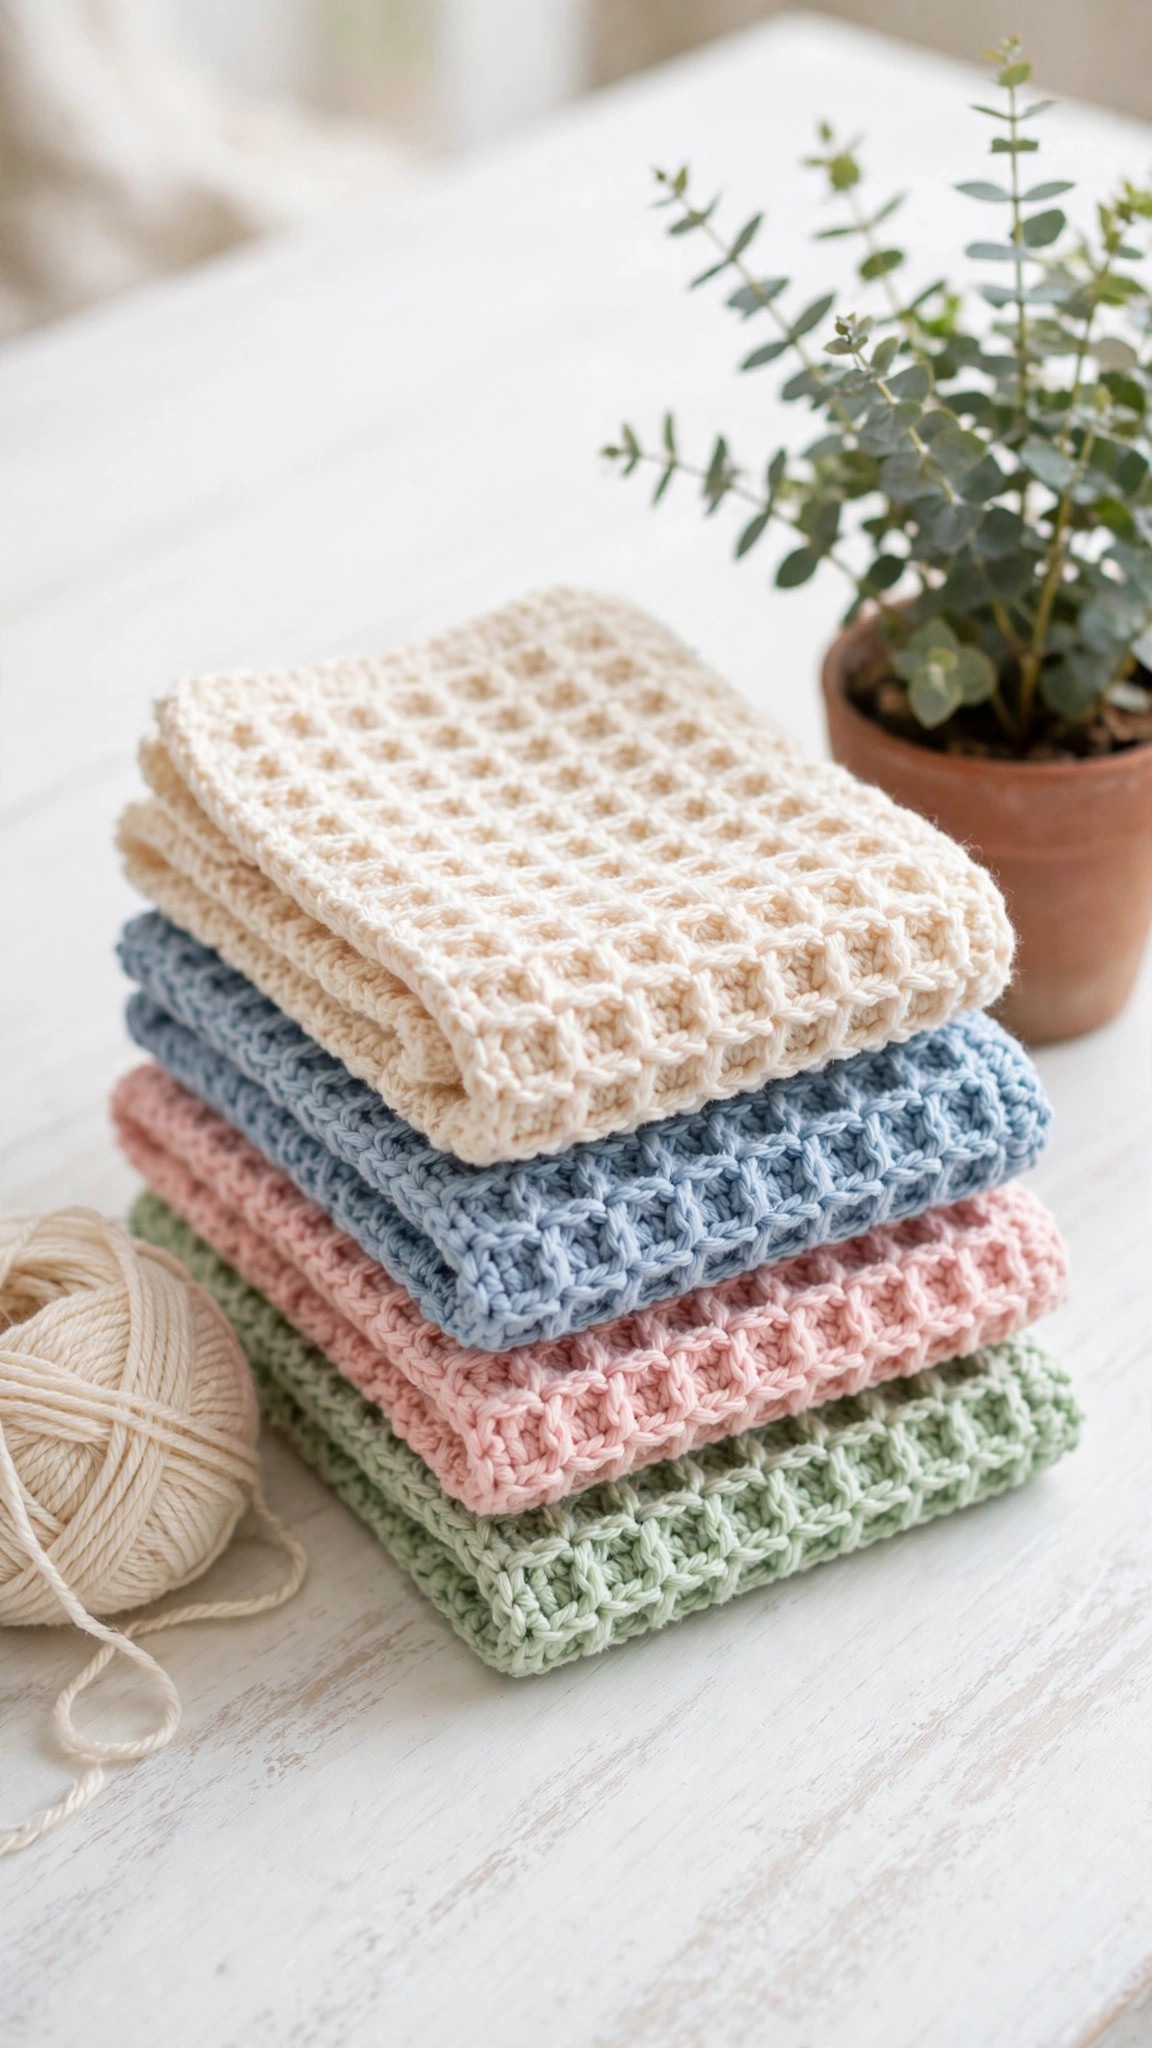
- Classic cotton set: make four washcloths in sage, blush, cream, and soft blue, with a matching border on each. Our crochet dishcloths free patterns add more cloths to the same kitchen drawer.
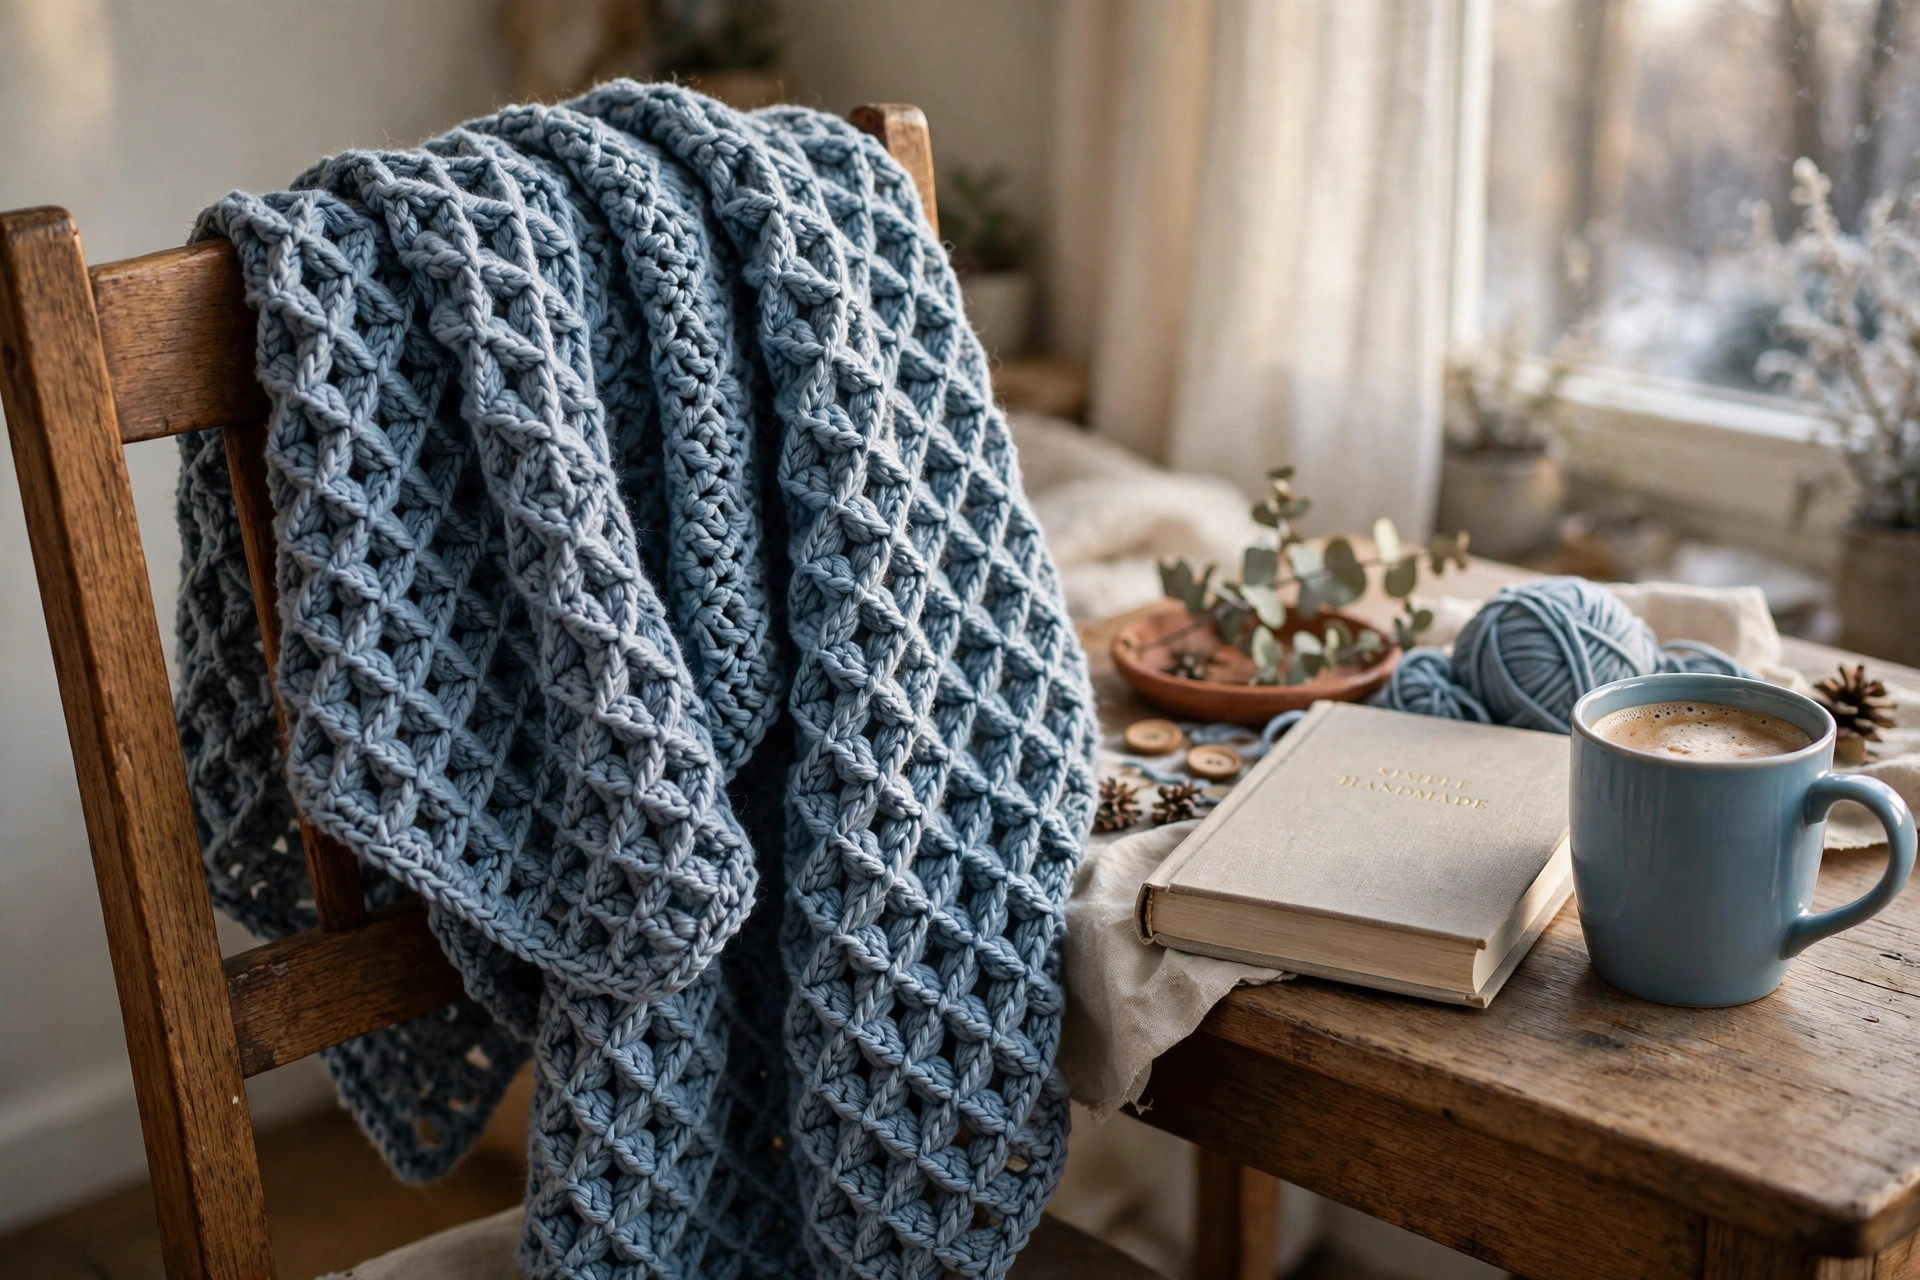
- Waffle stitch scarf: chain 22 for a narrow scarf, work the waffle rows until it is about 60 inches long, and add tassels at both ends. Our crochet scarf patterns for beginners show how to finish a scarf edge neatly.
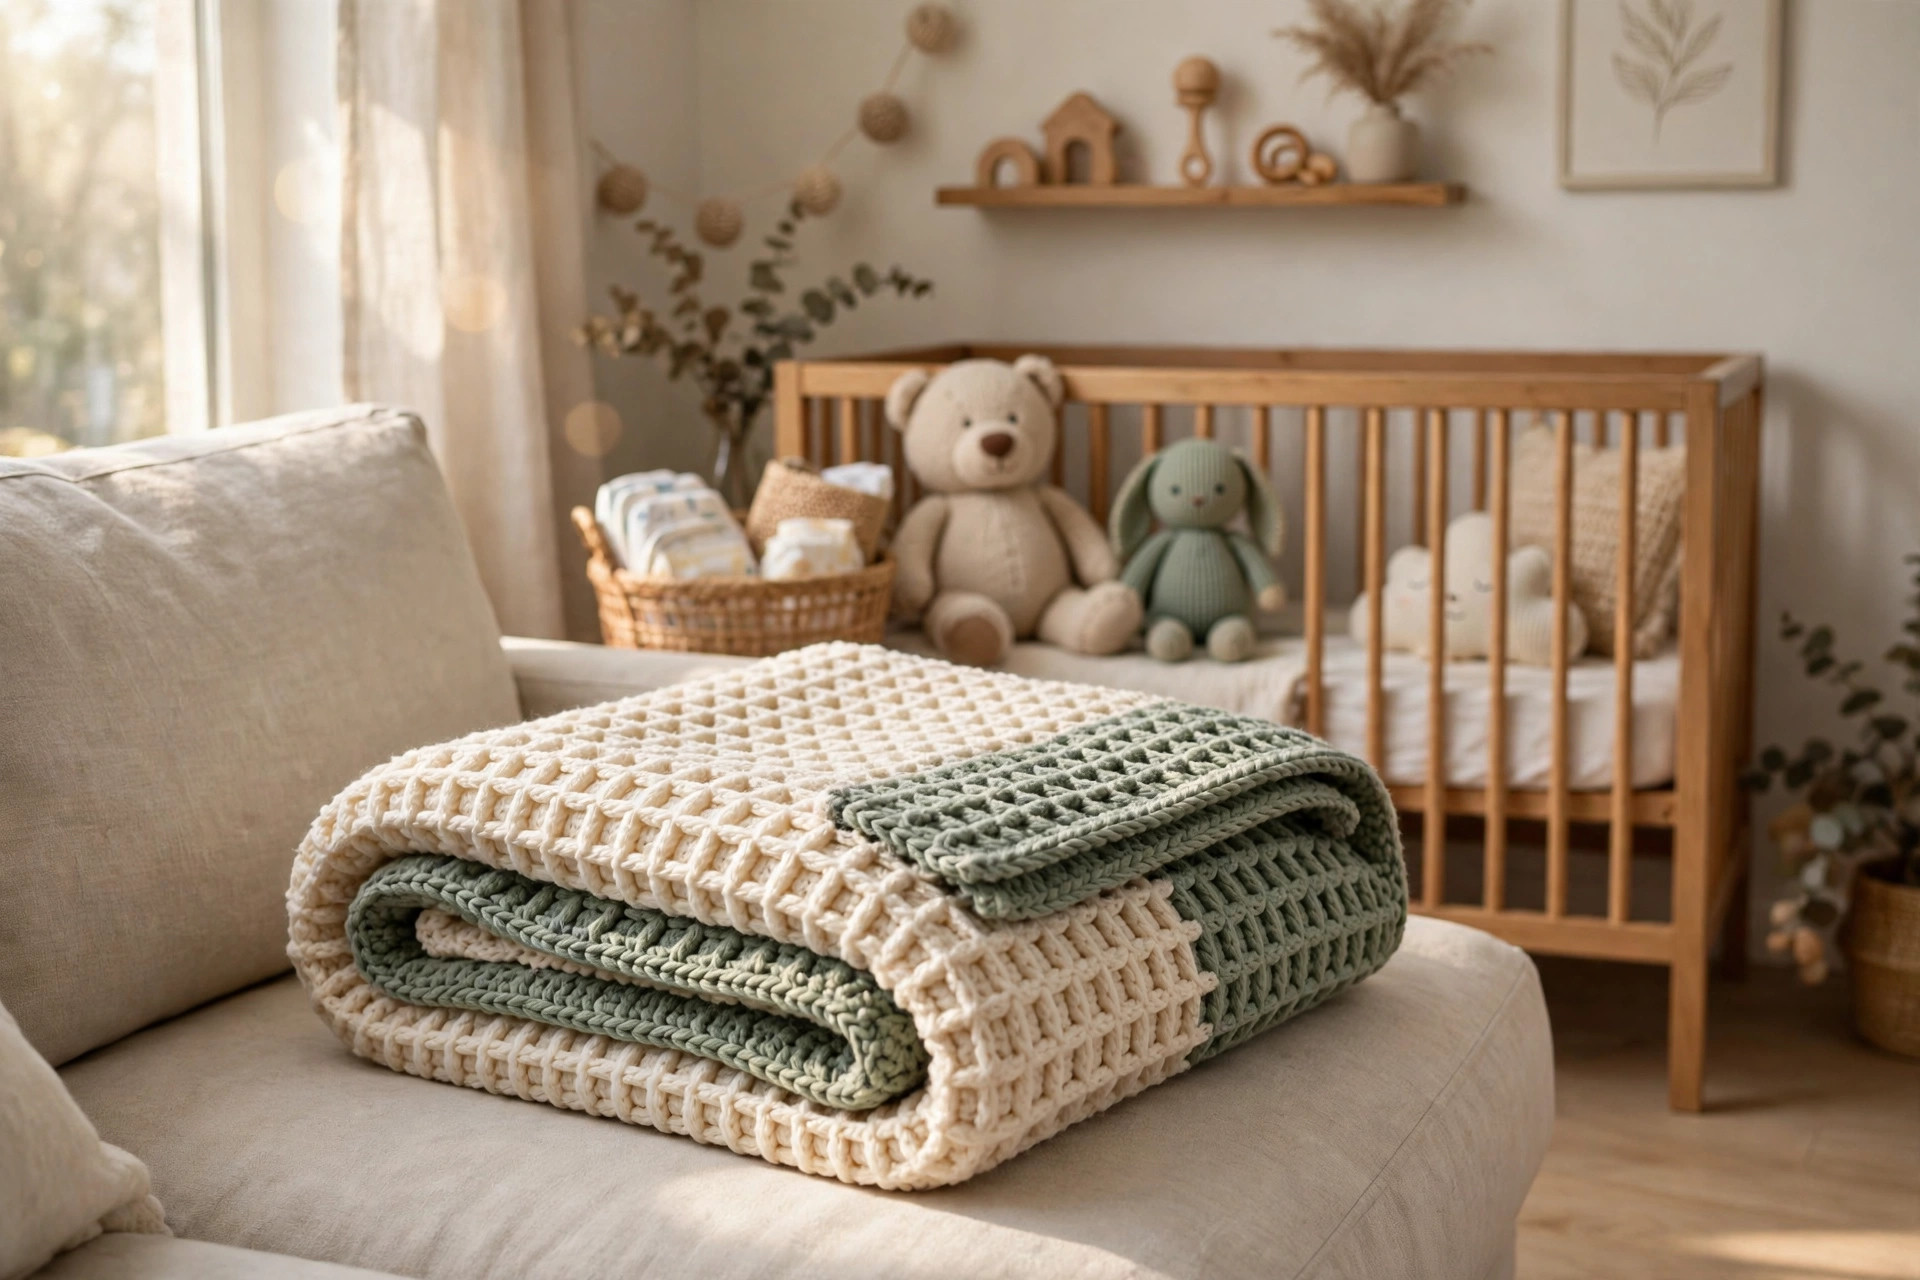
- Waffle stitch blanket: make twelve 12 inch squares in three colors, chain 46 for each square, and join them into a baby blanket about 36 inches square. Our easy crochet patterns for blankets give the joining steps.
- Waffle stitch potholder: work the washcloth in two layers, or fold one washcloth in half and stitch the sides closed, for a thick potholder. Our crochet potholders free patterns show the double layer method.
- Two color waffle: change colors every two rows, so the raised squares alternate colors and the grid pops even more. Carry the unused color loosely up the side.
- Waffle stitch baby blanket: use soft acrylic yarn in a pastel color, work squares in the 12 inch size, and join them with a slip stitch join. The corner to corner crochet patterns make a matching textured square.
If you enjoyed the front post stitch, try another textured stitch next, in the same yarn.
Troubleshooting Waffles That Lean or Lose Their Grid
- My fabric looks like ribs, not waffles. You repeated the same waffle row twice. Row 2 starts with two front posts, and Row 3 starts with a plain stitch, so check which row you are on and alternate them.
- My waffle squares lean to one side. Your front post stitches are pulling the fabric. Keep your tension even on the front posts, and pull the first loop up a little taller.
- My edges slant inward. You lost a stitch at the end of a row. The chain 3 at the start counts as a stitch, and the last stitch goes into the top of the chain 3 below, so count your stitches at the end of every row.
- My grid disappears after a few rows. You worked the front posts around the wrong stitches. In Row 2, the front posts go around the double crochets of Row 1. In Row 3, they go around the stitches that were plain double crochets in Row 2.
- My washcloth is wider at the top than the bottom. Your tension loosened as you worked. Check the width at row 6 and again at row 12, and keep the posts snug all the way up.
- My border ripples. There are too many stitches along the sides. Work one single crochet per row end, and skip every sixth row end if the side still ripples.
Care Instructions
Machine wash waffle stitch washcloths in warm water with like colors, and tumble dry on low heat or lay them flat to dry. Cotton washcloths get softer and more absorbent with every wash, and the waffle grid holds its shape through years of laundry. Do not use fabric softener on cotton washcloths, because it coats the fibers and makes them less absorbent. If a washcloth is made in acrylic yarn, wash it on a gentle cycle and lay it flat to dry.
Frequently Asked Questions
Is the waffle stitch good for beginners?
Yes, it is a great first textured stitch. You need to know chains and double crochet, and the front post stitch is explained step by step. Every row ends with a stitch count, and one washcloth takes about 90 minutes.
What yarn is best for the waffle stitch?
Worsted weight cotton yarn is the best choice for washcloths and dishcloths, because it is absorbent and holds the grid. Acrylic yarn works too, and it makes a softer, lighter fabric that suits scarves and baby blankets. Avoid fuzzy yarns, because they hide the waffle grid.
How many stitches do I need for the waffle stitch?
The waffle stitch uses a multiple of 3 stitches plus 1. The washcloth uses 31 stitches, a 12 inch blanket square uses 43 stitches, and a narrow scarf uses 19 stitches. Change the foundation chain in steps of 3 to resize any project, and keep the plus 1 so the repeat lines up.
Why does my waffle stitch look like ribs instead of squares?
Ribs mean you repeated the same waffle row twice instead of alternating Rows 2 and 3. Row 2 starts with two front posts and then a plain stitch, while Row 3 starts with a plain stitch and then two front posts.
Can I use the waffle stitch for a blanket?
Yes, it makes a wonderful blanket. Work 12 inch squares with a foundation chain of 46, join them with a slip stitch join, and add a single crochet border around the whole blanket.
How do I keep my waffle stitch edges straight?
Count your stitches at the end of every row, and always work the last stitch into the top of the turning chain 3 below. The chain 3 counts as a stitch, so a row that ends with 30 stitches instead of 31 has lost the turning chain.
Can I sell items made from this pattern?
Yes, you may sell finished washcloths, scarves, and blankets made from this free pattern, with credit to Little Loop Finds. Please do not sell or republish the pattern text itself.
Happy stitching, and may your waffles stay square, soft, and wonderfully textured.