Crochet Wedding Dress Pattern (Free)
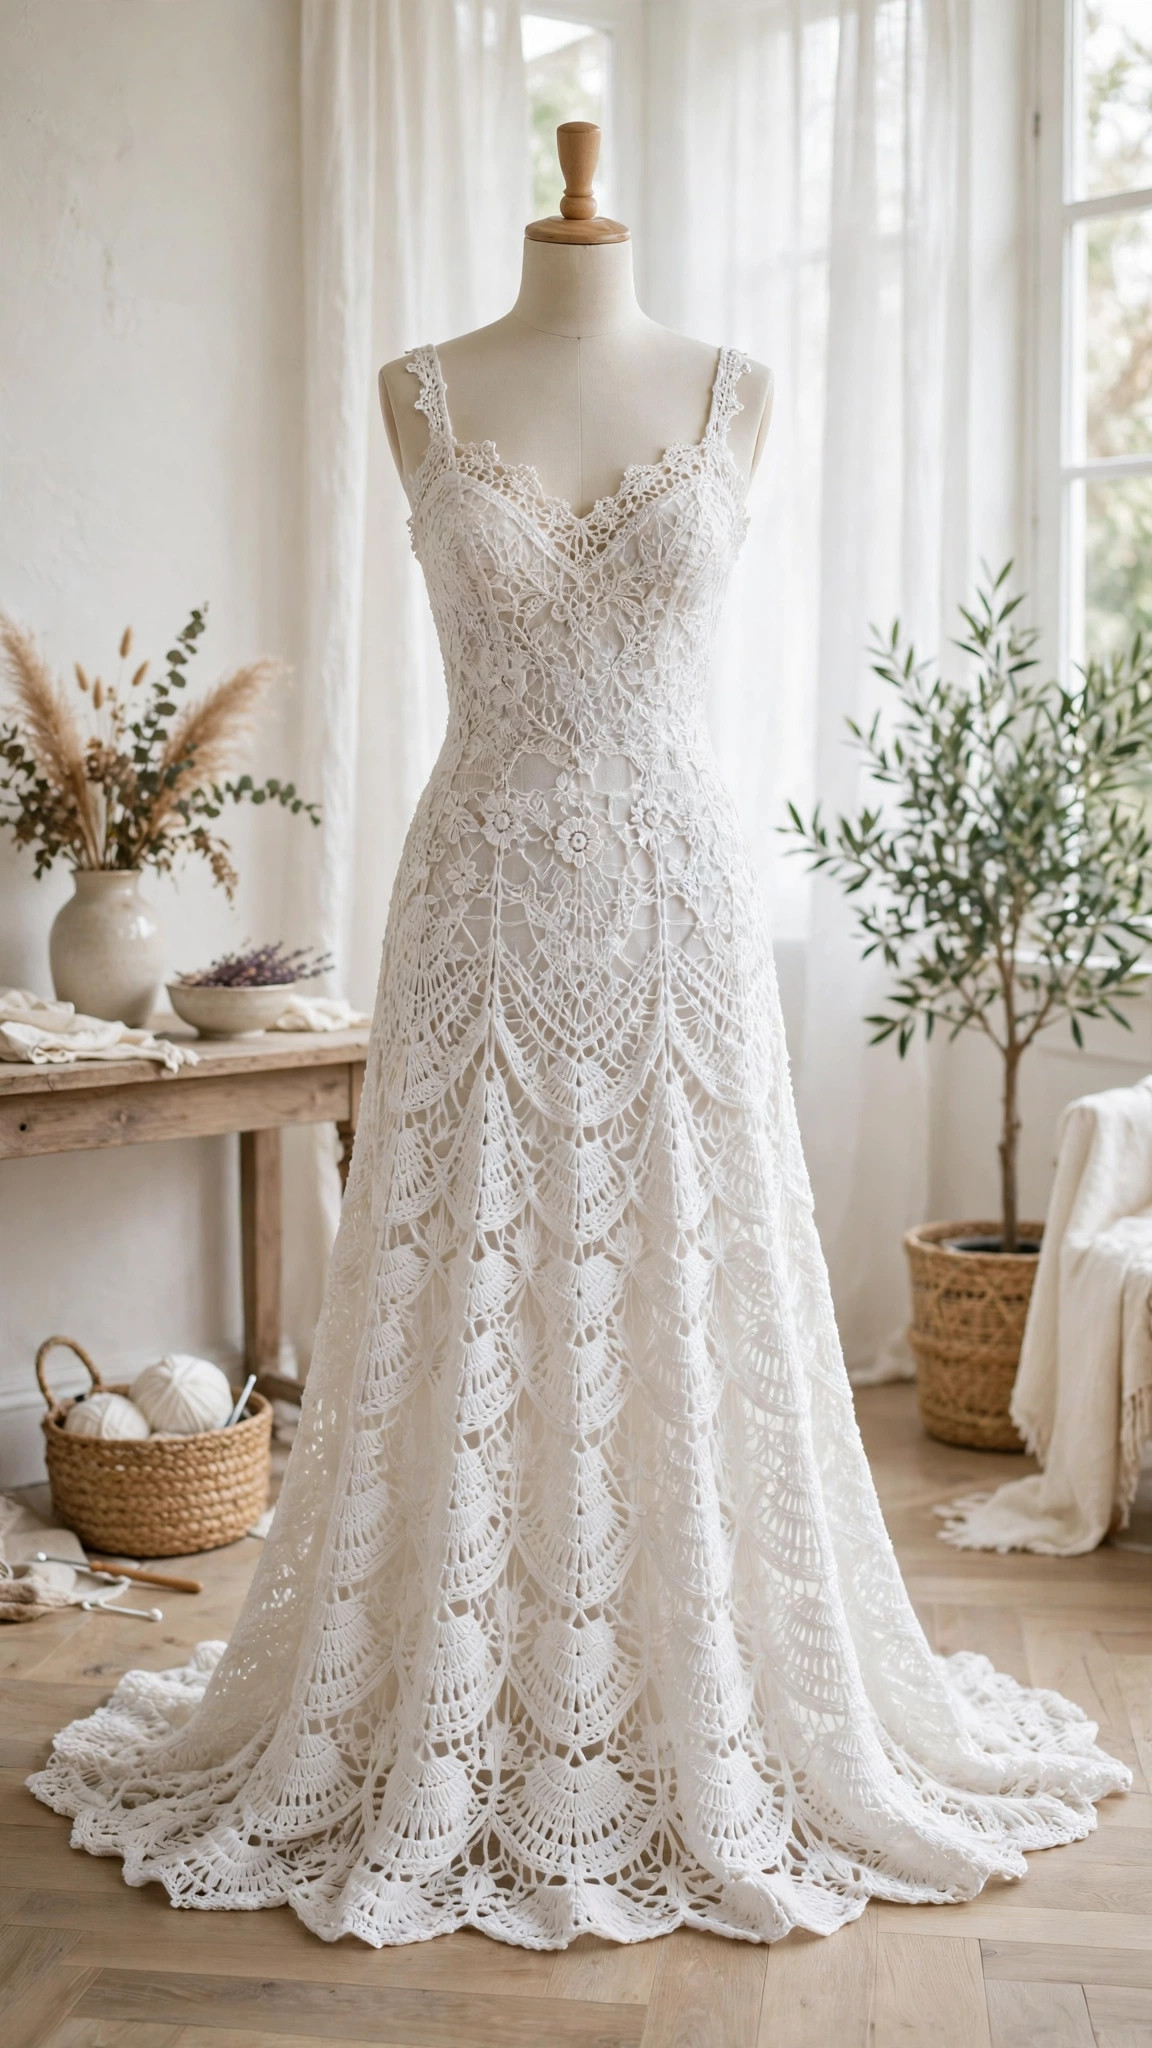
Crochet a wedding dress with a fitted bodice and a flowing lace skirt, made to measure from your own numbers.

Patterns · Crochet
- Finished size
- Made to measure, 55 in skirt
- Making time
- 120 to 150 hours
- Hook
- US D-3 (3.25 mm)
- Set
- Bodice, skirt, scalloped edge
- Skill
- Advanced
In this post
- Key Takeaways
- Table of Contents
- Why You Will Love This Crochet Wedding Dress
- Finished Size, Skill Level, and Time
- Materials You Need
- Abbreviations (US Terms)
- Gauge and Sizing Notes
- Part 1: Taking Your Measurements
- Part 2: The Bodice
- Part 3: The Skirt and Scalloped Edge
- Variations: Sleeves, Necklines, and Lengths
- Troubleshooting a Dress That Does Not Fit
- Care Instructions
- Frequently Asked Questions
A crochet wedding dress is the most romantic project a crocheter can take on. Lace stitches, an openwork bodice, and a skirt that moves like water, all made by your own hands for the most important day of your life. This free crochet wedding dress pattern shows you how to make an adult wedding dress in a top down construction, with made to measure notes so it fits your body, not a standard size chart.
This is an original Little Loop Finds design, written in US terms and completely free. The dress uses a fitted bodice in double crochet and shell stitch, a flowing skirt in a simple lace repeat, and a scalloped edge that needs no separate trim. It is an advanced project, and it takes time, but every row is a simple repeat.
A quick note on scope: this post is about one specific adult wedding dress, a top down A line gown with a fitted bodice and a lace skirt. It is not a costume or a doll dress, and it is not a quick weekend project. If you want a smaller lace garment first, our crochet baby dress pattern teaches the same top down shaping on a tiny scale.
Key Takeaways
- Free original pattern: this crochet wedding dress pattern is a Little Loop Finds original design, written in US terms, and completely free.
- Made to measure: the pattern is built from your own bust, waist, hip, and length measurements, so the dress fits your body, not a size chart.
- Top down construction: start at the neckline, shape the bodice with increases, then work the skirt in one flowing piece, with no seams to sew.
- Advanced but repeatable: the lace is a simple two row shell repeat, and every section is worked the same way, round after round.
- A dress to keep: a handmade wedding dress becomes a family keepsake, and the pattern includes care notes so it stays beautiful for years.
Table of Contents
- Why You Will Love This Crochet Wedding Dress
- Finished Size, Skill Level, and Time
- Materials You Need
- Abbreviations (US Terms)
- Gauge and Sizing Notes
- Part 1: Taking Your Measurements
- Part 2: The Bodice
- Part 3: The Skirt and Scalloped Edge
- Variations: Sleeves, Necklines, and Lengths
- Troubleshooting a Dress That Does Not Fit
- Care Instructions
- Frequently Asked Questions
Why You Will Love This Crochet Wedding Dress
There is nothing quite like walking down the aisle in a dress you made yourself. Every stitch carries the months of evenings you spent on it, and the finished dress is yours in a way no shop bought gown can ever be.
A crochet wedding dress is also wonderfully personal. You choose the yarn, the neckline, the sleeve length, and the skirt fullness, so the dress matches your style instead of forcing you into a sample size. The pattern gives you the bones, and you choose the details.
Finished Size, Skill Level, and Time
- Finished size: made to measure. The pattern is written for a bust of 34 inches with instructions to scale it up or down, and a skirt length of 55 inches from the waist.
- Skill level: Advanced. You need chains, slip stitches, single crochet, double crochet, shell stitches, and confident measuring. The stitches are simple, but the fitting and the size of the project make it advanced.
- Time: about 120 to 150 hours over 3 to 4 months of steady work. The bodice takes about 20 hours, the skirt about 90 hours. Start at least 6 months before the wedding, so fittings never feel rushed.
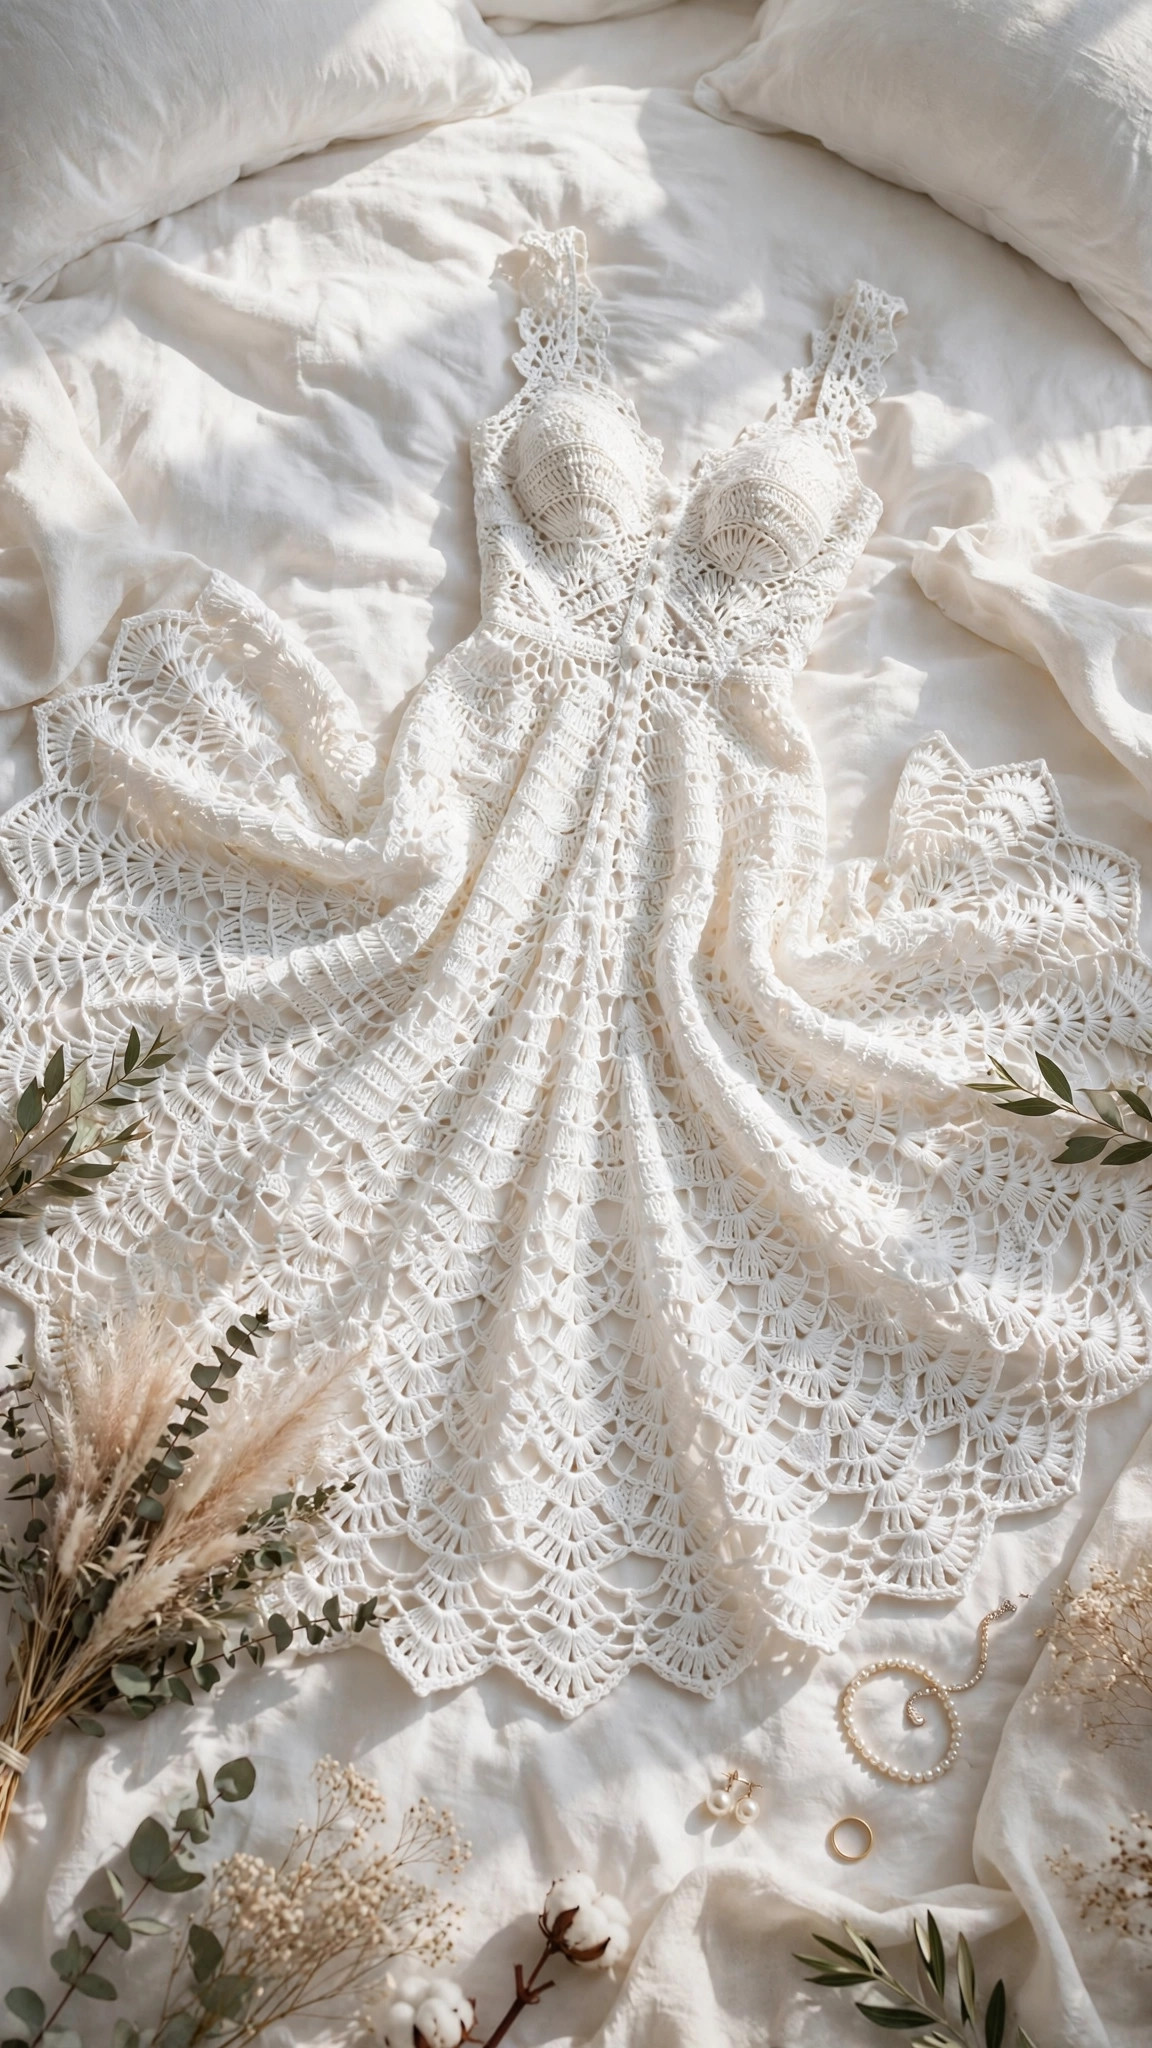
Materials You Need
| Item | What to get |
|---|---|
| Yarn | Fingering weight (size 1) cotton or cotton blend yarn in white or ivory, about 2,500 yards for a size medium dress |
| Hook | US D-3 (3.25 mm), or the size that gives you the pattern gauge |
| Lining | A white slip dress or lining fabric, cut to your measurements, to wear under the lace |
| Notions | Tapestry needle, scissors, stitch markers, measuring tape, dress form or a willing helper for fittings |
Fingering weight cotton is the best choice for a wedding dress because it drapes beautifully, shows crisp lace definition, and feels cool on a long day. A cotton blend with a little silk or bamboo adds softness and a gentle sheen. Avoid acrylic, because it does not drape as well. Buy all of your yarn at once, from the same dye lot, so the color matches from the bodice to the hem. You will also need a lining, because crochet lace is openwork, and a white slip dress underneath keeps the dress modest and comfortable.
Abbreviations (US Terms)
- ch = chain
- sl st = slip stitch
- sc = single crochet
- dc = double crochet
- tr = treble crochet
- shell = 5 dc in the same stitch or space
- st(s) = stitch(es)
- rnd(s) = round(s)
- rep = repeat
- sk = skip
- sp = space
- inc = increase, 2 dc in the same stitch
Gauge and Sizing Notes
Gauge for a wedding dress matters more than for any other project, because a dress that is one stitch too wide at the bust is a dress that does not fit. Work a gauge swatch in double crochet and measure it after blocking. The pattern gauge is 20 dc and 10 rows to 4 inches, using a 3.25 mm hook and fingering weight cotton. If your swatch is wider than 4 inches, go down a hook size. If it is narrower, go up a hook size.
Sizing for this dress starts with your own measurements, not a size chart. Take your bust, waist, hip, shoulder to waist, waist to hem, and armhole depth, wearing the undergarments and shoes you will wear on the day. Write each number down, and use the formulas in Part 1 to turn them into stitch counts.
Part 1: Taking Your Measurements
Before you crochet a single stitch, take your measurements carefully, with a soft measuring tape, standing straight and breathing normally. Measure over the undergarments you will wear on the day, and have a friend help you, because measuring your own back is never accurate.
Your Measurement List
- Bust: around the fullest part of the bust, keeping the tape level. Write this down as B.
- Waist: around the narrowest part of your waist. Write this down as W.
- Hip: around the fullest part of the hip, keeping the tape level. Write this down as H.
- Shoulder to waist: from the top of your shoulder, over the bust, down to your waist. Write this down as S.
- Waist to hem: from your waist down to where you want the hem to fall. Write this down as L.
- Armhole depth: from the top of your shoulder down to your underarm. Write this down as A.
Turning Measurements Into Stitches
The bodice is worked in double crochet at 5 stitches per inch. Multiply your bust by 5 to get the bust round count. For a 34 inch bust, that is 170 stitches. Multiply your waist by 5 to get the waist count. For a 28 inch waist, that is 140 stitches. The difference is the number of stitches you decrease between the bust and the waist, spread evenly over the bodice rows.
The neckline starts with a chain that fits loosely around your neck and shoulders. For most brides, a starting chain of 90 stitches, joined into a round, gives a comfortable scoop neckline. The bodice is then increased in four raglan lines, two at the front and two at the back, until the stitch count matches your bust count. Count your stitches at the end of every increase round, and try the bodice on often.
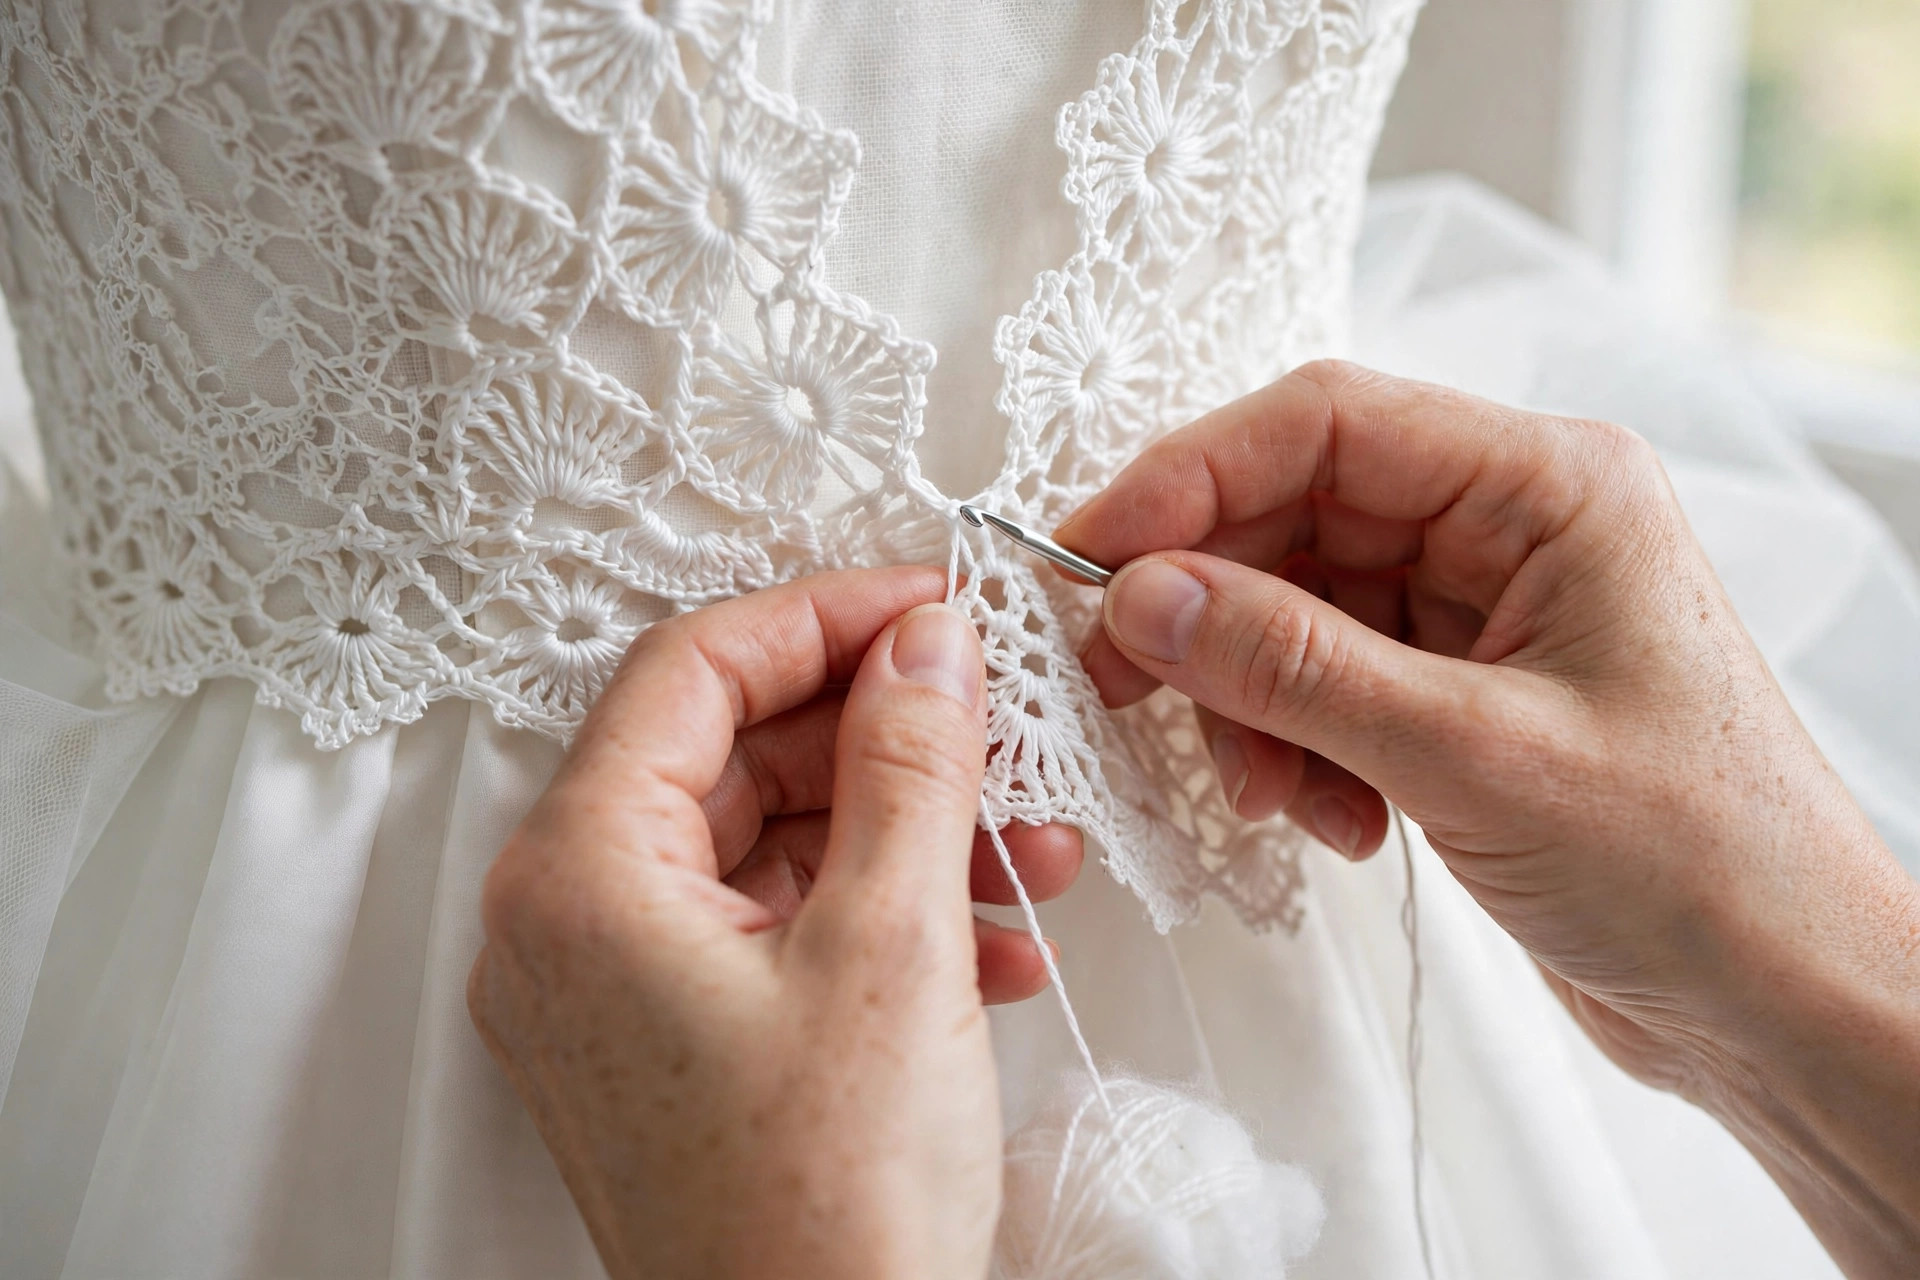
Part 2: The Bodice
The bodice is worked top down in the round, starting at the neckline and increasing at four raglan lines until it reaches your bust measurement. The bodice is fitted, so the stitches sit close to the body, and the lace is kept simple here, so the shaping stays clean and the fit stays true.
Neckline and Yoke
With your yarn, ch 90, join with a sl st to form a ring, taking care not to twist the chain.
- Rnd 1: ch 3 (counts as dc), dc in each ch around. Join with a sl st to the top of the ch 3. (90 dc)
- Rnd 2: ch 3, dc in next 20 sts, (2 dc in next st, dc in next st) at each of the 4 raglan points, dc in each st between them. Join. (98 dc)
- Rnd 3 to 12: rep Rnd 2, increasing 8 stitches at the same 4 raglan points on every round, until the stitch count matches your bust count. For a 34 inch bust, work until you have 170 stitches.
Place a stitch marker at each raglan point before you start, so you always know where the increases go. Try the yoke on after every 3 rounds, and check that the armholes sit comfortably. If the yoke is too tight across the chest, work one more increase round before you split for the sleeves.
Splitting for the Body
When the yoke reaches your bust count, split the work into the body and the sleeves. Work across the front stitches, chain across the underarm to skip the sleeve stitches, work across the back stitches, and chain across the other underarm. The chains under the arms should be about 8 stitches wide.
- Body Rnd 1: ch 3, dc in each st and each underarm ch around. Join. Count your stitches. The count should match your bust count plus the two underarm chains.
- Body Rnd 2 to 8: dc in each st around, decreasing evenly to reach your waist count. For a 34 inch bust and a 28 inch waist, decrease 30 stitches over 7 rounds, about 4 stitches per round, spaced evenly around the body.
- Body Rnd 9: work one round of shell stitch for the waist detail: ch 3, sk 2 sts, shell in next st, sk 2 sts, rep around. Join.
The bodice should now reach your waist, fit snugly at the bust and the waist, and end with a decorative shell round that marks the start of the skirt. Try the bodice on with your lining slip. It should feel secure but not tight, and you should be able to raise your arms without the neckline pulling.
Part 3: The Skirt and Scalloped Edge
The skirt is worked in the round from the waist down, in a simple two row lace repeat that grows wider as it goes. The increases are hidden inside the shells, so the skirt flares gently without any visible shaping lines.
Skirt Lace Repeat
The skirt uses a two row repeat, worked in the round. Row A is a shell row, and Row B is a plain double crochet row that sets up the next shell row.
- Skirt Rnd 1: ch 3, dc in each st around. Join. (waist count)
- Skirt Rnd 2: ch 3, sk 2 sts, shell in next st, sk 2 sts, rep around. Join.
- Skirt Rnd 3: ch 3, dc in each dc of the shell and each skipped st around. Join.
- Skirt Rnd 4 to 40: rep Rnds 2 and 3, increasing the shell spacing every 8 rounds. To increase, work an extra dc between shells on the plain row, so the shell count grows by 4 shells at each increase round.
Work the skirt until it reaches your hem length, then work one more shell round and stop. For a 55 inch skirt, that is about 40 rounds of the lace repeat. Try the dress on every 10 rounds to check the flare is even.
Scalloped Edge
The scalloped edge is the final round of the skirt, and it needs no separate trim. It is a shell stitch worked into the last plain row, with a picot on the top of each shell for a delicate finish.
- Edge Rnd: ch 1, sc in first st, sk 2 sts, (5 dc, ch 1, sl st in top of last dc) in next st, sk 2 sts, sc in next st, rep around. Join with a sl st to the first sc. Fasten off and weave in all ends.
The picot on each shell is made by chaining 1 and slip stitching into the top of the last double crochet, which makes a tiny point at the tip of the scallop. Count your scallops as you go, so the hem is even.
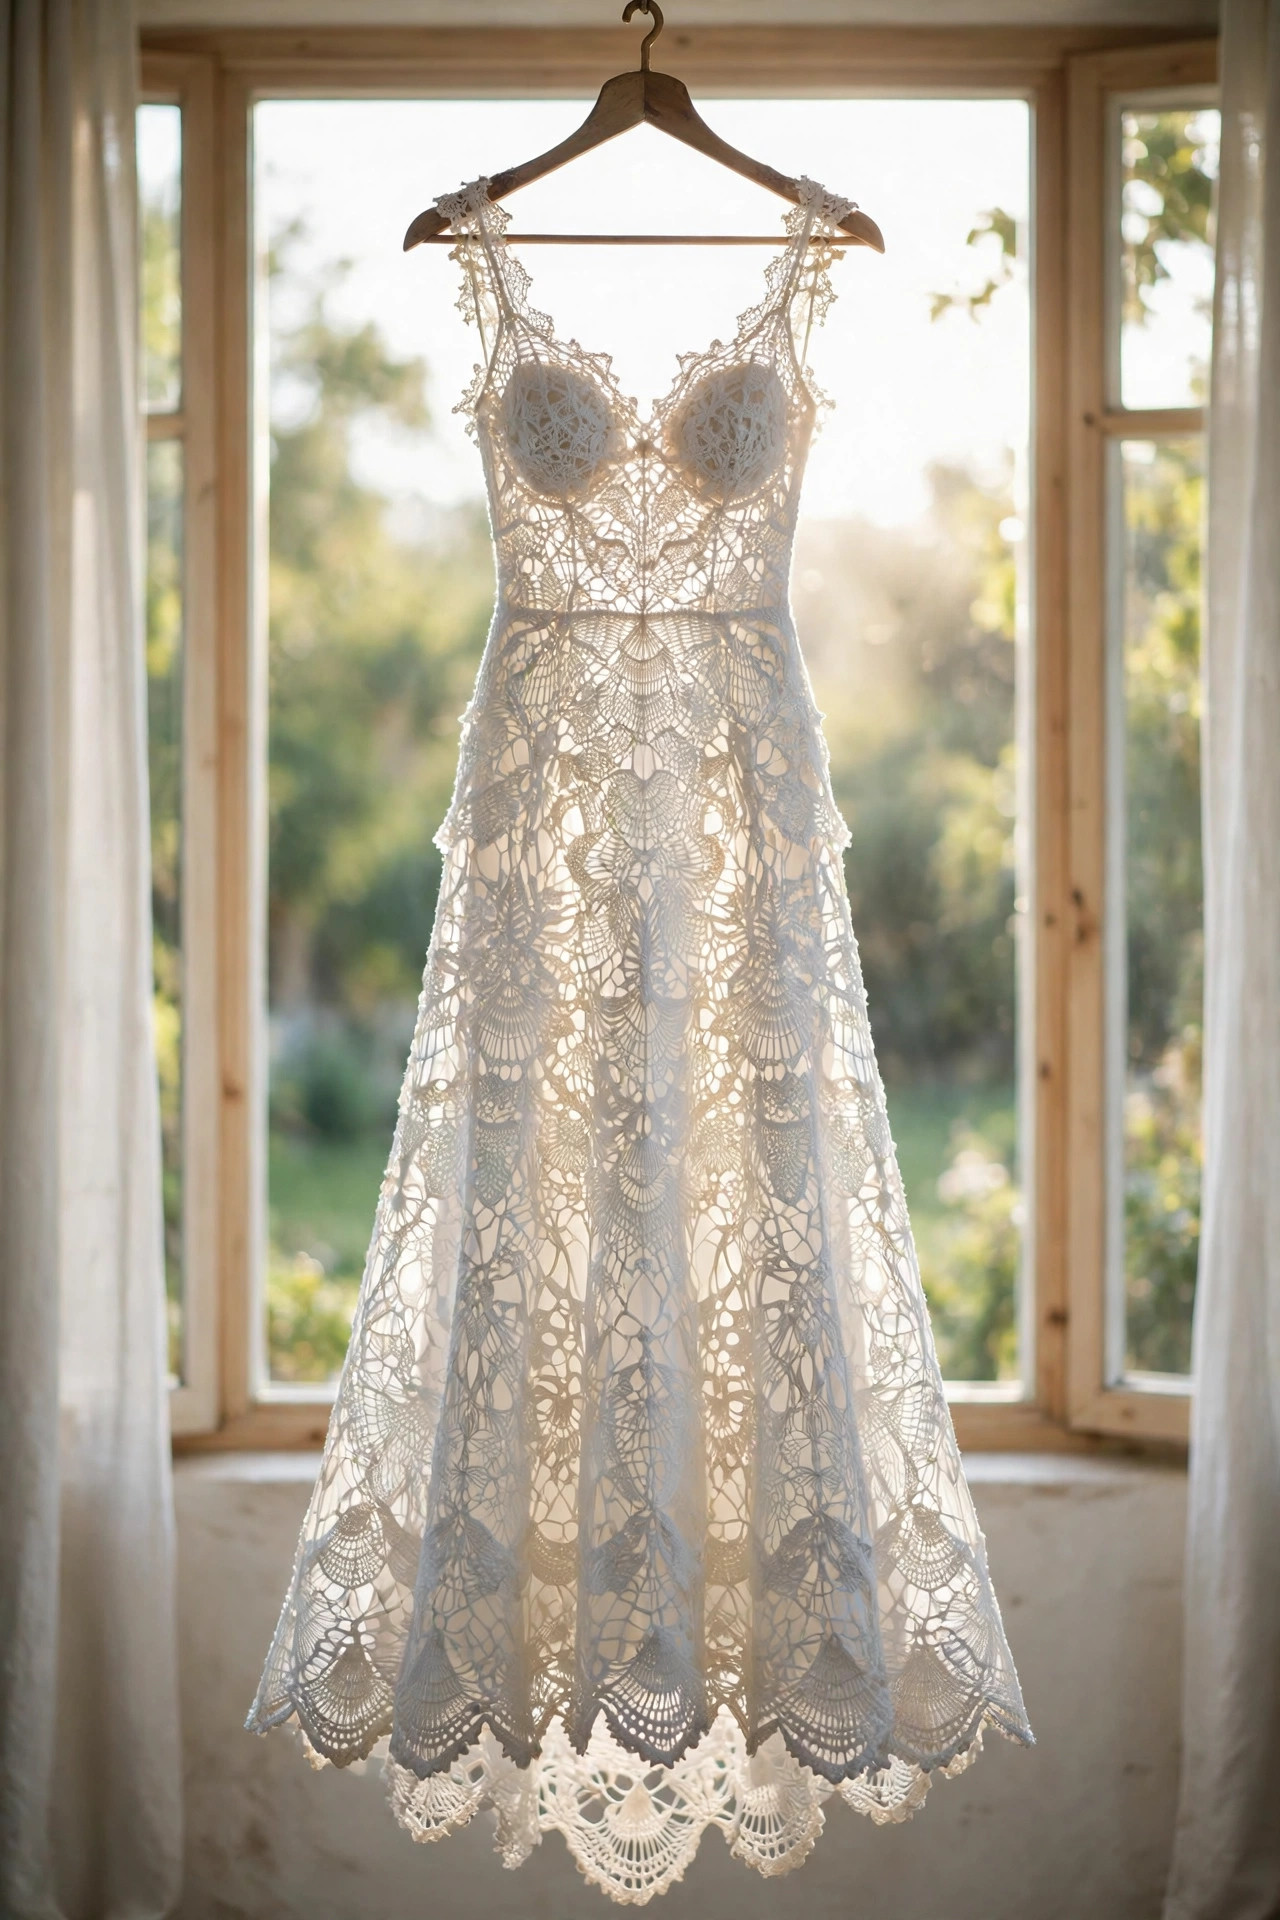
Variations: Sleeves, Necklines, and Lengths
- Short sleeves: work the sleeve stitches you skipped at the bodice split in the same shell stitch, for 6 rounds, then finish with the scalloped edge. Our crochet circle vest pattern shows how a sleeve cap is shaped in the round.
- Long lace sleeves: work the sleeve stitches in the skirt lace repeat for 20 rounds, decreasing gently to the wrist, for full length sleeves that match the skirt. Our crochet cardigan sweater pattern gives the sleeve shaping steps.
- Off the shoulder neckline: start the bodice with a chain 10 stitches wider than the pattern, and work the first 3 rounds in single crochet for a firm band that sits on the shoulders. Our crochet shawl pattern free shows the same firm edge in a lace garment.
- Tea length skirt: stop the skirt at 30 inches from the waist, for a knee length dress that shows off your shoes and is easier to dance in.
- A train: work 10 extra rounds on the back half of the skirt only, turning the work at the side seams, for a train that trails behind you. Our crochet christening gown pattern free uses the same back panel lengthening.
- Lace edging on the bodice: work the scalloped edge round around the neckline as well as the hem, for a dress that looks finished from every angle. Our crochet lace edgings free patterns roundup has more edging ideas.
If you enjoyed the lace repeat in this dress, try another lace garment next.
Troubleshooting a Dress That Does Not Fit
- My bodice is too tight across the bust. Your stitch count is too low for your bust measurement. Check your gauge swatch, and if your gauge is tighter than 5 stitches per inch, go up a hook size and rework the bodice.
- My bodice gaps at the neckline. The starting chain is too wide, or the first increase rounds are too loose. Work the first 3 rounds in single crochet instead of double crochet, for a firmer neckline that sits close to the body.
- My skirt flares on one side only. The increases are uneven. Count the shells on each side of the skirt, and make sure the increase rounds add the same number of shells on the front and the back.
- My skirt is too long. The lace repeat stretches under its own weight. Measure the skirt while the dress is hanging, not lying flat, and work 2 rounds fewer than your measurement suggests.
- My dress is too heavy. Fingering weight cotton is the lightest choice, but a full length dress still weighs about 2 pounds. A lining slip helps spread the weight, and a wider waistband at the bodice takes the strain off your shoulders.
- My lace looks uneven. Your tension changes when you get tired. Work the skirt in short sessions, and check the shell size every few rounds. Blocking evens out small differences.
Care Instructions
Hand wash the wedding dress gently in cool water with a tiny amount of mild soap, squeeze gently without wringing, and lay it flat on clean towels to dry so the lace keeps its shape. Never put a wedding dress in the dryer, and never hang it by the shoulders when it is wet, because the water will stretch the bodice out of shape. After the wedding, have the dress cleaned by a specialist who handles handmade lace, and store it folded in acid free tissue paper, away from direct sunlight.
Frequently Asked Questions
Is this crochet wedding dress pattern good for beginners?
No, it is an advanced project. You need confident double crochet, shell stitch, and measuring skills, plus patience for 120 hours of work. Make a top down cardigan first if you are new to garments.
What yarn is best for a crochet wedding dress?
Fingering weight cotton, or a cotton blend with a little silk or bamboo, is best, because it drapes beautifully and feels cool on a long day. Avoid acrylic, which does not drape as well. Buy all of your yarn at once, from the same dye lot.
How long does it take to crochet a wedding dress?
About 120 to 150 hours, spread over 3 to 4 months of steady work. The bodice takes about 20 hours and the skirt about 90 hours. Start at least 6 months before the wedding, so fittings never feel rushed.
Do I need a lining under a crochet wedding dress?
Yes, a lining is essential. Crochet lace is openwork, so a white slip dress underneath keeps the dress modest and comfortable.
Can I make the dress in a different size?
Yes, the pattern is made to measure. Multiply your bust by 5 stitches per inch to get your bust count, and your waist by 5 to get your waist count. Every section is built from your own numbers, so it scales to any size.
How much yarn do I need for a wedding dress?
About 2,500 yards of fingering weight cotton for a size medium dress with a 55 inch skirt. A larger size or a longer skirt needs more. Buy one extra ball beyond your estimate, so a dye lot change never leaves you short.
Can I sell wedding dresses made from this pattern?
Yes, you may sell finished dresses made from this free pattern, with credit to Little Loop Finds. Please do not sell or republish the pattern text itself. Price it for the 120 hours of skilled work it represents.
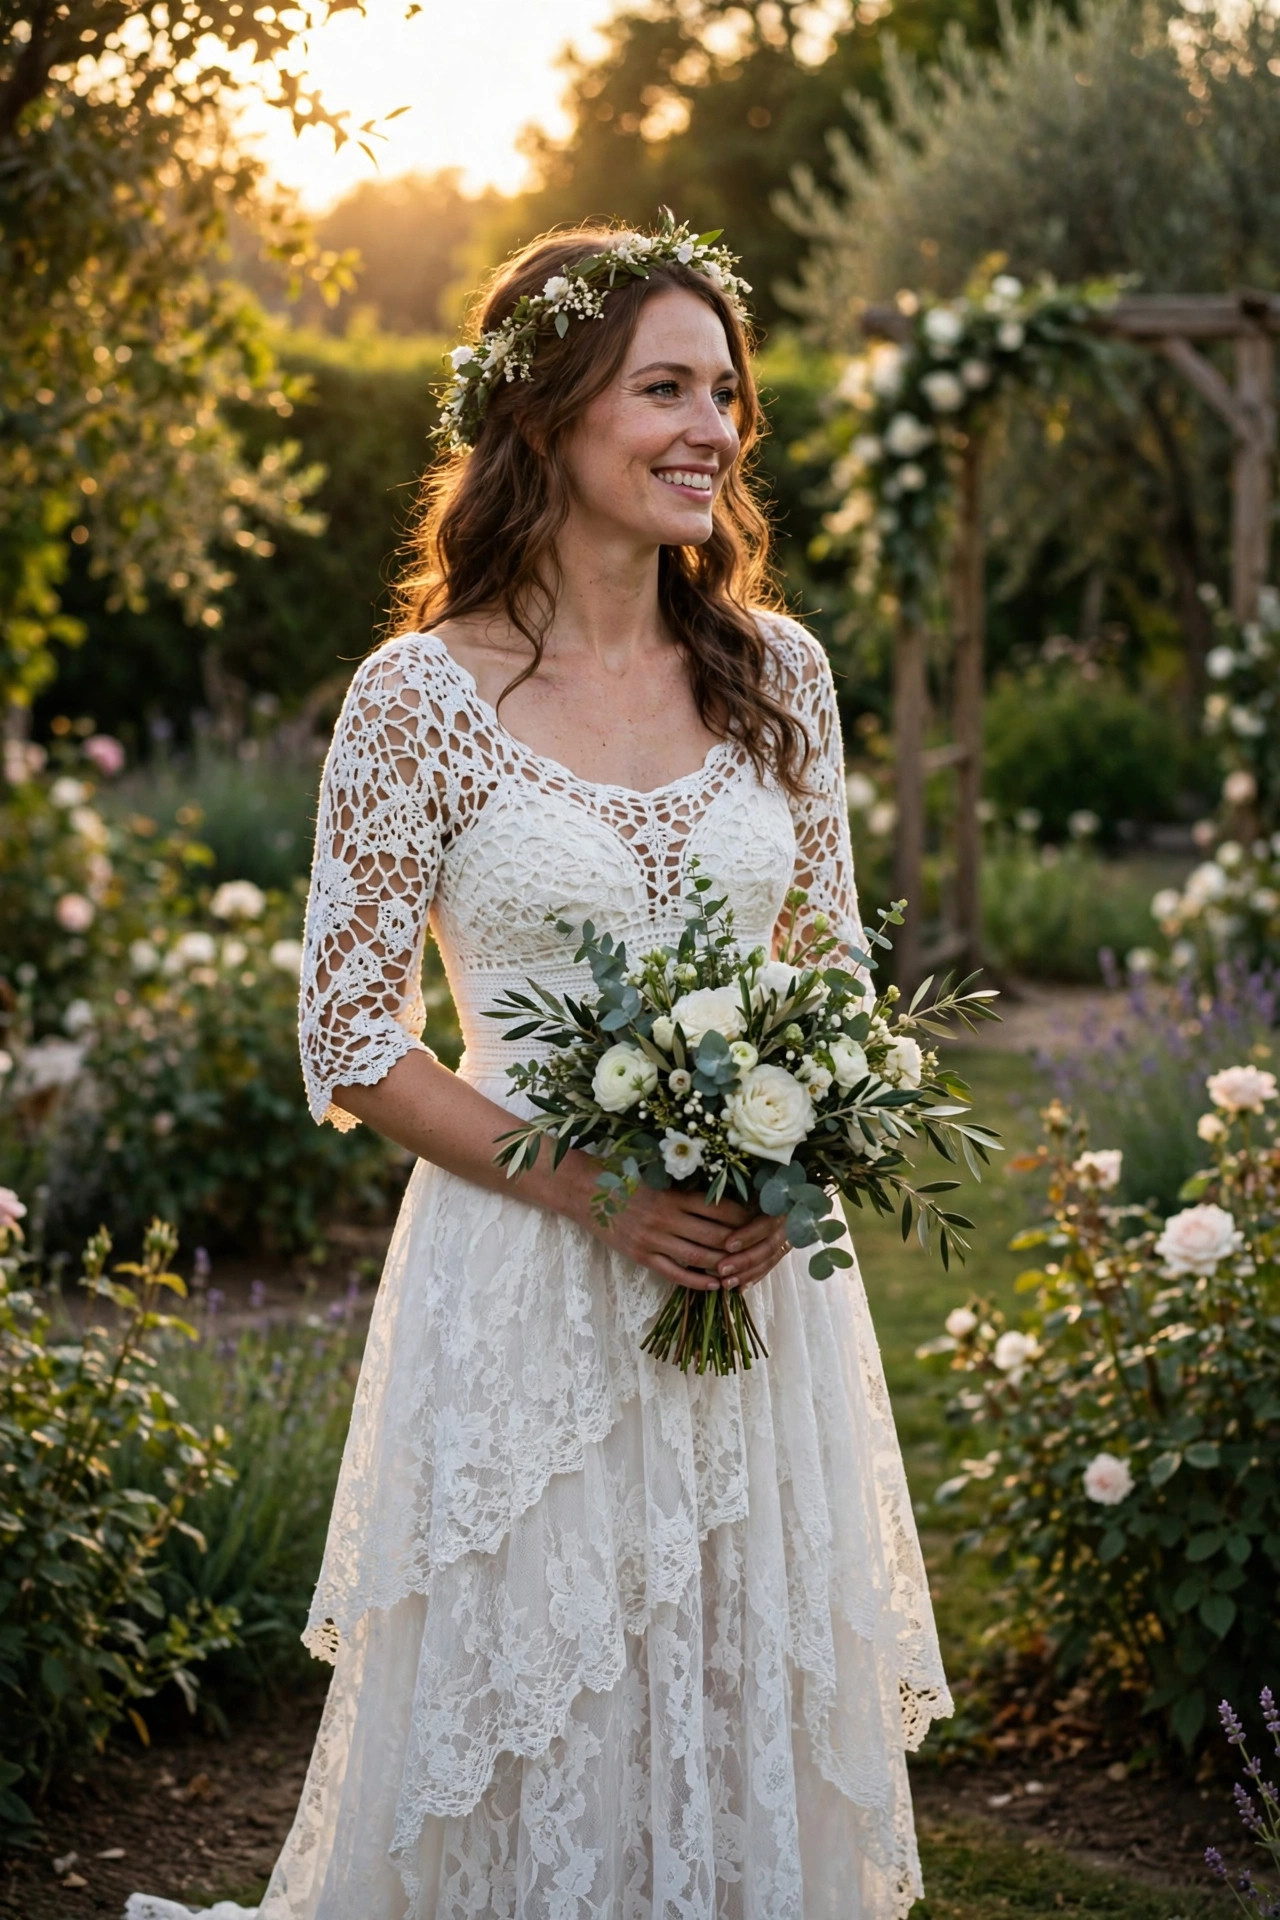
Happy stitching, and may your dress be as beautiful as the day.