Corner to Corner Crochet Patterns: Free C2C Guide
Learn corner to corner crochet from the first tile to finished projects: an original technique guide with four free C2C patterns in US terms.

Blankets · Crochet
- Finished size
- Throw 43 x 43 in
- Making time
- 2-25 hours by project
- Hook
- 5.0 mm, worsted yarn
- Set
- 4 original C2C patterns
- Skill
- Beginner
In this post
- Table of contents
- Why you'll love corner to corner crochet
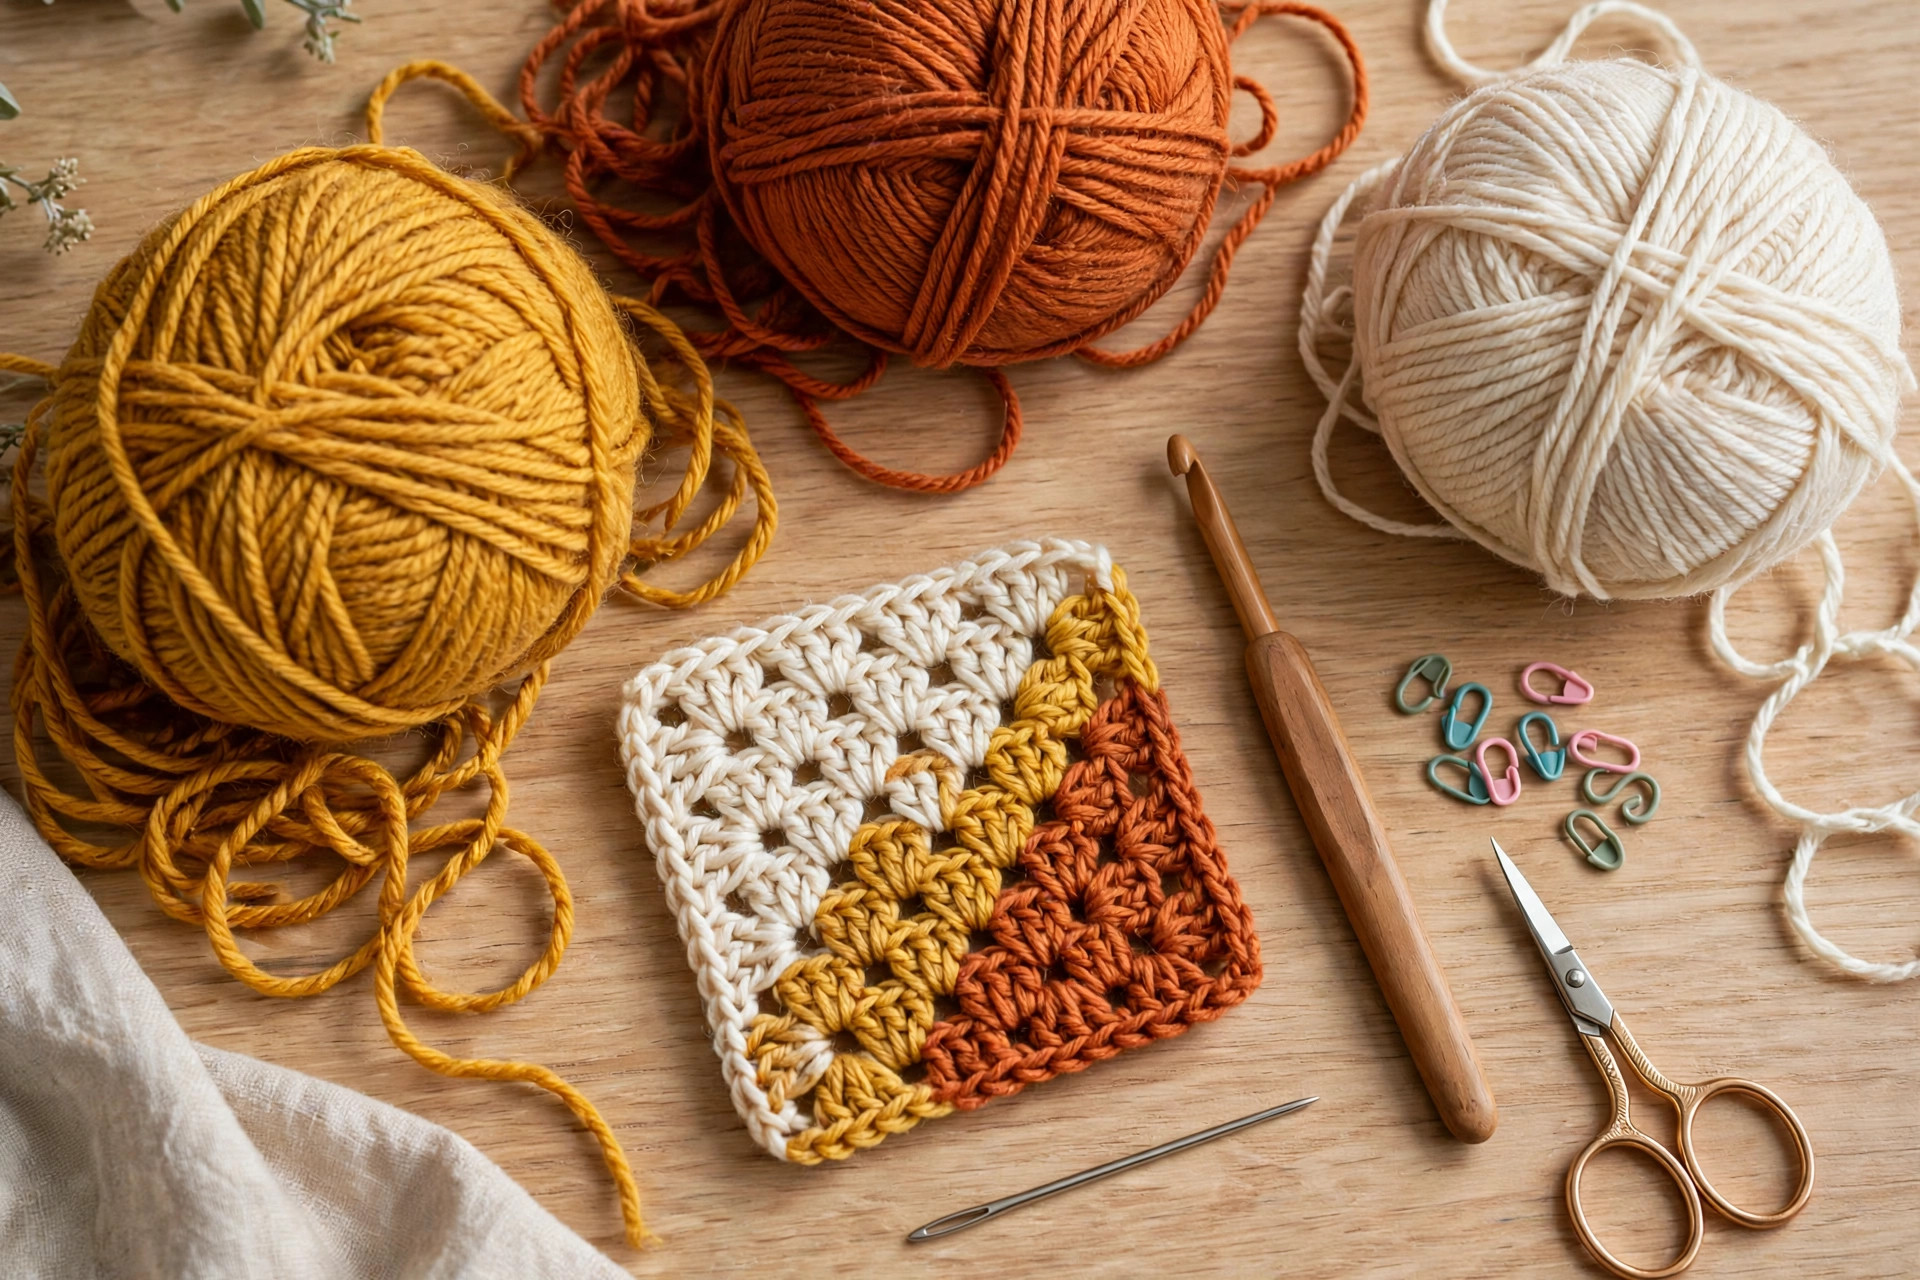
- Materials you'll need
- Size, gauge and skill level
- Abbreviations, US terms
- The corner to corner crochet patterns (US terms)
- Finishing touches
- Tips and tricks
- Variations to try next
- Troubleshooting tips
- Frequently asked questions
- More free patterns to try
Corner to corner crochet, usually called C2C, is the technique behind those gorgeous pixel-art blankets and fast diagonal throws. Instead of chaining a long foundation row and working side to side, you crochet little boxes of double crochet on the diagonal, starting with a single tiny tile in one corner and growing outward. This is an original technique guide with four original patterns below, all in US terms, and it is genuinely beginner friendly: if you can chain and double crochet, you can do this.
This post includes four free corner to corner crochet patterns that build on one simple tile: a sunset gradient throw, a baby blocks blanket, a one-skein scarf worked as a rectangle, and a pair of pixel heart hot pads that teach you colour changes. Each one is my own original design, with yardage estimates so you can shop your stash with confidence.
Table of contents
- Why you'll love corner to corner crochet
- Materials you'll need
- Size, gauge and skill level
- Abbreviations, US terms
- The corner to corner crochet patterns (US terms)
- Finishing touches
- Tips and tricks
- Variations to try next
- Troubleshooting tips
- Frequently asked questions
- More free patterns to try
Why you'll love corner to corner crochet
C2C removes the most boring part of blanket making: the giant foundation chain. You begin with six chains and one little box, and the piece grows from there. Every row is a diagonal, and you can count your progress at a glance by counting the tiles along any edge.
It is also the technique that makes colour work easy. Stripes, gradients, and full pixel charts all work beautifully in C2C because each box is one neat colour unit. That is why so many graphgans, those picture blankets made from pixel charts, are worked corner to corner. If blankets are your happy place, browse our easy crochet patterns for blankets for more weekend-sized ideas, and the chunky yarn crochet blanket patterns for the same C2C idea in super-fast bulky yarn. It is a brilliant stash buster too: change colours whenever a ball runs out and the diagonal stripes still look intentional.
Materials you'll need
| Supply | What to get |
|---|---|
| Yarn | Worsted-weight (#4) yarn; amounts per project are listed below (use cotton for the hot pads) |
| Crochet hook | 5.0 mm (H) |
| Tapestry needle | For weaving in the many colour-change ends |
| Notions | Scissors, stitch markers, small bobbins or clips for colour work |
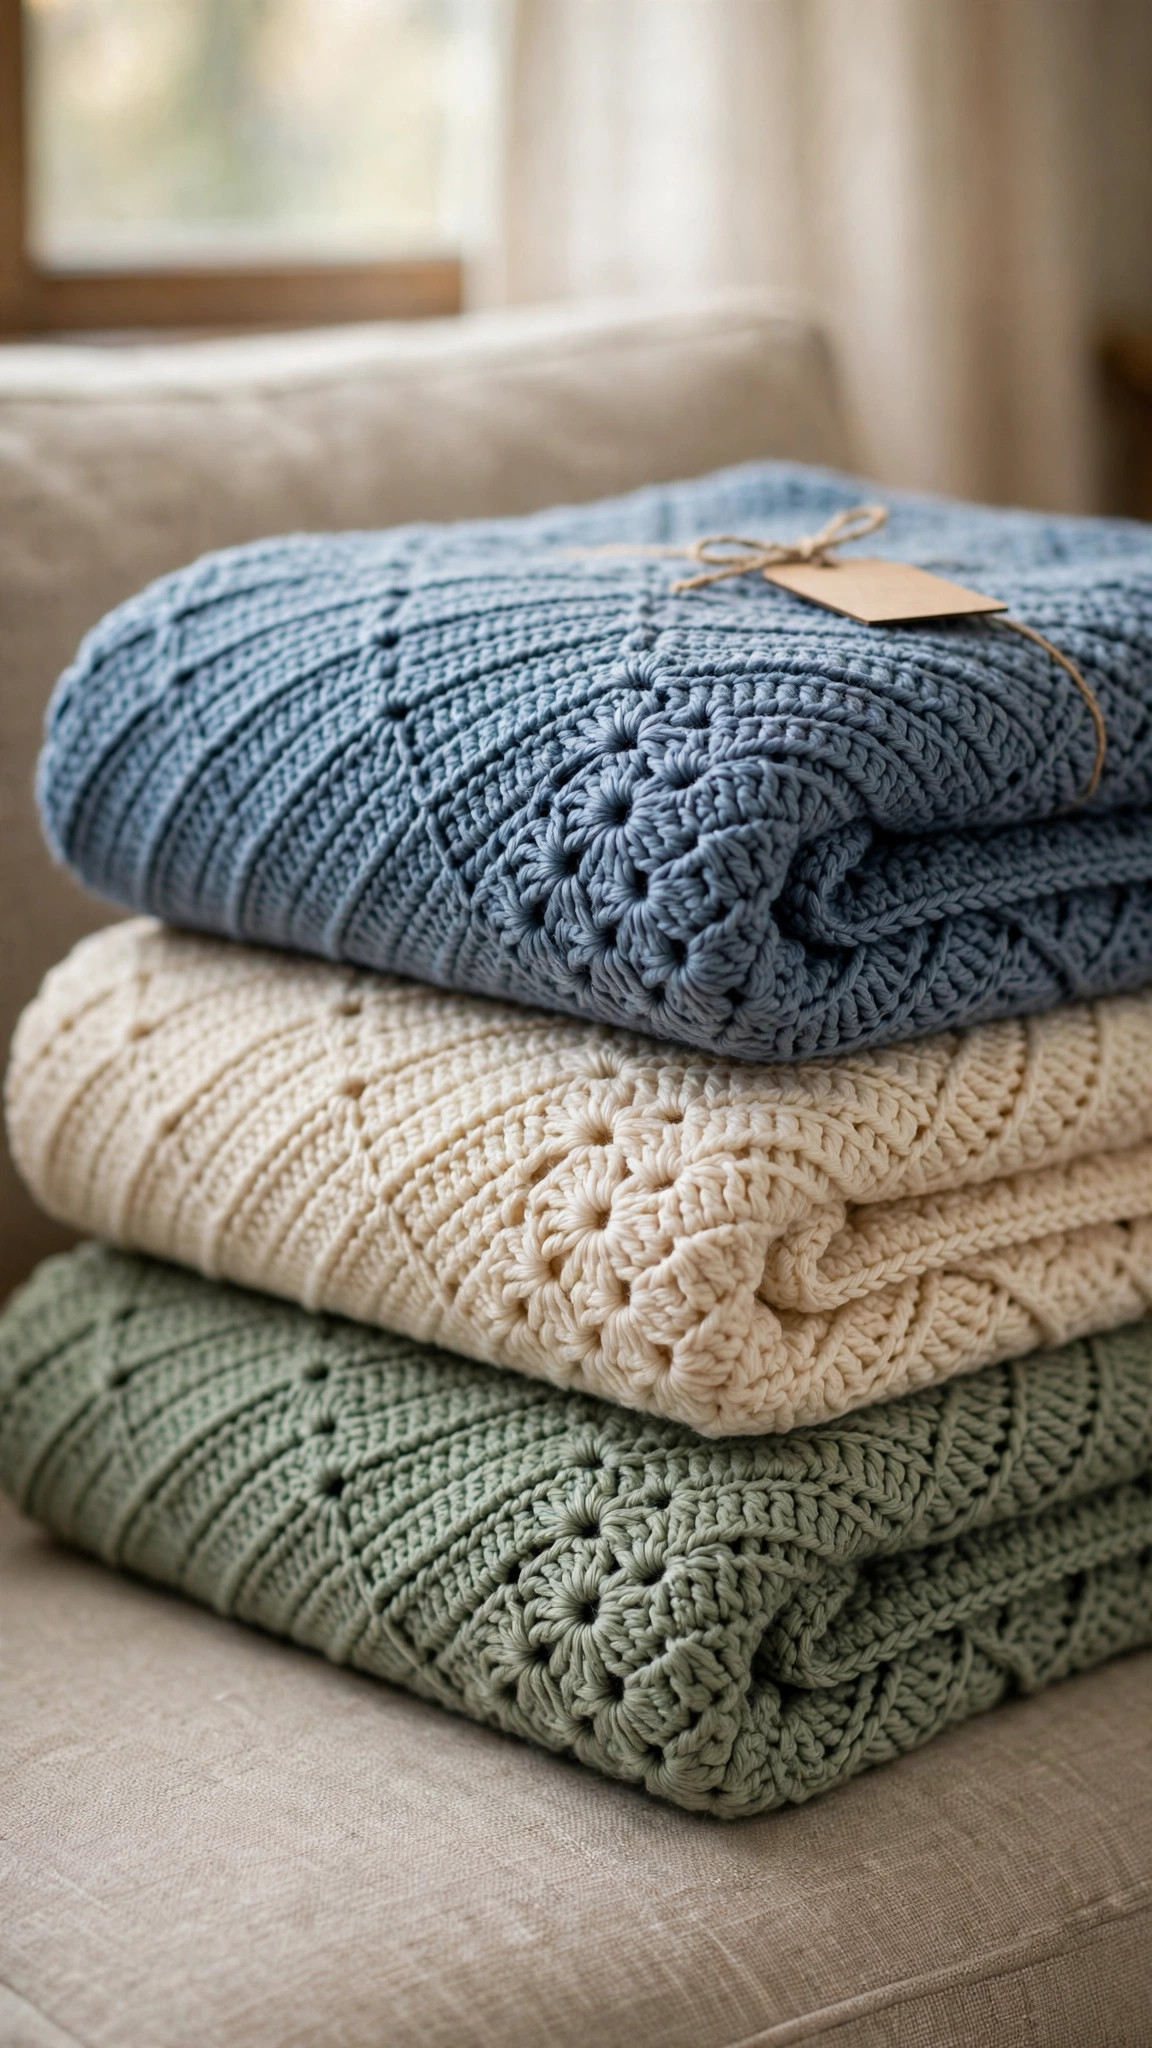
Choose a smooth, light-coloured yarn for your first C2C project: it is much easier to see the chain-3 spaces and count your tiles.
A note on the hook: 5.0 mm with worsted yarn makes a tile about 0.9 in (2.3 cm) square. If you crochet tightly, go up to 5.5 mm for comfort.
Size, gauge and skill level
All four projects below use the same tile and the same gauge, so once you learn the building block you can make any of them. New to C2C? Start with the hot pads: you will learn the tile, increases, decreases, and colour changes in one quick evening.
- Gauge: 5 tiles = 4.5 in (11 cm) measured across the boxes, in worsted yarn with a 5.0 mm hook. Count tiles along a straight edge rather than measuring mid-row.
- Skill level: beginner. You need to know how to chain, double crochet, and slip stitch. Everything else is taught below.
| Project | Shape | Tile count | Finished size | Yarn needed | Time |
|---|---|---|---|---|---|
| Sunset Gradient Throw | Square | 48 tiles | About 43 x 43 in (109 x 109 cm) | About 1,200 yds worsted, 5 colours | 20-25 hours |
| Baby Blocks Blanket | Square | 36 tiles | About 32 x 32 in (81 x 81 cm) | About 700 yds worsted, 4 colours | 8-10 hours |
| One-Skein C2C Scarf | Rectangle | 13 x 62 tiles | About 12 x 56 in (30 x 142 cm) | About 550 yds worsted, 1 skein | 5-6 hours |
| Pixel Heart Hot Pads | Square (make 2) | 11 tiles | About 10 x 10 in (25 x 25 cm) each | About 120 yds cotton main + 40 yds contrast per pad | About 2 hours each |
Abbreviations, US terms
| Abbreviation | Meaning |
|---|---|
| ch | chain |
| ch-3 sp | chain-3 space (the turning chain gap at the side of each tile) |
| dc | double crochet |
| sl st | slip stitch |
| st(s) | stitch(es) |
| tile | one C2C box: a ch-3 plus 3 double crochet, worked as a unit |
| R | row (counted along the edge in tiles) |
| FO | fasten off |
| [ ] | total tiles at the end of the row |
A note on counting: in C2C you count tiles, not stitches. The bracketed number at the end of each row is the tile count along the edge.
The corner to corner crochet patterns (US terms)
Learn the technique once, then pick your project.
The C2C building block: one tile
Every C2C piece starts with a single tile. It is just a chain and four double crochet stitches shaped into a box.
- R1: Ch 6. Dc in the 4th ch from the hook, dc in each of the next 2 ch. [1 tile]
- You now have a small box: the beginning ch-3 counts as the first dc, plus the 3 dc you just worked. This is your tile.
How to increase: growing the piece
Each increase row adds one tile. You start every row by making a brand-new tile off to the side, then you join boxes across the previous row.
- R2: Turn. Ch 6, dc in the 4th ch from the hook, dc in the next 2 ch (new tile made). Sl st into the ch-3 sp of the R1 tile. Ch 3, 3 dc into the same ch-3 sp. [2 tiles]
- R3 and beyond: Turn. Start with a fresh tile exactly as above, then work sl st into the ch-3 sp of the next tile of the previous row, ch 3, 3 dc into the same ch-3 sp, repeating from * to * across. R3 has 3 tiles, R4 has 4, and so on: each row has one more tile than the last.
How to decrease: shrinking the piece
Decreasing turns the growth around so the piece tapers back down to a point. The trick is simple: instead of starting the row with a new tile, you slip stitch across the first tile to climb up to working height.
- Decrease row: Turn. Ch 1, sl st in each of the first 3 dc, sl st into the ch-3 sp. Ch 3, 3 dc into the same ch-3 sp, then work across as normal: sl st into the ch-3 sp of the next tile, ch 3, 3 dc into the same sp, repeating from * to *. Each decrease row has one fewer tile than the last.
- To make a square: increase until you reach the target tile count, then decrease every row until 1 tile remains.
Making a rectangle instead of a square
Rectangles need a middle phase where you increase on one edge and decrease on the other, so the piece keeps growing longer without getting wider.
- Increase on both edges until the shorter side reaches your target width (W tiles).
- Then, at the start of each row, increase on one side and decrease on the other, alternating which side you begin on so both long edges stay straight. Keep going until the long side reaches your target length (L tiles).
- Then decrease on both edges until 1 tile remains.
Mark the increase edge with a stitch marker so you always know which side grows during the middle phase.
Project 1: Sunset Gradient Throw
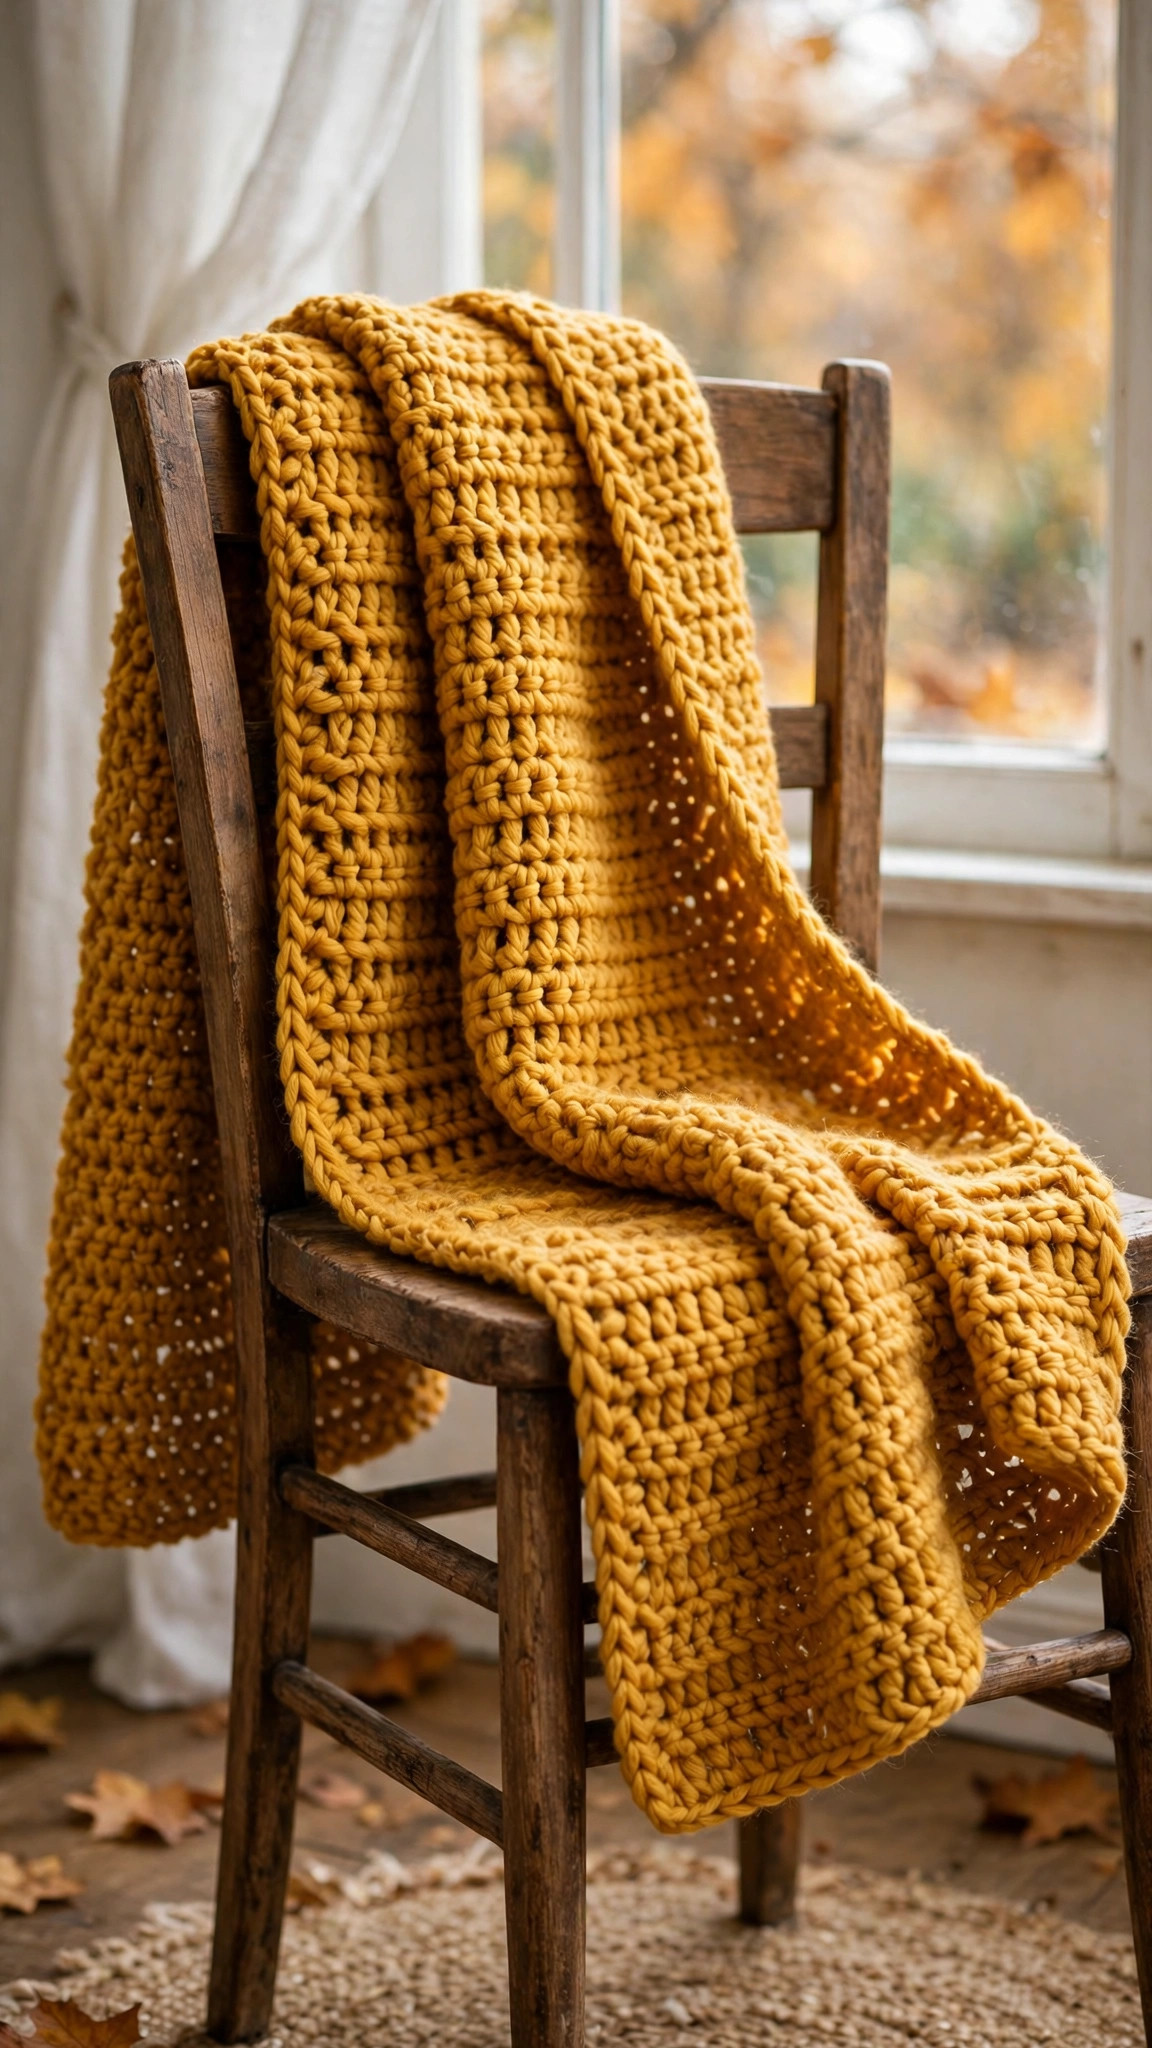
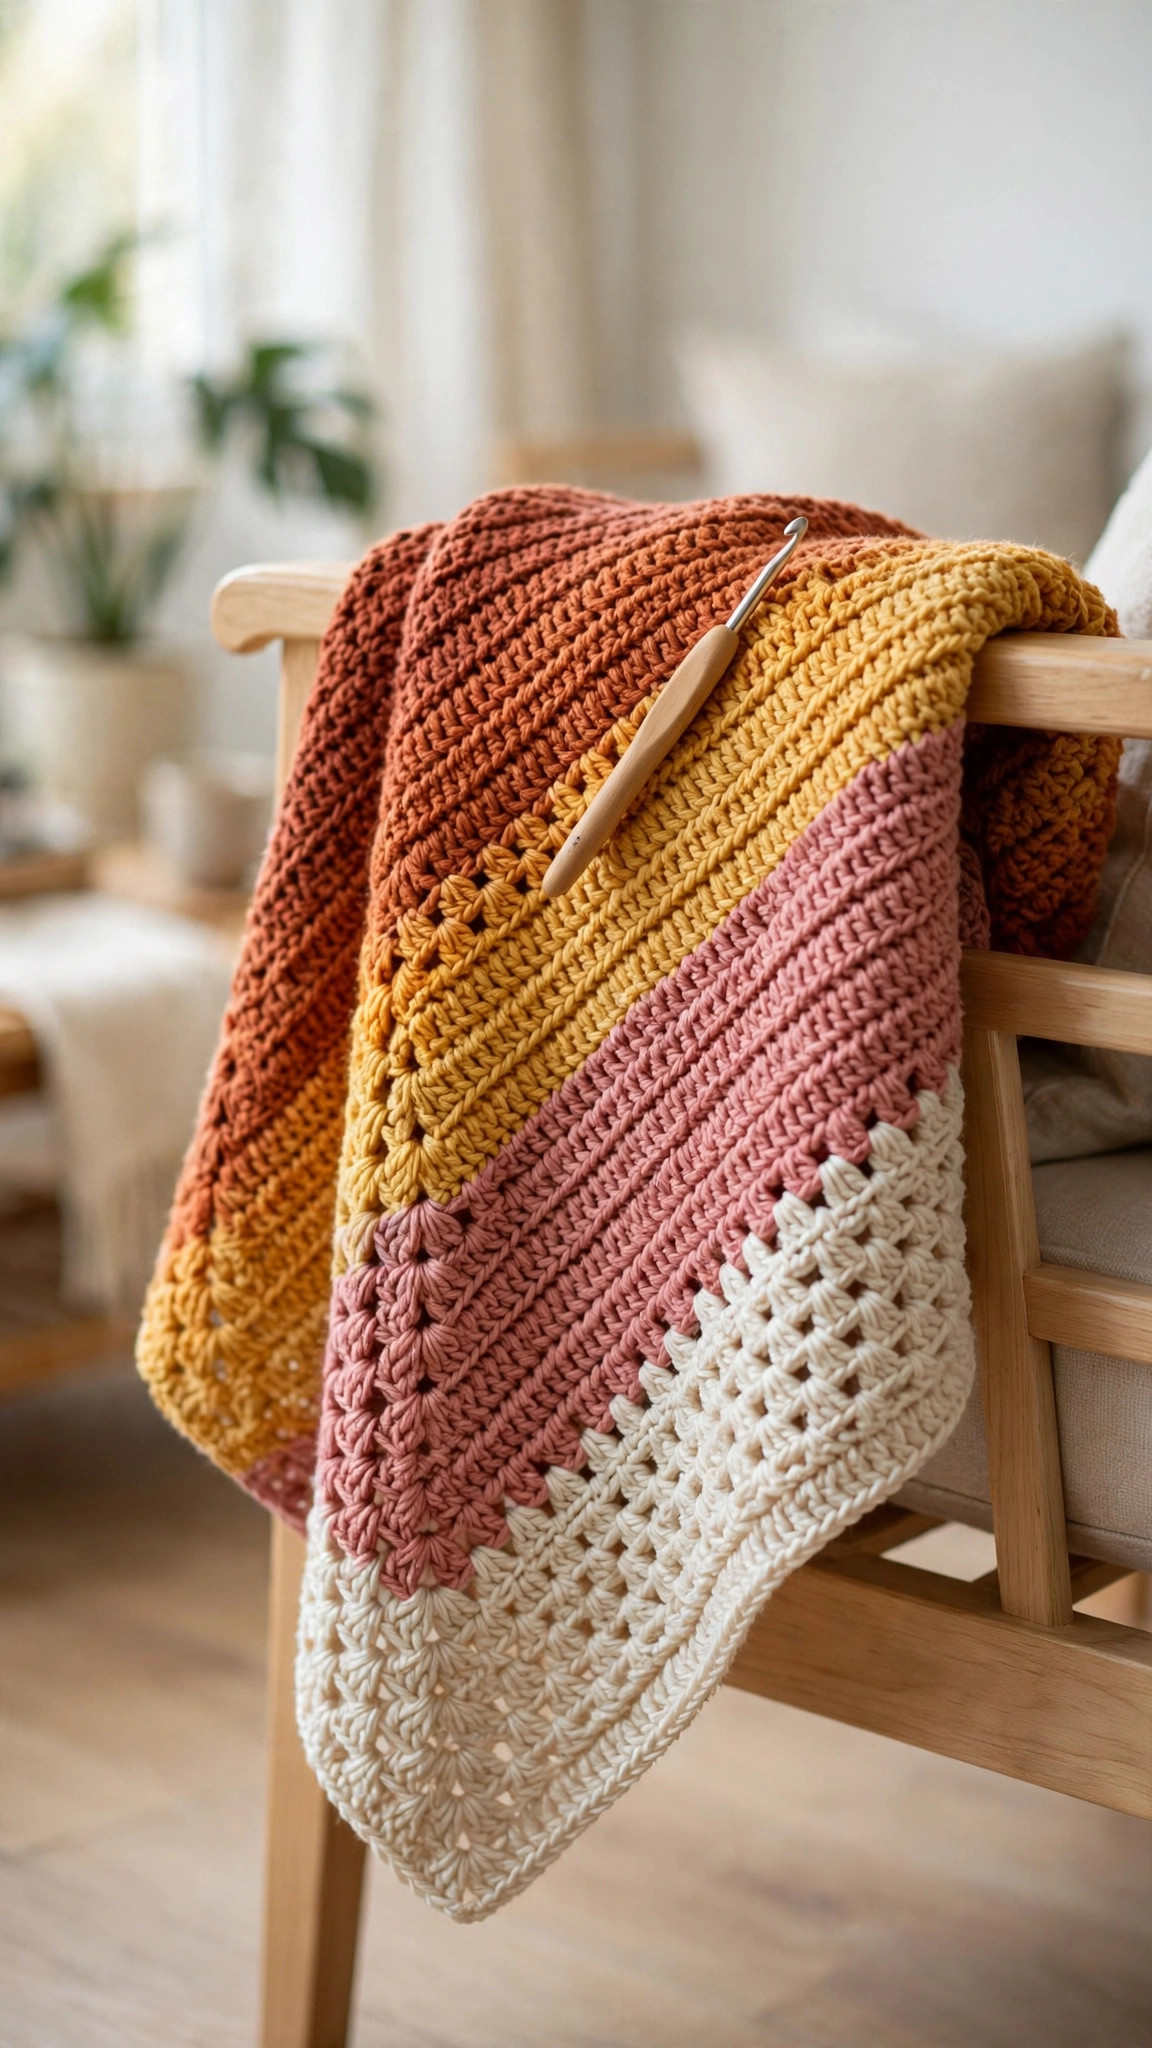
A 48-tile square in five sunset shades, striped every 8 rows so the two halves mirror. This is the blanket from the hero photo.
- Colours: A (terracotta), B (rust), C (golden yellow), D (dusty rose), E (cream). About 240 yds of each.
- Rows 1-8: With A, increase. [8 tiles]
- Rows 9-16: With B, increase. [16 tiles]
- Rows 17-24: With C, increase. [24 tiles]
- Rows 25-32: With D, increase. [32 tiles]
- Rows 33-40: With E, increase. [40 tiles]
- Rows 41-48: With D, increase. [48 tiles]
- Now decrease, mirroring the colours: Rows 49-56 with C, 57-64 with B, 65-72 with A, decreasing every row until 1 tile remains.
- Finished size: about 43 x 43 in (109 x 109 cm). FO and weave in ends, then add the border in "Finishing touches". Change stripe colours at the start of a row: fasten off the old colour and join the new one with a slip stitch where the row begins.
Project 2: Baby Blocks Blanket
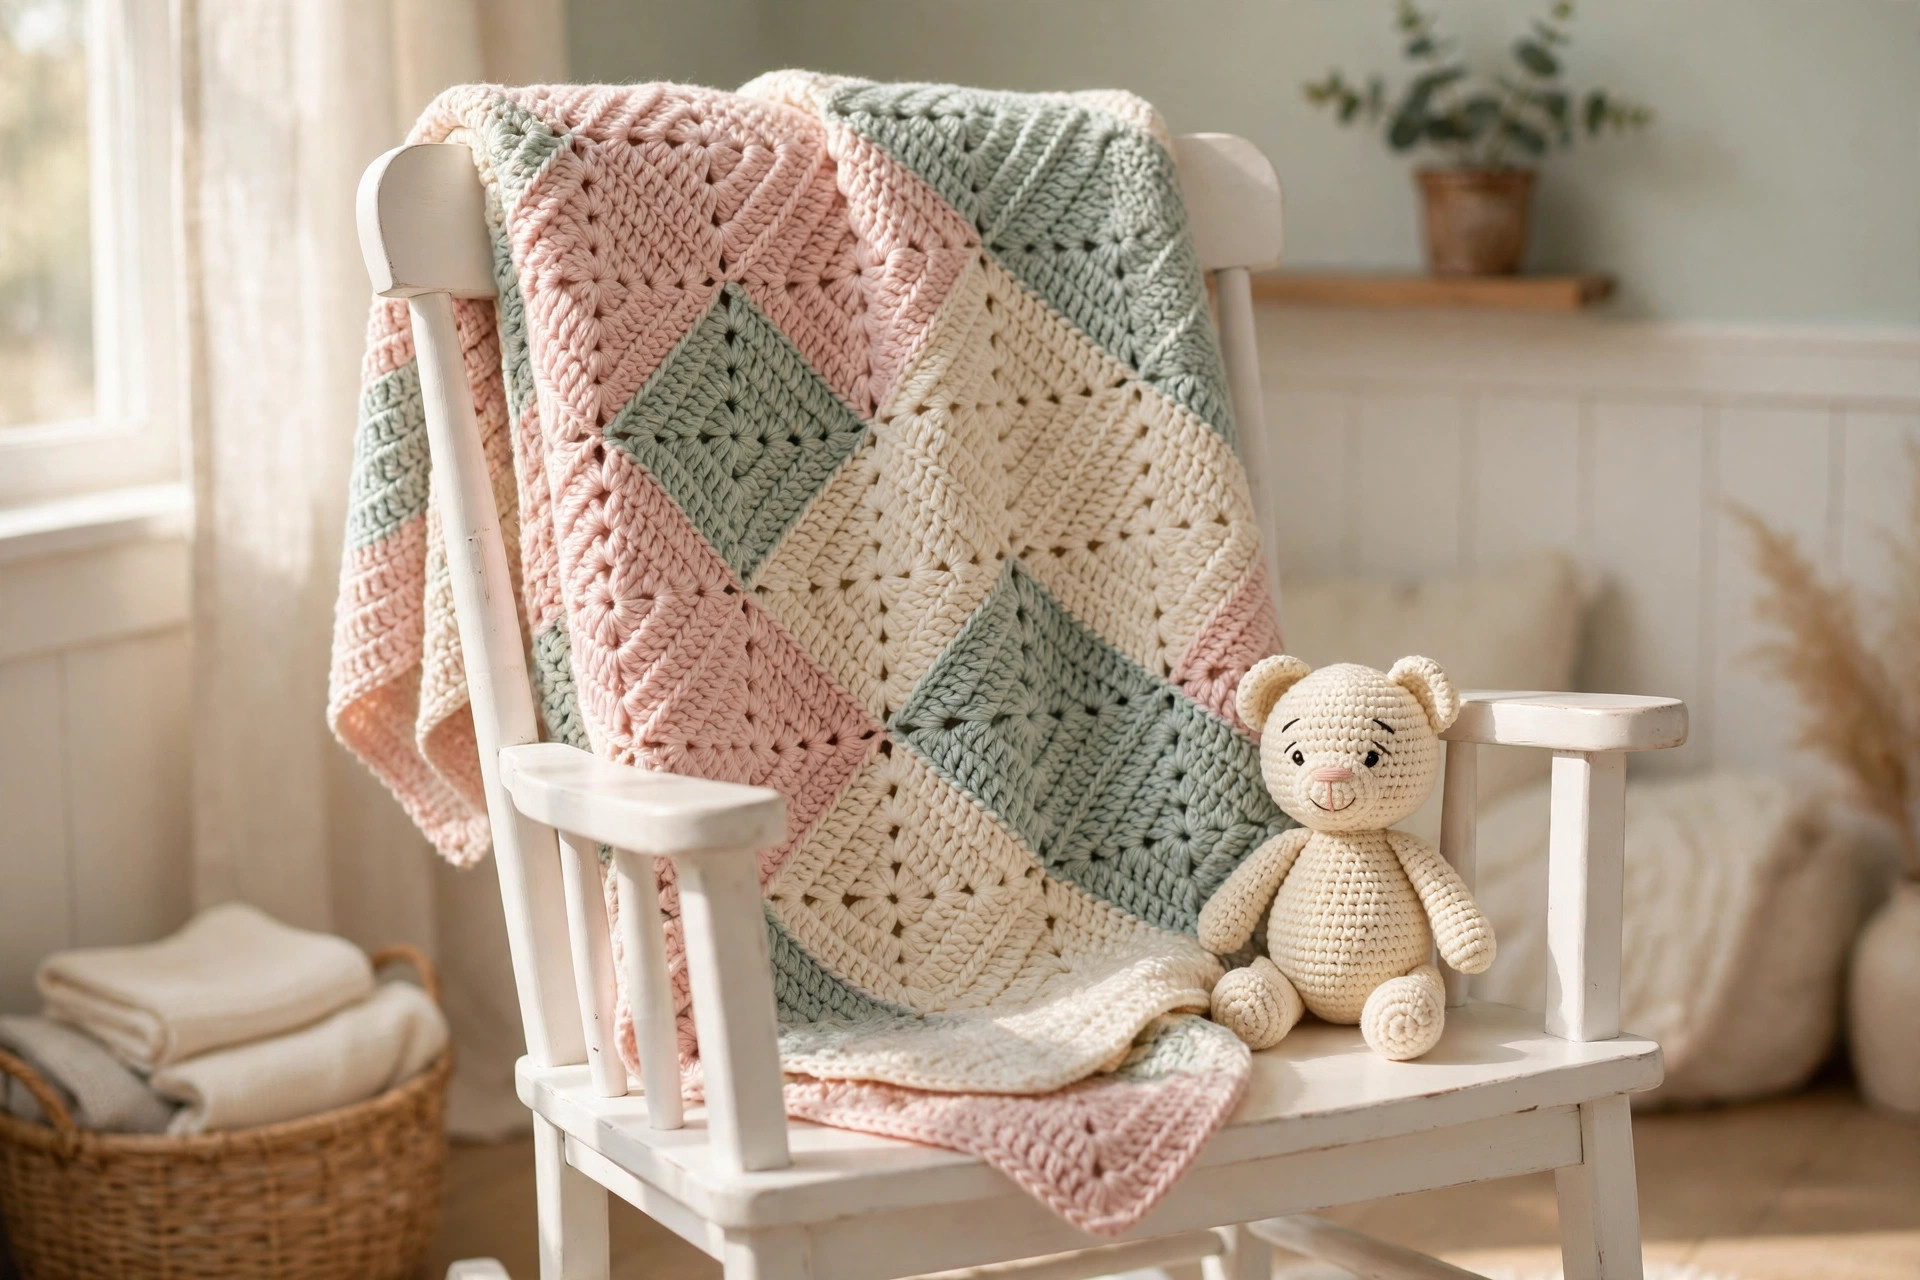
A 36-tile square in four pastel colours, 9 rows per block, for a soft diagonal patchwork. Finished size: about 32 x 32 in (81 x 81 cm), perfect for a pram or a tummy-time mat.
- Colours: A (blush pink), B (mint), C (soft lemon), D (powder blue). About 175 yds of each.
- Rows 1-9: With A, increase. [9 tiles]
- Rows 10-18: With B, increase. [18 tiles]
- Rows 19-27: With C, increase. [27 tiles]
- Rows 28-36: With D, increase. [36 tiles]
- Rows 37-45: With C, decrease each row. [27 tiles]
- Rows 46-54: With B, decrease each row. [18 tiles]
- Rows 55-63: With A, decrease each row until 1 tile remains.
Project 3: One-Skein C2C Scarf
A rectangle worked with the increase-one-side, decrease-the-other method. One 550-yd skein of worsted is plenty, and variegated yarn looks fantastic here because the short diagonal rows show off the colour shifts. For more wearable ideas, our basic crochet scarf patterns include side-to-side options too.
- Rows 1-13: Increase on both edges each row. [13 tiles]
- Rows 14-62: Increase at the start of one edge and decrease at the start of the other, alternating which edge you begin on each row, until the long edge measures 62 tiles.
- Rows 63-74: Decrease on both edges each row until 1 tile remains.
- Finished size: about 12 x 56 in (30 x 142 cm).
If the scarf curls along the long edges, a simple border round (see "Finishing touches") will flatten it out.
Project 4: Pixel Heart Hot Pads
Two 11-tile squares in worsted cotton with a colourwork heart: the project that teaches mid-row colour changes, the skill behind all C2C pixel art.
Colour changes inside a row: work the last dc of the old colour until 2 loops remain on the hook, yarn over with the new colour and pull through. Drop the old colour (carry it loosely behind if you will use it again within a few boxes) and continue.
The heart chart: each cell is one tile, C = contrast, dot = main. Start at the bottom-right corner and work outward in diagonal rows. Work 1 plain row of main colour first, then the 10 chart rows, then finish the square.
`` Row 1 (top): . . C C . . . C C . . Row 2: . C C C C . C C C C . Row 3: C C C C C C C C C C C Row 4: C C C C C C C C C C C Row 5: C C C C C C C C C C C Row 6: . C C C C C C C C C . Row 7: . . C C C C C C C . . Row 8: . . . C C C C C . . . Row 9: . . . . C C C . . . . Row 10: . . . . . C . . . . . ``
- Rows 1-11: With main colour, increase. [11 tiles]
- Rows 12-21: Follow the chart for colour placement while decreasing each row, until 1 tile remains.
- Make two. Finished size: about 10 x 10 in (25 x 25 cm) each. Use cotton only, acrylic melts near heat. For more kitchen makes, see our free crochet hot pad patterns.
Finishing touches
Weave in ends as you go. C2C colour work creates a lot of tails. Weave each one through the backs of nearby boxes, changing direction once so it locks.
Add a simple border. A border tidies the stepped diagonal edges and stops curling. Join yarn in any corner with a slip stitch: Round 1, work sc evenly around, placing 2 sc in each tile-edge space and 3 sc in each corner; Round 2, hdc in each sc with 3 hdc in each corner. Repeat Round 2 once or twice more for a wider frame.
Block lightly if needed. Lay the piece flat, pin the corners square, mist with water, and let it dry. Optional, but it evens out the border.
Tips and tricks
Count the edge every row. Before you turn, count the tiles along the edge. It takes five seconds and catches a missed increase or decrease immediately, when it is still easy to fix.
Keep the chain-3 spaces open. The most common beginner mistake is working those joining chain-3s too tightly, which makes the next row a struggle. Consciously relax your tension on every ch 3.
Mark your increase edge. When working a rectangle, clip a stitch marker onto the edge that grows during the middle phase. If you lose track of which side is which, the marker settles it.
Photograph your chart. For the heart hot pads, keep the chart on your phone and tick off each diagonal row as you finish it.
Variations to try next
- Ombre cake throw. Work the 48-tile throw in a single ombre cake yarn and skip all the colour changes.
- Initial pillow. Make two 24-tile squares with a pixel letter chart in the centre, sew three sides together, add a pillow form, and close the last side.
- Narrow table runner. Use the rectangle method with W = 8 tiles and L = 40 tiles in two alternating colours.
- Scrap-buster stripes. Change colour every 4 rows using whatever worsted is in your stash. C2C stripes always look deliberate.
Troubleshooting tips
- My square is becoming a parallelogram. You increased where you meant to decrease, or vice versa. Count the edge tiles: the count should rise by one each row while growing and fall by one while shrinking.
- The edges are wavy. Your chain-3 spaces are tighter than the rest of your work. Go up half a hook size and keep those chains relaxed.
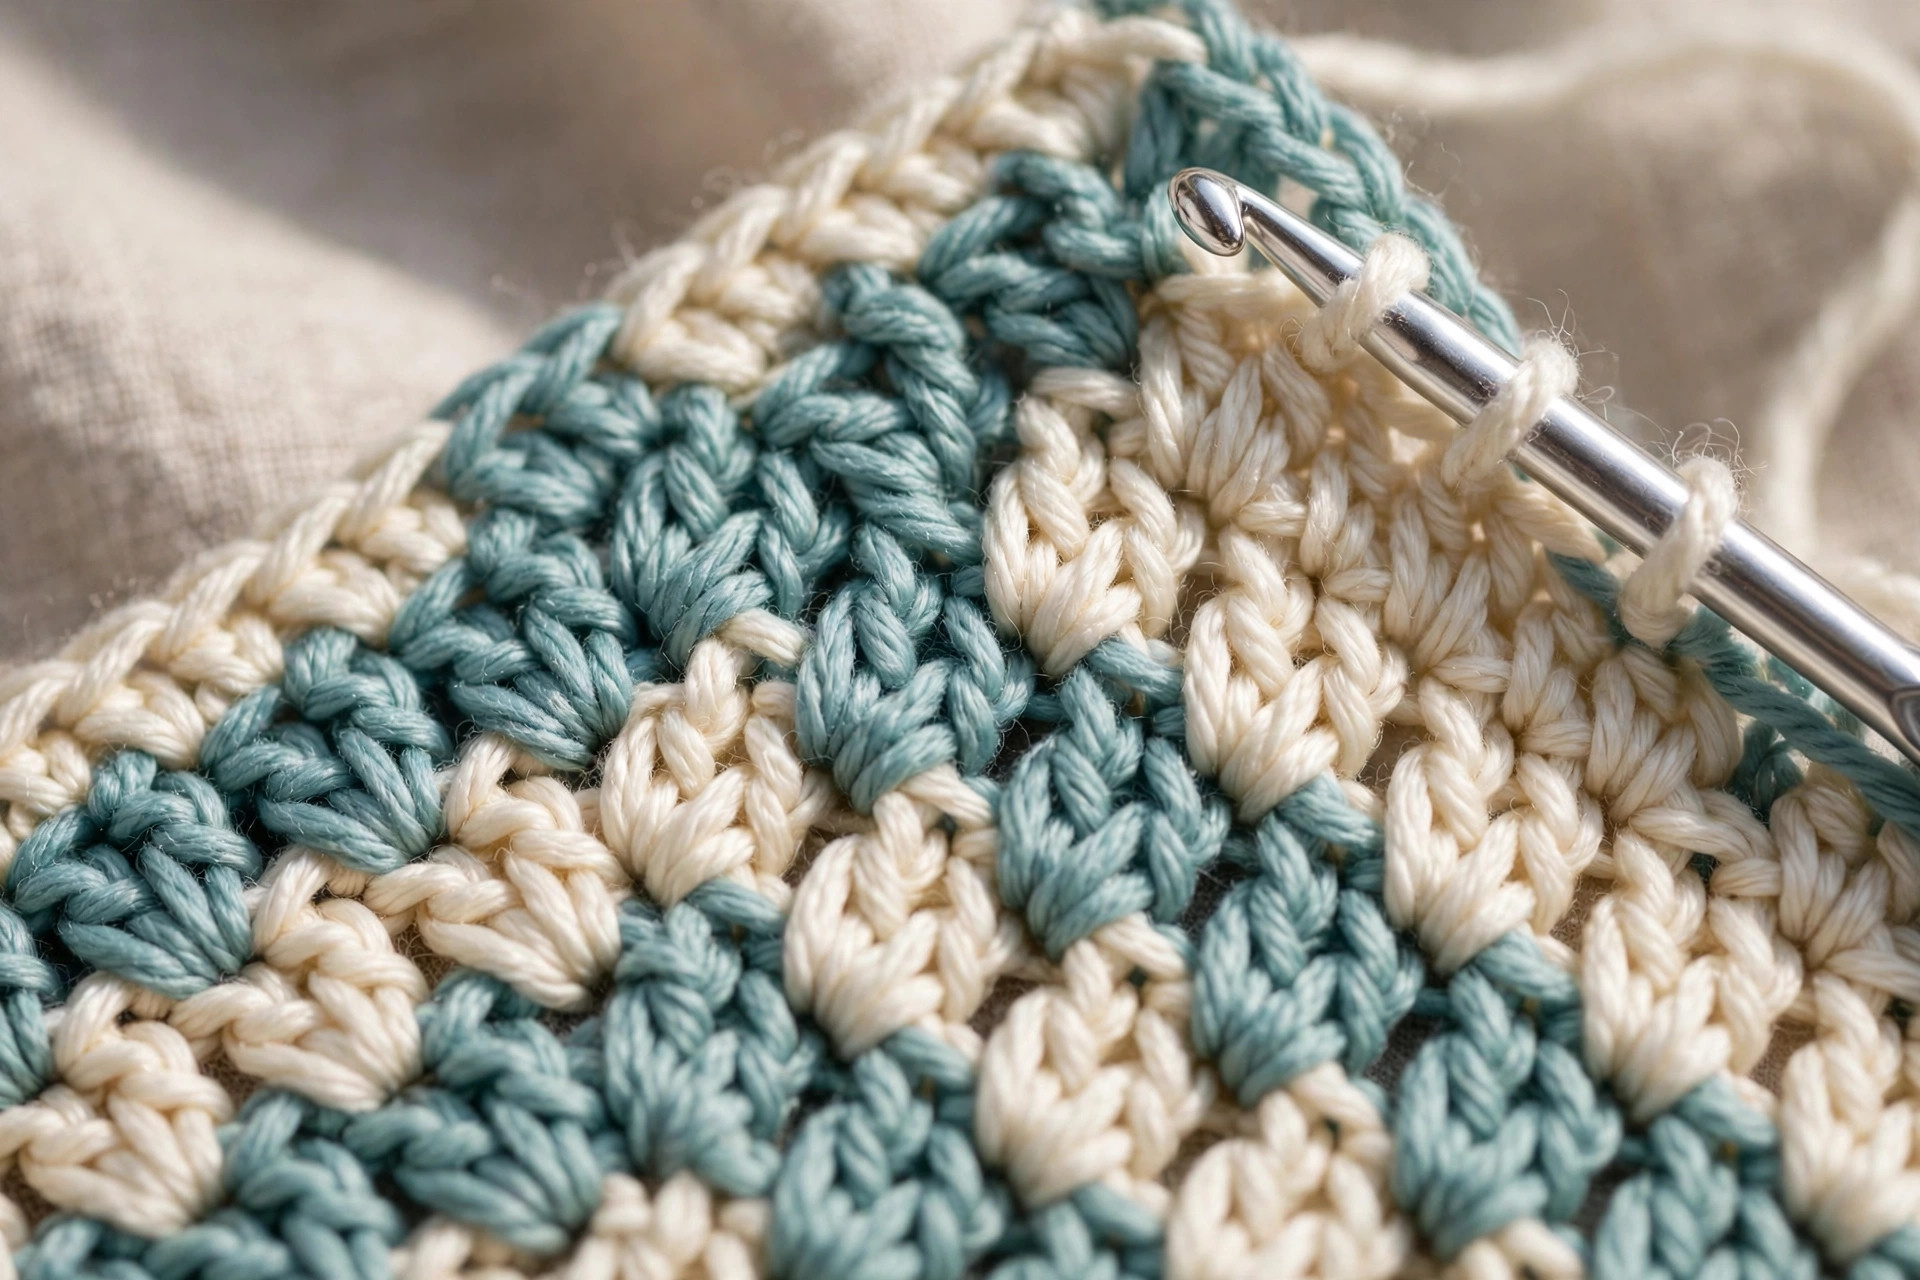
- There are holes between tiles. The joining slip stitch goes into the ch-3 space of the previous row's tile, not into a stitch. Check the close-up photo above.
- Colour floats show on the front. You carried the unused colour too tightly. Leave floats loose, or cut and weave instead of carrying across more than 3 boxes.
- The piece curls. The border rounds in "Finishing touches" almost always fix it; block if it persists.
Frequently asked questions
Is corner to corner crochet hard for beginners?
Not at all. The whole technique is one tile repeated: chain 6, four double crochet, join with a slip stitch. Start with the hot pads to practise increases, decreases, and colour changes on a small scale.
How do I keep track of rows in C2C?
Count the tiles along any straight edge: that number is your current row during the increase phase. A row counter app clicked once per diagonal row works too.
Why is my C2C square lopsided or crooked?
Almost always a missed increase or decrease at the start of a row. During the growing half, every row must start with a fresh tile; during the shrinking half, every row must start with slip stitches across the first tile. Count the edge after every row to catch it early.
How much yarn do I need for a C2C blanket?
The projects above list tested yardage: about 1,200 yards for the 48-tile throw and 700 yards for the 36-tile baby blanket. When in doubt, buy one extra skein of each colour.
Can I use any yarn weight for C2C?
Yes. The tile works in any yarn, from fingering to super bulky; only the tile size changes. Make a small 6-tile swatch, measure it, and multiply to plan your finished size. Bulky yarn makes a throw in a fraction of the time.
How do I change colours in the middle of a row?
Work the last double crochet of the old colour until two loops remain on the hook, then yarn over with the new colour and pull through. Carry the unused colour loosely behind for short distances, or cut and weave it for longer gaps.
Can I sell finished items made from these C2C patterns?
Yes! You may sell finished pieces made from these original patterns in small batches at markets, in your shop, or as gifts. Please credit Little Loop Finds as the designer.
More free patterns to try
Now that the C2C tile is in your hands, keep the momentum going. Our crochet potholders free patterns are another quick kitchen win, and the free crochet hat pattern is the classic next skill to master.