Crochet Plant Pattern (Free)
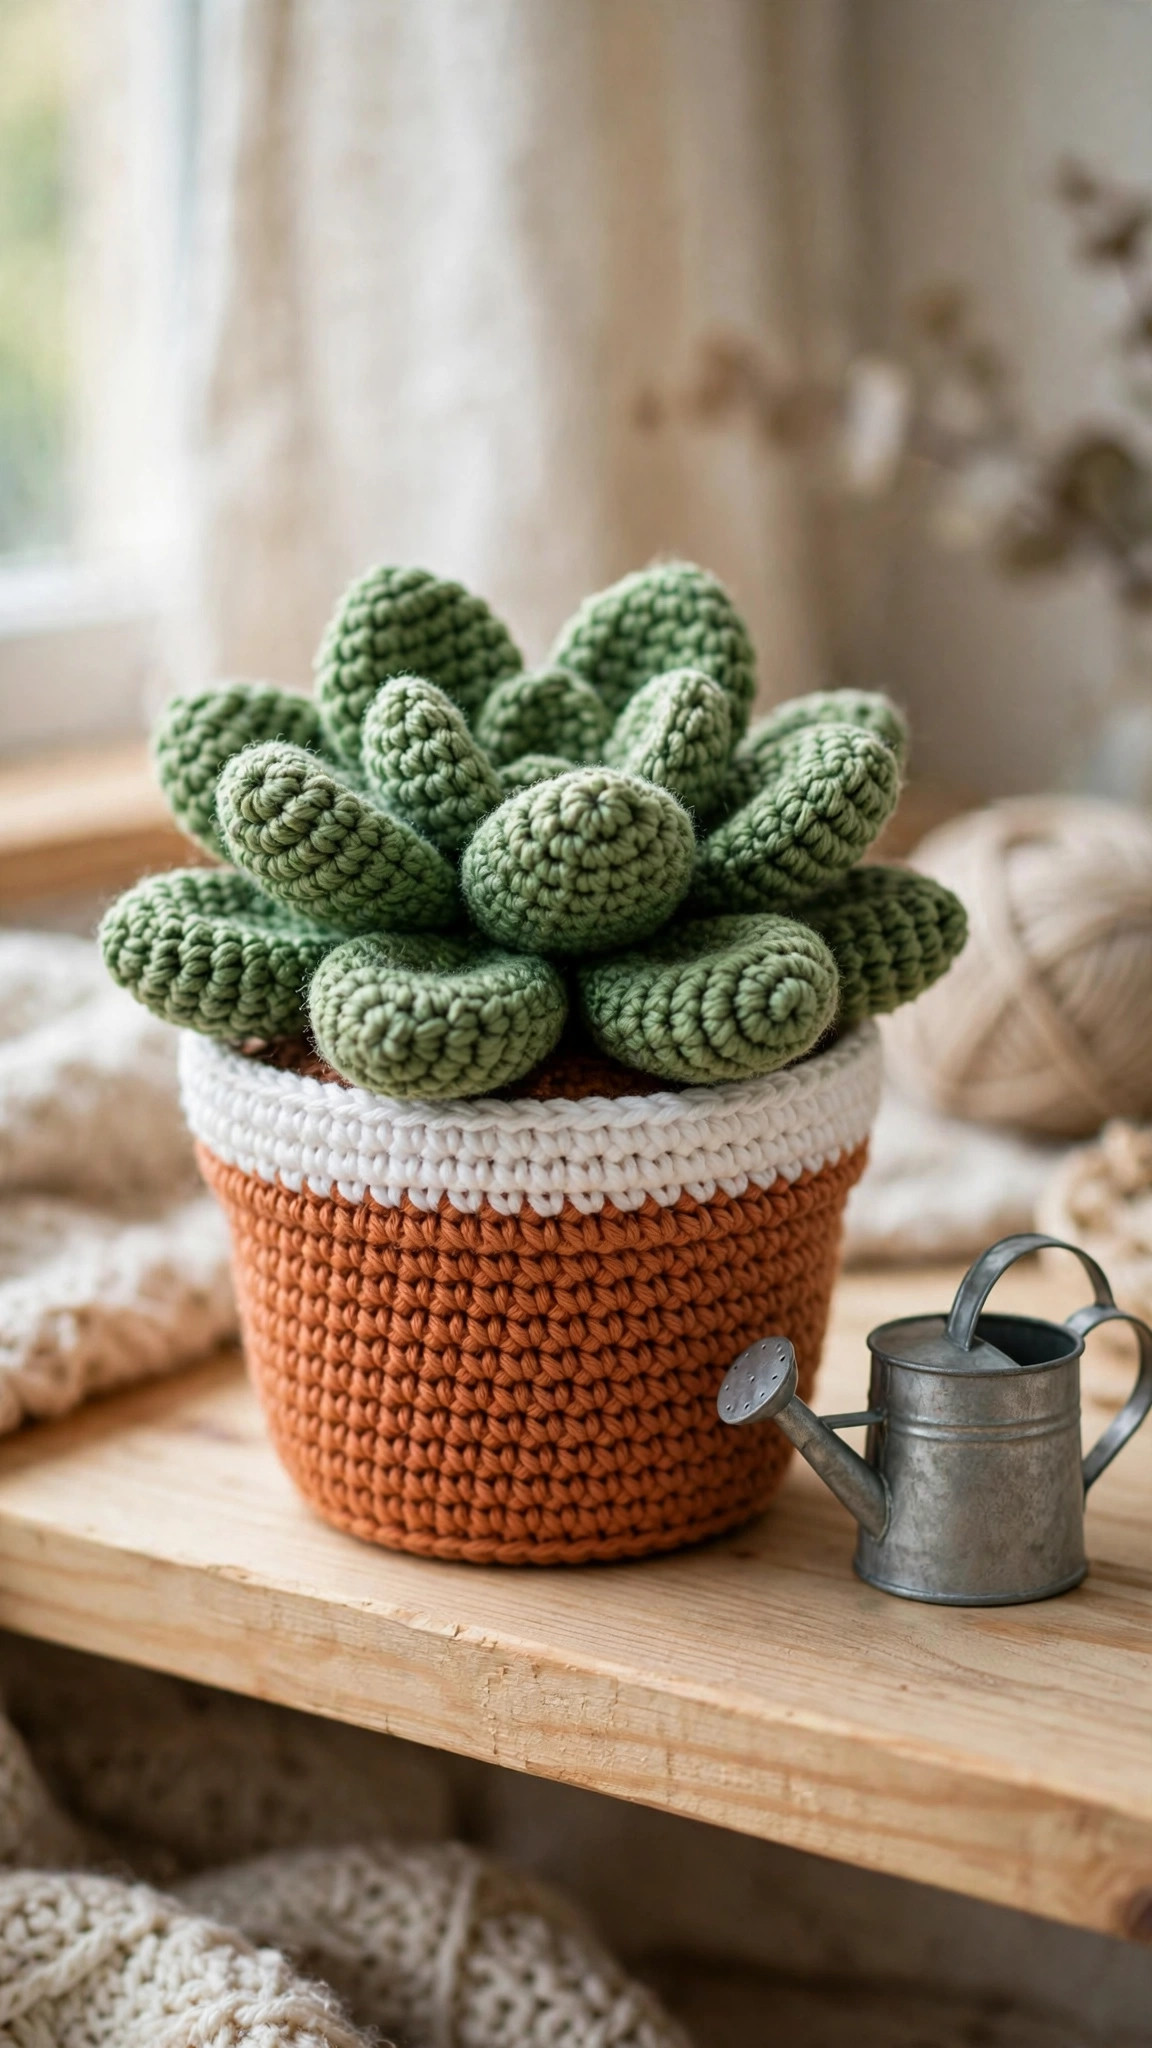
Crochet a potted succulent that never needs watering, with layered leaves and a terracotta pot.

Patterns · Crochet
- Finished size
- 5 in tall, 4 in wide
- Making time
- About 3 hours
- Hook
- US G-6 (4.0 mm)
- Set
- Pot, soil, leaves, assembly
- Skill
- Easy
In this post
- Key Takeaways
- Table of Contents
- Why You Will Love This Crochet Plant
- Finished Size, Skill Level, and Time
- Materials You Need
- Abbreviations (US Terms)
- Gauge and Sizing Notes
- Part 1: The Terracotta Pot
- Part 2: Soil Disc
- Part 3: Succulent Leaves
- Part 4: Assembly and Finishing
- Variations: Cactus, Flowering Succulent, and Herb Pots
- Troubleshooting Crochet Plants
- Care Instructions
- Frequently Asked Questions
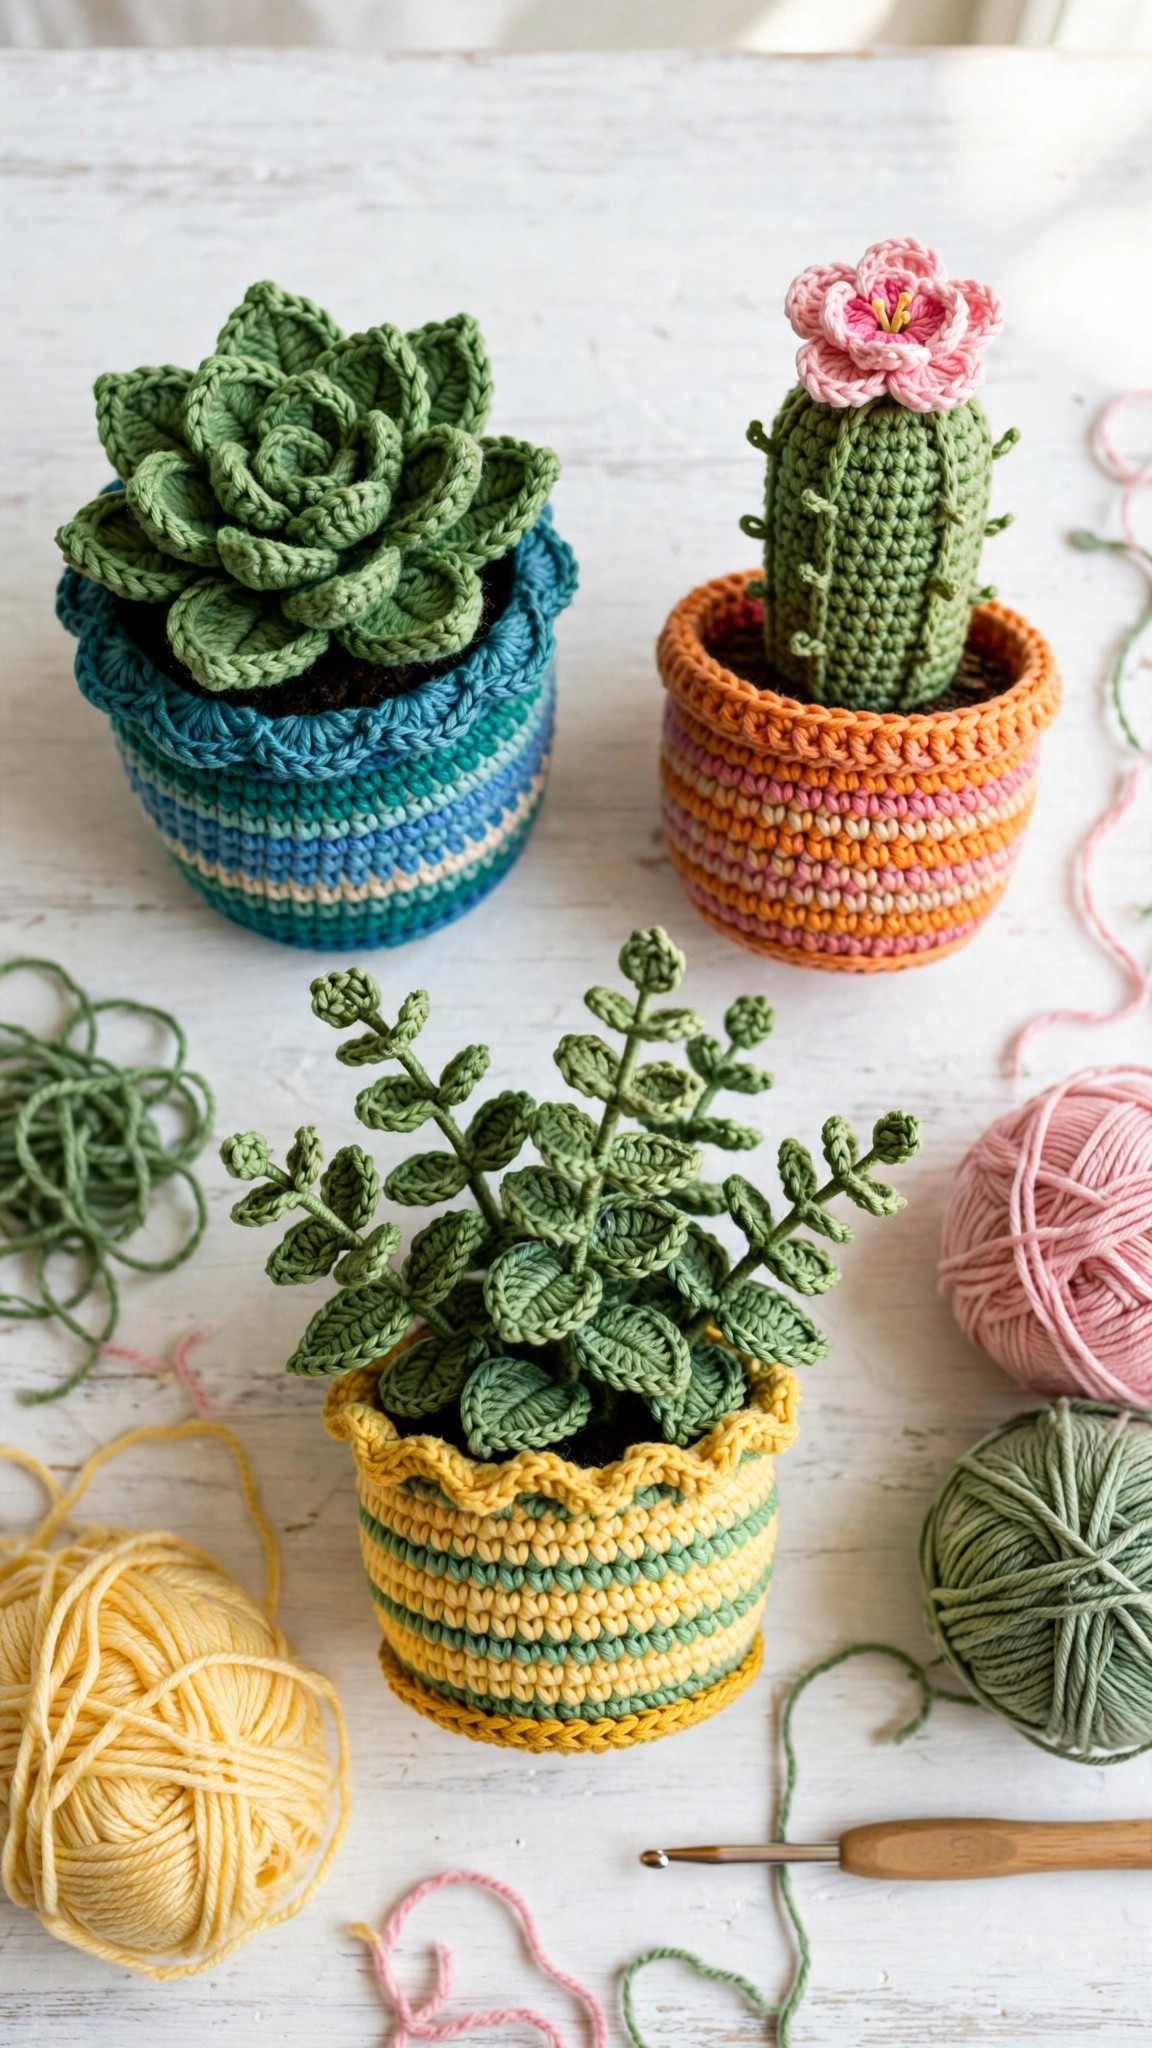
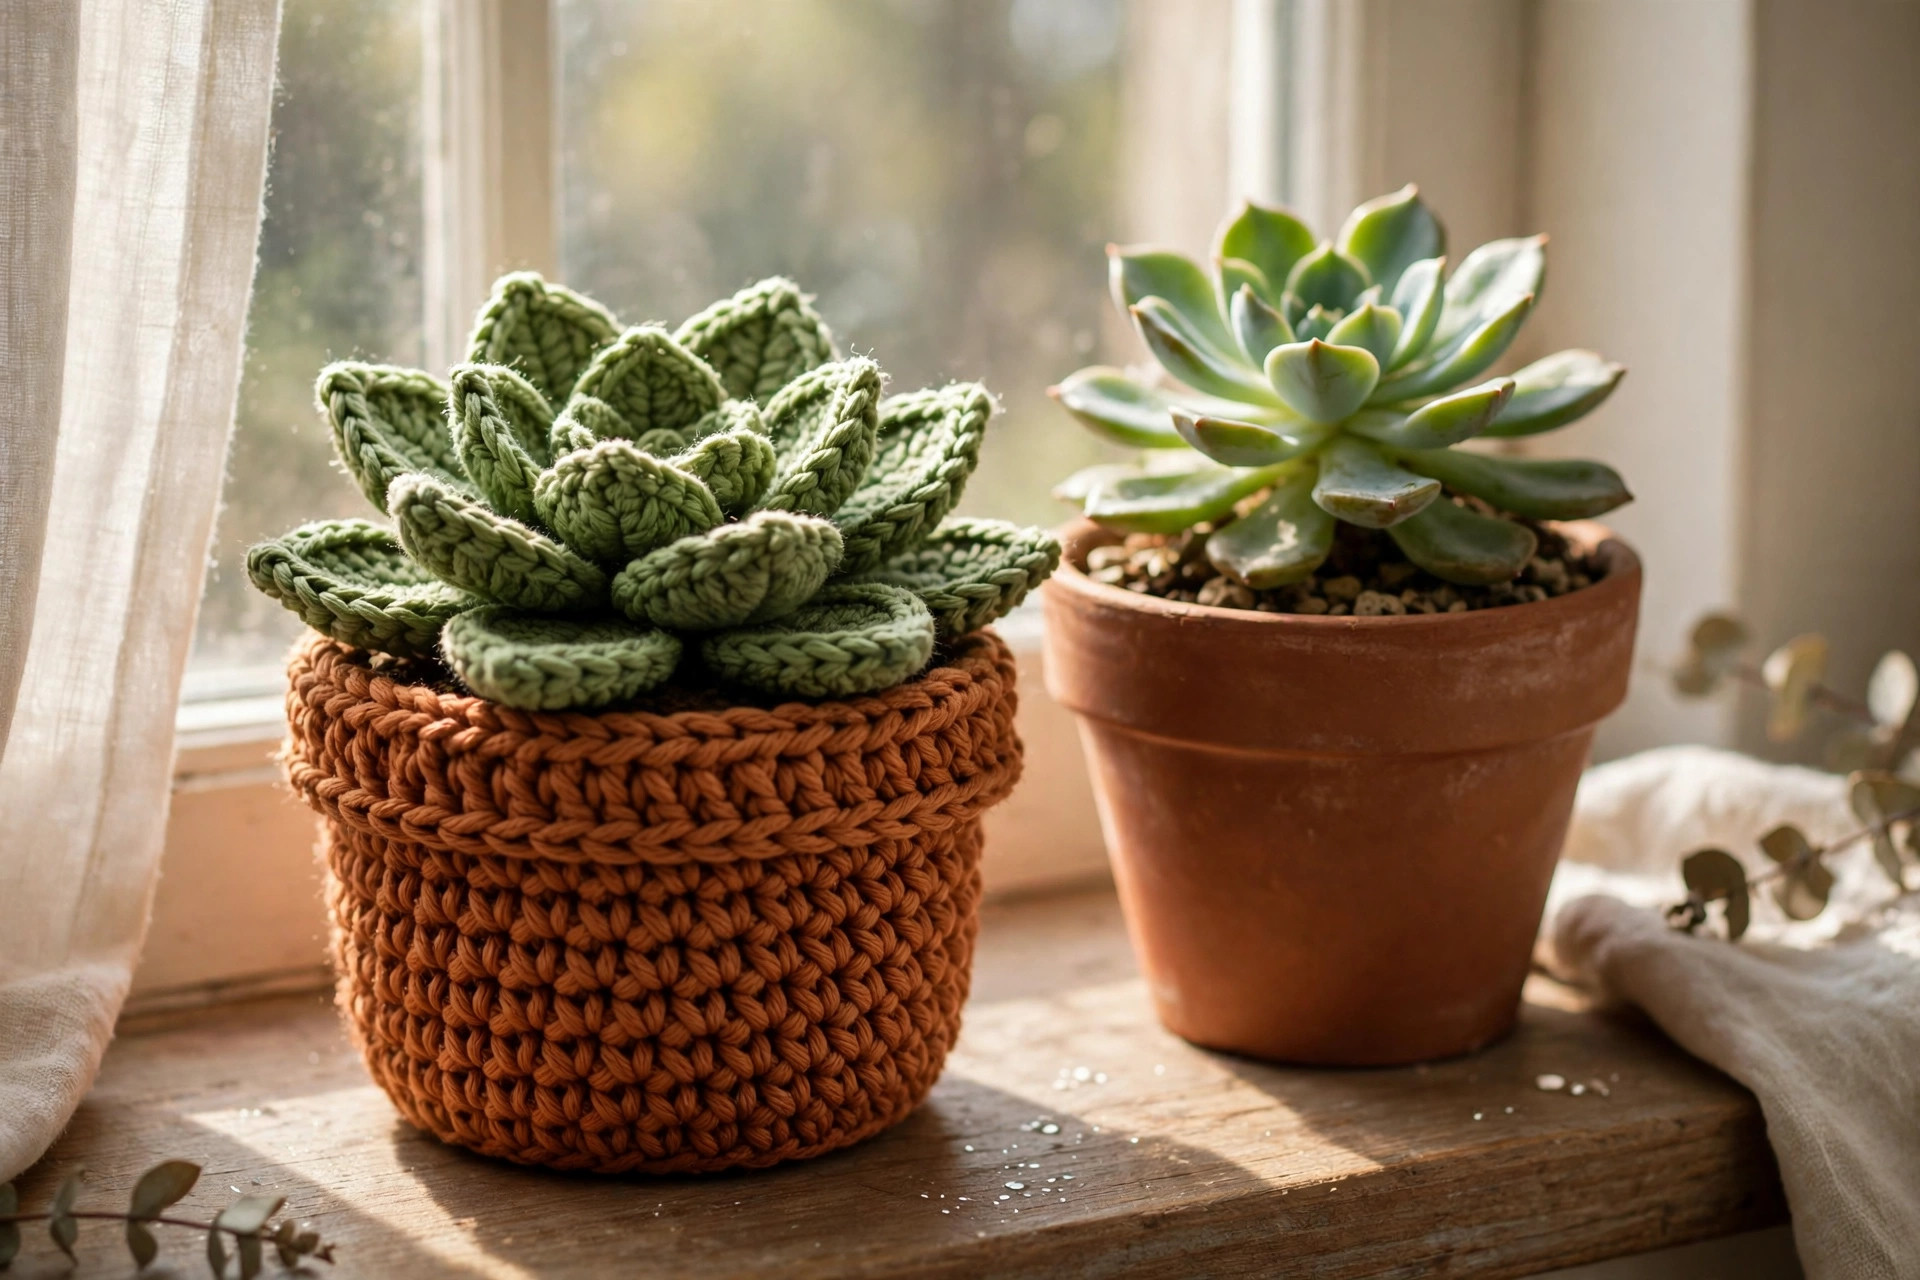
A crochet plant is the houseplant that never needs watering, never wilts in a dark corner, and never minds if you go away for a fortnight. This free crochet plant pattern makes a plump little succulent in a terracotta pot, with layered green leaves and a neat rimmed pot, all worked in simple stitches. It sits happily on a desk, a windowsill, or a bookshelf, and it makes a thoughtful gift for anyone who loves plants but cannot keep one alive.
This is an original Little Loop Finds design, written in US terms and completely free. The plant is made in three parts: a sturdy pot with a rolled rim, a brown soil disc, and two rings of leaves, large ones outside and small ones inside. There is very little sewing, the leaves are quick to make, and the whole plant comes together in an afternoon.
A quick note on scope: this post is about a potted plant amigurumi, a cute succulent in a crochet pot that sits on a shelf or desk. If you want plants that hang instead, our crochet hanging plants free pattern is the trailing vine version, made for a hook on the wall or ceiling.
Key Takeaways
- Free original pattern: this crochet plant pattern is a Little Loop Finds original design, written in US terms, and completely free.
- A plant that never wilts: a plump succulent in a terracotta pot, perfect for desks, windowsills, and gifts for forgetful plant owners.
- Quick afternoon make: about 3 hours from first stitch to finished plant, with leaves that take about 10 minutes each.
- Beginner friendly: the whole plant uses single crochet, half double crochet, and double crochet, with a stitch count at the end of every round.
- Endlessly adaptable: change the pot color, add a flower, or swap the succulent for a cactus, and you have a whole windowsill garden.
Table of Contents
- Why You Will Love This Crochet Plant
- Finished Size, Skill Level, and Time
- Materials You Need
- Abbreviations (US Terms)
- Gauge and Sizing Notes
- Part 1: The Terracotta Pot
- Part 2: Soil Disc
- Part 3: Succulent Leaves
- Part 4: Assembly and Finishing
- Variations: Cactus, Flowering Succulent, and Herb Pots
- Troubleshooting Crochet Plants
- Care Instructions
- Frequently Asked Questions
Why You Will Love This Crochet Plant
There is something quietly joyful about a plant that is always green. Real succulents are famously hard to kill, but even they sulk in a dark office or a north facing room. A crochet succulent stays plump and bright through winter, through holidays, and through the darkest corner of the house, and it never drops a leaf on the carpet.
This plant is also a wonderful stash buster. The pot needs only a small amount of terracotta yarn, the leaves need a few yards of green, and the soil disc is a scrap of brown. If you have oddments of DK yarn in greens, you can make a whole shelf of plants in different shades, each one slightly different, like a real collection.
If you enjoy small amigurumi that brighten a room, this plant sits happily beside other quick makes. Our crochet leaf pattern teaches the leaf shapes that this succulent builds on, and our puff flower crochet pattern makes a sweet flower to perch on top of the finished plant.
Finished Size, Skill Level, and Time
- Finished size: about 5 inches tall and about 4 inches wide, in DK weight yarn. The pot is about 3 inches tall, and the leaves rise about 2 inches above the rim.
- Skill level: Easy. You need a magic ring, chains, single crochet, half double crochet, double crochet, increases, and decreases. The leaves are worked in rows, and the pattern explains each one step by step.
- Time: about 3 hours in total: roughly 45 minutes for the pot, 15 minutes for the soil disc, about 10 minutes per leaf, and 30 minutes for assembly and finishing.
Materials You Need
| Item | What to get |
|---|---|
| Yarn, pot | DK weight (size 3) yarn in terracotta, about 40 yards |
| Yarn, leaves | DK weight (size 3) yarn in two greens, light and dark, about 30 yards in total |
| Yarn, soil | DK weight (size 3) yarn in dark brown, about 15 yards |
| Yarn, flower | A small amount of pink or yellow DK yarn, optional |
| Hook | US G-6 (4.0 mm), or the size that gives you a firm, even fabric |
| Notions | Tapestry needle, scissors, stitch markers, polyester stuffing, a small cardboard circle for the pot base |
DK weight yarn is the best choice for a crochet plant because it shows crisp stitch definition, the leaves hold their shape, and the finished plant is light enough to sit anywhere. Worsted weight yarn works too, and it makes a slightly larger plant, about 6 inches tall. Choose smooth yarns in clear, fresh greens, because the color story is what makes the succulent look alive.
For a set of three plants, you need about 120 yards of terracotta, 90 yards of green, and 45 yards of brown, which is roughly one ball of each color. A cardboard circle cut to fit the base of the pot keeps the plant sitting flat and stops it tipping over.
Abbreviations (US Terms)
- ch = chain
- sl st = slip stitch
- sc = single crochet
- hdc = half double crochet
- dc = double crochet
- inc = increase, 2 sc in the same stitch
- dec = decrease, single crochet 2 stitches together
- st(s) = stitch(es)
- rnd(s) = round(s)
- rep = repeat
- MR = magic ring
- FLO = front loop only
Gauge and Sizing Notes
Gauge for a crochet plant is about keeping the fabric firm enough to hold its shape, not about hitting an exact number. Work the pot first and check that the sides stand up on their own and the stuffing does not show through the stitches. If you can see stuffing between stitches, go down a hook size. If the pot feels stiff and hard to work, go up a hook size. The leaves should feel plump and hold their curve, not flop flat.
To make a smaller plant, work the pot to Rnd 4 instead of Rnd 5 and make eight leaves instead of twelve, for a piece about 4 inches tall. To make a larger plant, add one more increase round to the pot and make sixteen leaves, for a piece about 6 inches tall. The stitch counts in each round are given so you can check your work as you go.
Part 1: The Terracotta Pot
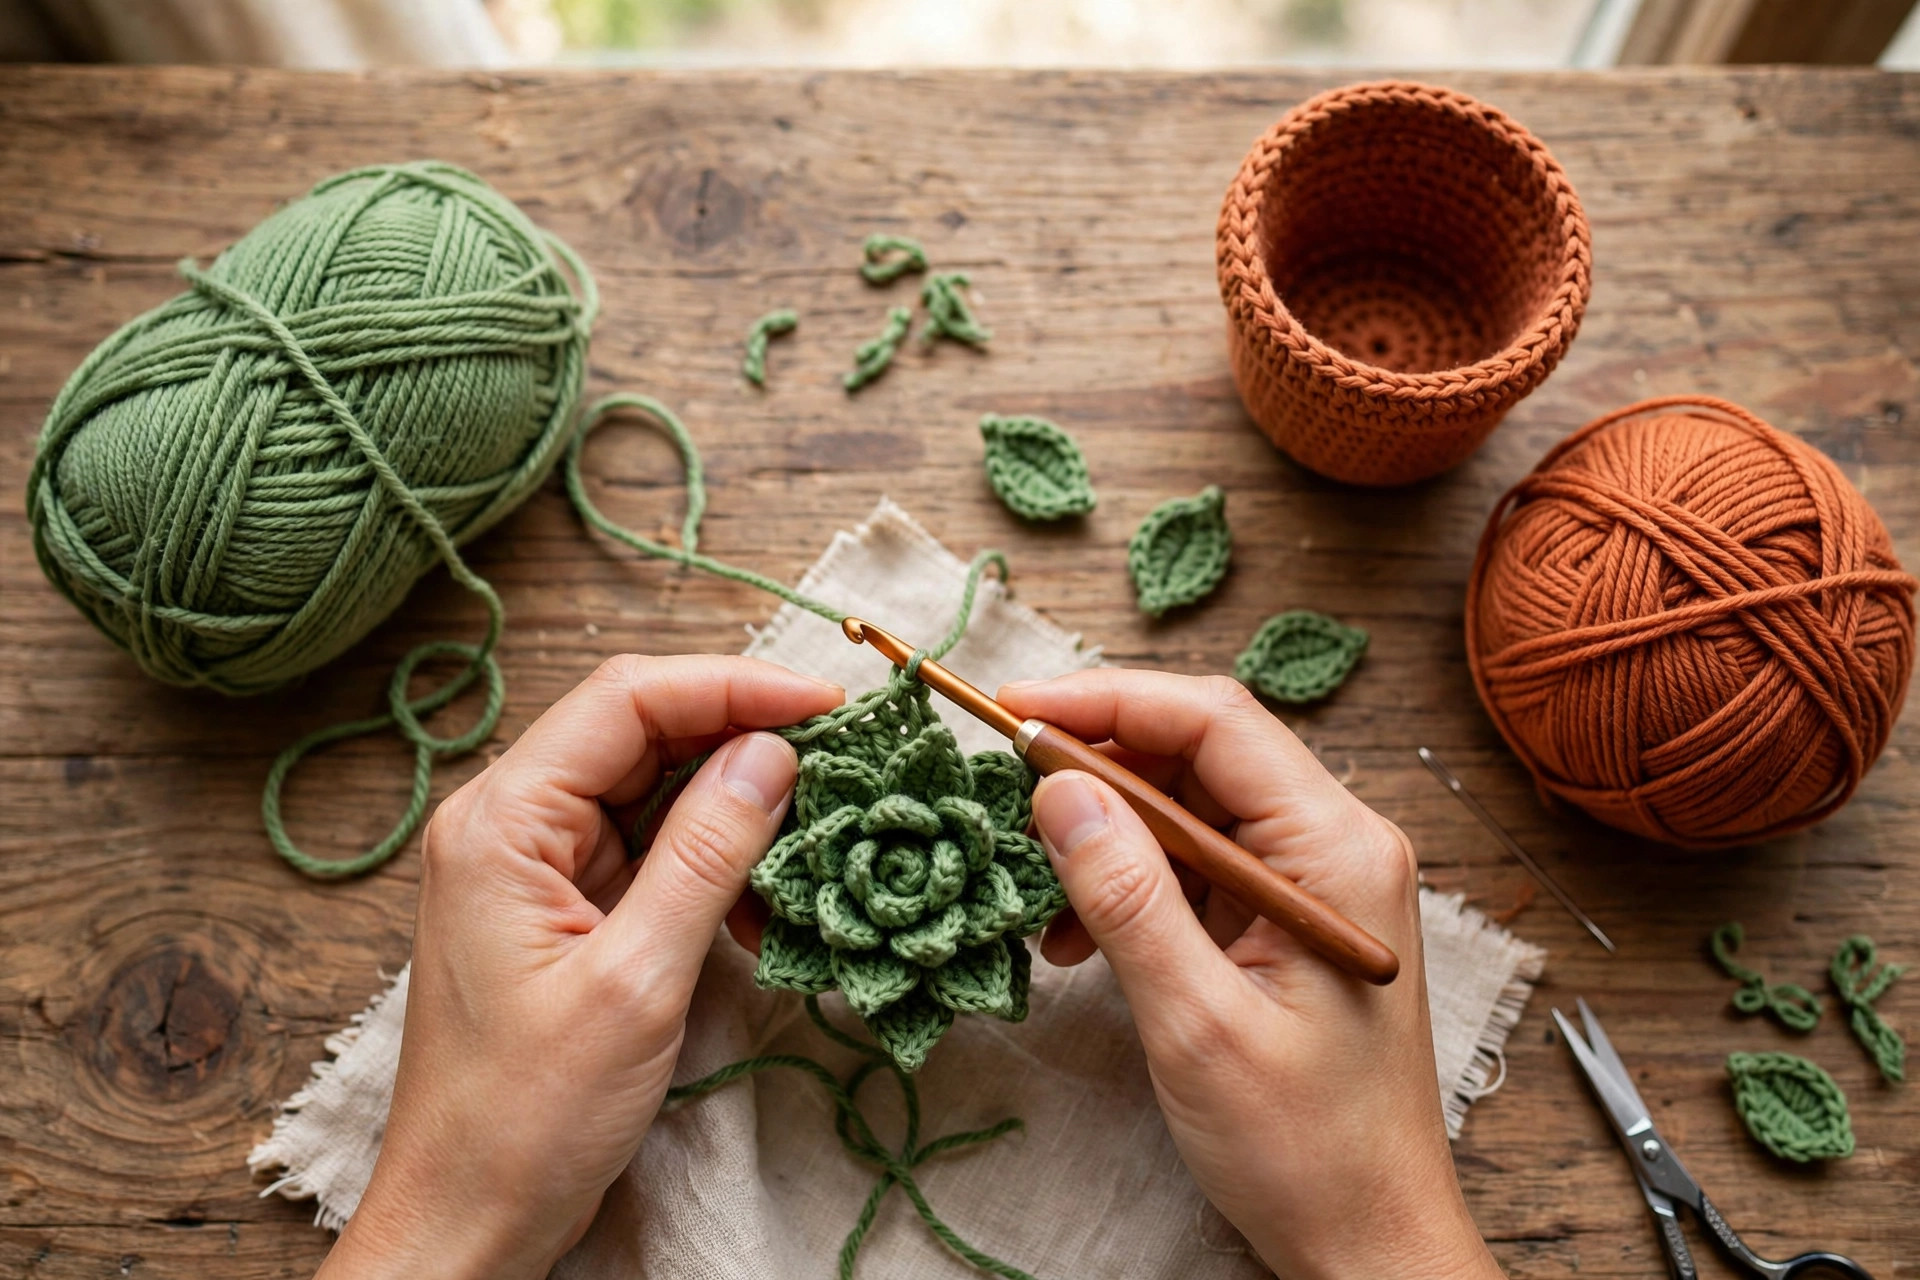
The pot is worked in the round from the base upward, with a flat base, straight sides, and a rolled rim worked in the front loops. Work in continuous rounds, using a stitch marker to mark the first stitch of each round, and stuff the pot lightly as you go so the sides stay firm.
Pot Base and Sides
With terracotta, MR, ch 1.
- Rnd 1: 6 sc in MR. (6 sc)
- Rnd 2: inc in each st around. (12 sc)
- Rnd 3: (sc, inc) rep 6 times. (18 sc)
- Rnd 4: (2 sc, inc) rep 6 times. (24 sc)
- Rnd 5: (3 sc, inc) rep 6 times. (30 sc)
- Rnd 6: (4 sc, inc) rep 6 times. (36 sc)
- Rnds 7 to 11: sc in each st around. (36 sc)
Cut a cardboard circle about 2.5 inches across and slip it into the base of the pot, on top of Rnd 1, so the plant sits flat. Add a small amount of stuffing around the cardboard to fill the base, but do not overstuff: the pot should feel firm, not bulging.
Rolled Rim
- Rnd 12: FLO, (5 sc, inc) rep 6 times. (42 sc)
- Rnds 13 to 14: sc in each st around. (42 sc)
- Rnd 15: sl st in each st around, loosely, to make a neat rolled edge. Fasten off and weave in the end.
The rim should flare gently outward, like the lip of a real terracotta pot. If the rim curls inward, your slip stitches are too tight, so work them loosely or go up a hook size for that round only. The finished pot should measure about 3 inches tall and about 4 inches across at the rim, and it should stand on its own without wobbling.
Part 2: Soil Disc
The soil disc sits inside the top of the pot and gives the leaves something to anchor to. It is a simple flat circle in dark brown, worked slightly smaller than the pot opening so it tucks inside neatly.
With brown, MR, ch 1.
- Rnd 1: 6 sc in MR. (6 sc)
- Rnd 2: inc in each st around. (12 sc)
- Rnd 3: (sc, inc) rep 6 times. (18 sc)
- Rnd 4: (2 sc, inc) rep 6 times. (24 sc)
- Rnd 5: (3 sc, inc) rep 6 times. (30 sc)
- Sl st to the first sc of the round. Fasten off, leaving a long tail for sewing.
The disc should measure about 3.5 inches across, just smaller than the pot opening. If it is too big, it will bulge above the rim; if it is too small, it will sink and leave a gap. A flat disc is the goal, so check it against the pot before you fasten off, and add or remove a round if your tension is different.
Part 3: Succulent Leaves
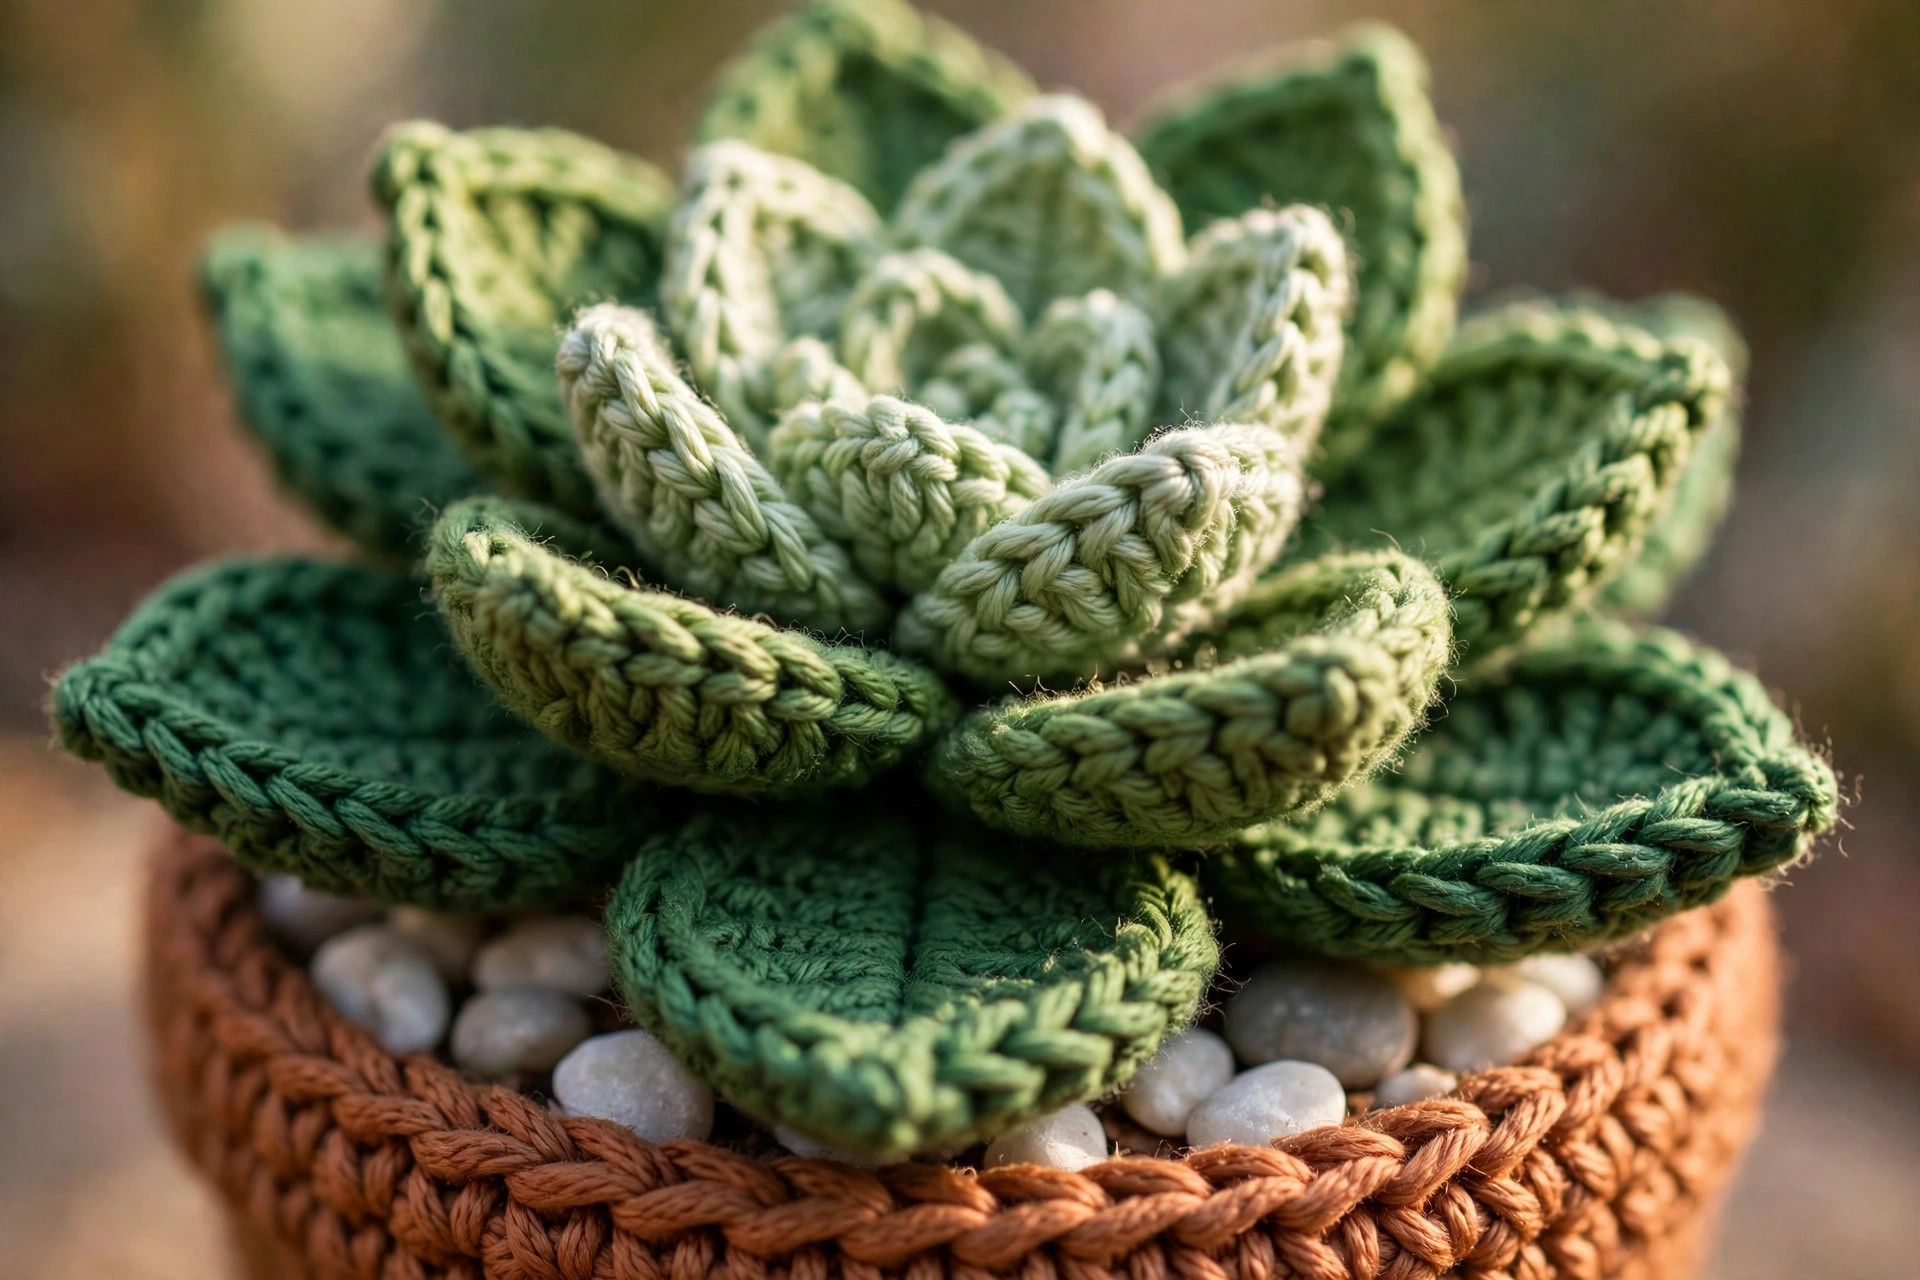
The leaves are the heart of the plant. Each leaf is a small flat oval worked in rows, with a pointed tip and a wider middle, and they are made in two sizes: six large leaves for the outer ring and six small leaves for the inner ring. Work the leaves in two greens, alternating light and dark, so the plant has depth and looks like a real succulent.
Large Leaf (make 6, alternating greens)
Ch 11.
- Row 1: starting in 2nd ch from hook, sc, hdc, dc, dc, dc, hdc, sc, ch 1, turn. (8 sts)
- Row 2: working down the other side of the chain, sc, hdc, dc, dc, dc, hdc, sc. (8 sts)
- Fasten off, leaving a long tail for sewing.
The leaf should be about 2.5 inches long, plump in the middle and pointed at both ends. If your leaf curls, work the stitches a little looser on the next one, and press it gently with your fingers to shape it.
Small Leaf (make 6, alternating greens)
Ch 8.
- Row 1: starting in 2nd ch from hook, sc, hdc, dc, dc, hdc, sc, ch 1, turn. (6 sts)
- Row 2: working down the other side of the chain, sc, hdc, dc, dc, hdc, sc. (6 sts)
- Fasten off, leaving a long tail for sewing.
The small leaf should be about 2 inches long, a neat smaller copy of the large leaf. Make three in light green and three in dark green, so the inner ring has the same color rhythm as the outer ring.
Part 4: Assembly and Finishing
Assembly is where the flat pieces become a plant, so take your time and pin the leaves in place before you sew anything.
Attaching the Soil and Leaves
Place the soil disc inside the top of the pot, about half an inch below the rim, and sew it to the inside of the pot with the brown tail, working a whip stitch around the edge. Stuff a little filling under the disc if it sags, so it sits flat and firm.
Arrange the six large leaves in a ring around the edge of the soil disc, with the pointed tips facing outward and slightly upward, and pin them in place. Sew each leaf to the soil disc with its tail, working two or three stitches through the base of the leaf. Then arrange the six small leaves in an inner ring, standing a little more upright, and sew them the same way. The leaves should overlap slightly, like the petals of a flower, with no big gaps showing the brown soil beneath.
Add a tiny crochet flower to the center if you like: a simple five petal flower in pink or yellow, made from a magic ring of 5 sc with a (ch 2, dc, ch 2, sl st) petal in each stitch, sewn to the middle of the inner ring. It is optional, but it turns a succulent into a little celebration.
Check the plant from every side, trim any loose tails, and give the leaves a gentle fluff with your fingers. Your plant is finished, and it will never need watering.
Variations: Cactus, Flowering Succulent, and Herb Pots
- Little cactus: make the pot the same way, then work a tall green oval instead of leaves, and embroider tiny white cross stitches as spines. Add a pink flower on top. Our crochet mushroom pattern uses the same pot shape for a woodland version.
- Flowering succulent: add three small crochet flowers in pink, yellow, and white to the center of the leaves, so the plant looks like it is in bloom. Our crochet flower pattern free has flower shapes that fit perfectly.
- Herb pot set: make three small plants in a row, one with long thin leaves for chives, one with round leaves for basil, and one with tiny leaves for thyme, and line them up on a kitchen windowsill.
- Hanging version: add a chain loop to the rim and hang the pot from a hook, for a plant that dangles instead of sitting. Our crochet vine pattern free shows how trailing vines are worked for hanging displays.
- Gift set: make three plants in different pot colors, terracotta, sage, and cream, and give them as a matching set in a small wooden tray.
If you enjoyed making a plant that never needs watering, try a whole windowsill garden next, one pot at a time.
Troubleshooting Crochet Plants
- My pot will not stand up straight. The base is too small or the cardboard circle is missing. Check the stitch count at Rnd 6, and add the cardboard circle so the base stays flat.
- My leaves flop flat instead of standing up. The leaves are too loose or too long. Work them a little tighter, and sew the base of each leaf firmly to the soil disc so it stands at an angle.
- My plant looks sparse. You need more leaves, or the leaves are too small. Add two or three extra leaves to the outer ring, and overlap them so no soil shows through.
- My soil disc sinks into the pot. The disc is too small, or there is not enough stuffing under it. Add a small ball of stuffing beneath the disc, and sew the disc to the pot at several points around the edge.
- My rim curls inward. The slip stitch round is too tight. Work the slip stitches loosely, or go up a hook size for that round only.
- My leaves are different sizes. Check the chain count at the start of each leaf, and count the stitches in each row. A leaf that starts with the wrong chain will always come out a different size.
Care Instructions
Dust your crochet plant gently with a soft brush or a dry cloth, and keep it out of direct sunlight for long stretches, so the greens stay bright. If the plant gets dusty, hand wash it gently in cool water with a tiny amount of mild soap, squeeze gently without wringing, and lay it flat to dry, shaping the leaves with your fingers while it is damp. Do not put it in the dryer on high heat, because the pot can shrink unevenly and the leaves can lose their shape. Store finished plants upright on a shelf, not stacked, so the leaves keep their curve.
Frequently Asked Questions
Is this crochet plant pattern good for beginners?
Yes, it is a great beginner amigurumi project. You need to know chains, single crochet, half double crochet, and double crochet, and every round ends with a stitch count, so you can check your work as you go. The leaves are simple rows, and the assembly is forgiving.
How big is the finished plant?
About 5 inches tall and about 4 inches wide, in DK weight yarn with a 4.0 mm hook. Work the pot to Rnd 4 and make eight leaves for a small 4 inch version, or add an increase round and make sixteen leaves for a large 6 inch version.
How long does it take to crochet a plant?
About 3 hours in total: roughly 45 minutes for the pot, 15 minutes for the soil disc, about 10 minutes per leaf, and 30 minutes for assembly and finishing. It is a perfect weekend afternoon project.
What yarn is best for a crochet plant?
DK weight yarn is the best choice, because it shows crisp stitch definition and the leaves hold their shape. Worsted weight yarn works too, and it makes a slightly larger plant, about 6 inches tall.
Can I make a cactus instead of a succulent?
Yes, the pot and soil disc are the same. Work a tall green oval instead of leaves, embroider tiny white cross stitches as spines, and add a pink flower on top. The variations section above has the full idea.
Do I need to water a crochet plant?
No, never. A crochet plant needs no water, no sunlight, and no feeding. Just dust it now and then, and it will stay green all year round.
Can I sell items made from this pattern?
Yes, you may sell finished crochet plants made from this free pattern, with credit to Little Loop Finds. Please do not sell or republish the pattern text itself.
Happy stitching, and may your windowsill stay green all year long, with no watering can in sight.