Tree of Life Crochet Pattern (Wall Hanging)
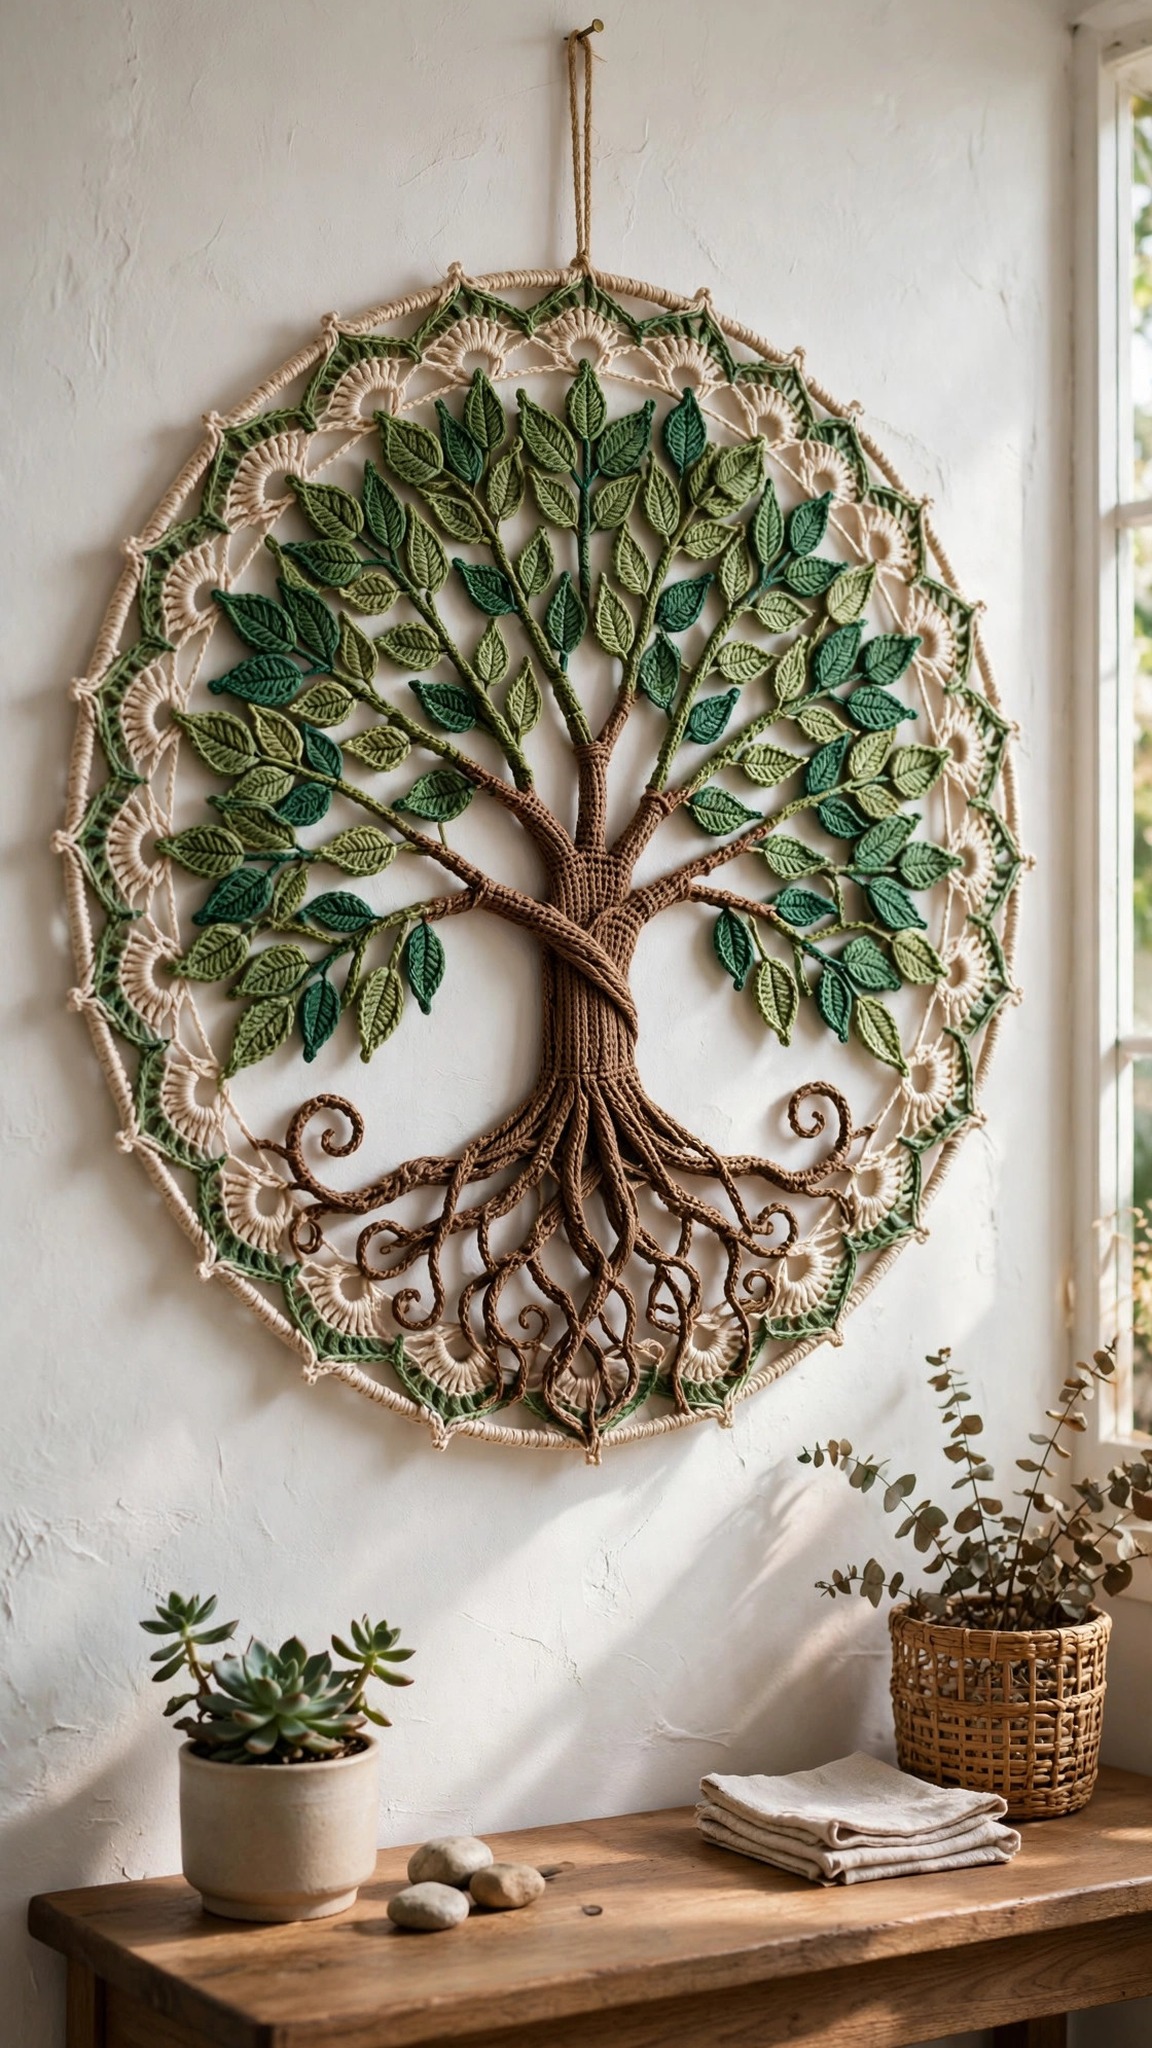
Crochet a tree of life mandala wall hanging in about 4 hours, then hang it in a wooden hoop for a calm handmade touch.

Patterns · Crochet
- Finished size
- 12 in wide
- Making time
- 4 hours
- Hook
- US H-8 (5.0 mm)
- Set
- Wall hanging, hoop
- Skill
- Intermediate
In this post
- Key Takeaways
- Table of Contents
- Why You Will Love This Tree of Life
- Finished Size, Skill Level, and Time
- Materials You Need
- Abbreviations (US Terms)
- Gauge and Sizing Notes
- Part 1: The Circle Base
- Part 2: The Trunk, Branches, and Roots
- Part 3: The Border, the Hoop, and Assembly
- Variations: Colors, Sizes, and Uses
- Troubleshooting a Tree That Does Not Look Right
- Care Instructions
- Frequently Asked Questions
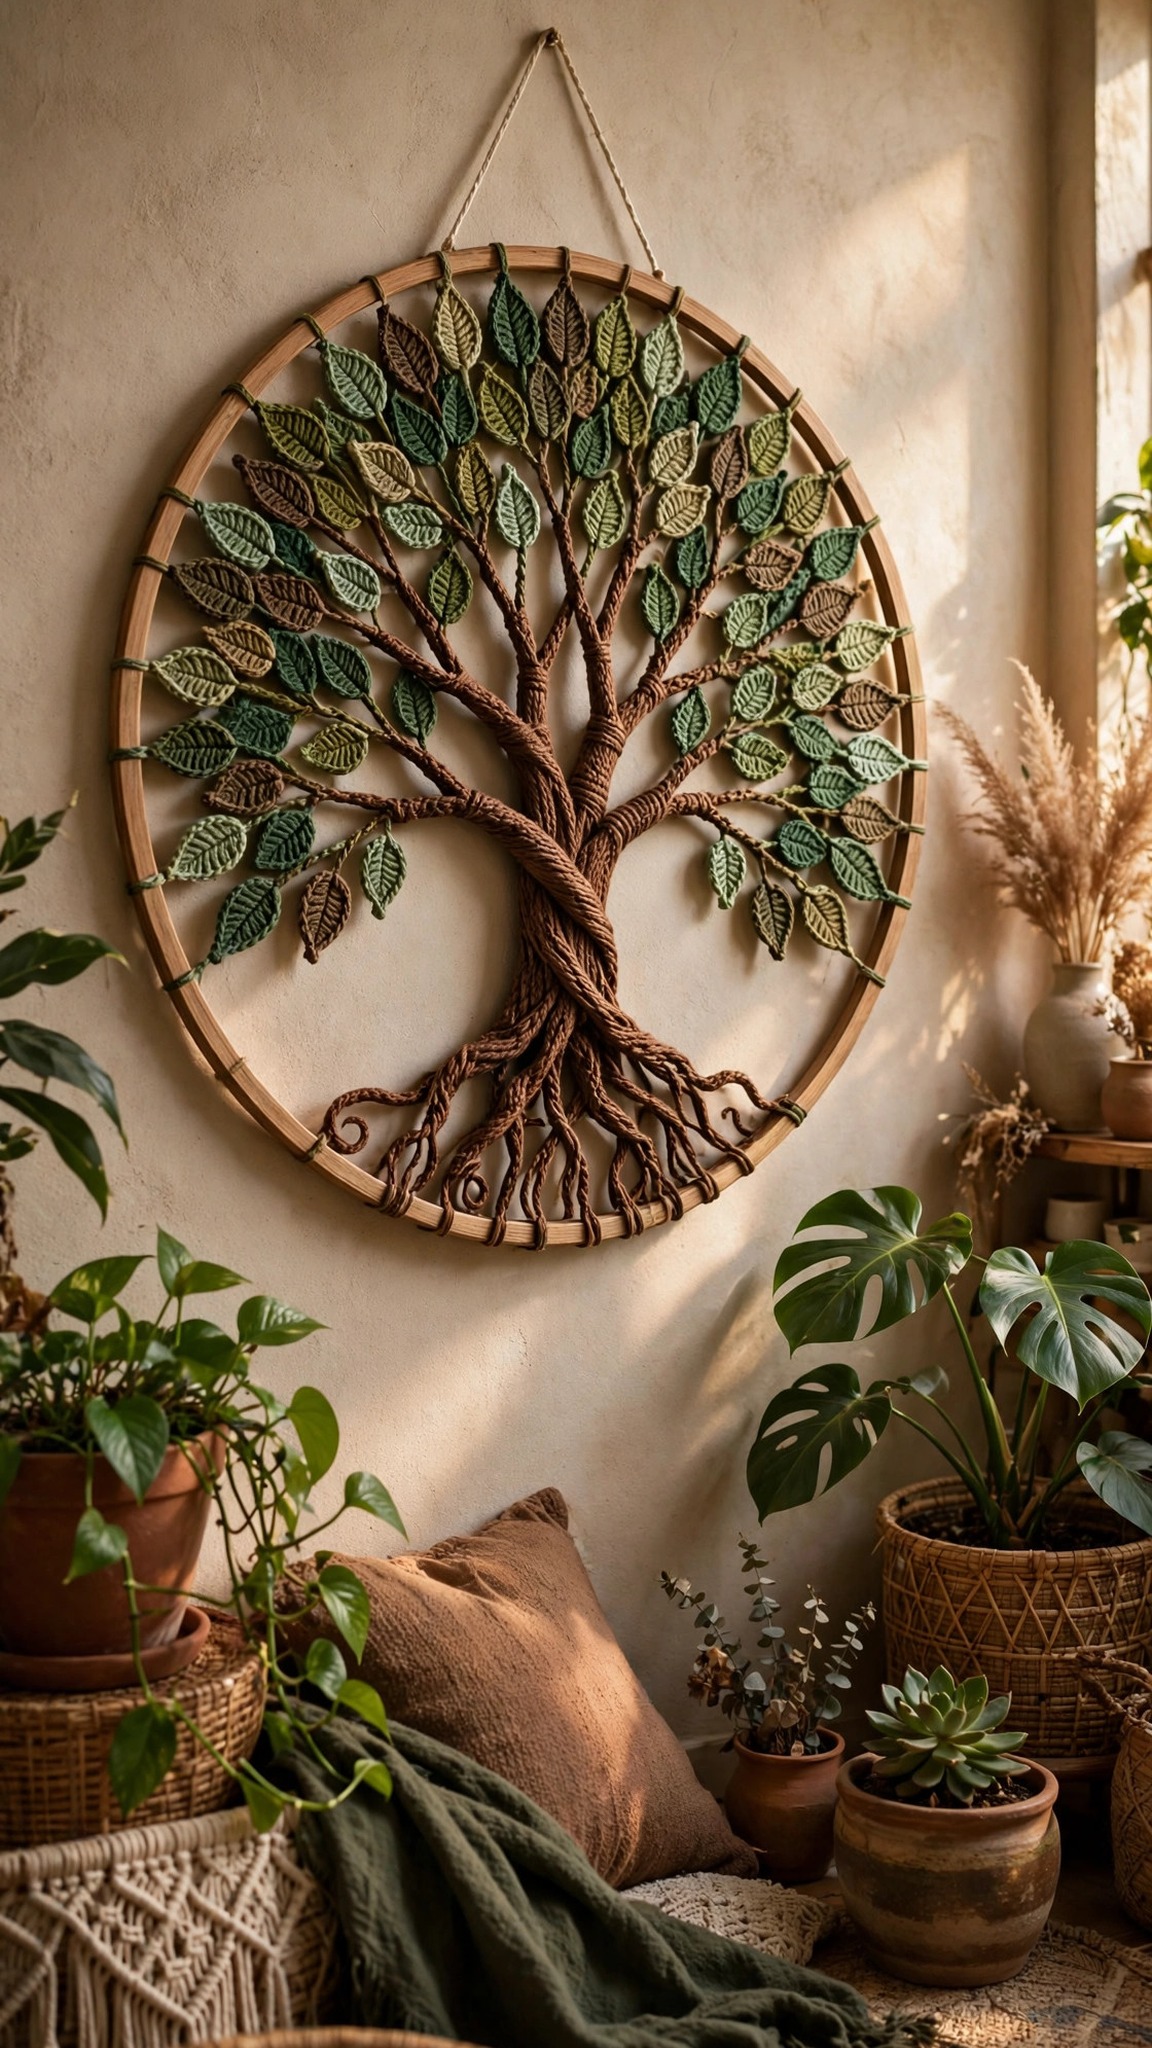
A tree of life wall hanging brings a calm, handmade feeling to any room. This tree of life crochet pattern makes a circular mandala with a spreading tree, leafy branches, and curling roots, worked in soft cotton yarn and finished in a wooden hoop. It takes about 4 hours, uses less than two skeins of yarn, and makes a beautiful piece of home decor for your own wall or as a thoughtful handmade gift.
This is an original Little Loop Finds design, written in US terms and completely free. The tree is worked as a flat circle in rounds, then the trunk, branches, and roots are added with surface crochet on top of the circle, so you build the picture stitch by stitch and there is no sewing of separate pieces.
A quick note on scope: this post is about one specific tree of life crochet pattern, a circular mandala style wall hanging about 12 inches wide, finished in a wooden hoop. That makes it different from a square tapestry, which is worked flat in rows and hung from a rod, and different from a tree of life blanket, which is a much larger project. This piece is wall art, made to hang in a hoop.
Key Takeaways
- Free original pattern: a Little Loop Finds original design, written in US terms, and completely free.
- A circular wall hanging: a tree of life mandala about 12 inches wide, finished in a wooden hoop.
- Surface crochet tree: the trunk, branches, and roots are worked on top of a flat crochet circle.
- Simple stitches: worked in the round with single crochet and double crochet, plus surface slip stitches.
- A 4 hour project: one wall hanging takes about 4 hours, including the finishing.
Table of Contents
- Why You Will Love This Tree of Life
- Finished Size, Skill Level, and Time
- Materials You Need
- Abbreviations (US Terms)
- Gauge and Sizing Notes
- Part 1: The Circle Base
- Part 2: The Trunk, Branches, and Roots
- Part 3: The Border, the Hoop, and Assembly
- Variations: Colors, Sizes, and Uses
- Troubleshooting a Tree That Does Not Look Right
- Care Instructions
- Frequently Asked Questions
Why You Will Love This Tree of Life
A tree of life is one of the most loved symbols in crochet, because it stands for growth, family, and connection, and it looks beautiful in almost any room. Hang one above a desk, in a hallway, or in a nursery, and it turns a blank wall into something warm and personal. The round mandala shape suits a hoop perfectly, and the green tree against a cream background looks fresh all year round.
The project is simpler than it looks. The base is one flat circle, worked in the round with the same increase pattern repeated. The tree is added afterward with surface crochet, which means you draw the trunk and branches onto the circle with your hook, one line at a time. If you want more wall decor in the same style, our crochet wall hanging pattern is the matching project.
Finished Size, Skill Level, and Time
- Finished size: about 12 inches wide across the hoop, with the crochet circle about 11 inches wide. The tree itself is about 9 inches tall, from the lowest root to the highest branch tip.
- Skill level: Intermediate. You need a magic ring, single crochet, double crochet, increases, and surface slip stitches. The surface crochet is easy to learn, and the pattern explains each step.
- Time: about 4 hours per wall hanging: 2 hours for the circle base, 1 hour for the trunk, branches, and roots, and 1 hour for the leaves, the border, and the hoop finishing.
Materials You Need
| Item | What to get |
|---|---|
| Yarn, background color | Worsted weight cotton yarn in cream, 80 yards |
| Yarn, leaf colors | Worsted weight cotton yarn in sage green and leaf green, 40 yards each |
| Yarn, trunk color | Worsted weight cotton yarn in brown, 30 yards |
| Yarn, accent color | Worsted weight cotton yarn in mustard, 10 yards, for a few leaves |
| Hook | US H-8 (5.0 mm), or the size that gives you the gauge below |
| Hoop | One 12 inch wooden embroidery hoop or metal ring |
| Notions | Tapestry needle, scissors, tape measure, stitch markers |
Cotton yarn is the best choice for a tree of life wall hanging because it holds its shape, shows the stitches clearly, and hangs flat without stretching. Acrylic yarn also works, but it can stretch under its own weight over time, so a cotton piece keeps its round shape better on the wall. Avoid very fuzzy yarns, because they hide the stitches and make the tree hard to see against the background.
A wooden embroidery hoop is the easiest frame, because it grips the edge of the circle and holds it taut. A metal ring also works, and it gives a more modern look. Choose a hoop one inch wider than your finished circle, so the crochet sits inside it with a small gap all round.
Abbreviations (US Terms)
- MR = magic ring
- ch = chain
- sl st = slip stitch
- sc = single crochet
- hdc = half double crochet
- dc = double crochet
- inc = increase (2 sc in the same stitch)
- dec = decrease (sc 2 together)
- st(s) = stitch(es)
- rep = repeat
- RS = right side
- FO = fasten off
Gauge and Sizing Notes
Gauge matters on a wall hanging because the circle must fit the hoop. Work a swatch of 12 sc and 12 rows in the background color. It should be about 3 inches wide and 3 inches tall. If it is wider, go down a hook size. If it is narrower, go up a hook size.
The pattern is written for a 12 inch hoop, with the finished circle about 11 inches wide. To fit a 10 inch hoop, stop the circle after round 10 and work the tree a little smaller. To fit a 14 inch hoop, add two more increase rounds to the circle and space the branches a little wider. Test the fit in the hoop as you go, and keep the circle lying flat on a table after every few rounds.
Part 1: The Circle Base
The wall hanging starts with a flat circle, worked in the round from the center out. Work in continuous rounds.
The Center
With the background color, work in continuous rounds.
- Round 1: MR, 6 sc in the ring. (6)
- Round 2: inc in each st around. (12)
- Round 3: (sc, inc) rep 6 times. (18)
- Round 4: (2 sc, inc) rep 6 times. (24)
- Round 5: (3 sc, inc) rep 6 times. (30)
- Round 6: (4 sc, inc) rep 6 times. (36)
The circle should be a flat round about 5 inches wide. Lay it on a table to check. If the edges curl up, your tension is too tight, so go up a hook size. If the edges ripple, your tension is too loose, so go down a hook size. The circle must sit flat.
The Outer Rounds
With the background color, keep working the circle outward, then switch to the leaf green for the outer ring.
- Round 7: (5 sc, inc) rep 6 times. (42)
- Round 8: (6 sc, inc) rep 6 times. (48)
- Round 9: (7 sc, inc) rep 6 times. (54)
- Round 10: (8 sc, inc) rep 6 times. (60)
- Round 11: (9 sc, inc) rep 6 times. (66)
- Round 12: (10 sc, inc) rep 6 times, changing to leaf green on the last stitch. (72)
Work rounds 13 and 14 in leaf green, with 1 sc in each st around, then fasten off. The two plain rounds in green make a calm outer ring that frames the cream center. The circle should be about 11 inches wide and lie perfectly flat.
Part 2: The Trunk, Branches, and Roots
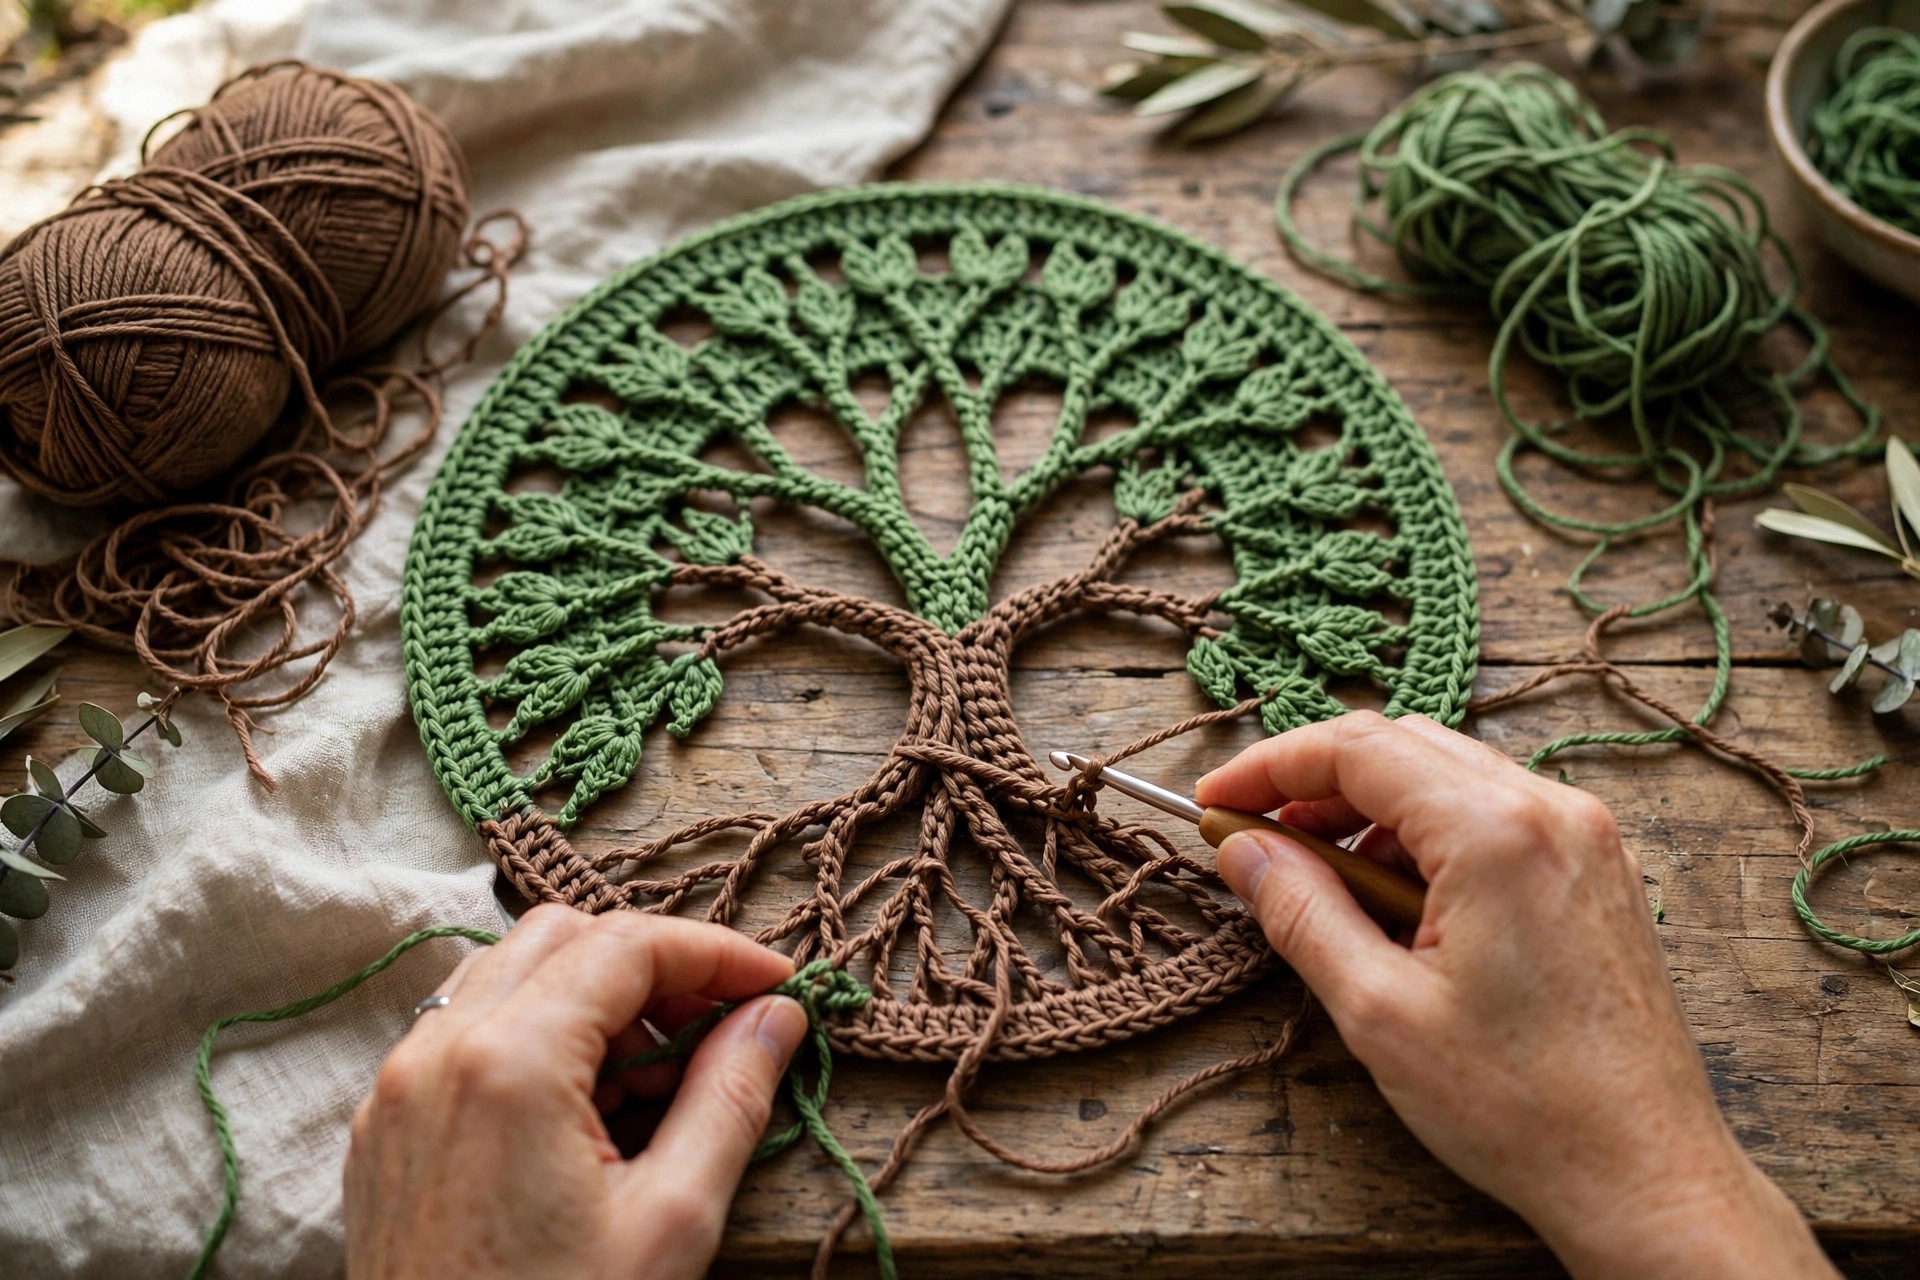
The tree is added on top of the finished circle with surface crochet. Surface crochet means working slip stitches on the surface of the fabric, following a line you choose. Work with the right side of the circle facing up, and keep your surface stitches loose enough that they sit on top of the fabric instead of pulling it in.
The Trunk
With the trunk color, join the yarn with a slip stitch at the bottom center of the circle, about 2 inches above the lower edge, and work surface slip stitches straight up the center for about 3 inches to form the trunk. Work the stitches in a slightly wavy line, not a perfect straight line, so the trunk looks like a real tree. At the top of the trunk, split into two surface lines that curve outward to the left and the right, forming the first two main branches.
To work a surface slip stitch, insert the hook under a stitch of the circle from the front, yarn over with the trunk color from the back, and pull a loop through to the front, then insert the hook under the next stitch and pull a loop through the loop on the hook. Keep the working yarn loose behind the circle, and do not pull the stitches tight, or the circle will pucker. Our crochet tapestry pattern uses the same idea of drawing a picture with yarn on a flat base if you want to practice the surface work first.
The Branches
With the trunk color, work surface slip stitches from the top of the trunk outward, making three branches on each side. Each branch should curve gently upward and outward, reaching toward the green outer ring but stopping just short of it. Make the lower branches the longest and the upper branches the shortest.
Work each branch as one smooth line of surface stitches, and add one short side twig to each branch, curving upward from the middle of the branch. Step back and look at the tree after each branch. The branches should be spread evenly, with gaps between them where the leaves will sit.
The Roots
With the trunk color, work surface slip stitches from the bottom of the trunk downward and outward, making three roots on each side, like a mirror of the branches above. Make the center root the longest, going straight down.
The roots give the tree its balance, because the branches reach up and the roots reach down, and the circle holds them both. Keep the roots the same thickness as the branches, so the whole tree looks like one piece.
The Leaves
With the leaf colors, work small leaf clusters at the end of each branch and along the upper branches. To make one leaf, join the yarn at a branch tip, work (ch 2, 3 dc in the same stitch, ch 2, sl st in the same stitch), then fasten off. This makes a small leaf about half an inch wide.
Work two or three leaves at the end of each branch, using sage green for most of them and leaf green for a few, and add one mustard leaf on each side for a warm accent. Space the leaves so the cream background still shows between them, and keep them small, because a tree with too many leaves hides the branches underneath.
Part 3: The Border, the Hoop, and Assembly
This is the part where the circle becomes a finished wall hanging. Add a neat border round, fit the circle into the hoop, add a hanging loop, and weave in the ends.
The Border Round
With the leaf green, join the yarn at the edge of the circle and work one round of single crochet around the outside, working 1 sc in each stitch and 2 sc in the stitch at the end of each increase line from the base rounds, so the edge stays flat. Join with a slip stitch to the first sc and fasten off, leaving a 24 inch tail for sewing the circle to the hoop.
Fitting the Hoop
Take the wooden embroidery hoop apart into its inner and outer rings. Lay the crochet circle over the inner ring, with the right side facing out and the tree centered, then press the outer ring over it and tighten the screw at the top until the circle is taut but not stretched. The crochet should sit flat in the hoop with no wrinkles, and the tree should sit straight, with the trunk vertical.
Trim the extra fabric at the back, leaving about 1 inch all round, then fold it to the back and sew it to the circle with the long tail, working small whip stitches around the inner ring. This hides the raw edge and holds the circle firmly in the hoop.
The Hanging Loop
With the trunk color, chain 20 and fasten off, leaving a tail at each end. Fold the chain into a loop and sew both ends to the top of the outer hoop, at the screw, with a few firm stitches. The loop should be long enough to hang on a small nail or hook, about 4 inches when folded. Test the hanging loop by holding the piece up by the loop and checking that the tree hangs straight. For a sweet finishing touch, tie a small bow at the top of the hoop using our free crochet bow pattern, which makes a lovely little accent in a matching color.
Final Finishing
Check the finished wall hanging from every side. The circle should be taut in the hoop, the tree should sit straight, and the leaves should be spread evenly. Weave in all the loose ends on the back of the circle, where they will not show, and trim them close.
Variations: Colors, Sizes, and Uses
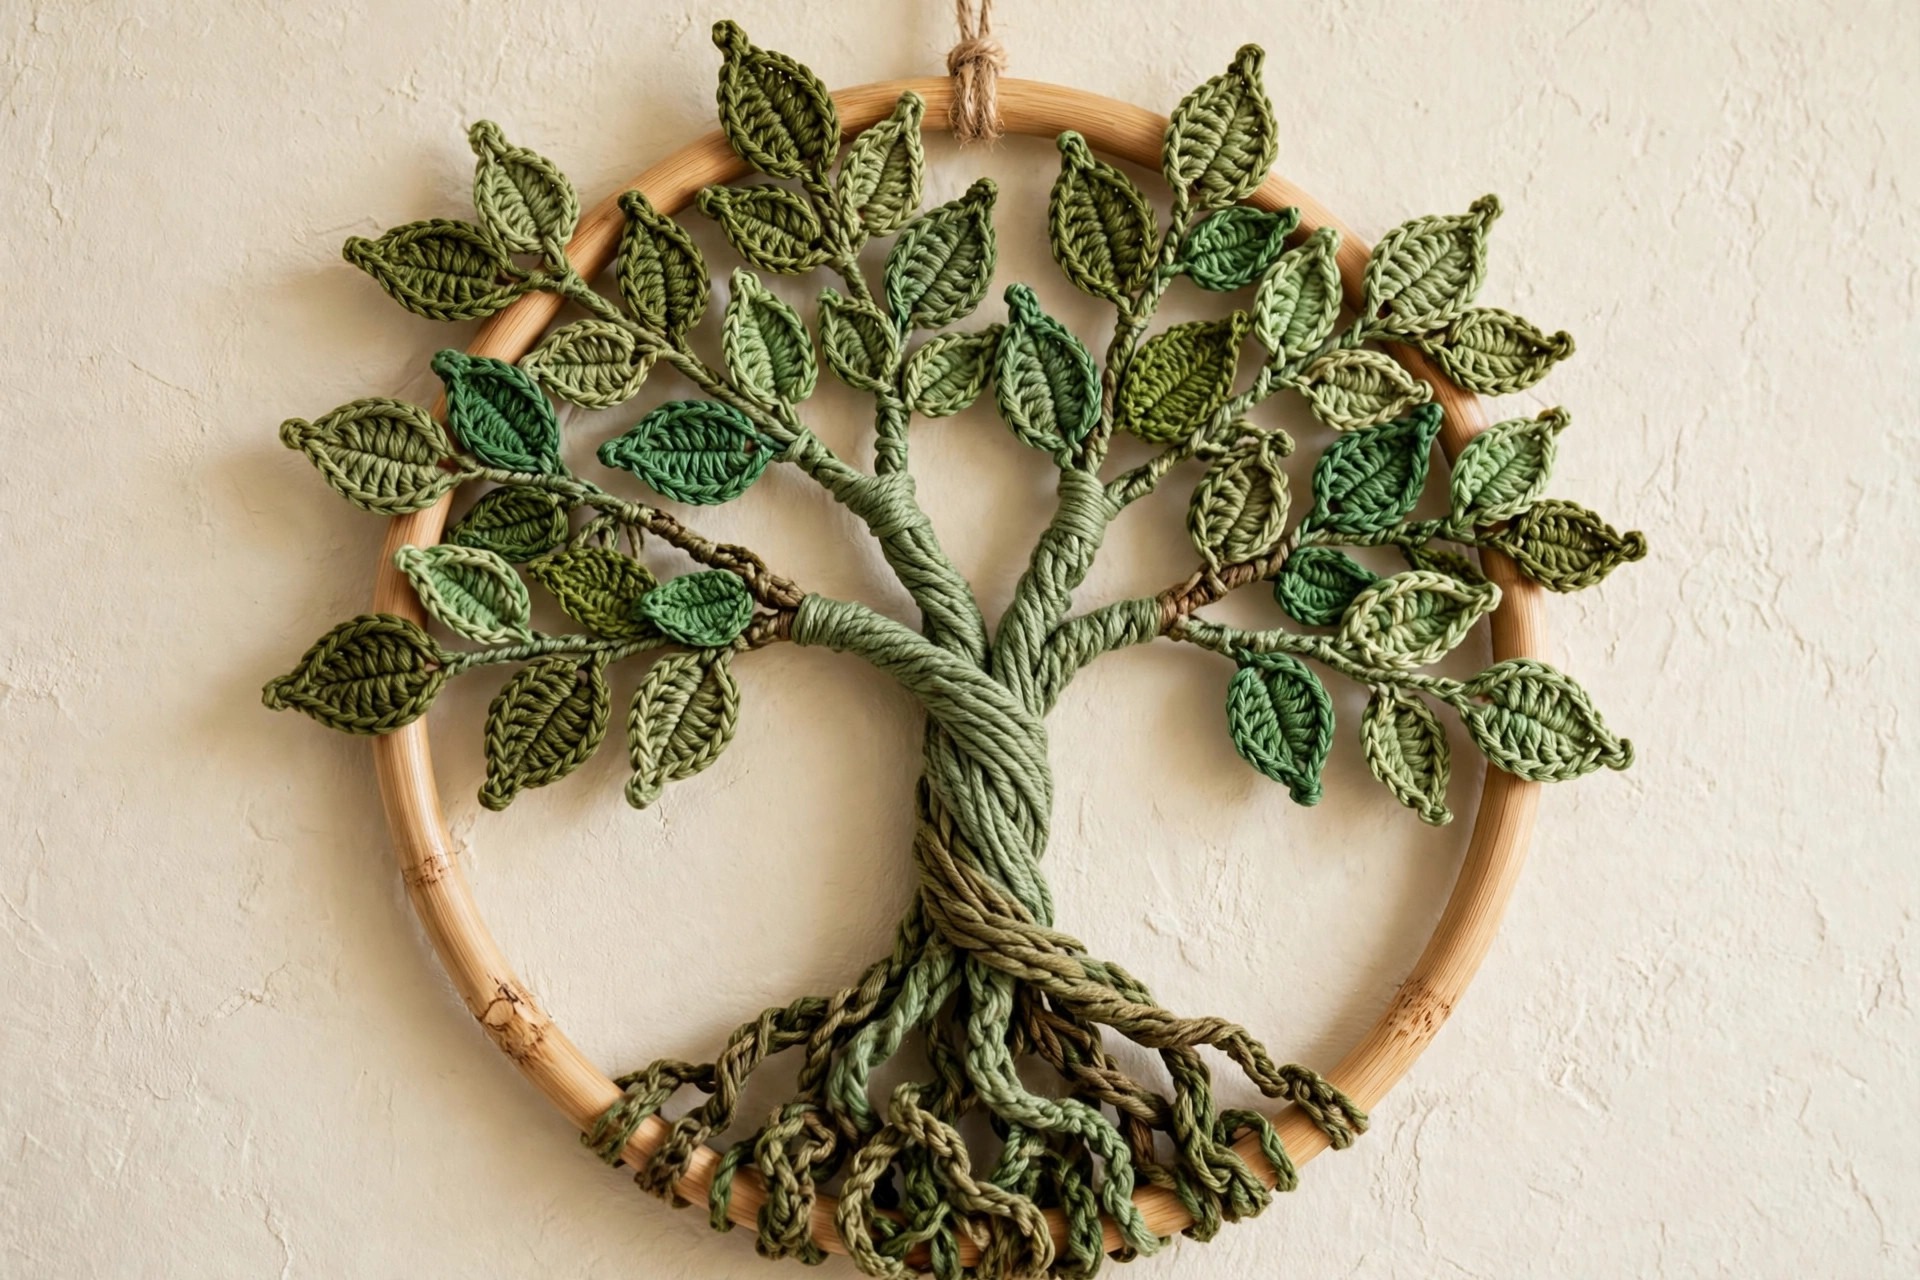
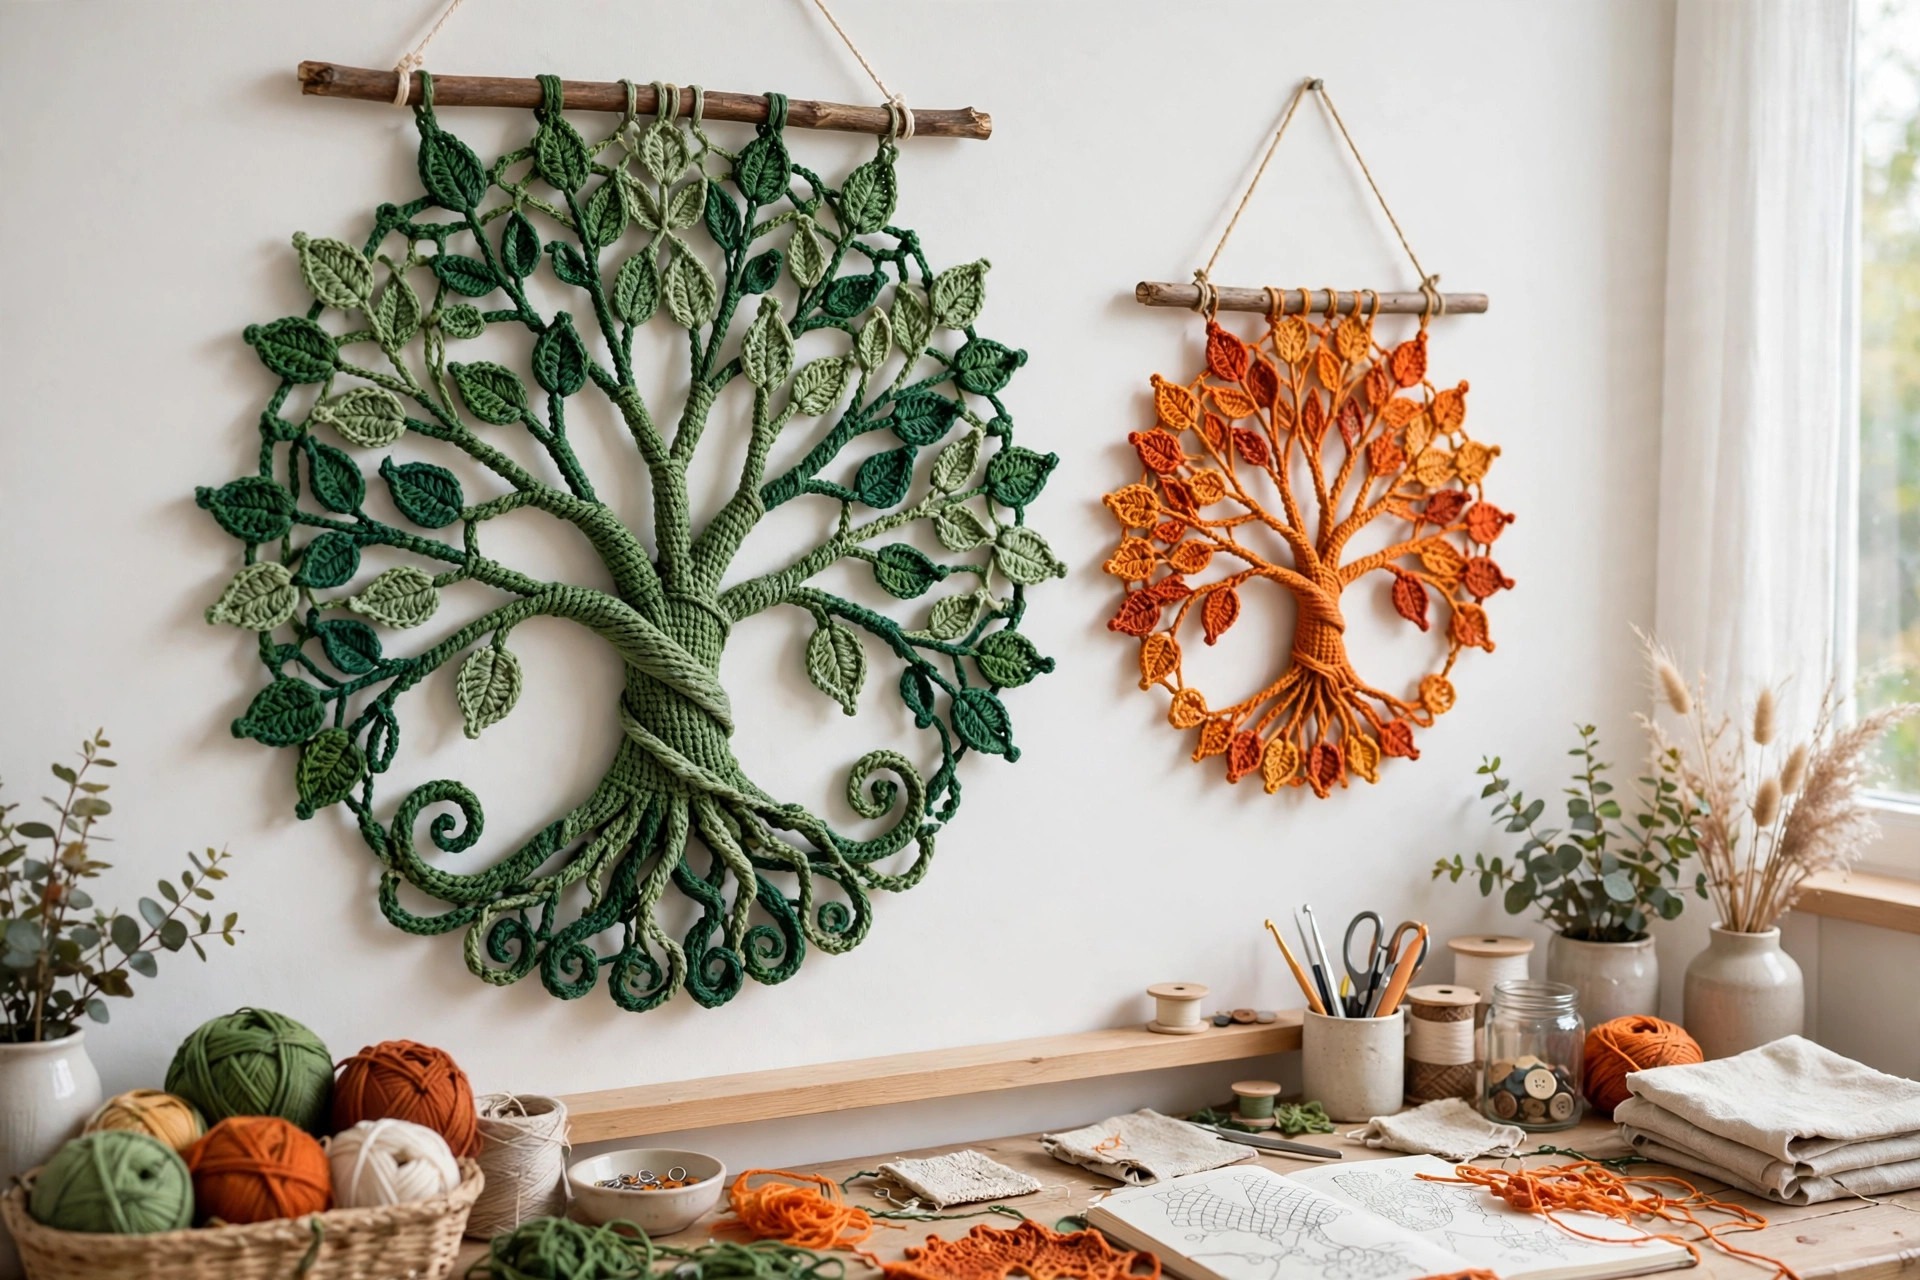
- Classic green tree: work the tree in sage and leaf green with a brown trunk, just as written.
- Autumn tree: work the leaves in mustard, rust, and burgundy for a warm seasonal piece.
- Single color tree: work the whole tree in one color, such as cream on sage green, for a calm modern look.
- Small hoop tree: stop the circle after round 10 for a 10 inch hoop, perfect for a nursery or a small hallway.
- Christmas tree: work the leaves in deep green with a few red and gold accent leaves, and hang it beside our crochet christmas tree pattern for a festive pair.
- Plant room pair: hang the tree of life beside a matching crochet plant hanger pattern for a handmade green corner.
Troubleshooting a Tree That Does Not Look Right
- My circle curls up at the edges. The stitches are too tight. Go up a hook size, and check that the circle lies flat after every increase round.
- My circle ripples and will not lie flat. The stitches are too loose, or there are too many increases. Go down a hook size.
- My surface stitches pucker the fabric. The working yarn is pulled too tight behind the circle. Keep the yarn loose.
- My branches look stiff and straight. Work each branch as a gentle curve, and add a small twig that bends upward.
- My tree looks crowded. There are too many leaves. Remove a few leaves, and leave gaps where the cream background shows through.
- My circle will not fit the hoop. Measure the circle against the hoop, then add or remove an increase round.
Care Instructions
Dust a tree of life wall hanging gently with a soft brush or a dry cloth, and keep it out of direct sunlight so the colors stay bright. If it needs washing, take it out of the hoop, hand wash it in cool water with a mild detergent, and press the water out gently without wringing. Reshape the circle and lay it flat to dry away from direct heat, then fit it back into the hoop when it is fully dry. Do not put the wall hanging in the dryer.
Frequently Asked Questions
Is this tree of life crochet pattern good for beginners?
It is best for an intermediate crocheter. You need a magic ring, single crochet, double crochet, increases, and surface slip stitches. The surface crochet is easy to learn, and the pattern explains each step, so a confident beginner can try it too.
What yarn is best for a tree of life wall hanging?
Worsted weight cotton yarn is the best choice, because it holds its shape, shows the stitches clearly, and hangs flat without stretching. Acrylic yarn also works, but it can stretch under its own weight over time.
How big is the finished wall hanging?
The finished piece is about 12 inches wide across the hoop. The tree is about 9 inches tall.
What is surface crochet, and is it hard?
Surface crochet means working slip stitches on the surface of finished crochet, following a line you choose, so you draw with your hook. It is not hard. You insert the hook under a stitch from the front, pull a loop through from the back, and repeat along the line, keeping the yarn loose behind the fabric.
Can I make this tree of life in different colors?
Yes, the tree works in any color scheme. Try autumn colors in mustard, rust, and burgundy, a single color for a modern look, or deep green with red and gold accents for Christmas.
Can I sell wall hangings made from this pattern?
Yes, you may sell finished wall hangings made from this free pattern, with credit to Little Loop Finds. Do not sell or republish the pattern text itself.
Happy stitching, and may your little tree bring a calm handmade feeling to your wall.