Crochet Christmas Tree Pattern (Classic, Free)
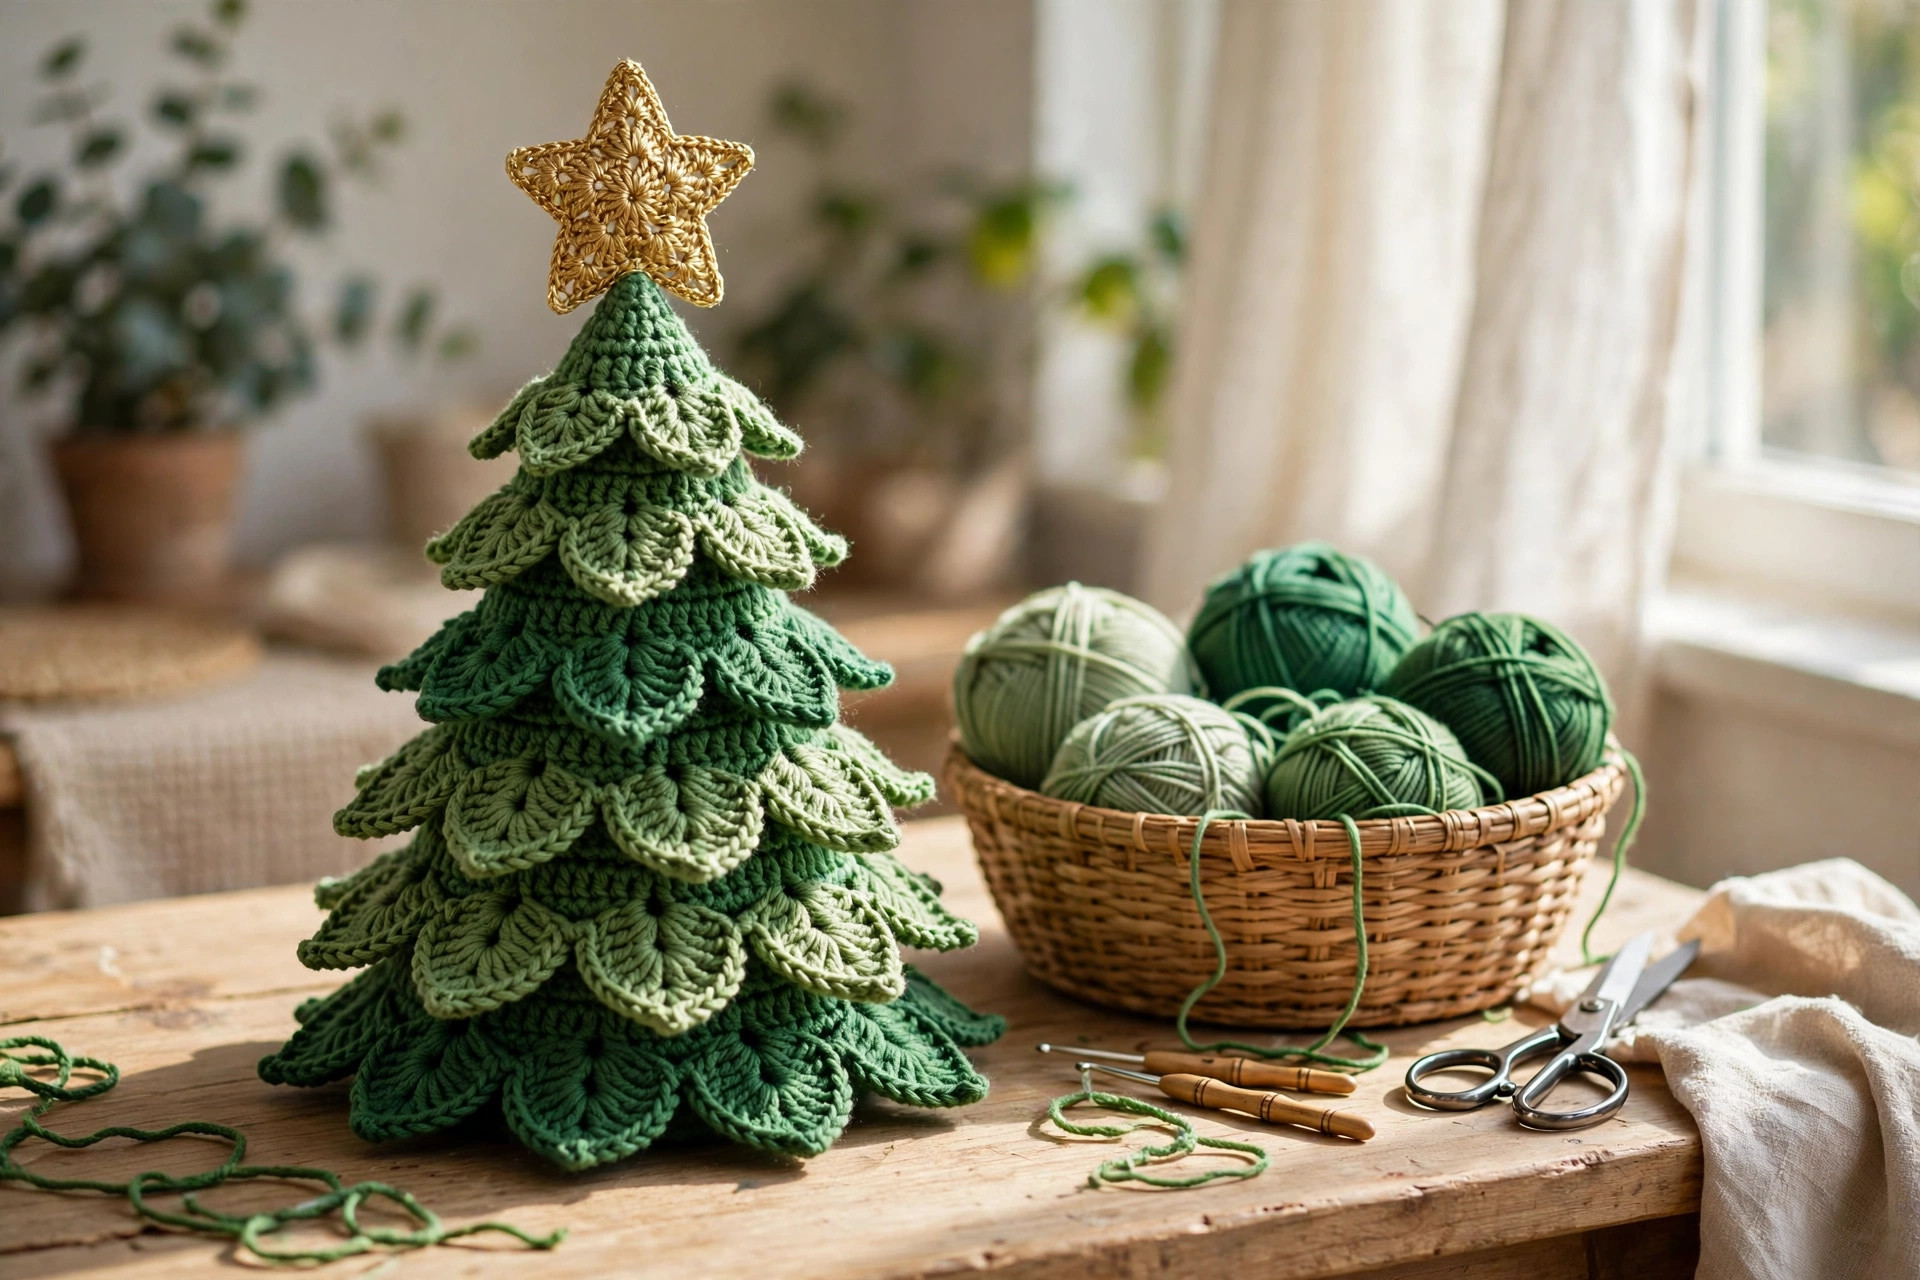
Stitch a classic tiered 3D Christmas tree for your tabletop, complete with trunk, base, and star topper.

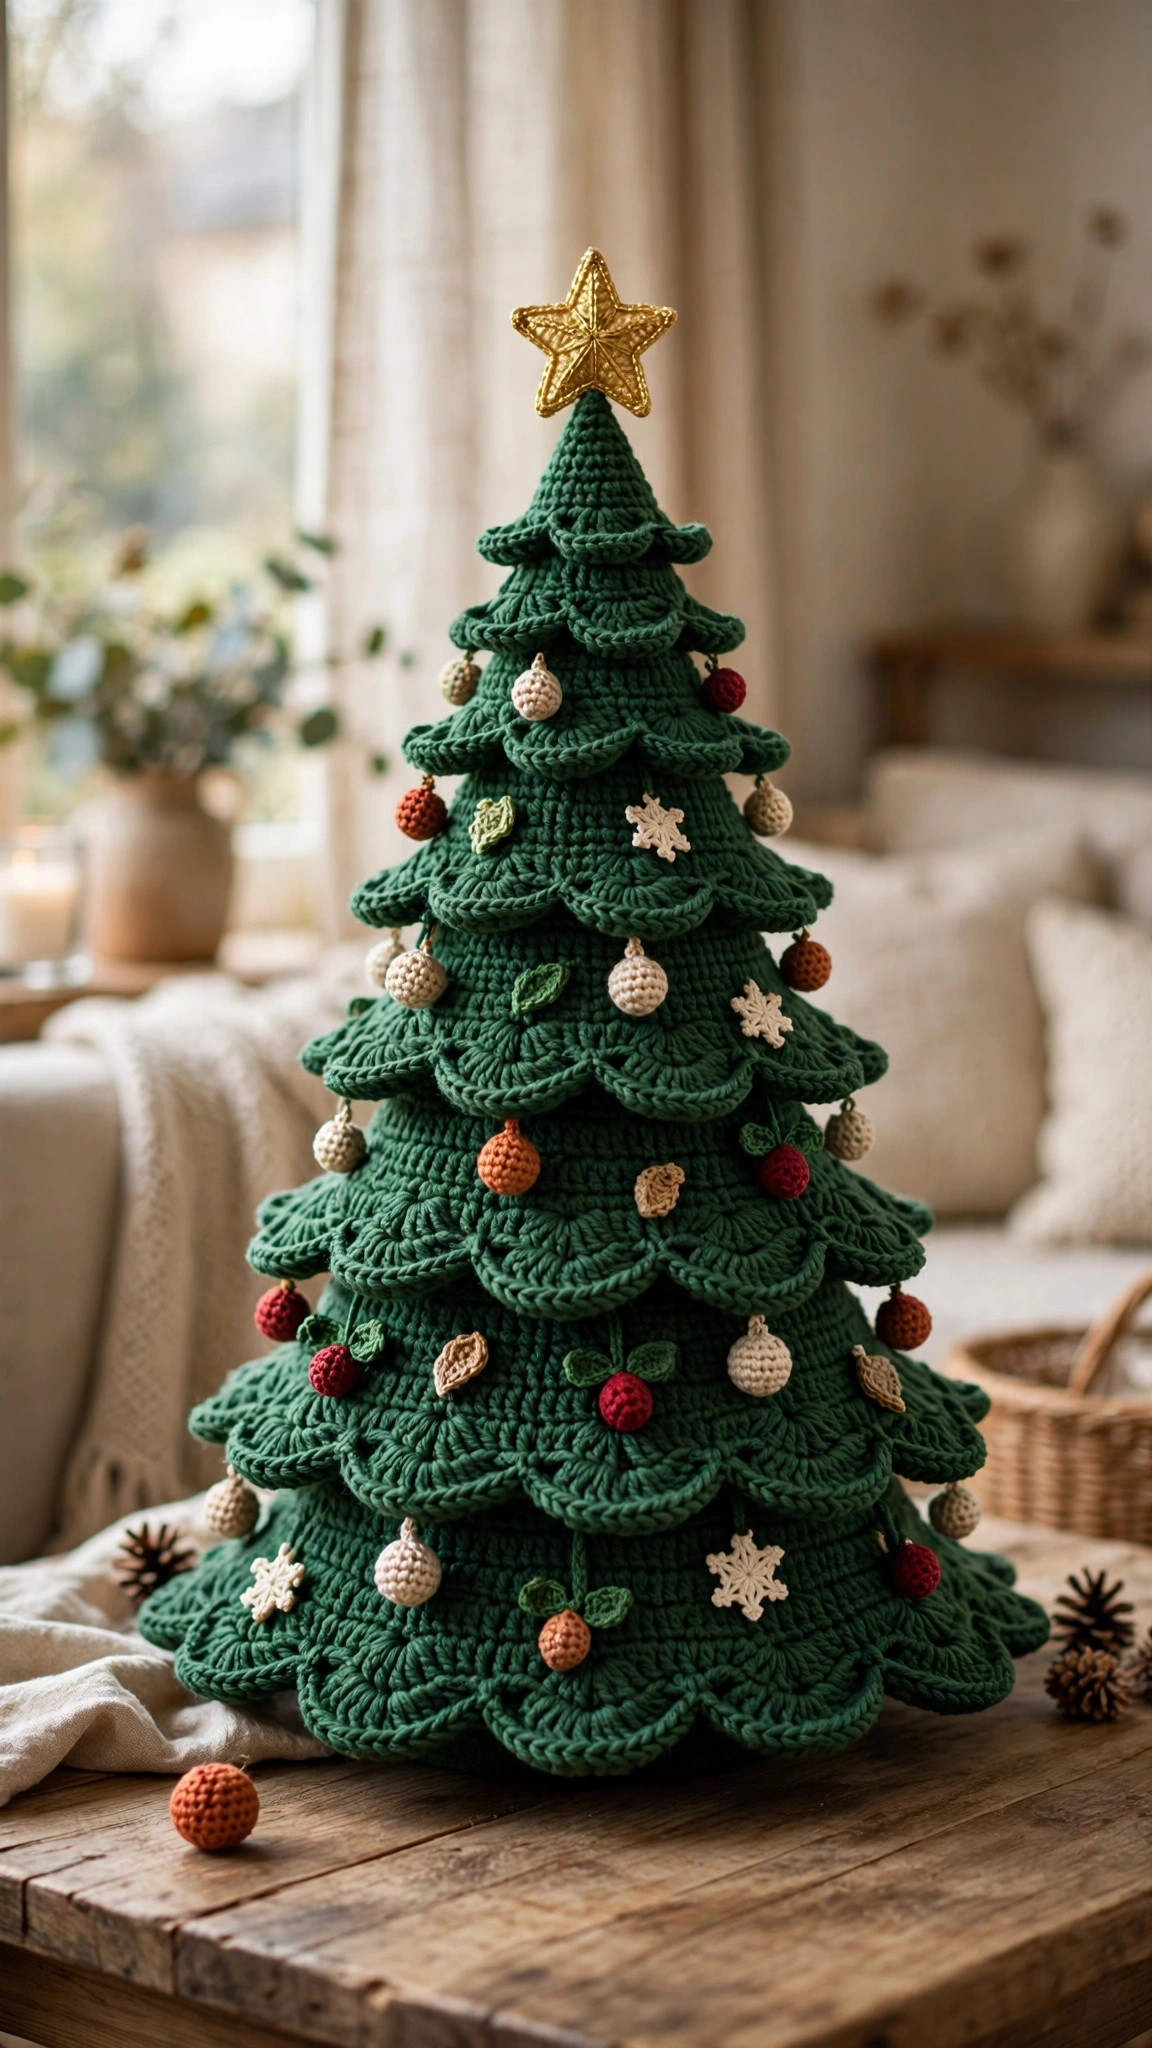
Home Decor · Crochet
- Finished size
- 10 in tall, 7 in wide
- Making time
- 4 to 5 hours
- Hook
- US H-8 (5.0 mm)
- Set
- 3 tiers, trunk, base and star
- Skill
- Easy
In this post
- Key Takeaways
- Table of Contents
- Why You Will Love This Crochet Christmas Tree
- Finished Size, Skill Level, and Time
- Materials You Need
- Abbreviations (US Terms)
- Gauge and Sizing Notes
- Part 1: The Three Tiers
- Part 2: Trunk, Base, and Star Topper
- Part 3: Assembly and Decorating
- Variations: Sizes, Colors, and Snowy Edges
- Troubleshooting Trees That Lean or Wobble
- Care Instructions
- Frequently Asked Questions
There is something quietly magical about a Christmas tree you made with your own hands. It does not need to be big, it does not need to be perfect, and it definitely does not need to shed needles all over the carpet. This free crochet Christmas tree pattern gives you a classic tiered 3D tree for your tabletop, mantel, or windowsill, complete with a sturdy trunk, a little base, and a golden star on top. It looks like the trees from old Christmas cards, the kind with soft rounded layers and room for tiny ornaments, and it folds flat into a box in January without a single argument about storage.
This is an original Little Loop Finds design, written in US terms and completely free. The tree is built from three stacked tiers, each one a simple cone worked in rounds, so you never have to wrestle with complicated shaping. If you can work a magic ring, single crochet, and increases, you can make this tree. The pattern walks you through every tier, the trunk and base, the star topper, and how to stack and join everything so it stands straight year after year. Make one in classic forest green, make a whole woodland in different sizes, or stitch a snowy version with white edging for a winter wonderland mantel.
A quick note on scope: this post is about a freestanding 3D tabletop tree, not a flat applique and not a roundup of ornaments. If you want tiny trees to hang on a big tree, or a blanket to go underneath this one, we have those too, and you will find links to them below.
Key Takeaways
- Free original pattern: this crochet Christmas tree pattern is a Little Loop Finds original design, written in US terms, and completely free.
- Real 3D tabletop tree: three stacked tiers, a trunk, and a base, so it stands on its own on a mantel, shelf, or table.
- Beginner friendly shaping: each tier is a simple cone worked in rounds, with increases you can count easily.
- Weekend project: about 4 to 5 hours from first stitch to star on top, including assembly.
- Endlessly giftable: make one in every size and color for teachers, neighbors, and hostess gifts.
Table of Contents
- Why You Will Love This Crochet Christmas Tree
- Finished Size, Skill Level, and Time
- Materials You Need
- Abbreviations (US Terms)
- Gauge and Sizing Notes
- Part 1: The Three Tiers
- Part 2: Trunk, Base, and Star Topper
- Part 3: Assembly and Decorating
- Variations: Sizes, Colors, and Snowy Edges
- Troubleshooting Trees That Lean or Wobble
- Care Instructions
- Frequently Asked Questions
Why You Will Love This Crochet Christmas Tree
A crochet tree solves all the small annoyances of a real one. No watering, no dropping needles, no cat knocking it over at 2 a.m. (well, a determined cat can still try, but this tree bounces). Add a string of tiny lights or a few mini baubles if you like, but the layered shape and the star carry the whole look on their own.
This design is also a wonderful stash project with a purpose. One skein of green worsted weight yarn makes the whole tree, with yarn left over for a second smaller one. That makes it ideal for gifts, because you can batch the tiers in an evening in front of a holiday movie, then assemble them the next day. Teachers, coworkers, and grandparents all love receiving something that was clearly made for them, and a little tree says "happy holidays" without needing a gift receipt.
Finished Size, Skill Level, and Time
- Finished size: about 10 inches tall (including the star) and 7 inches wide at the widest tier, in worsted weight yarn.
- Skill level: Easy. You need a magic ring, chains, slip stitches, single crochet, half double crochet, and double crochet, plus simple increases.
- Time: about 4 to 5 hours total: roughly 1 hour per tier, 30 minutes for the trunk, base, and star, and 30 minutes for assembly and decorating.
Materials You Need
| Item | What to get |
|---|---|
| Yarn, main color | Worsted weight (medium 4) acrylic or cotton in forest green, about 180 yards |
| Yarn, accents | Small amounts of brown (trunk), gold or yellow (star), and white or cream (optional snow edging) |
| Hook | US H-8 (5.0 mm), or the size that gives you a firm fabric with your yarn |
| Stuffing | Polyester fiberfill, a small handful per tier |
| Notions | Tapestry needle, scissors, stitch markers, pins for assembly |
| Optional decor | Tiny buttons, mini pom-poms, seed beads, or a short string of battery fairy lights |
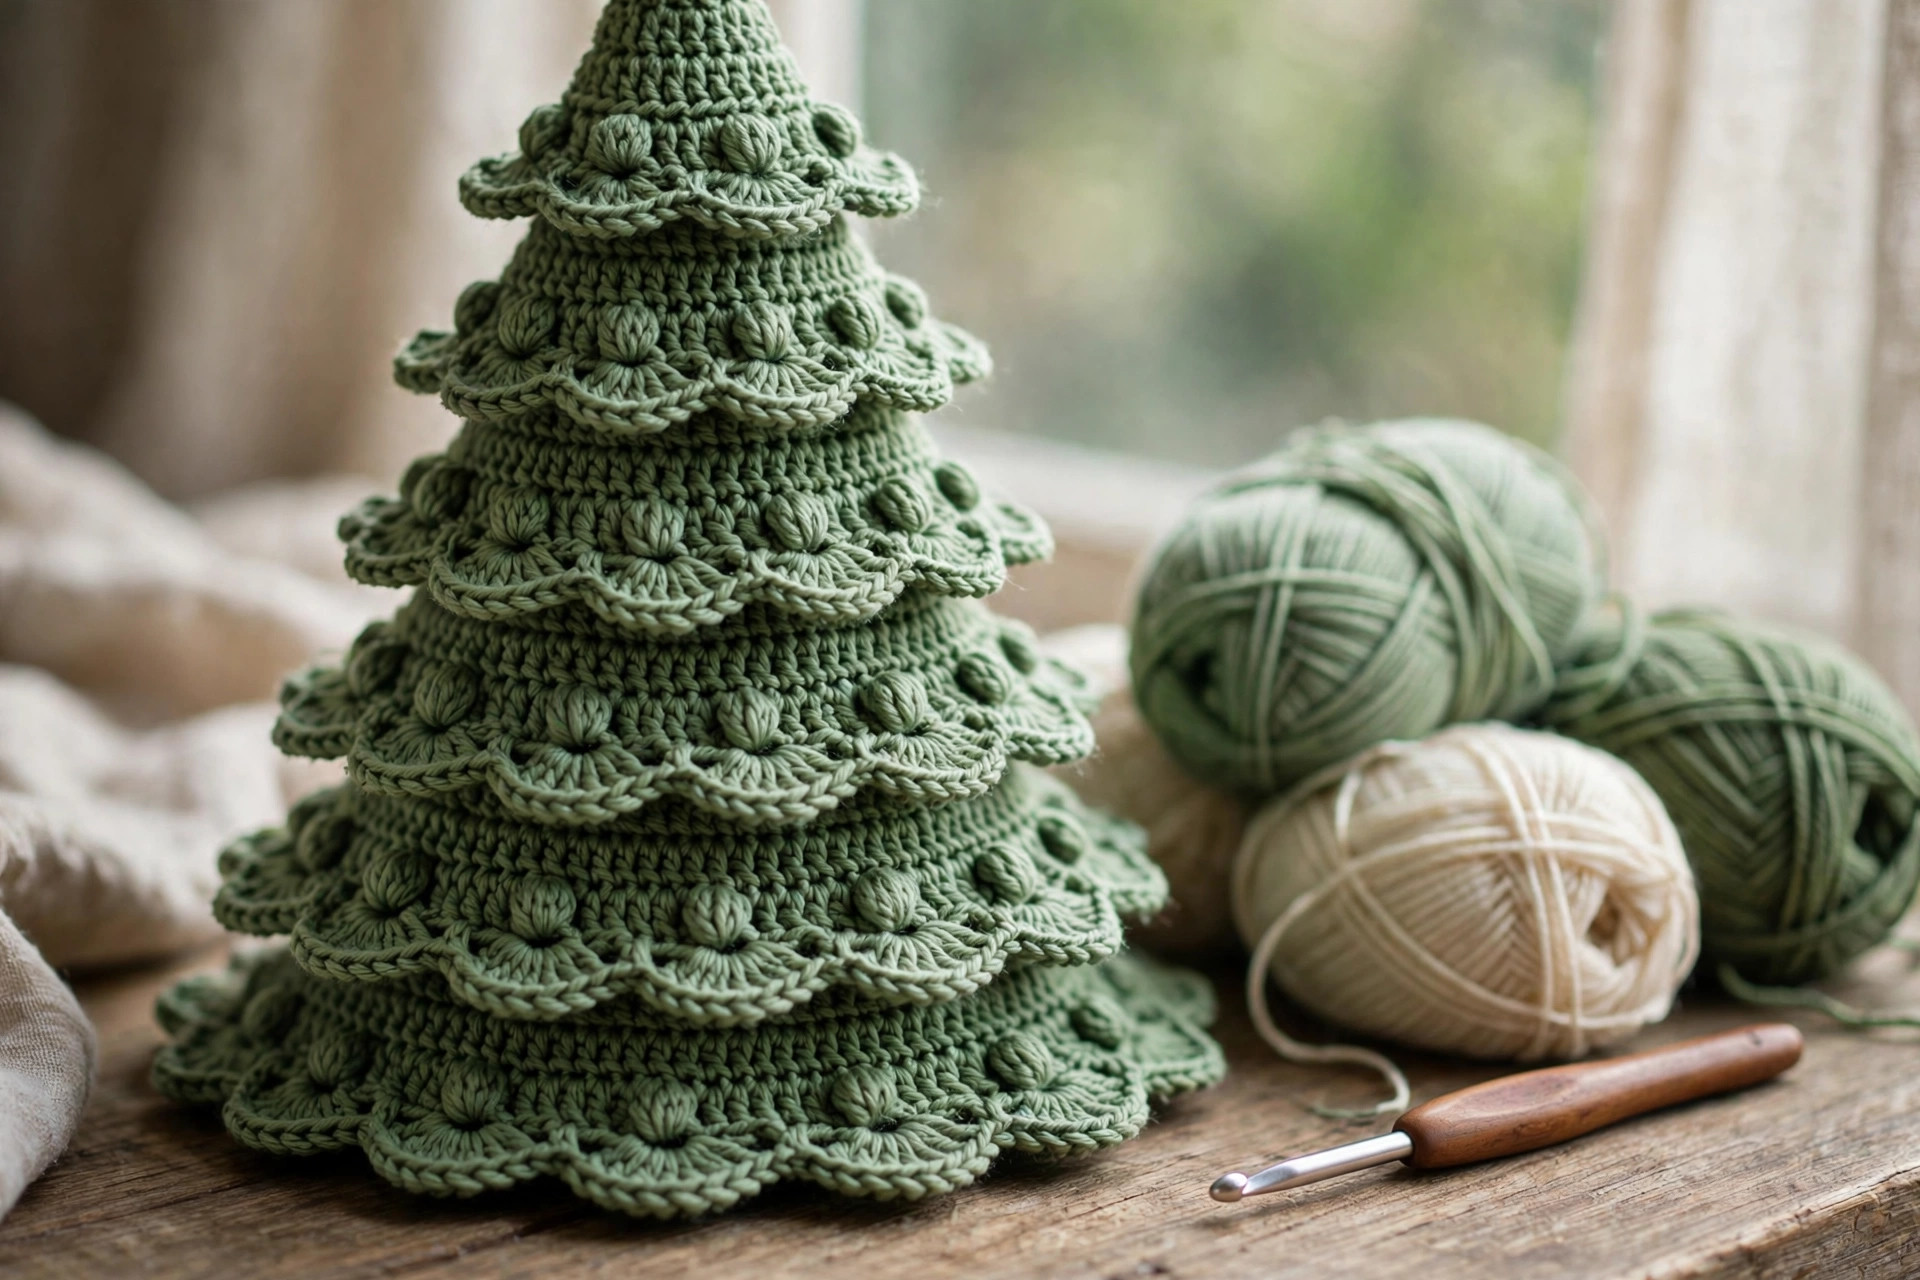
Acrylic yarn is a great choice here because it holds its shape and survives being packed away each year. Cotton gives crisper stitch definition and a slightly heavier, more stable tree, which is nice if you plan to hang small ornaments on it. Whichever you choose, work with a hook one size smaller than you normally would for that yarn, because a firm fabric keeps the tiers from stretching out of shape.
Abbreviations (US Terms)
- ch = chain
- sl st = slip stitch
- sc = single crochet
- hdc = half double crochet
- dc = double crochet
- inc = increase (2 sc in the same stitch)
- dec = decrease (sc 2 together)
- BLO = back loop only
- FLO = front loop only
- st(s) = stitch(es)
- rnd(s) = round(s)
- rep = repeat
- MR = magic ring
Gauge and Sizing Notes
Gauge for this tree is more about firmness than exact numbers. Work 4 inches of single crochet in the round and check that you cannot easily see stuffing through the fabric. If you can, go down a hook size. If your fabric feels stiff like cardboard, go up a hook size, because you still need to be able to push a needle through for assembly.
To make a smaller tree, simply stop each tier two rounds earlier and use the same trunk and star. To make a taller tree, add two extra rounds to each tier before the final round, keeping the same increase rhythm. The tier widths matter more than the heights: the bottom tier should be the widest, the middle tier about three quarters of that width, and the top tier about half, so the silhouette stays like a classic tree.
Part 1: The Three Tiers
Each tier is a cone worked from the top down, starting with a magic ring and increasing steadily. Work in continuous rounds (do not join) and use a stitch marker to mark the first stitch of each round. Stuff each tier lightly as you go, adding a little more just before you close the bottom, so the tier holds its shape without bulging.
Bottom Tier (largest)
With green yarn, MR, ch 1.
- Rnd 1: 6 sc in MR. (6 sts)
- Rnd 2: inc in each st around. (12 sts)
- Rnd 3: (sc, inc) rep around. (18 sts)
- Rnd 4: (2 sc, inc) rep around. (24 sts)
- Rnd 5: (3 sc, inc) rep around. (30 sts)
- Rnd 6: (4 sc, inc) rep around. (36 sts)
- Rnd 7: (5 sc, inc) rep around. (42 sts)
- Rnd 8: (6 sc, inc) rep around. (48 sts)
- Rnd 9: (7 sc, inc) rep around. (54 sts)
- Rnd 10: (8 sc, inc) rep around. (60 sts)
- Rnd 11: sc around. (60 sts)
- Rnd 12: (9 sc, inc) rep around. (66 sts)
- Rnds 13 to 16: sc around. (66 sts)
- Rnd 17: in BLO, sc around. (66 sts) This creates the crisp bottom edge of the tier.
- Rnd 18: sc around. (66 sts)
- Rnd 19: (9 sc, dec) rep around. (60 sts)
- Rnd 20: (8 sc, dec) rep around. (54 sts)
- Rnd 21: (7 sc, dec) rep around. (48 sts) Stuff lightly now, keeping the shape flat on the bottom.
- Rnd 22: (6 sc, dec) rep around. (42 sts)
- Rnd 23: (5 sc, dec) rep around. (36 sts)
- Rnd 24: (4 sc, dec) rep around. (30 sts)
- Rnd 25: (3 sc, dec) rep around. (24 sts) Fasten off, leaving a long tail for sewing. Do not close fully; the opening will sit against the next tier or the base.
For a snowy edge, join white yarn in the FLO of Rnd 17 and work 1 rnd of (sc, ch 2, skip 1 st) around, then fasten off. It looks like fresh snow sitting on every branch tip.
Middle Tier
Work exactly as for the bottom tier, but stop increasing at Rnd 9 (54 sts) and work Rnds 10 to 12 as sc around, then work Rnd 13 in BLO, Rnd 14 as sc around, and decrease as follows: (7 sc, dec) rep, (6 sc, dec) rep, (5 sc, dec) rep, (4 sc, dec) rep, (3 sc, dec) rep, ending with 24 sts. Stuff lightly and fasten off with a long tail.
Top Tier (smallest)
Work exactly as for the bottom tier, but stop increasing at Rnd 7 (42 sts) and work Rnds 8 to 9 as sc around, then work Rnd 10 in BLO, Rnd 11 as sc around, and decrease as follows: (5 sc, dec) rep, (4 sc, dec) rep, (3 sc, dec) rep, ending with 24 sts. Stuff lightly and fasten off with a long tail. This tier should look like a neat little cone, about half the width of the bottom tier.
Part 2: Trunk, Base, and Star Topper
Trunk
With brown yarn, MR, ch 1.
- Rnd 1: 6 sc in MR. (6 sts)
- Rnd 2: inc in each st around. (12 sts)
- Rnds 3 to 6: sc around. (12 sts)
- Fasten off, leaving a tail. Stuff firmly so the trunk is solid, not squishy, because it carries the whole tree.
Base (the little pot or disc)
With brown or red yarn (a terracotta pot look is lovely), MR, ch 1.
- Rnd 1: 6 sc in MR. (6 sts)
- Rnd 2: inc in each st around. (12 sts)
- Rnd 3: (sc, inc) rep around. (18 sts)
- Rnd 4: (2 sc, inc) rep around. (24 sts)
- Rnd 5: (3 sc, inc) rep around. (30 sts)
- Rnd 6: in BLO, sc around. (30 sts)
- Rnds 7 to 9: sc around. (30 sts)
- Rnd 10: (3 sc, dec) rep around. (24 sts) Stuff firmly, adding a flat weight if you like (a few coins in a small pouch work well, but keep them sealed inside).
- Rnd 11: (2 sc, dec) rep around. (18 sts)
- Rnd 12: (sc, dec) rep around. (12 sts)
- Rnd 13: dec around. (6 sts) Fasten off and weave in the end. The base should sit flat without rocking.
Star Topper
Make two identical stars in gold or yellow yarn. For each star, MR, ch 1, then work 10 sc in MR, sl st to join. For each of the 5 points: ch 5, sc in 2nd ch from hook, hdc in next ch, dc in next 2 ch, skip 1 st on the circle, sl st in next st. Fasten off after the fifth point. Place the two stars back to back, stitch around the edges with matching yarn, stuffing very lightly just before you close, so the star has a little puff. Leave a tail for sewing to the top tier.
Part 3: Assembly and Decorating
Assembly is where a wobbly pile of cones becomes a tree, so take your time and pin everything before you sew.
- Sew the trunk to the center top of the base, using the tail and a tapestry needle, with several passes through both pieces.
- Sew the bottom tier onto the trunk so the trunk disappears inside the tier, centering it carefully. Pin first, check from all sides that it looks level, then sew.
- Stack the middle tier on top of the bottom tier, overlapping slightly so there is no gap, and sew around the join with green yarn.
- Stack the top tier the same way, then sew the star to the very top, tilting it slightly forward so it reads well from the front.
- Weave in all ends, then fluff each tier gently with your fingers, pushing the stuffing outward so the cone shape is even.
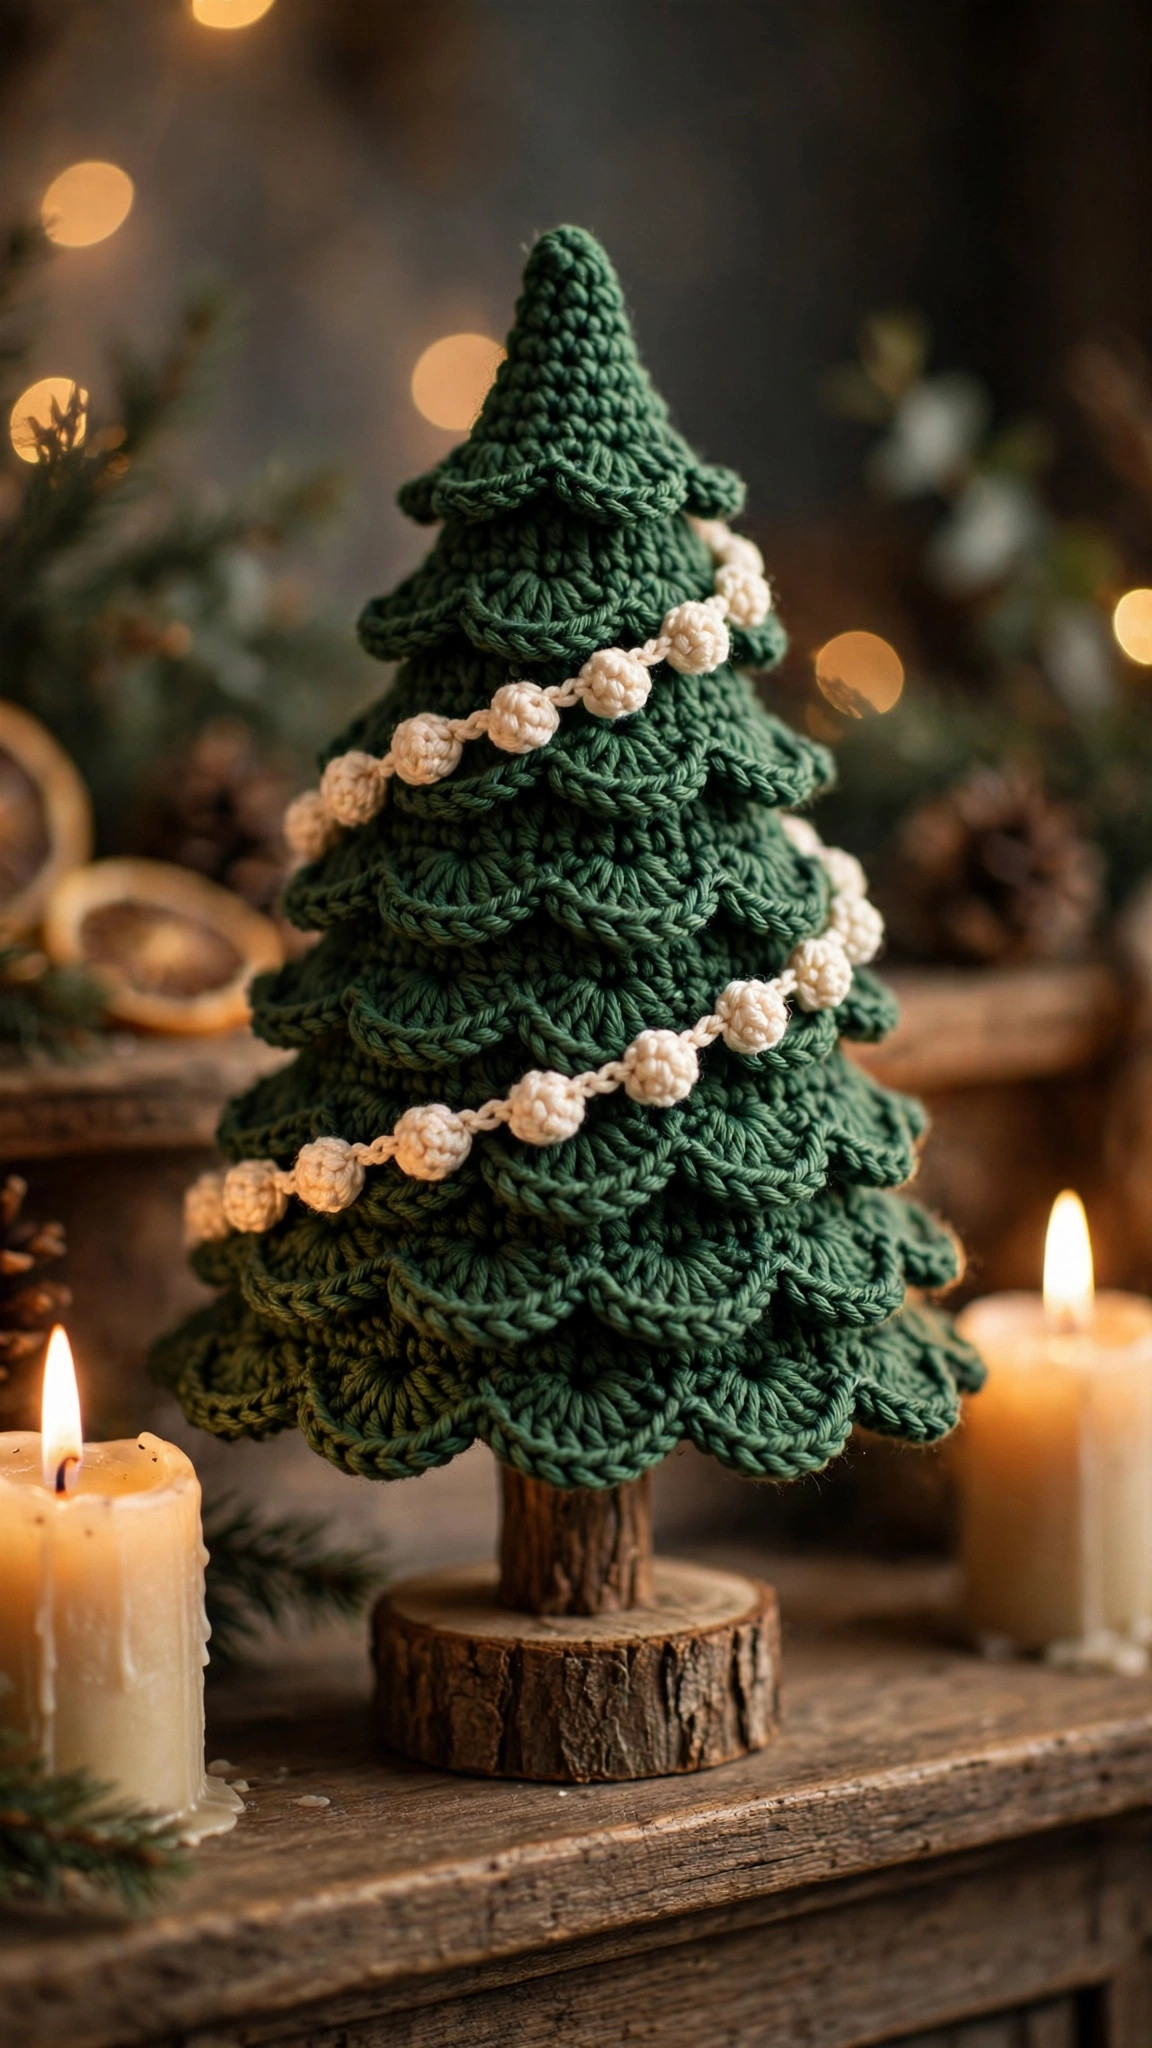
For decorating, less is more on a tree this size. Sew on a dozen tiny buttons or mini pom-poms, spaced like ornaments, or wrap a thin cream chain around the tiers as a garland. If you add fairy lights, use a short battery string and tuck the battery pack behind the base, never inside the stuffing. A crochet candy cane pattern makes adorable tiny hanging ornaments for this tree, and a Christmas blanket crochet pattern underneath the display turns the whole corner into a holiday scene.
Variations: Sizes, Colors, and Snowy Edges
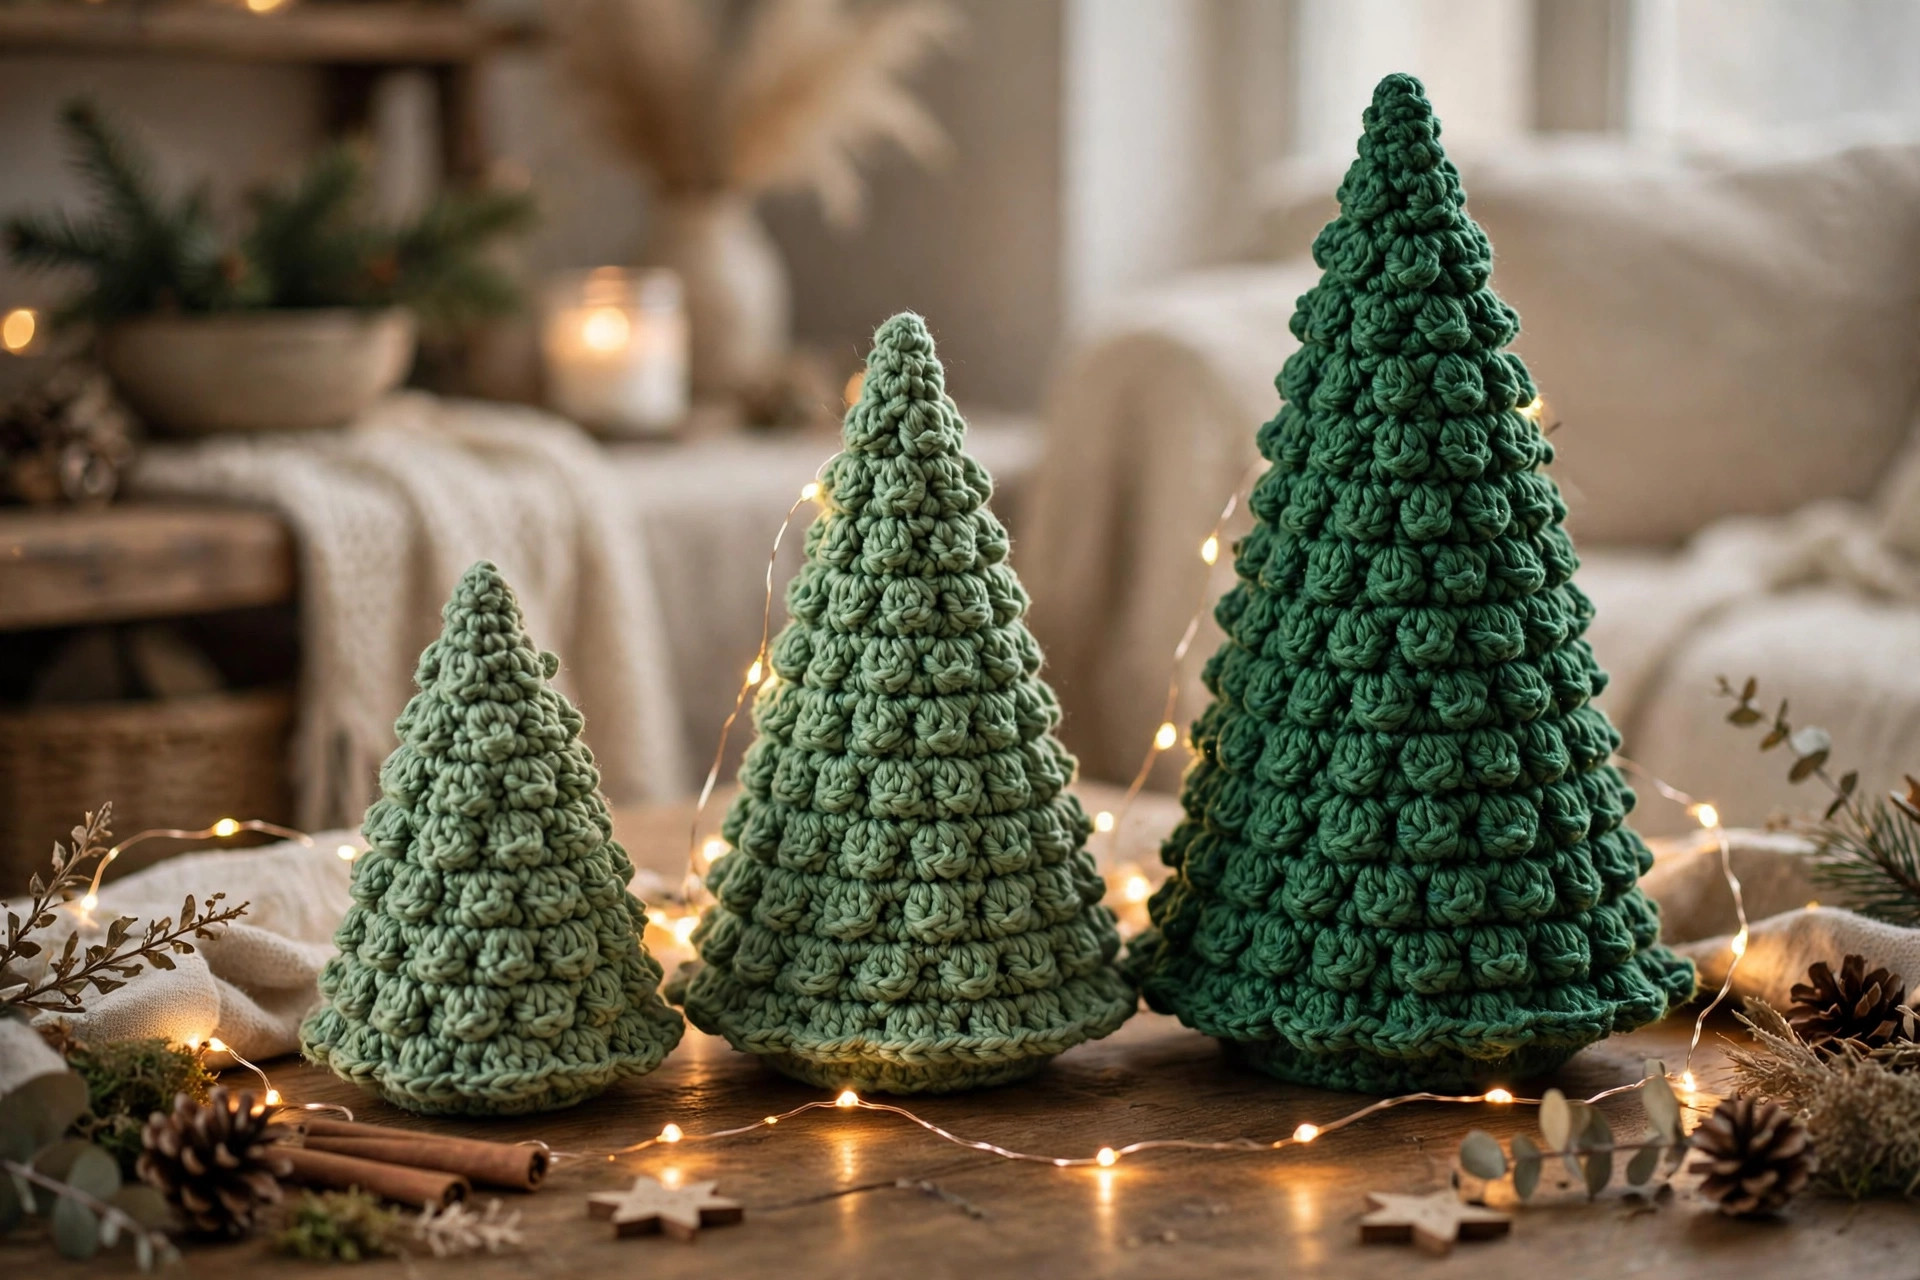
- A woodland set: make the pattern as written, then make a second tree stopping each tier two rounds earlier, and a third stopping four rounds earlier. Group them together for a forest display.
- Snowy tree: work the white scallop edge on every tier, and use white yarn for the star, for a tree that looks dusted with fresh snow.
- Pastel tree: try sage green, mint, or even blush pink for a modern mantel, with cream ornaments instead of red and gold.
- Rustic tree: use a variegated green yarn and a burlap-wrapped base for a farmhouse look, and skip the shiny ornaments in favor of wooden beads.
- Countdown tree: pair this tree with a crochet advent calendar pattern on the wall behind it, and hang one tiny ornament on the tree each day of December.
If you fall in love with tabletop Christmas decor, a crochet Christmas tree skirt pattern is the perfect next project for a larger tree, and a crochet nativity set pattern beside this tree makes a complete mantel scene.
Troubleshooting Trees That Lean or Wobble
- My tree leans to one side. This is almost always an off-center join. Unpick the top tier, re-pin it while looking at the tree from eye level (not from above), and sew again. A few degrees at the join makes a big difference at the top.
- The base rocks. Check that the base is stuffed evenly and that the bottom round is flat. Press it on a table and add a little more stuffing to the thin side, then re-close.
- The tiers look squashed. You probably stuffed too firmly. Remove a little fiberfill from each tier, reshape the cone with your hands, and let it sit overnight before judging it.
- The star flops forward. Sew it through both star layers and into the top tier with at least three anchor points, not just one stitch at the center.
- I can see stuffing through the stitches. Go down a hook size for the next tier, and for the finished tree, add a thin inner lining of green felt inside the worst tier if needed.
Care Instructions
Dust your tree with a soft dry cloth or a gentle vacuum on a low setting. If it gets grubby, spot clean with a damp cloth and a tiny amount of mild soap, then let it air dry completely before storing. Do not machine wash a decorated tree, because buttons and beads can loosen, and do not put it in the dryer. Store it upright, away from direct sunlight, which can fade green yarn over several seasons.
Frequently Asked Questions
Is this crochet Christmas tree pattern good for beginners?
Yes, with one caveat: it is best as a second or third project, not your very first. You should be comfortable with a magic ring, single crochet, and increases. If those feel familiar, the tier construction is just the same increase rhythm repeated three times, and the assembly is simple sewing.
How tall is the finished tree?
About 10 inches tall including the star, and about 7 inches wide at the bottom tier, in worsted weight yarn with a 5.0 mm hook. Using chunky yarn and a larger hook will give you a tree closer to 14 inches, while DK yarn and a smaller hook will give you a dainty tree around 7 inches tall.
Can I add lights to a crochet tree?
Yes, if you use a short battery-operated fairy light string and keep the battery pack outside the tree, tucked behind the base. Never use plug-in lights that get warm, and never bury a battery pack inside stuffing. For a childs room, skip lights entirely and use sewn-on ornaments instead.
Does the tree stand up on its own?
Yes, when the base is stuffed firmly and the trunk is centered. If your tree wobbles, check the base first: it should sit flat on a table without rocking before you add the tiers. A small sealed weight inside the base helps a lot for trees that will live where they might get bumped.
Can I make this tree in a different color?
Absolutely. Classic green is traditional, but white looks snowy, sage looks modern, and pink or teal looks playful. Keep the trunk brown and the star gold or cream, and almost any tree color will still read as a Christmas tree.
How do I store the tree after Christmas?
Wrap it loosely in tissue paper, place it upright in a box with nothing heavy on top of it, and store it in a dry spot away from sunlight. Do not vacuum seal it, because long compression can flatten the tiers, and do not store it in a damp garage or attic.
Can I sell trees made from this pattern?
Yes, you may sell finished trees made from this free pattern, with credit to Little Loop Finds. Please do not sell, share, or republish the pattern text itself, and do not claim this original design as your own.
Happy stitching, and may your mantel be merry, bright, and completely needle free.


