Free Crochet Bow Pattern (Hair Bow and Applique)
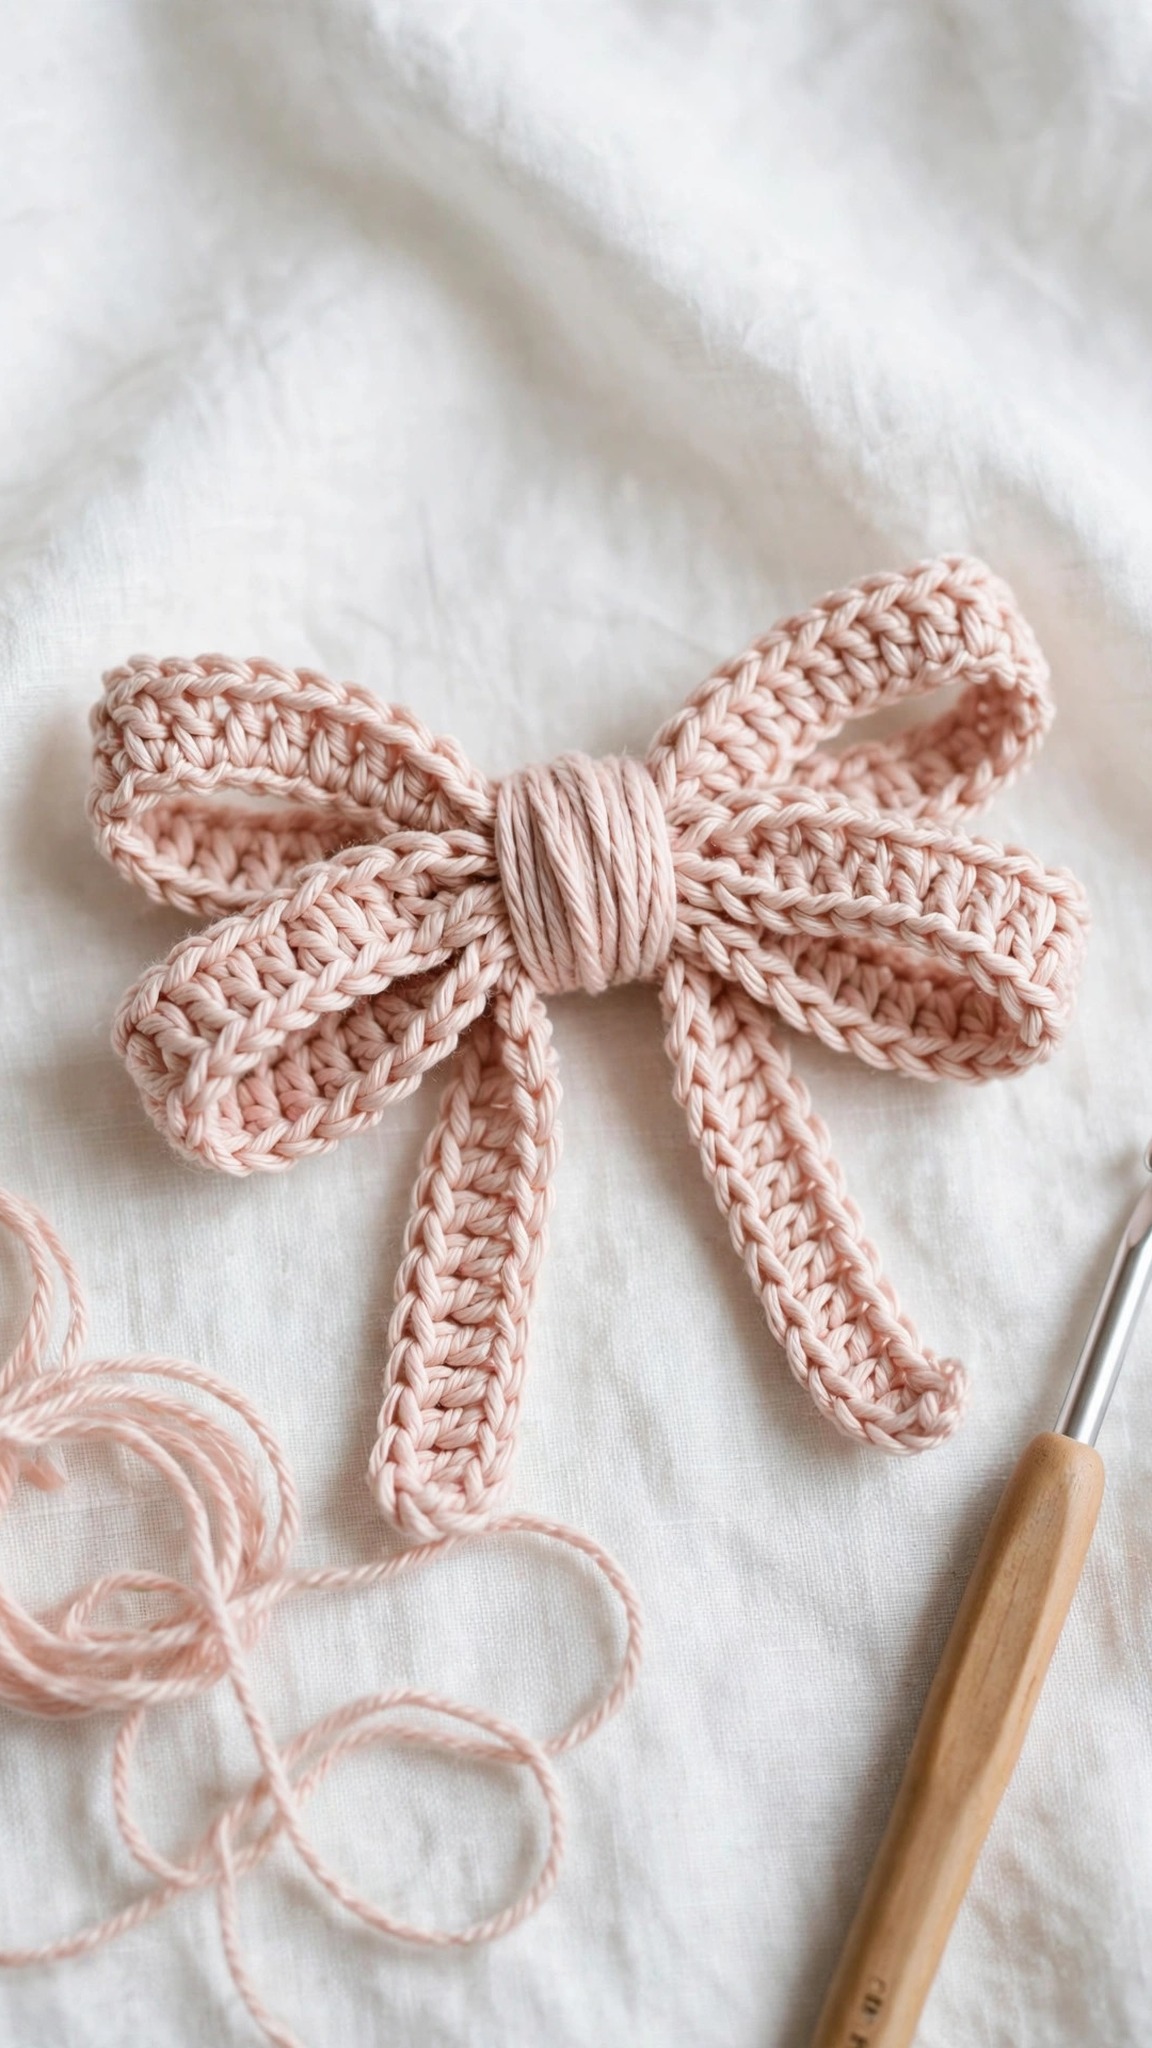
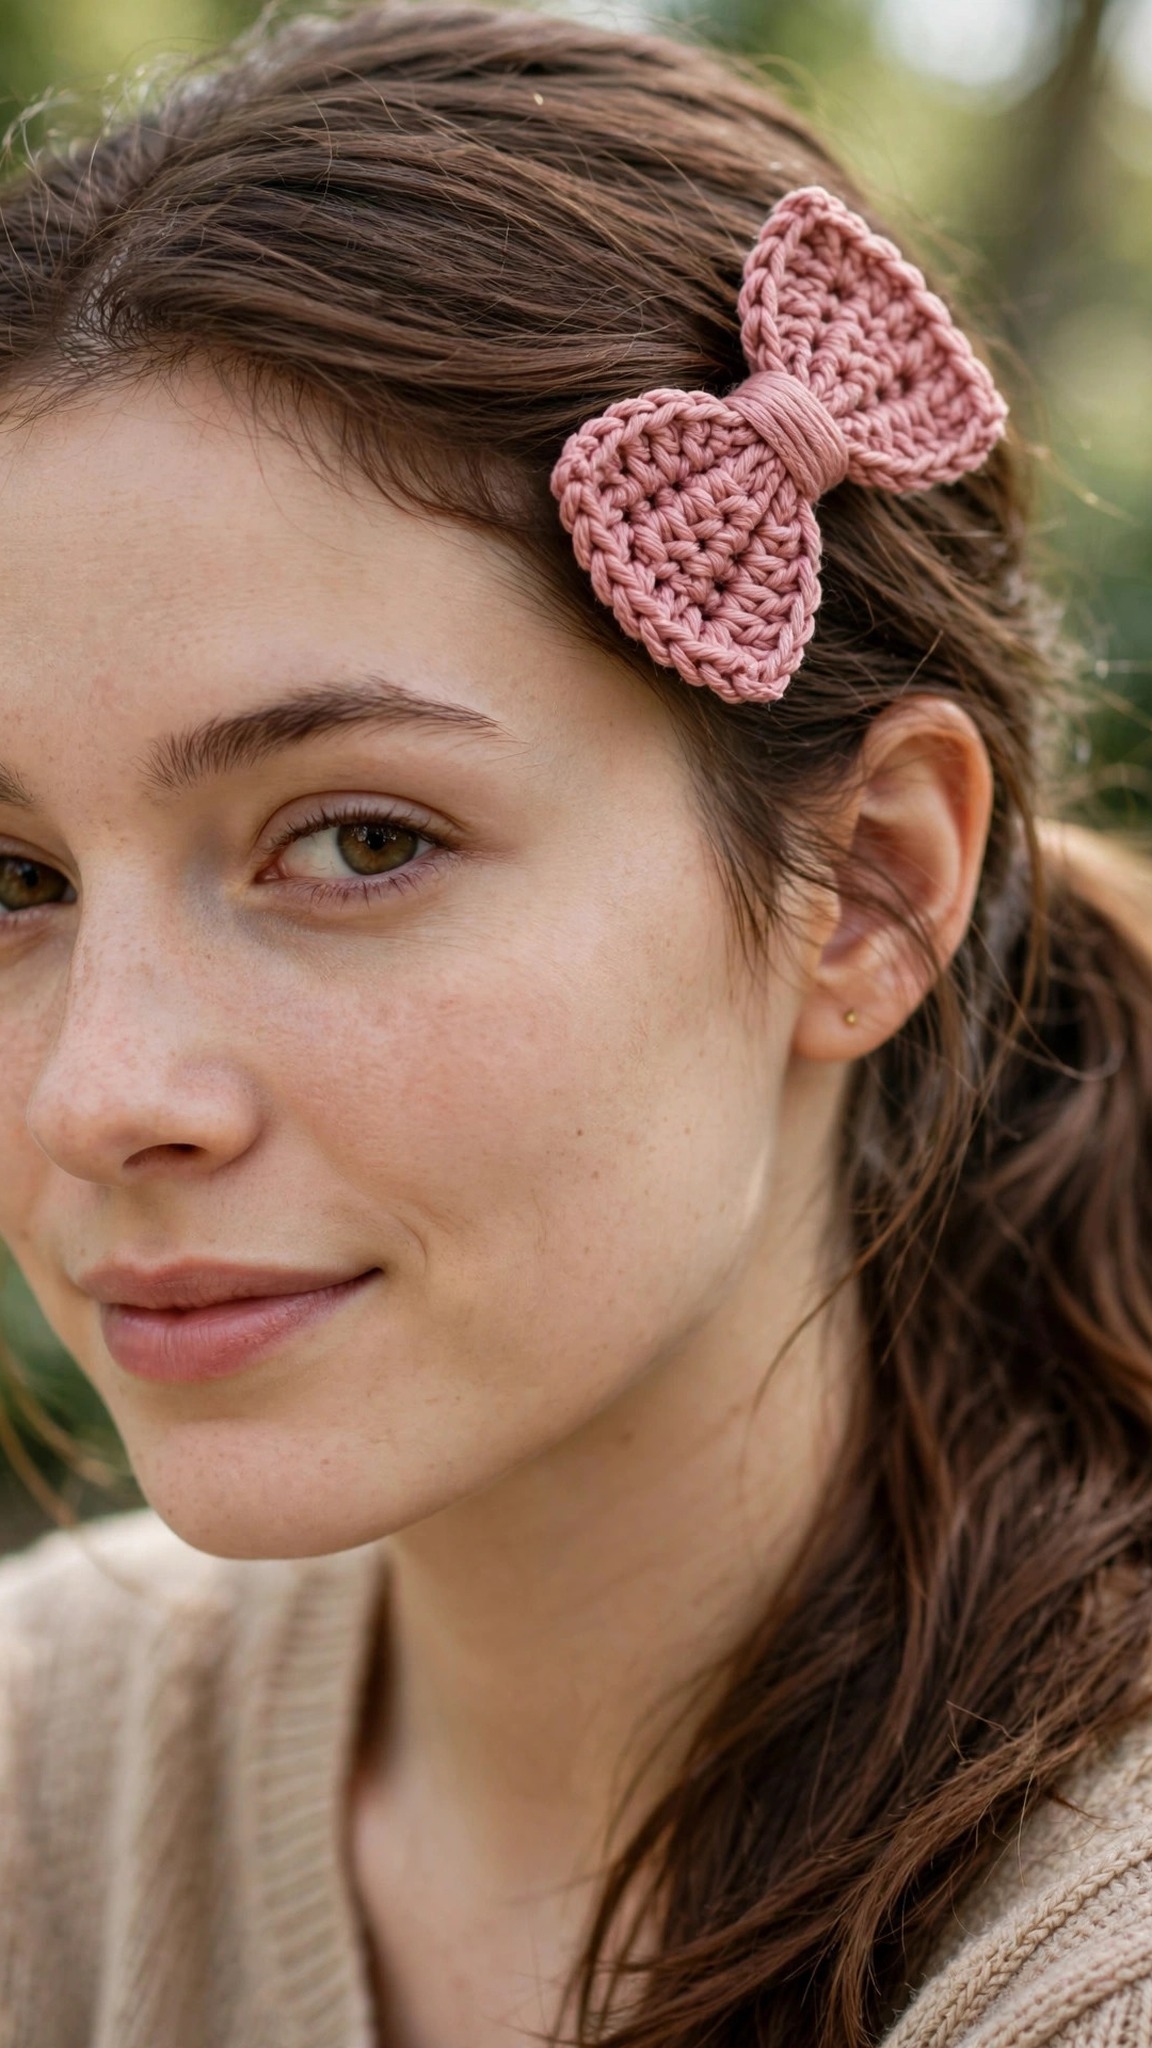
Crochet a soft 3 inch bow in about 30 minutes, then clip it into your hair, sew it on, or tie it onto a gift.

Patterns · Crochet
- Finished size
- 3 in wide
- Making time
- 30 minutes
- Hook
- US G-6 (4.0 mm)
- Set
- Bow, clip or tie
- Skill
- Easy
In this post
- Key Takeaways
- Table of Contents
- Why You Will Love This Bow
- Finished Size, Skill Level, and Time
- Materials You Need
- Abbreviations (US Terms)
- Gauge and Sizing Notes
- Part 1: The Bow Body
- Part 2: The Center Band and Shaping
- Part 3: Finishing and Attachments
- Variations: Colors, Sizes, and Uses
- Troubleshooting a Bow That Does Not Sit Right
- Care Instructions
- Frequently Asked Questions
A crochet bow is the quickest way to add a handmade touch to almost anything. This free crochet bow pattern makes a sweet little bow you can clip into your hair, sew onto a hat or a bag, tie onto a gift, or use as a flat applique on a blanket or a sweater. It takes about 30 minutes, uses less than one small ball of yarn, and works up with only basic stitches.
This is an original Little Loop Finds design, written in US terms and completely free. The bow is worked flat in rows, then pinched in the middle and wrapped with a center band, so there is no shaping to fear and no pieces to sew together except the band itself.
A quick note on scope: this post is about one specific crochet bow, a small flat bow about 3 inches wide, made to be finished as a hair bow, an applique, or a gift topper. That makes it different from a large decorative bow for home decor, which needs stiffening and a wire frame. This bow is soft, light, and made to be worn or sewn on. If you want a bag to sew your bow onto, our crochet tote bag pattern is the matching project.
Key Takeaways
- Free original pattern: a Little Loop Finds original design, written in US terms, and completely free.
- A small quick bow: a soft flat bow about 3 inches wide, finished in about 30 minutes.
- Three ways to use it: wear it as a hair bow, sew it on as an applique, or tie it onto a gift.
- Simple stitches: worked flat in rows with chains, single crochet, and double crochet only.
- A stash buster: one bow uses about 15 yards of yarn, so it is perfect for leftover yarn.
Table of Contents
- Why You Will Love This Bow
- Finished Size, Skill Level, and Time
- Materials You Need
- Abbreviations (US Terms)
- Gauge and Sizing Notes
- Part 1: The Bow Body
- Part 2: The Center Band and Shaping
- Part 3: Finishing and Attachments
- Variations: Colors, Sizes, and Uses
- Troubleshooting a Bow That Does Not Sit Right
- Care Instructions
- Frequently Asked Questions
Why You Will Love This Bow
A crochet bow turns a scrap of yarn into something delightful. Clip one into a ponytail for a soft pretty accent, sew one onto a baby hat for a sweet finishing touch, or tie one onto a wrapped gift to replace a paper bow that would end up in the bin.
The bow is one small rectangle of crochet, worked flat in rows from one side to the other. There is no working in the round, no increasing or decreasing to count, and no fiddly shaping. You pinch the rectangle in the middle, wrap a band around it, and the bow appears.
The best part is how many bows you can make in one sitting. Make a set in matching colors for sisters, make a row of tiny bows for a baby blanket, or make a pile of gift toppers before the holidays.
Finished Size, Skill Level, and Time
- Finished size: about 3 inches wide and 2 inches tall when finished as written, not counting the clip or the hair tie. The bow body is a flat rectangle about 6 inches wide and 2 inches tall before it is pinched in the middle.
- Skill level: Easy. You need chains, single crochet, and double crochet, plus basic finishing. No increases or decreases are needed for the main bow, and the center band is a simple strip of single crochet.
- Time: about 30 minutes per bow: 15 minutes for the bow body, 5 minutes for the center band, and 10 minutes for pinching, wrapping, and attaching the clip or the tie.
Materials You Need
| Item | What to get |
|---|---|
| Yarn, main color | DK weight cotton yarn in blush pink, 15 yards |
| Yarn, optional second color | DK weight cotton yarn in cream, 5 yards, for the center band |
| Hook | US G-6 (4.0 mm), or the size that gives you the gauge below |
| Notions | Tapestry needle, scissors, tape measure, stitch markers |
| For a hair bow | One alligator clip or one plain hair tie, and a hot glue gun or a needle and thread |
| For an applique | A needle and matching thread, or a tapestry needle and yarn |
Cotton yarn is the best choice for a crochet bow because it holds its shape, shows the stitches clearly, and washes well. Acrylic yarn also works, and it comes in the brightest colors, but it can feel slippery when you pinch the bow, so keep your tension even. Avoid very fuzzy yarns, because they hide the stitches and make the bow look lumpy instead of neat.
A stitch marker is not needed on a small flat piece, but counting your stitches at the end of each row matters, because a rectangle that drifts wider on one side makes a lopsided bow.
Abbreviations (US Terms)
- ch = chain
- sl st = slip stitch
- sc = single crochet
- hdc = half double crochet
- dc = double crochet
- st(s) = stitch(es)
- rep = repeat
- RS = right side
- WS = wrong side
- FO = fasten off
Gauge and Sizing Notes
Gauge matters less on a bow than on a garment, because a bow does not have to fit a body, but it still decides how neat the bow looks. Work a swatch of 12 dc and 6 rows in the main color. It should be about 3 inches wide and 2 inches tall. If it is wider, go down a hook size. If it is narrower, go up a hook size.
The pattern is written for a 3 inch bow, which suits most hair clips and most gift boxes. To make a smaller bow for a baby hat, chain 18 instead of 24 and work 8 rows instead of 12. To make a larger bow for a gift box or a wreath, chain 30 and work 16 rows. Keep the proportions the same, with the starting chain about three times as long as the finished bow is tall, and the bow will keep its shape at any size.
Part 1: The Bow Body
The bow starts as a flat rectangle, worked in rows from one short edge to the other. Work in rows, turning at the end of each row, and keep your turning chains even so the edges stay straight.
The Rectangle
With the main color, chain 24.
- Row 1: dc in the 4th ch from the hook and in each ch across. (21 dc, counting the turning chain as the first dc)
- Row 2: ch 3, turn, dc in each st across. (21)
- Rows 3 to 12: rep row 2. (21)
The rectangle should be about 6 inches wide and 2 inches tall when you reach row 12. Lay it on a table to check. If the edges wave, your tension is uneven, so slow down and keep each stitch the same size. If one edge is longer than the other, you may have missed the last stitch of a row, so count your stitches and add the missing one back.
The Edge Row
With the main color, work a tidy edge around the rectangle so the bow has a finished look from every side.
- Edge round: ch 1, do not turn, sc evenly around all four sides of the rectangle, working 3 sc in each corner, then join with a sl st to the first sc. Fasten off, leaving a 12 inch tail.
Working the edge row in single crochet gives the bow a neat border that stops the edges from curling, and the three stitches in each corner keep the corners square instead of rounded. Keep the edge stitches loose enough that the border lies flat. Our crochet market bag pattern uses the same single crochet edge.
Part 2: The Center Band and Shaping
The center band is what turns the flat rectangle into a bow. You pinch the rectangle in the middle, wrap the band around it, and the two sides puff out into bow loops. Work the band as a small strip, then wrap it tightly and sew it closed at the back.
The Center Band
With the main color or the second color, chain 8.
- Row 1: sc in the 2nd ch from the hook and in each ch across. (7)
- Rows 2 to 10: ch 1, turn, sc in each st across. (7)
Fasten off, leaving a 10 inch tail. The band should be about 2 inches long and just under 1 inch wide, long enough to wrap around the pinched middle of the bow with a small overlap at the back. If your bow is larger than written, add two more rows to the band. If your bow is smaller, work two fewer rows.
Pinching and Wrapping
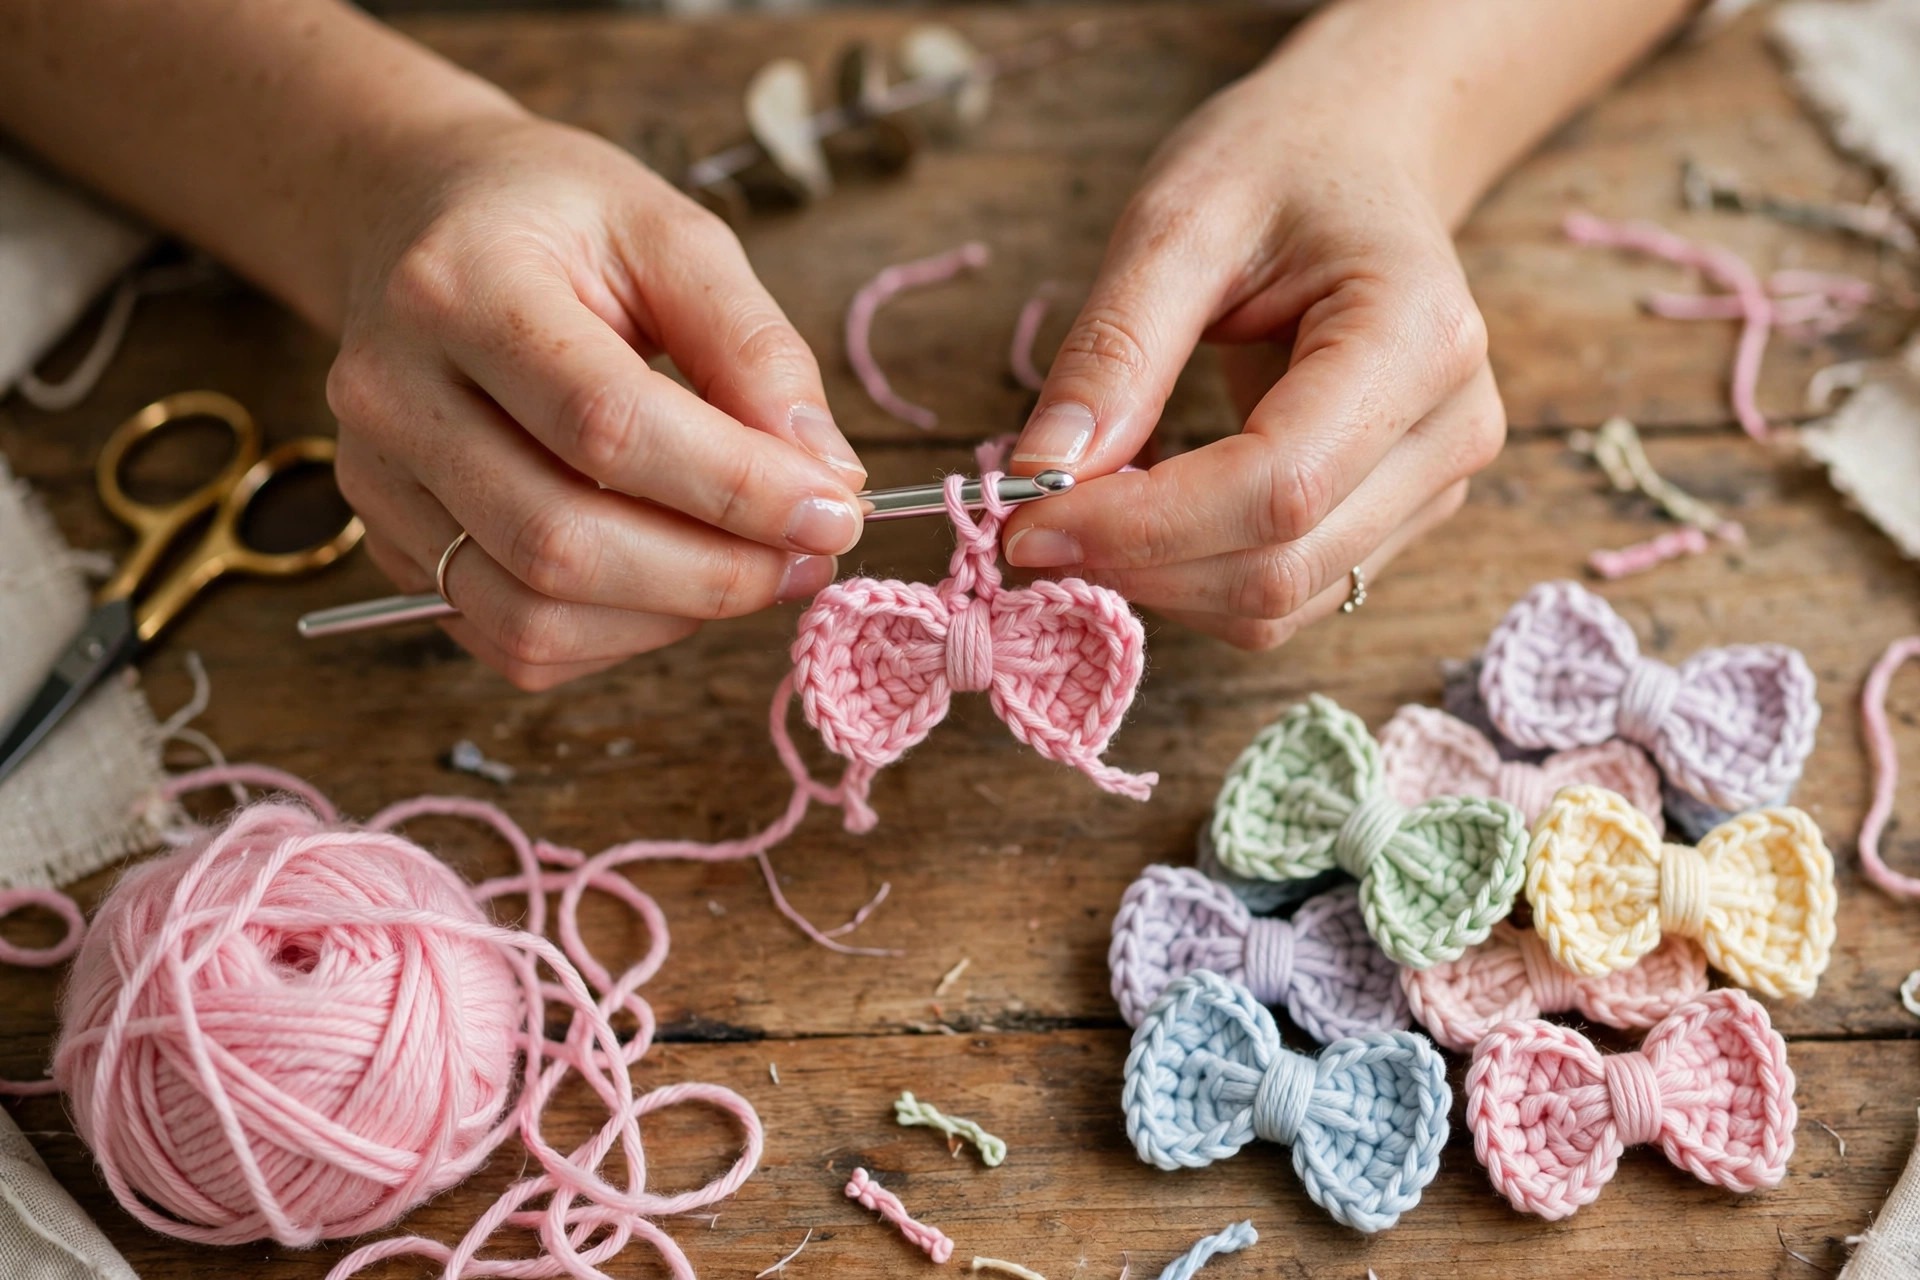
Lay the rectangle flat with the right side facing up. Pinch the middle of the long edges together, gathering the fabric in the center so the two sides puff out into loops. Hold the pinch firmly and wrap the center band around the middle, with the band seam at the back of the bow. Pull the band snug, but not so tight that the loops flatten, then use the tail to sew the two ends of the band together at the back with a few small stitches.
Check the bow from the front. The two loops should be the same size, with the top edge of each loop sitting level. If one loop is bigger, slide the pinch a little to one side and wrap again. If the loops flop forward, the band is too loose, so pull it tighter and add one more stitch to hold it. A good bow holds its shape when you set it down and does not need propping up.
Part 3: Finishing and Attachments
This is the part where the bow becomes something you can wear, sew on, or tie onto a gift. Choose one attachment, add it to the back of the bow, and weave in the ends.
The Hair Clip Option
This is the default option, and it is the best choice if you want to wear the bow in your hair.
Open an alligator clip and glue the top of the clip to the back of the bow, with the clip running across the center band so the bow sits straight when it is clipped in. Hold the clip in place for 30 seconds while the glue sets, then leave it for 10 minutes before you wear it. If you prefer not to use glue, sew the clip to the back of the band with a needle and thread, working several small stitches through the band and around the clip.
Test the clip in your hair before you call the bow finished. Clip it above your ear or at the side of a ponytail and shake your head gently. The bow should stay put without sliding. If it slides, the clip is too small for your hair, so use a larger clip or add a small strip of felt to the inside of the clip for grip.
The Hair Tie Option
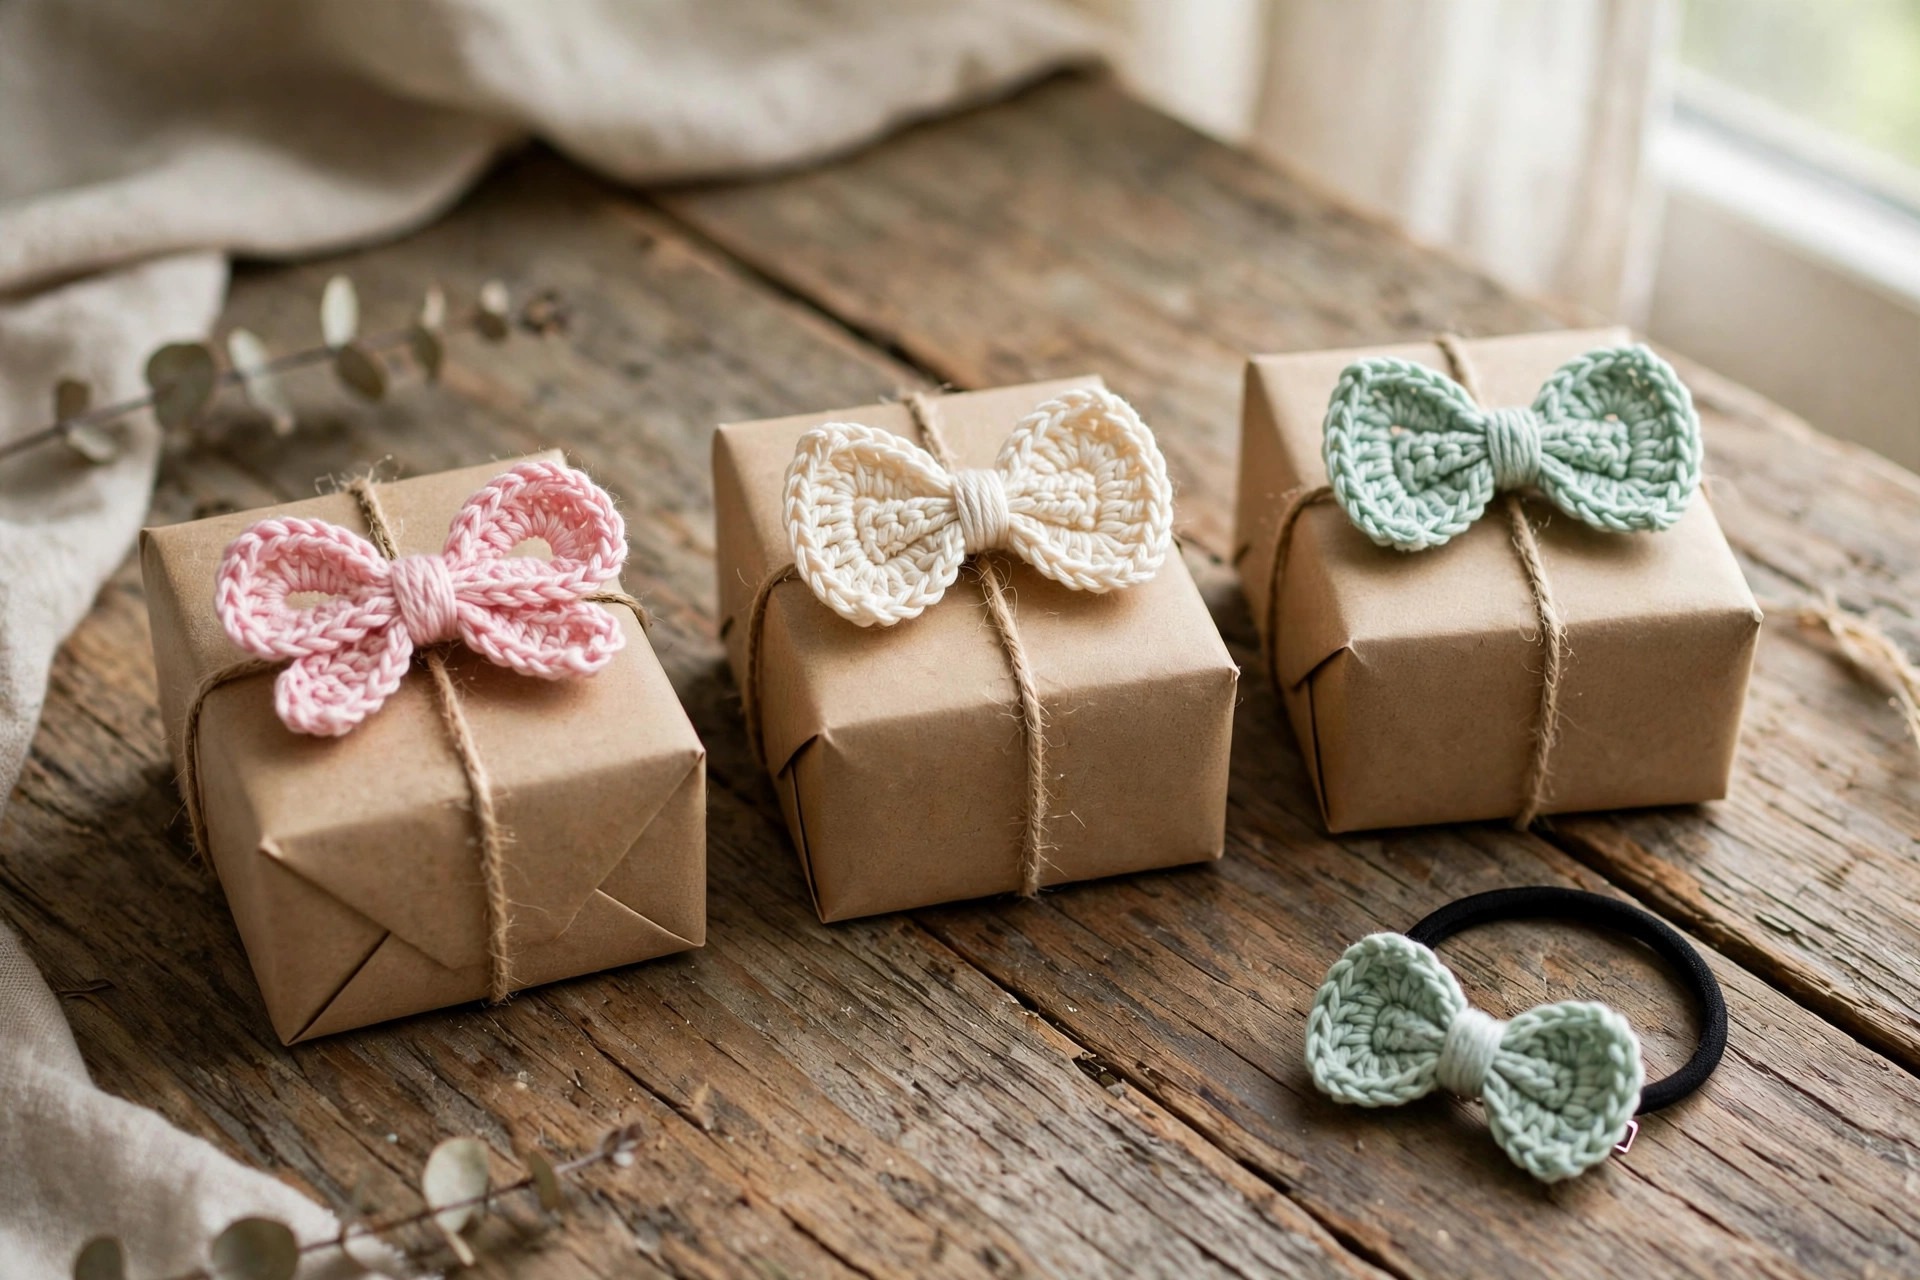
If you prefer a bow on a hair tie, thread a plain hair tie through the center band at the back of the bow, so the tie sits behind the band and the bow sits on top of it. Sew the band closed around the tie with a few small stitches so the bow cannot slide off. This option is the best choice for a ponytail bow, because the tie holds the hair and the bow sits neatly on top of it.
The Applique Option
To use the bow as an applique, sew it onto your project with a needle and matching thread, working small stitches through the back of the bow and into the fabric underneath. Sew around the center band and at the outer edge of each loop so the bow lies flat and does not flap. This is the best choice for a baby hat, a blanket, or a sweater, and it is the safest choice for a baby item, because sewing holds far better than glue. Our crochet butterfly pattern uses the same small flat applique shaping if you want to practice before you sew your first bow on.
The Gift Topper Option
To use the bow as a gift topper, thread a short length of ribbon or twine through the center band at the back, then tie the bow onto the gift with the ribbon. Tie the ribbon in a knot under the bow so the bow sits on top of the parcel. This is the best choice for a present, because the bow can be untied and kept after the gift is opened, and it looks far prettier than a paper bow.
Final Finishing
Check the finished bow from every side. The loops should be even, the center band should sit straight, and the attachment should be hidden at the back. Weave in all the loose ends on the back of the bow, where they will not show, and trim them close.
Variations: Colors, Sizes, and Uses
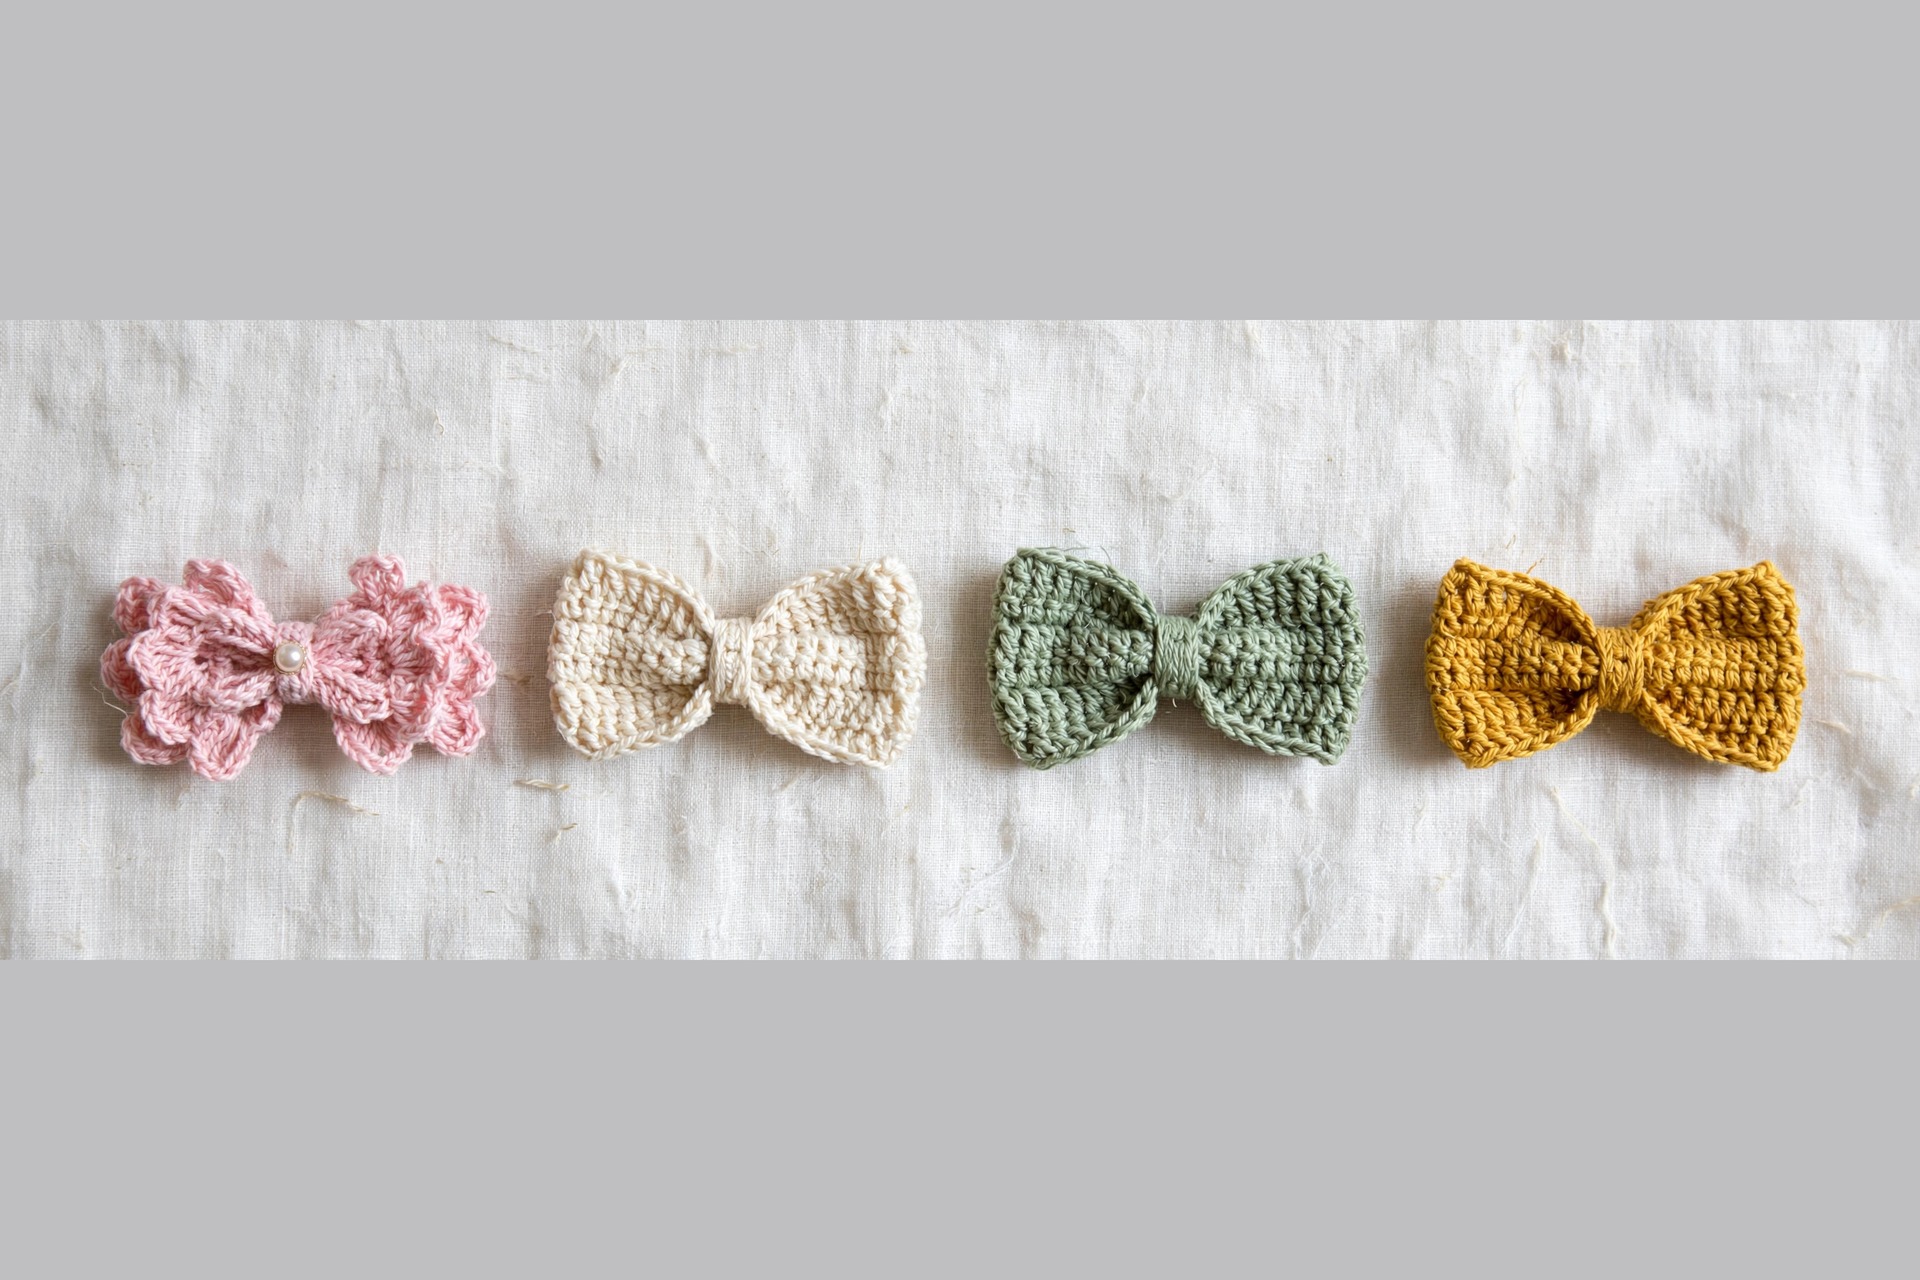
- Classic blush bow: work the bow in blush pink with a cream center band, just as written.
- Two tone bow: work the bow body in one color and the center band in a second color for a pretty contrast.
- Tiny baby bow: chain 18 and work 8 rows for a 2 inch bow, perfect for a baby hat.
- Big gift bow: chain 30 and work 16 rows for a 4 inch bow, perfect for a gift box or a wreath.
- Pearl button bow: sew a small pearl button to the front of the center band for a sweet finishing touch.
- Gift set: pair a bow with a matching crochet backpack pattern and sew the bow onto the front pocket, or add one to a crochet kimono pattern tie, for a lovely handmade gift.
Troubleshooting a Bow That Does Not Sit Right
- My bow looks lopsided. The rectangle is uneven, or the pinch is off center. Count the stitches in each row, and slide the pinch until both loops match.
- My loops flop forward. The center band is too loose. Pull the band tighter and add a stitch to hold it, or work the band two rows shorter.
- My bow will not stay clipped in my hair. The clip is too small, or the bow is too heavy for the clip. Use a larger alligator clip, or add a strip of felt inside the clip for grip.
- My edges curl. The edge row was worked too tightly. Work the edge row with a hook one size larger, and block the bow lightly with steam.
- My bow is too stiff. The yarn is too heavy, or the tension is too tight. Use a DK weight yarn and a 4.0 mm hook, and keep your stitches relaxed.
- My center band keeps slipping off. The band is too long. Work two fewer rows and sew the ends together firmly at the back.
Care Instructions
Hand wash a crochet bow in cool water with a mild detergent, and press the water out gently without wringing. Reshape the loops and lay the bow flat to dry away from direct heat. If the bow is glued to a clip, do not soak it, because the water can loosen the glue, so spot clean it instead. Do not put a bow in the dryer. Store bows flat in a drawer, or clipped to a ribbon, so they keep their shape.
Frequently Asked Questions
Is this free crochet bow pattern good for beginners?
Yes, it is best for an easy crocheter. You need chains, single crochet, and double crochet, plus basic finishing. One bow takes about 30 minutes, and there is no shaping to worry about.
What yarn is best for a crochet bow?
DK weight cotton yarn is the best choice, because it holds its shape, shows the stitches clearly, and washes well. Acrylic yarn also works and comes in the brightest colors. Avoid very fuzzy yarns, because they hide the stitches and make the bow look lumpy.
How big is the finished bow?
The finished bow is about 3 inches wide and 2 inches tall when made as written. To make a smaller bow for a baby hat, chain 18 and work 8 rows. To make a larger bow for a gift box, chain 30 and work 16 rows.
Can I wear this bow in my hair?
Yes, glue or sew an alligator clip to the back of the bow, or thread a plain hair tie through the center band. The clip option is best for wearing the bow at the side of your head, and the hair tie option is best for a ponytail bow.
Can I sew this bow onto a hat or a bag?
Yes, sew the bow on with a needle and matching thread, working small stitches through the back of the bow and into the fabric. Sew around the center band and at the outer edge of each loop so the bow lies flat. Sewing is the safest choice for a baby item.
Can I sell bows made from this pattern?
Yes, you may sell finished bows made from this free pattern, with credit to Little Loop Finds. Do not sell or republish the pattern text itself. A set of bows in matching colors makes a lovely set for a market stall.
Happy stitching, and may your little bow add a handmade touch to everything it lands on.