Crochet Wall Hanging Pattern (Free Boho Decor)
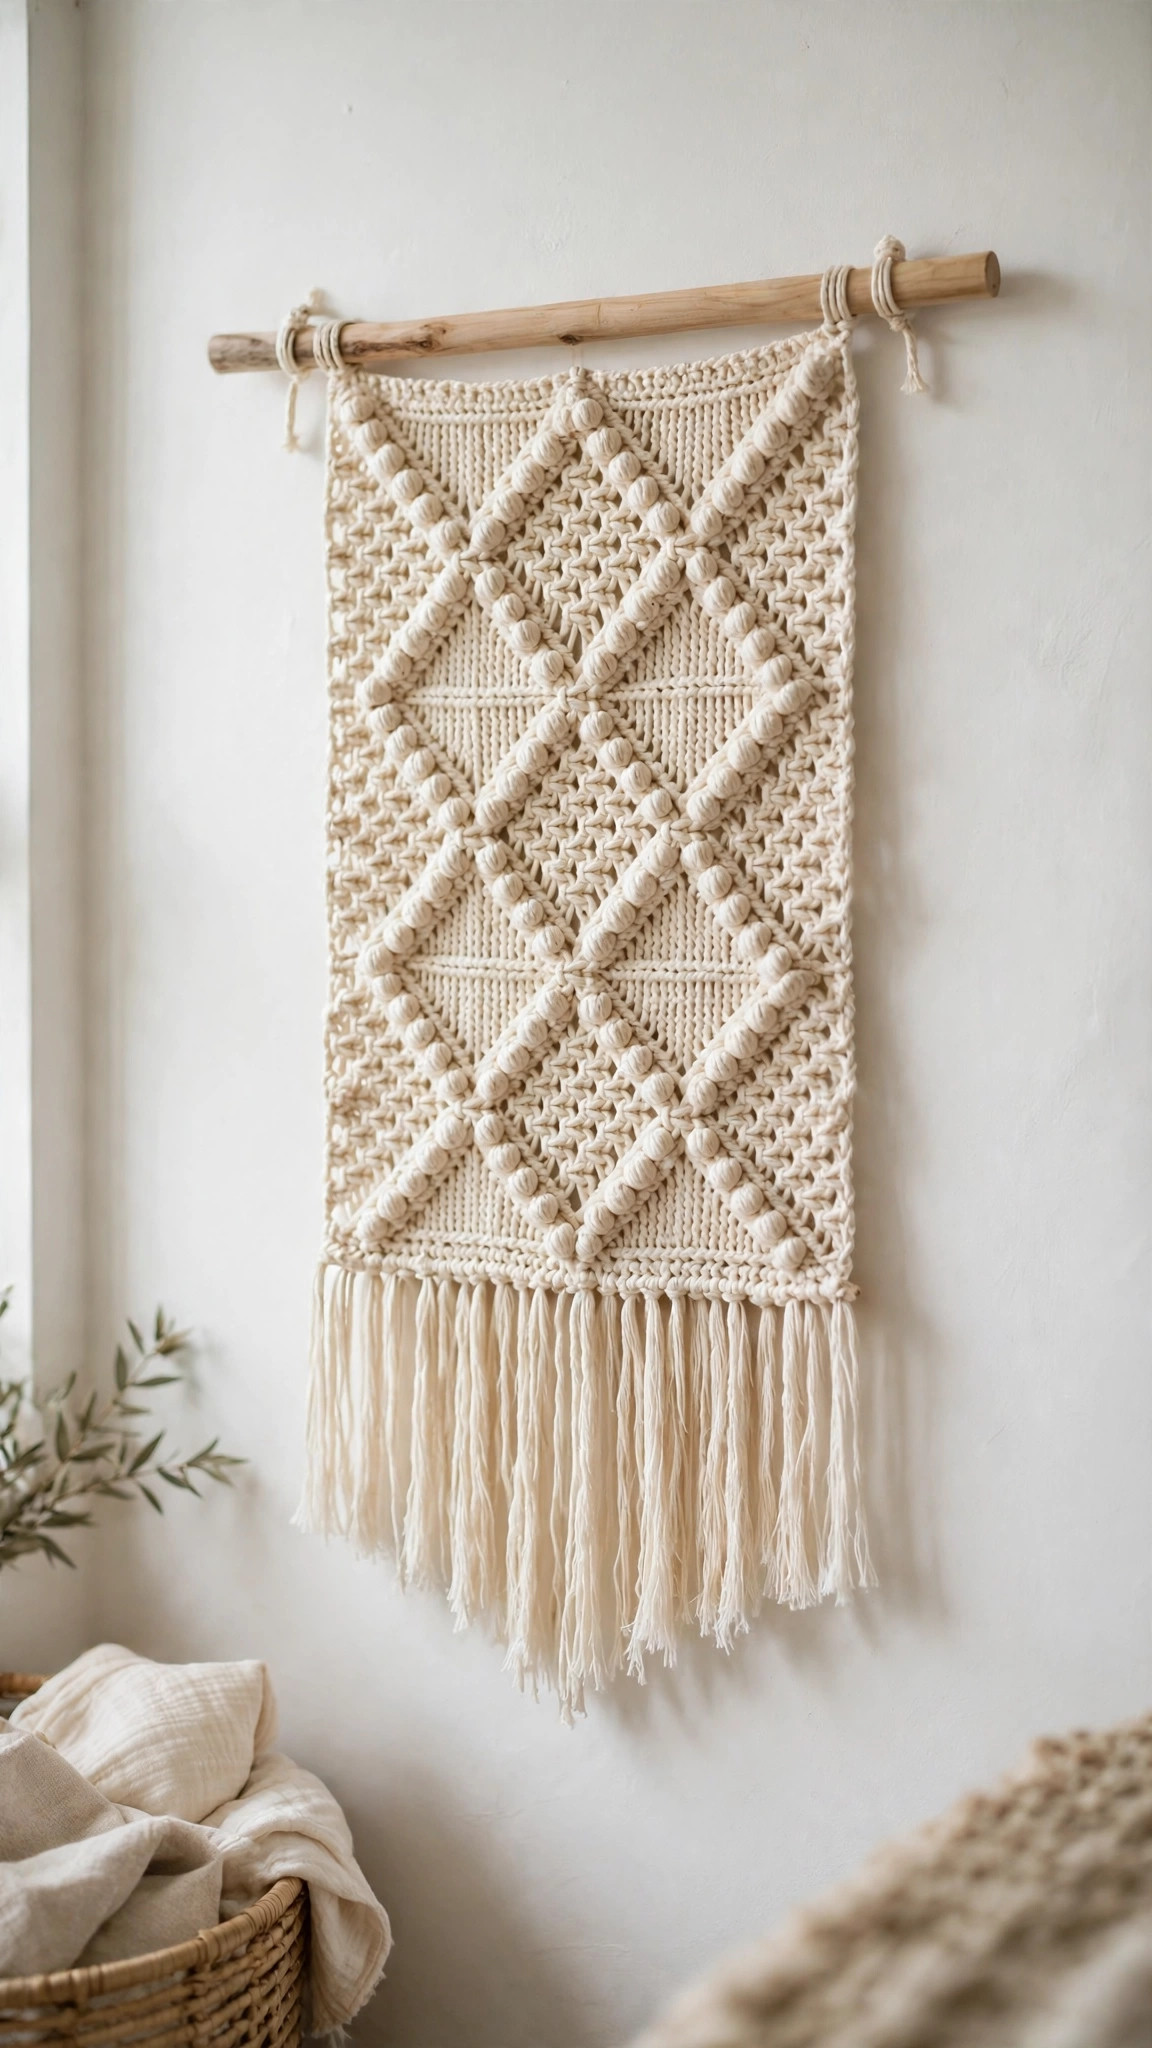
Crochet a boho wall hanging with a diamond motif, bobble texture, and soft fringe on a wooden dowel in about six hours, then hang it in a nursery or living room.

Patterns · Crochet
- Finished size
- 14 x 15 in panel
- Making time
- 6 hours
- Hook
- US H-8 (5.0 mm)
- Set
- Panel, fringe
- Skill
- Easy
In this post
- Key Takeaways
- Table of Contents
- Why You Will Love This Crochet Wall Hanging
- Finished Size, Skill Level, and Time
- Materials You Need
- Abbreviations (US Terms)
- Gauge and Sizing Notes
- Part 1: The Diamond Panel
- Part 2: The Fringe and the Dowel Pocket
- Part 3: Hanging Cord and Finishing
- Variations: Colors, Sizes, and Uses
- Troubleshooting a Panel That Will Not Hang Straight
- Care Instructions
- Frequently Asked Questions
A crochet wall hanging is a simple way to add handmade warmth to a bare wall. This free crochet wall hanging pattern makes a boho panel with a diamond motif, bobble texture, and soft fringe, hung from a wooden dowel. It suits a nursery, a living room, or a bedroom, and it works up in about six hours.
This is an original Little Loop Finds design, written in US terms and completely free. The panel is worked flat in rows of double crochet, the diamond is made with simple color changes, and the fringe is knotted on stitch by stitch. If you can double crochet and change colors, you can make this wall hanging.
A quick note on scope: this post is about one specific crochet wall hanging, a flat decorative panel hung on a wooden dowel. It is not a plant holder or a hanging basket. If you want a holder for a trailing plant, our crochet hanging plants free pattern is the one to make.
Key Takeaways
- Free original pattern: a Little Loop Finds original design, written in US terms, and completely free.
- A boho statement piece: a diamond motif panel with bobble texture and soft fringe.
- Beginner friendly: flat rows of double crochet with simple color changes.
- A six hour project: one wall hanging takes about 6 hours.
- Three ways to use it: nursery wall decor, living room art, and a handmade gift.
Table of Contents
- Why You Will Love This Crochet Wall Hanging
- Finished Size, Skill Level, and Time
- Materials You Need
- Abbreviations (US Terms)
- Gauge and Sizing Notes
- Part 1: The Diamond Panel
- Part 2: The Fringe and the Dowel Pocket
- Part 3: Hanging Cord and Finishing
- Variations: Colors, Sizes, and Uses
- Troubleshooting a Panel That Will Not Hang Straight
- Care Instructions
- Frequently Asked Questions
Why You Will Love This Crochet Wall Hanging
A blank wall can make a room feel unfinished, and a crochet wall hanging fills it with texture and warmth. The diamond motif gives the panel a calm, geometric look, the bobble rows add a soft raised texture, and the fringe moves gently when the air moves. It looks like a piece of fiber art, and you made it yourself.
A crochet wall hanging is also a relaxing project with no shaping to worry about. The panel is one flat rectangle, worked back and forth in rows, so you can crochet it on the sofa and watch your progress grow row by row. Change the three colors and the whole mood changes, from soft nursery neutrals to bold living room contrast. Our crochet mandala pattern makes a sweet round companion piece for the same wall.
Finished Size, Skill Level, and Time
- Finished size: panel about 14 inches wide and 15 inches tall, with 6 inches of fringe below, hanging about 21 inches from the dowel.
- Skill level: Easy. You need a foundation chain, double crochet, bobble stitches, and simple color changes.
- Time: about 6 hours per wall hanging: 4 hours for the panel, 1 hour for the fringe, 1 hour for the dowel pocket, cord, and finishing.
Materials You Need
| Item | What to get |
|---|---|
| Yarn, color A | Worsted weight (size 4) yarn in cream, 180 yards |
| Yarn, color B | Worsted weight (size 4) yarn in terracotta, 60 yards |
| Yarn, color C | Worsted weight (size 4) yarn in sage green, 40 yards |
| Hook | US H-8 (5.0 mm), or the size that gives you the gauge below |
| Dowel | Wooden dowel, 18 inches long and 3/8 inch thick |
| Notions | Tapestry needle, scissors, tape measure, stitch markers |
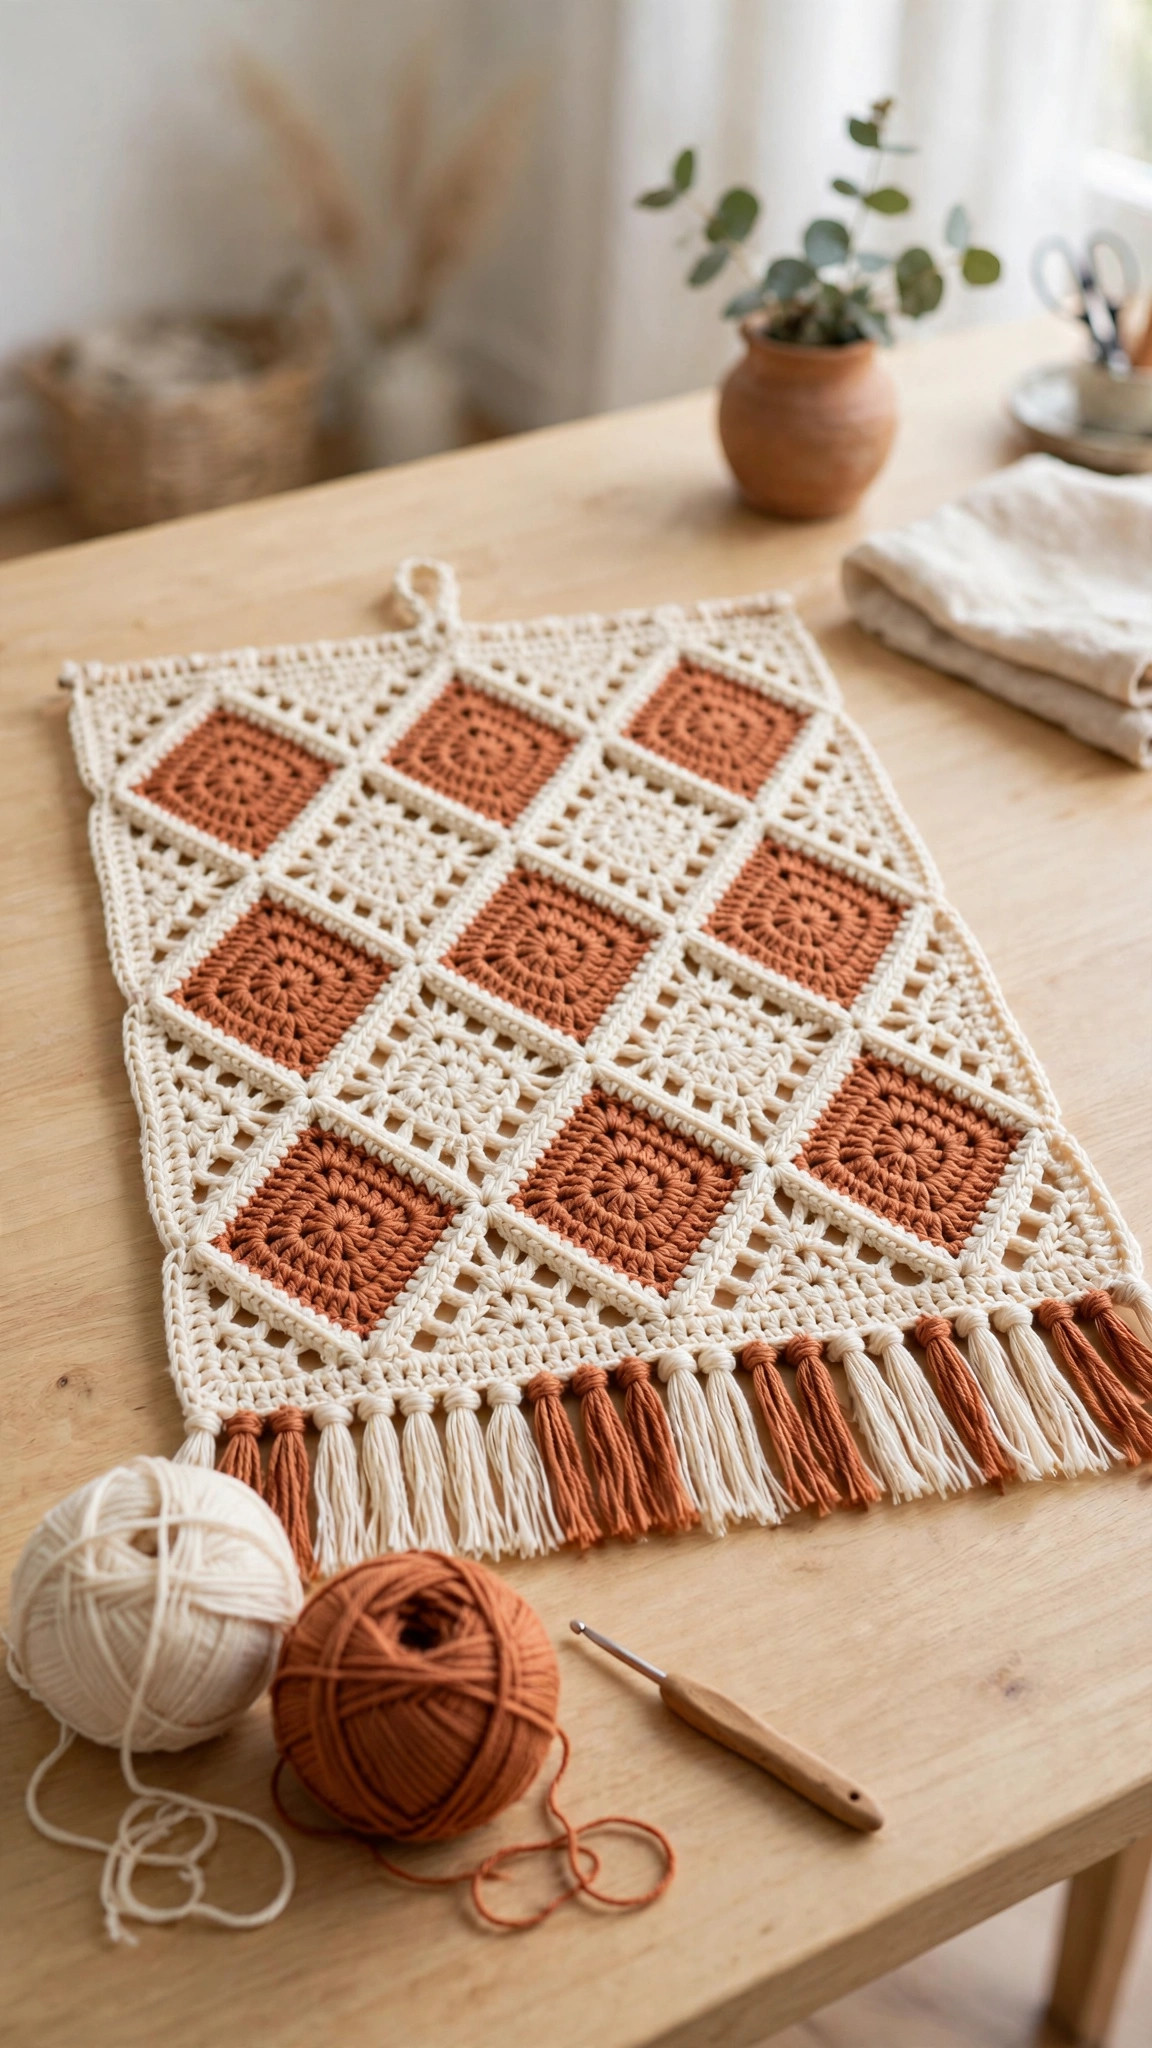
Worsted weight yarn is the best choice for a crochet wall hanging because it works up quickly, the double crochet stitches look neat and even, and the panel holds its shape when it hangs. A smooth cotton or cotton blend yarn gives the crispest stitch definition for the diamond motif, and it hangs with a nice weight. Choose a soft cream for the main color, a warm terracotta for the diamond, and a gentle sage for the stripes. Avoid fuzzy or very stretchy yarns, because they blur the diamond edges and make the panel sag over time. A natural wood dowel finishes the boho look, and you can stain it or leave it plain.
Abbreviations (US Terms)
- ch = chain
- sl st = slip stitch
- sc = single crochet
- dc = double crochet
- bobble = yarn over, insert the hook in the stitch, yarn over, pull up a loop, yarn over, pull through 2 loops, repeat 4 more times in the same stitch, yarn over, pull through all 6 loops on the hook
- st(s) = stitch(es)
- rep = repeat
Gauge and Sizing Notes
Gauge matters because it sets the finished width of the panel, and a panel that is too wide will not sit well on an 18 inch dowel. Work a swatch of 12 dc stitches and 8 rows in color A. It should be about 4 inches square. If it is wider, go down a hook size. If it is narrower, go up a hook size.
Count your stitches at the end of every row, because every row of the panel has 41 stitches, and a missed stitch makes the edges slant. Place a stitch marker in the first and last stitch of a row when you are learning, and check that both side edges stay straight. Keep your turning chains even, because a loose turning chain makes a wavy edge that is hard to fix later.
Part 1: The Diamond Panel
The panel is worked flat in rows, starting with a foundation chain. Every row has 41 stitches. The diamond motif is made by working some stitches in color B, and the bobble rows add texture. Carry the unused color loosely up the side edge, or cut it and weave the ends in later.
The Panel
With color A, ch 44.
- Row 1: dc in the 4th ch from the hook and in each ch across. (41 dc)
- Row 2: ch 3 (counts as dc), turn, dc in each st across. (41 dc)
- Row 3: ch 3, turn, dc in the next 2 sts, bobble in the next st, (dc in the next 5 sts, bobble in the next st) 6 times, dc in the last st. (41 sts)
- Rows 4 to 5: ch 3, turn, dc in each st across. (41 dc)
- Row 6: ch 3, turn, dc in the next 19 sts in color A, dc in the next 3 sts in color B, dc in the next 19 sts in color A. (41 dc)
- Row 7: ch 3, turn, dc in the next 17 sts in color A, dc in the next 7 sts in color B, dc in the next 17 sts in color A. (41 dc)
- Row 8: ch 3, turn, dc in the next 15 sts in color A, dc in the next 11 sts in color B, dc in the next 15 sts in color A. (41 dc)
- Row 9: ch 3, turn, dc in the next 13 sts in color A, dc in the next 15 sts in color B, dc in the next 13 sts in color A. (41 dc)
- Row 10: ch 3, turn, dc in the next 15 sts in color A, dc in the next 11 sts in color B, dc in the next 15 sts in color A. (41 dc)
- Row 11: ch 3, turn, dc in the next 17 sts in color A, dc in the next 7 sts in color B, dc in the next 17 sts in color A. (41 dc)
- Row 12: ch 3, turn, dc in the next 19 sts in color A, dc in the next 3 sts in color B, dc in the next 19 sts in color A. (41 dc)
- Rows 13 to 14: ch 3, turn, dc in each st across in color A. (41 dc)
- Row 15: repeat the bobble row from row 3. (41 sts)
- Rows 16 to 17: ch 3, turn, dc in each st across in color A. (41 dc)
- Rows 18 to 19: ch 3, turn, dc in each st across in color B. (41 dc)
- Rows 20 to 21: ch 3, turn, dc in each st across in color A. (41 dc)
- Rows 22 to 23: ch 3, turn, dc in each st across in color C. (41 dc)
- Rows 24 to 25: ch 3, turn, dc in each st across in color A. (41 dc)
- Row 26: repeat the bobble row from row 3. (41 sts)
- Rows 27 to 30: ch 3, turn, dc in each st across in color A. (41 dc)
Fasten off and weave in all the yarn ends. The panel should be about 14 inches wide and 15 inches tall. Lay it flat and check that the diamond sits in the center and both side edges are straight. If an edge waves a little, block the panel by pinning it to size on a towel, misting it lightly with water, and letting it dry flat. Our crochet tapestry pattern uses the same color change technique if you want another wall piece in a picture style.
Part 2: The Fringe and the Dowel Pocket
The fringe gives the wall hanging its soft boho finish, and the dowel pocket at the top holds the panel on the wooden dowel. Take your time with the fringe, because even spacing is what makes it look neat.
The Fringe
Cut 35 lengths of color A and 6 lengths of color B, each 14 inches long. You need 41 strands in total, one for each stitch along the bottom edge of the panel.
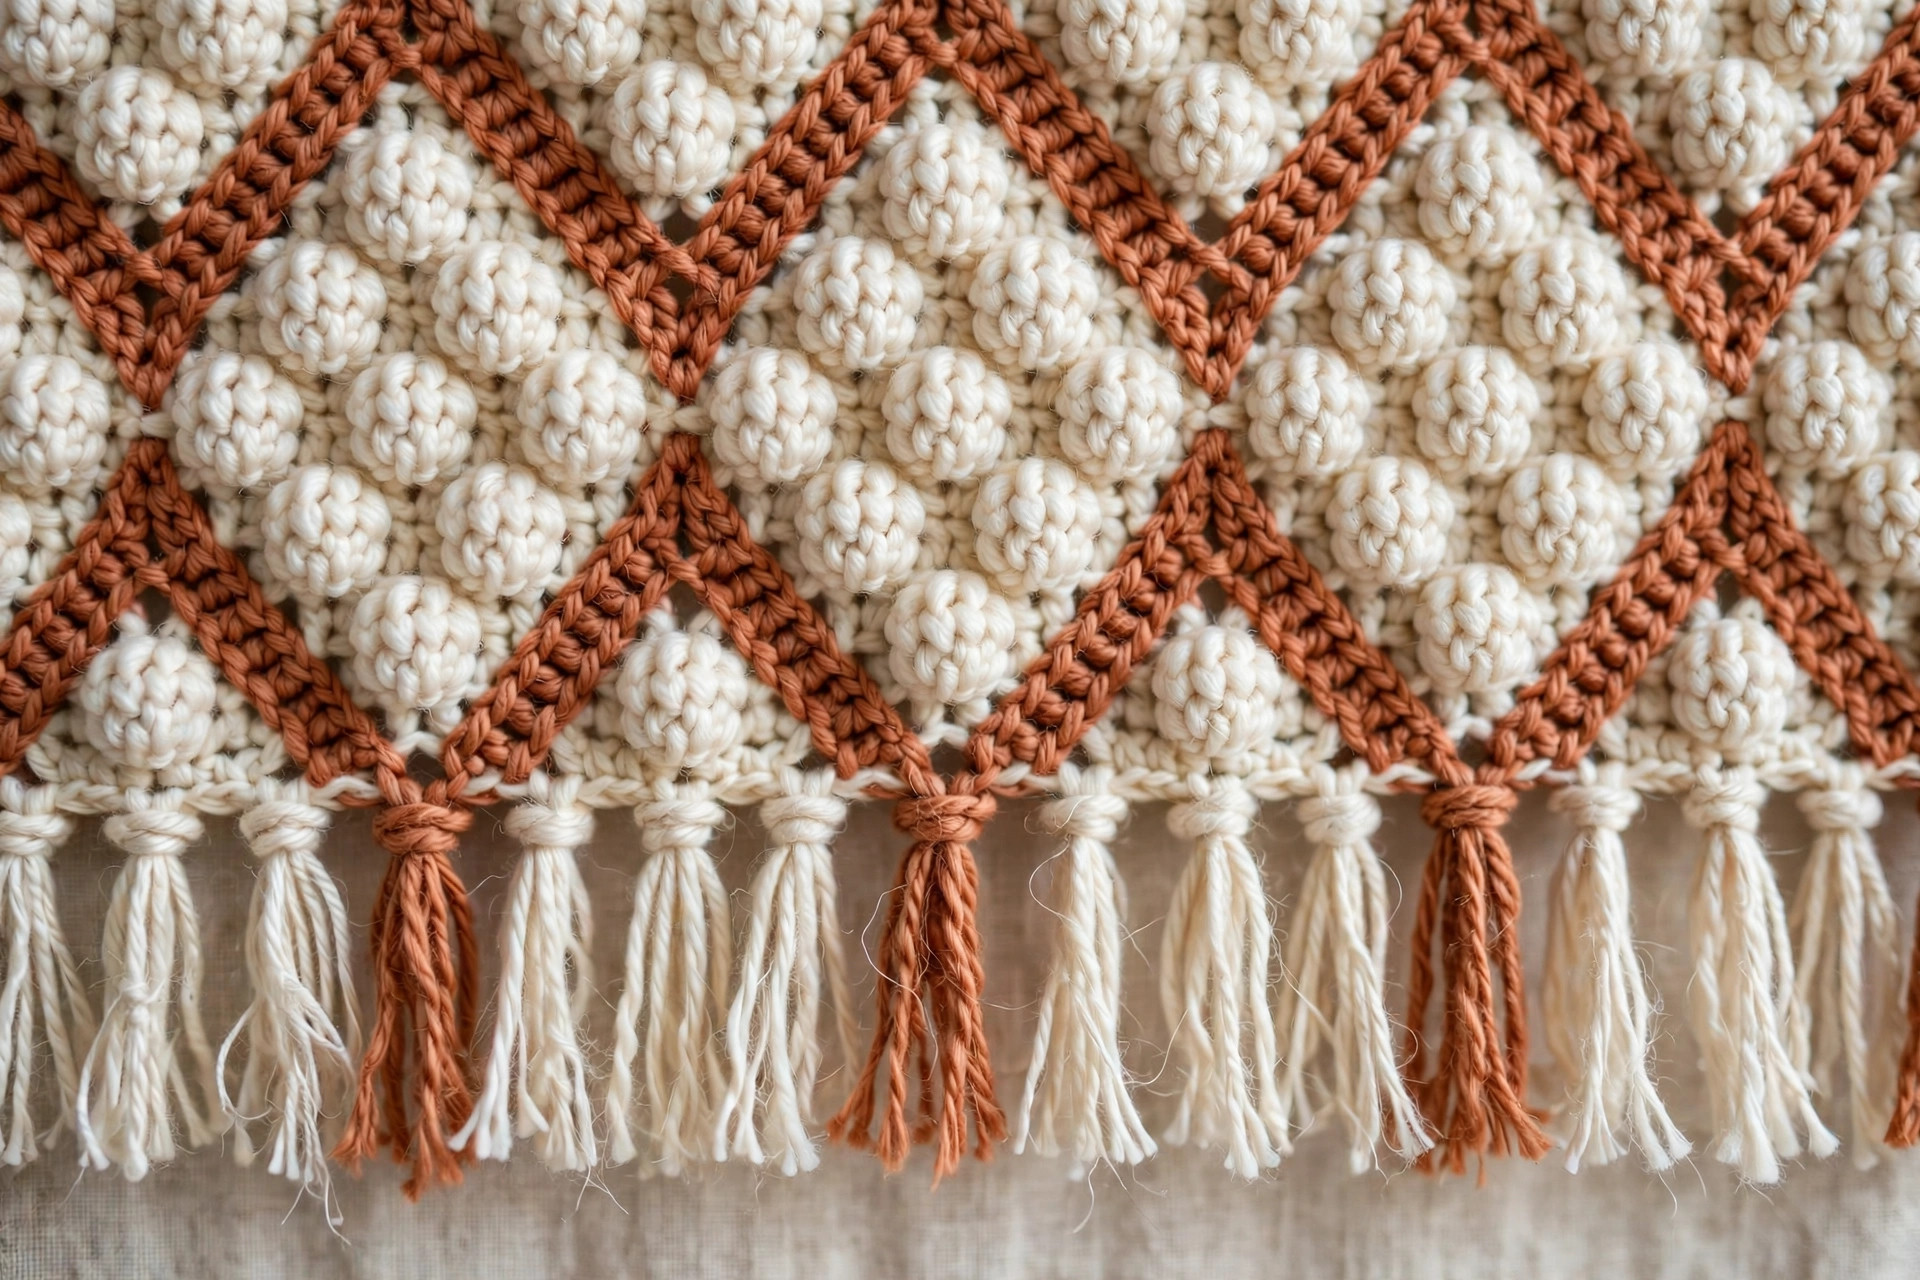
To attach one strand, fold it in half so the two ends meet and a loop forms at the fold. Push the loop through the first stitch along the bottom edge from front to back, then pull the two loose ends through the loop and pull gently to tighten the knot. Work along the bottom edge, one strand per stitch, and use a color B strand for every seventh stitch so the terracotta accents are spaced evenly.
When all 41 strands are attached, lay the panel flat and comb the fringe straight down with your fingers. Trim the ends evenly with sharp scissors so the fringe is 6 inches long. Step back and check that the bottom edge looks straight, and trim any long strands one at a time.
The Dowel Pocket
Lay the panel flat with the right side facing up. Fold the top 2 rows of the panel over to the back, so the fold sits just below row 2. The folded section forms a pocket that the dowel will slide through.
Thread a tapestry needle with a long length of color A. Whipstitch the folded edge to the back of the panel, working one stitch into each stitch along the fold, from one side edge to the other. Keep the stitches loose enough that the dowel slides through easily, and do not stitch through to the front of the panel. Fasten off and weave in the end. Slide the dowel through the pocket and check that the panel hangs straight and the dowel sticks out about 2 inches on each side.
Part 3: Hanging Cord and Finishing
The hanging cord is a simple chain that ties to the ends of the dowel. Once it is on, the wall hanging is ready for the wall.
The Hanging Cord
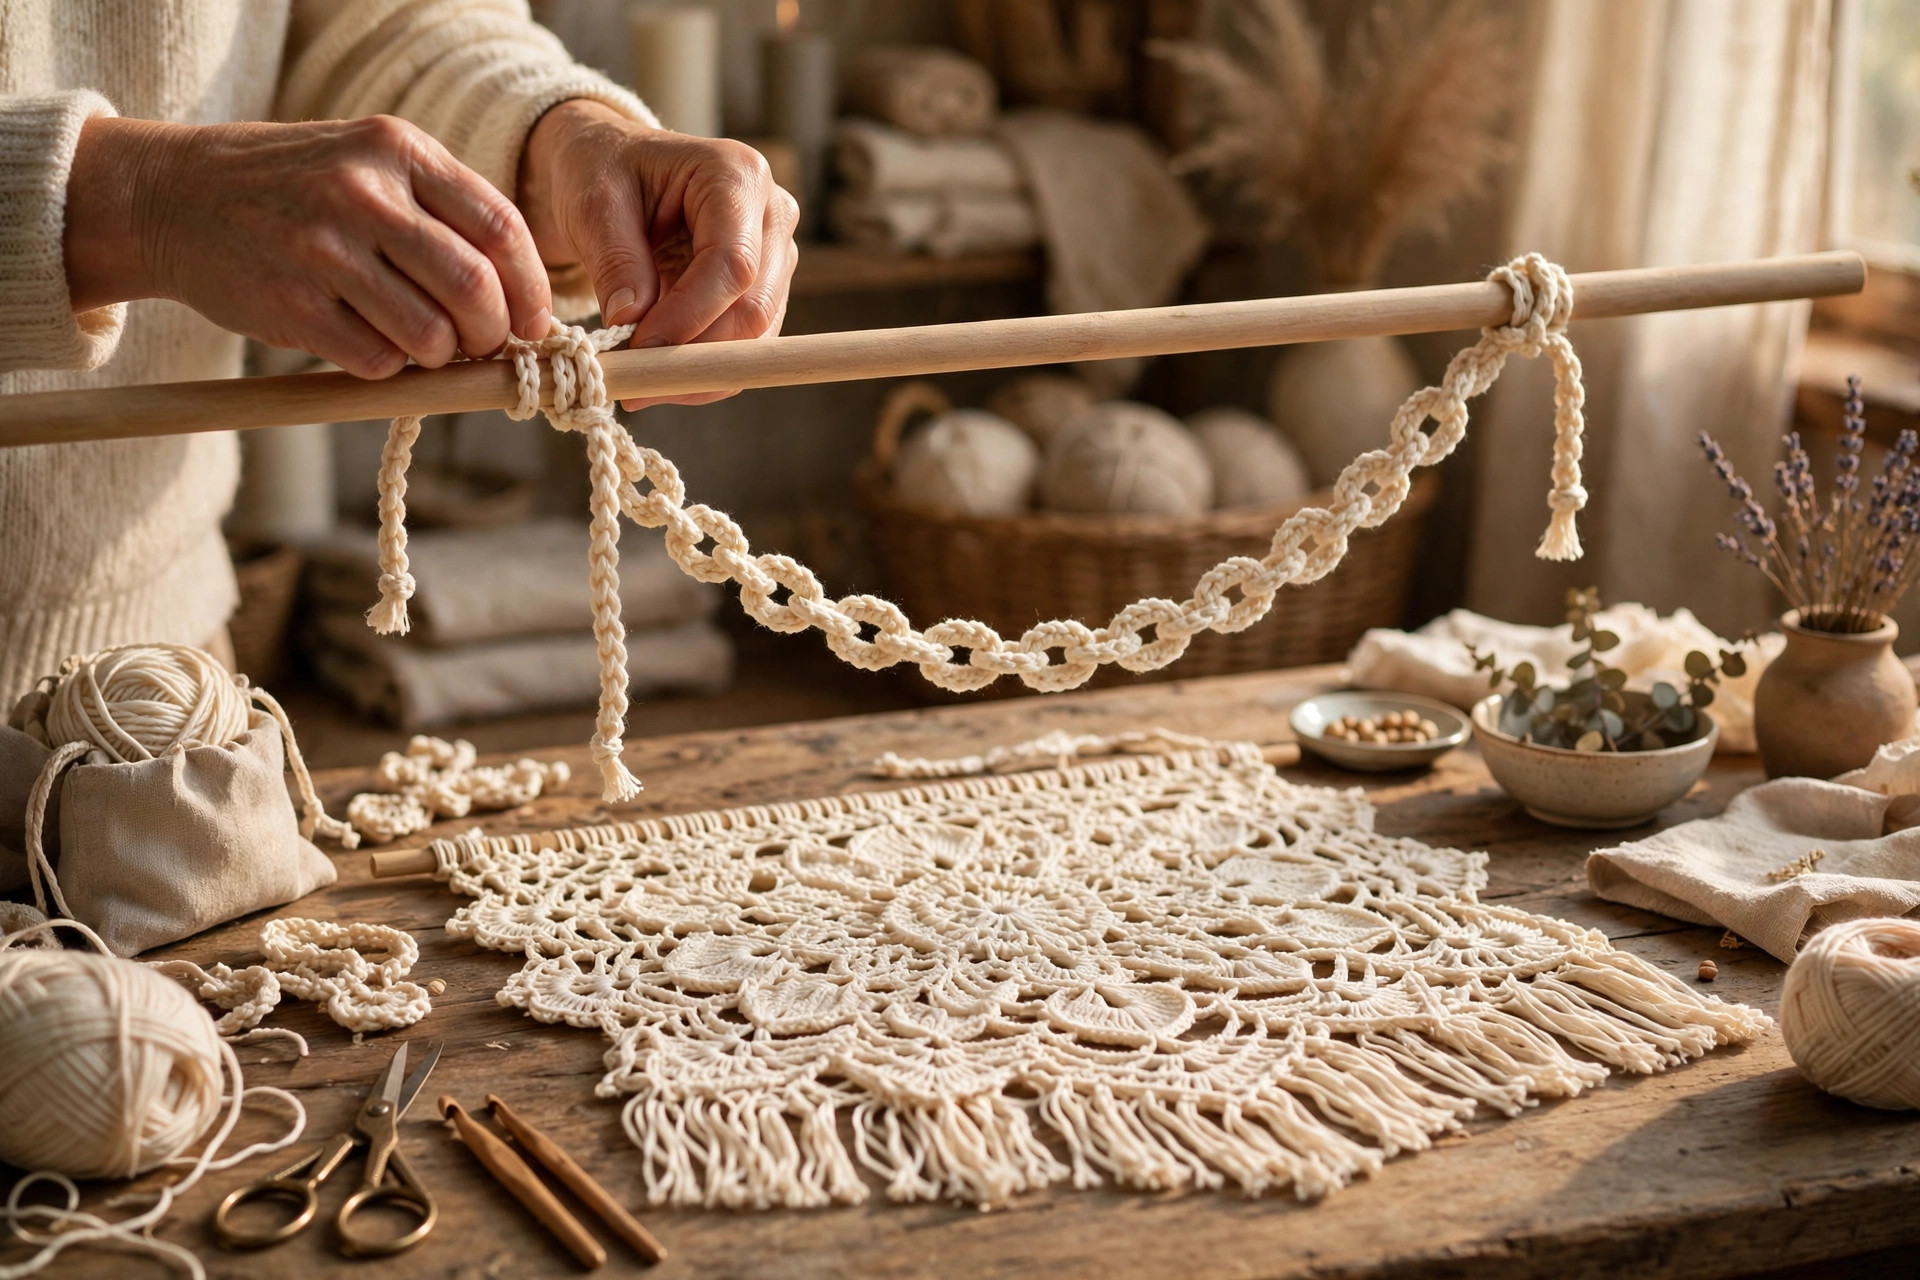
With color A, ch 71. Fasten off, leaving a 6 inch tail at each end. Tie one end of the chain around the dowel, about 2 inches in from the left end, using a firm double knot. Tie the other end around the dowel 2 inches in from the right end in the same way. The cord should form a triangle above the dowel, with the top of the triangle about 5 inches above the dowel.
Hold the wall hanging up by the cord and check that it hangs level. If one side sits lower, slide that knot a little toward the center until it balances. Trim the cord tails to about 1 inch and tuck them behind the knot so they do not show from the front.
Final Finishing
Weave in every yarn end on the back of the panel, working each tail through the back of several stitches in the same color, then trimming it close. Check the front of the panel for any stray ends poking through, and push them to the back with the tapestry needle.
Hang the finished piece on a nail or a small hook and step back. The panel should hang flat, the diamond should sit in the center, and the fringe should fall straight. If the panel curls at the edges, mist it lightly with water while it hangs and let it dry in place. Our crochet flower pattern free makes small flowers you can pin to the panel for a softer look.
Variations: Colors, Sizes, and Uses
- Nursery neutrals: work the panel in cream with a soft grey diamond and a white fringe, and hang it above a crib or a changing table.
- Bold living room: make the diamond in mustard and the stripes in deep teal for a strong contrast against a white wall. Our crochet rug pattern makes a matching floor piece in the same colors.
- Narrow hallway piece: work the panel with 31 stitches instead of 41 and follow the same row plan with a smaller diamond, for a slim hanging that fits a narrow wall.
- Extra long fringe: cut the fringe strands 20 inches long and trim them to 9 inches for a dramatic floor length look in a tall room.
- Festive version: work the diamond in red and the stripes in green with a cream panel for a Christmas wall hanging, and swap the wooden dowel for a cinnamon stick style branch.
Troubleshooting a Panel That Will Not Hang Straight
- My panel slants to one side. One side edge has more stitches than the other. Count the stitches in the last row, and check that every row has 41 stitches.
- My diamond looks lopsided. The color B stitches were counted wrong in one row. Count the color B stitches in each diamond row and check they match the pattern.
- My fringe looks uneven. The strands were trimmed at an angle. Lay the panel flat, comb the fringe straight, and trim a little at a time.
- My panel curls at the edges. The gauge is tight at the edges. Block the panel by pinning it flat, misting it, and letting it dry fully.
- My dowel pocket is too tight. The whipstitches were pulled too tight. Take out the pocket seam, re-fold the top, and stitch it more loosely.
Care Instructions
Shake a crochet wall hanging gently now and then to remove dust, and brush the fringe straight with your fingers. If it needs cleaning, hand wash it in cool water with a mild detergent, press the water out gently without wringing, and lay it flat to dry. Reshape the panel while it is damp and comb the fringe straight. Keep it out of direct sunlight so the colors do not fade, and keep it away from damp walls.
Frequently Asked Questions
Is this crochet wall hanging pattern good for beginners?
Yes, it is a great beginner wall decor project. You need a foundation chain, double crochet, bobble stitches, and simple color changes. One wall hanging takes about 6 hours.
What yarn is best for a crochet wall hanging?
Worsted weight cotton or cotton blend yarn is the best choice, because it gives crisp stitch definition and hangs with a nice weight. Cream with a terracotta diamond gives the classic boho look.
How big is the finished wall hanging?
The panel is about 14 inches wide and 15 inches tall, with 6 inches of fringe below. It hangs about 21 inches from the dowel, and the dowel is 18 inches long.
Do I need a wooden dowel, or can I use a branch?
You can use a straight branch instead of a dowel, and it looks lovely for a rustic style. Sand it smooth, wipe it clean, and make sure it is dry before you slide it through the pocket.
How do I keep the fringe even?
Cut all the strands to the same length before you attach them, knot one strand per stitch, then comb the fringe straight and trim the ends a little at a time while the panel lies flat.
Can I make the wall hanging wider?
Yes, add stitches in sets of 10 to keep the diamond centered, and widen the diamond by adding 2 stitches to each side of every diamond row. A wider panel needs a longer dowel, so match the dowel to the new width plus 4 inches.
Can I sell wall hangings made from this pattern?
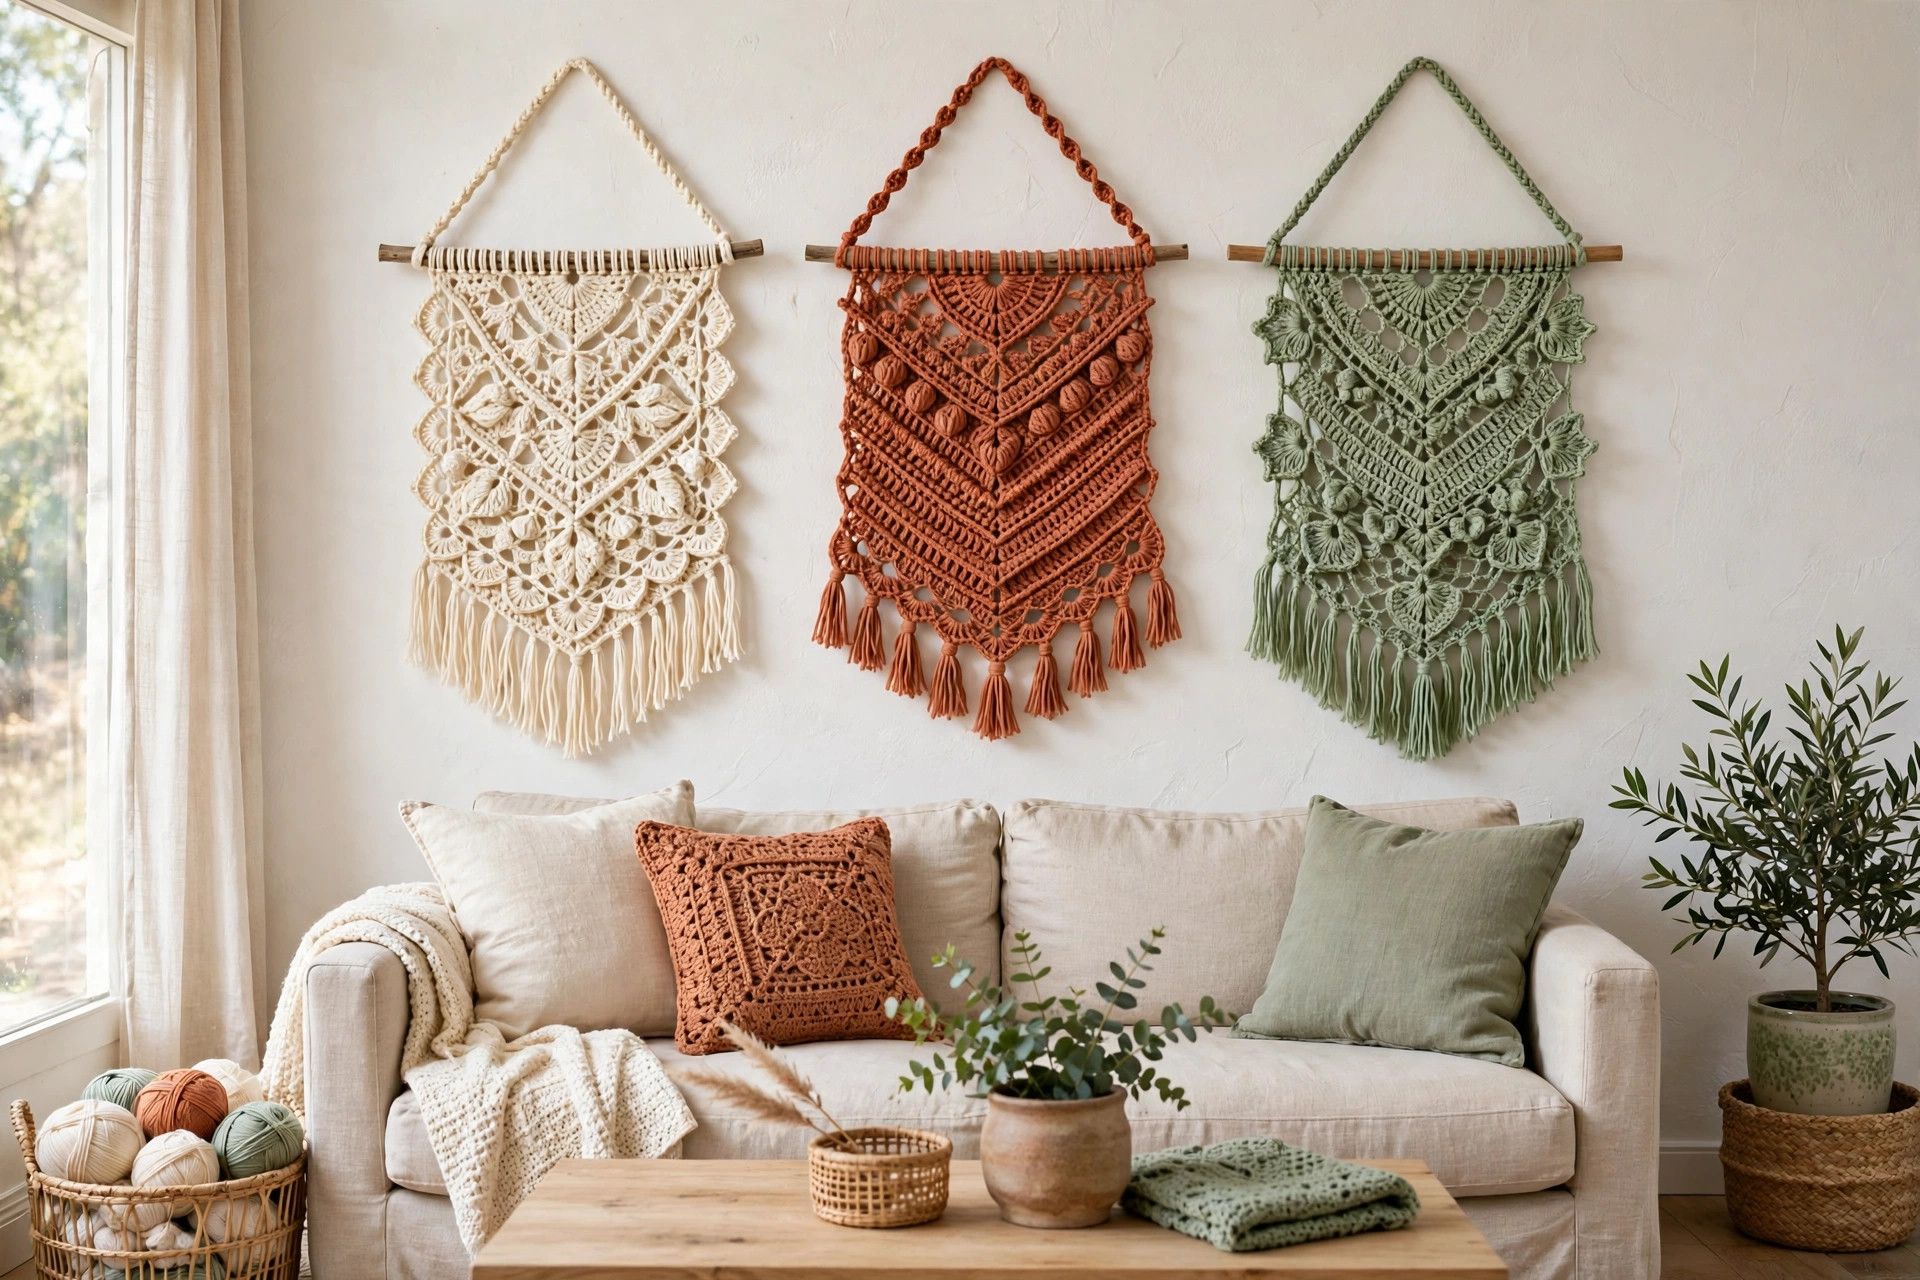
Yes, you may sell finished wall hangings made from this free pattern, with credit to Little Loop Finds. Do not sell or republish the pattern text itself. A set of three hangings in matching colors makes a lovely market stall display, and pairs nicely with our african flower crochet pattern motifs.
Happy stitching, and may your little wall hanging bring a soft handmade warmth to your wall.