Crochet Tapestry Pattern (Colorwork Guide)
Learn tapestry crochet colorwork step by step, then stitch a geometric diamond wall hanging from an original chart.

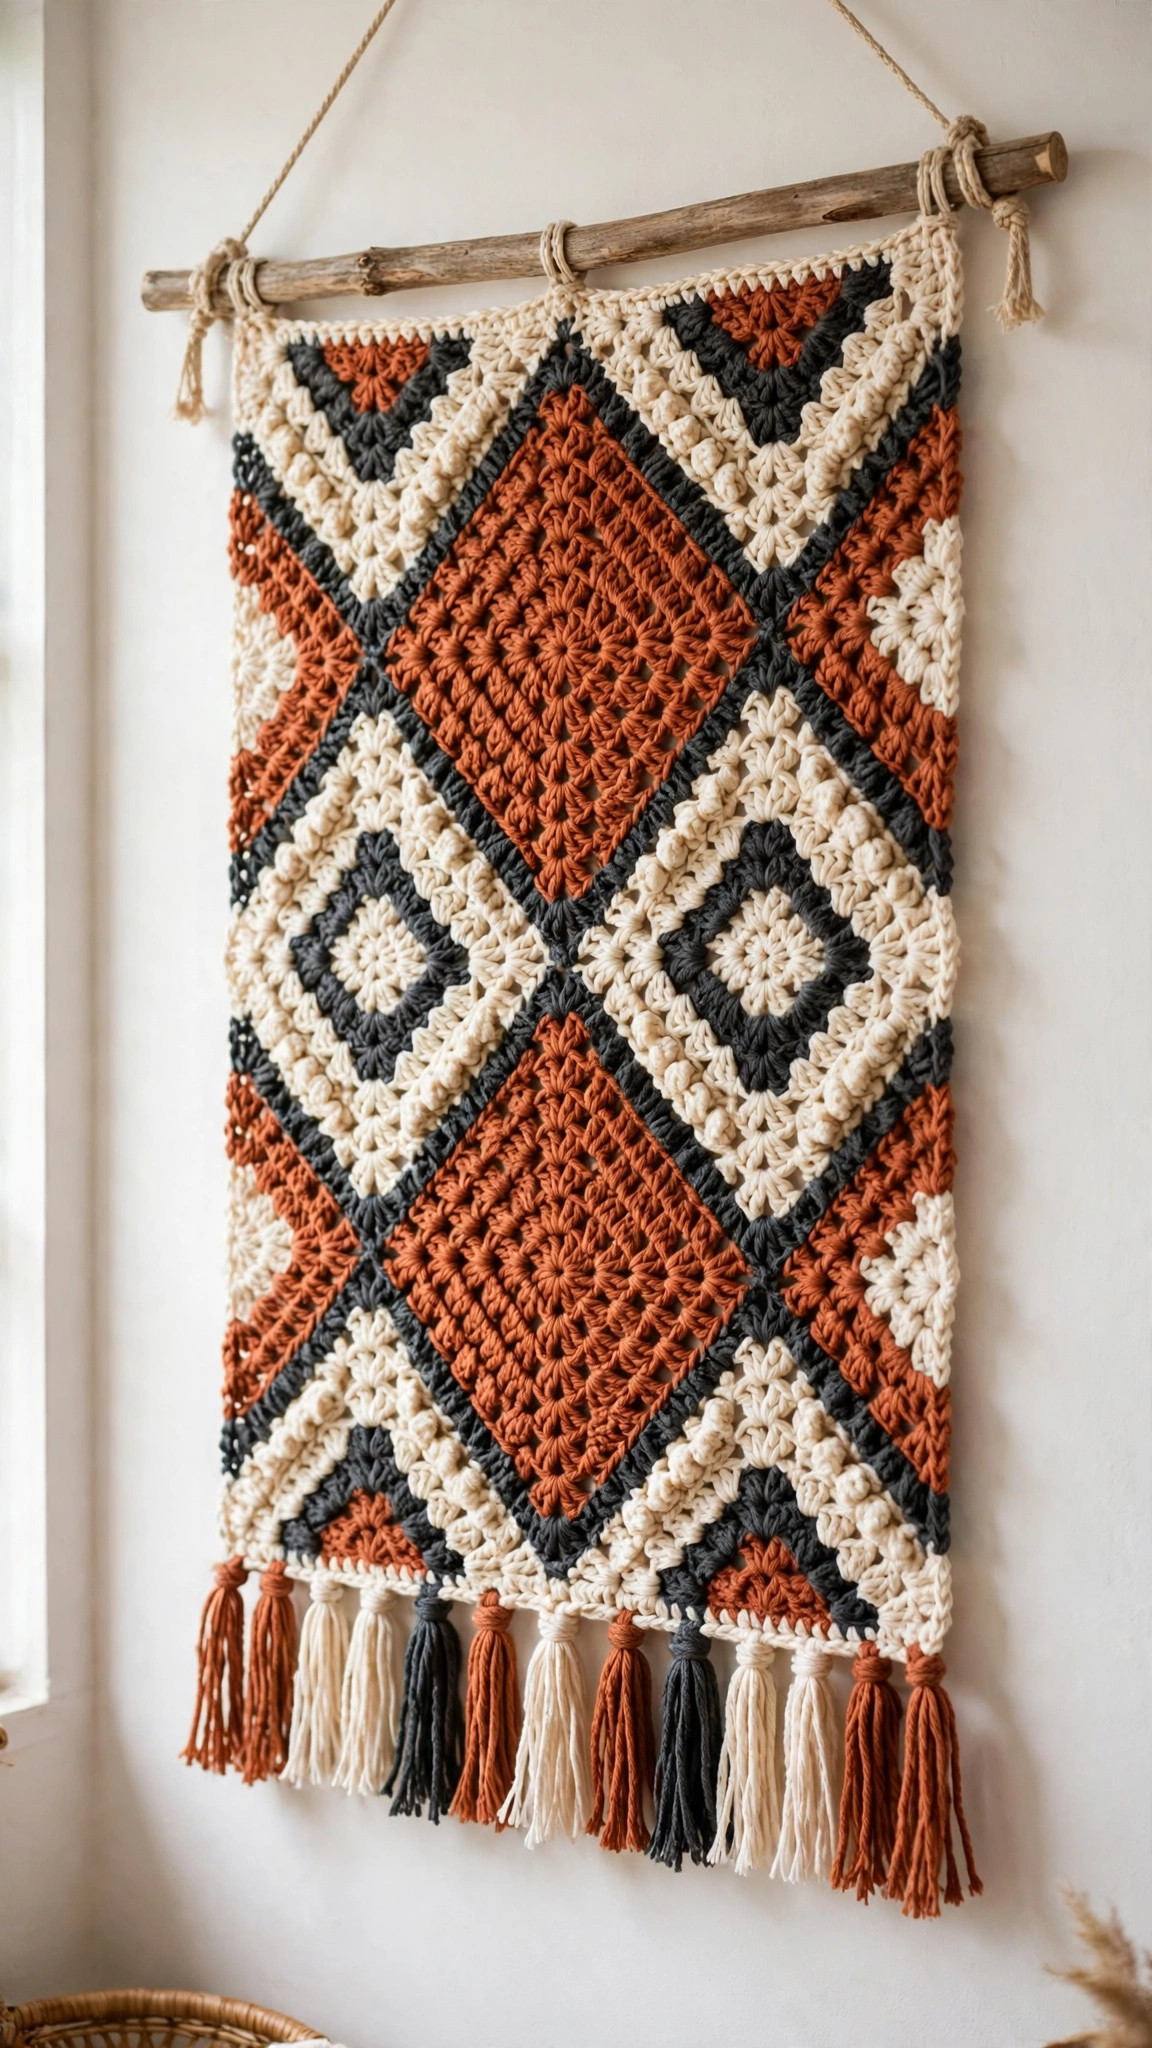
Home Decor · Crochet
- Finished size
- 10 in wide, 12 in tall
- Making time
- 5 to 6 hours
- Hook
- US G-6 (4.0 mm)
- Set
- 25 sts, 30 rows
- Skill
- Intermediate
In this post
- Key Takeaways
- Table of Contents
- Why You Will Love Tapestry Crochet
- Finished Size, Skill Level, and Time
- Materials You Need
- Abbreviations (US Terms)
- Gauge and Sizing Notes
- What Is Tapestry Crochet
- How to Read a Tapestry Chart
- How to Carry Yarn and Change Colors
- Part 1: The Diamond Wall Hanging
- Part 2: Finishing and Hanging
- Variations: Pouches, Bags, and Bigger Charts
- Troubleshooting Colorwork Problems
- Care Instructions
- Frequently Asked Questions
Tapestry crochet is the closest thing crochet has to painting with yarn. With just single crochet stitches and two or more colors carried along the row, you can draw diamonds, zigzags, mountains, and whole pictures into a fabric that is dense, sturdy, and completely reversible in spirit. This free crochet tapestry pattern is a complete colorwork guide, teaching you how to read a chart, carry your yarn neatly, and keep your tension even, and it finishes with a small original project, a geometric diamond wall hanging you can make in a weekend.
This is an original Little Loop Finds design, written in US terms and completely free. The guide starts with the basics, what tapestry crochet is and how it differs from other colorwork, then moves into the practical skills: setting up a chart, changing colors without gaps, and carrying the unused yarn so the back stays tidy.
A quick note on scope: this post is about tapestry crochet, the technique of working single crochet while carrying unused colors inside the stitches. It is not about intarsia, where separate bobbins are used for each color block, and it is not a roundup of other designers' charts. Every chart and instruction here is original, and the wall hanging is a Little Loop Finds design you can make, gift, or adapt.
Key Takeaways
- Free original guide: this crochet tapestry pattern is a Little Loop Finds original design, written in US terms, and completely free.
- Real technique teaching: learn to read a chart, carry yarn, and change colors cleanly, not just follow one project.
- Small first project: a 25 stitch wide diamond wall hanging that finishes in a weekend and teaches every skill.
- Beginner friendly colorwork: if you can single crochet, you can do tapestry crochet, with a little practice.
- Endlessly adaptable: the same skills make pouches, bags, hats, and blankets with any chart you design.
Table of Contents
- Why You Will Love Tapestry Crochet
- Finished Size, Skill Level, and Time
- Materials You Need
- Abbreviations (US Terms)
- Gauge and Sizing Notes
- What Is Tapestry Crochet
- How to Read a Tapestry Chart
- How to Carry Yarn and Change Colors
- Part 1: The Diamond Wall Hanging
- Part 2: Finishing and Hanging
- Variations: Pouches, Bags, and Bigger Charts
- Troubleshooting Colorwork Problems
- Care Instructions
- Frequently Asked Questions
Why You Will Love Tapestry Crochet
Tapestry crochet turns the most basic stitch in crochet into a design tool. Single crochet is the stitch most of us learn first, and in tapestry crochet it becomes the pixel of a picture. Each stitch is one square on a chart, each row is one line of the picture, and the finished fabric is dense and firm, with a neat, almost woven look that is very different from the open, lacy fabrics of other techniques.
This design is also a wonderful way to use small amounts of yarn. A wall hanging uses a main color and just a little of one or two contrast colors, so it is perfect for the odds and ends in your stash. That makes it ideal for gifts, because you can work the whole project in a weekend and end up with something that looks far more impressive than the time it took.
Finished Size, Skill Level, and Time
- Finished size: wall hanging about 10 inches wide and 12 inches tall, not including the dowel and hanging loop. The chart is 25 stitches wide and 30 rows tall.
- Skill level: Easy to intermediate. You need a chain, slip stitch, and single crochet, plus the patience to follow a chart row by row.
- Time: about 5 to 6 hours total: roughly 1 hour to practice the technique and swatch, 3 hours for the wall hanging panel, and 1 hour for finishing and hanging.
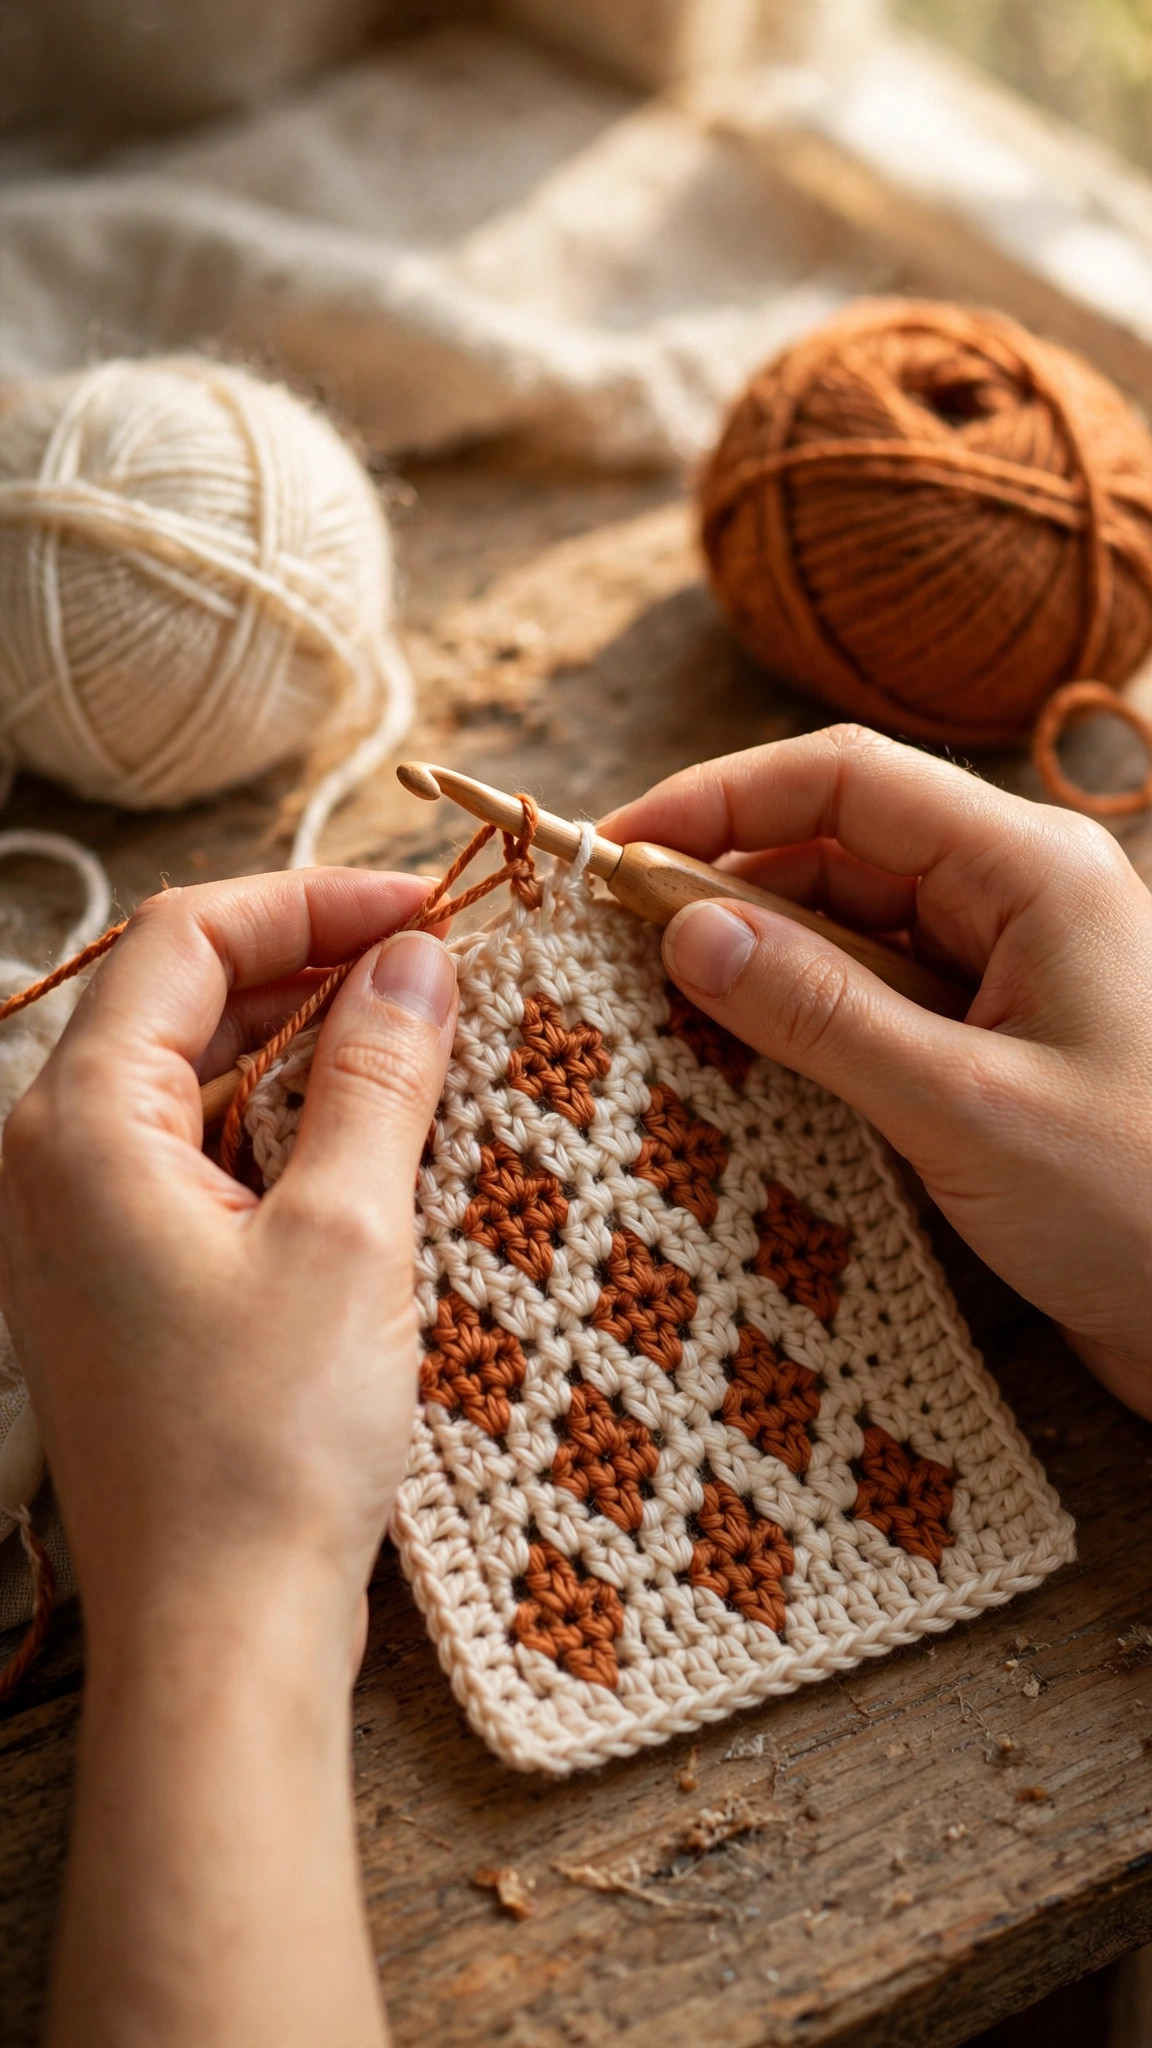
Materials You Need
| Item | What to get |
|---|---|
| Yarn, main color A | Worsted weight (medium 4) cotton or acrylic in cream, about 120 yards |
| Yarn, contrast color B | Worsted weight in terracotta or rust, about 60 yards |
| Yarn, contrast color C (optional) | Worsted weight in charcoal or mustard, about 30 yards |
| Hook | US G-6 (4.0 mm), or one size smaller than you normally use for this yarn |
| Notions | Tapestry needle, scissors, stitch markers |
| Hanging | A wooden dowel 12 inches long, plus a length of yarn or cord for the loop |
Cotton yarn is a great choice here because it gives crisp stitch definition, which is exactly what colorwork needs, and the finished fabric holds its shape on the wall. Acrylic works well too, and it is easier to find in a wide range of colors.
Abbreviations (US Terms)
- ch = chain
- sl st = slip stitch
- sc = single crochet
- st(s) = stitch(es)
- rep = repeat
- RS = right side
- WS = wrong side
- A = main color (cream)
- B = contrast color (terracotta)
- C = second contrast color (charcoal, optional)
Gauge and Sizing Notes
Gauge for tapestry crochet is 16 sc and 18 rows = 4 inches, worked in single crochet with a 4.0 mm hook while carrying one yarn. Your gauge will be tighter than plain single crochet, because the carried yarn fills out each stitch, so do not be surprised if your usual hook gives a larger fabric.
To make a wider wall hanging, add stitches in multiples of the chart repeat. The diamond chart is 25 stitches wide, so add or subtract 4 stitches at each side to keep the diamond centered, and adjust the chart rows to match. To make a taller hanging, repeat the diamond section, rows 7 to 26, a second time before the top border. To make a smaller project, work just the diamond section, rows 5 to 28, and skip the plain border rows, for a mini hanging about 8 inches tall.
What Is Tapestry Crochet
Tapestry crochet is a colorwork technique where you work in single crochet and carry the unused color or colors along inside your stitches, switching colors as the chart directs. The carried yarn runs horizontally through the row, hidden inside the stitches, so the fabric stays dense and even.
It differs from other colorwork methods in a few useful ways. In intarsia, each color block has its own bobbin and the yarns are not carried across, which works well for large blocks but gets tangled for small motifs. In mosaic crochet, you work with one color per row and use long stitches to create the pattern, which is beautiful but limited in design.
How to Read a Tapestry Chart
A tapestry chart is a grid where each square is one single crochet stitch and each row of squares is one row of your work. Charts are read from the bottom up, because you crochet from the bottom up, and the direction alternates: right side rows are read from right to left, and wrong side rows are read from left to right.
For this project, the chart is written out row by row instead of drawn as a grid, so you can follow it without printing anything. Each row tells you how many stitches to work in each color, in order, from the start of the row to the end. For example, "A12, B1, A12" means work 12 stitches in color A, then 1 stitch in color B, then 12 stitches in color A, for a total of 25 stitches.
How to Carry Yarn and Change Colors
Carrying yarn is the heart of tapestry crochet, and it is simpler than it looks. Lay the unused color along the top of the previous row, and work your single crochet stitches over it, so the unused yarn is trapped inside the stitches. Keep it lying flat and straight, not pulled tight and not looping loose, and it will disappear into the fabric.
To change colors, work the last single crochet of the old color until the final yarn over, then yarn over with the new color and pull it through the last two loops. The new color is now on your hook, ready for the next stitch, and the old color drops to be carried. The key detail is the timing: the color change happens on the last yarn over of the previous stitch, not at the start of the next one, and that is what keeps the color blocks clean with no stray stitches of the wrong color.
Tension is everything in tapestry crochet. If you pull the carried yarn too tight, the fabric will pucker and the edges will pull in. If you leave it too loose, loops of the unused color will peek out between stitches. The right tension feels like the carried yarn is lying flat with no slack and no pull.
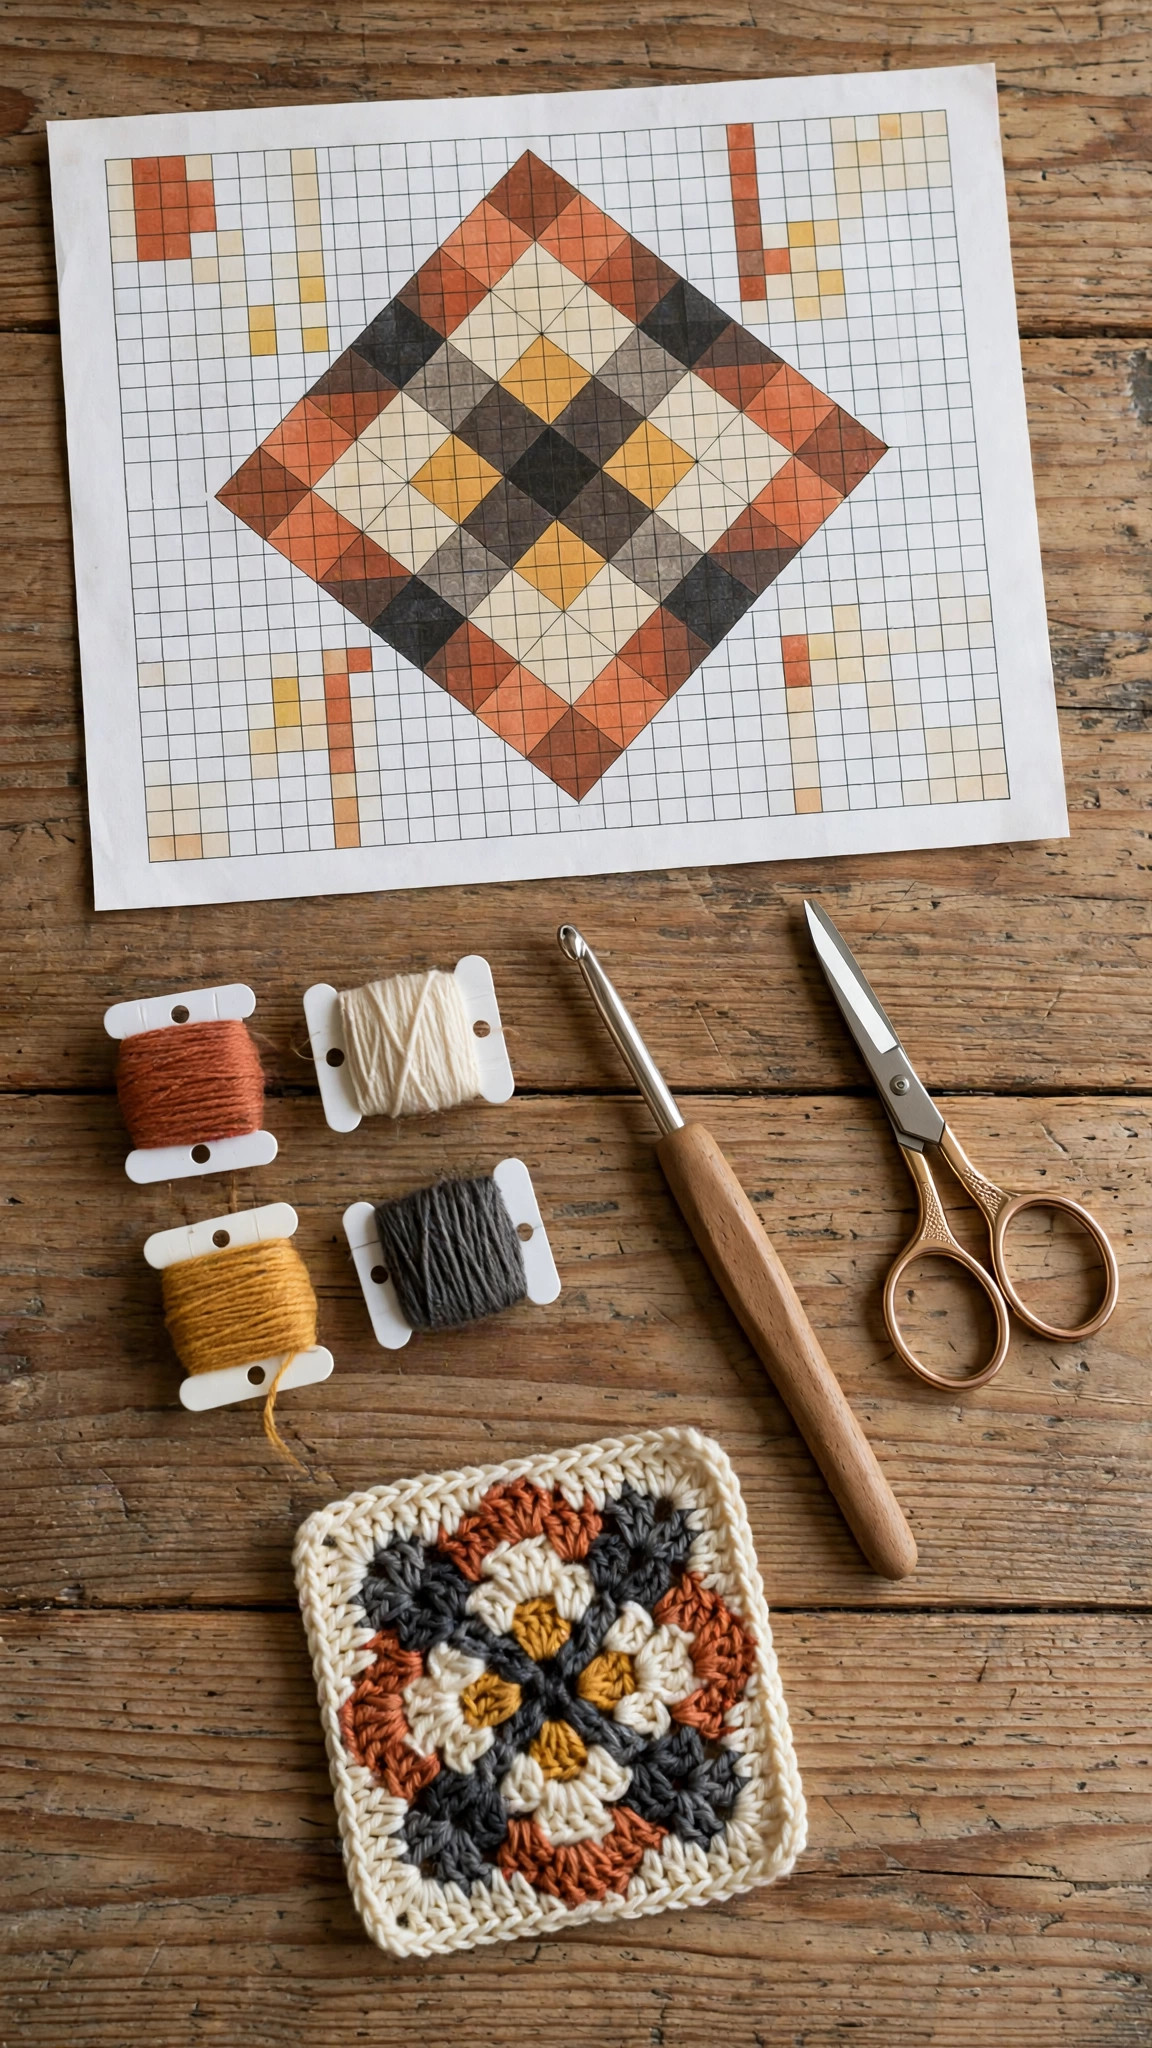
Part 1: The Diamond Wall Hanging
The wall hanging is worked flat in rows, from the bottom up, following the chart below. Work in single crochet throughout, carrying the unused color, and changing colors as described above. Ch 1 at the end of each row does not count as a stitch.
Foundation and border rows
With color A, ch 26.
- Row 1: sc in 2nd ch from hook and in each ch across. 25 sc. Ch 1, turn.
- Rows 2 to 4: sc in each st across. 25 sc. Ch 1, turn.
- Rows 5 to 6: work the chart row as B25, a solid stripe in color B. Ch 1, turn.
The diamond chart
Work each row in single crochet, carrying the unused color, and changing colors where the counts change. Read each row from the start of the row to the end, and check that every row totals 25 stitches.
- Row 7: A12, B1, A12. (25 sts)
- Row 8: A11, B3, A11. (25 sts)
- Row 9: A10, B5, A10. (25 sts)
- Row 10: A9, B7, A9. (25 sts)
- Row 11: A8, B9, A8. (25 sts)
- Row 12: A7, B4, C3, B4, A7. (25 sts)
- Row 13: A6, B5, C3, B5, A6. (25 sts)
- Row 14: A5, B6, C3, B6, A5. (25 sts)
- Row 15: A6, B5, C3, B5, A6. (25 sts)
- Row 16: A7, B4, C3, B4, A7. (25 sts)
- Row 17: A8, B9, A8. (25 sts)
- Row 18: A9, B7, A9. (25 sts)
- Row 19: A10, B5, A10. (25 sts)
- Row 20: A11, B3, A11. (25 sts)
- Row 21: A12, B1, A12. (25 sts)
- Rows 22 to 26: work as Rows 7 to 11 in reverse order, so the diamond repeats as a second, smaller diamond above the first. Row 22 is A12, B1, A12; Row 23 is A11, B3, A11; Row 24 is A10, B5, A10; Row 25 is A9, B7, A9; Row 26 is A8, B9, A8.
If you prefer a single large diamond instead of two, simply work Rows 7 to 21 once, then skip to the top border below. The chart is yours to play with, and both versions look lovely on the wall.
Top border rows
- Rows 27 to 28: work the chart row as B25, a solid stripe in color B. Ch 1, turn.
- Rows 29 to 30: sc in each st across in color A. 25 sc. Ch 1, turn.
- Fasten off, leaving a long tail for weaving in.
Your panel should now measure about 10 inches wide and 12 inches tall, with a clear diamond in terracotta on a cream background and a small charcoal dot at the center. If the edges pull in slightly, do not worry, because blocking will fix it.
Part 2: Finishing and Hanging
Finishing is where a flat panel becomes a wall hanging, so take your time and keep everything straight.
- Weave in all ends on the back of the panel, following the path of the stitches so the ends disappear. Take extra care with the color change tails, because they sit at the edges of the diamond and can peek out if they are left loose.
- Block the panel: soak it in cool water with a little wool wash, roll it in a towel to remove water, and lay it flat to dry, pinning the corners so the panel is a neat rectangle and the diamond is centered.
- Make the top pocket for the dowel: fold the top 1 inch of the panel to the back and sew it down with matching yarn, leaving the ends open so the dowel slides through. If you prefer a simpler finish, work a row of single crochet loops along the top edge instead, and thread the dowel through the loops.
- Slide the dowel through the pocket or loops, and tie a length of yarn or cord to each end of the dowel for hanging. A simple loop of yarn works, or use a leather cord for a more polished look.
- Add a fringe to the bottom edge if you like: cut strands of color B about 8 inches long, fold each in half, pull the loop through a stitch at the bottom edge, and pull the ends through the loop. Space the fringe evenly across the bottom, then trim it straight.
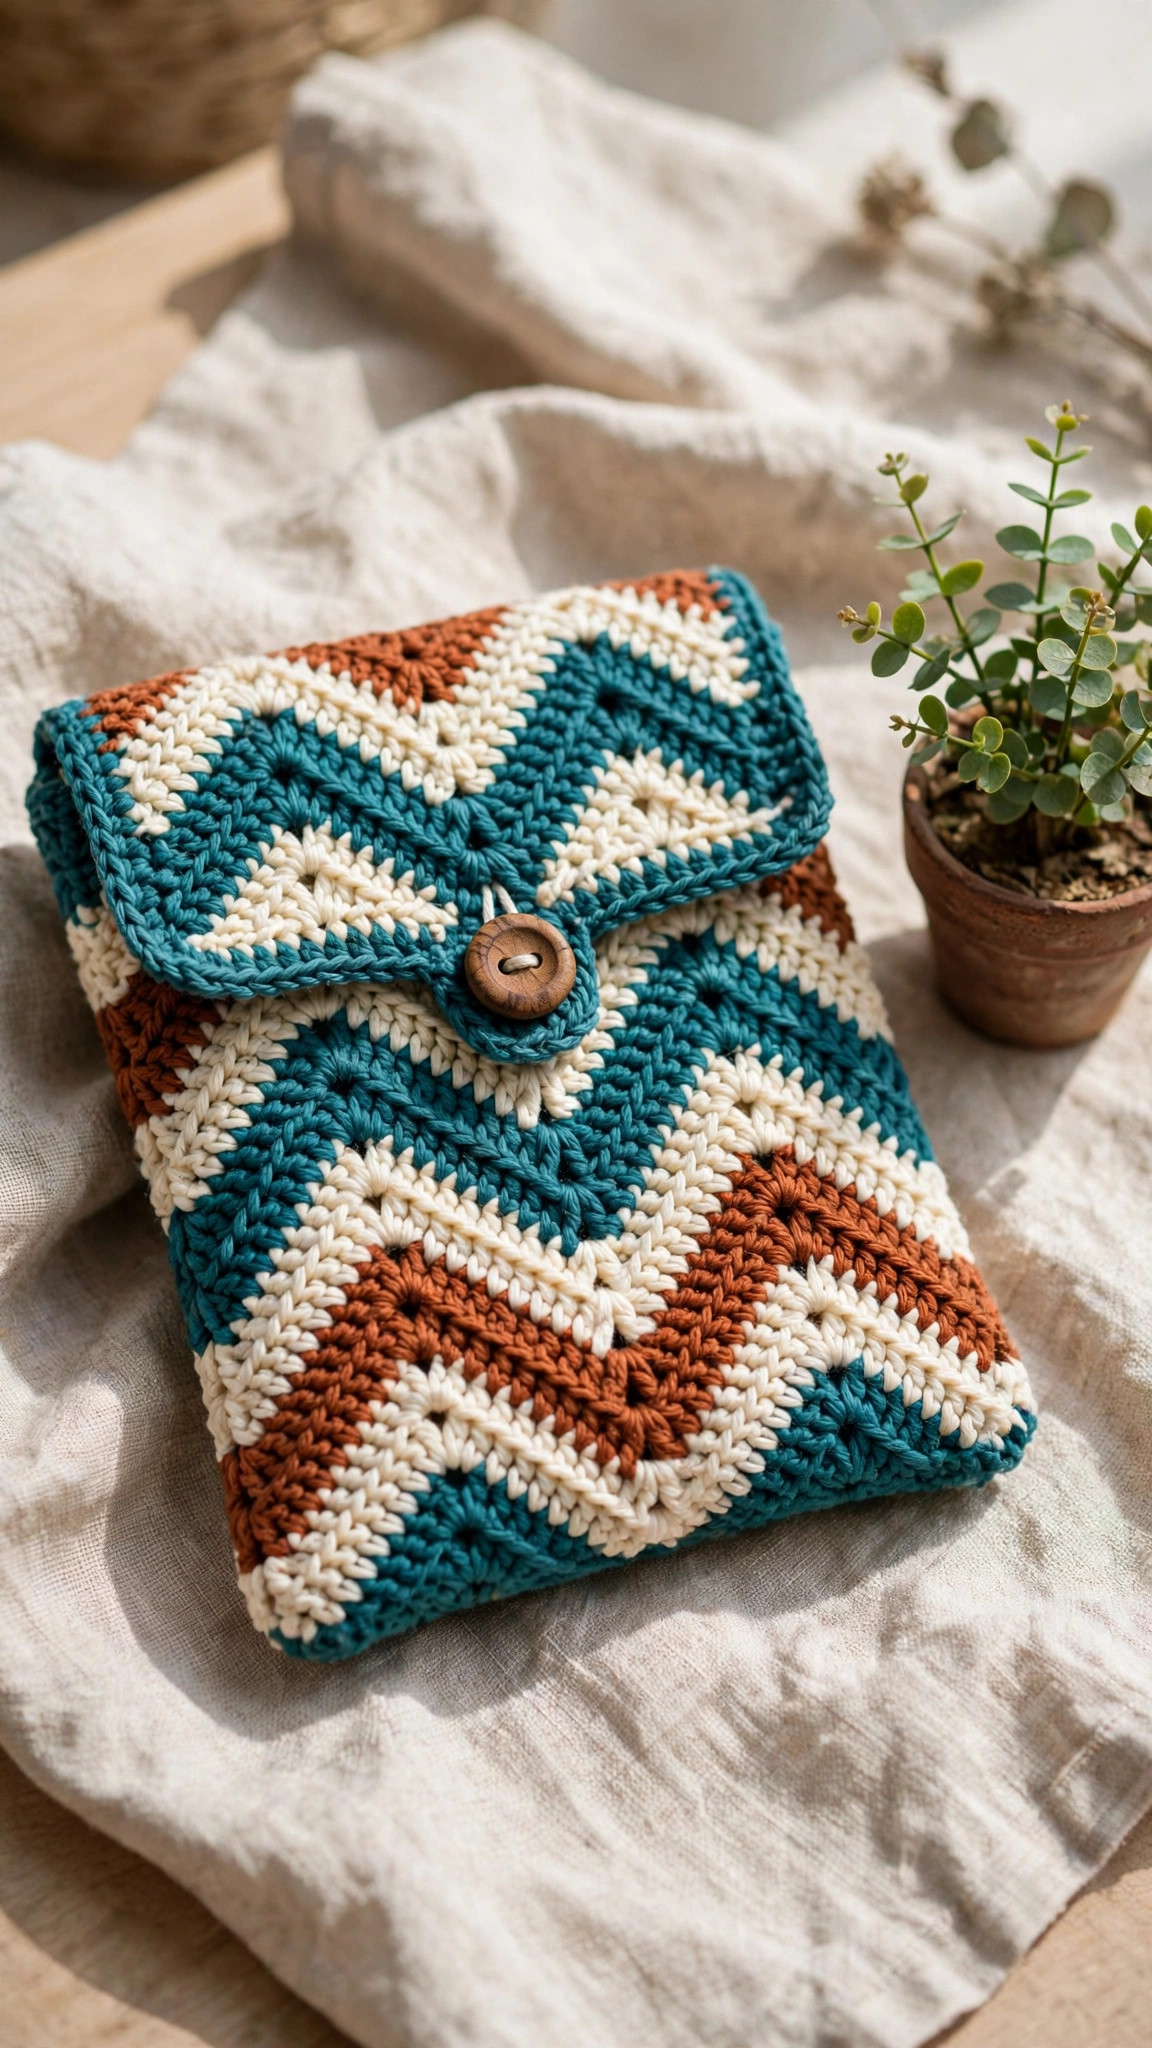
Variations: Pouches, Bags, and Bigger Charts
- Tapestry pouch: work the same 25 stitch chart in the round, joining into a tube, and add a button loop and a lining.
- Zigzag bag: replace the diamond chart with a zigzag repeat of 5 stitches, worked over the same 25 stitch width, for a bold geometric bag front.
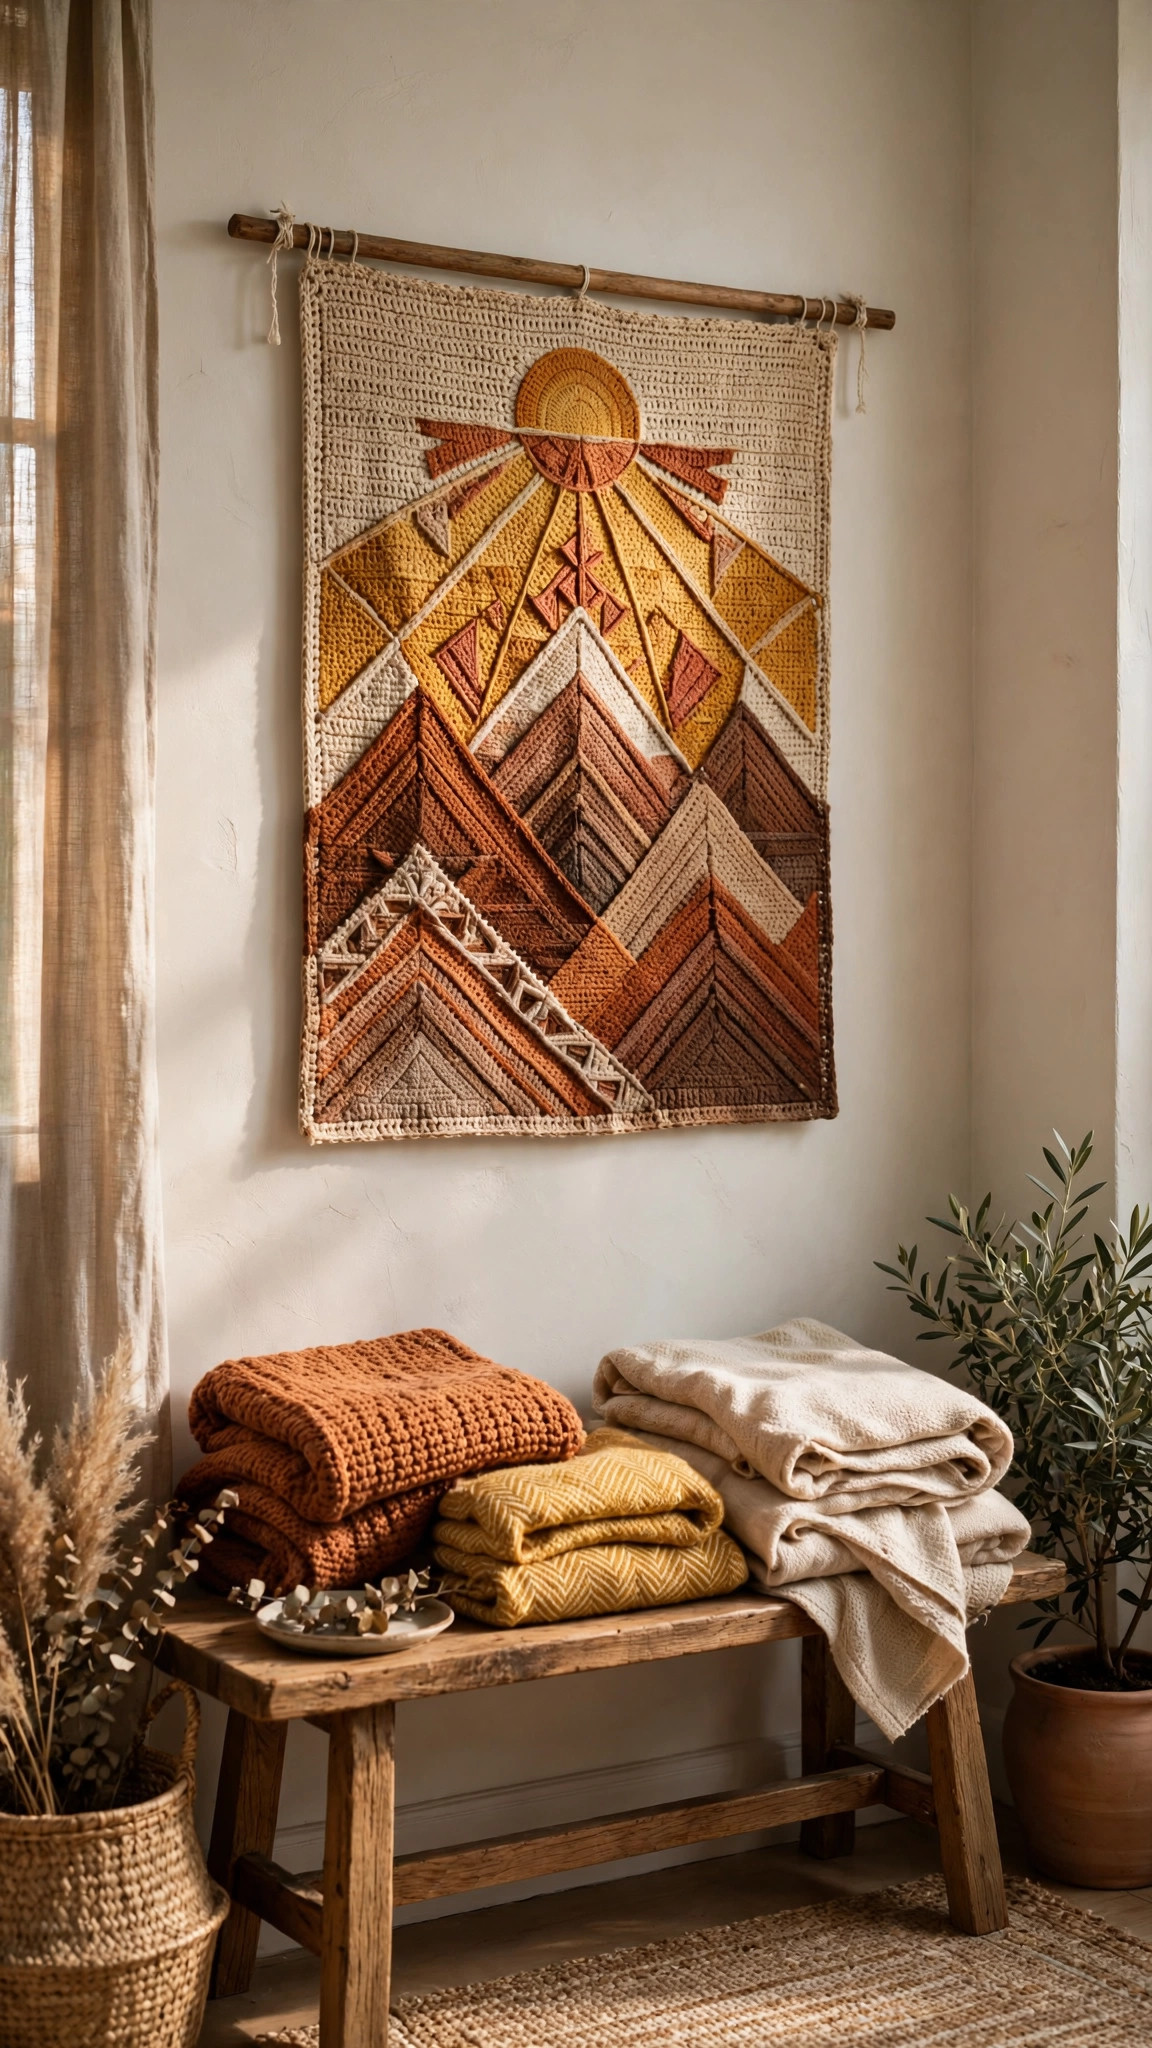
- Mountain scene: design a simple chart with triangles in three colors for mountains and a circle for the sun, using the same reading and carrying skills.
- Lettered wall hanging: chart a single letter or a short word, one letter per 8 stitches wide, for a personalized gift.
- Striped blanket: repeat the diamond chart across a wider panel, working three diamonds side by side, for a throw blanket with a strong graphic pattern.
If you enjoy working from charts, an easy granny square pattern is a relaxing next project that uses color changes in a completely different way, and a crochet vest pattern in tapestry stripes gives you a wearable piece with the same bold colorwork. A crochet pillow pattern in the same diamond chart makes a lovely matching piece for the same room.
Troubleshooting Colorwork Problems
- My fabric puckers. The carried yarn is too tight. Loosen your grip on the unused color and let it lie flat along the row. Blocking will fix mild puckering, but severe puckering needs to be unpicked and reworked.
- I can see loops of the carried yarn. The carried yarn is too loose. Snug it up gently as you work each stitch, and check the back of your work every few rows.
- My color changes look messy. You are probably changing color at the wrong moment. Remember to yarn over with the new color on the last yarn over of the previous stitch, not at the start of the next one.
- My diamond is lopsided. One side has more stitches than the other. Count each row before you start it, and check the total is 25.
- The edges pull in. Tapestry crochet pulls the edges in because the carried yarn adds tension. Work the edge stitches a little looser, and block the finished panel firmly, pinning the edges straight while it dries.
- My chart reading is backwards. This happens when you read a wrong side row in the wrong direction. Remember that right side rows read right to left and wrong side rows read left to right.
A crochet bucket hat pattern with a simple tapestry band is a fun way to practice colorwork on a small project, and a crochet rose pattern adds a soft handmade flower to a finished wall hanging or bag.
Care Instructions
Dust your wall hanging with a soft dry cloth or a gentle vacuum on a low setting. If it gets grubby, spot clean with a damp cloth and a tiny amount of mild soap, then let it air dry completely. Do not machine wash a wall hanging with a dowel attached, and do not put it in the dryer.
Frequently Asked Questions
Is tapestry crochet hard for beginners?
It is easier than it looks, with one caveat: it is best as a second or third colorwork project, not your very first crochet project. You should be comfortable with single crochet and turning rows. If those feel familiar, the only new skills are carrying yarn and following a chart, and both become natural after a few rows.
Can I use more than two colors in tapestry crochet?
Yes, you can carry two unused colors at once, and the fabric will be slightly thicker. Three colors total is comfortable for most people. More than three gets bulky and hard to manage, so for complex pictures, most crocheters switch to intarsia for the extra colors.
How do I keep my tension even in tapestry crochet?
Work a practice swatch first, and check that the fabric lies flat with no puckering and no loops showing. Hold the carried yarn with a relaxed grip, neither tight nor loose, and check the back of your work every few rows. If your tension changes as you relax into the project, the blocking at the end will even out small differences.
Can I design my own tapestry chart?
Absolutely. Draw your design on graph paper, one square per stitch, and keep the design simple for your first chart. Diamonds, zigzags, and stripes are good starting points. Count the stitches in each row before you start, and test the chart on a small swatch before committing to a big project.
Can I sell items made from this pattern?
Yes, you may sell finished items made from this free pattern, with credit to Little Loop Finds. Please do not sell, share, or republish the pattern text or the chart itself, and do not claim this original design as your own.
Happy stitching, and may your first diamond be the start of a whole gallery of colorwork.


