Crochet Plant Hanger Pattern (Macrame Style)
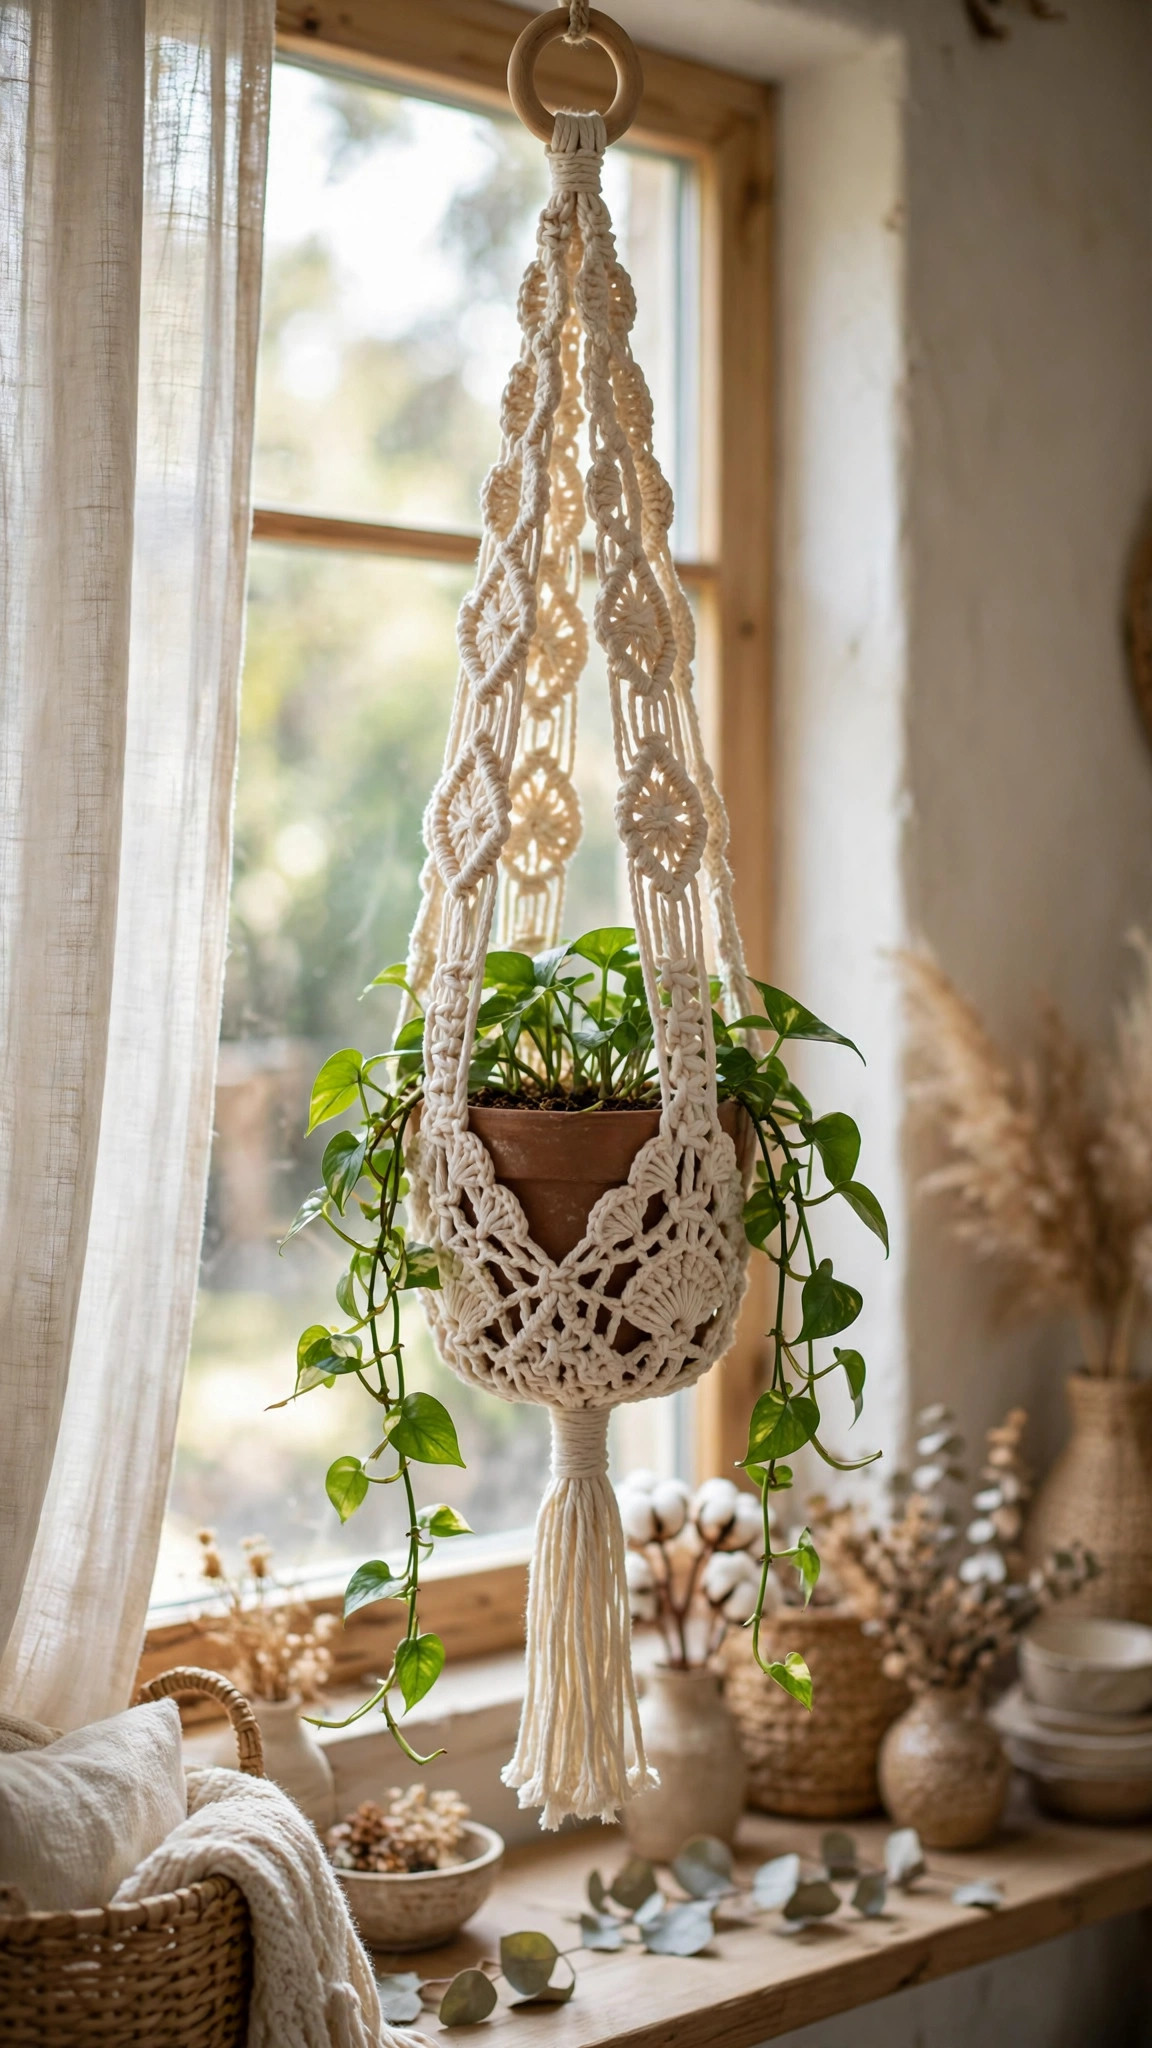
Crochet a macrame style plant hanger in cream cotton yarn in about three hours, then hang your favorite plant by a bright window.

Patterns · Crochet
- Finished size
- Fits 6 in pot
- Making time
- 3 hours
- Hook
- US H-8 (5.0 mm)
- Set
- Hanger, ring, beads
- Skill
- Easy
In this post
- Key Takeaways
- Table of Contents
- Why You Will Love This Crochet Plant Hanger
- Finished Size, Skill Level, and Time
- Materials You Need
- Abbreviations (US Terms)
- Gauge and Sizing Notes
- Part 1: The Top Ring and First Mesh Rounds
- Part 2: The Mesh Net Body
- Part 3: The Pot Base, Beads, and Tassel
- Variations: Colors, Sizes, and Uses
- Troubleshooting a Hanger That Does Not Hang Right
- Care Instructions
- Frequently Asked Questions
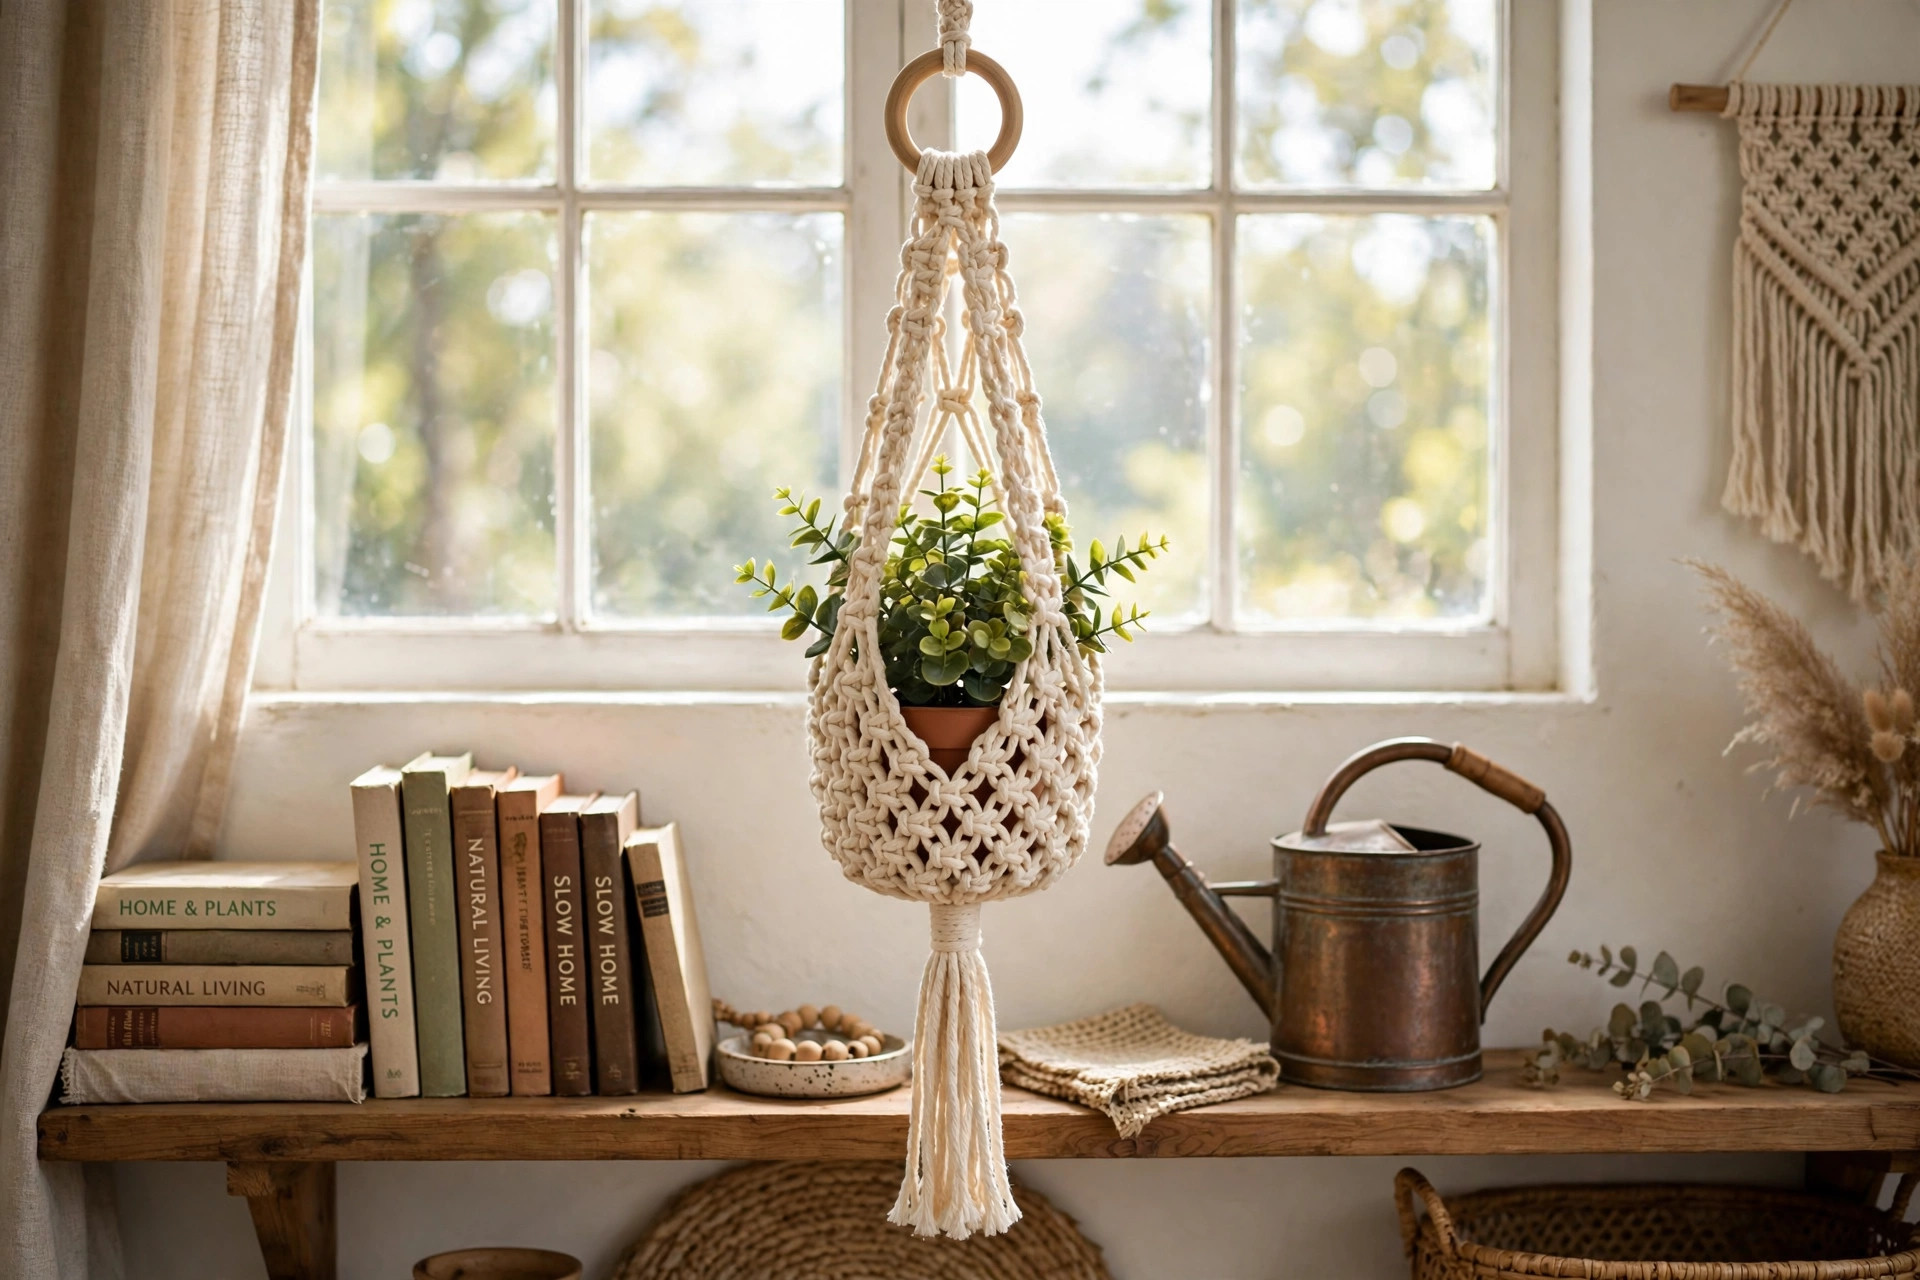
A crochet plant hanger lifts your favorite plant off the shelf and turns it into living wall art. This free crochet plant hanger pattern makes a macrame style holder in soft cream cotton yarn, with a wooden ring at the top, an open mesh net that cradles the pot, and a tassel at the bottom. It fits a standard 6 inch pot and hangs beautifully by any bright window.
This is an original Little Loop Finds design, written in US terms and completely free.
A quick note on scope: this post is about one specific crochet plant hanger, the holder that carries a potted plant. It is not a pattern for the plant itself. If you want a crochet plant to put inside it, our crochet plant pattern makes a leafy green plant, and our crochet hanging plants free pattern makes a trailing plant with long vines.
Key Takeaways
- Free original pattern: a Little Loop Finds original design, written in US terms, and completely free.
- A macrame style holder: a wooden ring, open mesh net, and tassel in soft cream cotton yarn.
- Fits a 6 inch pot: the net is sized for a standard 6 inch plant pot, with notes for sizing up or down.
- Beginner friendly: you only need a chain, single crochet, slip stitch, and chain spaces.
- A 3 hour project: one hanger takes about 3 hours, and it uses about 200 yards of cotton yarn.
Table of Contents
- Why You Will Love This Crochet Plant Hanger
- Finished Size, Skill Level, and Time
- Materials You Need
- Abbreviations (US Terms)
- Gauge and Sizing Notes
- Part 1: The Top Ring and First Mesh Rounds
- Part 2: The Mesh Net Body
- Part 3: The Pot Base, Beads, and Tassel
- Variations: Colors, Sizes, and Uses
- Troubleshooting a Hanger That Does Not Hang Right
- Care Instructions
- Frequently Asked Questions
Why You Will Love This Crochet Plant Hanger
A plant hanger is the fastest way to make a room feel like a home. A trailing plant in a handmade holder catches the light by a window, fills an empty corner, and adds softness to a plain wall. This crochet version has the relaxed boho look of macrame, but it works up much faster, because the mesh is simple chain loops instead of hours of knotting.
Finished Size, Skill Level, and Time
- Finished size: about 36 inches long from the top of the wooden ring to the tip of the tassel, and the net fits a standard 6 inch diameter plant pot. The hanging cords are about 24 inches long.
- Skill level: Easy. You need a chain, single crochet, slip stitch, and chain spaces, all worked in the round.
- Time: about 3 hours per hanger: 30 minutes for the top ring and first mesh rounds, 1 hour 30 minutes for the mesh net body, and 1 hour for the pot base, beads, and tassel.
Materials You Need
| Item | What to get |
|---|---|
| Yarn, main color | Worsted weight cotton yarn in natural cream, 200 yards |
| Yarn, contrast color | Worsted weight cotton yarn in sage green, 30 yards, optional |
| Hook | US H-8 (5.0 mm), or the size that gives you the gauge below |
| Ring | Wooden ring, 2 inches across |
| Beads | 8 wooden beads with a large hole, optional |
| Pot and plant | One 6 inch plant pot with a small potted plant |
| Notions | Tapestry needle, scissors, tape measure, stitch markers |
Cotton yarn is the best choice for a crochet plant hanger because it is strong, it holds its shape under the weight of a pot, and it does not stretch the way acrylic yarn can. A plant pot full of damp soil is heavy, so the yarn has to carry real weight without sagging. Choose a sturdy worsted weight cotton in a natural cream for the classic macrame look, and avoid very soft or fuzzy yarns, because they hide the open mesh and weaken the net.
A wooden ring at the top is what your hanger hangs from, so pick one that is smooth and strong, about 2 inches across. Check that the ring has no rough spots or cracks, because a weak ring can snap under the weight of a watered plant. Our crochet cactus pattern makes a small spiky plant that looks lovely in a hanger like this one.
Abbreviations (US Terms)
- ch = chain
- sl st = slip stitch
- sc = single crochet
- dc = double crochet
- ch-sp = chain space
- st(s) = stitch(es)
- rep = repeat
- RS = right side
Gauge and Sizing Notes
Gauge matters less on a plant hanger than on a garment, but it still decides whether your pot fits. Work a small swatch of 10 sc and 10 rows in the main color. It should be about 2.5 inches wide and 2.5 inches tall. If it is wider, go down a hook size. If it is narrower, go up a hook size.
The important measurement is the net, not the swatch. After round 7, lay the net flat and measure across it. It should be about 8 inches wide, which will stretch to hug a 6 inch pot. If your net is much narrower, your pot will not fit inside it. If it is much wider, the pot will sit too low and wobble. Measure your own pot before you start, because pots vary.
Part 1: The Top Ring and First Mesh Rounds
The hanger starts at the top with a small ring of single crochet, which will later be covered by the wooden ring, then opens out into chain loop mesh. Work in joined rounds here, joining each round with a slip stitch so the mesh stays even.
Covering the Wooden Ring
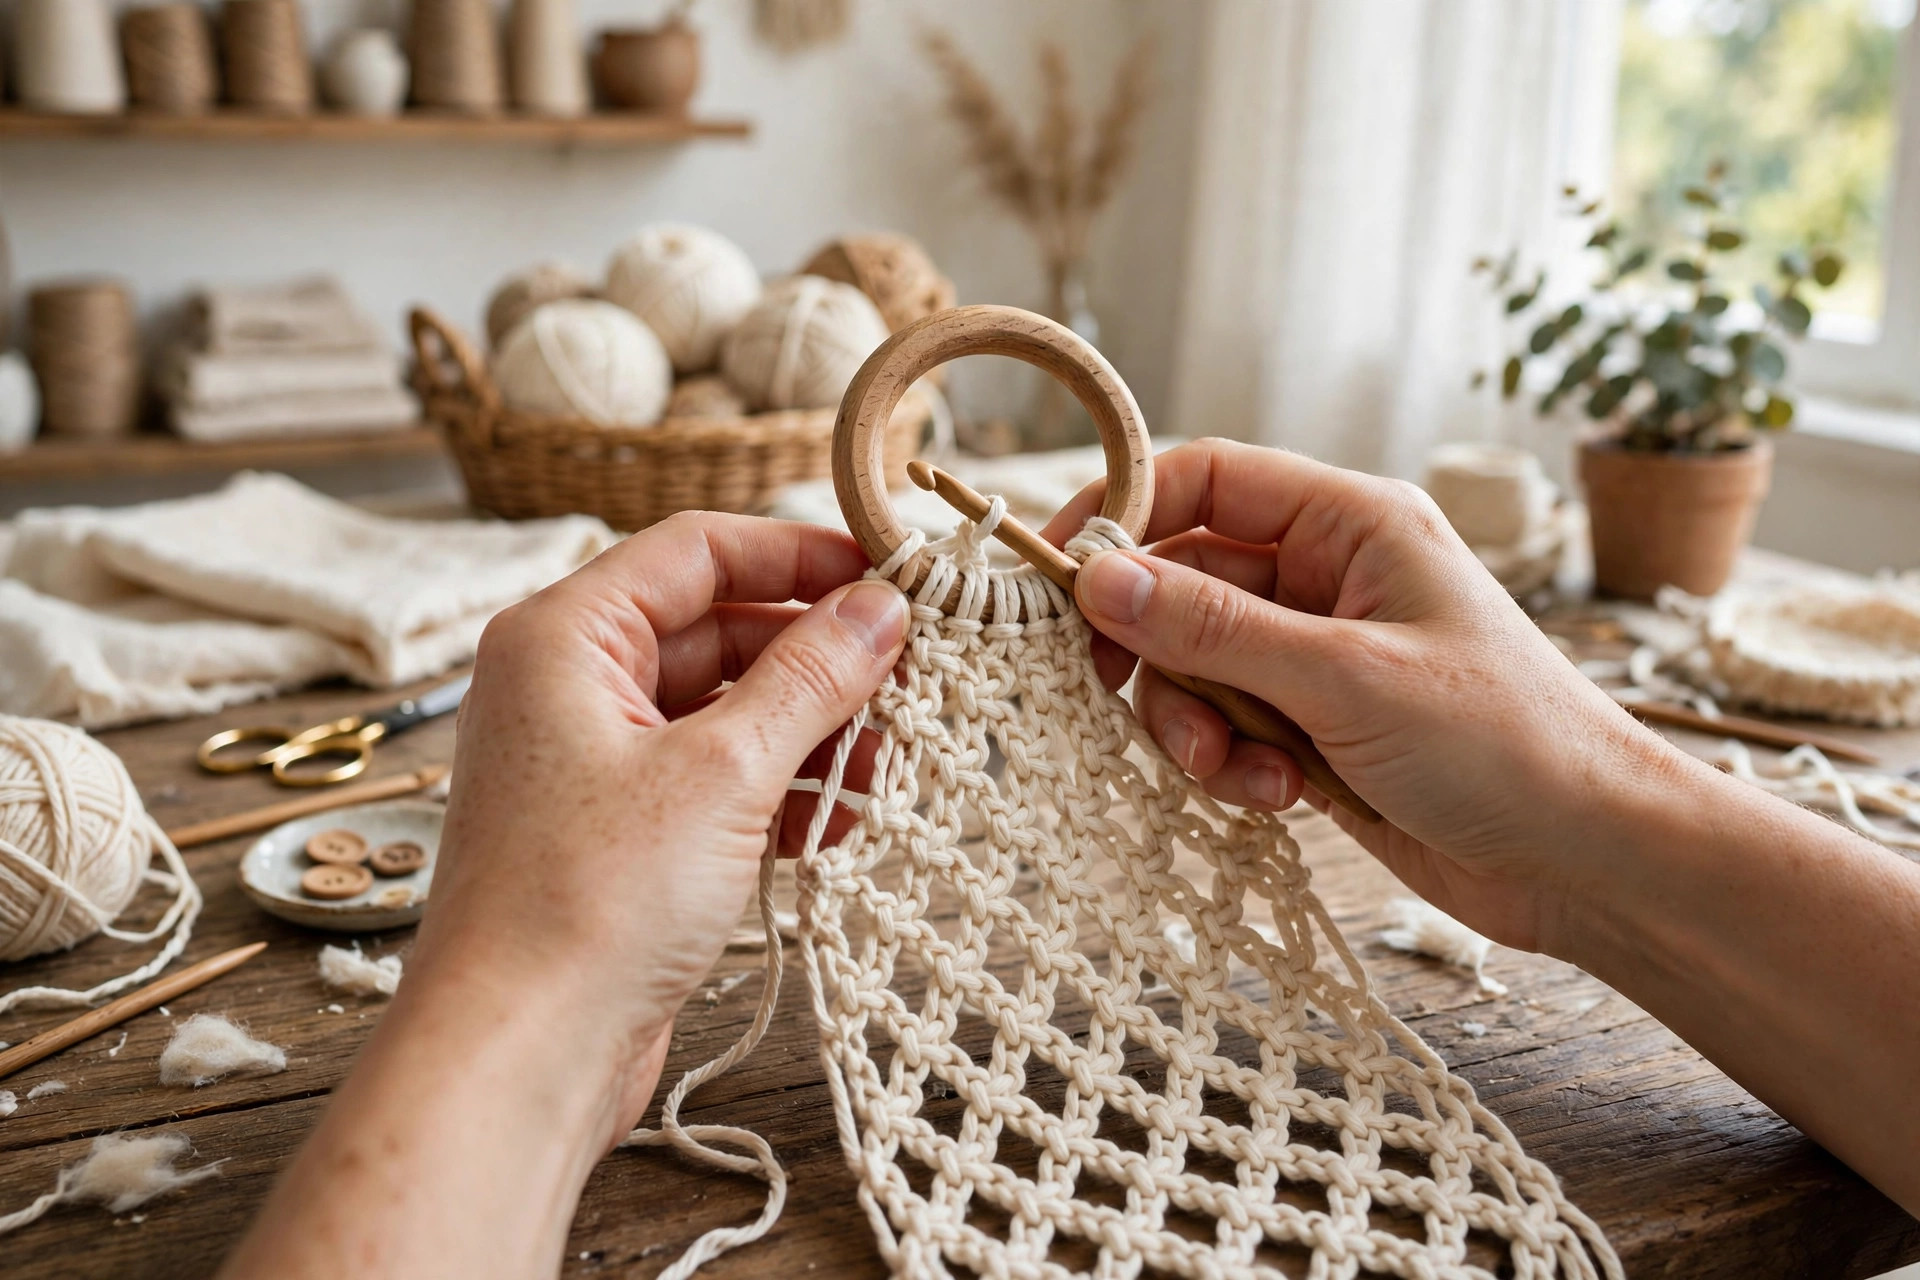
Hold the wooden ring in your left hand and join the main color to it with a slip stitch. Work single crochet stitches evenly around the whole ring, pushing them close together so no wood shows through. You will need about 24 sc to cover a 2 inch ring. Join with a sl st to the first sc, fasten off, and weave in the end. This covered ring is the top of your hanger, and it is also the part that takes the most wear, so make sure the stitches are snug and even all the way around.
The First Mesh Rounds
Now work the mesh, starting from the bottom edge of the covered ring. Join the main color to any stitch on the ring cover.
- Round 1: ch 1, work 8 sc evenly spaced around the bottom edge of the ring cover. Join with a sl st to the first sc. (8 sts)
- Round 2: ch 1, sc in the first st, ch 5, skip 1 st, sc in the next st, ch 5, skip 1 st, sc in the next st, ch 5, skip 1 st, sc in the next st, ch 5, skip 1 st. Join with a sl st to the first sc. (4 sc, 4 ch-5 sps)
- Round 3: sl st into the first ch-5 sp, ch 1, sc in the same sp, ch 6, sc in the next ch-5 sp, ch 6, sc in the next ch-5 sp, ch 6, sc in the next ch-5 sp, ch 6. Join with a sl st to the first sc. (4 sc, 4 ch-6 sps)
- Round 4: sl st into the first ch-6 sp, ch 1, sc in the same sp, ch 6, sc in the next ch-6 sp, ch 6, sc in the next ch-6 sp, ch 6, sc in the next ch-6 sp, ch 6. Join with a sl st to the first sc. (4 sc, 4 ch-6 sps)
- Round 5: sl st into the first ch-6 sp, ch 1, (sc in the same sp, ch 6, sc in the same sp, ch 7, sc in the next ch-6 sp, ch 7) rep 2 times, sc in the first sp again, ch 6, sc in the same sp, ch 7. Join with a sl st to the first sc. (8 sc, 8 ch-sps)
Count your loops after round 5, because the net has doubled from 4 loops to 8 loops. If you have 7 loops instead of 8, go back and check round 5, because a missed increase makes the net lopsided and the pot will sit crooked.
Part 2: The Mesh Net Body
The body of the hanger is the long open mesh that wraps around the pot. It is one simple repeat worked for eight rounds, with the chain loops getting a little longer as the net widens, then staying the same so the sides hang straight.
Working the Net
Continue from round 5, working into the chain spaces of the round below. Place a stitch marker at the start of each round so you can count your loops easily.
- Round 6: sl st into the first ch-sp, ch 1, sc in the same sp, ch 7, sc in the next ch-sp, ch 7, sc in the next ch-sp, ch 7, sc in the next ch-sp, ch 7, sc in the next ch-sp, ch 7, sc in the next ch-sp, ch 7, sc in the next ch-sp, ch 7, sc in the next ch-sp, ch 7. Join with a sl st to the first sc. (8 sc, 8 ch-7 sps)
- Round 7: sl st into the first ch-7 sp, ch 1, sc in the same sp, ch 8, sc in the next ch-7 sp, ch 8, sc in the next ch-7 sp, ch 8, sc in the next ch-7 sp, ch 8, sc in the next ch-7 sp, ch 8, sc in the next ch-7 sp, ch 8, sc in the next ch-7 sp, ch 8, sc in the next ch-7 sp, ch 8. Join with a sl st to the first sc. (8 sc, 8 ch-8 sps)
- Rounds 8 to 11: rep round 7 four more times, keeping 8 chain-8 loops in every round. The net should now be about 10 inches long from the ring, and about 8 inches wide when laid flat.
- Round 12: sl st into the first ch-8 sp, ch 1, sc in the same sp, ch 6, sc in the next ch-8 sp, ch 6, sc in the next ch-8 sp, ch 6, sc in the next ch-8 sp, ch 6, sc in the next ch-8 sp, ch 6, sc in the next ch-8 sp, ch 6, sc in the next ch-8 sp, ch 6, sc in the next ch-8 sp, ch 6. Join with a sl st to the first sc. (8 sc, 8 ch-6 sps)
Test the fit now, before you work the base. Slip your empty 6 inch pot into the net and let it settle. The mesh should hug the sides of the pot without gaps. If the pot drops straight through, your loops are too long, and you should work round 12 with ch-5 loops instead. If the pot will not go in at all, work one more round of ch-8 loops first.
Part 3: The Pot Base, Beads, and Tassel
The base is a small solid circle that closes the bottom of the net and carries the weight of the pot. The beads and the tassel are the finishing touches that give the hanger its macrame style look. Work the base firmly, because it holds everything up.
The Pot Base
Continue from round 12, working into the chain spaces of the round below.
- Round 13: ch 1, work 3 sc in each ch-6 sp around. Join with a sl st to the first sc. (24 sts)
- Round 14: ch 1, (sc in the next 2 sts, dec) rep 6 times. Join with a sl st to the first sc. (18 sts)
- Round 15: ch 1, (sc in the next st, dec) rep 6 times. Join with a sl st to the first sc. (12 sts)
- Round 16: ch 1, dec 6 times. Join with a sl st to the first sc. (6 sts)
Fasten off, leaving a long tail. Thread the tail onto a tapestry needle and run it through the 6 remaining stitches, pull it tight to close the hole, and knot it firmly. The base should be a flat disc about 3 inches across, sitting at the bottom of the net. Set your pot inside the hanger and check that it sits level and does not tip. A matching crochet basket pattern free in the same cream cotton makes a lovely set with the hanger for a plant shelf.
Beads and Tassel
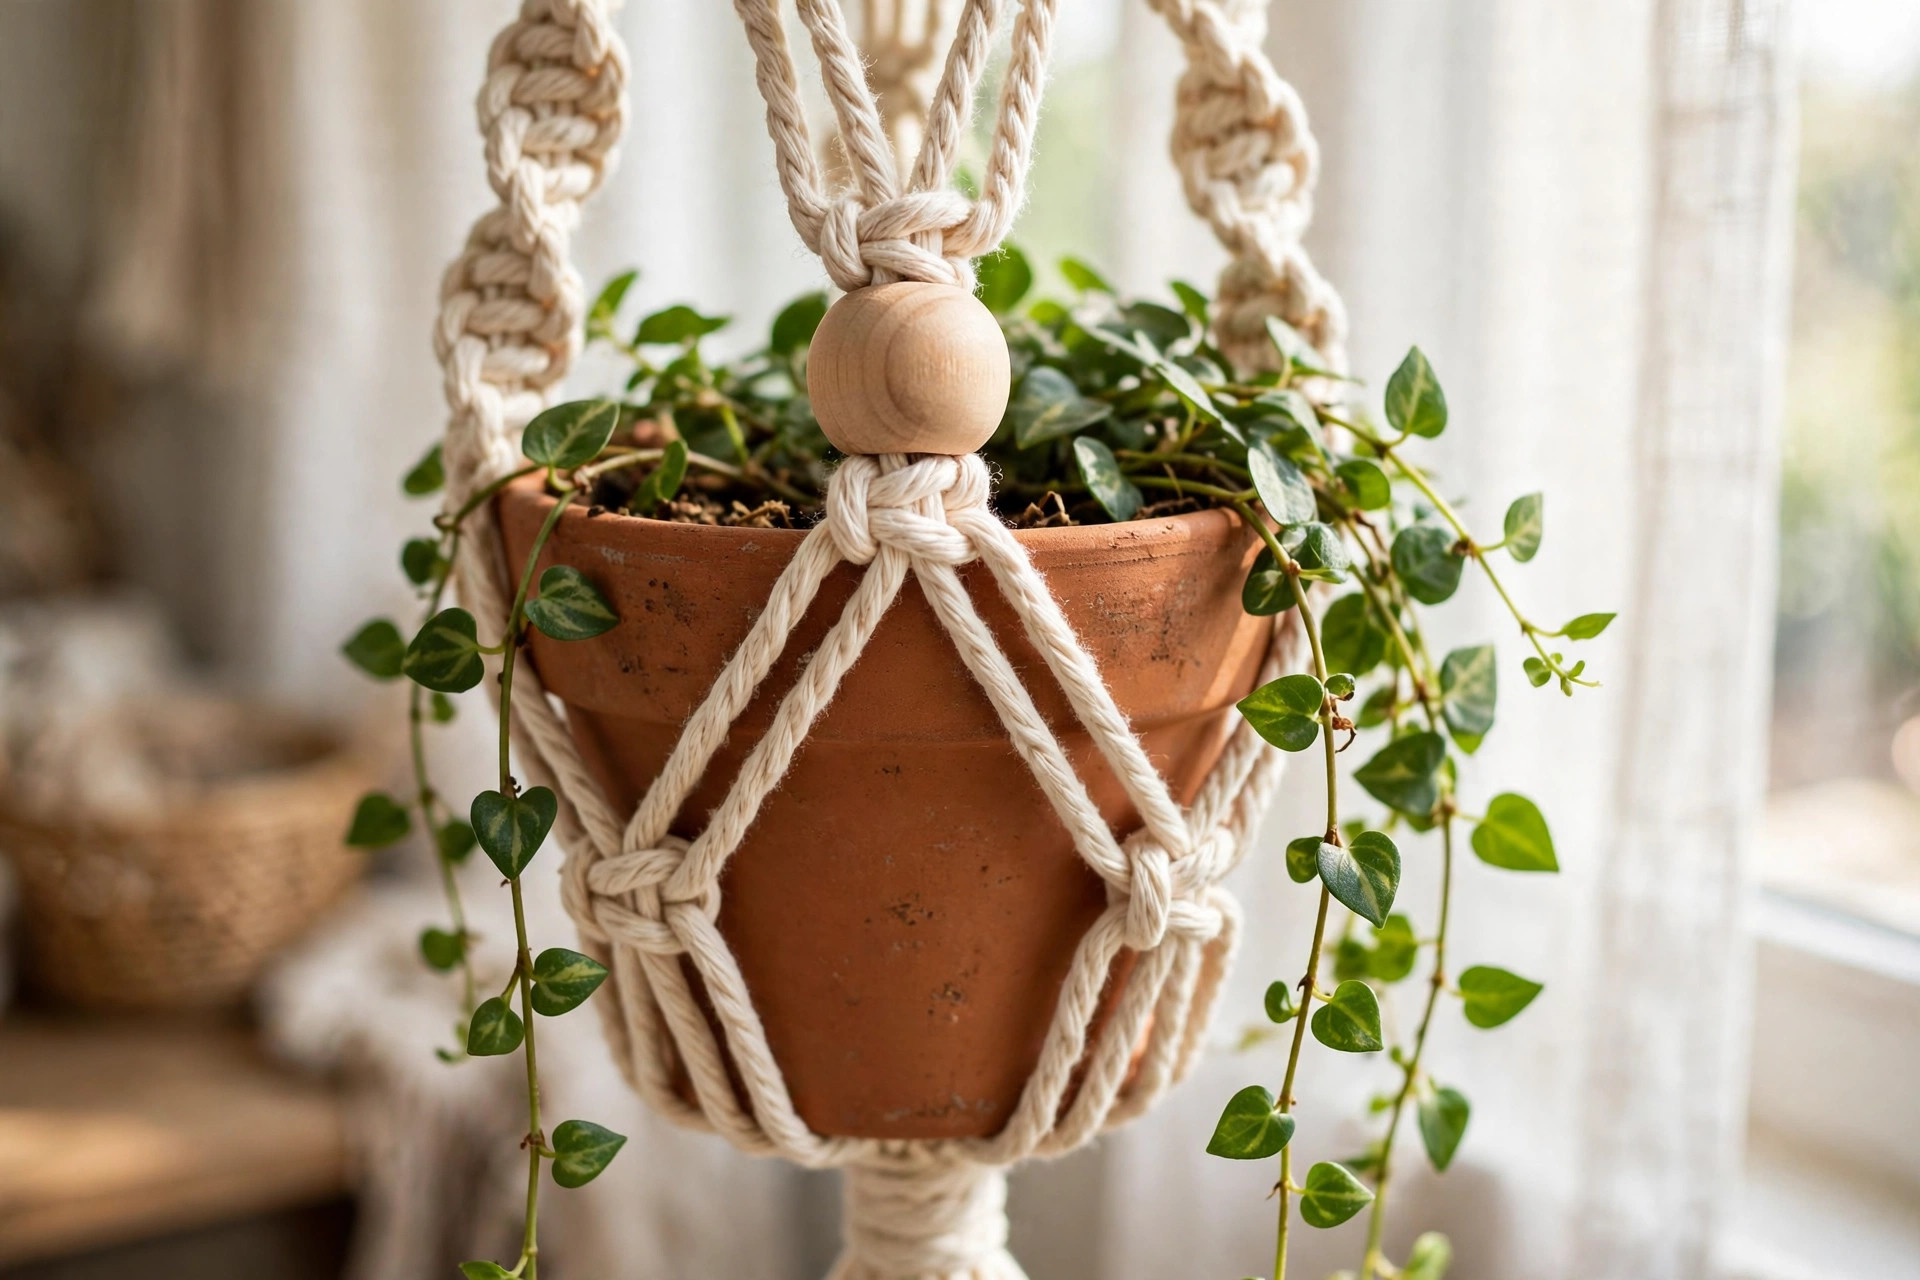
Thread one wooden bead onto each of the 8 chain loops just above the base, sliding it up to sit where the mesh meets the solid base. The beads are decorative, but they also help the net hold its shape, so space them evenly around the hanger.
For the tassel, cut 12 lengths of the main color yarn, each 10 inches long. Fold them in half, and tie them together at the fold with a short length of yarn, about 1 inch below the fold, to form the tassel head. Sew the tassel to the center of the base with the long tail, pulling it tight so it hangs straight. Trim the tassel ends even.
Variations: Colors, Sizes, and Uses
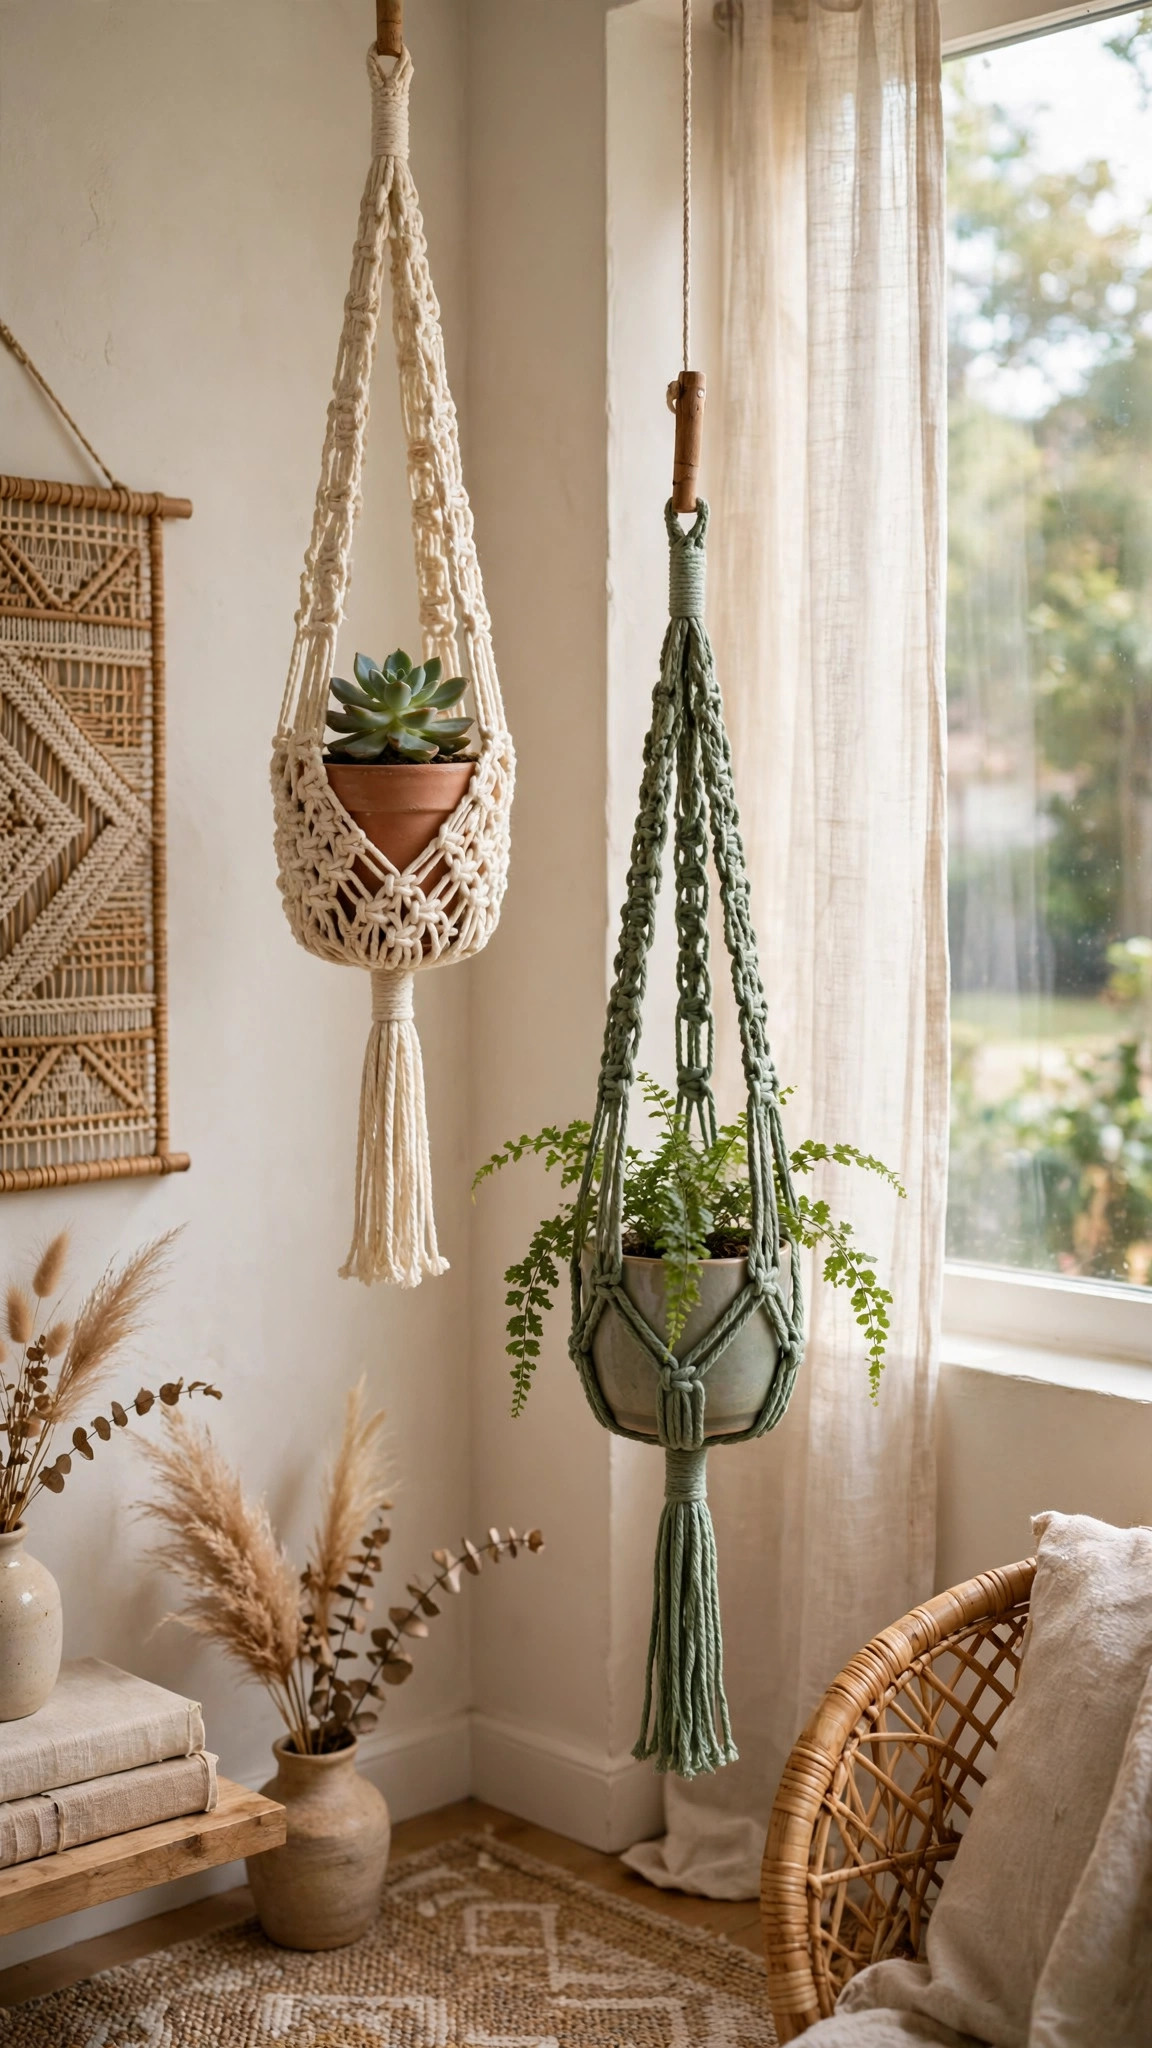
- Classic cream hanger: work the whole hanger in natural cream cotton with a plain wooden ring for the timeless macrame look.
- Sage green hanger: make the net in sage green with a cream tassel for a soft modern look that suits a bright kitchen.
- Two tone hanger: work the ring cover and the base in the contrast color, and the mesh net in the main color.
- Small hanger for a 4 inch pot: use a 4.5 mm hook and work rounds 8 to 11 only three times instead of four, for a shorter net that fits a small herb pot.
- Large hanger for an 8 inch pot: use a 5.5 mm hook and add one more round of ch-8 loops before round 12, for a wider net that fits a bigger pot.
- Outdoor hanger: use a sturdy cotton in a dark color, and hang it on a covered porch where it stays dry. A leafy monstera leaf crochet pattern tucked into the pot makes a bold tropical display.
Troubleshooting a Hanger That Does Not Hang Right
- My pot drops straight through the net. The chain loops are too long for your pot. Work round 12 with ch-5 loops instead of ch-6, and add one more decrease round to the base.
- My pot will not fit inside the net. The net is too narrow for your pot. Work one more round of ch-8 loops before round 12, and check your gauge, because tight stitches make a narrow net.
- My hanger stretches and sags. The yarn is too soft, or the hook is too big. Cotton yarn holds weight best, so remake the net in cotton on a 5.0 mm hook.
- My mesh looks lopsided. One round has the wrong loop count. Count the chain spaces in every round, because the net needs exactly 8 loops from round 5 onward.
- My tassel hangs crooked. It is sewn off center on the base. Take it off and re-sew it to the exact center of the base disc.
- My ring cover gaps and shows wood. The stitches are too far apart. Work more single crochet stitches around the ring, pushing them close together until no wood shows.
Care Instructions
Take the plant out of the hanger before you wash it, and never wash the hanger with the pot still inside. Hand wash the hanger in cool water with a mild detergent, press the water out gently without wringing, and hang it up to dry with a light weight in the base so the mesh keeps its shape. Do not put a crochet plant hanger in the washing machine, because the agitation can stretch the mesh and tangle the tassel. Keep the hanger out of heavy rain.
Frequently Asked Questions
What size pot does this crochet plant hanger fit?
It fits a standard 6 inch diameter plant pot. The net is about 8 inches wide when flat, and it stretches to hug the pot. Notes for a 4 inch pot and an 8 inch pot are in the variations section.
What yarn is best for a crochet plant hanger?
Worsted weight cotton yarn is the best choice, because it is strong, it holds its shape under weight, and it does not stretch the way acrylic can. A pot full of damp soil is heavy, so the yarn has to carry real weight without sagging.
Can a beginner make this plant hanger?
Yes, it is an easy pattern. You only need a chain, single crochet, slip stitch, and chain spaces, all worked in the round. The mesh is one simple repeat, and one hanger takes about 3 hours.
How much weight can the hanger hold?
A hanger in worsted cotton holds a 6 inch pot with a small plant and damp soil, about 3 to 4 pounds. Do not hang a large heavy pot in it, and always check the ring and the top stitches before you hang a freshly watered plant.
Do I need the wooden beads?
No, the beads are optional and decorative. They add a macrame style touch and help the net hold its shape, but the hanger works just as well without them if you prefer a plainer look.
Can I sell plant hangers made from this pattern?
Yes, you may sell finished plant hangers made from this free pattern, with credit to Little Loop Finds. Do not sell or republish the pattern text itself.
Happy stitching, and may your little plant hanger bring green life to every corner of your home.