Crochet Kimono Pattern (Open Front Cardigan)
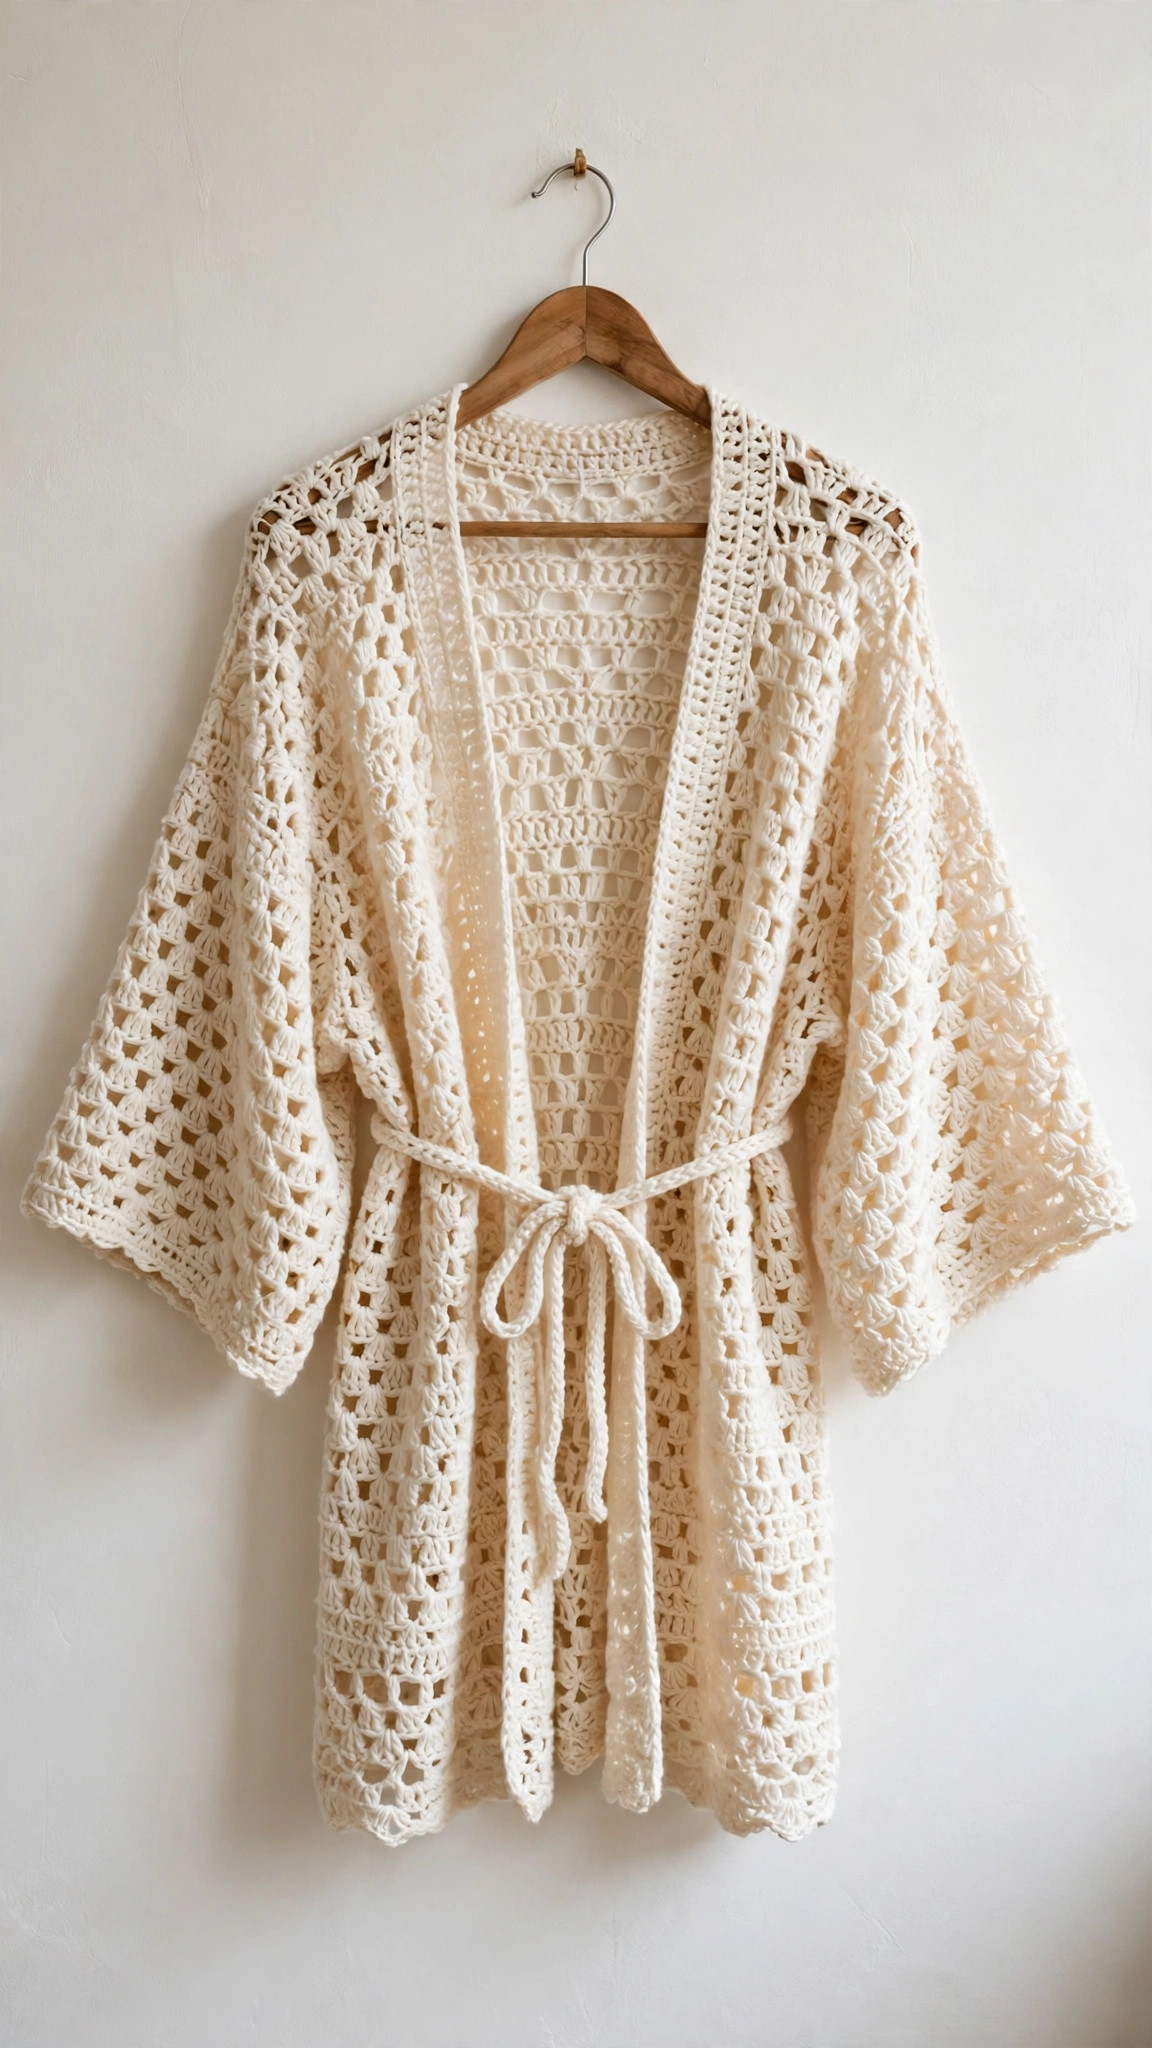
Crochet an open front kimono cardigan with wide sleeves and a tie belt in about ten hours, then layer it over everything you wear.

Patterns · Crochet
- Finished size
- 28 in long
- Making time
- 10 hours
- Hook
- US I-9 (5.5 mm)
- Set
- Kimono, tie belt
- Skill
- Easy
In this post
- Key Takeaways
- Table of Contents
- Why You Will Love This Kimono
- Finished Size, Skill Level, and Time
- Materials You Need
- Abbreviations (US Terms)
- Gauge and Sizing Notes
- Part 1: The Back Panel and the Front Panels
- Part 2: The Wide Sleeves
- Part 3: Assembly, Edging, and the Tie Belt
- Variations: Colors, Lengths, and Uses
- Troubleshooting a Kimono That Does Not Fit
- Care Instructions
- Frequently Asked Questions
A crochet kimono is the easiest wearable you will ever make, and the most flattering. This free crochet kimono pattern makes an open front kimono cardigan with wide sleeves and a tie belt, worked in simple rectangles with no shaping to worry about. It takes about 10 hours, uses about 900 yards of yarn, and makes a lovely layer for cool mornings or a handmade gift.
This is an original Little Loop Finds design, written in US terms and completely free. The kimono is made from five rectangles, a back panel, two front panels, and two sleeves, joined with simple seams, so it is a great first garment project and a fun way to learn garment sizing.
A quick note on scope: this post is about one specific crochet kimono, an open front cardigan with wide sleeves and a tie belt, worn loose over other clothes. That makes it different from a vest, which has no sleeves and fits close to the body. If you want a sleeveless layer instead, our crochet vest pattern is the matching project.
Key Takeaways
- Free original pattern: a Little Loop Finds original design, written in US terms, and completely free.
- An open front kimono: a loose kimono cardigan with wide sleeves and a tie belt, worn over other clothes.
- Three sizes: written for XS/S, M/L, and XL/2XL, with simple rectangle panels and no shaping.
- Simple stitches: worked flat with double crochet, single crochet edging, and basic seaming only.
- A 10 hour project: one kimono takes about 10 hours, worked one rectangle at a time.
Table of Contents
- Why You Will Love This Kimono
- Finished Size, Skill Level, and Time
- Materials You Need
- Abbreviations (US Terms)
- Gauge and Sizing Notes
- Part 1: The Back Panel and the Front Panels
- Part 2: The Wide Sleeves
- Part 3: Assembly, Edging, and the Tie Belt
- Variations: Colors, Lengths, and Uses
- Troubleshooting a Kimono That Does Not Fit
- Care Instructions
- Frequently Asked Questions
Why You Will Love This Kimono
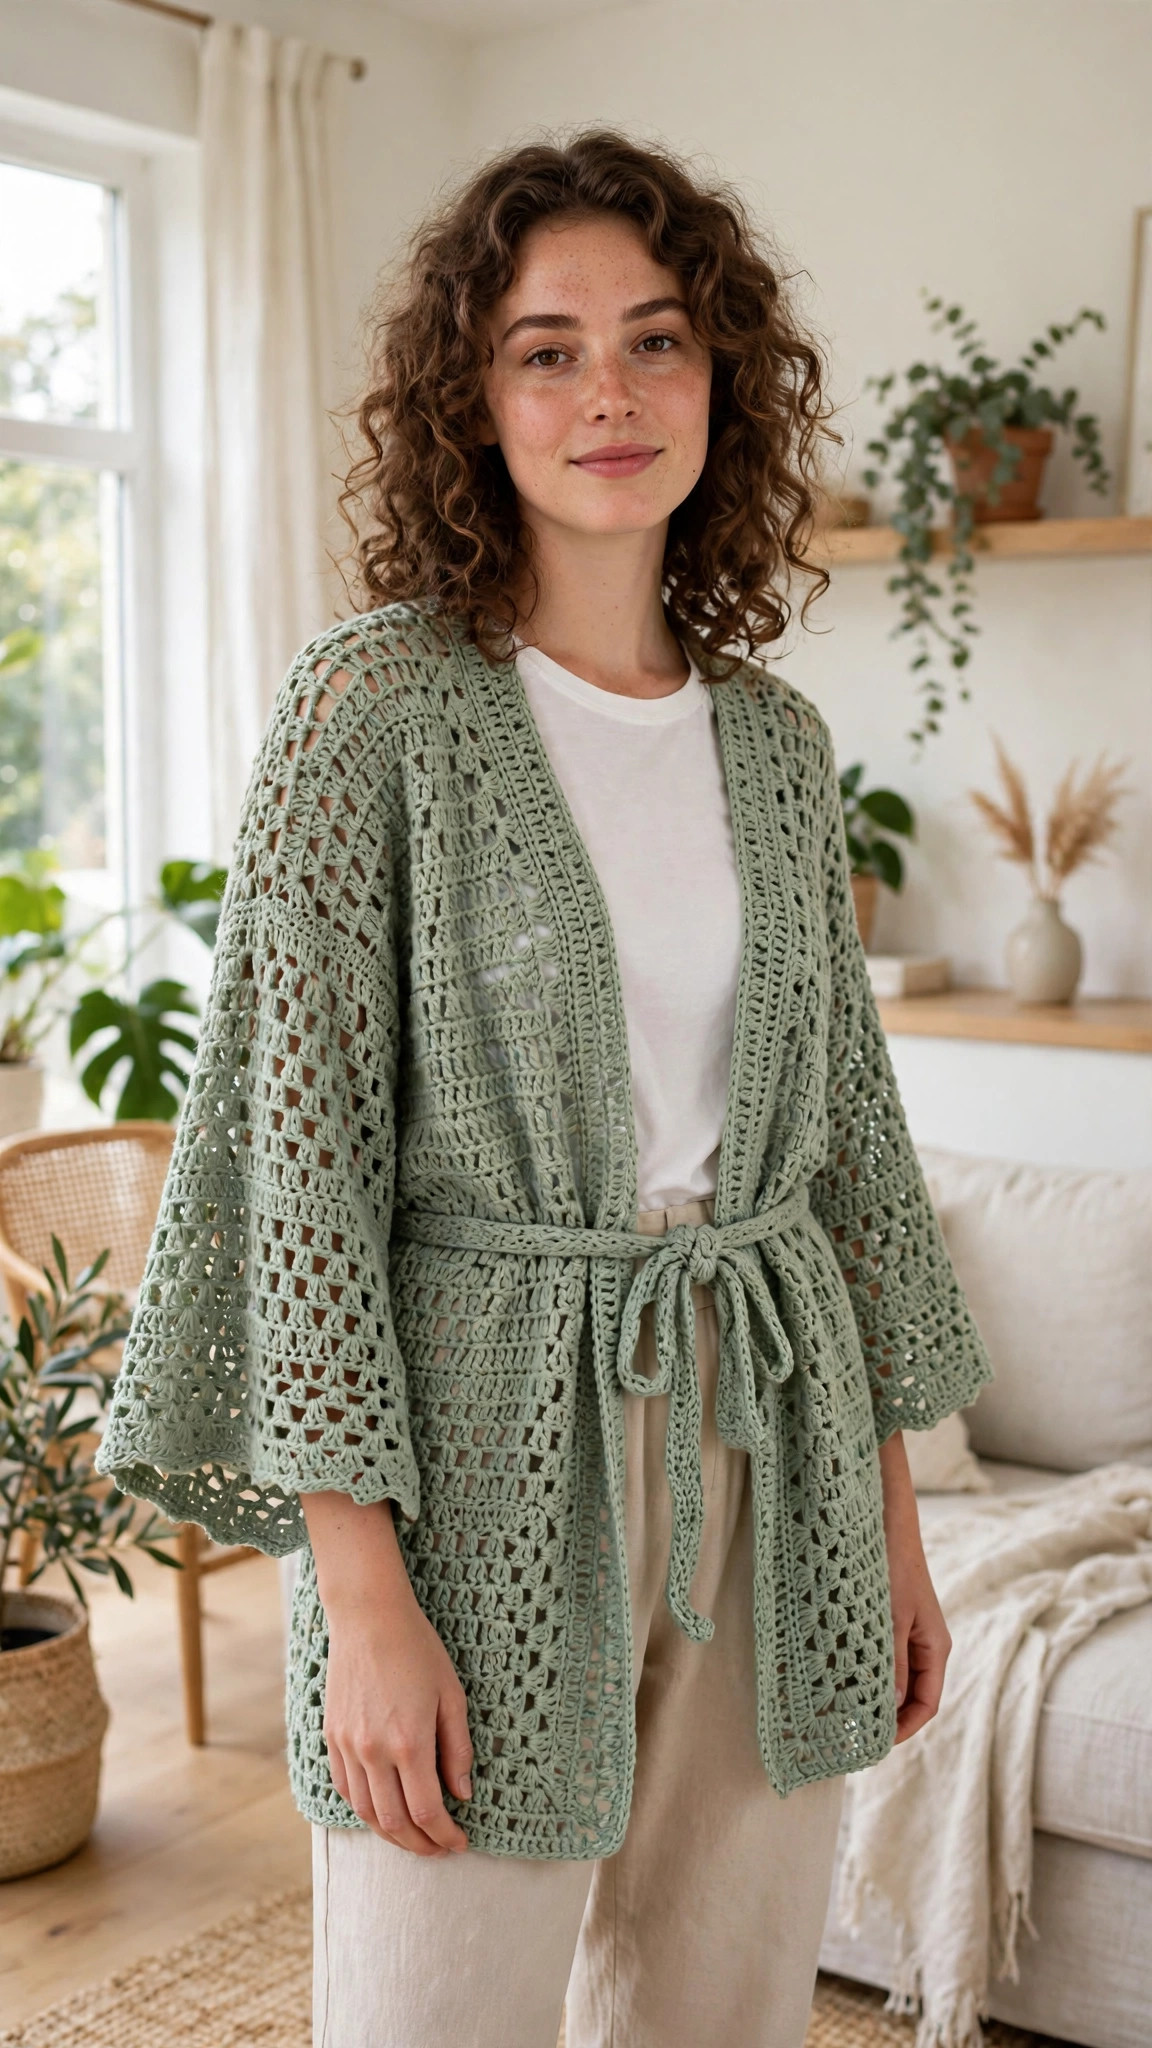
A crochet kimono turns a few rectangles of yarn into a garment you will reach for every week. The open front fits over anything, and the wide sleeves give it a relaxed drape that flatters every body. The tie belt pulls it in at the waist when you want shape, or you can leave it open and let it flow.
The kimono is five flat rectangles, worked in double crochet from the bottom up. There is no shaping to worry about, no armhole decreases, and no neckline to fit. You can make one rectangle an evening, and finish the whole kimono in a week of quiet evenings. The wide sleeves are the best part, because they make the kimono look handmade and generous instead of plain, and a sleeve is just a wide rectangle folded in half and seamed.
Finished Size, Skill Level, and Time
- Finished size: three sizes. XS/S fits bust 32 to 38 inches, M/L fits bust 38 to 44 inches, XL/2XL fits bust 44 to 52 inches. The kimono is 28 inches long from shoulder to hem, with 14 inch wide sleeves. The open front means the bust fit is forgiving, because the panels overlap when the belt is tied.
- Skill level: Easy. You need a chain, double crochet, single crochet, and basic seaming. No increases or decreases are needed anywhere in the pattern, and the tie belt is a simple chain and single crochet cord.
- Time: about 10 hours per kimono: 3 hours for the back panel, 2 hours for each front panel, 1 hour for each sleeve, and 1 hour for assembly, edging, and the tie belt.
Materials You Need
| Item | What to get |
|---|---|
| Yarn, main color | DK weight yarn in cream or sage, 900 yards for M/L (750 for XS/S, 1,100 for XL/2XL) |
| Hook | US I-9 (5.5 mm), or the size that gives you the gauge below |
| Notions | Tapestry needle, scissors, tape measure, stitch markers |
DK weight yarn is the best choice for a crochet kimono because it drapes softly, feels light on the shoulders, and shows the double crochet texture without looking heavy. A cotton blend yarn works well for a summer kimono, because it breathes and washes easily. A soft acrylic yarn also works, and it is the best choice if you want a warm layer for cool mornings.
A tape measure is the most important notion for this project, because the kimono is sized by inches, not by stitch counts alone. Measure each panel as you work, and compare it to the size table below before you move on to the next piece.
Abbreviations (US Terms)
- ch = chain
- sl st = slip stitch
- sc = single crochet
- hdc = half double crochet
- dc = double crochet
- st(s) = stitch(es)
- rep = repeat
- RS = right side
- WS = wrong side
- FO = fasten off
Gauge and Sizing Notes
Gauge matters on a kimono because the panels are sized in inches, and a wrong gauge makes a garment that is too wide or too narrow. Work a swatch of 14 dc and 8 rows in the main color. It should be about 4 inches wide and 4 inches tall. If it is wider, go down a hook size. If it is narrower, go up a hook size.
The pattern is written in three sizes, with the M/L size given first and the other sizes in parentheses as XS/S (M/L, XL/2XL). The back panel is 22 (26, 30) inches wide. Each front panel is 11 (13, 15) inches wide. Each sleeve is 14 (15, 16) inches wide and 14 inches long. The finished kimono is 28 inches long from shoulder to hem for all sizes. To make a longer kimono, work 4 more rows on each body panel for every 2 inches of extra length. Measure your own bust and add 4 inches of ease before you pick a size, because a kimono should fit loose. Our crochet top pattern uses the same gauge swatch method if you want to practice the sizing on a smaller garment first.
Part 1: The Back Panel and the Front Panels
The kimono starts with three flat panels, a wide back panel and two narrower front panels. All three are worked the same way, in double crochet rows from the bottom up, with no shaping at all. Work in rows, and turn at the end of each row.
The Back Panel
With the main color, chain 77 (91, 105). This chain gives a back panel 22 (26, 30) inches wide.
- Row 1: dc in the 4th ch from the hook and in each ch across. (75 [89, 103] dc, counting the turning chain as the first dc)
- Row 2: ch 3, turn, dc in each st across. (75 [89, 103])
- Rows 3 to 56: rep row 2.
The back panel should be 28 inches long when you reach row 56. Measure it from the bottom edge to the top edge, and stretch it gently first, because double crochet fabric relaxes with handling. If the panel is shorter than 28 inches, work more rows until it measures 28 inches. Fasten off, leaving a 12 inch tail for seaming. Count your stitches at the end of every tenth row, because a missed or extra stitch will make the panel wider at one end than the other.
The Front Panels
With the main color, chain 39 (47, 55). This chain gives a front panel 11 (13, 15) inches wide. Make two of these panels, exactly the same.
- Row 1: dc in the 4th ch from the hook and in each ch across. (37 [45, 53] dc, counting the turning chain as the first dc)
- Row 2: ch 3, turn, dc in each st across. (37 [45, 53])
- Rows 3 to 56: rep row 2.
Each front panel should be 28 inches long, the same as the back panel. Lay the two front panels side by side on top of the back panel to check. The front panels together should be the same width as the back panel, and all three should be the same length. Fasten off each panel, leaving a 12 inch tail for seaming.
Part 2: The Wide Sleeves
The sleeves are the part that gives the kimono its shape. Each sleeve is a wide rectangle, worked in double crochet from the cuff up to the shoulder, then folded in half and seamed. Make two sleeves, exactly the same.
Sleeve Rectangles
With the main color, chain 51 (55, 59). This chain gives a sleeve 14 (15, 16) inches wide.
- Row 1: dc in the 4th ch from the hook and in each ch across. (49 [53, 57] dc, counting the turning chain as the first dc)
- Row 2: ch 3, turn, dc in each st across. (49 [53, 57])
- Rows 3 to 28: rep row 2.
Each sleeve should be 14 inches long when you reach row 28. Measure it from the cuff edge to the shoulder edge. The sleeve is wider than it is long, which is what makes the wide kimono sleeve shape. If you want a narrower sleeve, chain 8 fewer stitches. If you want a longer sleeve that covers the wrist, work 8 more rows. Fasten off, leaving a 12 inch tail for seaming.
Shaping the Sleeve Edge
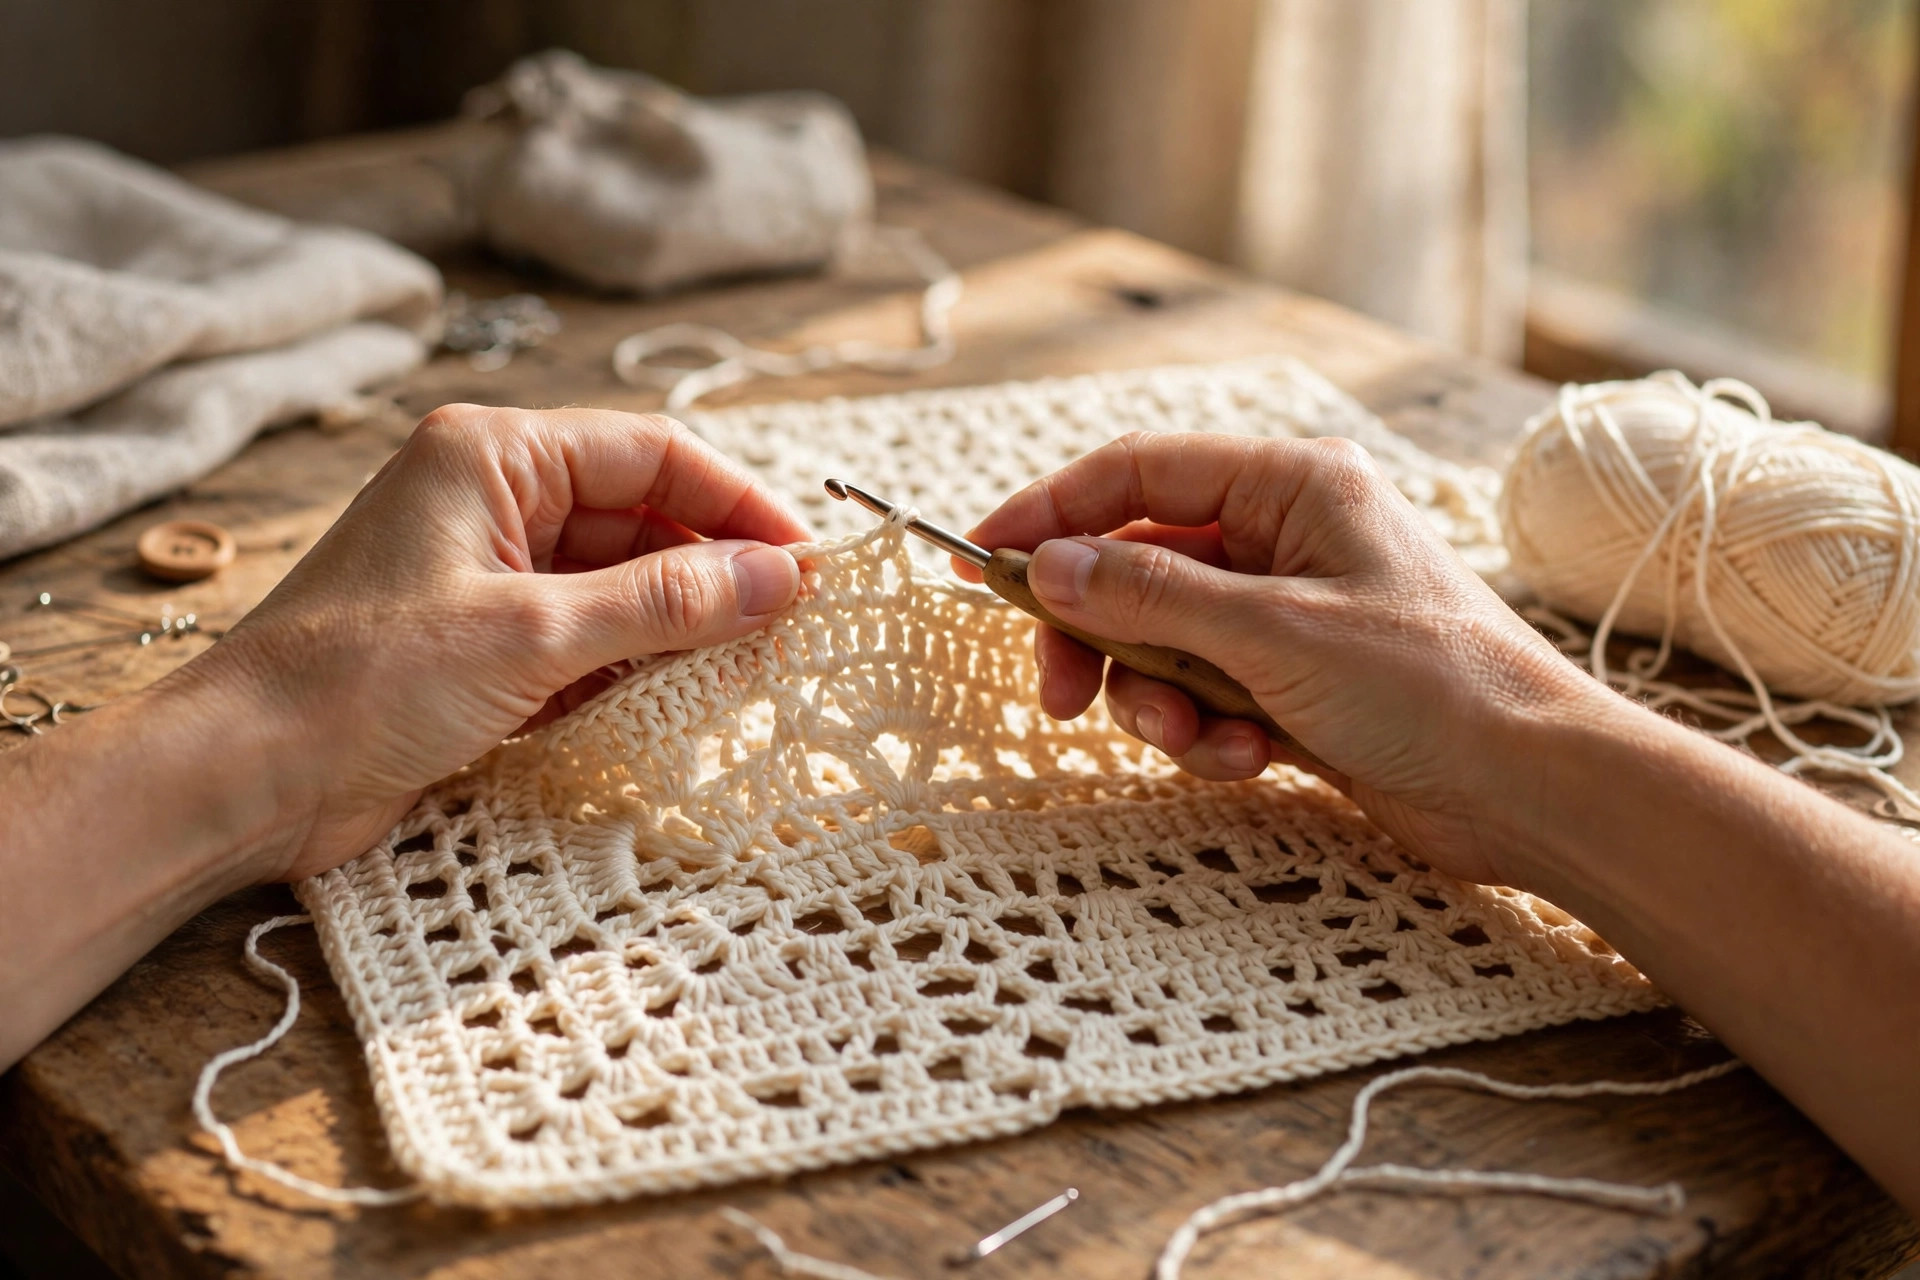
The cuff edge of each sleeve gets a simple single crochet border before assembly, so the wide sleeve hangs neatly and does not curl. With the main color, work 1 row of sc along the bottom edge of each sleeve, working 1 sc in each dc across. This border adds about half an inch to the sleeve length, and it gives you a firm edge to seam.
Part 3: Assembly, Edging, and the Tie Belt
This is the part where five rectangles become a kimono. Sew the shoulder seams, join the front panels to the back, attach the sleeves, add a neat edge around the front opening, and make the tie belt.
Shoulder and Side Seams
Lay the back panel flat with the right side up. Lay the two front panels on top of it, right sides together, with the outer edges lined up. The front panels should meet the back panel at the shoulders, leaving a gap in the middle for the neck. Pin the shoulder seams with stitch markers, 6 (7, 8) inches in from each outer edge, so the neck opening in the middle is about 10 inches wide.
Thread a tapestry needle with the tail from a front panel, and sew the shoulder seam with a whip stitch, working through both layers one stitch at a time. Keep your stitches small and even, and pull each stitch snug so the seam lies flat. Sew both shoulder seams the same way, then turn the kimono right side out and check that the shoulders sit flat and the neck opening is centered. Our crochet tote bag pattern uses the same whip stitch seam if you want to practice the joining on a smaller project first.
Next, sew the side seams. Fold the kimono so the front and back panels line up, and pin the sides from the hem up, leaving the top 8 (9, 10) inches open for the armhole. Sew each side seam with a whip stitch from the hem up to the armhole marker.
Attaching the Sleeves
Fold each sleeve in half lengthwise, with the right side out, and sew the long edge closed with a whip stitch to make a tube. Leave the top edge open. Turn the sleeve tube so the seam sits at the bottom, under the arm, where it will not show.
Pin the top edge of each sleeve into an armhole, lining up the sleeve seam with the side seam of the body. The sleeve is wider than the armhole, so ease the extra width in evenly, with a few small folds on the top of the shoulder. Sew around the armhole with a whip stitch, working through the sleeve edge and the body edge one stitch at a time. Check from the outside that the sleeve hangs straight and the folds sit evenly on the shoulder.
Edging and the Tie Belt
Work a single crochet edge around the whole front opening, starting at the bottom of one front panel, up the front edge, around the neck, and down the other front panel to the hem. Work 1 sc in each row end along the front edges, and 1 sc in each stitch along the neck edge. Work 2 sc in each corner so the edge turns neatly. This edging stops the open front from curling, and it gives the kimono a finished look.
Work a matching single crochet edge along the hem, working 1 sc in each stitch across the bottom of the back and front panels.
For the tie belt, chain 160 (170, 180) with the main color. Work 1 sc in the 2nd ch from the hook and in each ch across, then fasten off and weave in the ends. The belt should be about 60 (64, 68) inches long, long enough to wrap around the waist and tie in a bow at the front or the side. Our crochet belt pattern uses the same chain and single crochet cord if you want to practice the belt on its own first.
Variations: Colors, Lengths, and Uses
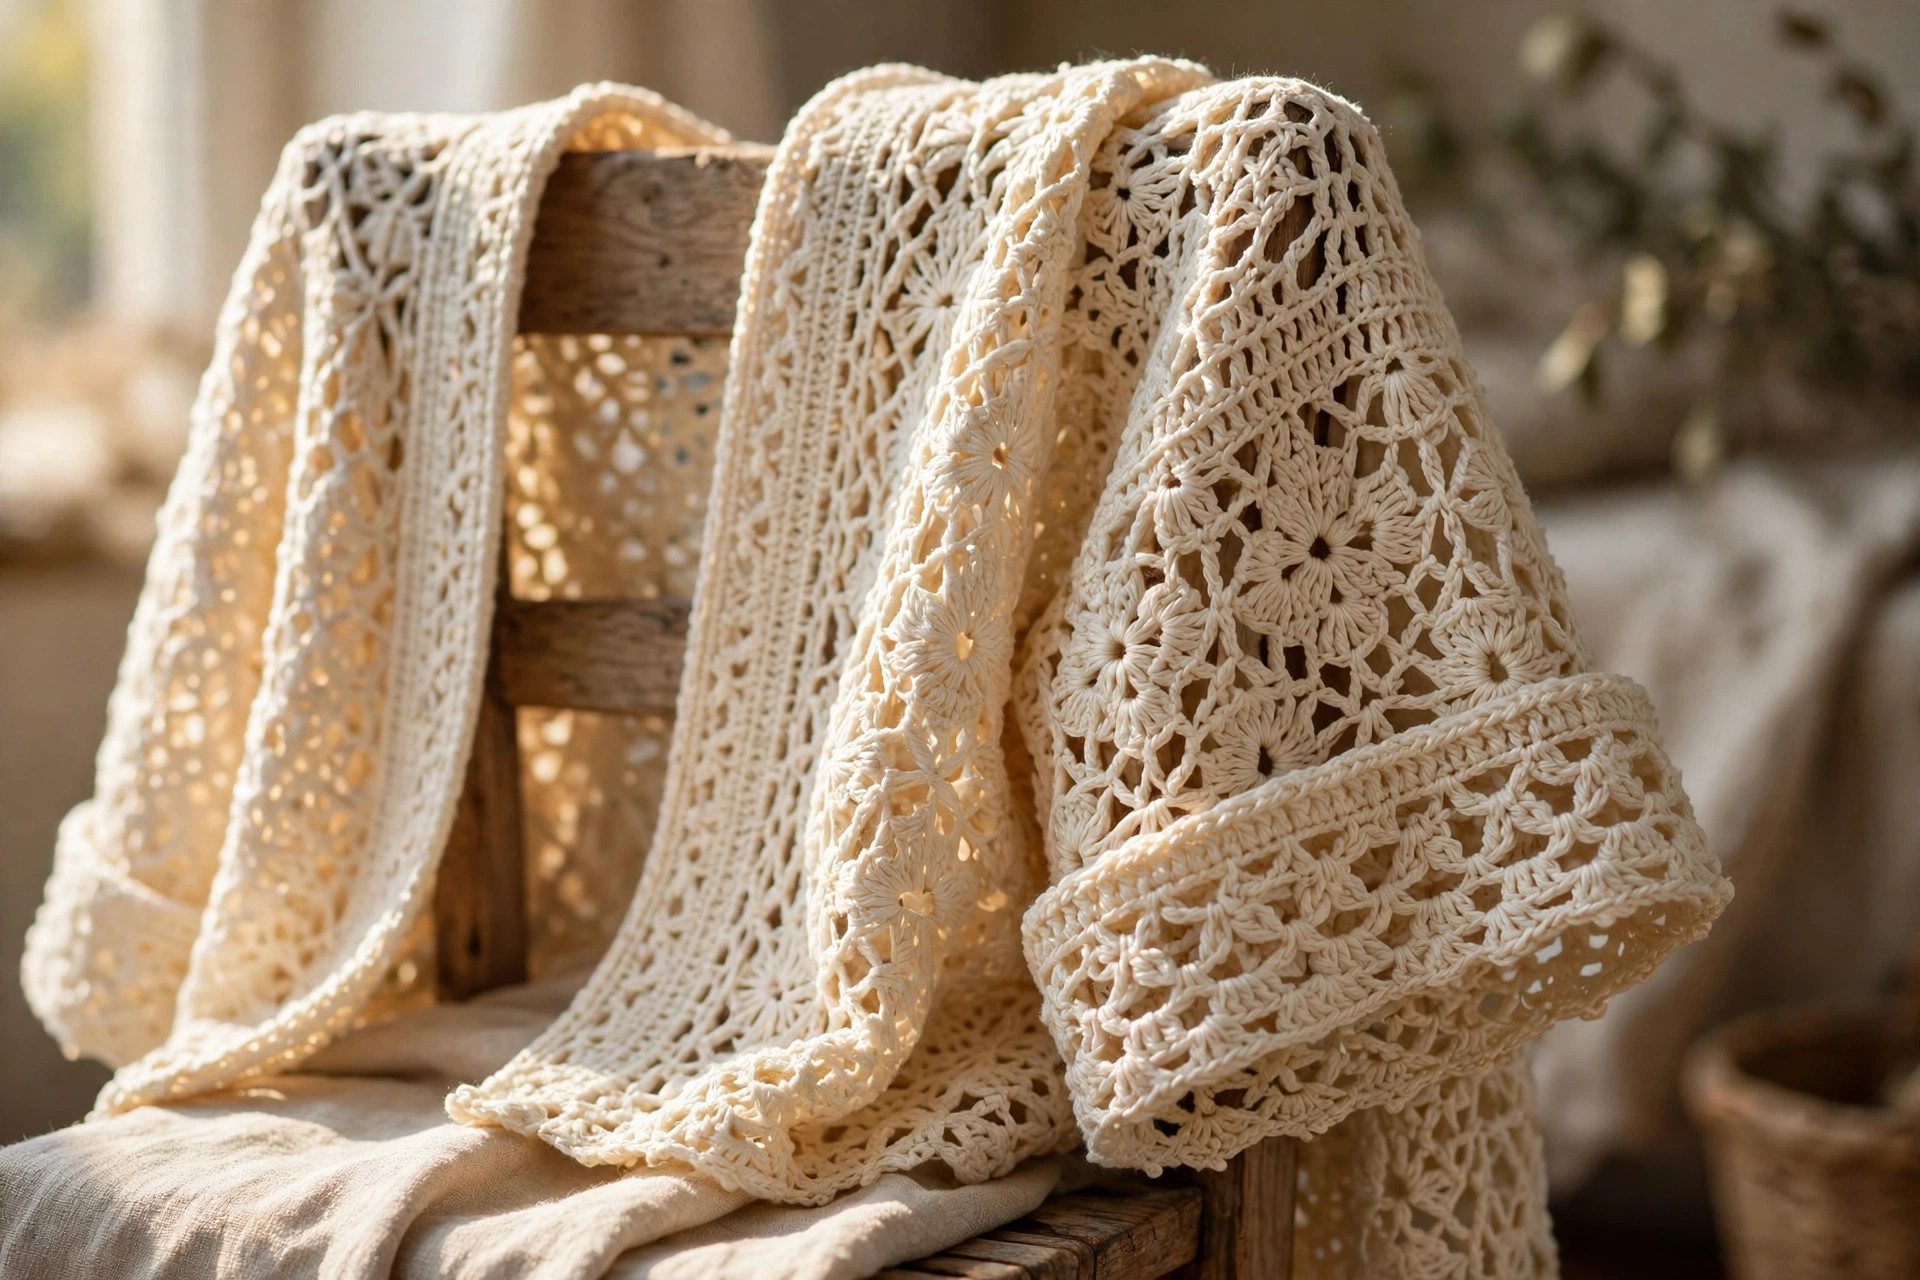
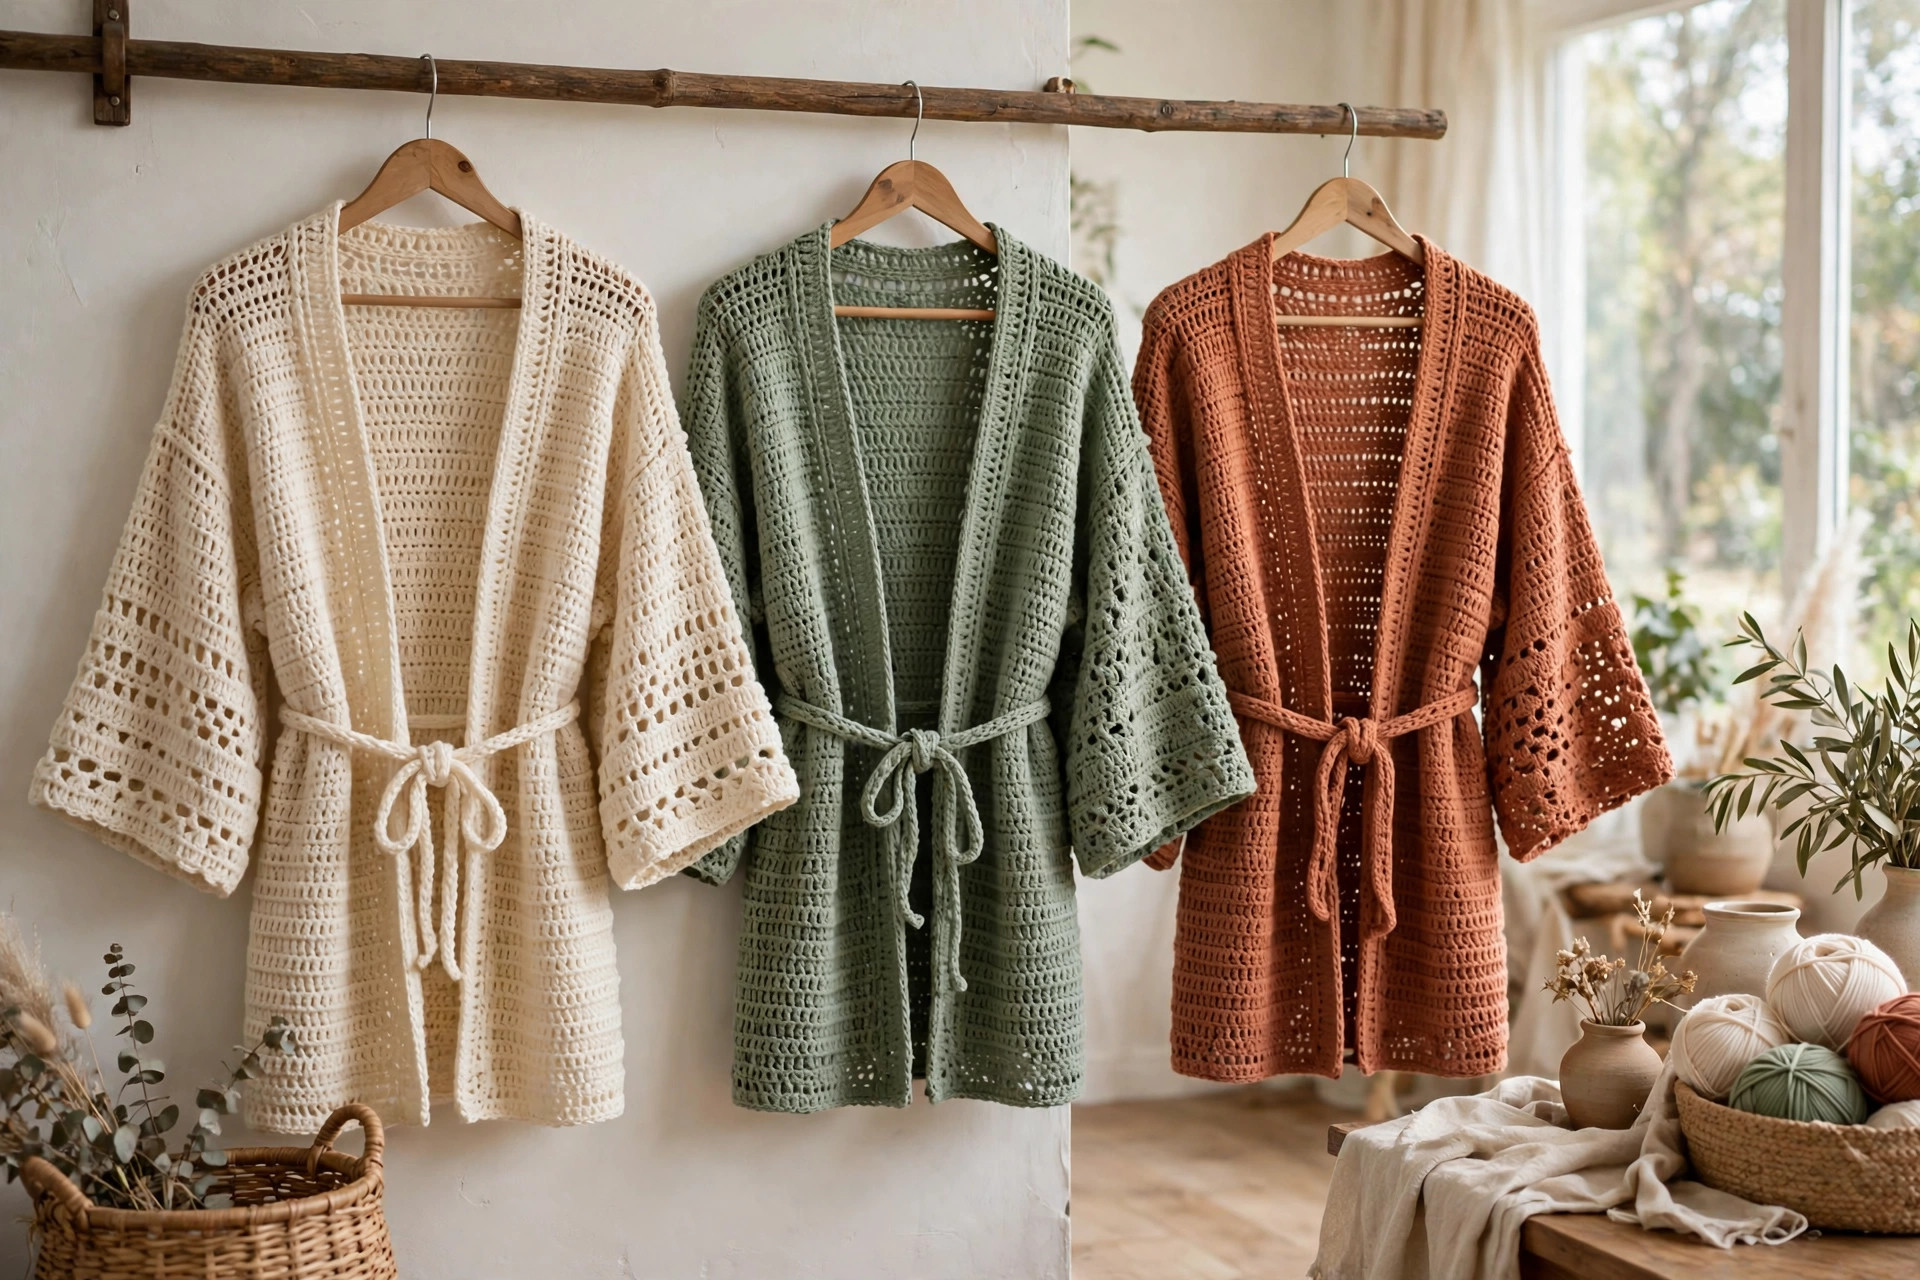
- Classic cream kimono: work the kimono in cream, just as written, for a layer that goes with everything.
- Sage green kimono: work the kimono in soft sage green for a calm, earthy look.
- Terracotta kimono: work the kimono in warm terracotta for a bold autumn layer.
- Long duster kimono: work the body panels to 36 inches long instead of 28 for a full length duster that falls below the knee.
- Gift set: pair a kimono with a matching crochet backpack pattern in the same yarn for a handmade gift set that looks planned.
Troubleshooting a Kimono That Does Not Fit
- My kimono is too wide. The gauge is too loose, or you picked a size too large. Go down a hook size, or remake the panels one size smaller. Measure your bust and add 4 inches of ease before you pick a size.
- My kimono is too narrow. The gauge is too tight, or you picked a size too small. Go up a hook size, or remake the panels one size larger. The open front is forgiving, but the back panel must cover your back.
- My sleeves hang unevenly. One sleeve was pinned lower than the other. Take out the sleeve seam, re-pin the sleeve with the seam lined up with the side seam, and sew it again.
- My shoulder seams pull. The shoulder seam was sewn too tightly. Take out the seam and sew it again with a looser whip stitch, and block the kimono so the seam relaxes.
- My kimono stretches out of shape. The yarn is too heavy, or the kimono was hung to dry. Always dry a kimono flat, and store it folded, never on a hanger.
Care Instructions
Hand wash a crochet kimono in cool water with a mild detergent, and press the water out gently without wringing. Reshape the panels and the sleeves and lay the kimono flat to dry away from direct heat. A DK yarn kimono can go in the washing machine on a gentle cycle, but hand washing keeps the drape soft and the tie belt from tangling. Store the kimono folded in a drawer, never on a hanger, because hanging stretches the shoulders out of shape.
Frequently Asked Questions
Is this crochet kimono pattern good for beginners?
Yes, it is best for an easy crocheter who knows double crochet and single crochet. You need a chain, double crochet, single crochet, and basic seaming. There are no increases or decreases anywhere in the pattern, and the kimono is made from five rectangles, so it is a great first garment.
What yarn is best for a crochet kimono?
DK weight yarn is the best choice, because it drapes softly, feels light on the shoulders, and shows the double crochet texture without looking heavy. A cotton blend works well for a summer kimono, because it breathes and washes easily. A soft acrylic yarn is the best choice if you want a warm layer for cool mornings.
How do I pick the right size for this kimono?
Measure your bust and add 4 inches of ease, then pick the size that covers that number. XS/S fits bust 32 to 38 inches, M/L fits bust 38 to 44 inches, and XL/2XL fits bust 44 to 52 inches. If you fall between sizes, pick the larger size for a looser fit.
Can I make the kimono longer or shorter?
Yes, you can change the length easily. Work 4 more rows on each body panel for every 2 inches of extra length, or 4 fewer rows for every 2 inches you want to remove. For a full length duster, work the panels to 36 inches long.
How is a kimono different from a vest?
A kimono is an open front cardigan with wide sleeves and a tie belt, worn loose over other clothes. A vest has no sleeves and fits close to the body. This pattern makes a kimono with wide sleeves, not a vest. If you want a sleeveless layer, see our crochet vest pattern. This post is only about the kimono cardigan.
Can I sell kimonos made from this pattern?
Yes, you may sell finished kimonos made from this free pattern, with credit to Little Loop Finds. Do not sell or republish the pattern text itself. A kimono in a soft neutral color makes a lovely item for a market stall.
Happy stitching, and may your little kimono drape beautifully over everything you wear it with.