Acorn Crochet Pattern (3D Amigurumi Acorn)
Crochet a soft 3D amigurumi acorn with a textured cap and a plump nut body in about two hours, then enjoy a sweet piece of fall decor.

Patterns · Crochet
- Finished size
- 4 in tall
- Making time
- 2 hours
- Hook
- US G-6 (4.0 mm)
- Set
- Acorn, cap, stem
- Skill
- Easy
In this post
- Key Takeaways
- Table of Contents
- Why You Will Love This Acorn
- Finished Size, Skill Level, and Time
- Materials You Need
- Abbreviations (US Terms)
- Gauge and Sizing Notes
- Part 1: The Nut Body
- Part 2: The Cap and the Stem
- Part 3: Assembly and Finishing
- Variations: Colors, Sizes, and Uses
- Troubleshooting an Acorn That Does Not Look Right
- Care Instructions
- Frequently Asked Questions
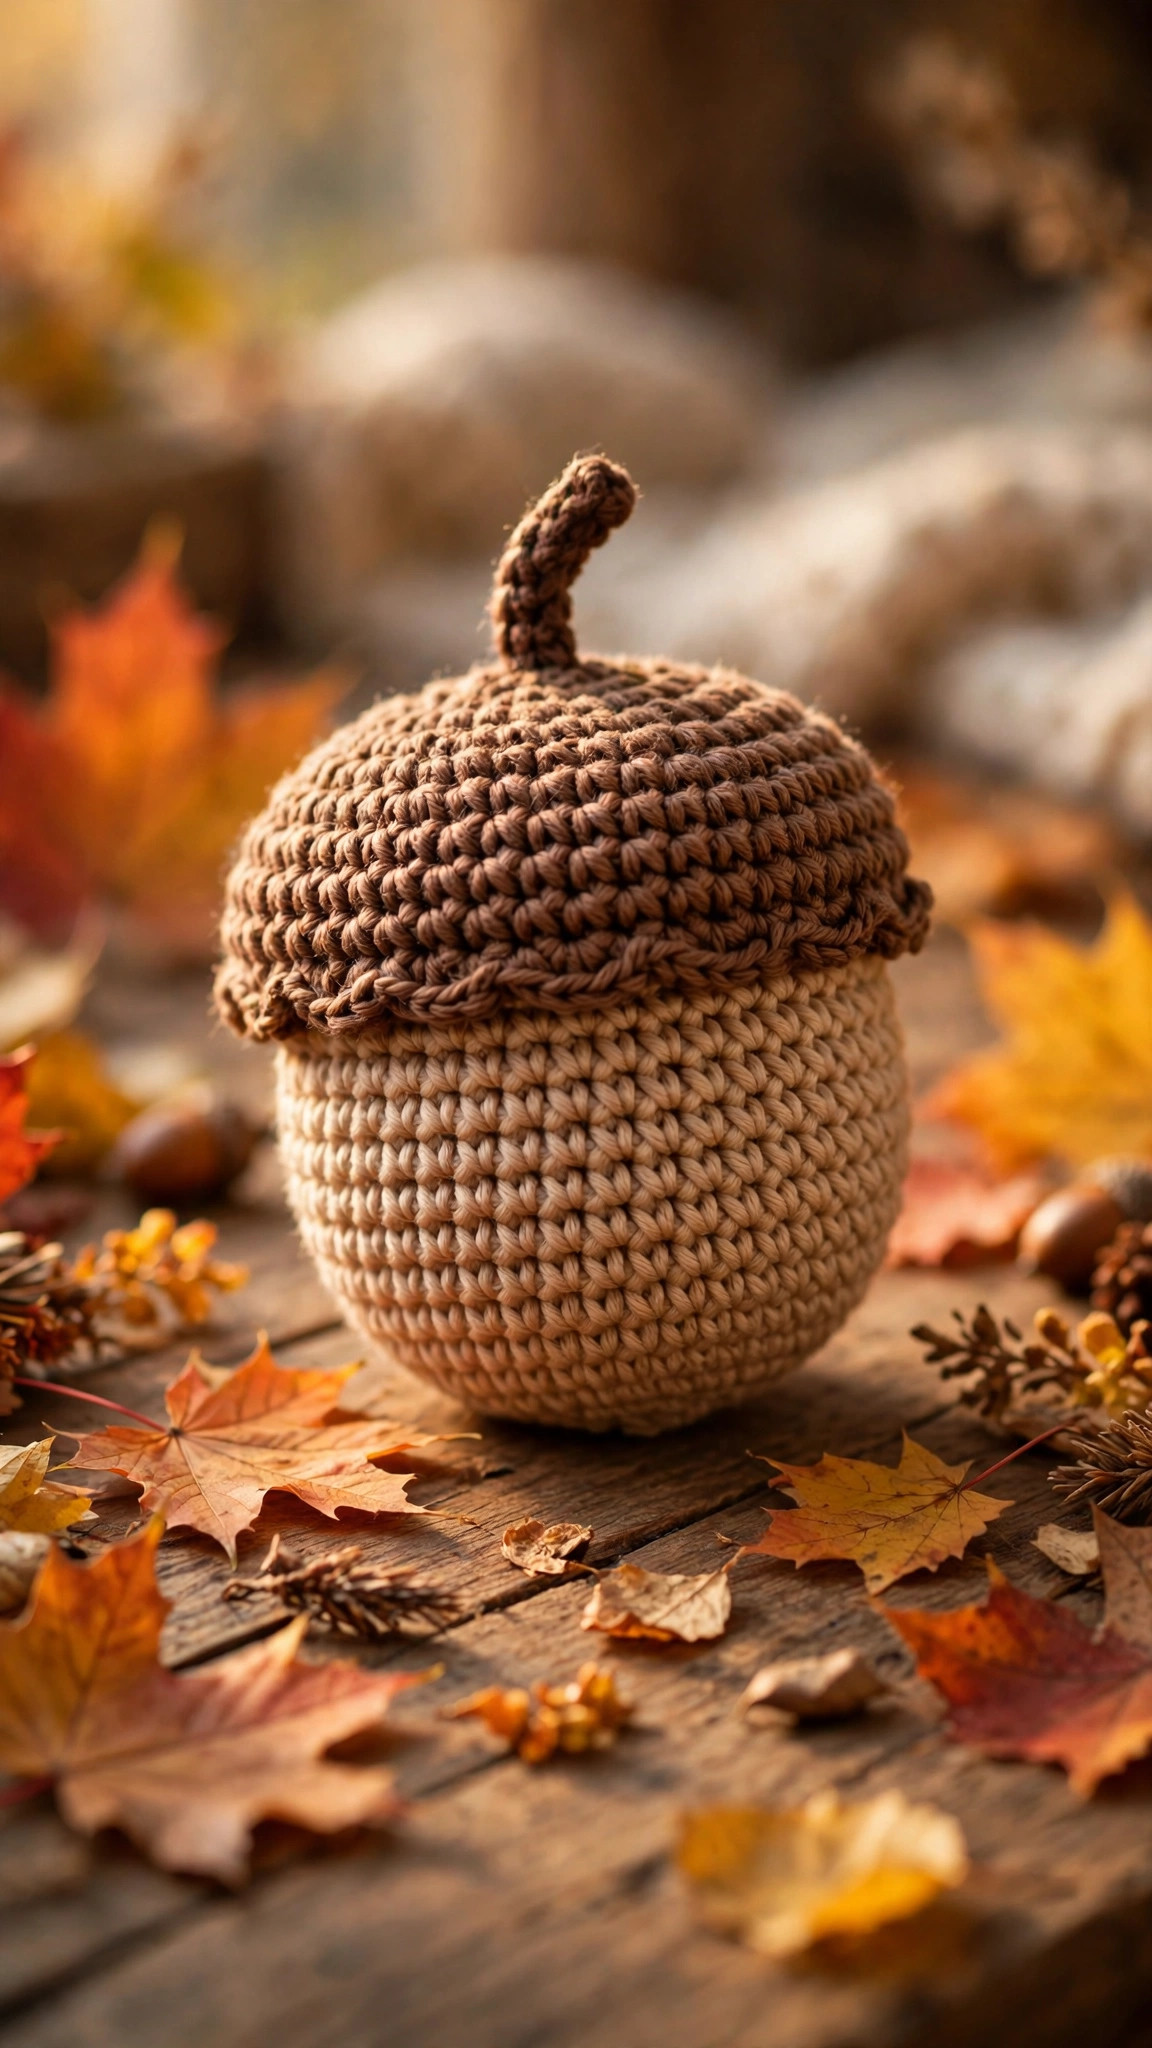
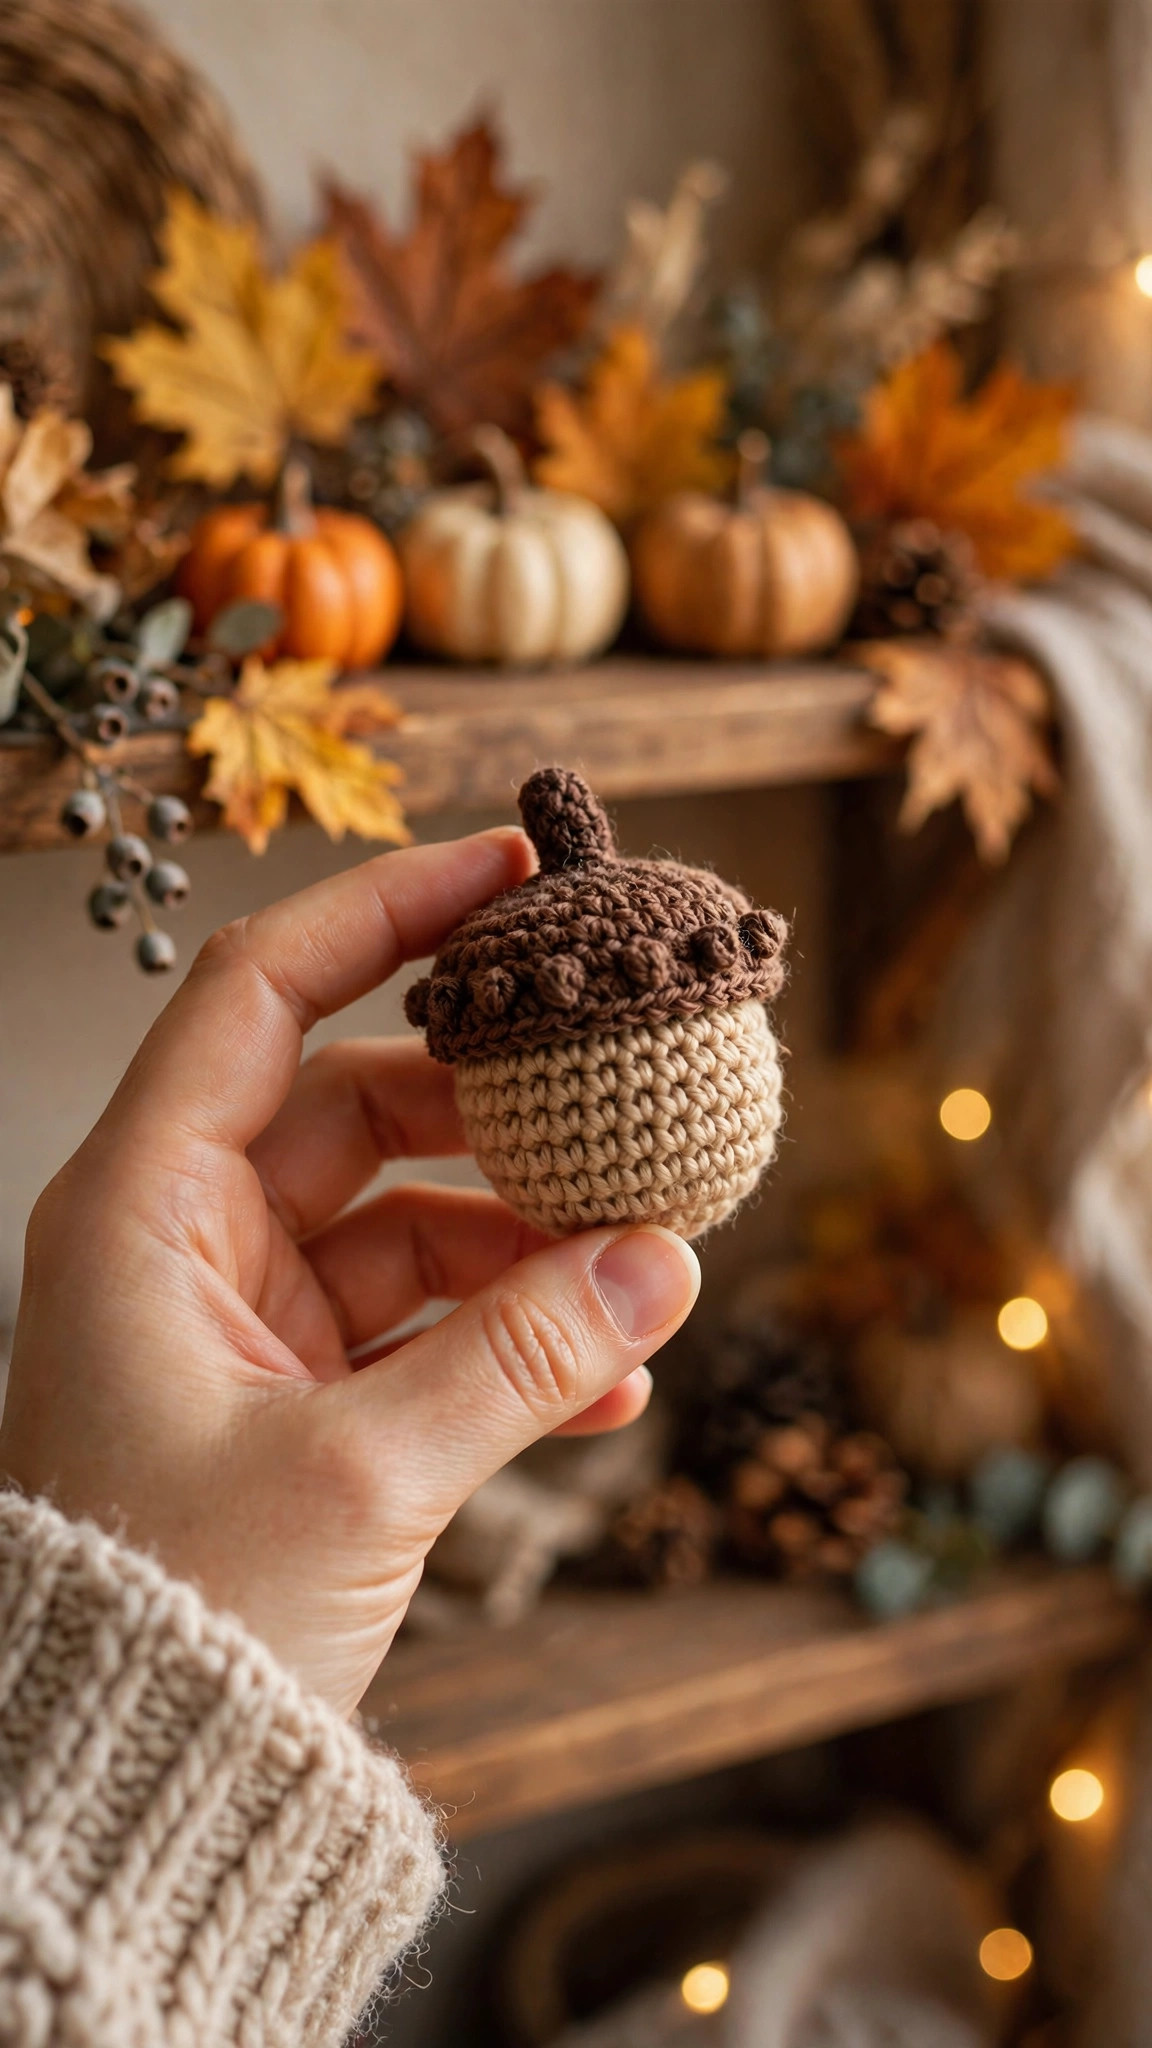
A crochet acorn is the sweetest little piece of fall decor you can make in an evening. This free acorn crochet pattern makes a soft 3D amigurumi acorn with a textured cap, a plump nut body, and a little stem, all worked in the round with simple stitches. It takes about 2 hours, uses less than one skein of yarn, and makes a lovely autumn table decoration, a fall toy, or a handmade gift.
This is an original Little Loop Finds design, written in US terms and completely free. The acorn is worked in two pieces, a nut body and a cap, then joined with a small stem, so it is a great first amigurumi project and a fun way to practice increases, decreases, and textured stitches.
A quick note on scope: this post is about one specific acorn crochet pattern, a soft stuffed 3D acorn you can hold in your hand. That makes it different from a flat motif, which is a square you join into a blanket or a bag. If you want a flat acorn motif instead, our autumn acorn granny square pattern is the matching project.
Key Takeaways
- Free original pattern: a Little Loop Finds original design, written in US terms, and completely free.
- A soft stuffed acorn: a 3D amigurumi acorn with a textured cap, a plump nut body, and a little stem.
- A 4 inch acorn: about 4 inches tall when finished, a perfect size for autumn decor or a fall toy.
- Simple stitches: worked in the round with single crochet, increases, decreases, and bobble stitches.
- A 2 hour project: one acorn takes about 2 hours.
Table of Contents
- Why You Will Love This Acorn
- Finished Size, Skill Level, and Time
- Materials You Need
- Abbreviations (US Terms)
- Gauge and Sizing Notes
- Part 1: The Nut Body
- Part 2: The Cap and the Stem
- Part 3: Assembly and Finishing
- Variations: Colors, Sizes, and Uses
- Troubleshooting an Acorn That Does Not Look Right
- Care Instructions
- Frequently Asked Questions
Why You Will Love This Acorn
A crochet acorn brings the whole feeling of fall into one small handmade piece. The textured cap looks like a real acorn cap, the plump nut body is satisfying to hold, and the little stem finishes it off with charm. Make one to sit on a shelf, or make a whole bowl of them for a Thanksgiving table.
The acorn is two small pieces of single crochet, worked in the round. There is no tricky shaping, no sewing of arms or legs, and no pieces that have to match perfectly. You can finish one in an evening, and a set of three in a weekend. The bobble stitch cap is the best part, because the little bumps give the cap a real acorn texture with almost no extra effort.
Finished Size, Skill Level, and Time
- Finished size: about 4 inches tall and 2.5 inches wide. The nut body is about 2.5 inches tall, the cap adds about 1.25 inches, and the stem adds about 0.25 inch.
- Skill level: Easy. You need a magic ring, single crochet, increases, decreases, and bobble stitches. The bobble stitch is explained step by step below, and it is the only special stitch in the pattern.
- Time: about 2 hours per acorn: 45 minutes for the nut body, 30 minutes for the cap, 15 minutes for the stem, and 30 minutes for stuffing and assembly.
Materials You Need
| Item | What to get |
|---|---|
| Yarn, nut color | Worsted weight yarn in tan or light brown, 60 yards |
| Yarn, cap color | Worsted weight yarn in dark brown, 40 yards |
| Yarn, stem color | Worsted weight yarn in dark brown or green, 5 yards |
| Hook | US G-6 (4.0 mm), or the size that gives you the gauge below |
| Notions | Tapestry needle, scissors, tape measure, stitch markers, polyester fiberfill, safety eyes optional |
Worsted weight yarn is the best choice for a crochet acorn because it holds the round shape, shows the bobble texture clearly, and is easy to find in autumn colors. Acrylic yarn works well and is easy to wash, which matters if the acorn will be handled as a toy.
Polyester fiberfill is the stuffing to use, because it is light, washable, and keeps the nut body plump without lumps. Stuff the body a little at a time, and push small bits of fiberfill into the sides with the end of your hook so the shape stays smooth.
Abbreviations (US Terms)
- MR = magic ring
- ch = chain
- sl st = slip stitch
- sc = single crochet
- hdc = half double crochet
- dc = double crochet
- inc = increase (2 sc in the same stitch)
- dec = decrease (sc 2 together)
- bob = bobble stitch (yarn over, insert hook, pull up a loop, yarn over, pull through 2 loops, repeat 4 more times in the same stitch, yarn over, pull through all 6 loops)
- st(s) = stitch(es)
- rep = repeat
- RS = right side
- FO = fasten off
Gauge and Sizing Notes
Gauge matters on an amigurumi acorn because the stitches must be tight enough that the stuffing does not show through. Work a swatch of 12 sc and 12 rows in the nut color. It should be about 3 inches wide and 3 inches tall. If it is wider, go down a hook size. If it is narrower, go up a hook size. Your stitches should look dense, with no gaps between them when you hold the fabric up to the light.
The pattern is written for one acorn about 4 inches tall. To make a smaller acorn, about 3 inches tall, use DK weight yarn and a US E-4 (3.5 mm) hook, and work the same stitch counts. To make a larger acorn, about 5 inches tall, use bulky weight yarn and a US H-8 (5.0 mm) hook, and work one extra increase round on both the body and the cap. Our crochet mushroom pattern uses the same tight amigurumi gauge if you want to practice the shaping on another fall project first.
Part 1: The Nut Body
The nut body starts at the bottom with a flat round, then the sides are worked straight up, then the top is decreased to a soft dome. Work in continuous rounds, and place a stitch marker at the start of each round.
The Bottom and the Sides
With the nut color, work in continuous rounds.
- Round 1: MR, 6 sc in the ring. (6)
- Round 2: inc in each st around. (12)
- Round 3: (sc, inc) rep 6 times. (18)
- Round 4: (2 sc, inc) rep 6 times. (24)
- Round 5: (3 sc, inc) rep 6 times. (30)
- Round 6: (4 sc, inc) rep 6 times. (36)
- Round 7: sc in each st around, working in the back loop only. (36)
- Rounds 8 to 15: sc in each st around. (36)
The bottom should be a flat round about 2.5 inches wide. Working round 7 in the back loop only makes a clean corner where the bottom meets the sides, so the acorn stands up straight instead of flaring out.
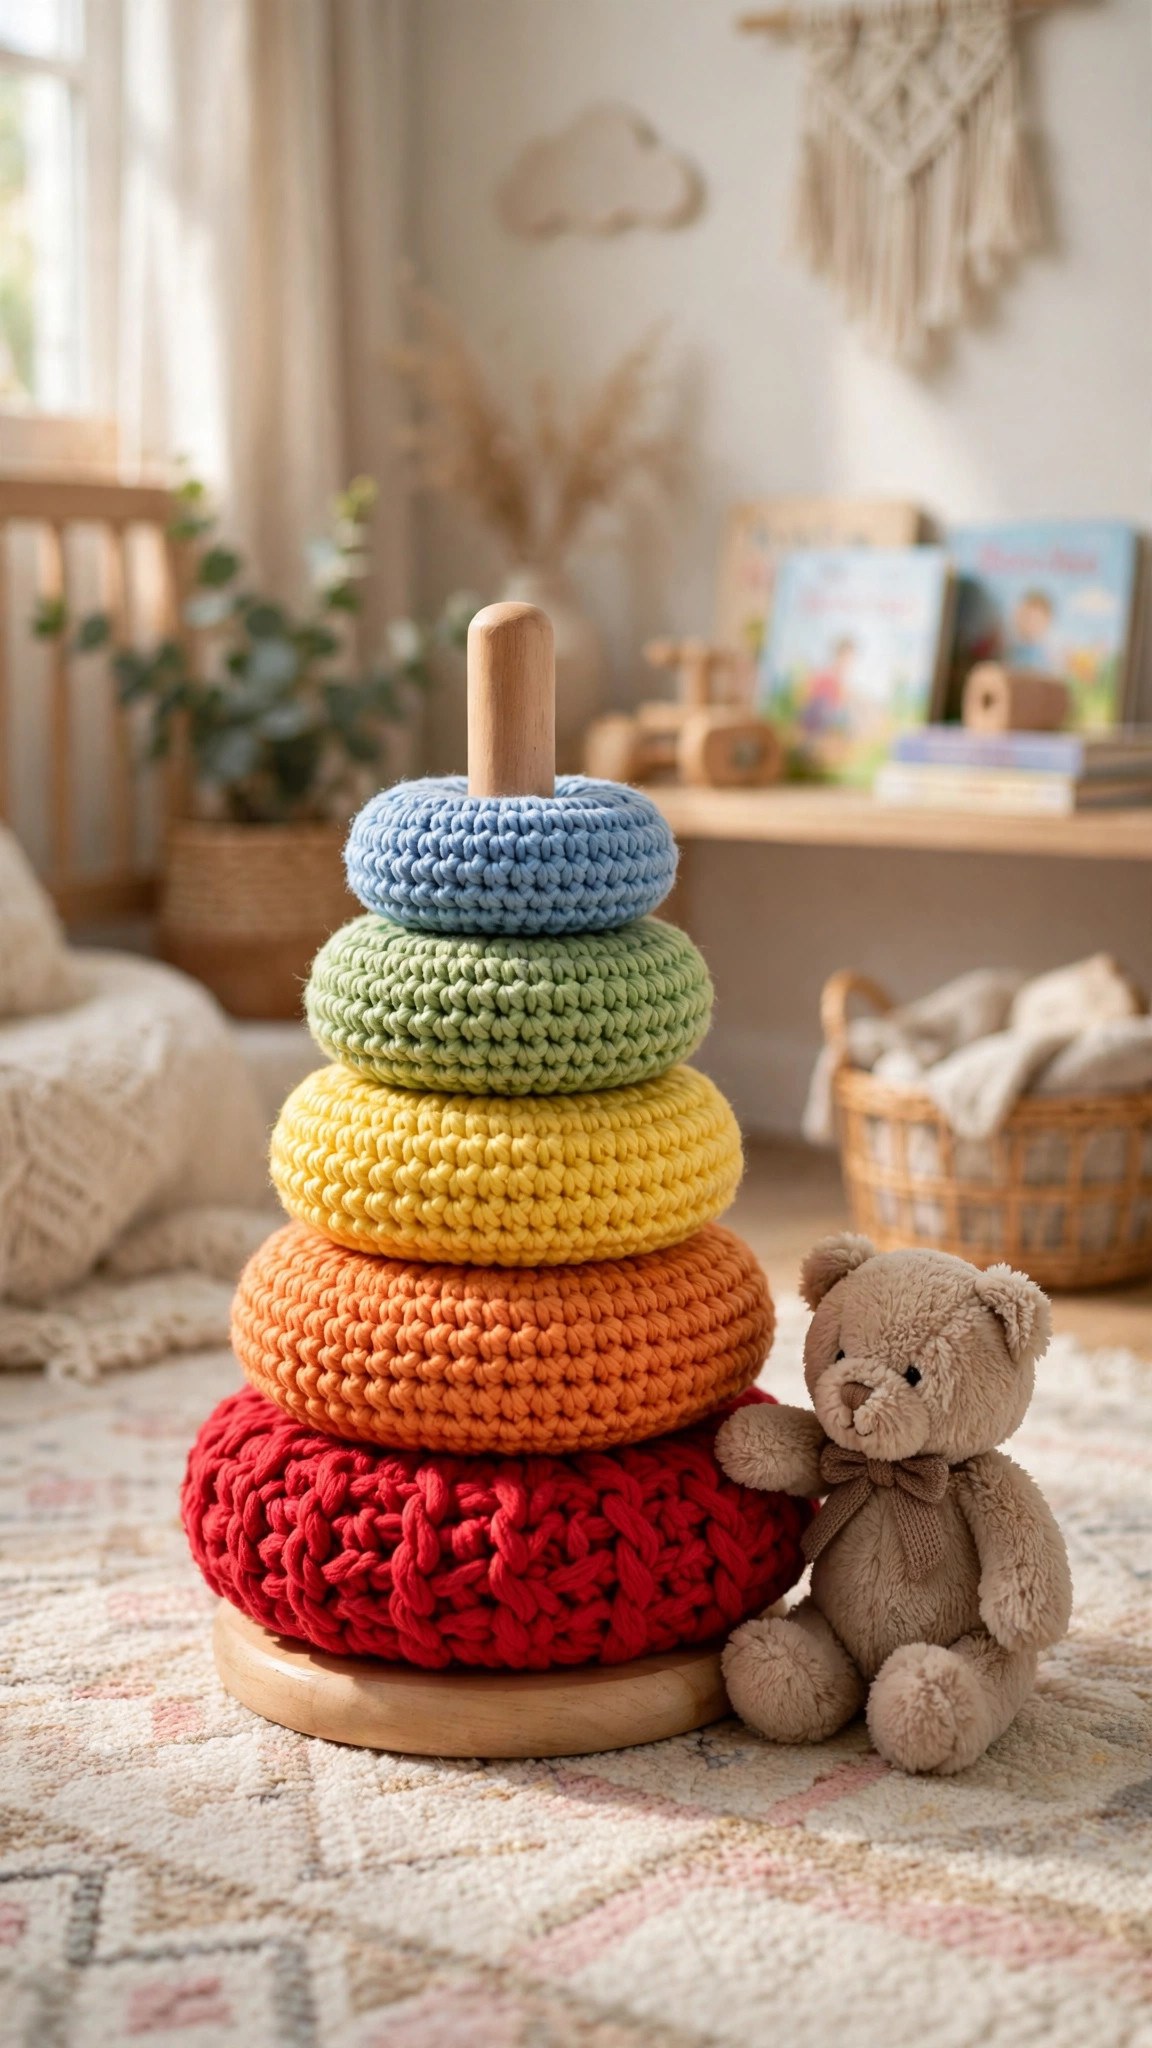
The body should be about 2 inches tall when you reach round 15, with straight sides and a flat bottom. Count your stitches at the end of each round, because a missed stitch will pull the body off center. Our crochet stacking toy pattern uses the same increase rounds if you want to practice the shaping on a larger project first.
The Top Decrease
With the nut color, shape the top of the body into a soft dome.
- Round 16: (4 sc, dec) rep 6 times. (30)
- Round 17: sc in each st around. (30)
- Round 18: (3 sc, dec) rep 6 times. (24)
- Round 19: sc in each st around. (24)
- Round 20: (2 sc, dec) rep 6 times. (18)
Stop here and stuff the body firmly with polyester fiberfill. Push small bits of fiberfill into the bottom corners first, then fill the middle, then shape the top into a smooth dome with your fingers. The body should feel firm and springy, not soft and squishy, because a loosely stuffed acorn will sag when the cap goes on.
- Round 21: (sc, dec) rep 6 times. (12)
- Round 22: dec in each st around. (6)
Fasten off, leaving a 6 inch tail. Thread the tail through the front loops of the remaining 6 stitches and pull tight to close the top. Weave the tail in neatly, and set the body aside. The closed top will be hidden under the cap, so a small bump here does not matter.
Part 2: The Cap and the Stem
The cap is the part that gives the acorn its character. It starts at the top with a small flat round, then grows wider with bobble stitch rounds that make the bumpy texture, then finishes with a straight edge that sits over the nut body. The stem is a tiny tube worked last.
The Cap
With the cap color, work in continuous rounds.
- Round 1: MR, 6 sc in the ring. (6)
- Round 2: inc in each st around. (12)
- Round 3: (sc, inc) rep 6 times. (18)
- Round 4: (2 sc, inc) rep 6 times. (24)
- Round 5: (3 sc, inc) rep 6 times. (30)
- Round 6: (4 sc, inc) rep 6 times. (36)
- Round 7: (sc, bob) rep 18 times. (36)
- Round 8: sc in each st around. (36)
- Round 9: (sc, bob) rep 18 times. (36)
- Round 10: sc in each st around. (36)
- Round 11: (sc, bob) rep 18 times. (36)
- Round 12: sc in each st around. (36)
- Round 13: sl st in each st around. (36)
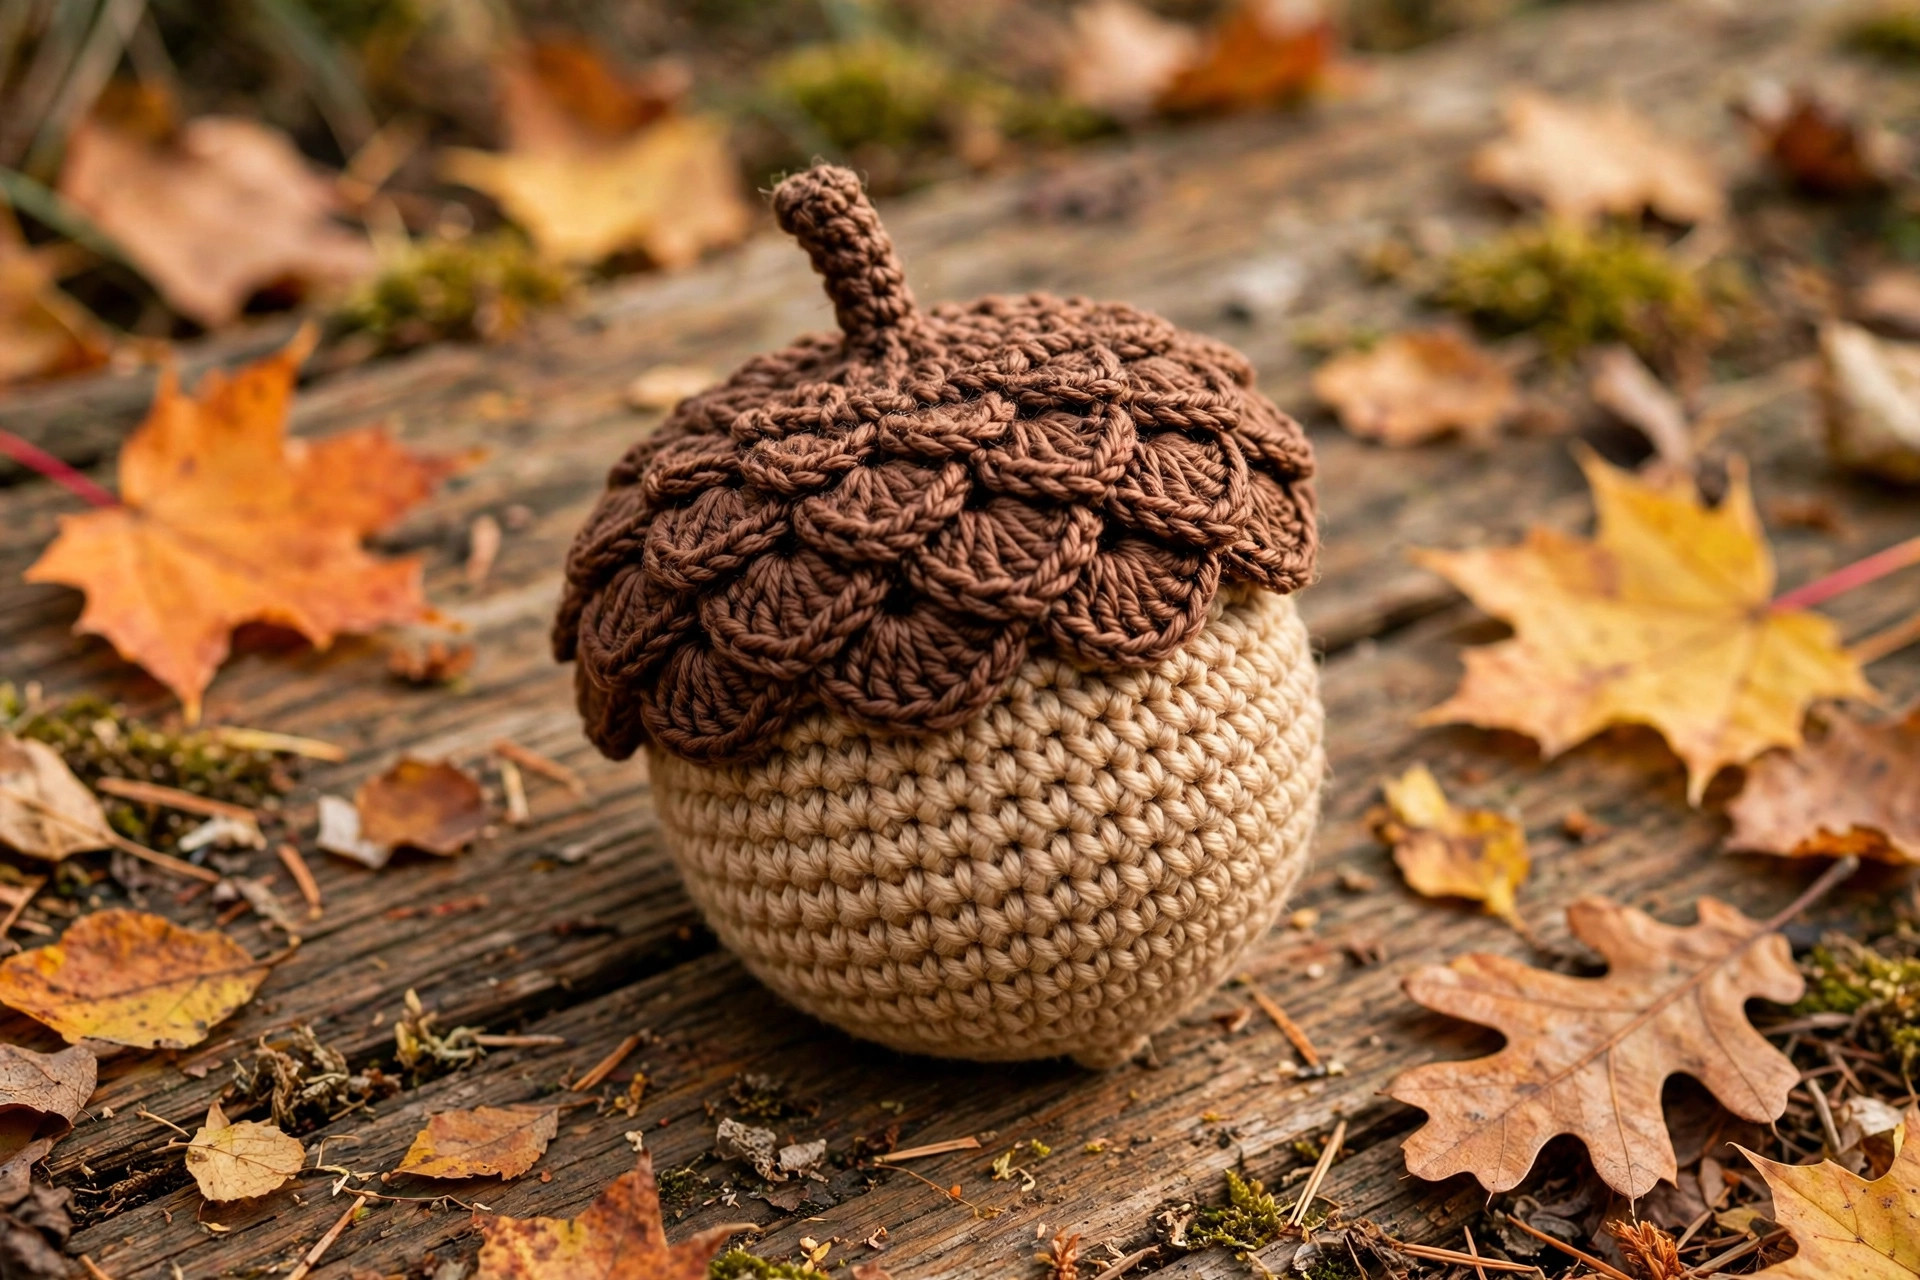
Fasten off, leaving a 12 inch tail for sewing. The bobble rounds give the cap its bumpy acorn texture. Push each bobble to the right side as you work it, so the bumps sit on the outside of the cap.
The cap should be a shallow bowl about 2.5 inches wide and 1.25 inches tall, with a flat top and a straight edge. Try the cap on the nut body before you sew it. It should sit over the top third of the body, with the edge lying flat against the body all the way around. Our sugar skull crochet pattern uses the same bobble stitch if you want to practice the texture on another project first.
The Stem
With the stem color, work in continuous rounds.
- Round 1: MR, 5 sc in the ring. (5)
- Rounds 2 to 4: sc in each st around. (5)
Fasten off, leaving a 6 inch tail for sewing. The stem should be a tiny tube about 0.5 inch tall. It does not need stuffing. If you want a slightly longer stem, work 5 rounds instead of 3. If you want a curved stem, bend it gently after you sew it on and let the yarn hold the shape.
Part 3: Assembly and Finishing
This is the part where the acorn comes together. Sew the cap to the body, add the stem, hide the ends, and give the acorn a final shape check.
Sewing the Cap to the Body
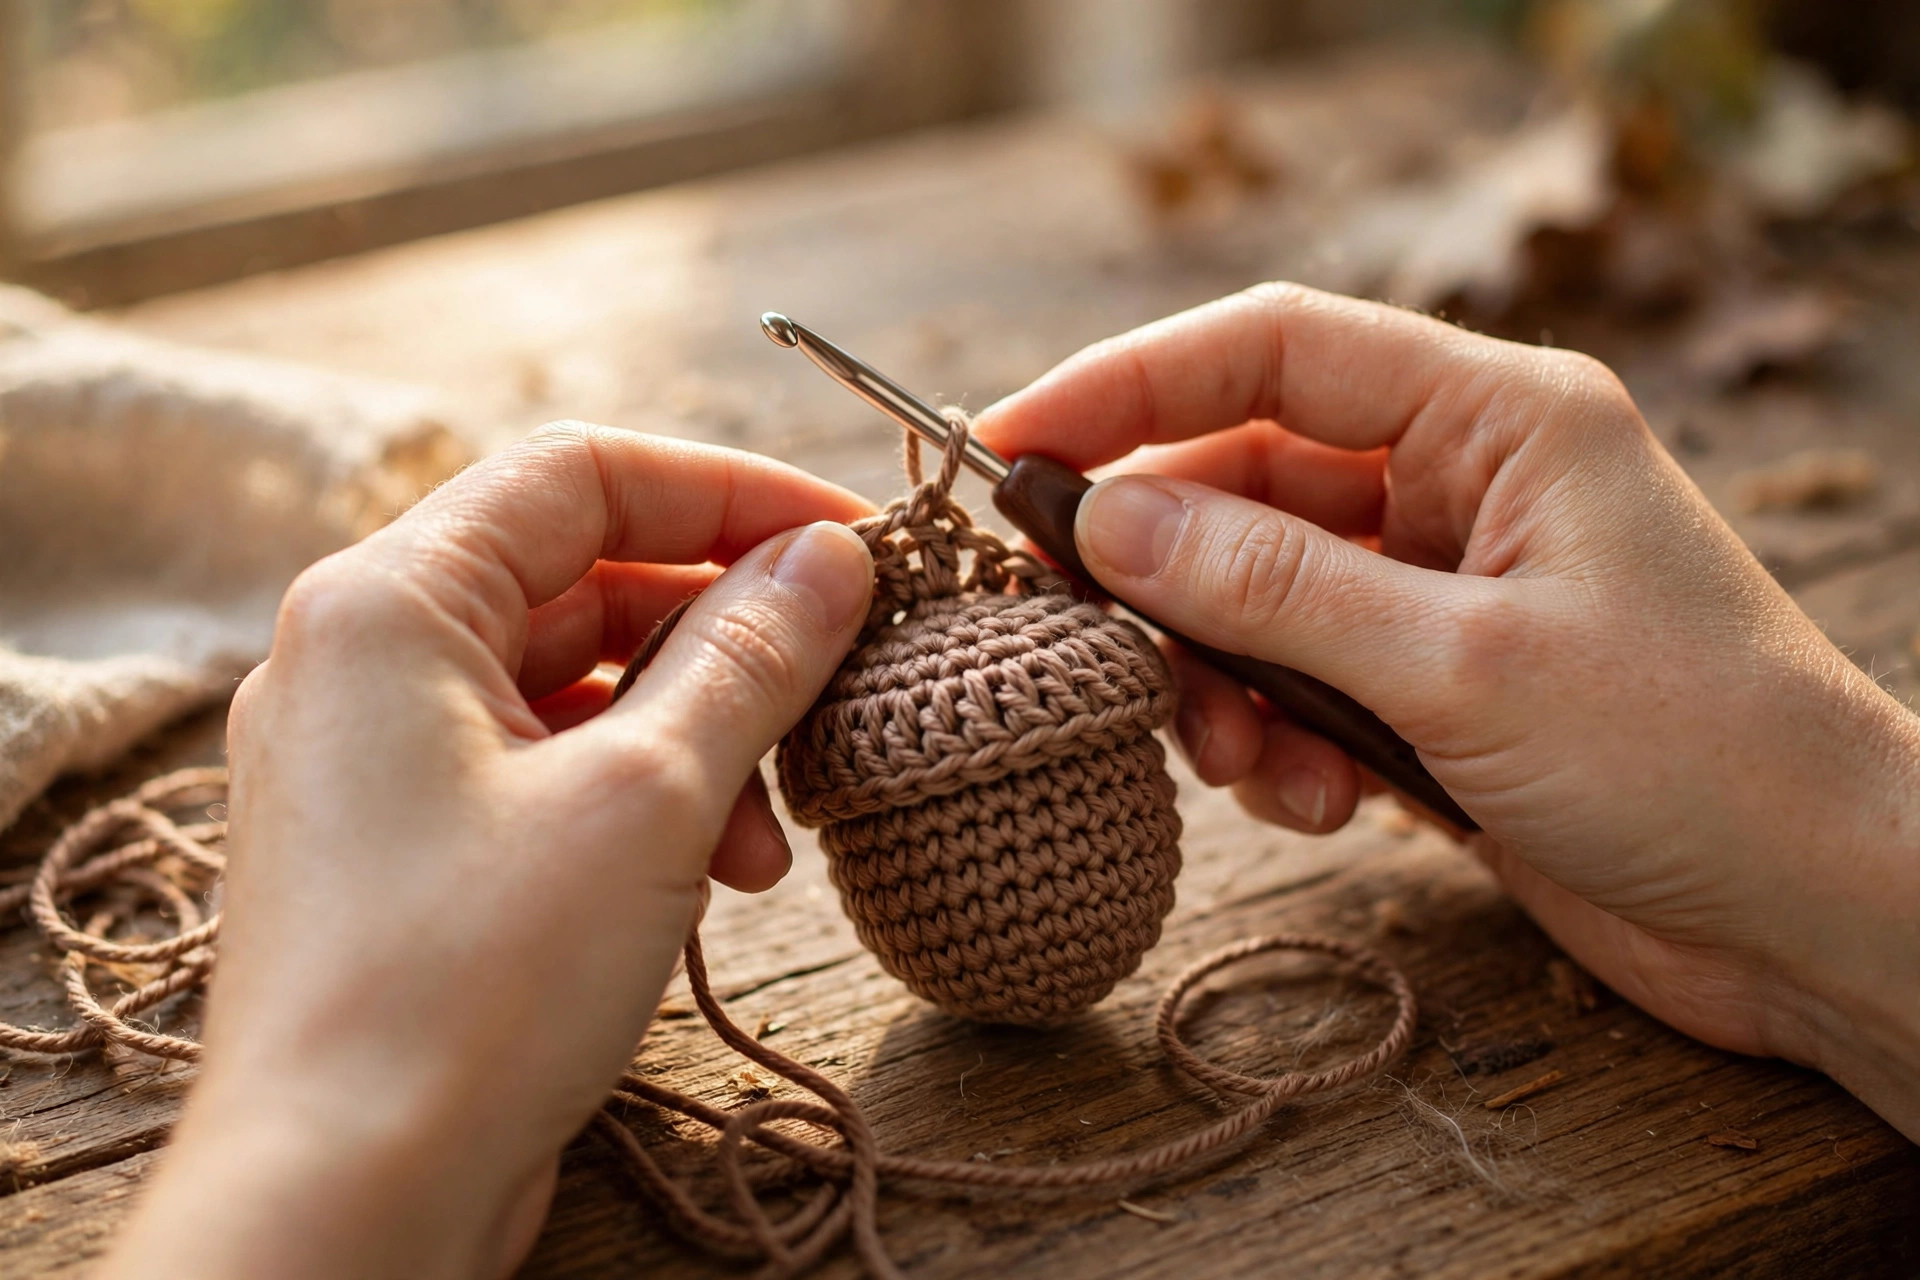
Place the cap on top of the nut body so the edge of the cap sits over the top third of the body. Pin it in place with two stitch markers on opposite sides so it cannot shift while you sew. Thread the 12 inch cap tail onto a tapestry needle.
Sew the cap to the body with a whip stitch, working through the slip stitch edge of the cap and into the body one stitch at a time, all the way around. Keep your stitches small and even, and pull each stitch snug so the cap edge lies flat against the body with no gap.
When you reach the starting point, knot the tail on the inside of the cap and weave the end through the cap stitches to hide it. The seam should be nearly invisible, because the bobble texture of the cap hides small stitches well.
Adding the Stem
Place the stem in the center of the top of the cap, right over the magic ring. Thread the 6 inch stem tail onto a tapestry needle, and sew two rounds of small stitches around the base of the stem so it stands up straight and does not wobble. Knot the tail on the inside of the cap and weave the end in. Give the stem a gentle bend if you like a natural look, or leave it straight.
Final Finishing
Hold the finished acorn up and look at it from every side. The cap should sit straight, the body should be plump and round, and the stem should point up from the center. If one side looks flat, push a little more fiberfill through the seam with the end of your hook, then close the gap with a stitch.
Weave in any loose ends on the inside of the cap or the body, where they will not show. Trim the ends close, but leave enough that they cannot work their way out. The acorn is now ready for display, for play, or for gifting.
Variations: Colors, Sizes, and Uses
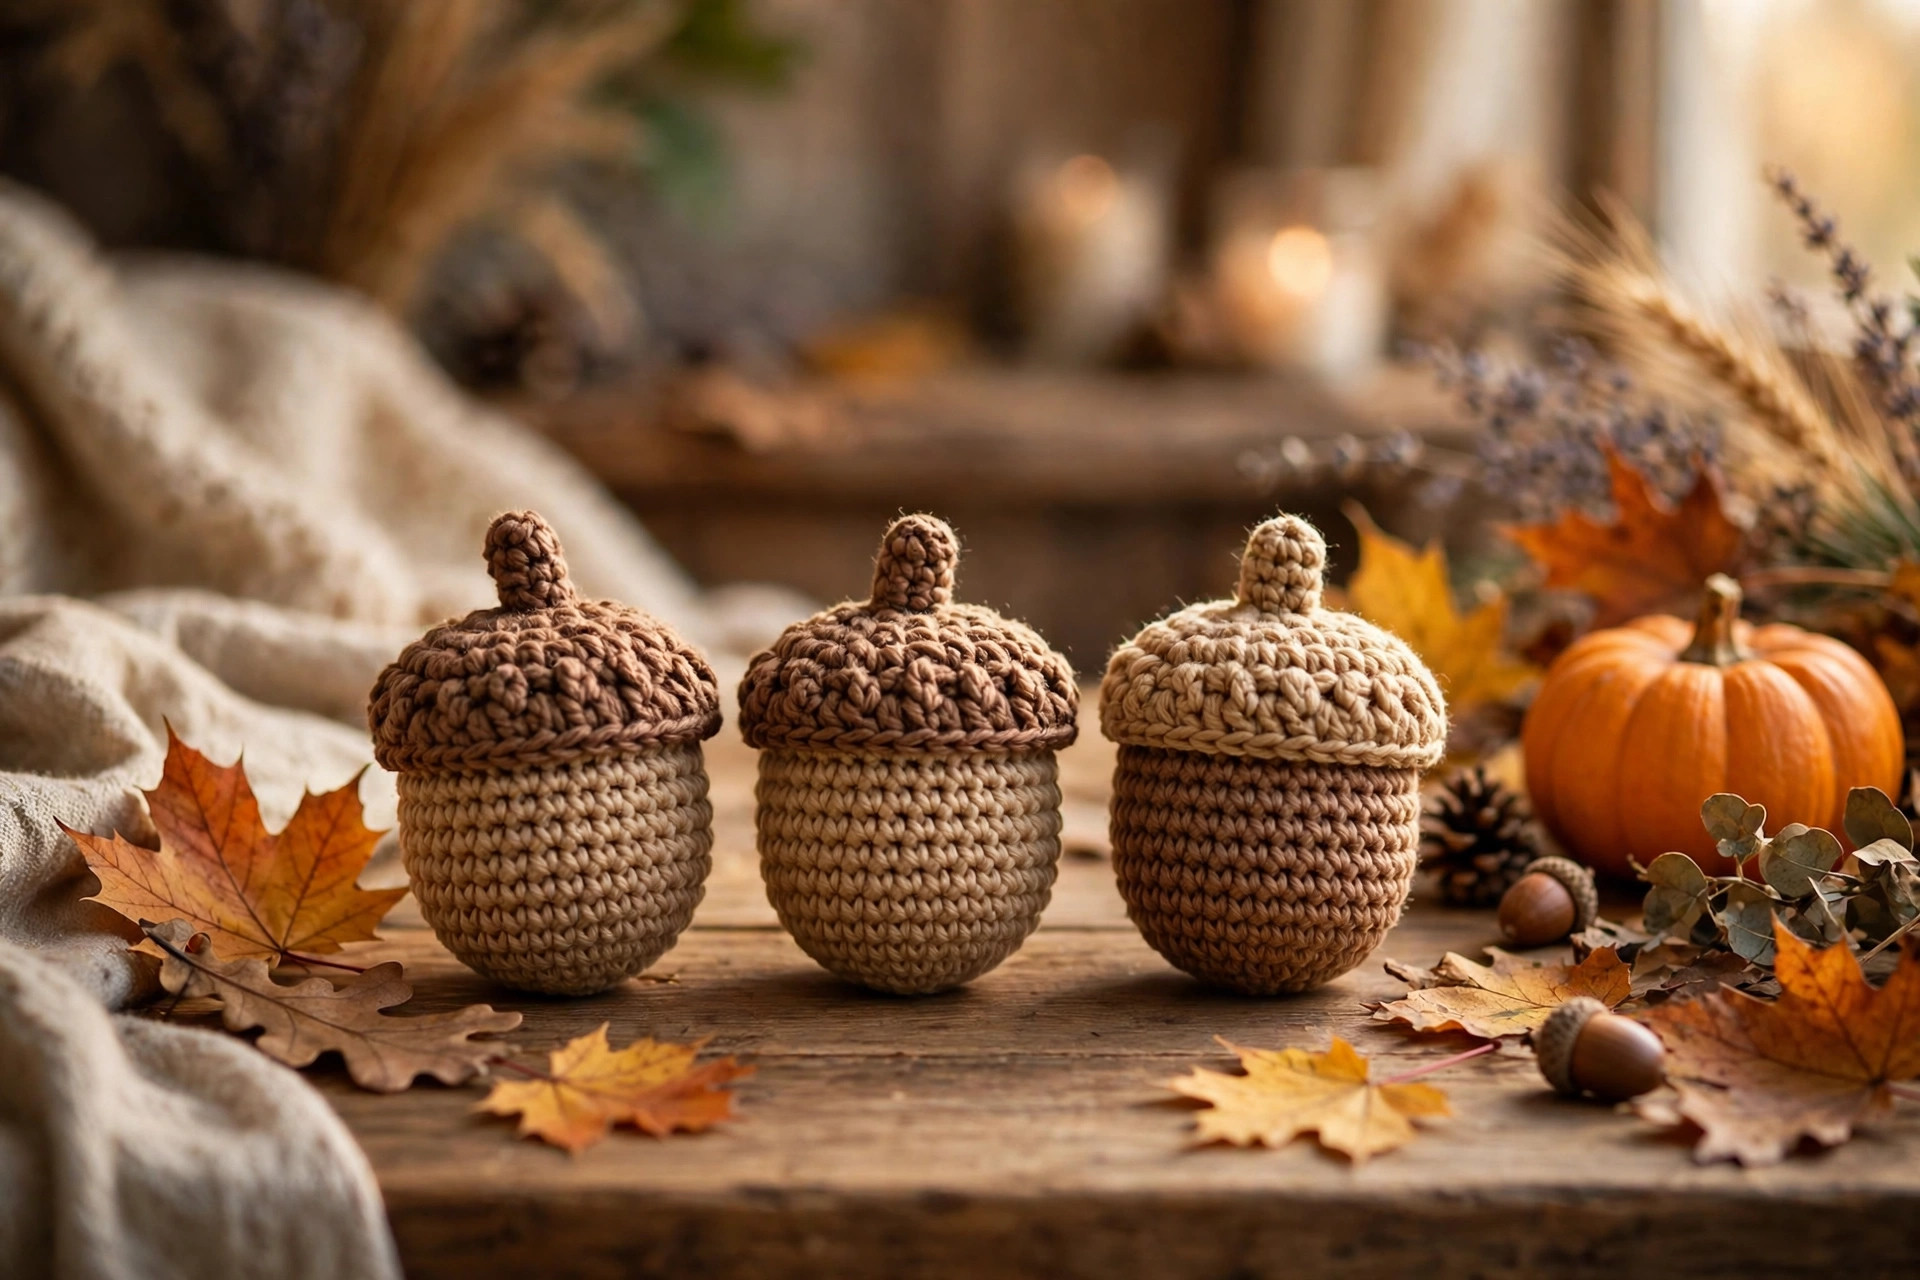
- Classic brown acorn: work the acorn in dark brown and tan, just as written.
- Golden acorn: work the nut in golden yellow and the cap in rich brown for a bright fall look.
- Mini acorn garland: make five small acorns in DK yarn, then string them together with a chain for a fall garland.
- Thanksgiving table set: make one acorn for each place setting, in matching colors, and pair them with a crochet leaf pattern at each plate for a full autumn table.
Troubleshooting an Acorn That Does Not Look Right
- My stuffing shows through the stitches. The gauge is too loose. Go down a hook size, and stuff with smaller bits of fiberfill so it does not poke through gaps.
- My acorn leans to one side. The bottom is wavy, or the cap was sewn on tilted. Check the bottom lies flat, and pin the cap with two markers on opposite sides before sewing.
- My cap will not fit over the body. The cap is too small, or the body is overstuffed. Work one more increase round on the cap, or remove a little stuffing from the top of the body.
- My bobbles sink to the inside. The bobbles were not pushed out as you worked them. Poke each bobble to the right side with the end of your hook before the next round.
- My stem wobbles. The stem was sewn on with too few stitches. Sew two full rounds around the base of the stem so it stands up straight.
Care Instructions
Hand wash a crochet acorn in cool water with a mild detergent, and press the water out gently without wringing. Reshape the body and the cap and lay the acorn flat to dry away from direct heat. A stuffed acorn should never go in the dryer, because the heat can shrink the yarn and melt the fiberfill into clumps. Check the seams after washing to make sure the cap and stem are still firmly attached, and store acorns out of direct sunlight so the colors stay bright.
Frequently Asked Questions
Is this acorn crochet pattern good for beginners?
Yes, it is best for an easy crocheter who knows single crochet and increases. You need a magic ring, single crochet, increases, decreases, and bobble stitches. One acorn takes about 2 hours, and the bobble stitch is explained step by step in the pattern.
What yarn is best for a crochet acorn?
Worsted weight yarn is the best choice, because it holds the round shape, shows the bobble texture clearly, and comes in good autumn colors. Acrylic yarn works well and is easy to wash, which matters if the acorn will be handled as a toy.
How is this acorn different from a granny square acorn?
This pattern makes a soft stuffed 3D acorn you can hold in your hand, with a textured cap, a plump nut body, and a little stem. A granny square acorn is a flat square motif you join into a blanket or a bag. If you want the flat version, see our autumn acorn granny square pattern. This post is only about the 3D stuffed acorn.
Can I make the acorn bigger or smaller?
Yes, you can change the size easily. For a smaller acorn about 3 inches tall, use DK weight yarn and a US E-4 (3.5 mm) hook with the same stitch counts. For a larger acorn about 5 inches tall, use bulky weight yarn and a US H-8 (5.0 mm) hook, and work one extra increase round on both the body and the cap.
Is this crochet acorn safe as a toy for a child?
The acorn is safe as a toy if you sew the cap and stem on firmly and skip plastic safety eyes. Check the seams after washing, and do not give a small acorn to a child under three, because the stem can be a choking hazard if it comes loose. For a baby, make the acorn without a stem.
Can I sell acorns made from this pattern?
Yes, you may sell finished acorns made from this free pattern, with credit to Little Loop Finds. Do not sell or republish the pattern text itself. A set of three acorns in matching autumn colors makes a lovely set for a market stall or a fall craft fair.
Happy stitching, and may your little acorn bring a whole basket of fall joy to your home.