Oversized sweater crochet pattern free: easy & cozy
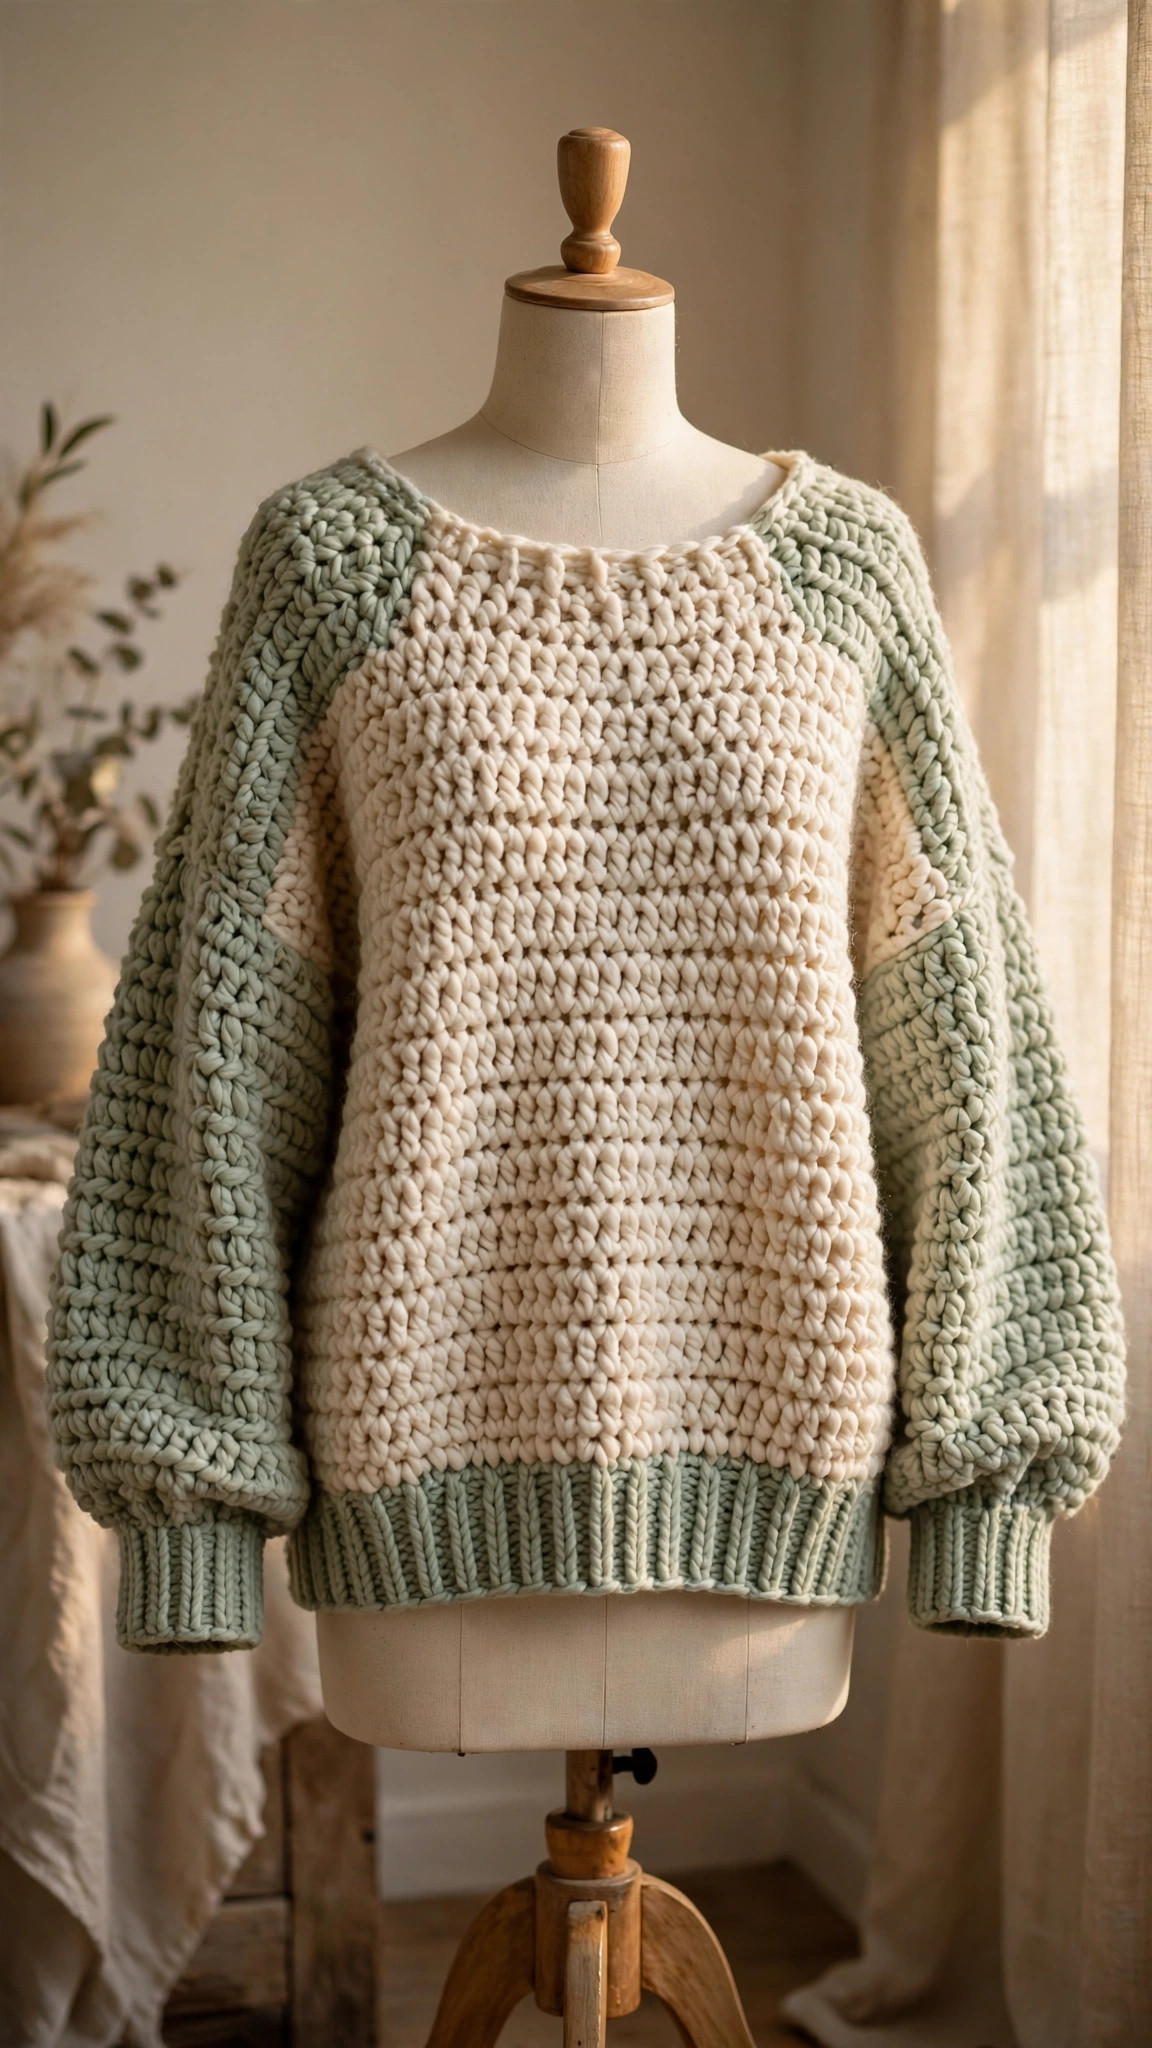
A slouchy, layer-over-everything drop-shoulder pullover worked as four simple half double crochet panels — back, front and two sleeves — with full stitch counts for every size from XS to 3X and a cosy ribbed neckband to finish.

Garments · Crochet
- Sizes
- XS-3X, bust 28-54 in
- Making time
- About 18-24 hours
- Hook
- 6.0 mm, worsted-weight yarn
- Pieces
- 4 panels to seam
- Skill
- Beginner
In this post
There is a sweater most of us live in from October to April — slouchy, soft, long enough to wrap your hands in around a mug, and forgiving enough to layer over everything. This oversized sweater crochet pattern free design is exactly that: an original drop-shoulder pullover worked as four flat panels — back, front and two sleeves — in easy half double crochet, with almost no shaping and full stitch counts for XS to 3X.
If fitted sleeves and shaping charts have put you off your first garment, start here: rectangles do the heavy lifting. Crochet, count, seam four straight edges, add a neckband — and you get a boutique-looking sweater, in your colours, to your length.
Why you'll love this oversized sweater
Most first-sweater patterns fail beginners two ways: they demand perfect fitted shaping from row one, or they're so shapeless the sweater lives at the back of a drawer. This design threads the needle. Drop shoulders mean sleeves attach along a straight edge — no sleeve caps, no armhole curves, no easing maths — yet the generous ease and ribbed edges give it a deliberate, styled oversized look.
Half double crochet is the Goldilocks garment stitch: faster than single crochet, denser and warmer than double crochet, with a soft drape that hides small tension wobbles. Every panel uses the same stitch edge to edge — pure podcast crochet.
It's also size-inclusive with no maths homework: every instruction covers all seven sizes, with counts in brackets, so you just follow your size's number. Love the layering ease of the crochet cardigan sweater pattern? Same cosy philosophy, pullover edition.
Materials you'll need
| Supply | What to get |
|---|---|
| Main yarn | Worsted-weight (#4) acrylic or acrylic-wool blend — quantities per size below |
| Crochet hook | 6.0 mm (J-10) for the body, 5.5 mm (I-9) for ribbing and neckband |
| Notions | Tapestry needle, 4–6 locking markers, scissors, measuring tape, row counter |
| Size | Yarn needed | Approx. balls (100 g) |
|---|---|---|
| XS | 1,350 yards / 1,235 m | 7 |
| S | 1,500 yards / 1,370 m | 8 |
| M | 1,650 yards / 1,510 m | 8–9 |
| L | 1,850 yards / 1,690 m | 9–10 |
| XL | 2,050 yards / 1,875 m | 10–11 |
| 2X | 2,250 yards / 2,060 m | 11–12 |
| 3X | 2,450 yards / 2,240 m | 12–13 |
Quantities assume roughly 200–220 yards per 100 g ball — buy one extra ball from the same dye lot. Smooth worsted acrylic or acrylic-wool is the sweet spot: affordable, washable, and it holds ribbing well. Avoid slippery yarns (silk, bamboo blends) for a first version; they grow under their own weight and exaggerate the fit.
Size, gauge and skill level
- Skill level: confident beginner. You should be comfortable chaining, working half double crochet in rows, counting stitches, and working a simple decrease. Seaming, ribbing and the neckband are explained step by step.
- Gauge: 12 hdc × 9 rows = 4 in (10 cm) with the 6.0 mm hook, blocked. Gauge matters: one stitch off per 4 inches adds or removes nearly 2 inches across a panel. Swatch, wash and dry it as you'll treat the sweater, then measure.
- Fit: oversized, with 8–10 in (20–25 cm) of positive ease. Between sizes, or prefer less slouch? Size down.
Sizes are written XS (S, M, L, XL, 2X, 3X) throughout — circle your size's number in every bracket and follow that position all the way through.
| Size | To fit bust | Finished bust | Panel width | Panel sts | Sleeve top sts | Cuff sts | Body length |
|---|---|---|---|---|---|---|---|
| XS | 28–30 in | 38 in | 19 in | 57 | 45 | 29 | 24 in |
| S | 32–34 in | 42 in | 21 in | 63 | 48 | 32 | 24.5 in |
| M | 36–38 in | 46 in | 23 in | 69 | 51 | 35 | 25 in |
| L | 40–42 in | 50 in | 25 in | 75 | 54 | 38 | 25.5 in |
| XL | 44–46 in | 54 in | 27 in | 81 | 57 | 41 | 26 in |
| 2X | 48–50 in | 58 in | 29 in | 87 | 60 | 44 | 26.5 in |
| 3X | 52–54 in | 62 in | 31 in | 93 | 63 | 47 | 27 in |
Measure your bust at the fullest point, over what you'd wear underneath, and compare it to the "to fit bust" column — finished bust already includes the ease. Love open layers? The free crochet ruana pattern uses the same generous-ease thinking in a one-size wrap.
Length note: lengths hit at the high hip on most wearers. Panels are rectangles, so adjust freely: work more or fewer even rows on both body panels (9 rows ≈ 4 inches; extra length needs extra yarn).
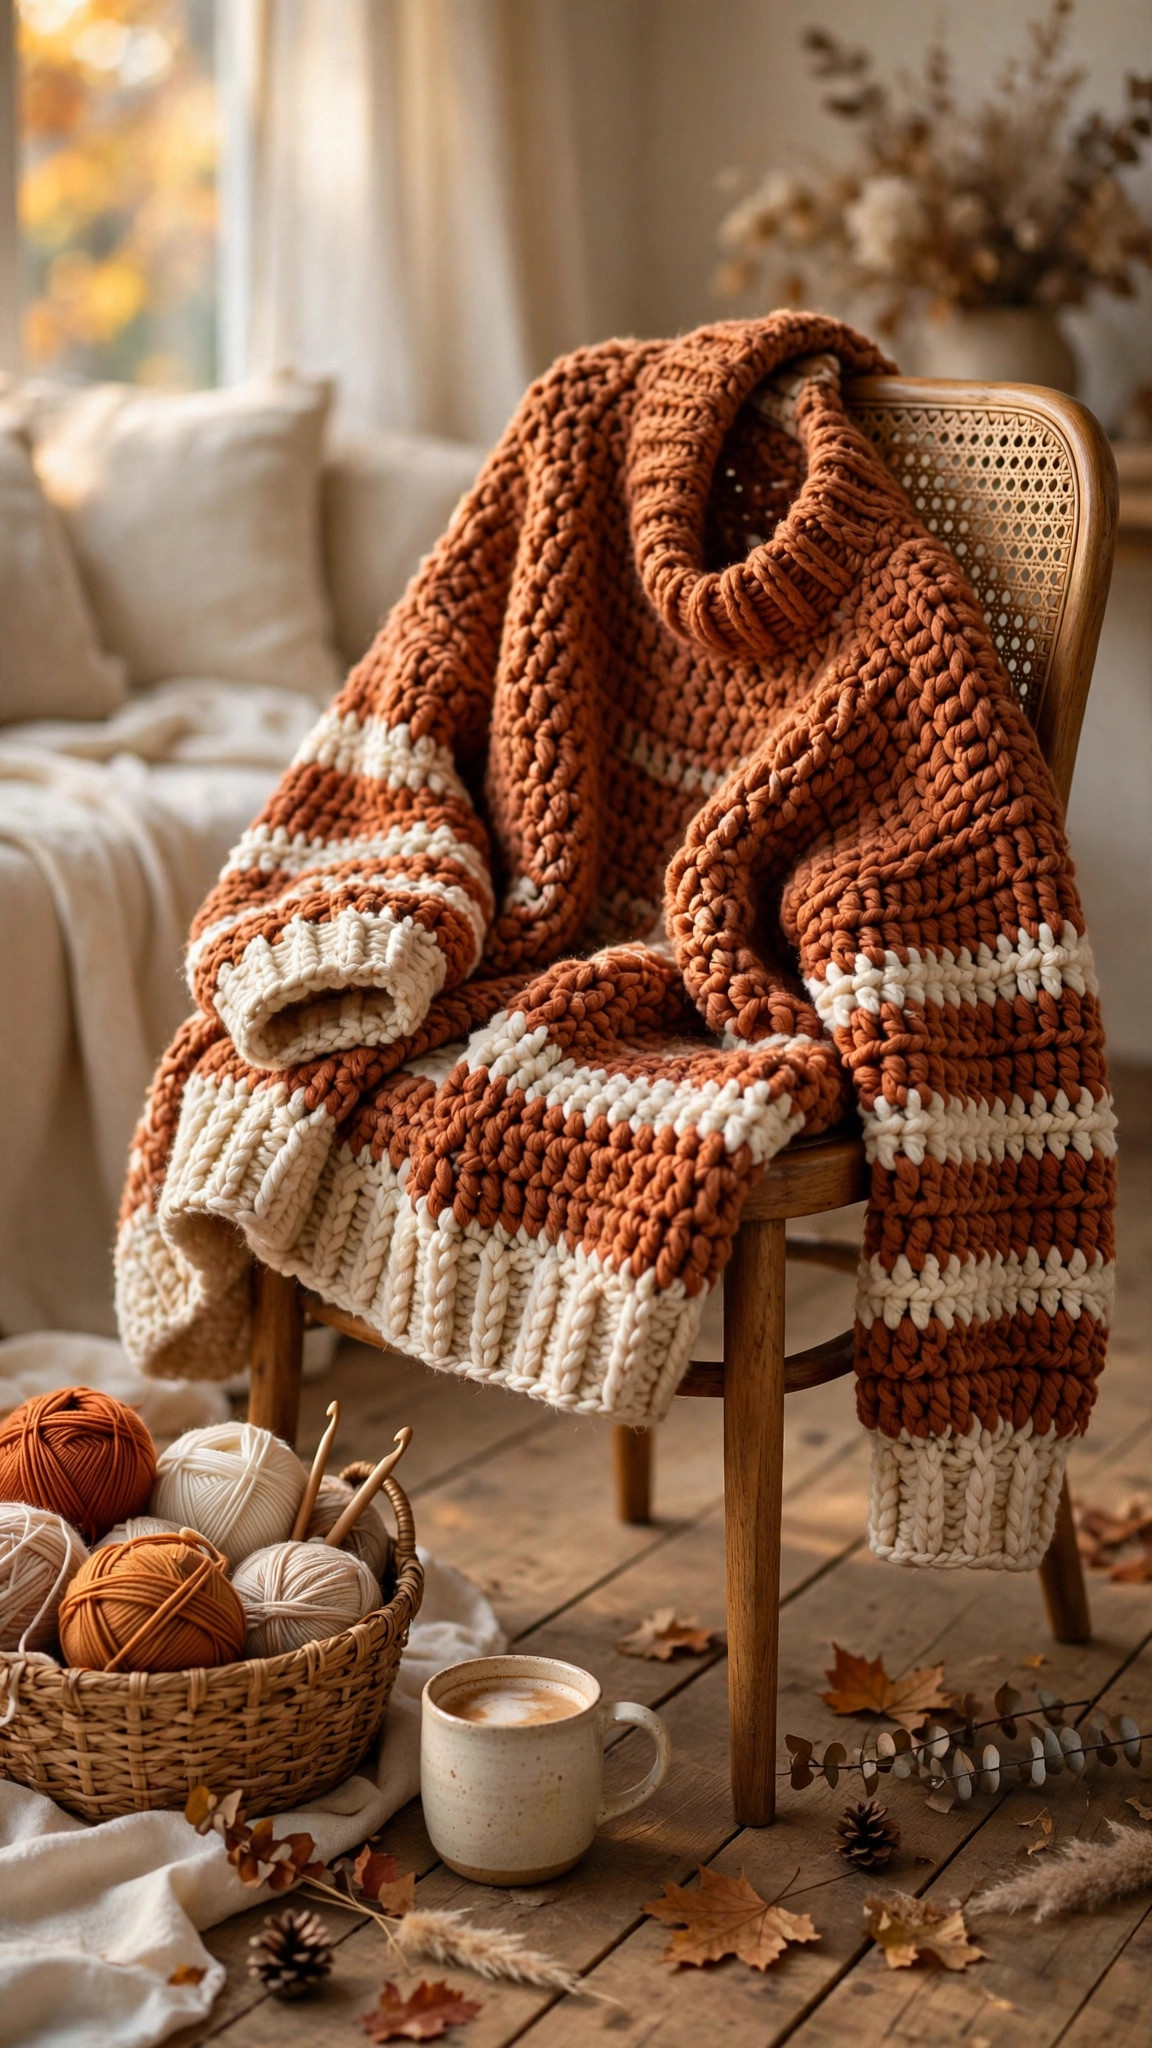
Abbreviations — US terms
| Abbreviation | Meaning |
|---|---|
| ch | chain |
| hdc | half double crochet |
| hdc2tog | half double crochet 2 together (decrease) |
| sc | single crochet |
| BLO | back loop only |
| sl st | slip stitch |
| st(s) | stitch(es) |
| RS / WS | right side / wrong side |
| FO | fasten off |
How to hdc2tog: yarn over, insert hook in next stitch, pull up a loop (3 loops on hook); yarn over, insert hook in following stitch, pull up a loop (5 loops); yarn over, pull through all 5. Practise on your swatch — you'll only use it at sleeve edges.
The pattern (US terms)
Work all panels flat in rows with the 6.0 mm hook unless stated. The turning ch-2 does not count as a stitch: work your first hdc into the very first stitch and your last hdc into the last stitch — never into the turning chain. Counts are written XS (S, M, L, XL, 2X, 3X). Count every row for the first ten rows, then every few rows; wavy edges mean a stitch quietly gained or lost at a row end.
Hem note: the first 6 rows of each body panel are worked in BLO hdc with the 5.5 mm hook for a ribbed-look hem. Prefer it plain? Use regular hdc — counts don't change.
Back panel
- Foundation: with the 5.5 mm hook, ch 58 (64, 70, 76, 82, 88, 94).
- Row 1 (RS): hdc in 3rd ch from hook and in each ch across (57, 63, 69, 75, 81, 87, 93 sts).
- Rows 2–6: ch 2, turn, hdc in BLO of each st across (57, 63, 69, 75, 81, 87, 93 sts). Switch to the 6.0 mm hook at the end of Row 6.
- Row 7: ch 2, turn, hdc in each st across (57, 63, 69, 75, 81, 87, 93 sts).
- Rows 8–54 (55, 56, 57, 59, 60, 61): repeat Row 7 (57, 63, 69, 75, 81, 87, 93 sts). Panel should measure about 19 (21, 23, 25, 27, 29, 31) in wide and 24 (24.5, 25, 25.5, 26, 26.5, 27) in long. Measure flat before fastening off — more than half an inch off target width means gauge drift, and fixing it now is far kinder than after seaming.
- FO, leaving a 24 in tail for a shoulder seam. Weave in the starting tail.
That's the whole back: one rectangle, zero shaping. If rectangles are your love language, the crochet circle vest pattern builds a garment from one clever shape too, in the round.
Front panel and neck shaping
Work the front exactly as the back through the even rows:
- Foundation to Row 7: as for the back — ch 58 (64, 70, 76, 82, 88, 94); Row 1 (57, 63, 69, 75, 81, 87, 93 sts); Rows 2–6 BLO hdc on the 5.5 mm hook; Row 7 regular hdc on the 6.0 mm hook.
- Rows 8–48 (49, 50, 51, 53, 54, 55): repeat Row 7 (57, 63, 69, 75, 81, 87, 93 sts).
Now the neck shaping: work shoulders separately, leaving the centre 21 (21, 23, 25, 25, 27, 27) stitches unworked for a relaxed boat neck. Each shoulder is 18 (21, 23, 25, 28, 30, 33) stitches wide.
- Neck Row 1 — left shoulder: ch 2, turn, hdc in the first 18 (21, 23, 25, 28, 30, 33) sts (18, 21, 23, 25, 28, 30, 33 sts). Leave the rest unworked; mark the first centre stitch so the neck edge is easy to see.
- Neck Rows 2–7: ch 2, turn, hdc in each shoulder st across (18, 21, 23, 25, 28, 30, 33 sts) — 6 more rows, 7 neck rows total. The front now matches the back at 54 (55, 56, 57, 59, 60, 61) rows total. FO, leaving a 24 in tail for seaming.
- Neck Row 1 — right shoulder: skip the centre 21 (21, 23, 25, 25, 27, 27) unworked sts, join yarn with a sl st in the next stitch on the RS, ch 2, hdc in the same st and each st across (18, 21, 23, 25, 28, 30, 33 sts).
- Neck Rows 2–7: ch 2, turn, hdc in each st across (18, 21, 23, 25, 28, 30, 33 sts). FO and weave in the joining tail.
Check shoulders against each other and the back: widths should match their partners, and front and back lengths should agree within a row — one row disappears in seaming; more is worth fixing now.
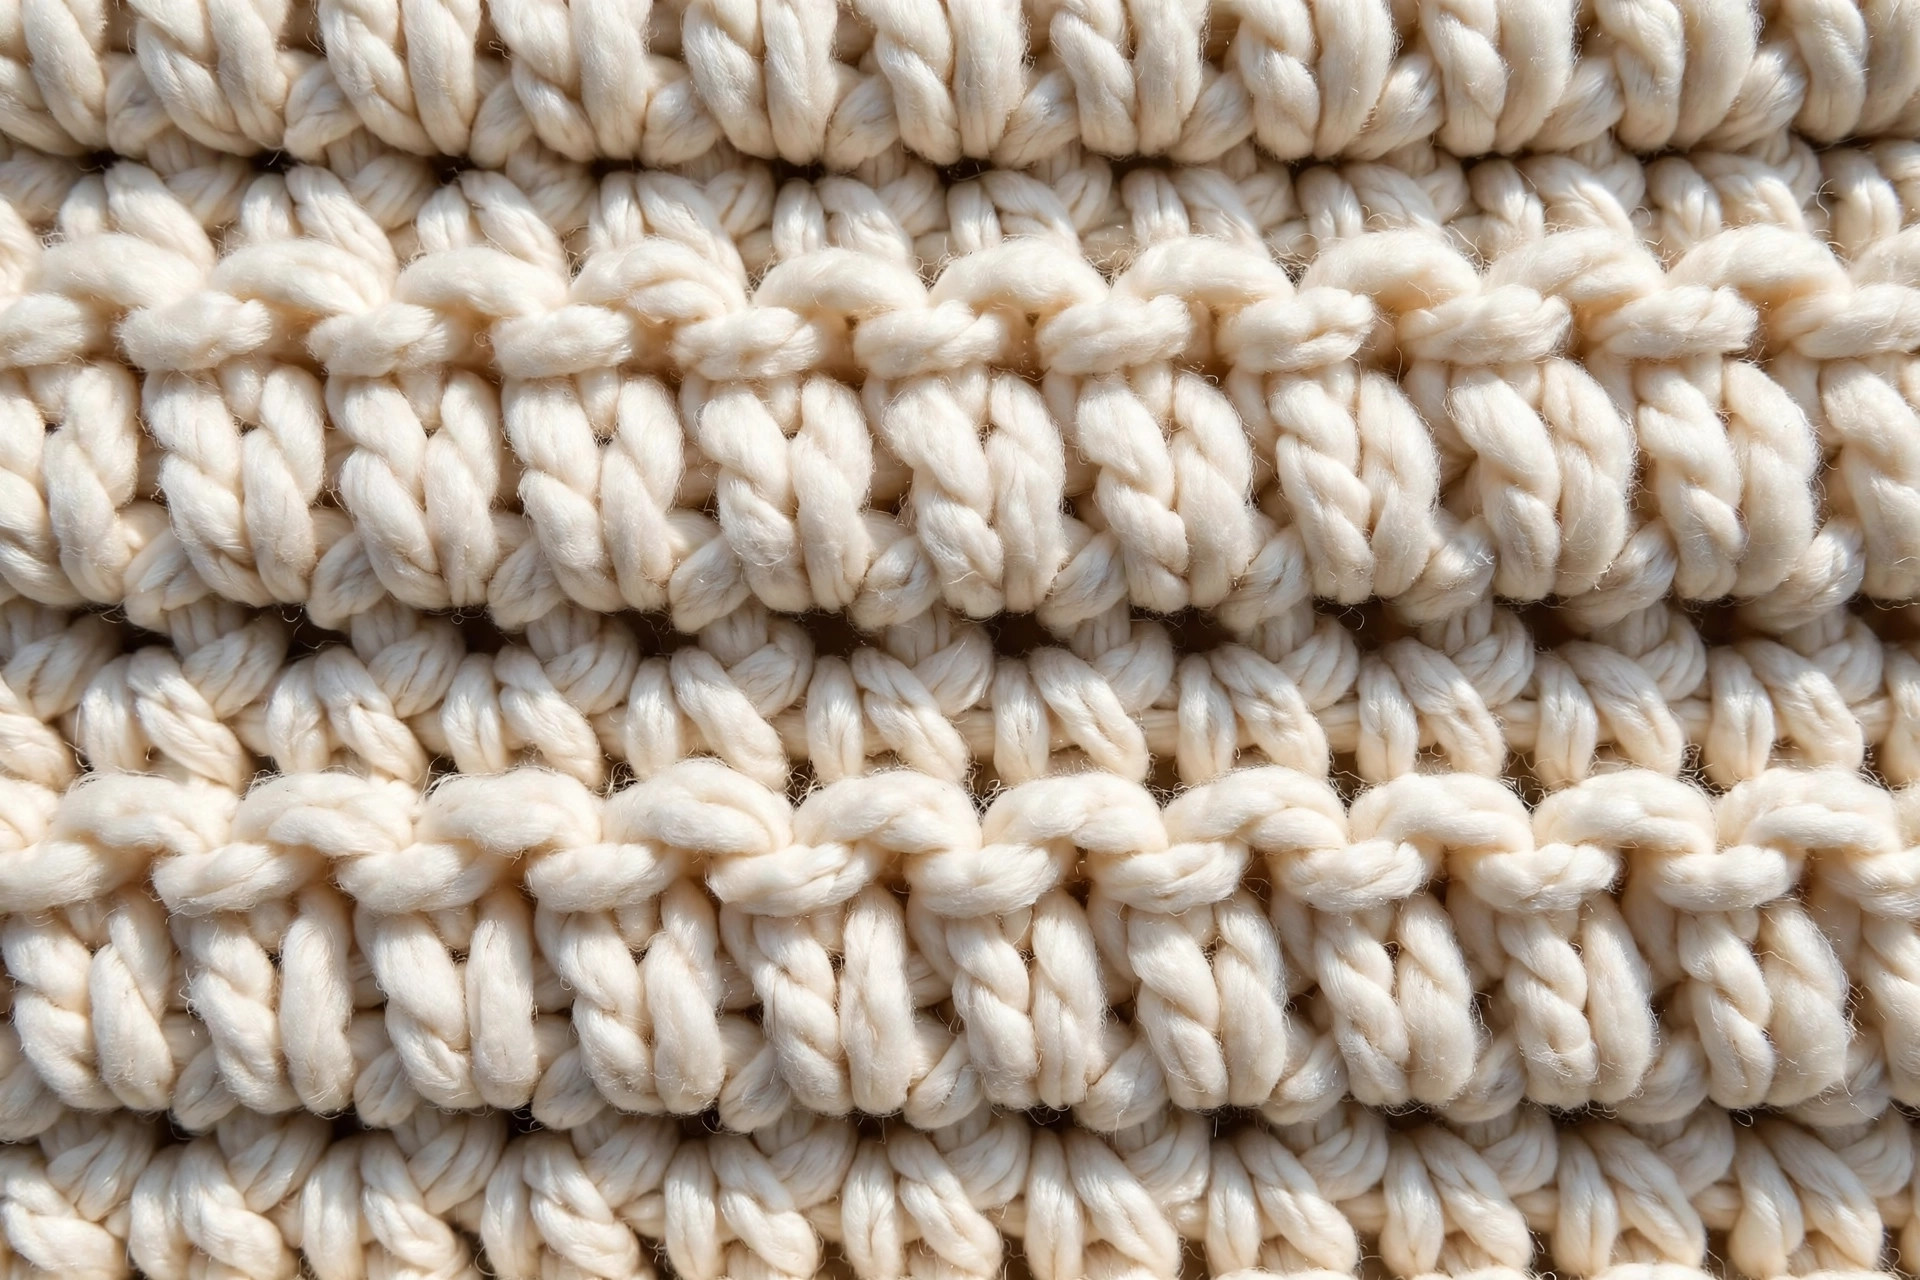
Sleeves — make 2
Sleeves are worked flat from the wide top edge down to the cuff, decreasing gradually along both edges. Tick off decrease rows on paper so both sleeves match exactly.
- Foundation: with the 6.0 mm hook, ch 46 (49, 52, 55, 58, 61, 64).
- Row 1: hdc in 3rd ch from hook and in each ch across (45, 48, 51, 54, 57, 60, 63 sts).
- Rows 2–7: ch 2, turn, hdc in each st across (45, 48, 51, 54, 57, 60, 63 sts) — 6 rows even.
- Decrease Row: ch 2, turn, hdc2tog over the first 2 sts, hdc across until 2 sts remain, hdc2tog over the last 2 sts — 2 sts decreased.
- Rows 8–40: alternate even rows with a Decrease Row on Rows 8, 12, 16, 20, 24, 28, 32 and 36 — 8 decrease rows total. Counts step down as follows: after Row 8 (43, 46, 49, 52, 55, 58, 61 sts); Row 12 (41, 44, 47, 50, 53, 56, 59 sts); Row 16 (39, 42, 45, 48, 51, 54, 57 sts); Row 20 (37, 40, 43, 46, 49, 52, 55 sts); Row 24 (35, 38, 41, 44, 47, 50, 53 sts); Row 28 (33, 36, 39, 42, 45, 48, 51 sts); Row 32 (31, 34, 37, 40, 43, 46, 49 sts); Row 36 reaches cuff count (29, 32, 35, 38, 41, 44, 47 sts). Rows 37–40 are even at cuff count. Sleeve measures about 18 in from top edge to Row 40.
- Cuff Rows 1–6: switch to the 5.5 mm hook. Ch 1, turn, sc in BLO of each st across (29, 32, 35, 38, 41, 44, 47 sts) — 6 rows. This pulls the cuff in snugly against your wrist.
- FO, leaving a 30 in tail for the underarm seam. Mark the centre stitch of Row 1 on each sleeve — it lines up with the shoulder seam in assembly.
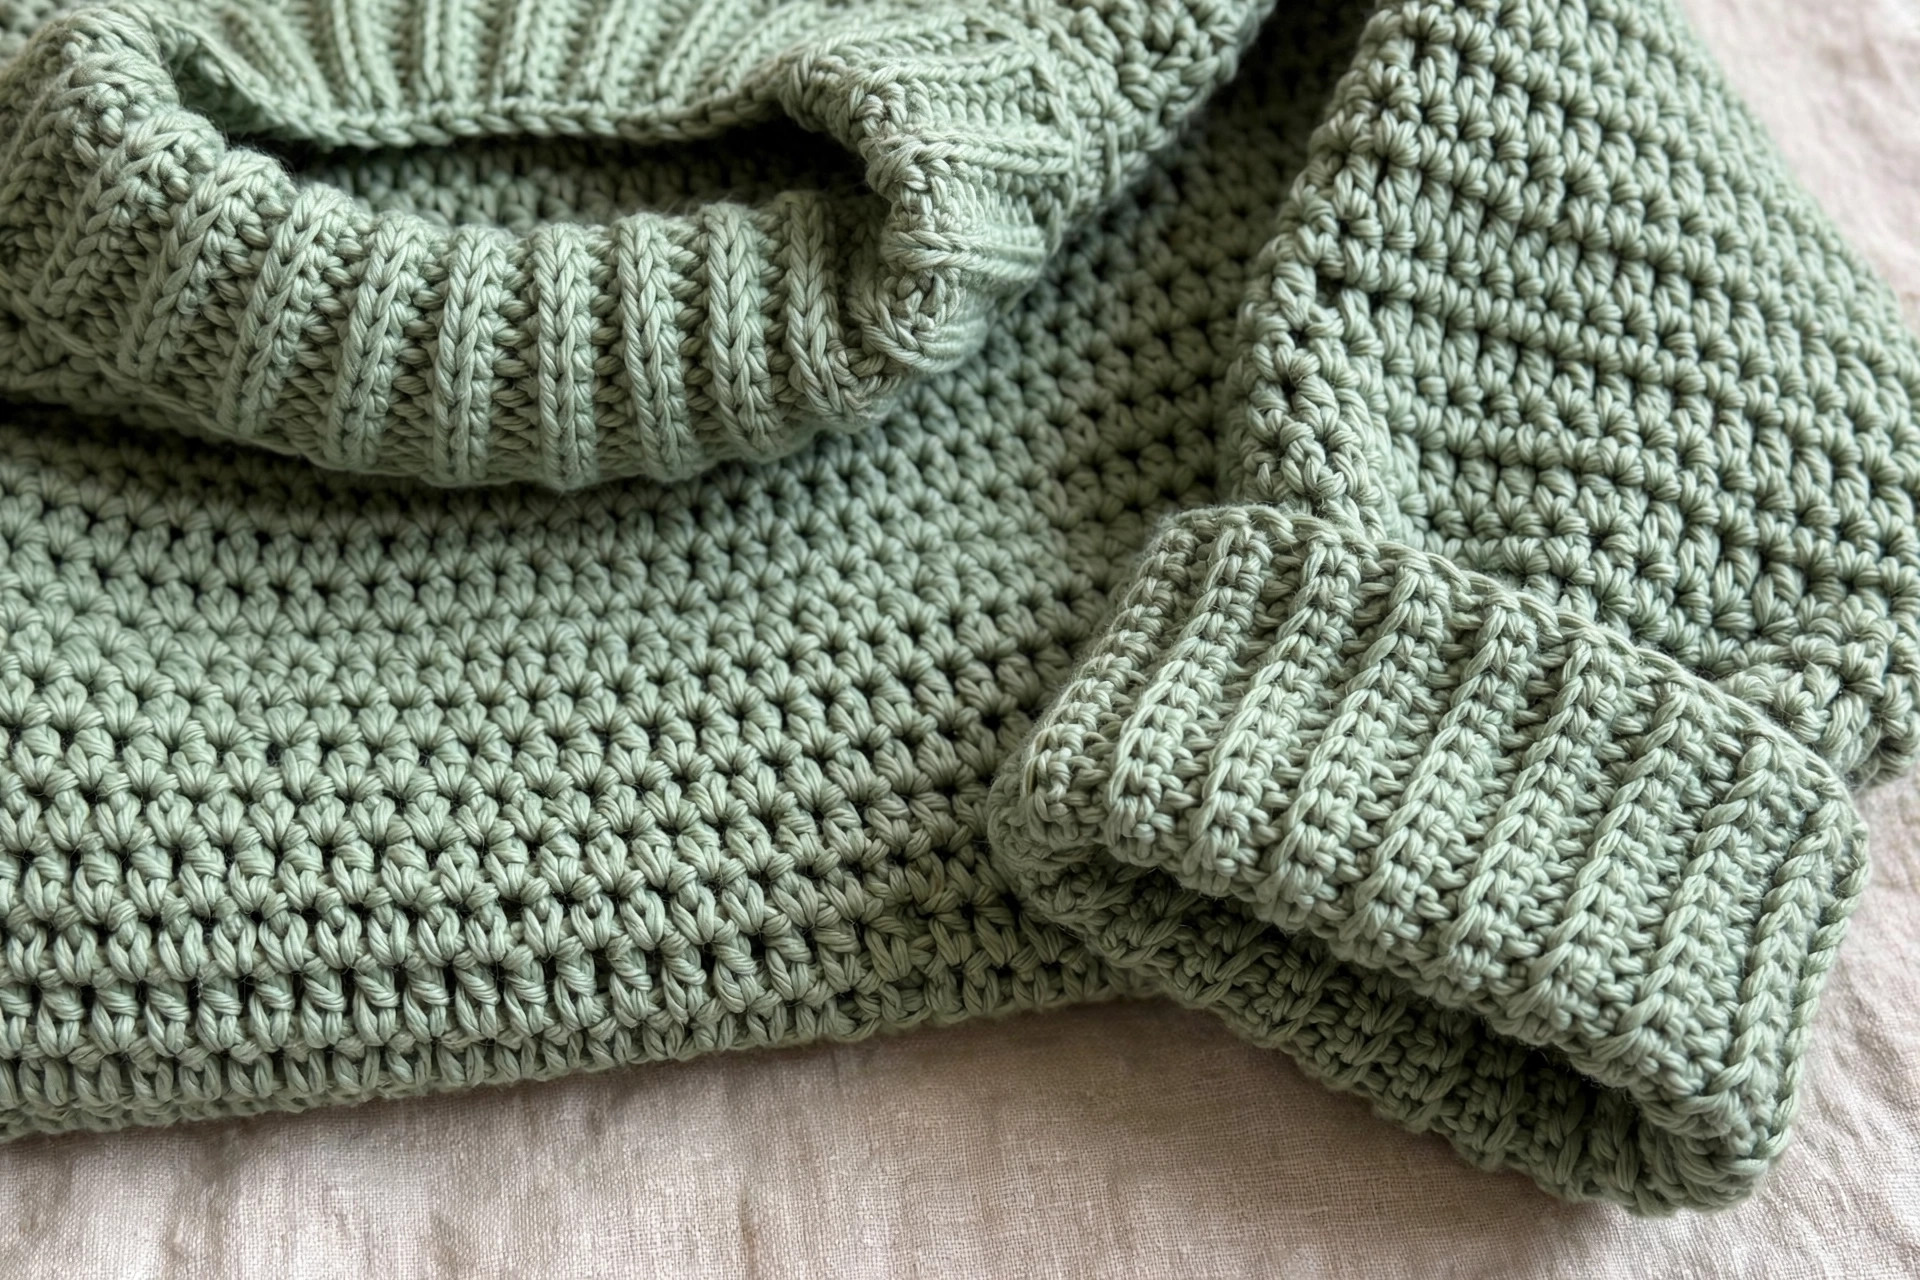
Assembly and neckband
If panels curl, block before seaming: lay flat, steam or spritz per the yarn's care label, pin to the table measurements, and let dry fully.
- Shoulders. Lay front on back, RS together. Mattress-stitch or whipstitch each shoulder stitch-for-stitch — 18 (21, 23, 25, 28, 30, 33) stitches per shoulder — leaving the neck opening free.
- Sleeves. Open the body flat, RS up. Line up each sleeve's marked centre stitch with a shoulder seam, pin the top edge evenly along the side edges, and mattress-stitch in place — centre pin first, then both ends, then ease fullness between.
- Sides and underarms. Fold at the shoulders, WS out. Mattress-stitch from hem up the side to the underarm, then down the sleeve's underarm edge to the cuff — one continuous seam per side. A small underarm gap is normal; close it with two or three whipstitches. Weave in all tails.
- Neckband. RS facing, 5.5 mm hook, join yarn at one shoulder seam. Round 1: ch 1, sc evenly around the neck — about 1 sc per row-end along the shaping and 1 sc in each unworked centre stitch — counting so both sides match; sl st to join. Round 2: ch 2, hdc in each st around; sl st to join. Round 3: ch 1, sc in BLO of each st around; sl st to join. FO, weave in. Ruffling means too many stitches picked up (drop one in ten); pulling means add a few evenly.
Turn it right side out and try it on — sleeves pushed up over a plain tee, that's the moment four rectangles become your sweater.
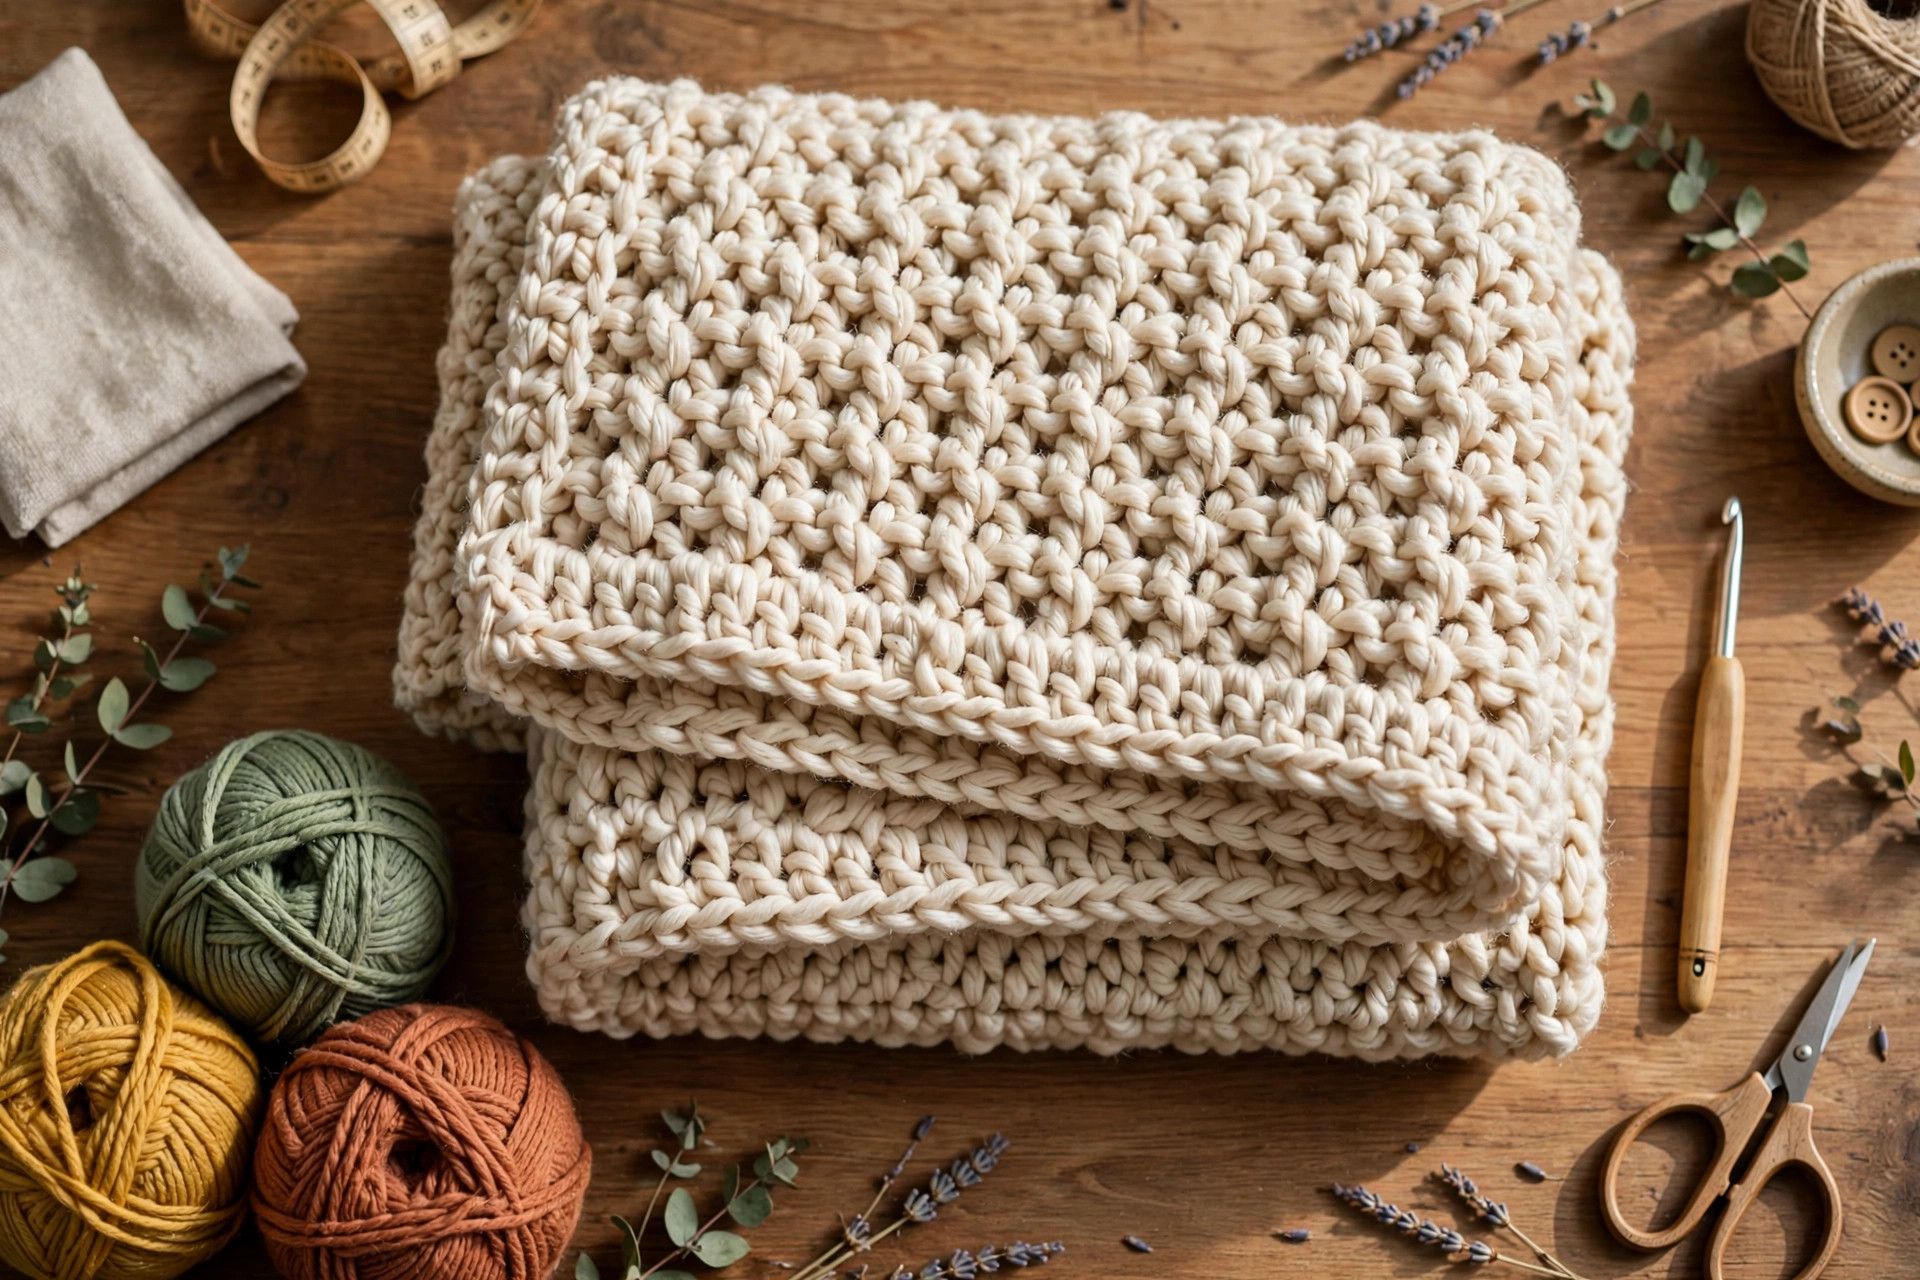
Finishing touches
Block the seamed sweater: lay flat, smooth the neckband into a gentle curve, straighten the side seams, and steam or wet-block per your yarn. Blocking evens the texture, flattens seams, and settles the drape. Dry fully — overnight is ideal.
Weave every tail in three directions (across, back, diagonally) before trimming; garment ends work loose with washing. Fit-check over your usual layers: hem skimming, neck sitting, cuffs staying put. Cuffs can gain two BLO rows for length; a loose neckband snugs up with a round of slip stitches.
Four cosy variations to try next
- Striped stash-buster. Body panels in wide stripes — 9 rows per colour is one gauge block — carrying yarn up the side where the seam hides it. Sleeves in one colour. Perfect for part-balls.
- Cropped and boxy. Stop body panels at 40 rows, shortening the front's even section equally so neck shaping still starts 6 rows before the end. Budget 65–70% of the listed yarn.
- Turtleneck. After neckband Round 3, continue in BLO hdc rounds for 12–16 rounds and fold double to wear — deep-winter warmth for 100–150 extra yards. Layer the crochet shawl pattern free over it.
- Colour-block sleeves. Body in one shade, sleeves in a contrast — cream with rust, sage with cream. Separate panels make it zero extra effort.
Troubleshooting tips
- Wavy edges. A stitch gained or lost at a row end — usually the turning chain mistaken for a stitch. The ch-2 never counts; mark first and last stitches until the habit sticks.
- Size far off the table. Gauge drift. Compare the blocked panel before seaming: within an inch, blocking absorbs it. Further off, multiply your stitches-per-inch by the target panel width for personalised counts.
- Ruffled neckband. Too many stitches picked up. Re-pick at roughly 9 stitches per 10 spaces along row-edge sections.
- Neck slips off the shoulder. Add a round of sc in BLO, decreasing one stitch in every eight, or ease in a discreet round of slip stitches along the top edge.
- Sleeves don't match. A row or two of length eases into the underarm seam. A count difference means a missed decrease row — check the step-by-step counts.
- Sweater grew after washing. Slippery and plant fibres grow under their own weight. Dry flat, reshape to the table measurements while damp, store folded — hangers stretch shoulders.
Frequently asked questions
Is this oversized sweater crochet pattern really free?
Yes — the complete pattern is on this page in full, all seven sizes XS to 3X, no signup or purchase needed. Saving it on Pinterest is the kindest thank-you.
What skill level do I need?
Confident beginner. If you can chain, work half double crochet in rows, and count stitches, you have the core skills — the only shaping is sleeve decreases and a simple neck split, both written row by row with counts.
How long does it take to crochet?
About 18–24 hours for most makers, over two to four weeks of evenings — smaller sizes near 15 hours, larger near 28, plus an afternoon for seaming and the neckband.
Can I sell sweaters I make from this pattern?
Yes, finished sweaters may be sold in small batches at craft fairs or in your own shop. Please credit Little Loop Finds as designer with a link back to this page. The pattern text, counts and photos may not be copied or sold.
How do I choose my size if I'm between sizes?
Go by fit preference: finished bust already includes 8–10 inches of ease, so the smaller is relaxed-not-swamped and the larger is full slouch. Or measure a baggy sweater you love, double its flat width, and pick the closest finished bust.
Can I use a different yarn weight?
Yes, with recalculating — counts are built on 12 hdc per 4 inches, so another worsted (#4) meeting gauge is the easiest swap. For chunky or DK, swatch first and multiply stitches-per-inch by your panel width. The projects in easy beginner crochet patterns sharpen the counting skills garment maths rewards.
More free patterns to try
Wardrobe planning? The crochet cardigan sweater pattern is the open-front version of this cosy idea.
The box below contains an Etsy link. If you buy through it, we may earn a small commission at no extra cost to you. Learn more.
No time to make one?
Short on time? Find handmade oversized crochet sweaters from independent makers on Etsy.
Browse on Etsy (opens Etsy in a new tab)