Ocean Waves Crochet Pattern (Relaxing Wave Blanket)
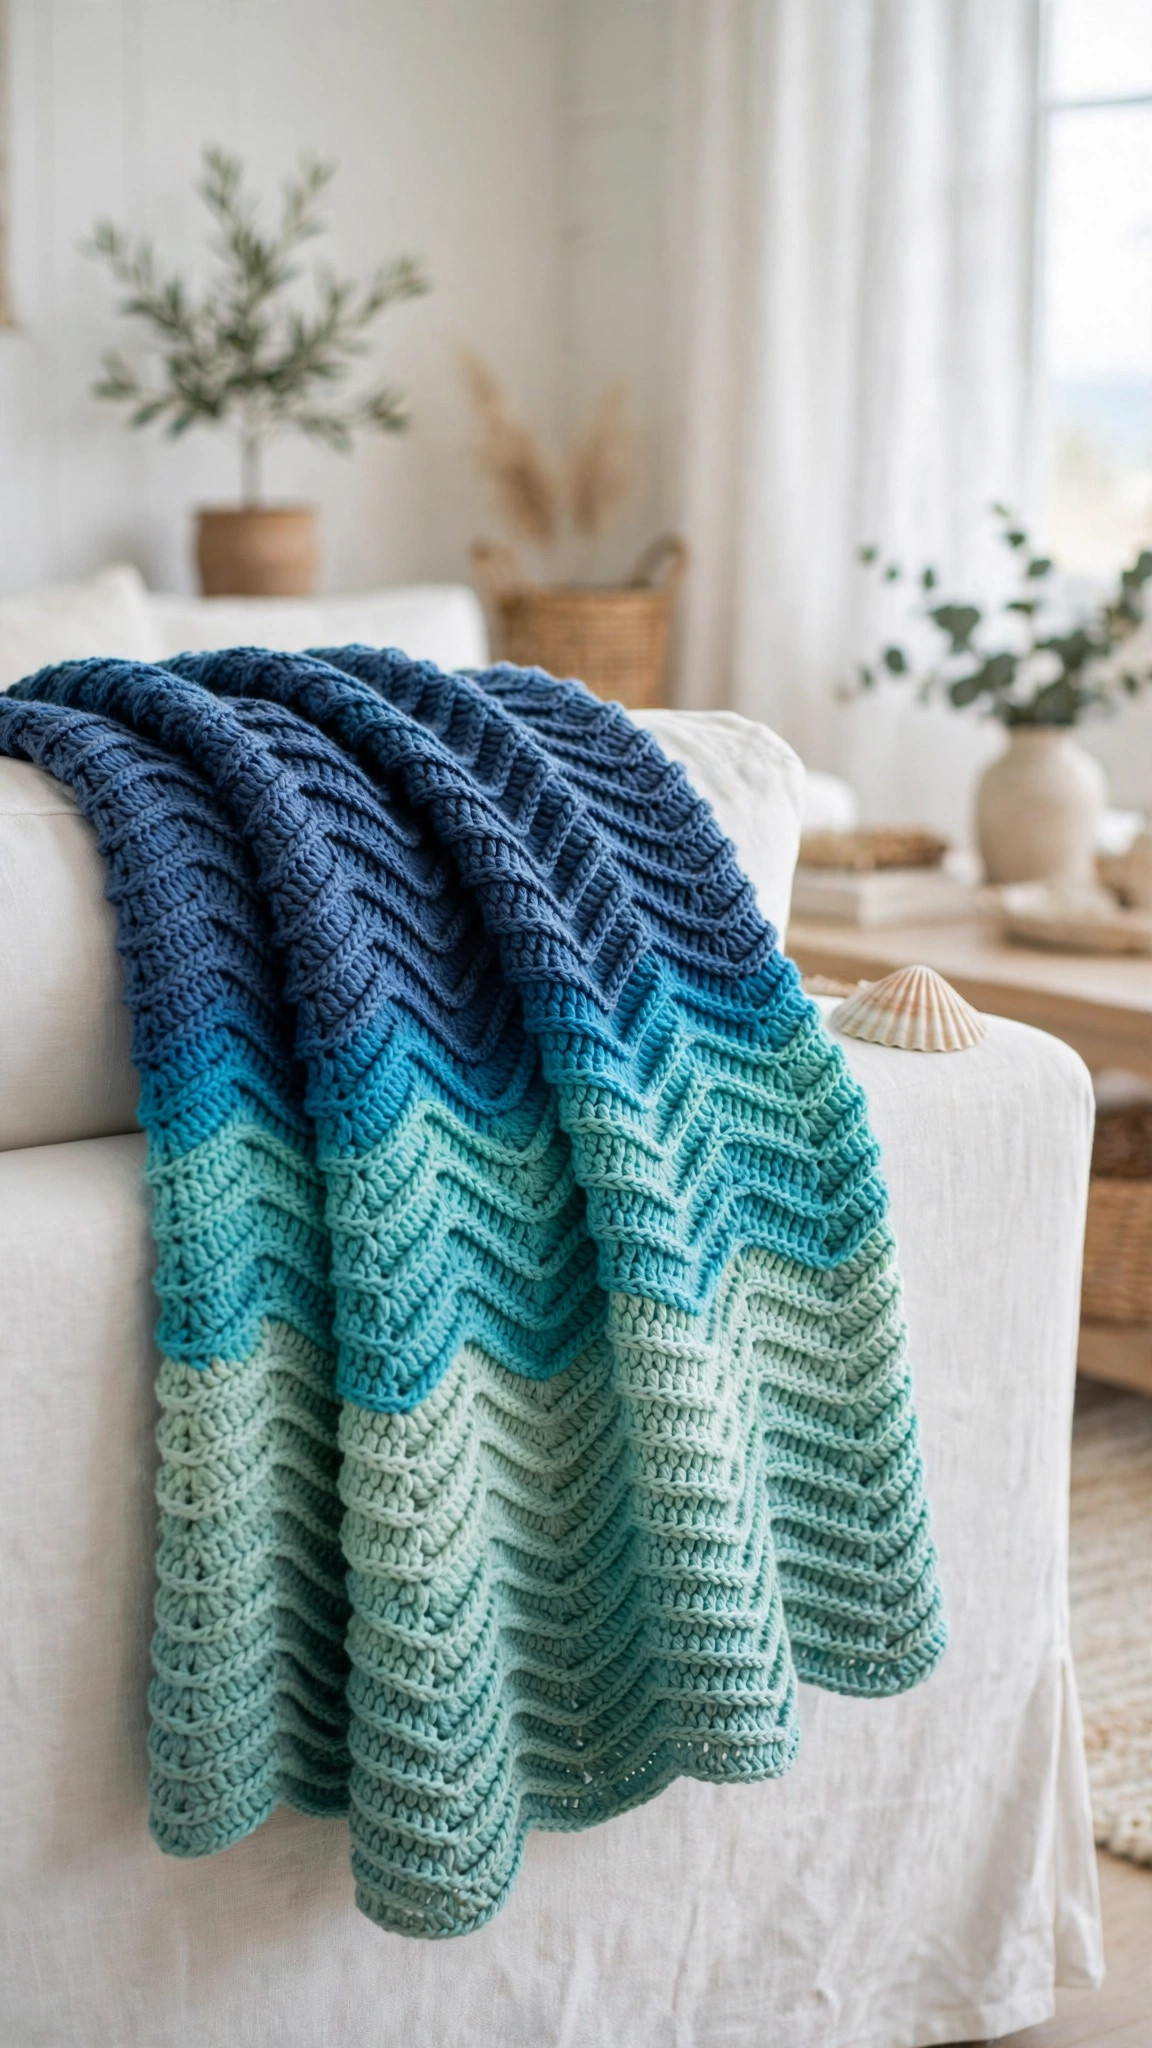
Crochet a soft ocean waves blanket in rippling blues with a simple wave stitch repeat, in about fourteen hours of relaxing evenings.

Patterns · Crochet
- Finished size
- 48 x 60 in
- Making time
- 14 hours
- Hook
- US I-9 (5.5 mm)
- Set
- Blanket, waves
- Skill
- Easy
In this post
- Key Takeaways
- Table of Contents
- Why You Will Love This Ocean Waves Blanket
- Finished Size, Skill Level, and Time
- Materials You Need
- Abbreviations (US Terms)
- Gauge and Sizing Notes
- Part 1: The Wave Stitch and the First Rows
- Part 2: The Color Stripes and the Main Body
- Part 3: The Border and Finishing
- Variations: Colors, Sizes, and Uses
- Troubleshooting a Blanket That Does Not Wave Evenly
- Care Instructions
- Frequently Asked Questions
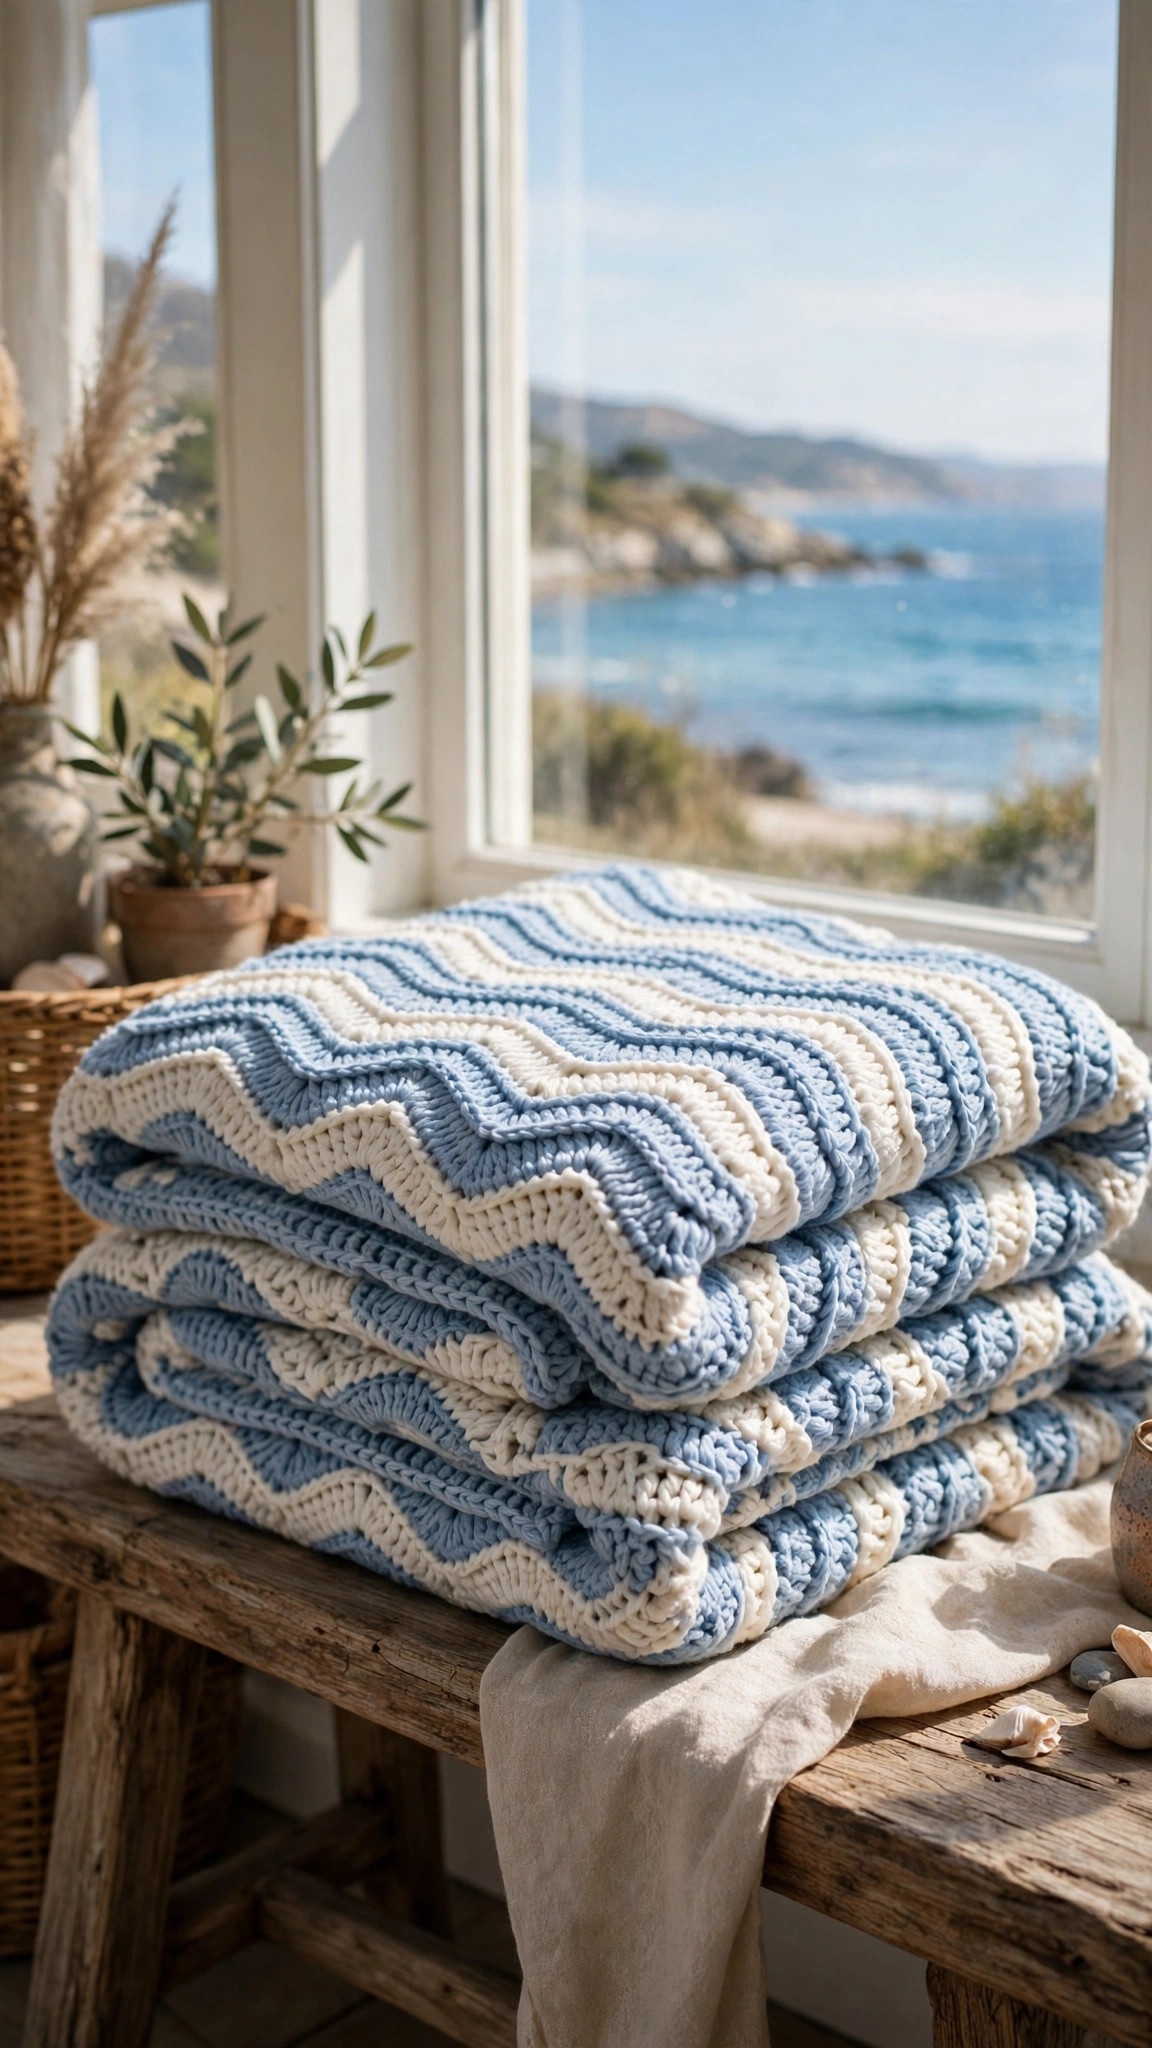
An ocean waves crochet blanket is the coziest way to bring the sea into your living room. This free ocean waves crochet pattern makes a soft throw blanket in rippling bands of deep blue, turquoise, and seafoam, worked in a wave stitch that rises and falls like real waves. The repeat is simple and relaxing, and the finished blanket looks far more impressive than the stitches it uses.
This is an original Little Loop Finds design, written in US terms and completely free. The blanket is worked in rows from one short edge to the other, with a wave stitch repeat you will memorize after the first few rows. One blanket takes about 14 hours, spread over a week of evenings, which makes it a perfect slow project to pick up whenever you want to unwind.
A quick note on scope: this post is about one specific ocean waves blanket, a wave stitch throw in blues with a relaxing repeat. It is not a ripple afghan in rainbow colors, and it is not a filet chart, though the same wave stitch works in other colorways. If you want a smaller wave project to practice the stitch first, our ripple blanket crochet pattern is a good warm up.
Key Takeaways
- Free original pattern: a Little Loop Finds original design, written in US terms, and completely free.
- A wave stitch blanket: gentle scalloped waves in deep blue, turquoise, and seafoam yarn.
- A relaxing repeat: the wave stitch is easy to memorize, so it is a calm evening project.
- A generous throw: the finished blanket is about 48 inches by 60 inches.
- A 14 hour project: one blanket takes about 14 hours, spread over a week of evenings.
Table of Contents
- Why You Will Love This Ocean Waves Blanket
- Finished Size, Skill Level, and Time
- Materials You Need
- Abbreviations (US Terms)
- Gauge and Sizing Notes
- Part 1: The Wave Stitch and the First Rows
- Part 2: The Color Stripes and the Main Body
- Part 3: The Border and Finishing
- Variations: Colors, Sizes, and Uses
- Troubleshooting a Blanket That Does Not Wave Evenly
- Care Instructions
- Frequently Asked Questions
Why You Will Love This Ocean Waves Blanket
There is something deeply calming about a wave stitch. The gentle rise and fall of the rows feels like watching the tide, and the stitch is rhythmic enough to work without thinking once you know the repeat. It is the project you reach for after a long day.
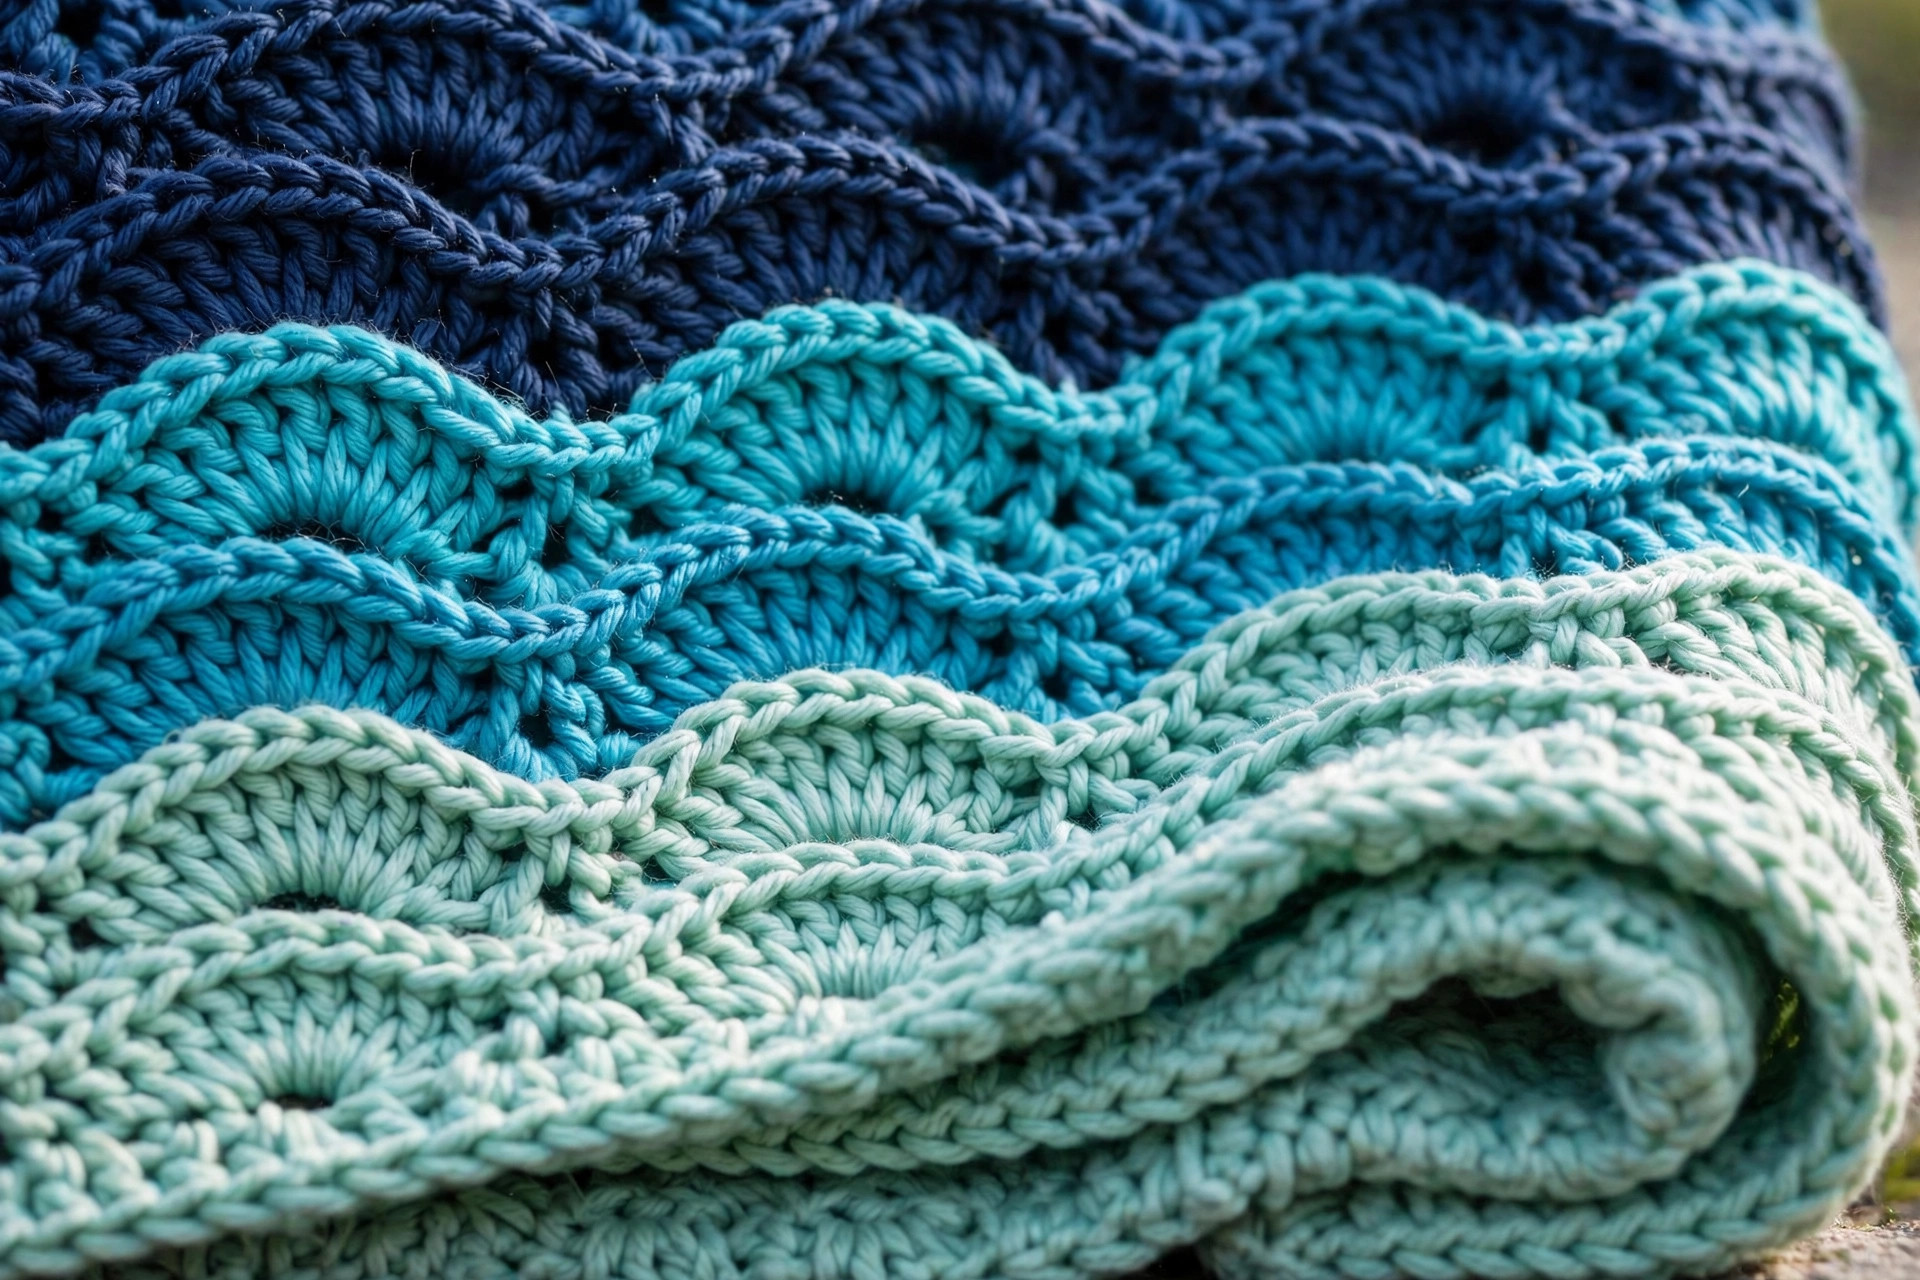
The ocean colors are half the joy of this blanket. Deep blue gives it depth, turquoise gives it sparkle, and seafoam gives it a soft foam edge, just like the top of a wave. Worked in stripes, the colors blend into each other the way the sea blends into the shore, and the finished blanket looks like a piece of the coast.
A wave stitch blanket is also very forgiving. The stitch pattern hides small mistakes, the stripes hide uneven tension, and the border hides wobbly edges. It is a wonderful first blanket project, and a satisfying one for an experienced crocheter.
Finished Size, Skill Level, and Time
- Finished size: about 48 inches wide and 60 inches long, including the border. The wave repeat is 12 stitches wide, with 16 repeats across.
- Skill level: Easy. You need a foundation chain, single crochet, double crochet, and simple color changes.
- Time: about 14 hours per blanket: 2 hours for the first rows, 10 hours for the main striped body, and 2 hours for the border and finishing.
Materials You Need
| Item | What to get |
|---|---|
| Yarn, deep blue | Worsted weight acrylic or cotton yarn in deep blue, 400 yards |
| Yarn, turquoise | Worsted weight yarn in turquoise, 400 yards |
| Yarn, seafoam | Worsted weight yarn in seafoam green, 300 yards |
| Yarn, white | Worsted weight yarn in white, 200 yards |
| Hook | US I-9 (5.5 mm), or the size that gives you the gauge below |
| Notions | Tapestry needle, scissors, tape measure, stitch markers |
Worsted weight acrylic is the best choice for an ocean waves blanket because it is soft, warm, machine washable, and comes in every shade of blue you could want. If you prefer cotton, pick a soft cotton blend, because pure cotton can feel heavy in a blanket this size.
Pick blues that sit next to each other on the color wheel, so the stripes blend gently instead of clashing. Deep navy, mid turquoise, pale seafoam, and white is the classic ocean palette, and it works in any living room. Avoid a very bright royal blue next to a very pale aqua, because the contrast will chop the waves into blocks. Keep all four yarns the same brand and weight if you can, so the blanket drapes evenly.
Abbreviations (US Terms)
- ch = chain
- sl st = slip stitch
- sc = single crochet
- dc = double crochet
- dc2tog = double crochet two together
- st(s) = stitch(es)
- rep = repeat
- RS = right side
Gauge and Sizing Notes
Gauge matters on a wave stitch blanket because the waves need to stay even, and a blanket that is too loose will stretch out of shape. Work a swatch of one full wave repeat, 12 stitches wide and 4 rows tall, in deep blue. It should be about 4 inches wide and 2 inches tall. If it is wider, go down a hook size, and if it is narrower, go up a hook size.
Measure your blanket after the first ten rows, because the wave stitch can pull in or stretch out as you work. The blanket is written to be about 48 inches wide, with 16 wave repeats across. If it is much narrower, your stitches are tight, so try a larger hook. If it is much wider, your stitches are loose, so try a smaller hook. Count your stitches at the end of every row, because a missed decrease will make one wave taller than the others.
Part 1: The Wave Stitch and the First Rows
The wave stitch combines double crochet, increases, and decreases. The increases make the crest of each wave, and the decreases make the trough, so the rows rise and fall in a smooth curve. The stitch is worked in multiples of 12, plus 3 extra stitches, so you can make the blanket any width by adding or taking away 12 stitches at a time.
The Foundation and the First Wave Row
With the deep blue yarn, ch 195.
- Row 1: dc in the 4th ch from the hook, dc in the next 2 ch, dc2tog twice, dc in the next 2 ch, 2 dc in each of the next 2 ch, dc in the next 2 ch, dc2tog twice, dc in the next 2 ch, rep across, ending with 2 dc in each of the last 2 ch and dc in the last ch. Turn. (192 dc)
- Row 2: ch 3 (counts as dc), dc in the next 2 sts, dc2tog twice, dc in the next 2 sts, 2 dc in each of the next 2 sts, dc in the next 2 sts, dc2tog twice, dc in the next 2 sts, rep across, ending with 2 dc in each of the last 2 sts and dc in the last st. Turn. (192 dc)
The first row is the hardest, because you are working into a long chain and setting up the wave shape at the same time. Place a stitch marker at the start of every wave repeat, every 12 stitches, so you can check that each wave has the same stitch count. If a wave has 11 stitches instead of 12, you missed an increase. If it has 13, you worked an extra decrease. Our chevron crochet pattern uses the same rise and fall shaping if you want to practice the rhythm on a smaller piece first.
Settling Into the Wave Rhythm
- Rows 3 to 6: work row 2 again, in deep blue, keeping the same wave repeat across the whole row.
- Row 7: change to turquoise on the last yarn over of the last stitch of row 6, then work row 2 in turquoise. Turn.
By row 6, the wave shape should be clear, with gentle crests and troughs running across the blanket. The increases sit on the crests, and the decreases sit in the troughs, so the top edge will already look wavy. If the waves look more like zigzags than curves, your increases and decreases are too close together, so check that you are working 2 dc in each of the 2 crest stitches, not just one. If the waves look flat, your decreases are too loose, so pull them a little tighter.
Part 2: The Color Stripes and the Main Body
This is the part where the blanket becomes an ocean. The stripes are worked in blocks of six rows, so each color has enough room to show, and the colors change in the same order all the way through. The repeat is so simple that you will memorize it after the first two stripes.
The Stripe Sequence
Work the blanket in this color order, six rows per color:
- Deep blue: rows 1 to 6
- Turquoise: rows 7 to 12
- Seafoam: rows 13 to 18
- White: rows 19 to 24
- Turquoise: rows 25 to 30
- Deep blue: rows 31 to 36
Then repeat the whole sequence again, starting with turquoise, until the blanket is about 56 inches long before the border. The full blanket takes about 10 repeats of the six row stripe, which is about 60 rows of wave stitch. Keep a small tally on paper, or tie a short piece of yarn around the edge every time you change color, so you can count the stripes without counting rows.
Changing Colors Neatly
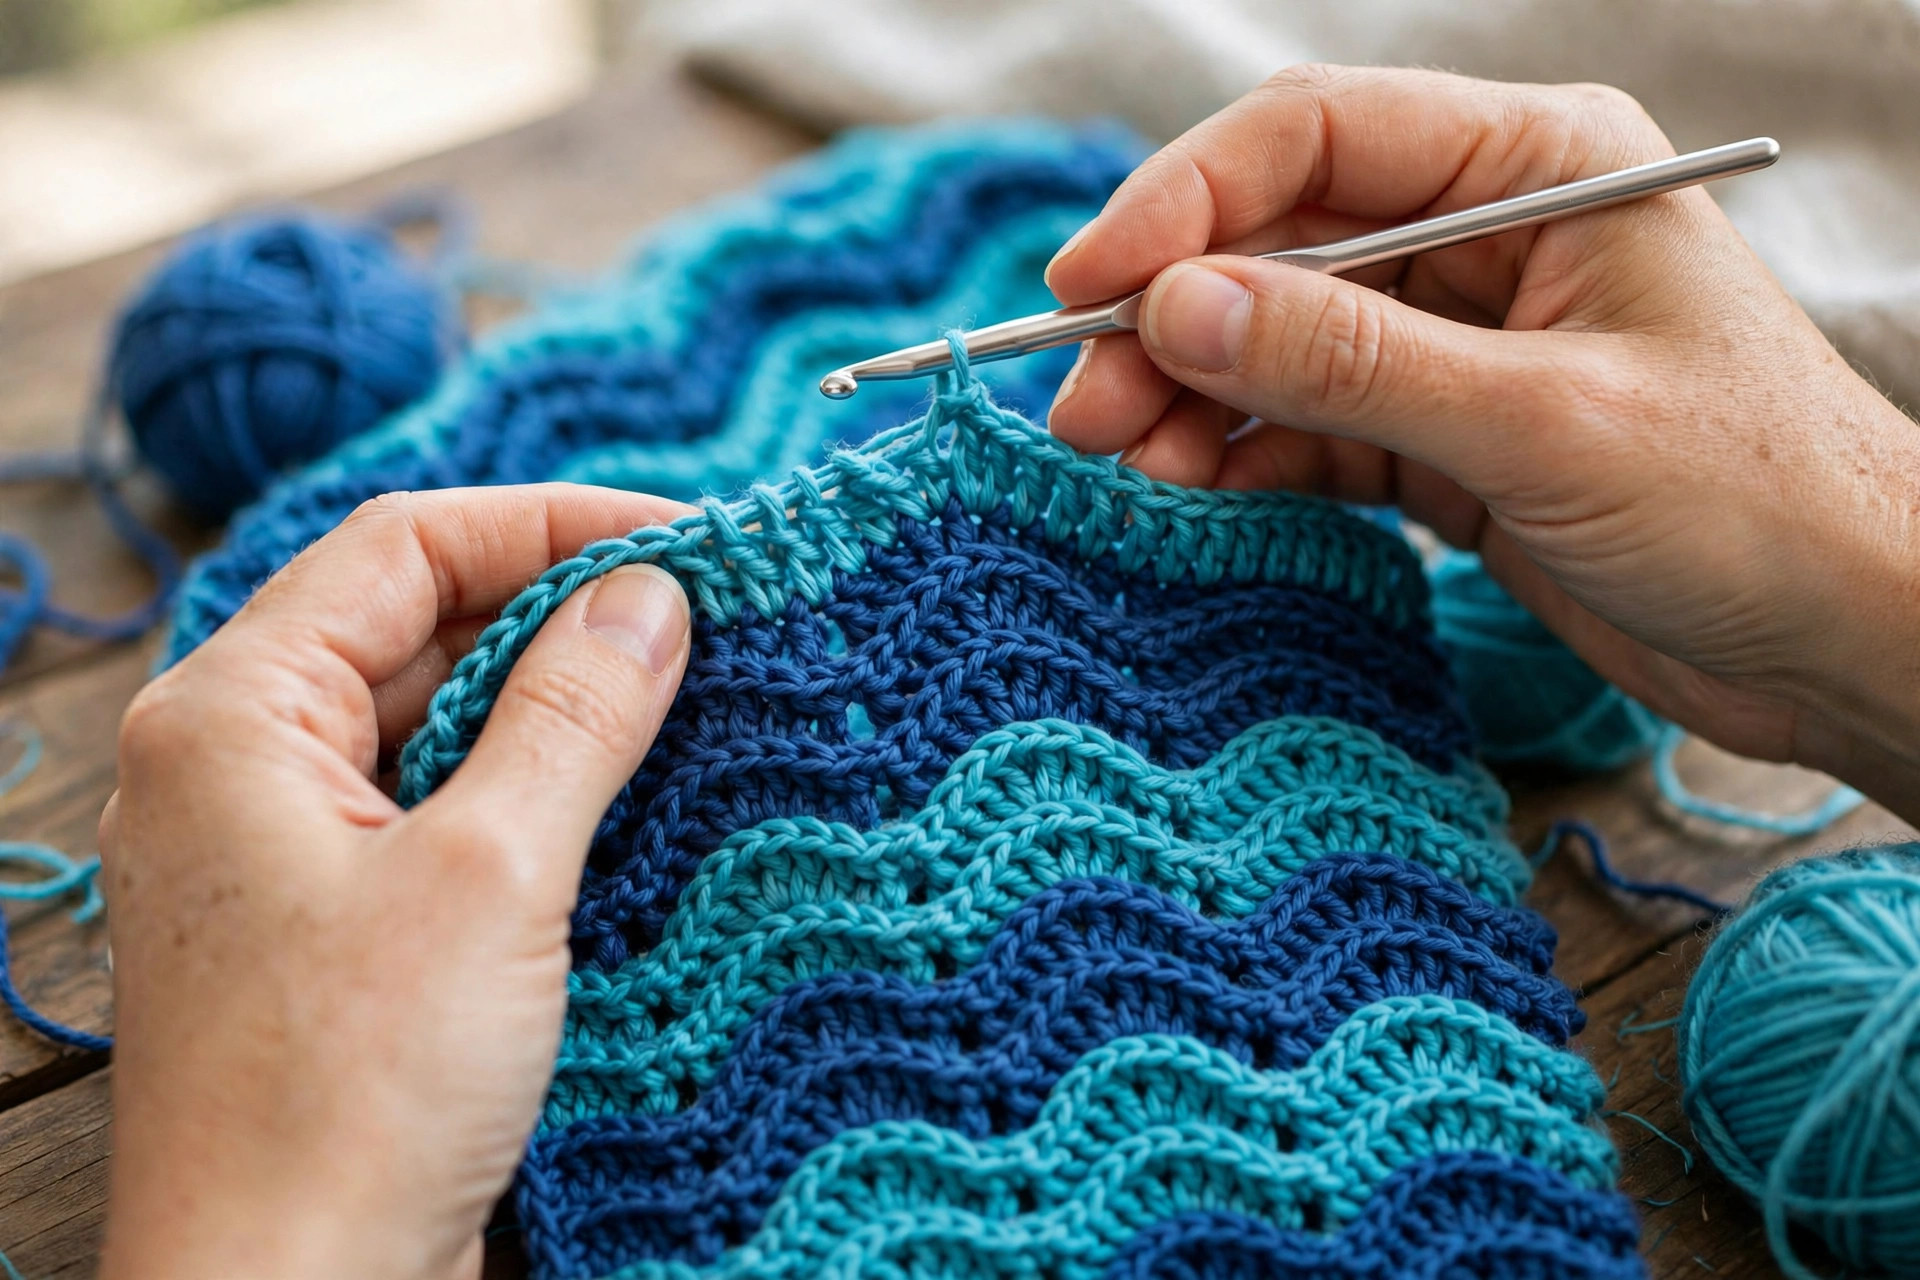
To change color, work the last stitch of the old color until two loops remain on the hook, then yarn over with the new color and pull through both loops. This leaves a neat color change with no loose loop on the edge. Cut the old yarn, leaving a tail about 4 inches long, and carry the new yarn up the side if you will use it again soon. If you will not use it for several stripes, cut it and weave in the end later.
Work the ends in as you go, because a blanket with 10 color changes has 20 yarn tails. Every time you finish a stripe, thread the tail onto a tapestry needle and weave it back and forth through the stitches on the wrong side for about 2 inches. A crochet seashell pattern in the same seafoam yarn makes a lovely matching accessory for the sofa. Our crochet fish pattern is another sea themed piece that goes well with this blanket in a beach house.
Keeping the Edges Straight
The side edges of a wave stitch blanket can wander, because the increases and decreases pull the fabric in different directions. Count your stitches at the end of every row, and check that you still have 192. Work the first and last stitch of every row into the same place, every time, so the edge stays straight. The turning chain counts as the first double crochet, so work into the top of it on the way back, and do not skip it. If an edge still looks wobbly, the border in Part 3 will straighten it out.
Part 3: The Border and Finishing
The border is the finishing touch that frames the waves and gives the blanket a neat edge. Keep your stitches even and your corners square.
The Single Crochet Border Round
With the white yarn, join at any corner on the right side of the blanket.
- Round 1: ch 1, work 1 sc in each st across the top edge, 3 sc in the corner st, 1 sc in each row end down the side edge, 3 sc in the next corner, 1 sc in each st across the bottom edge, 3 sc in the corner, 1 sc in each row end up the other side, and 3 sc in the last corner. Join with a sl st to the first sc.
- Round 2: ch 1, sc in each st around the whole blanket, with 3 sc in each corner st. Join with a sl st to the first sc.
Fasten off the white yarn. The border should lie flat, with neat square corners and no ripples. If a side ripples, you worked too many stitches into the row ends, so take that side out and work one stitch per row end instead of two. If a side pulls in, you worked too few stitches, so add one extra stitch every few row ends.
The Wave Edge Round
With the deep blue yarn, join at any corner on the right side of the blanket.
- Round 3: ch 3 (counts as dc), dc in the next 2 sts, dc2tog twice, dc in the next 2 sts, 2 dc in each of the next 2 sts, dc in the next 2 sts, dc2tog twice, dc in the next 2 sts, rep around the whole blanket, with 3 dc in each corner st. Join with a sl st to the top of the ch-3.
- Round 4: ch 1, sc in each st around the whole blanket, with 3 sc in each corner st. Join with a sl st to the first sc.
Fasten off and weave in all remaining ends. The wave edge round echoes the wave stitch of the main body, so the border looks like part of the blanket. Give the finished blanket a gentle shake and lay it flat to check the shape. A matching star blanket crochet pattern in the same blues makes a lovely companion piece for a nursery with a sea theme.
Variations: Colors, Sizes, and Uses
- Sunset waves: use coral, peach, soft pink, and cream instead of blues.
- Baby blanket size: chain 99 instead of 195, and work the same wave repeat, for a blanket about 24 by 30 inches.
- Bed sized blanket: chain 291 instead of 195, and keep working the stripe sequence until the blanket is as long as you want.
- Wave scarf: chain 39 instead of 195, and work the stripe sequence for about 60 inches, for a long cozy scarf. A matching crochet shawl pattern free in turquoise makes a lovely set for a seaside holiday.
Troubleshooting a Blanket That Does Not Wave Evenly
- My waves look like zigzags, not curves. The increases and decreases are too close together. Check that you work 2 dc in each of the 2 crest stitches, with 2 plain dc on either side.
- My waves look flat. The decreases are too loose, or you skipped one. Pull the dc2tog stitches a little tighter, and count the stitches in each wave.
- One side of the blanket is longer than the other. You added or missed a row on one side, or your tension changed. Count the rows on each side, and check the stitch markers at each repeat.
- My edges wander in and out. You are missing the first or last stitch of some rows. Work into the top of the turning chain every time, and count to 192 at the end of each row.
- My stripes look uneven. You changed color at different row counts. Keep every stripe at exactly 6 rows, and tie a marker yarn at each color change.
Care Instructions
An ocean waves blanket in acrylic yarn is easy to care for, which is one of the reasons it makes such a good everyday throw. Machine wash it on a gentle cold cycle, and lay it flat or tumble dry it on low heat. If you used cotton yarn, hand wash it in cool water with a mild detergent, press the water out without wringing, and lay it flat to dry. Do not use bleach on the blues, and do not leave the blanket in strong direct sun for long periods, because the colors will fade over time.
Frequently Asked Questions
Is this ocean waves crochet pattern good for beginners?
Yes, it is a great first blanket for a beginner. You need double crochet, double crochet two together, and simple color changes, and the wave repeat is easy to memorize after the first few rows. One blanket takes about 14 hours.
What yarn is best for an ocean waves blanket?
Worsted weight acrylic is the best choice, because it is soft, warm, and machine washable. A smooth acrylic with a soft hand makes the waves look clean and the stripes look crisp.
How do I change colors neatly?
Work the last stitch of the old color until two loops remain on the hook, then yarn over with the new color and pull through. Cut the old yarn and weave in the tail on the wrong side.
Can I make the blanket bigger or smaller?
Yes, the wave stitch is worked in multiples of 12, plus 3 extra stitches, so you can change the width by adding or taking away 12 stitches at a time. Chain 99 for a baby blanket, or 291 for a bed sized blanket.
Why do my waves look uneven?
The usual cause is a missed increase or decrease in one wave. Count the stitches in every wave, and place a stitch marker at the start of each 12 stitch repeat so you can spot a mistake quickly.
Can I sell blankets made from this pattern?
Yes, you may sell finished blankets made from this free pattern, with credit to Little Loop Finds. Do not sell or republish the pattern text itself.
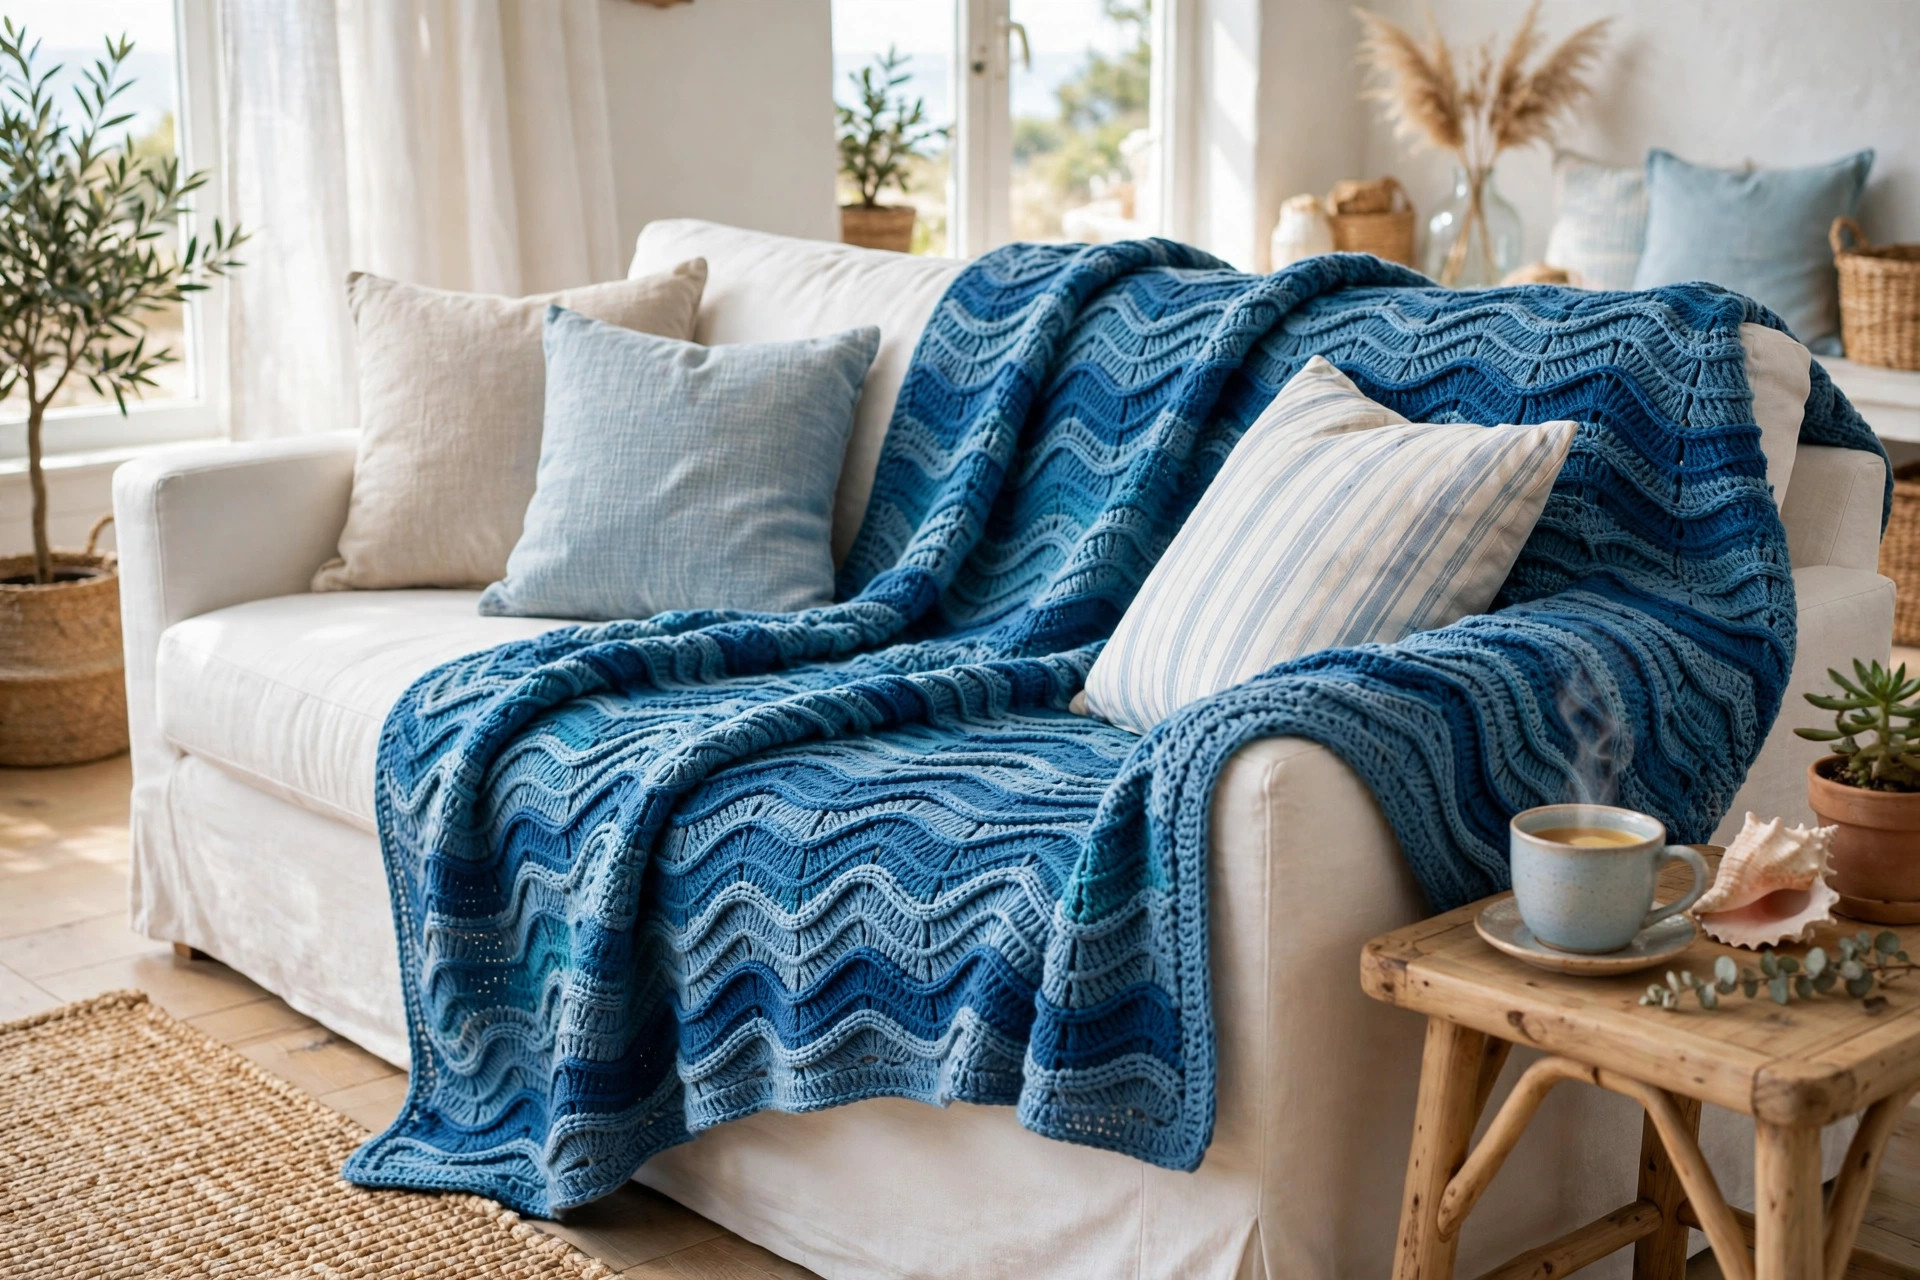
Happy stitching, and may your little wave blanket bring the calm of the sea into your home.